diy fairy dust in a bottle
If I have one regret, {and, trust me, I know I’ll have many} it may be doing more fun diy projects with our kiddos on the regular. Yes, we make a lot of things pretty often, but there’s something about their excitement over creating that always has me. They love it. I should make a rule with myself that it’s once a week. And then price myself out of the real estate market with the amount of subsequent craft supplies stored in my house.
So when Emerson came home with a market day project assignment for school, we knew we had to come up with something fun. Their task? To create something basic you’d find at a crafts fair, and sell it at school amongst their peers. They were to record the prices of things they purchased in the materials, and try to turn a profit. The best part? The proceeds to go a local children’s charity.

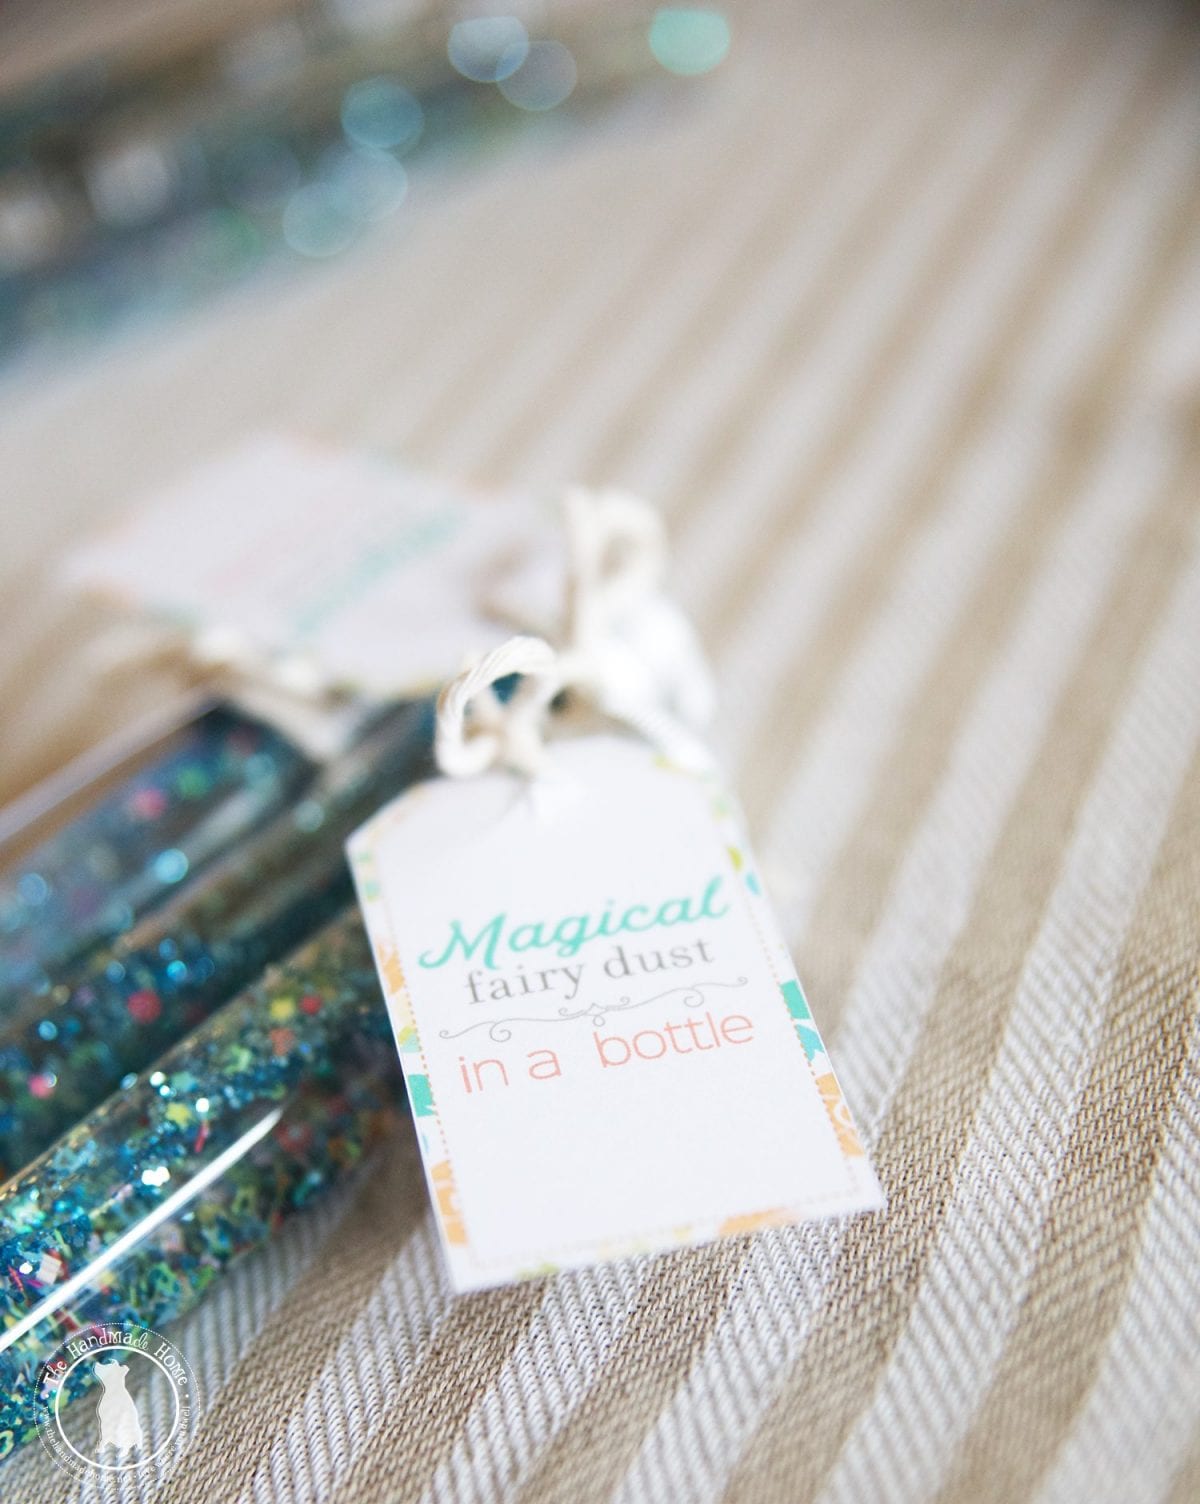
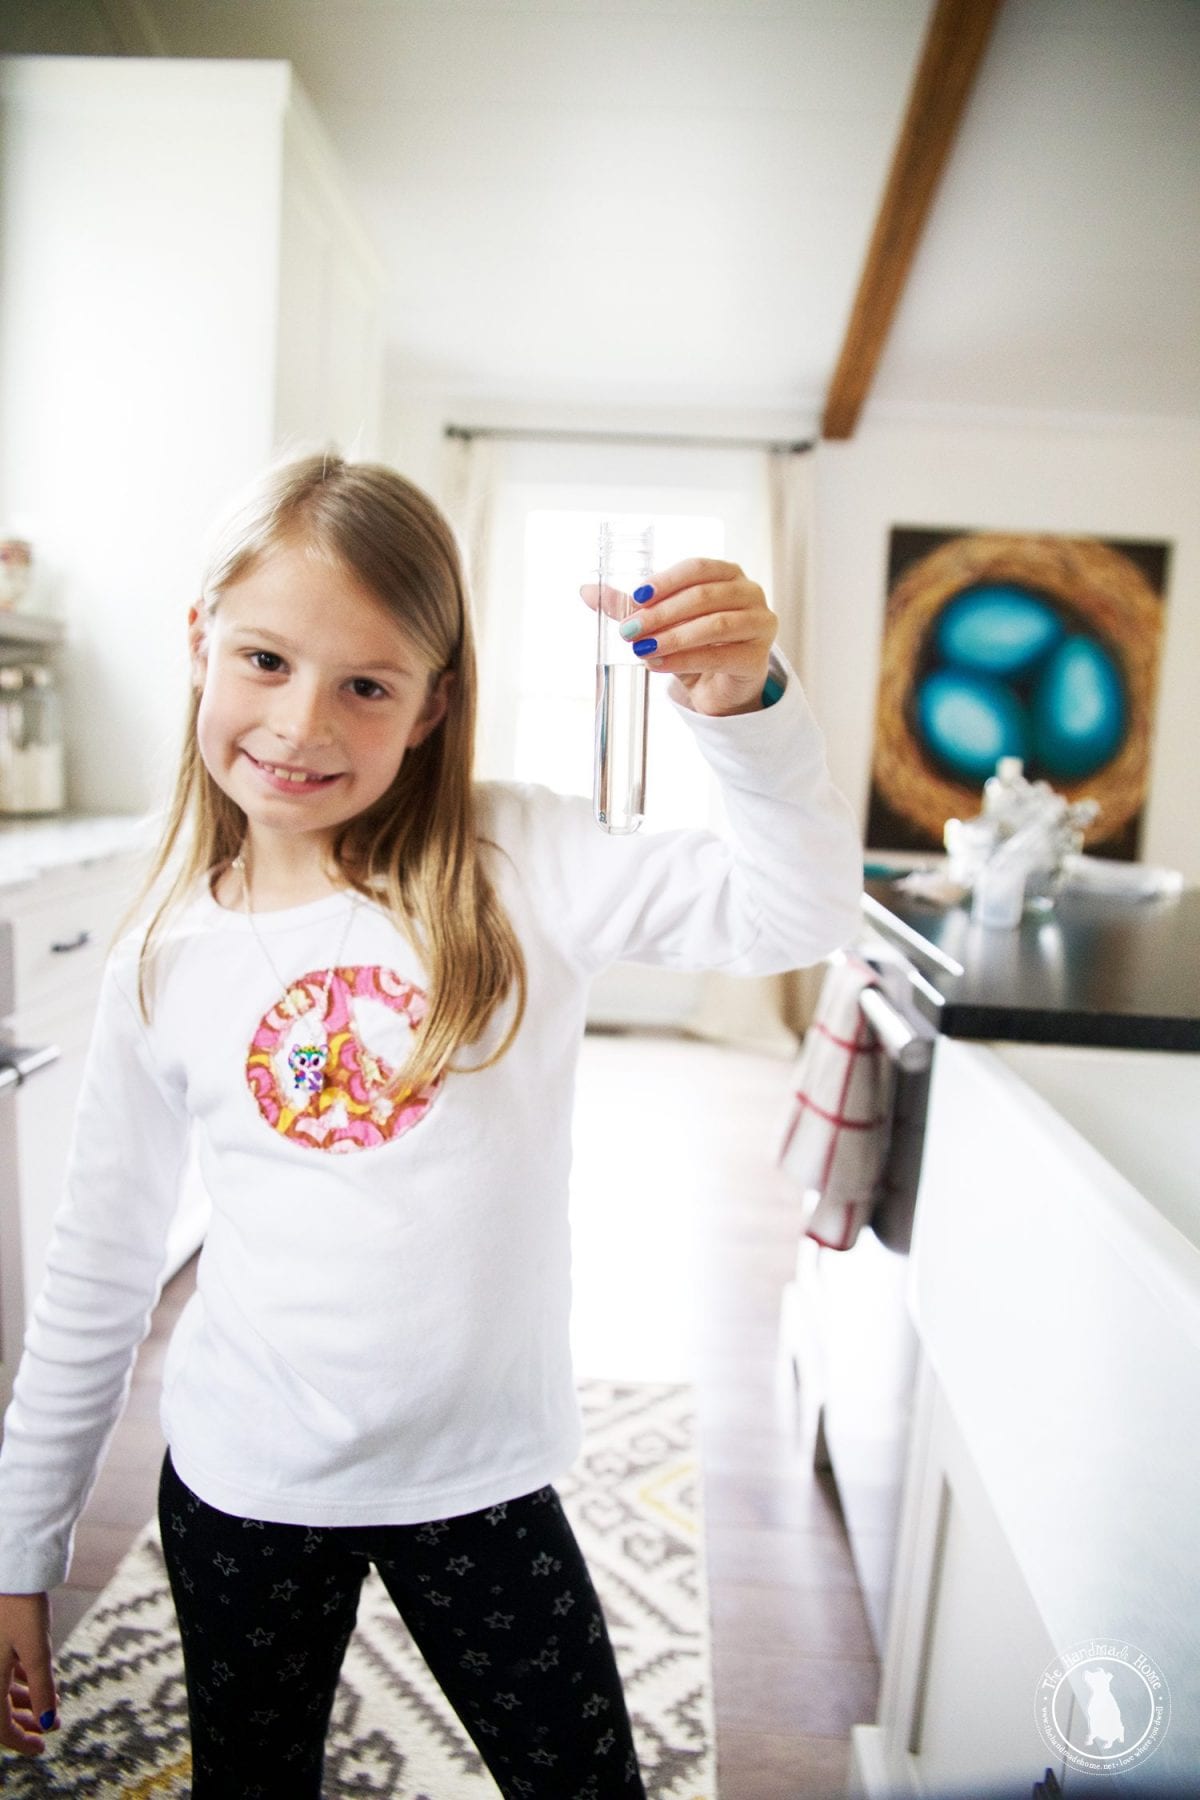
We decided to make fairy dust bottles. She got really into it, and went to school with a special t-shirt, the product on display, signs she made… the whole shebang. Mom and dad had no hand in it {except the ordering of supplies. Fine, and the tags we’ve included below}. She loved every second, and we thought it was a great way to get her little mind turning, to find things she just may be passionate about. There’s a lot to be learned in owning your own business, and all things entreprenuership. We’re understandably, all for it.
We love that their school does things beyond the expected usuals when it comes to subjects.
They’re so simple, I couldn’t help but share the process here.
While on the surface they may seem a little pointless, we think they’re great for calming agents for kiddos. They’re also a wonderful dinner party idea {especially with the warmer months coming and all things outdoors} or party favor / project ideas for birthdays. The uses are kind of endless, and to me they’re like a nod to my glitter bracelet, all things sparkly hair-in-a-scrunchie-80’s-kid days.
I’m always a sucker for such shenanigans.
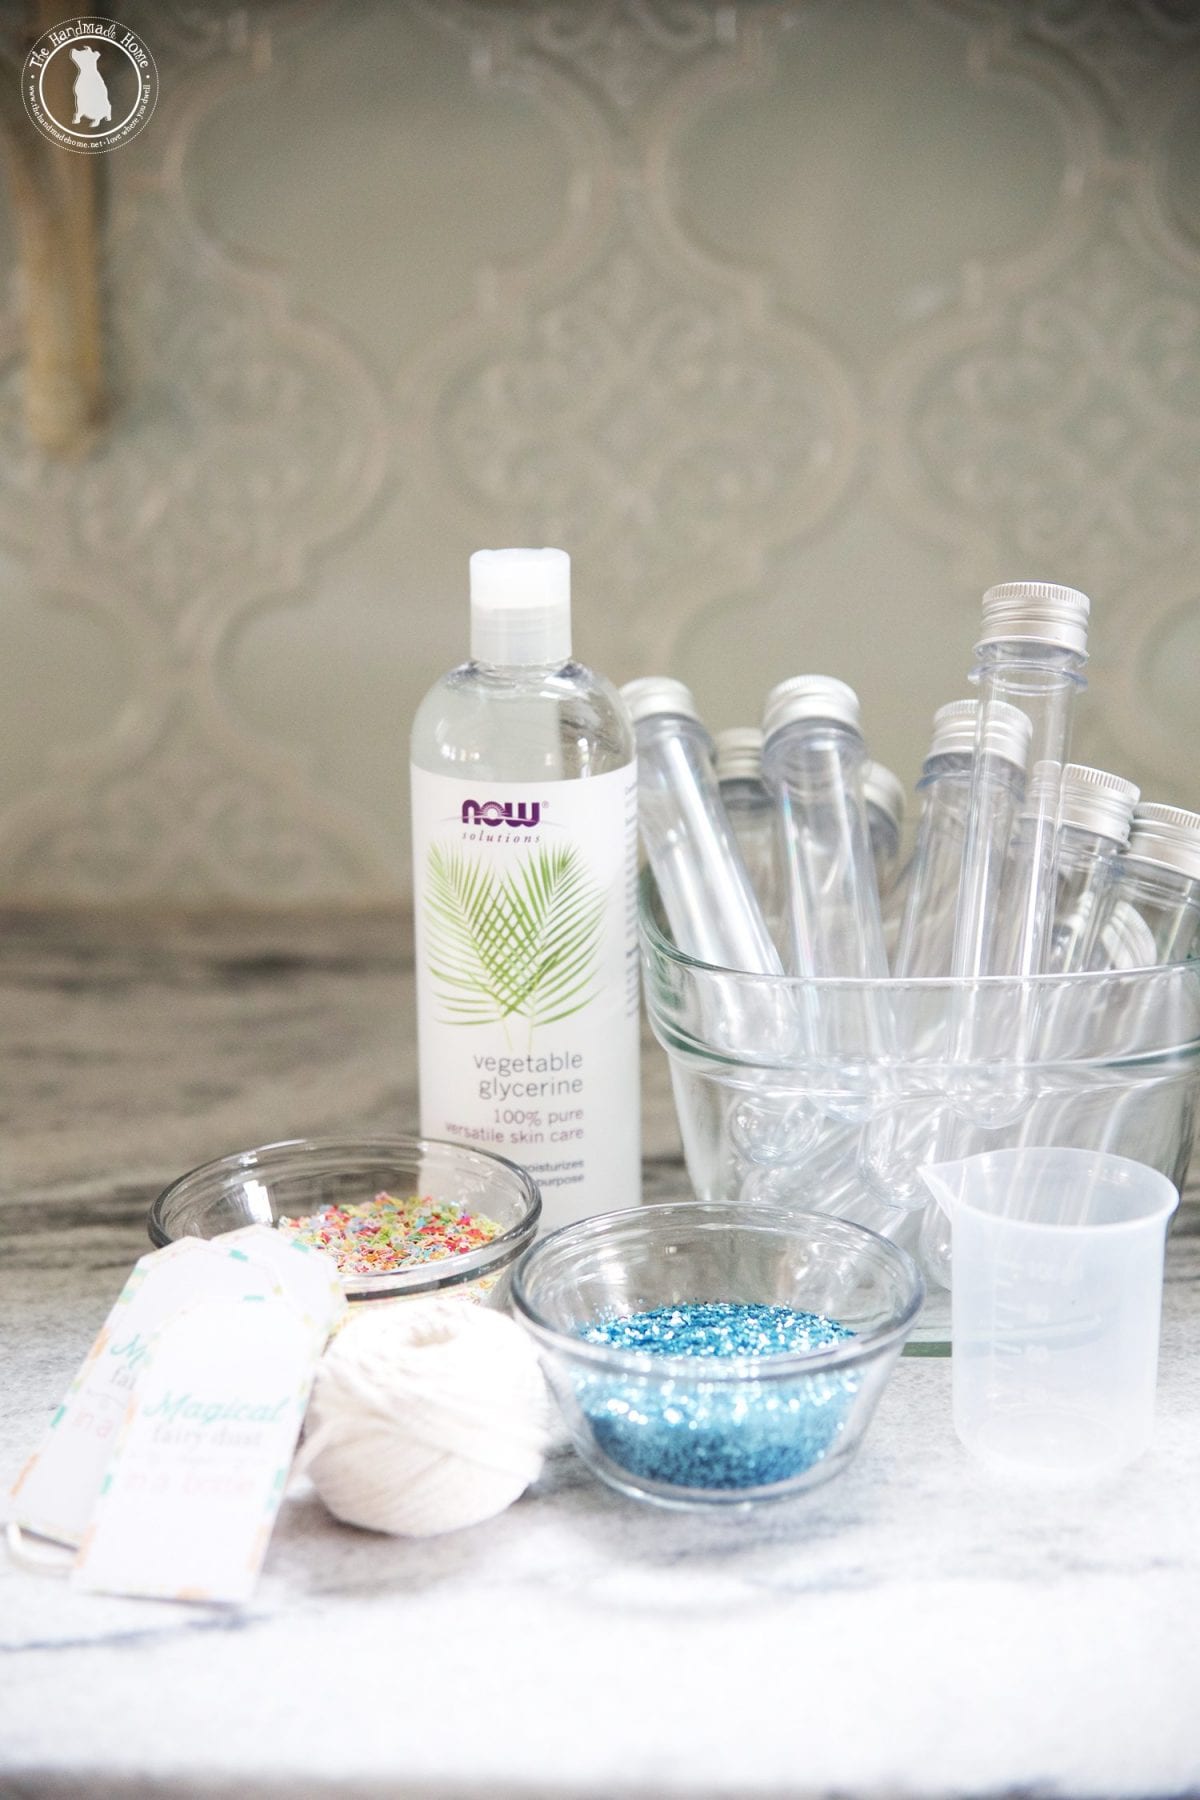
Here’s what you’ll need:
• plastic bottle or test tubes – go with plastic especially if dealing with children. We went with this size because it was larger and fun to hold.
• water
• glycerine – this helps separate the glitter in the water
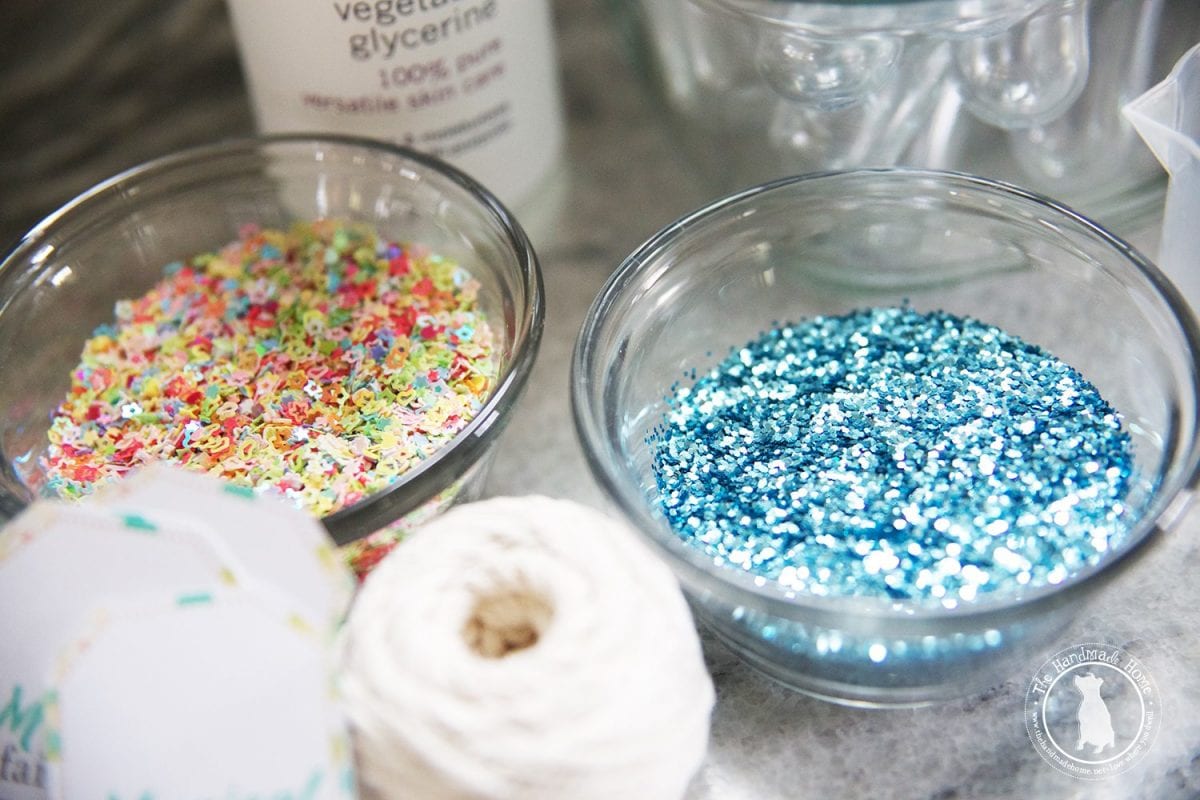
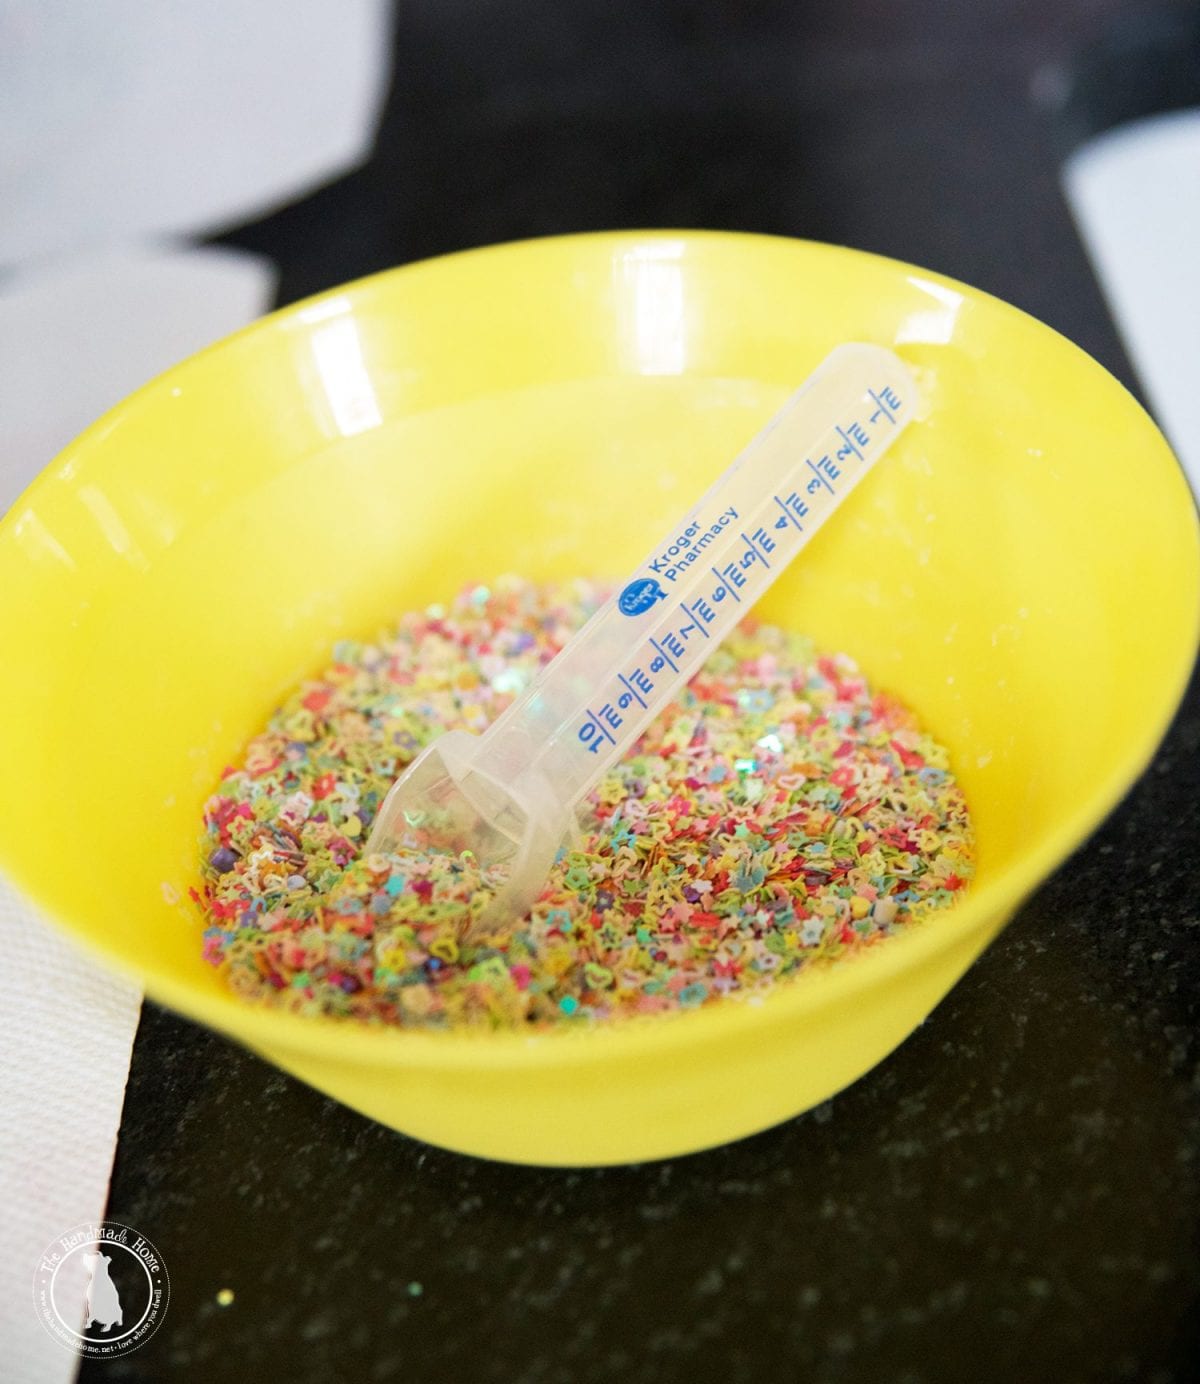
• two types of glitter – we opted for these fun shapes and a traditional style, This way they fall at different rates in the bottle. Hint: use the leftovers for manicures, and people are also putting them in their homemade slime.

Optional:
• Tags – free printable here {fairy dust} + twine + super glue to secure the tops after they’re made. Frankly, we recommend this with all kids.
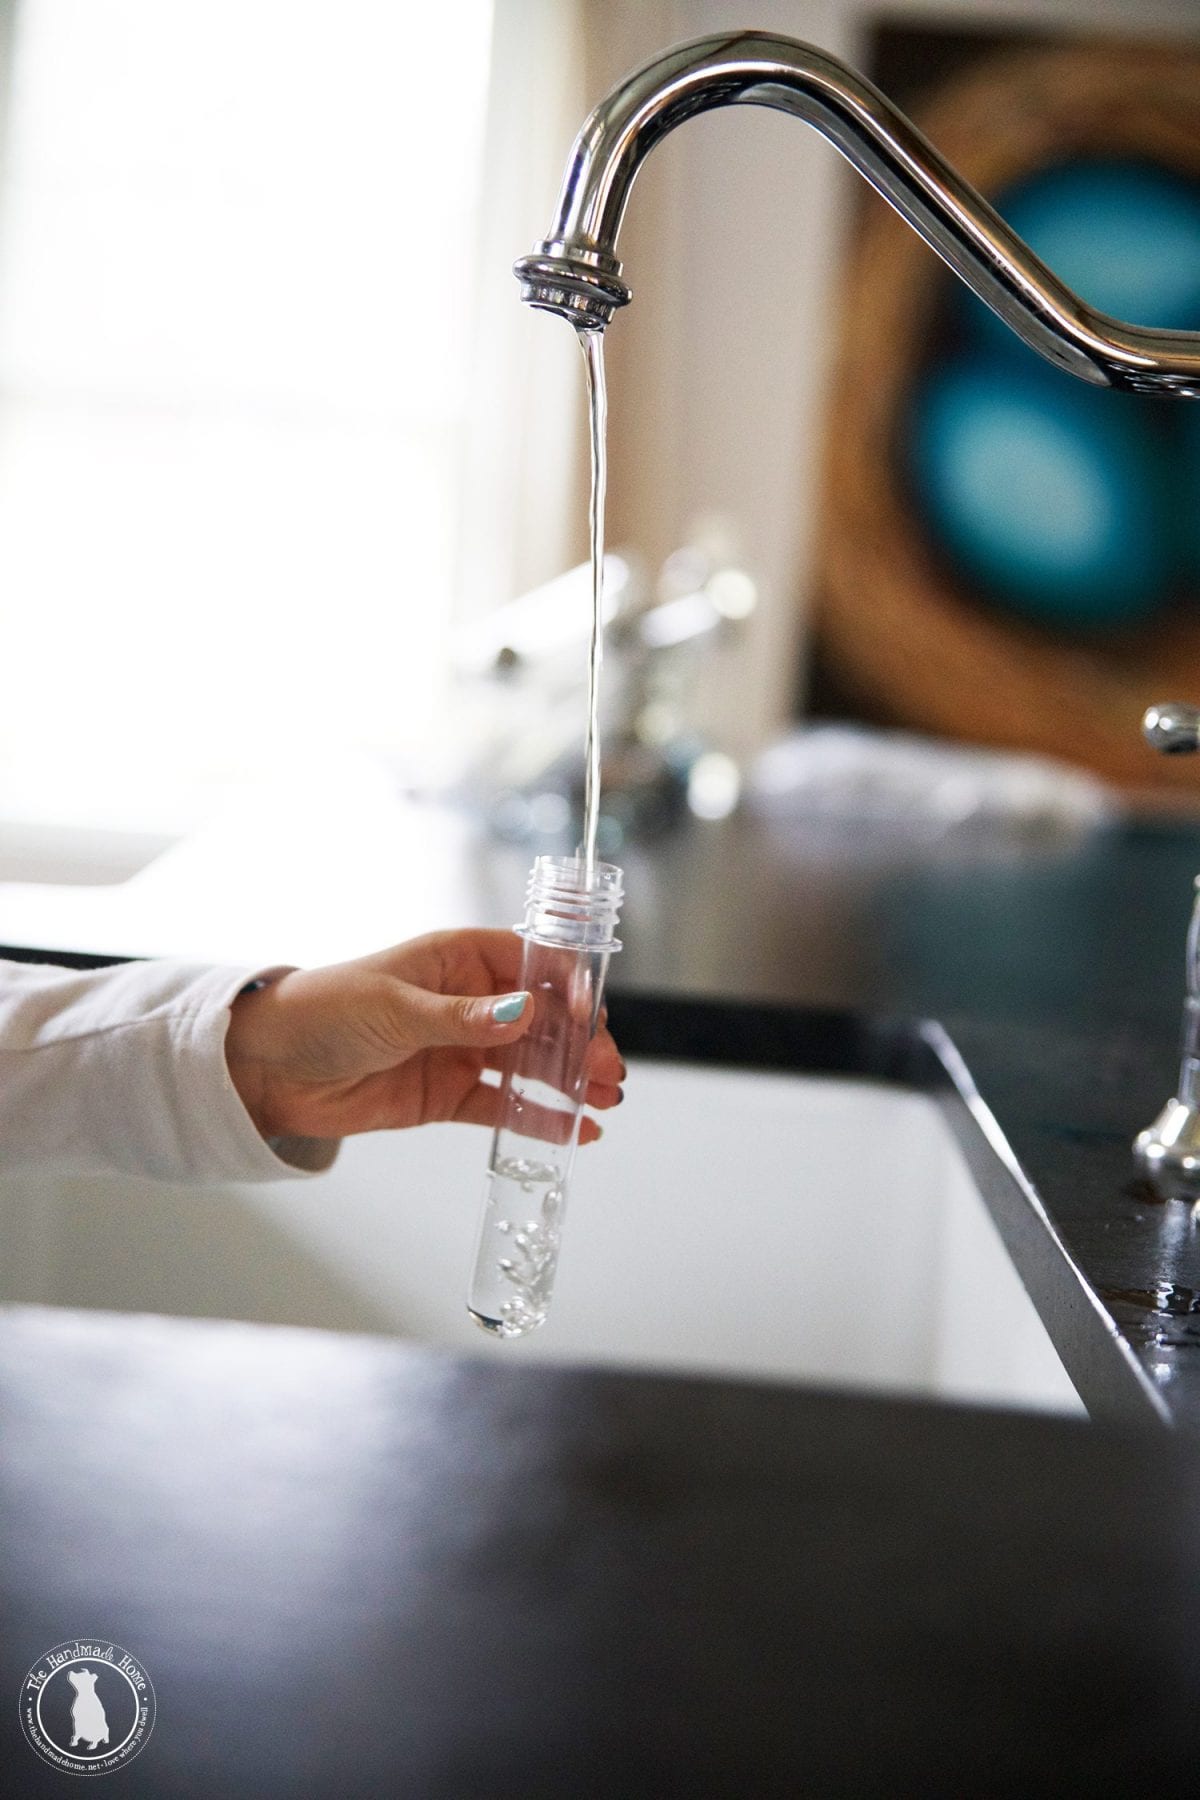
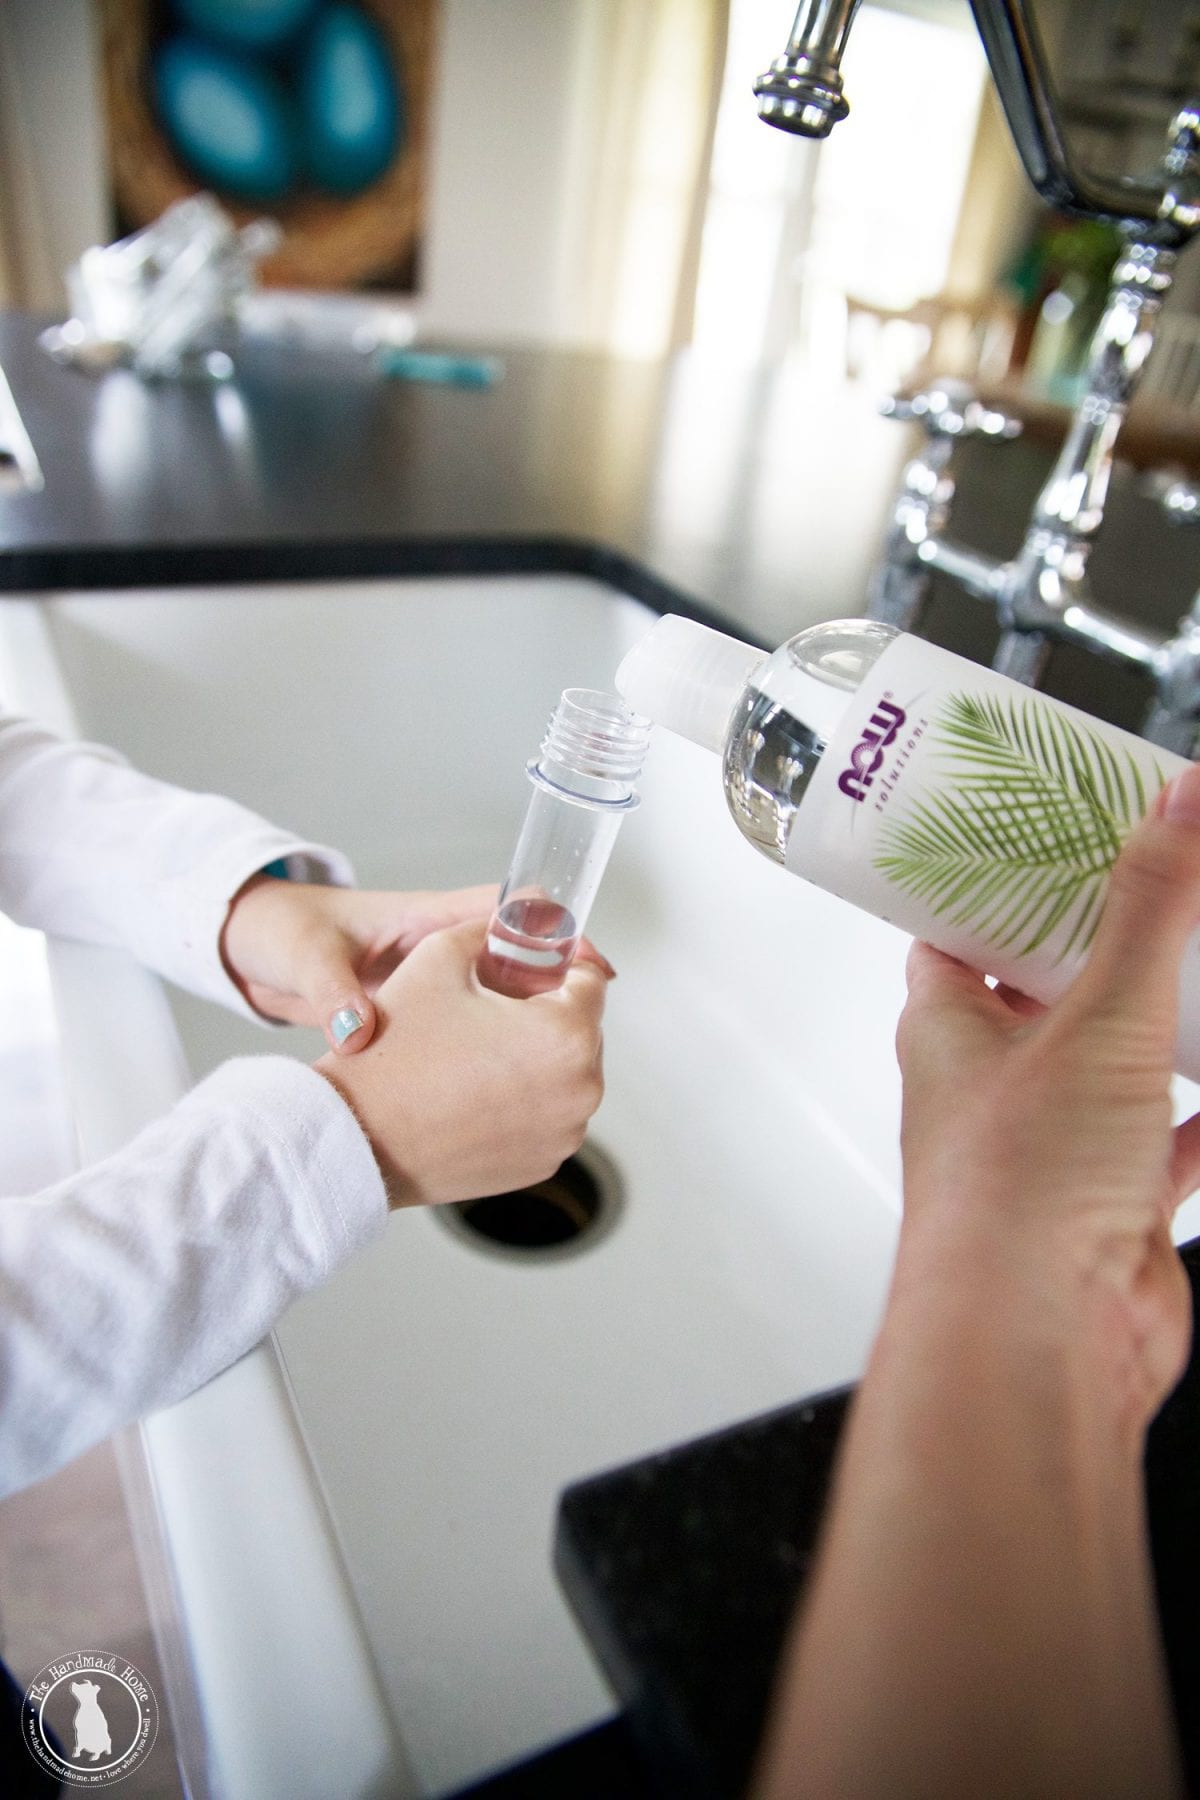
Step one: Fill the {plastic} test tube about halfway with some water.
Step two: Add a few drops of glycerine.
Step three: add your glitter combos – our test tubes came with a helpful spout container, and we used it for the finer glitter {hello, mess! – this is why we recommend outside with lots of kiddos or else you’ll be seeing glitter ’til you’re ninety}. But we also used medicine dispensers over bowls to sprinkle the rest.

Step four: Add more water to the top.
Step five: Secure the top on the bottle {add a few dabs of super glue first, and screw on tightly.} You’ll thank yourself later for this.
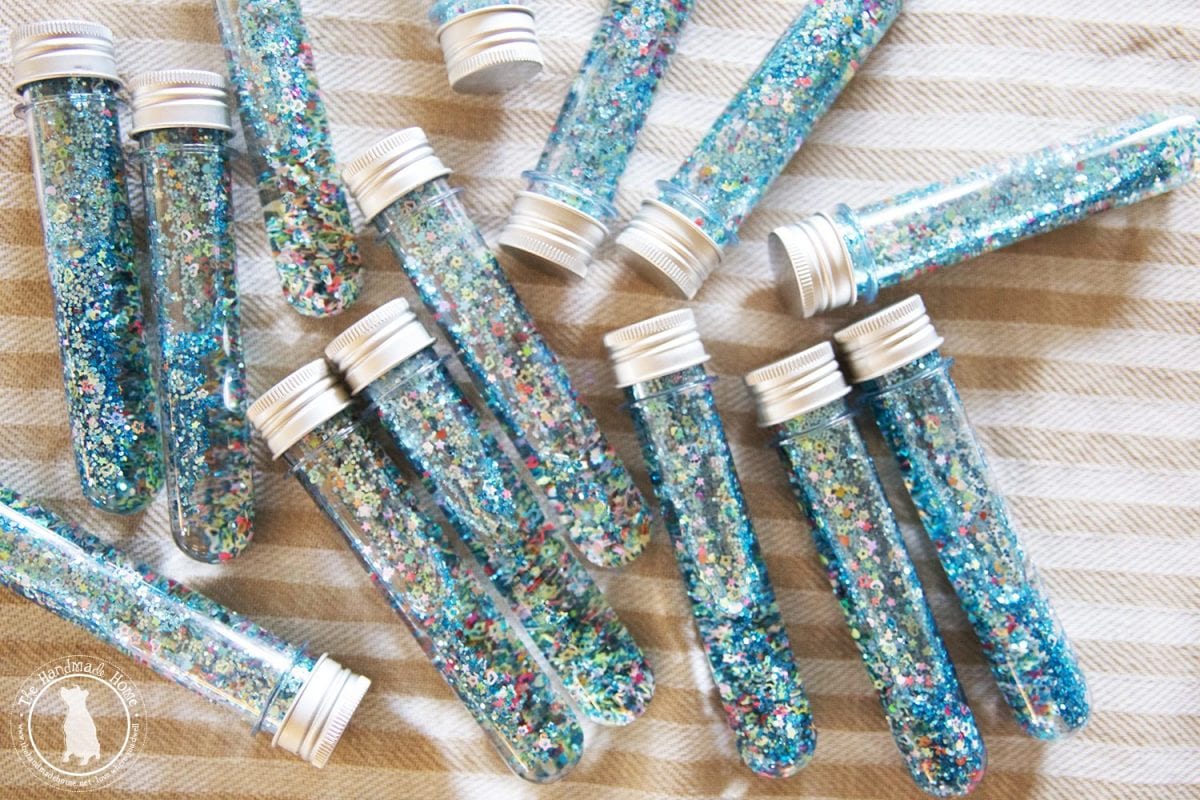

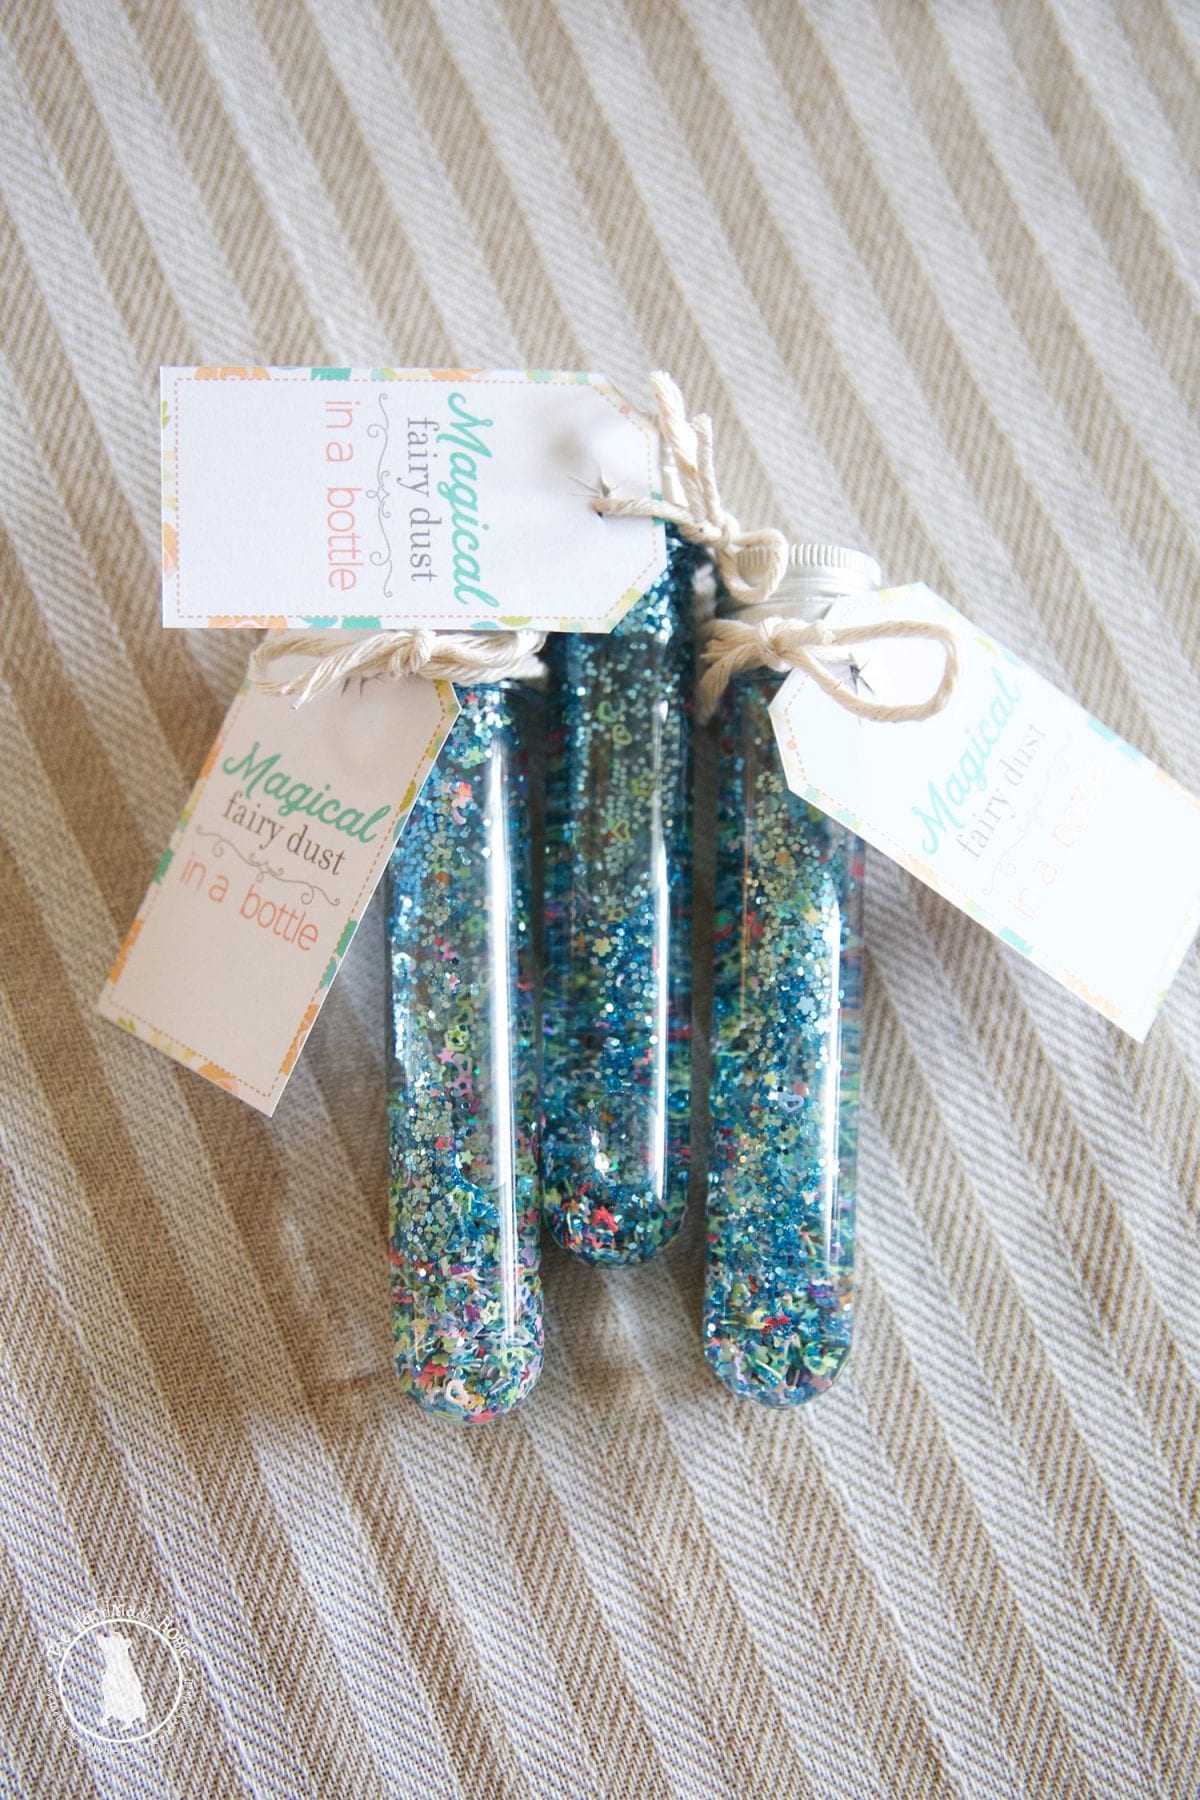
Tada! You’re finito.
Note: For boys, {because we have two and know how that is} you could always include our slime recipe {above} or some fun glow-in-the-dark {see: “pirate”} concoction – per our oldest’s suggestion. You could always change up the glitter combo for something a bit more male-friendly… but to tell the truth, our first grader {of the male variety} was totally into it with the glitter. Emerson had to sell all of hers for her project, but we’ll be making more soon per the boys’ requests over in the Mills hizzy.
Just an idea. The possibitlies are quite endless!
As always, let us know if you try it. We’d love to hear!

Have an inspired day!