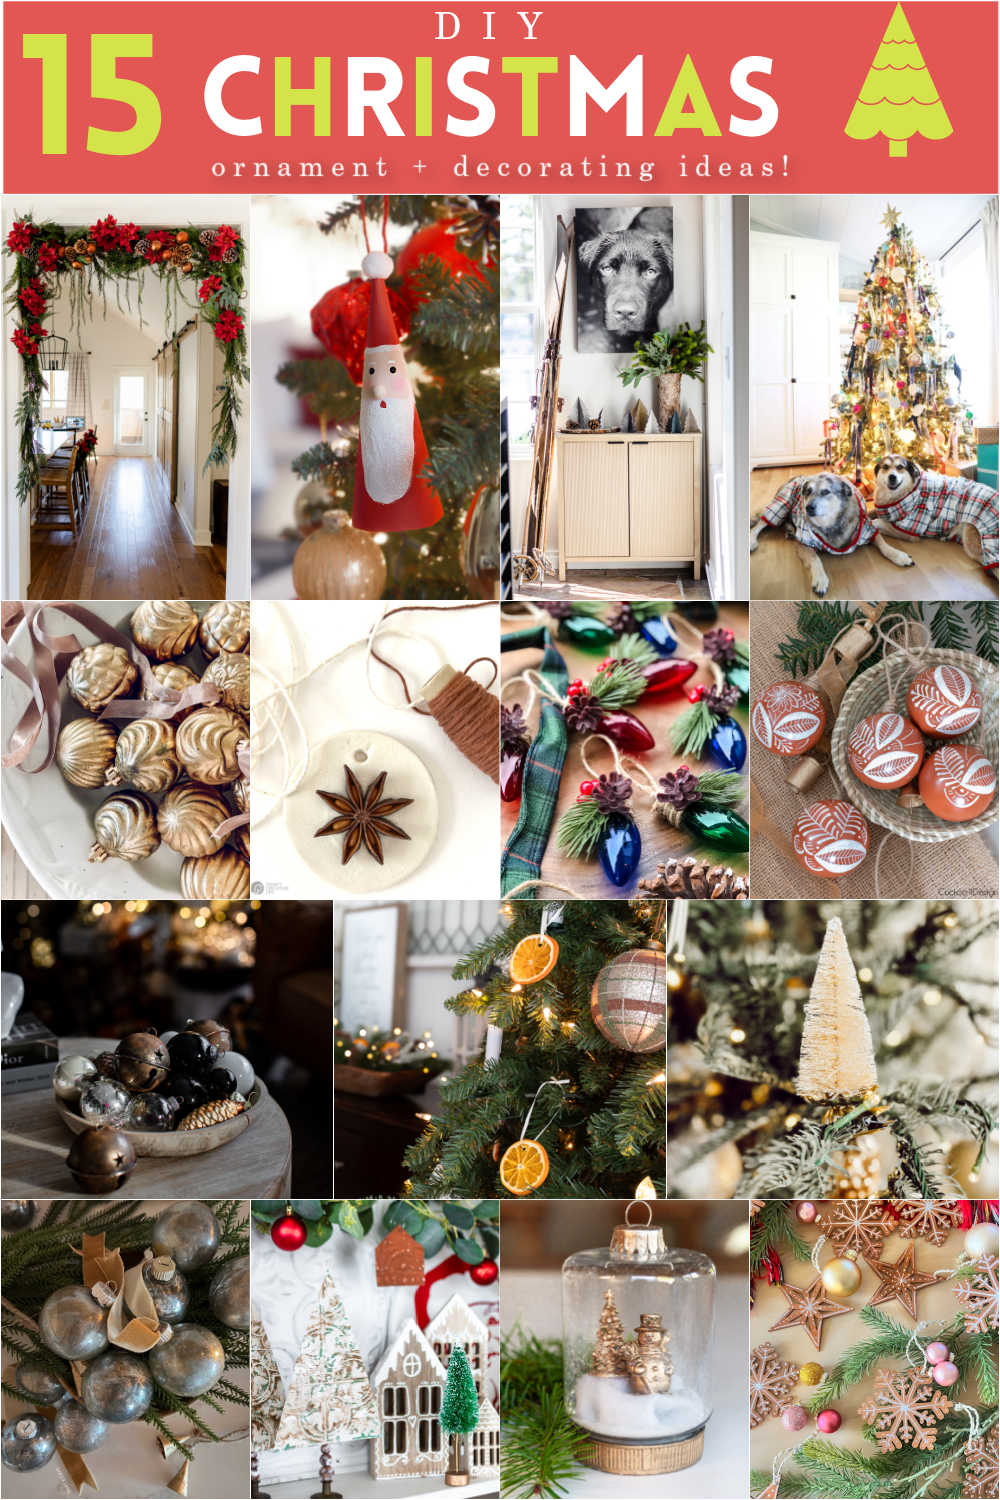
We are thrilled to join our friends today for an ornament hop! Be sure to check out their awesome ideas, below!
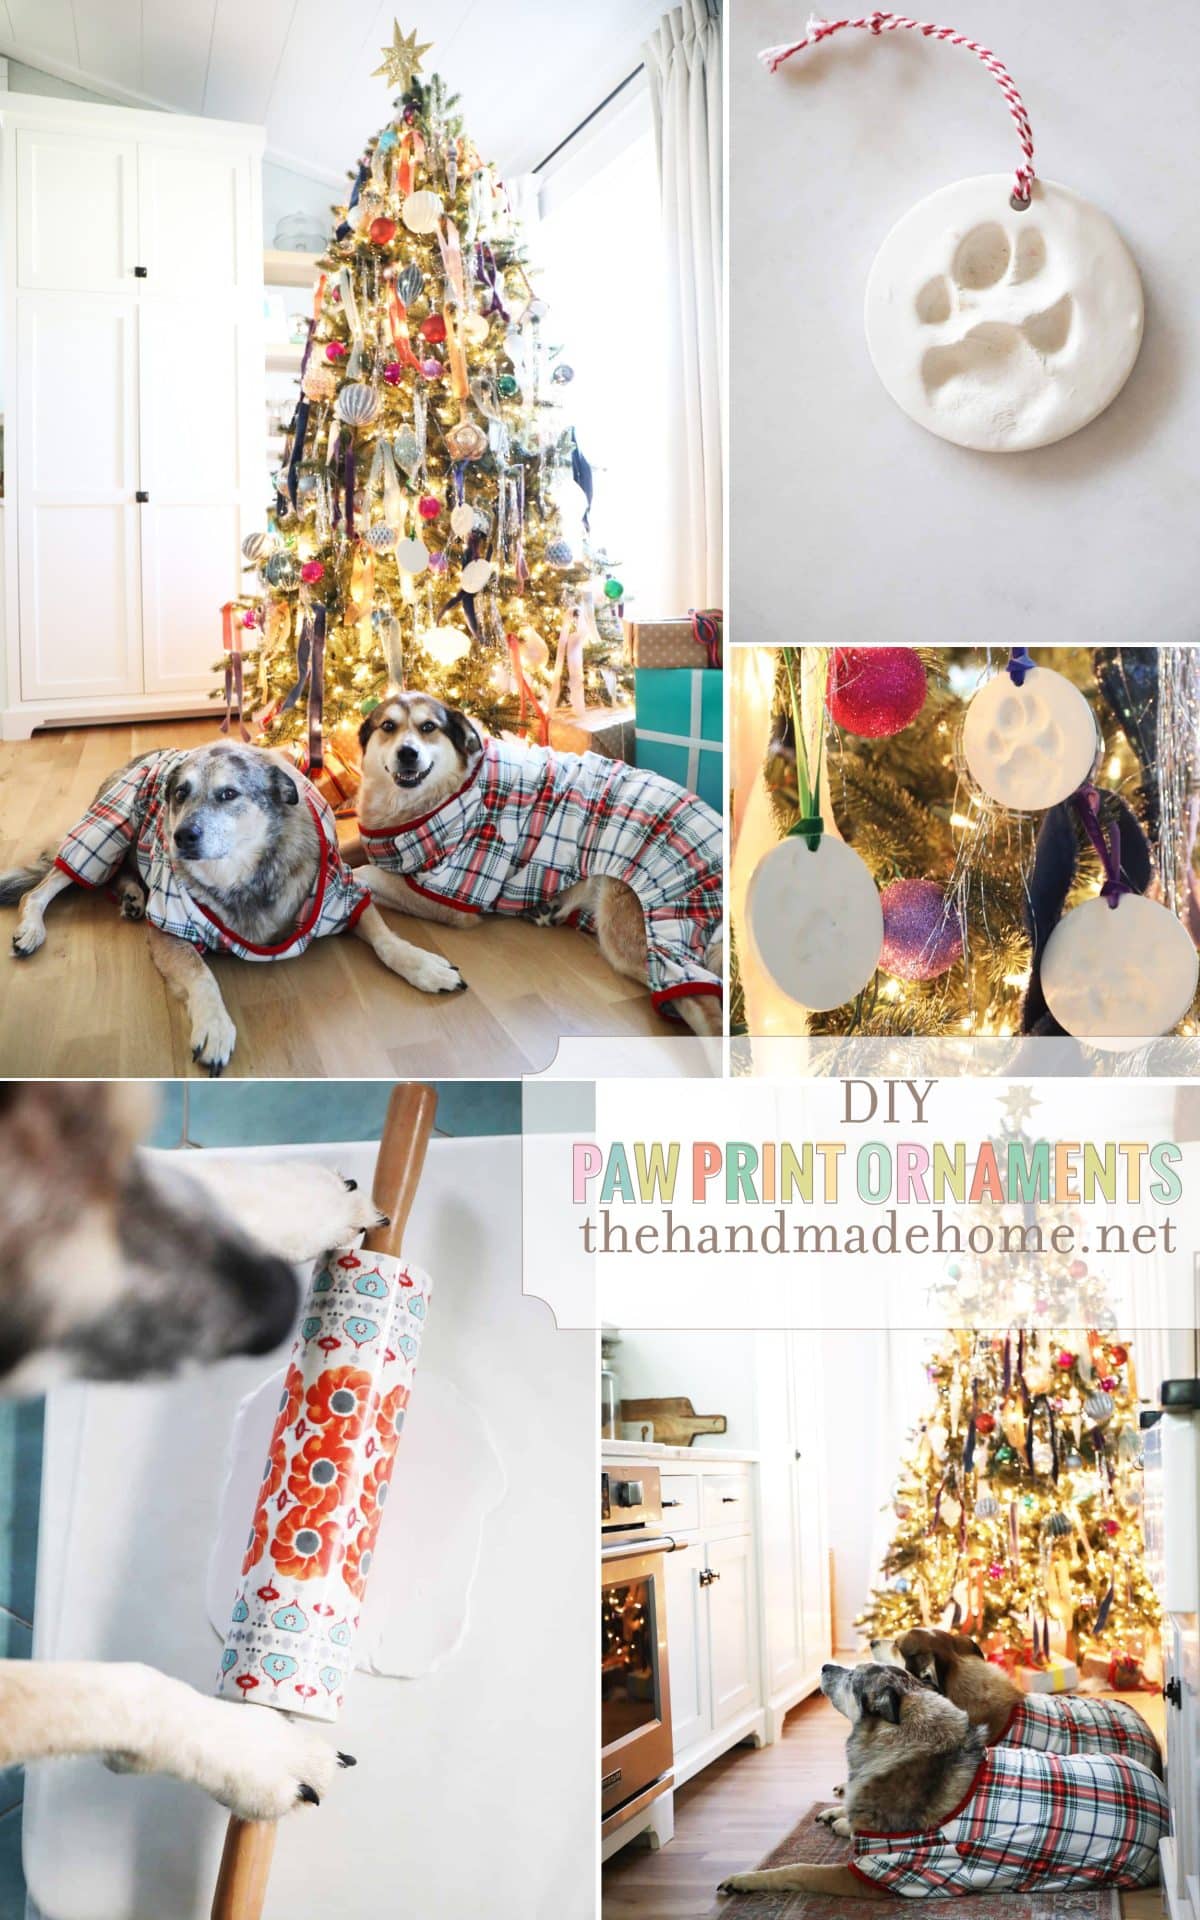
Today, we’re sharing these fun DIY Paw Print Ornaments!
I guess this one starts unexpectedly in kind of a somber way, and I didn’t intend it to be that way at all. But we recently realized that we just crossed the 9-year anniversary of the loss of our first pup, Chloe. {Where does the time go? It was actually the 22nd of November in 2014. We just remember that date for some reason.} So When her ashes were returned to us, something else was, too.

Besides the sweet ornaments that have been handmade by our children, this tops the list of our very favorites. This sweet gesture still brings tears to my eyes when I unwrap it each Christmas. It is a cherished treasure.
This year, the kids and I realized that we wanted one of Rigby + Fitz, to hang with Chloe’s paw print. And that they would be really easy to make. They make the very sweetest keepsakes. Here’s what you’ll need:
• Sculpey Clay
• Access to an oven + cooking {cookie?} BAKING sheet + foil
• Rolling pin
• Your favorite furbaby dog paw
• Cookie cutter to size
• Ribbon for hanging + a toothpick or straw.
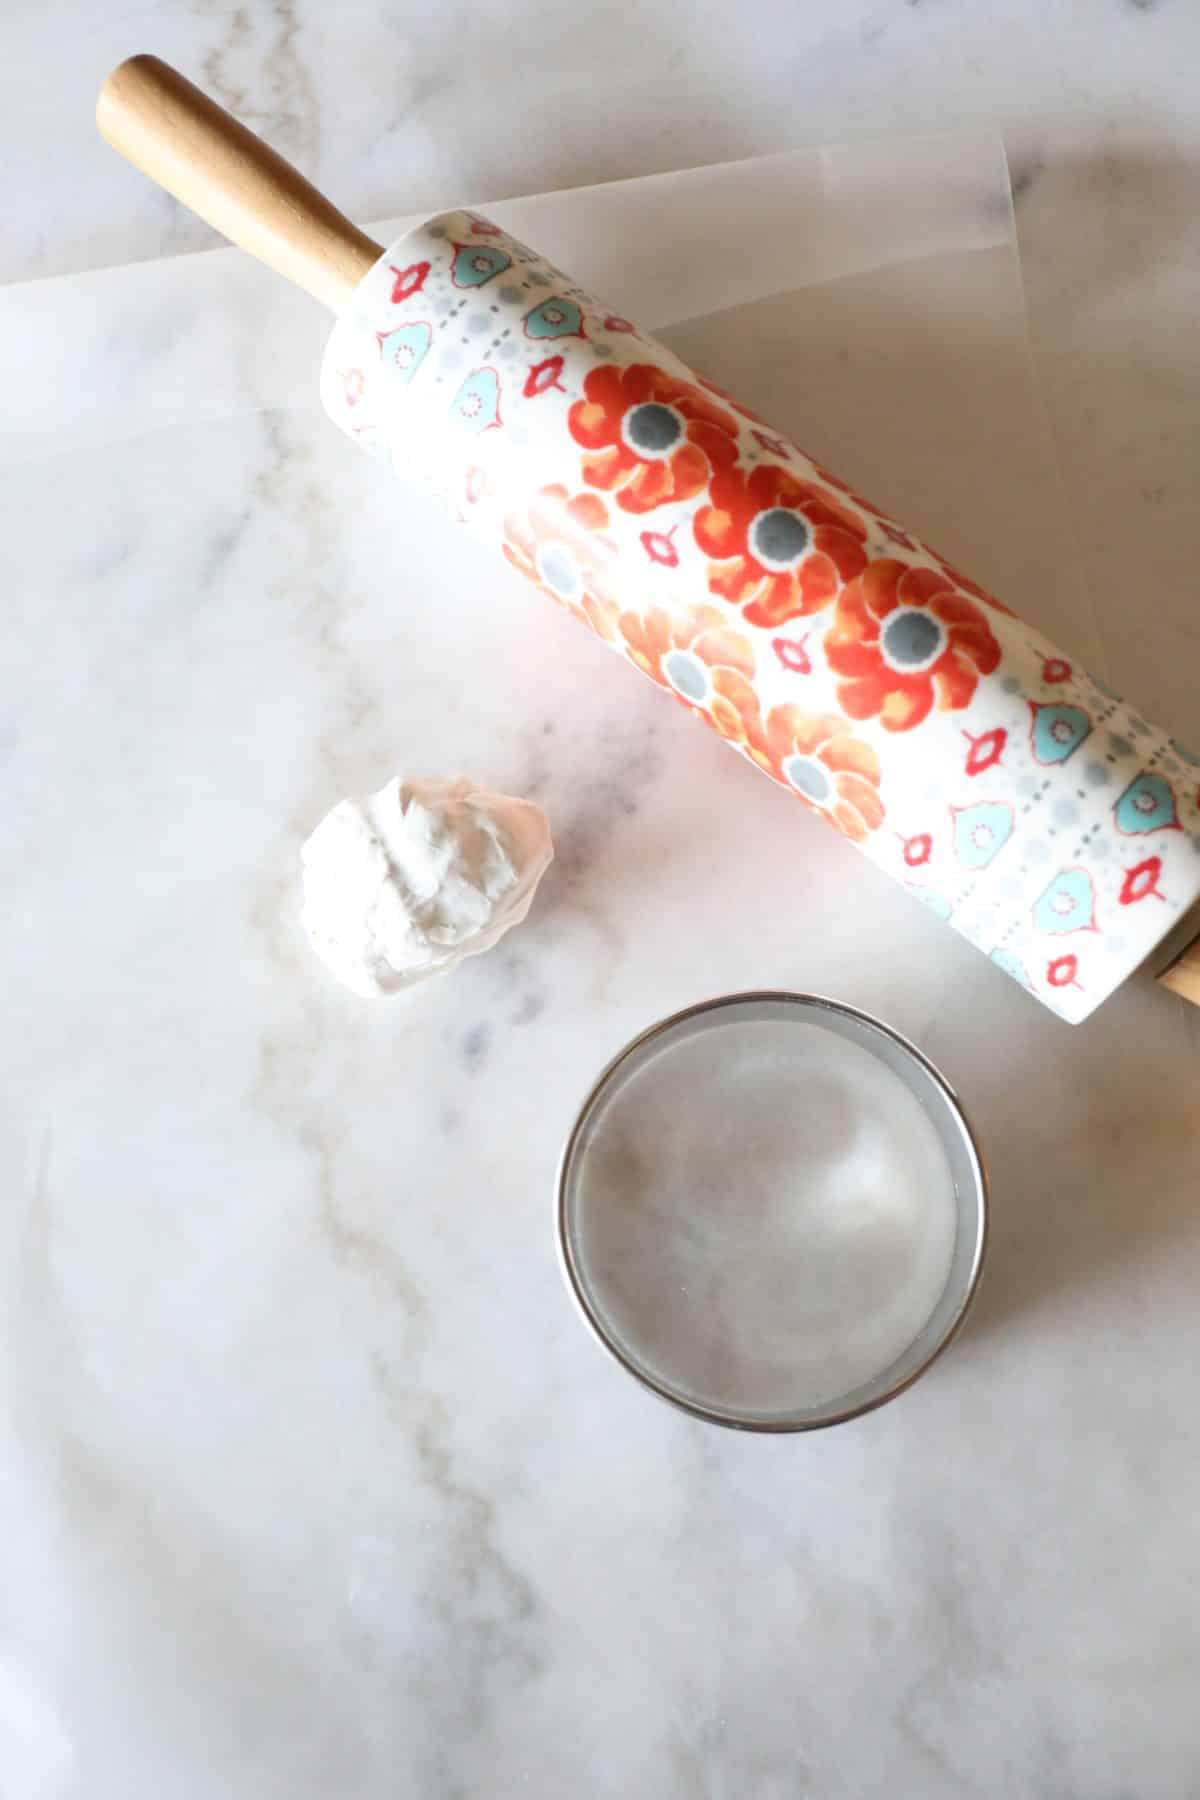
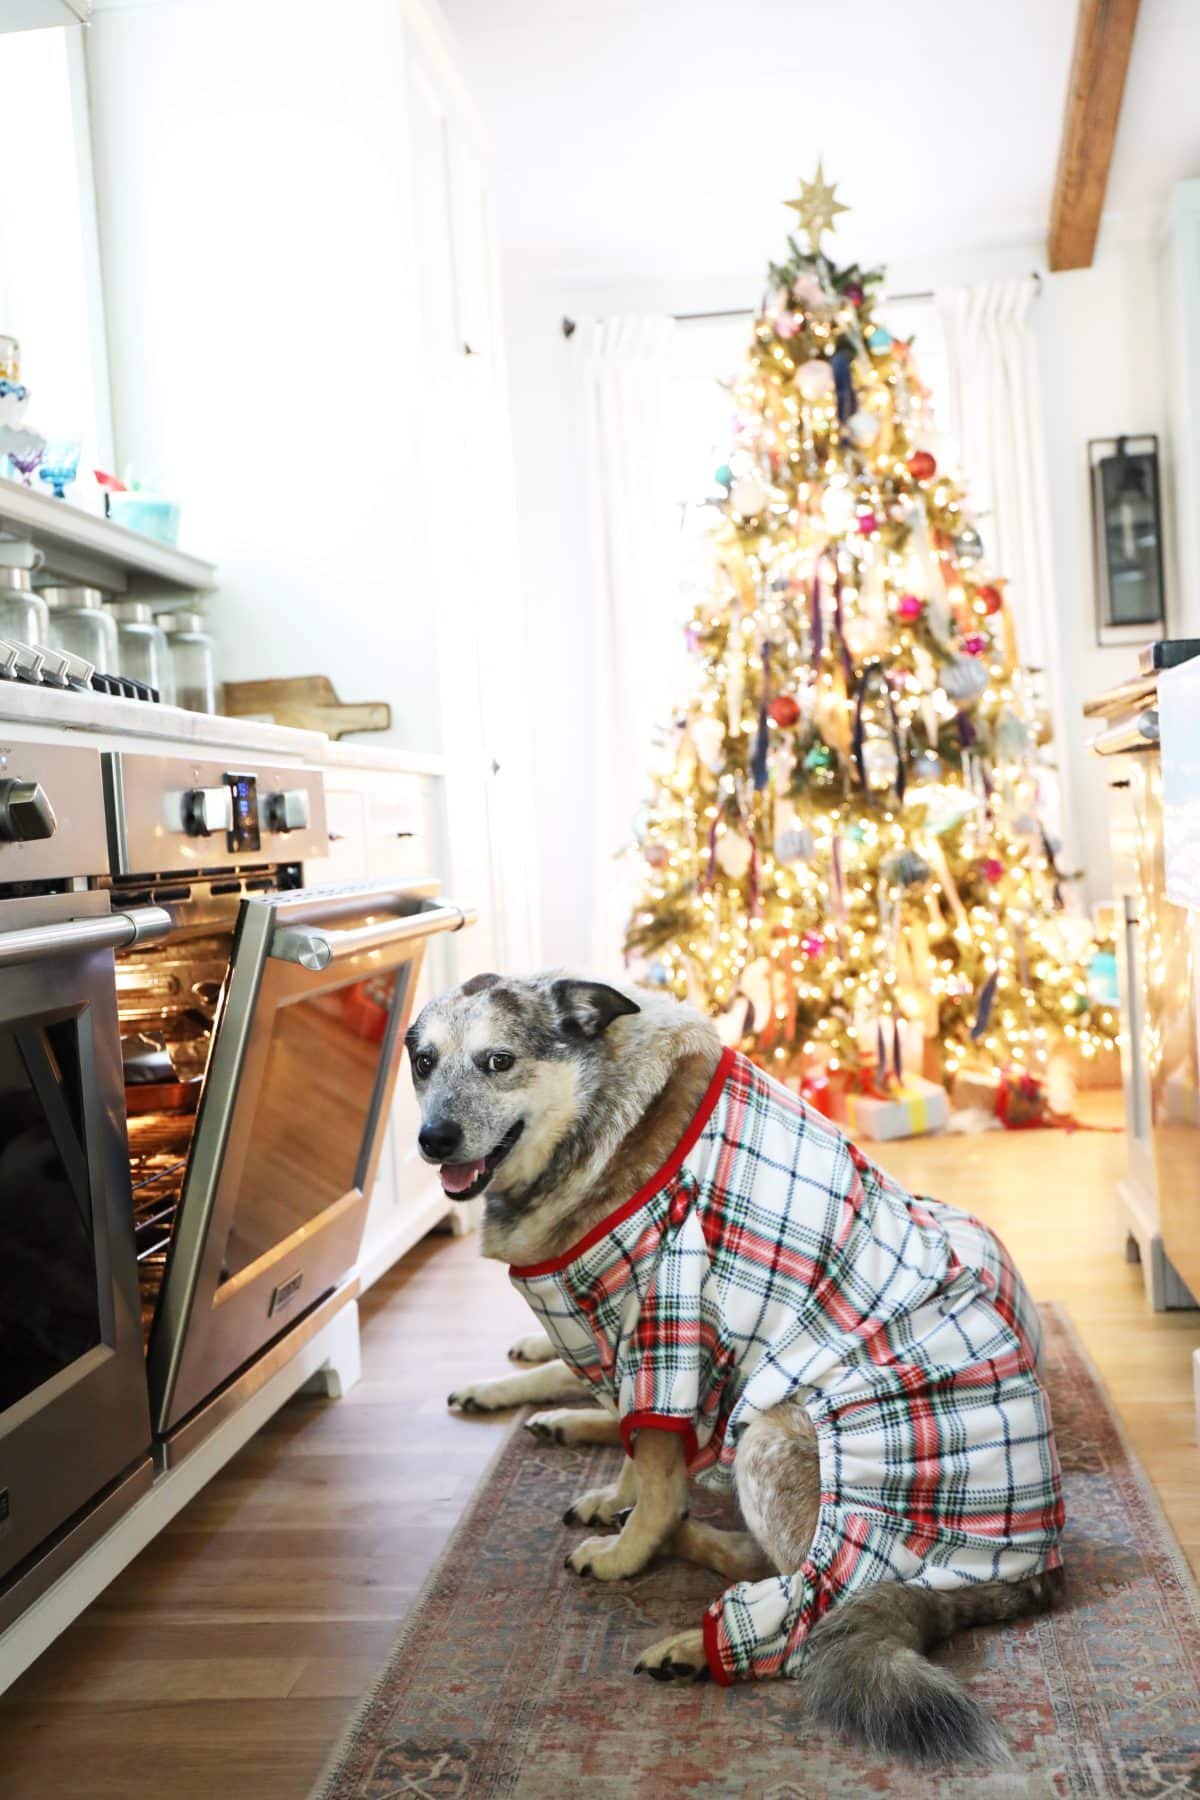
On a surface that’s easy to work on, warm the clay in your hands until it’s pliable, and pat it down. {Rigby and Fitz were more than happy to play models for this one, for all things tweats.}
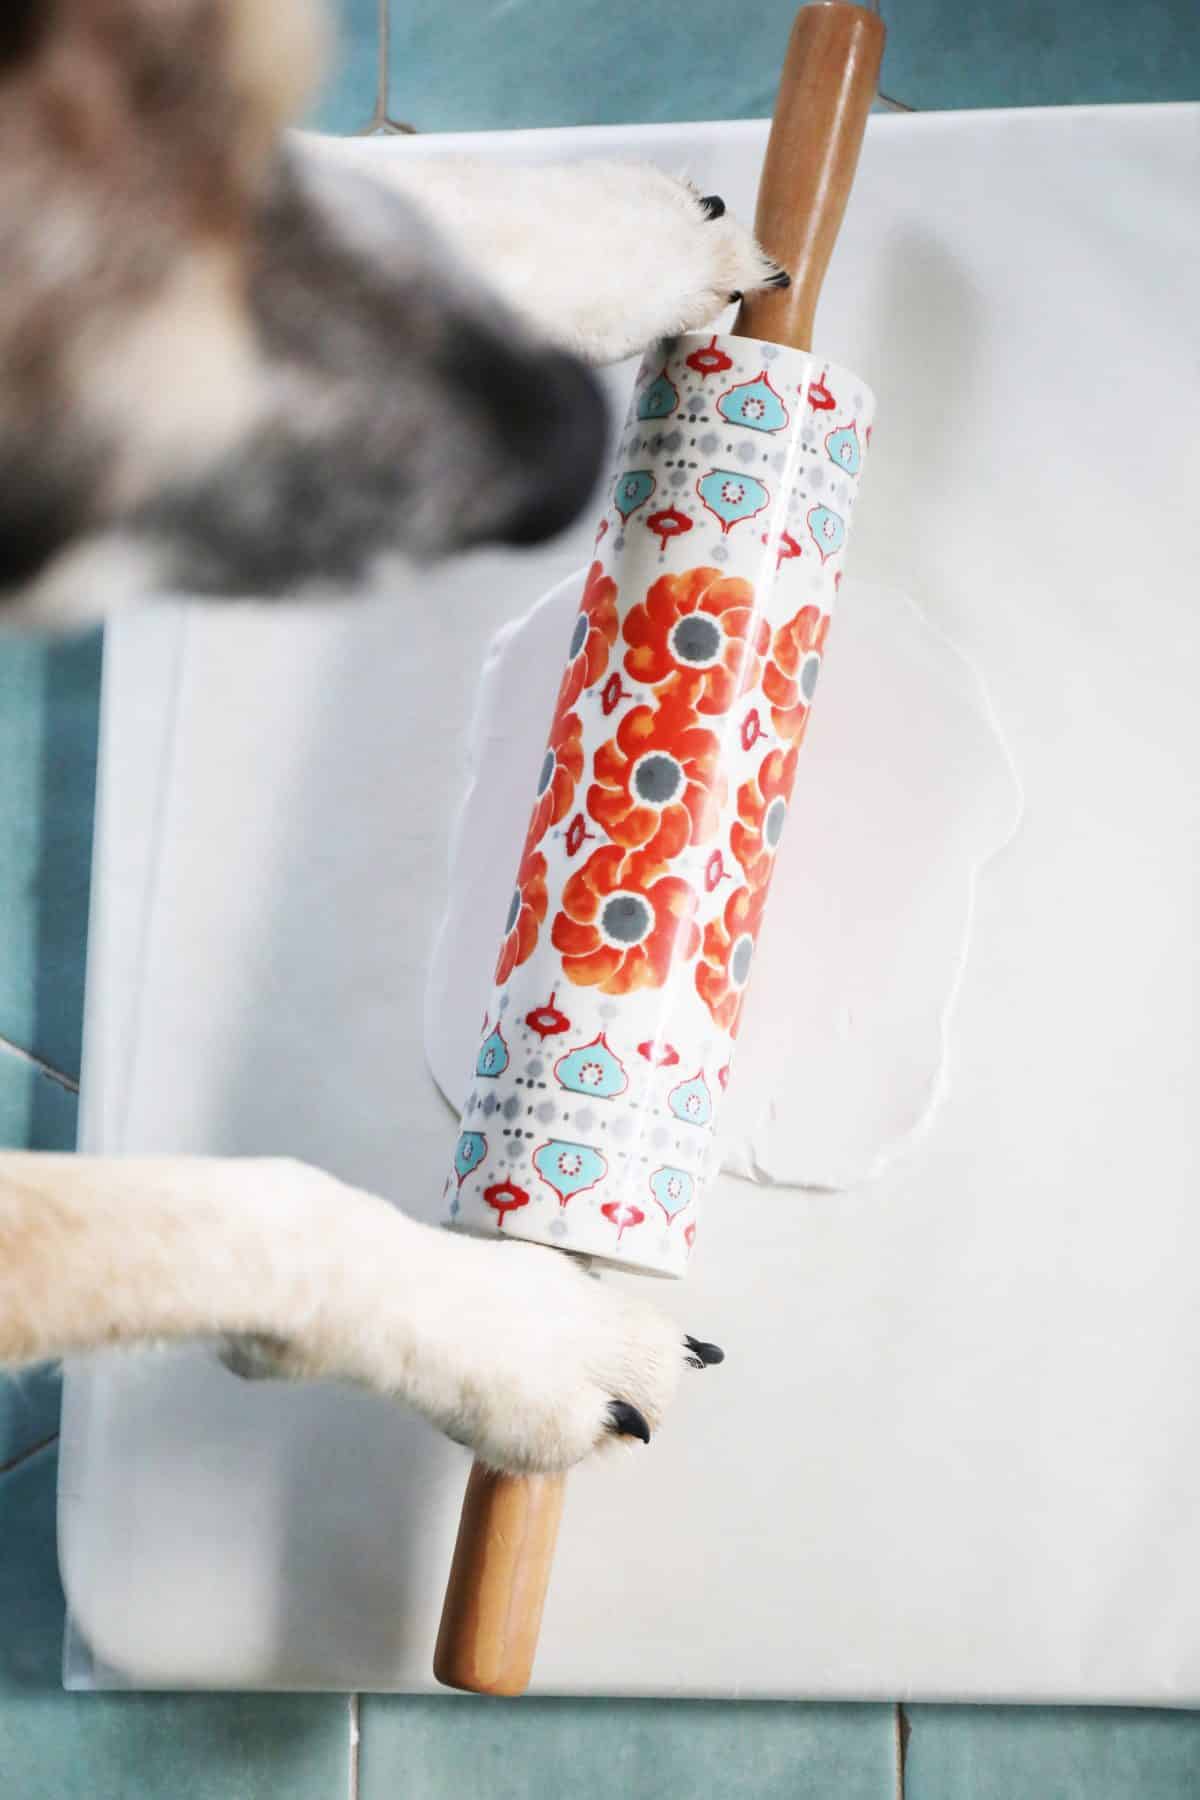
Then roll it out to size with your rolling pin.
Hint: Thicker clay works better in this situation. This clay is actually kind of difficult to press down, and you’ll want to be gentle with your doggo’s paw. So probably around 1/4 of an inch just makes it easier.
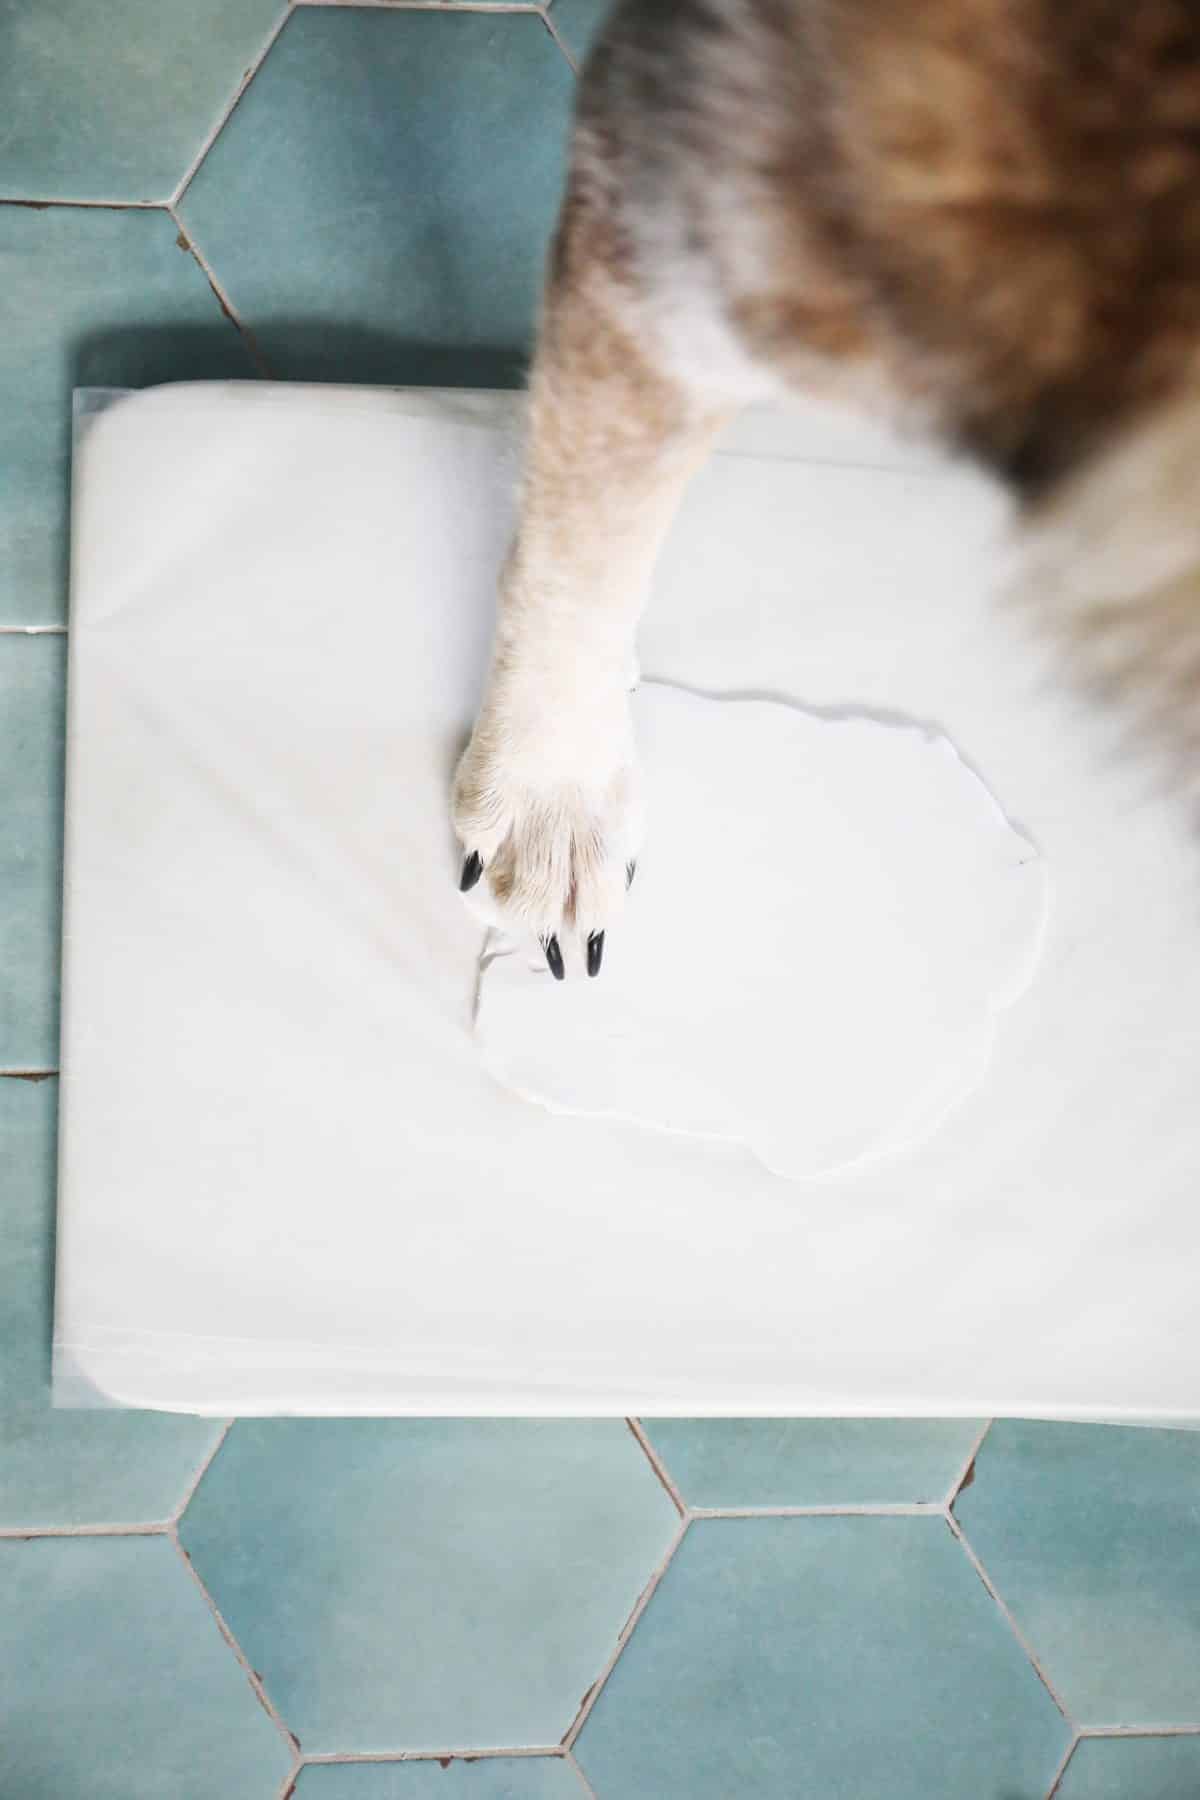
Next, you’ll cut your clay with the cookie cutter.
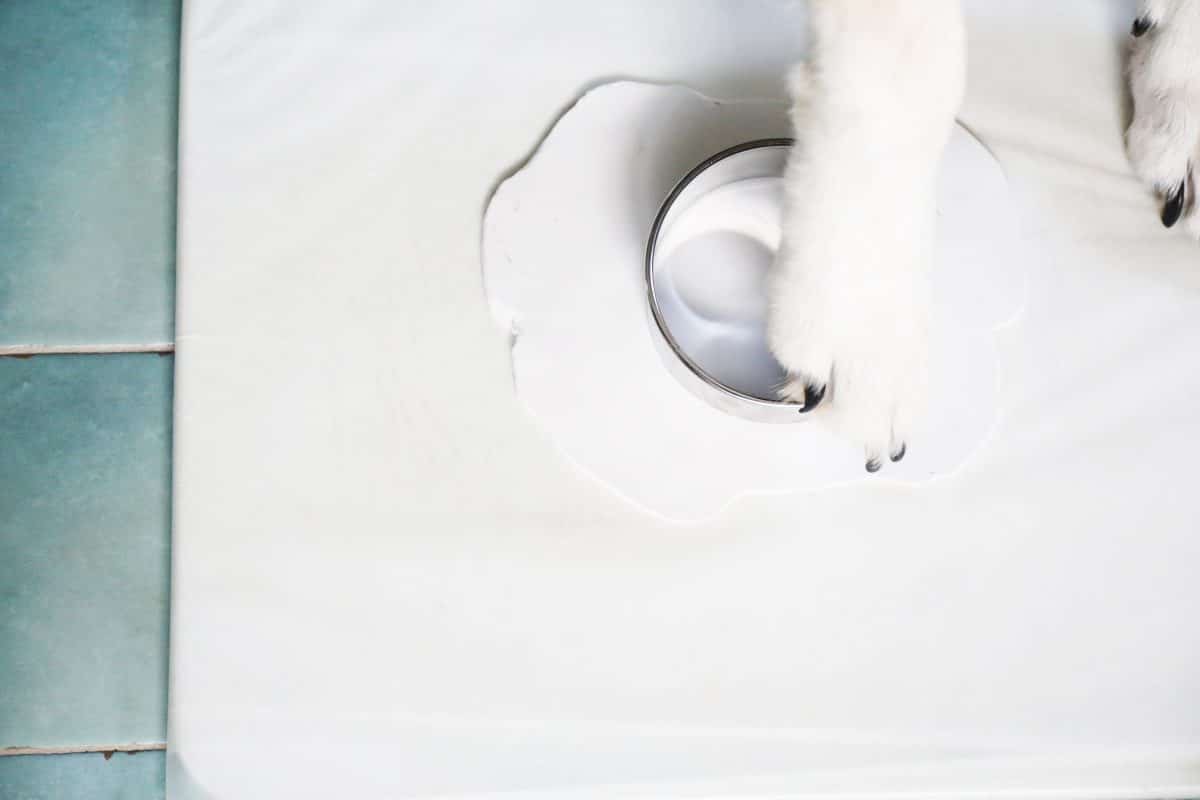
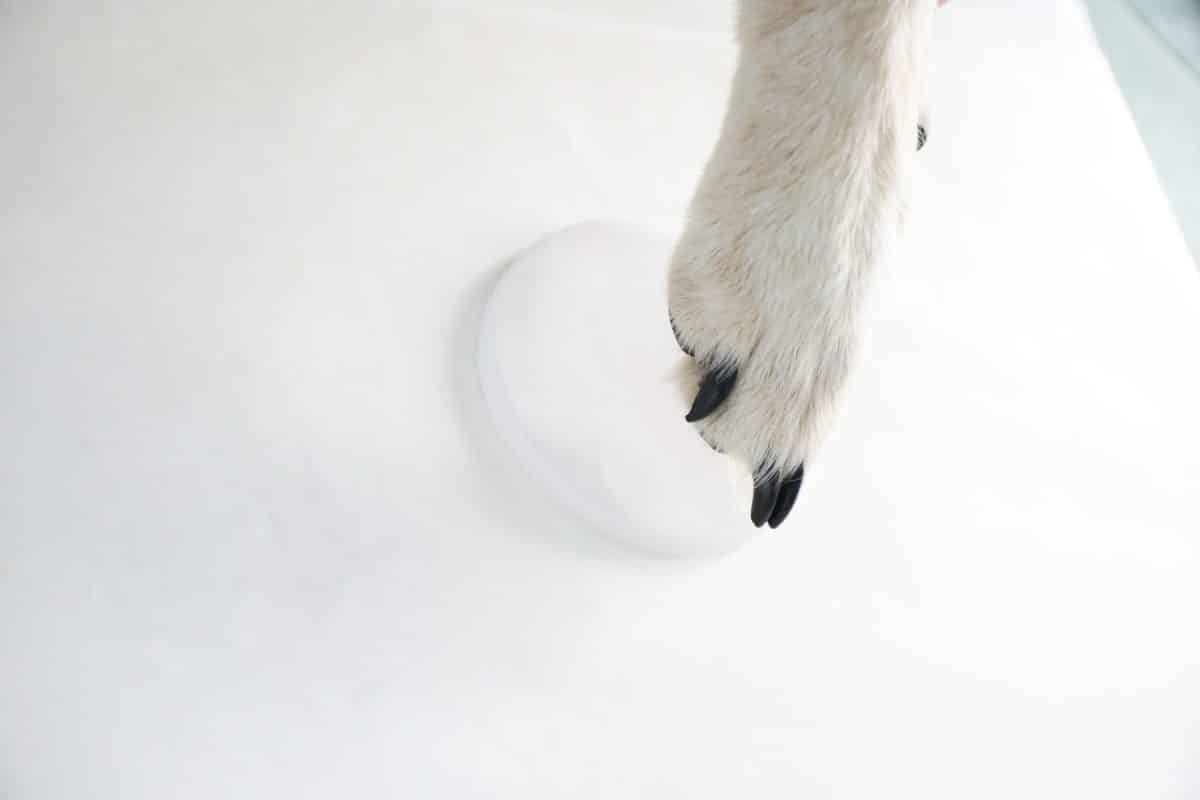
And when it’s ready, help them mash their paw print down.
Here are a few more tips:
• When they were sitting upright, it was easier to get their paw over the clay so that some of their natural weight was gently pressed down.
• With their claws, {yes, it is time for a trim} I found it easier to position them over the actual clay so that they did not leave indentions. Just the paw.
This is the second one we did – Fitz’s. Learning curves. It’s a little off-center {which we were fine with} but she still left a few claw marks.
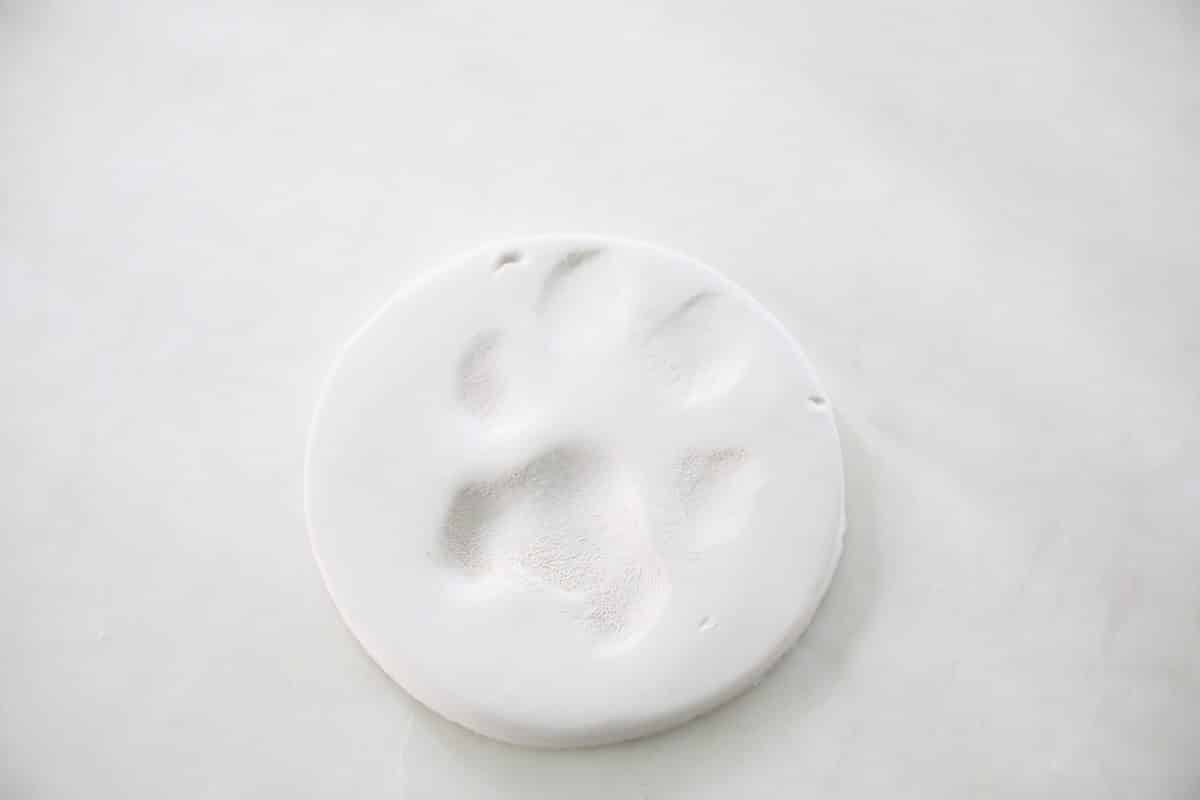
I used a little water to gently rub those marks out with my finger, and the ornament was good to go.
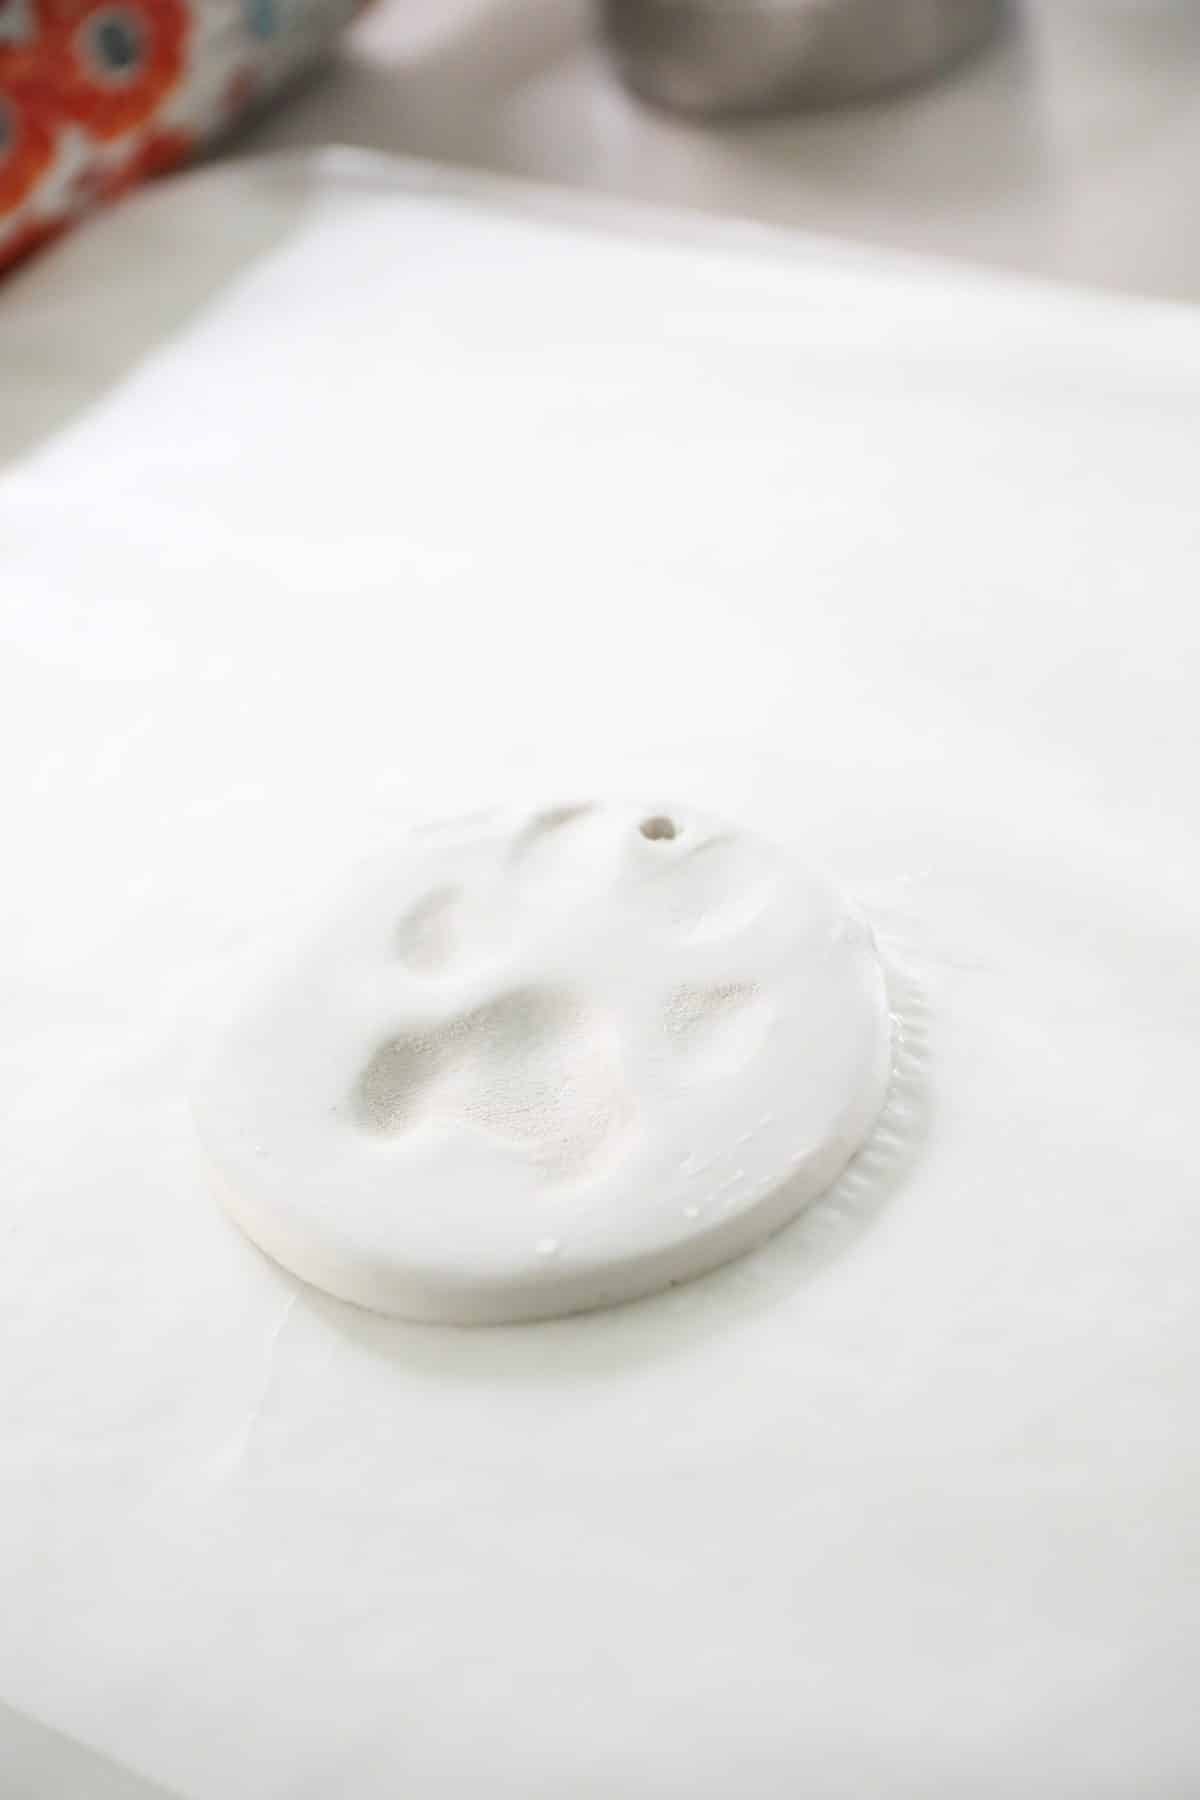
Make a hole in the top with a skinny tool such as a toothpick or straw.
In retrospect, these should be easy, with lots of treats. It takes a little troubleshooting to get their positioning just right.
I then carefully switched them to the oven on a baking sheet with foil via a spatula.
So our girls put them in the oven, on 275 and we waited for ten minutes.
Keep an eye on your ornaments, and check every five. This simple design doesn’t call for paint of any kind, so it was good to check on them for browning JIC.
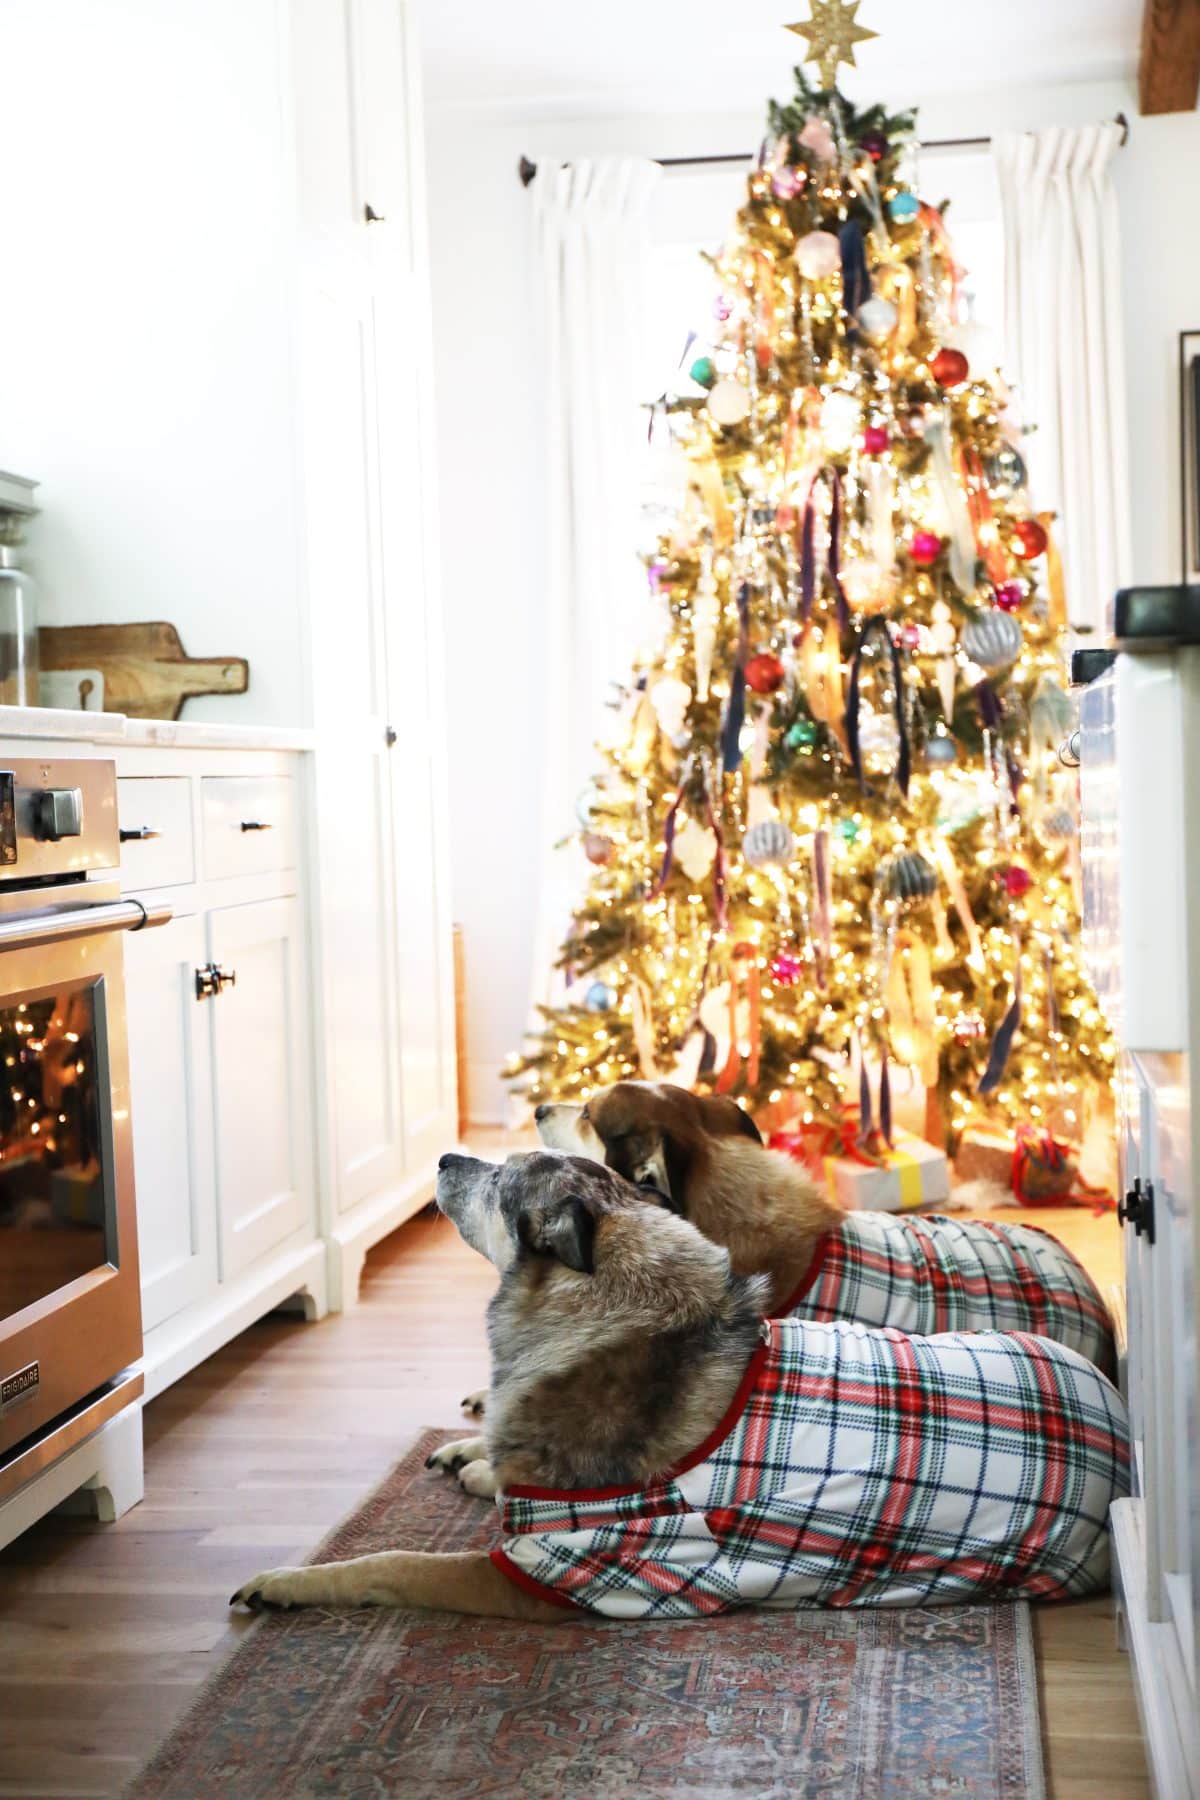
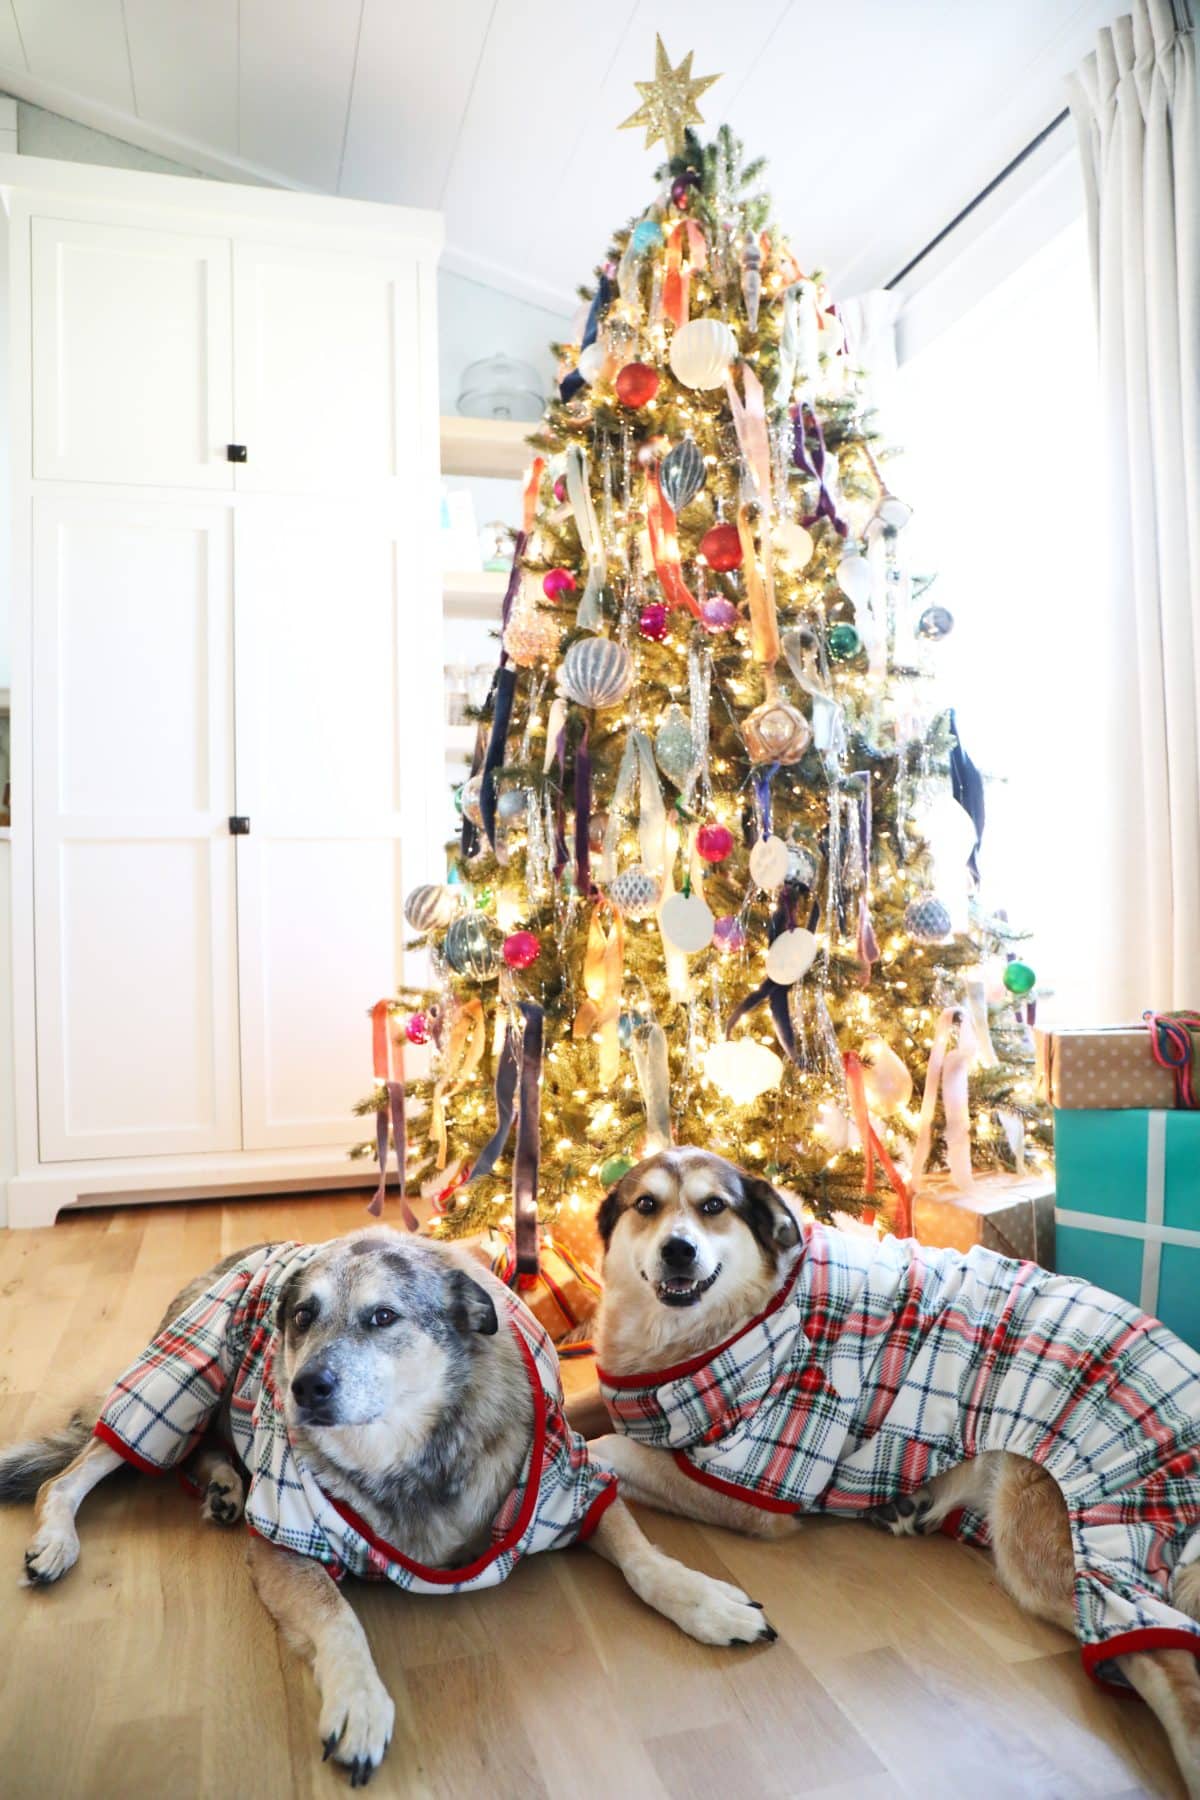
And they waited. PS. we didn’t tell them where to look but this pose was perfect, don’t you think?
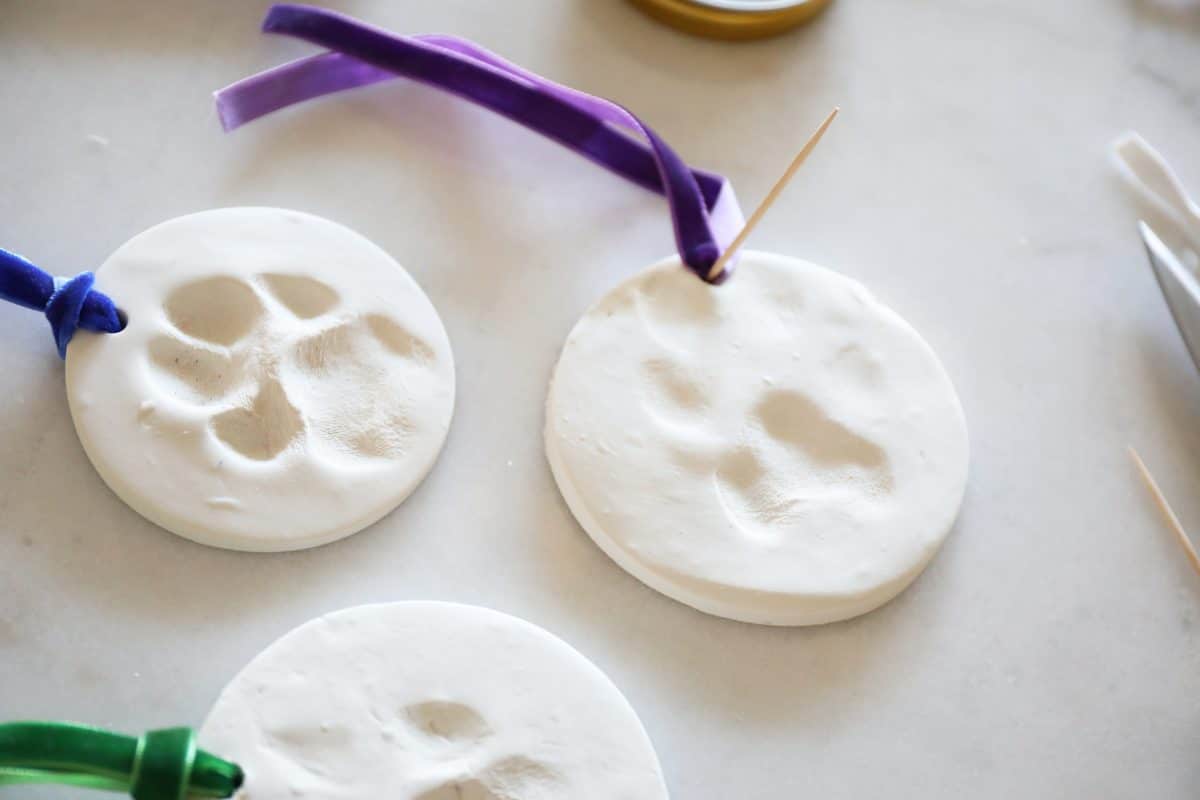
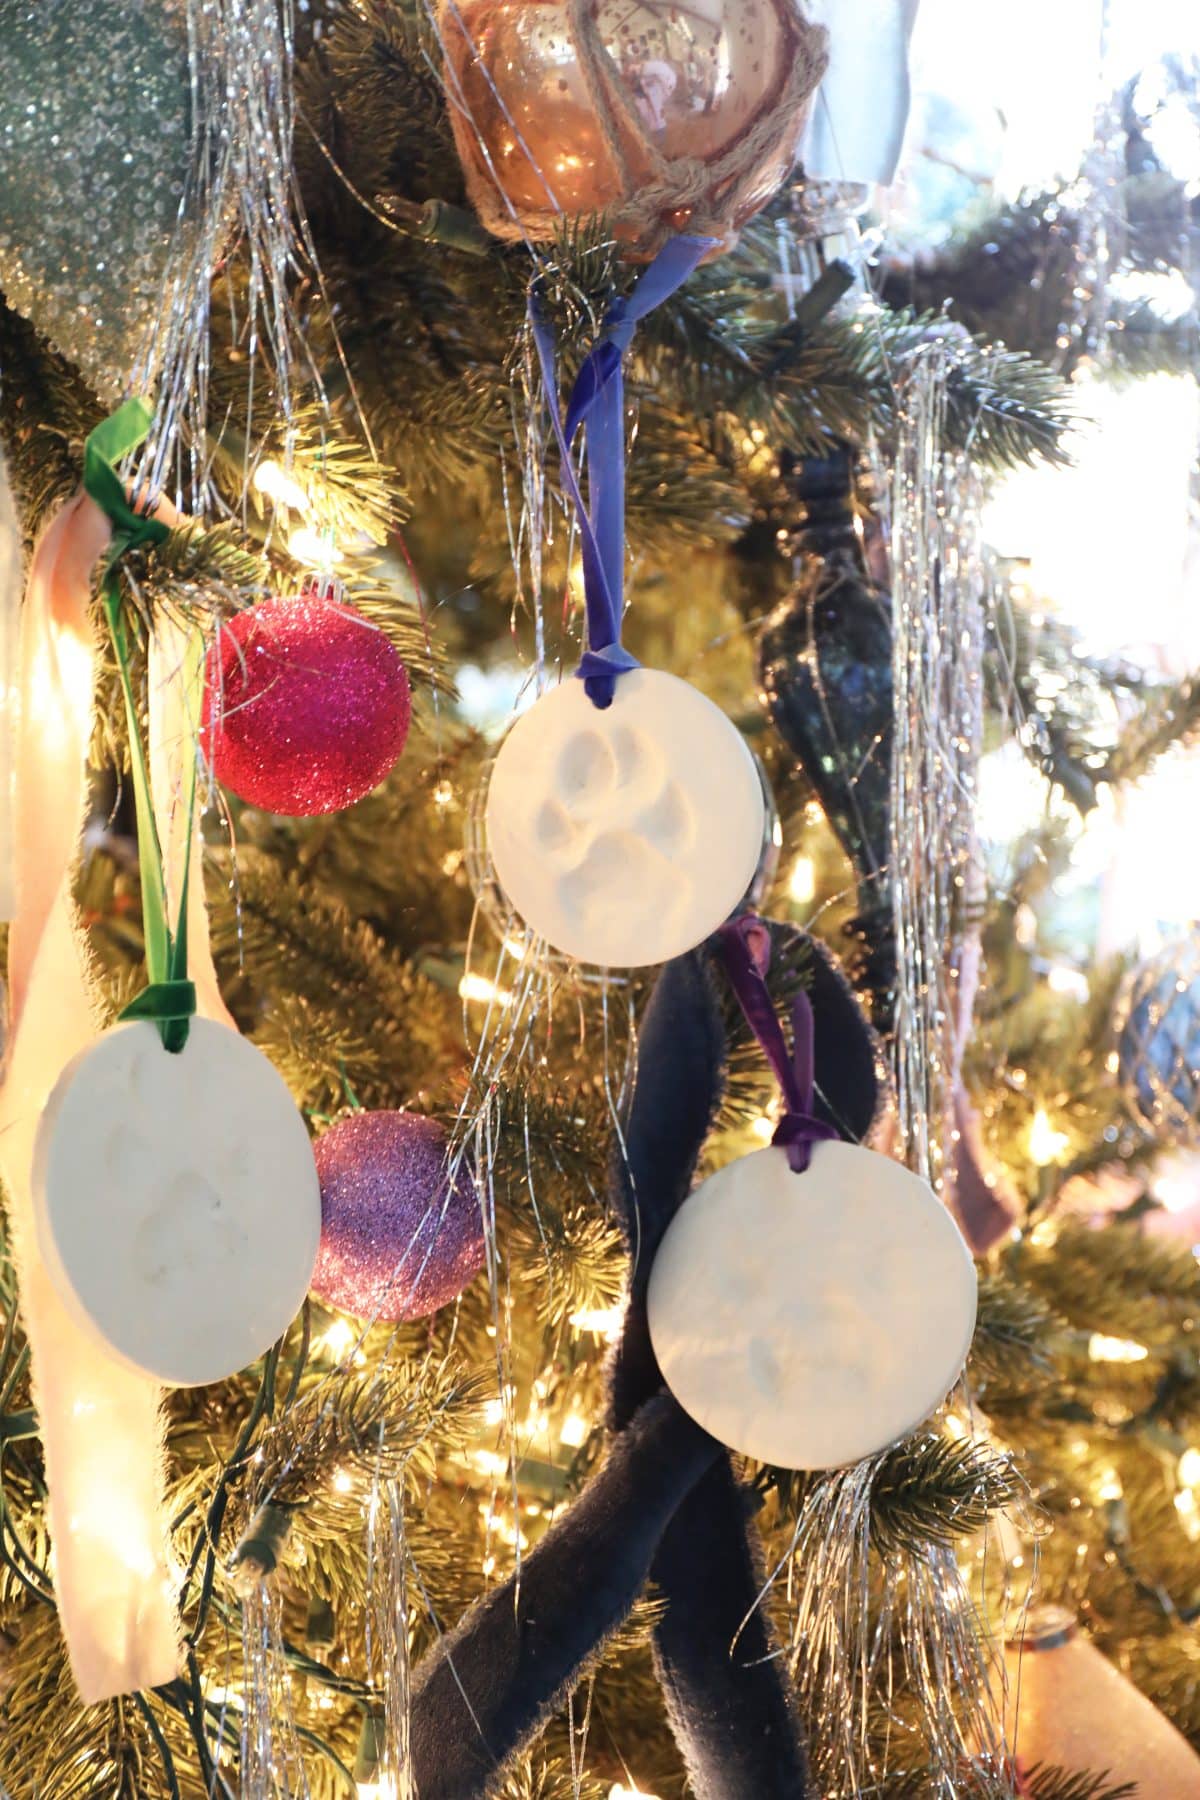
After they were cool, we updated them all with these sweet little velvet ribbon pieces in various colors. We looped them through, and cut them off. Just use a toothpick to push them through.
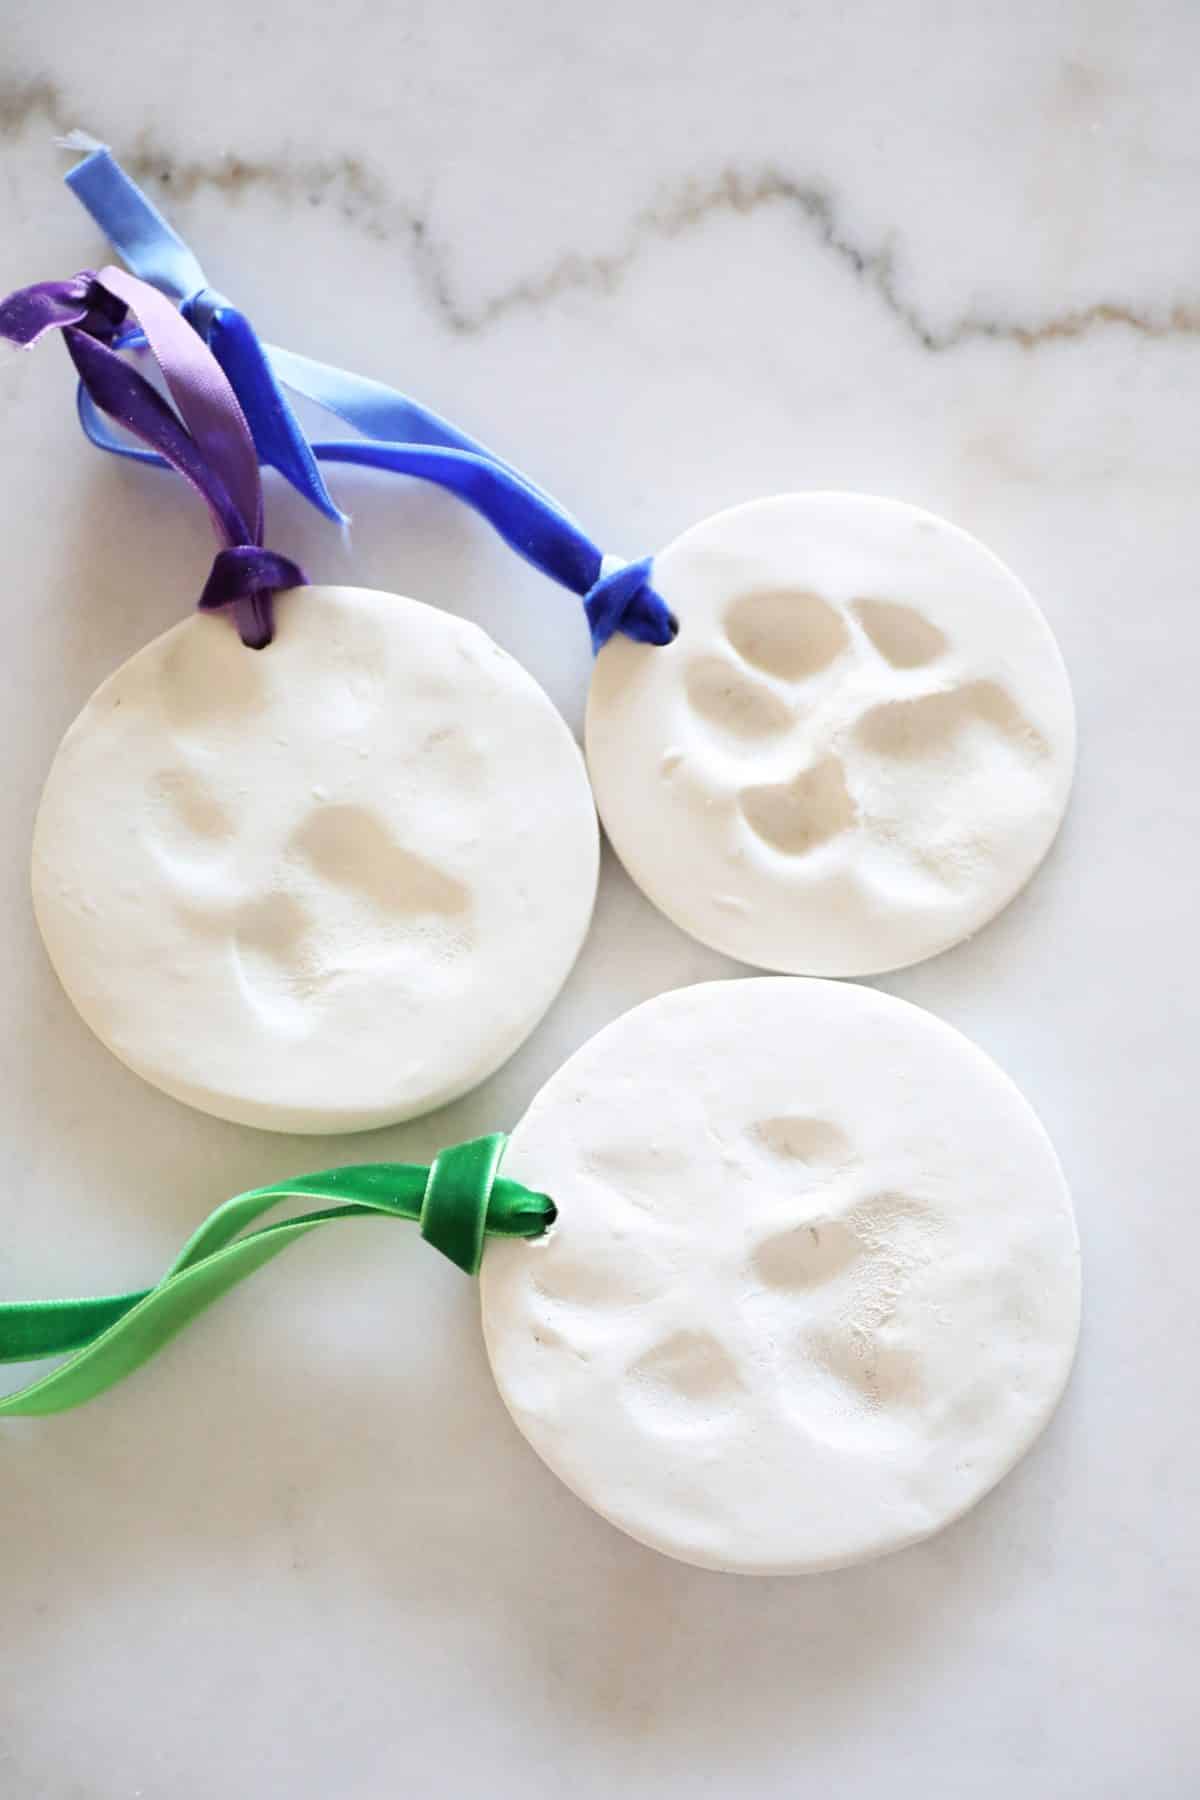
Tada! They’re ready for that tree.
And Rigby and Fitz were proud.
These hit a little differently since we now have sweet memories of our pups making them with us. Just another little simple addition for your tree, to remember all your fur babies with each year!
Pssst… I forgot to mention that we also labeled them on the back. Happy creating!
As always, let us know if you make them. We would love to hear.
Have an inspired day!
And be sure to check out all our friends participating in this fun little creative round-up. So many pretty ideas!
She Gave It A Go | The Ultimate Garland Hanging Hack: Try This Curtain Rod Trick
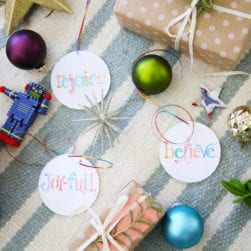
Paint Me Pink | DIY Santa Ornaments
My Sweet Savannah | DIY Paper Christmas Trees
The Handmade Home | DIY Paw Print Ornaments
Le Cultivateur | DIY Mercury Glass Ornaments
Today’s Creative Blog | DIY Anise Ornaments
The Happy Housie | Easy Christmas Ideas
Cuckoo For Design | DIY Mexican Ornaments
Craftberry Bush | DIY Vintage Bell Ornaments
Midwest Life And Style | Holiday Traditions: How To Make Easy Dried Orange Ornaments For Christmas
Eleanor Rose Home | How to Make Rustic DIY Farmhouse Christmas Ornaments
Lolly Jane | Faux Mercury Glass Ornaments
DIY Beautify | Vintage Inspired Embossed Tile Trees
Zevy Joy | DIY Dollar Store Christmas Ornament – Snowy Scene
Tatertots and Jello | DIY Faux Gingerbread Cookie Ornaments

This is right down my alley! Love this ornament idea so very much and your tree is beautiful. Chloe was so cute and had such a great life.
Well, you know these have my heart! xoxo
Oh my goodness, this is so cute-made me smile friends! Pinned!
Cheerfully,
Brendt
Your pups are adorable, and these ornaments are the cutest! Pinned xx
You should use a Sharpie to label them on the back, with the year and which pet it’s from.
Yes! I forgot to mention that since things are so scattered right now – added it to the post because we did! ;}
What an adorable post! Love the idea of paw print ornaments!
Awe…I have a doggo and I love this idea. So cute and a great way to preserve those memories. I’m going to have to try this with my own pup. Pinned!
Such a precious keepsake!
I’d love for you to join us over at the Creatively Crafty Linky Party every Wednesday through Sunday
https://creativelybeth.com/creative-crafts-linky-party/
Followed and Pinned!
Creatively, Beth
Oh my goodness, these are the cutest! I wish we had one of these from our puppy. Great idea!