
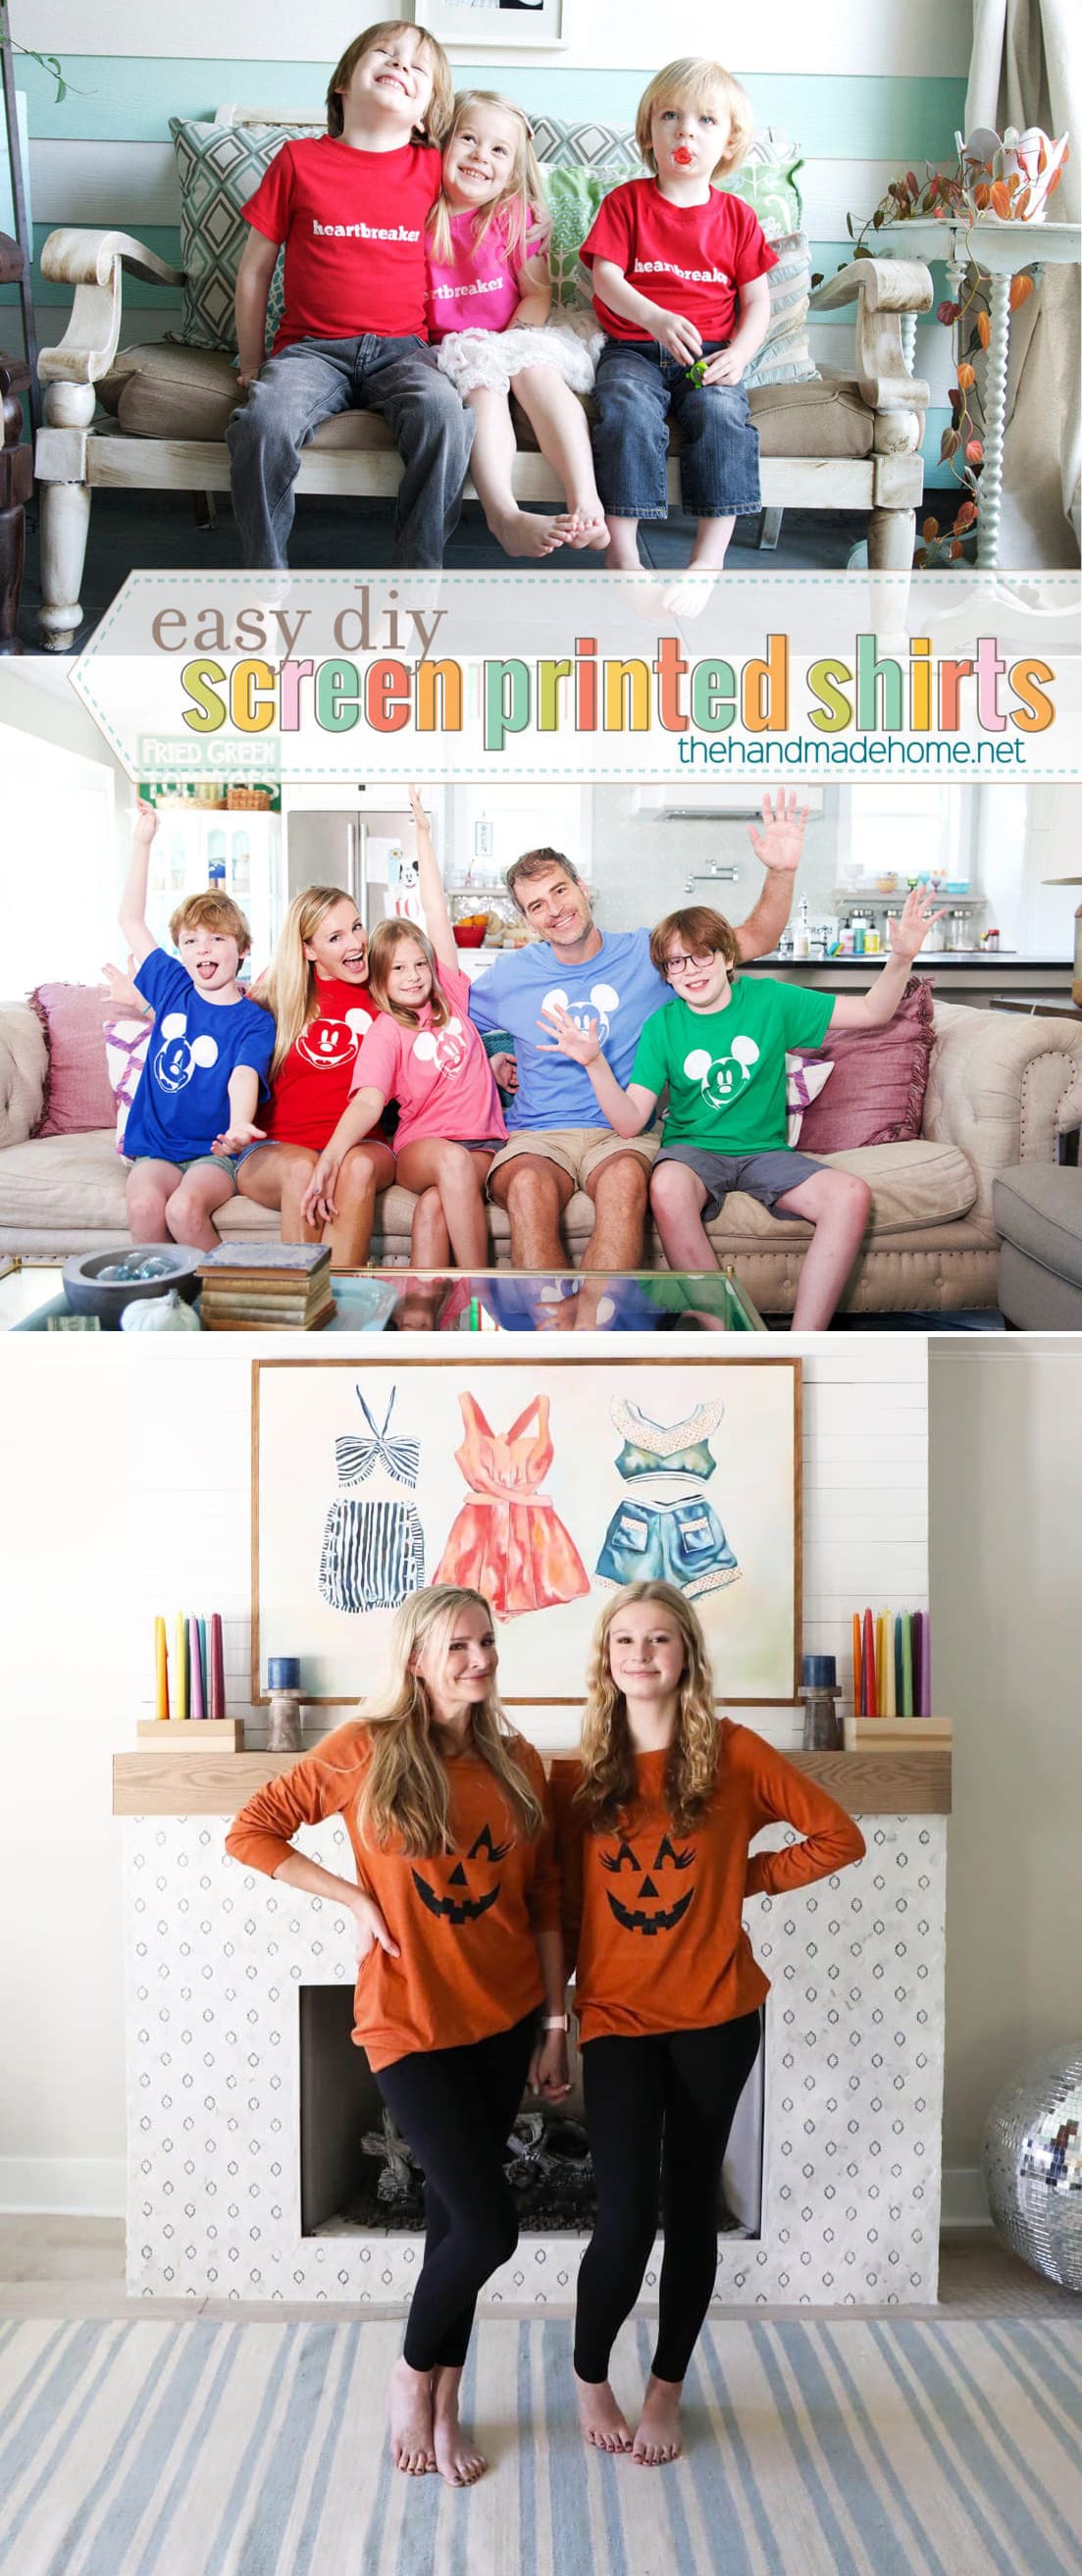
diy pumpkin shirts
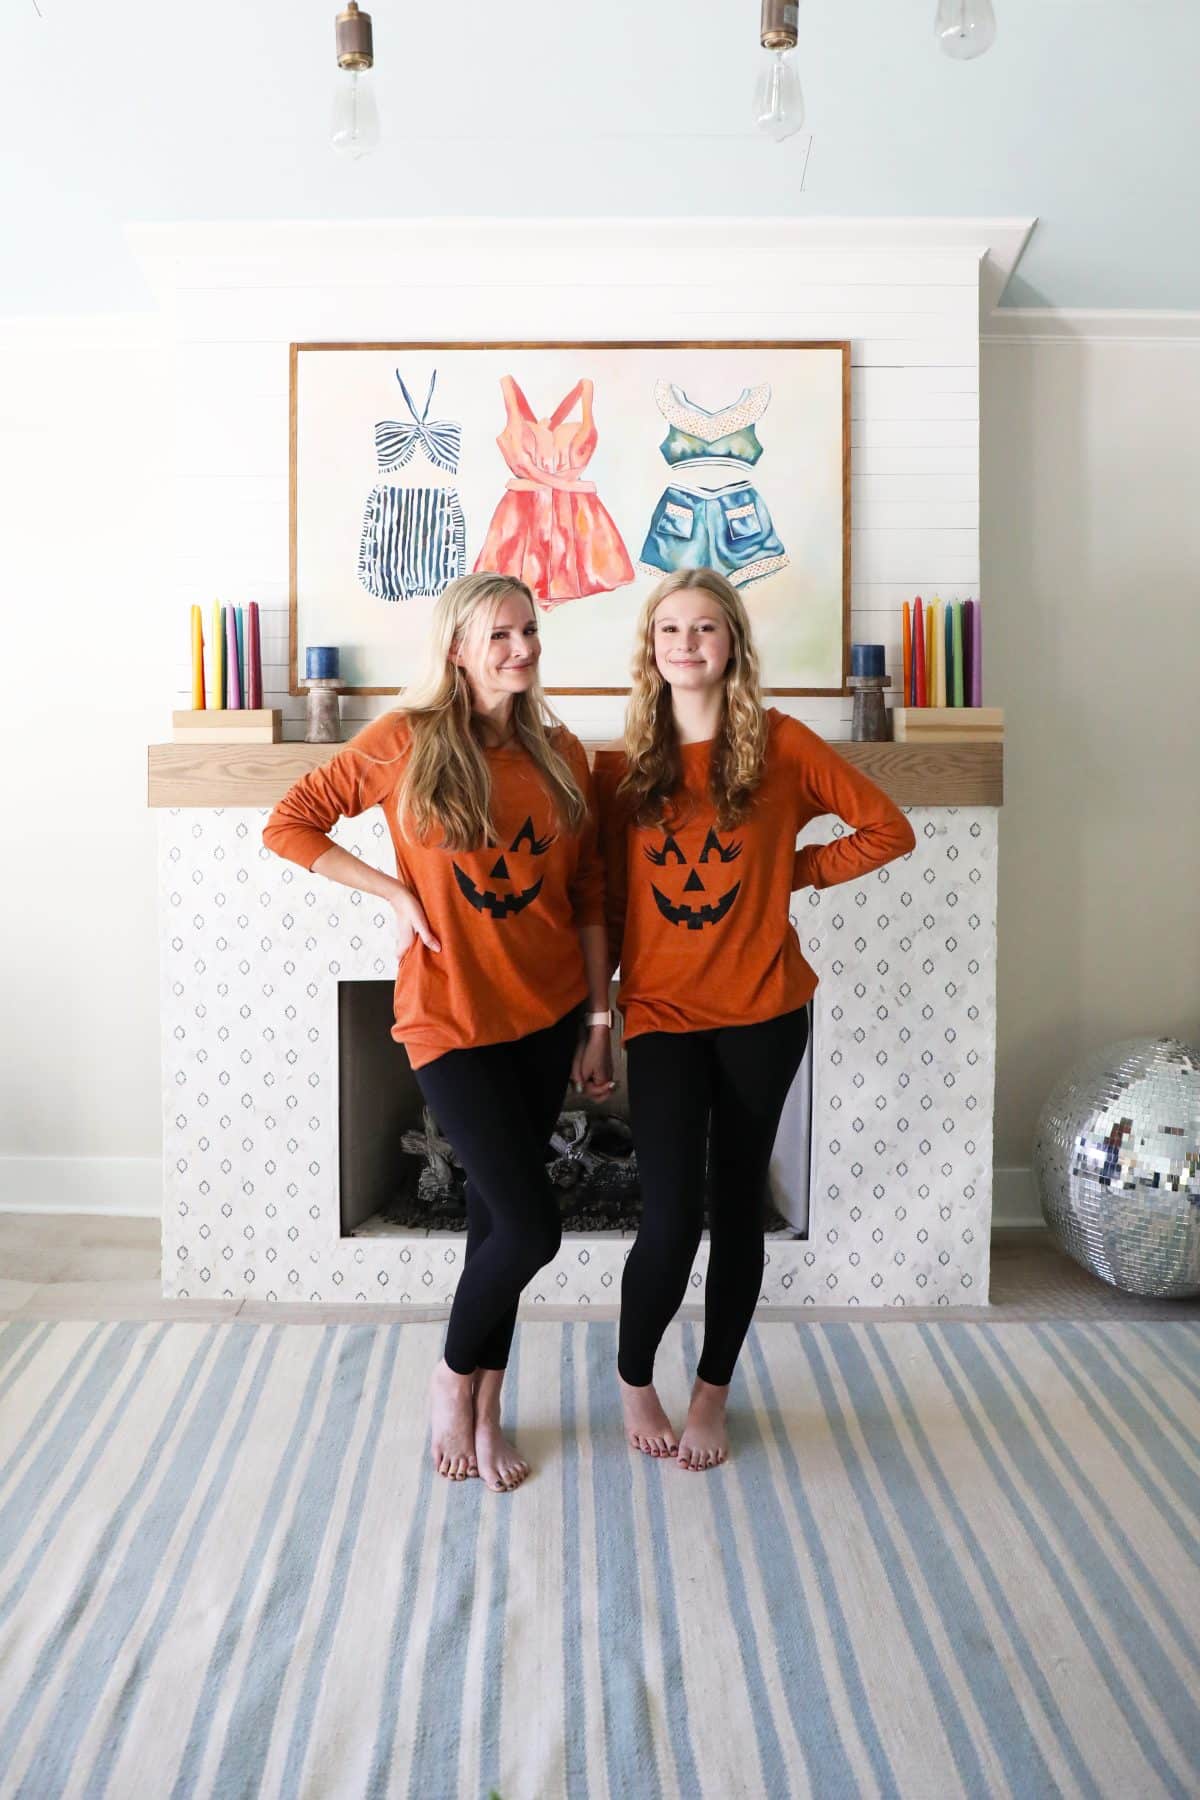
Halloween! It will be here before you know it, so now is the time to wear all things spooky-inspired. Last weekend, my daughter and I made these easy peasy screen printed shirts, and I thought it would be oh so fun to share them here! Because despite everything else we have going on, sometimes it’s still fun to share the little meaningful projects.
This is a project we’ve been sharing on and off for years, and a quick fix for any matching t-shirt need you may have. I guess you could say this is the Halloween version, but first a little walk down memory lane {you can see more of these here} because they’ve been oh so fun over the years!
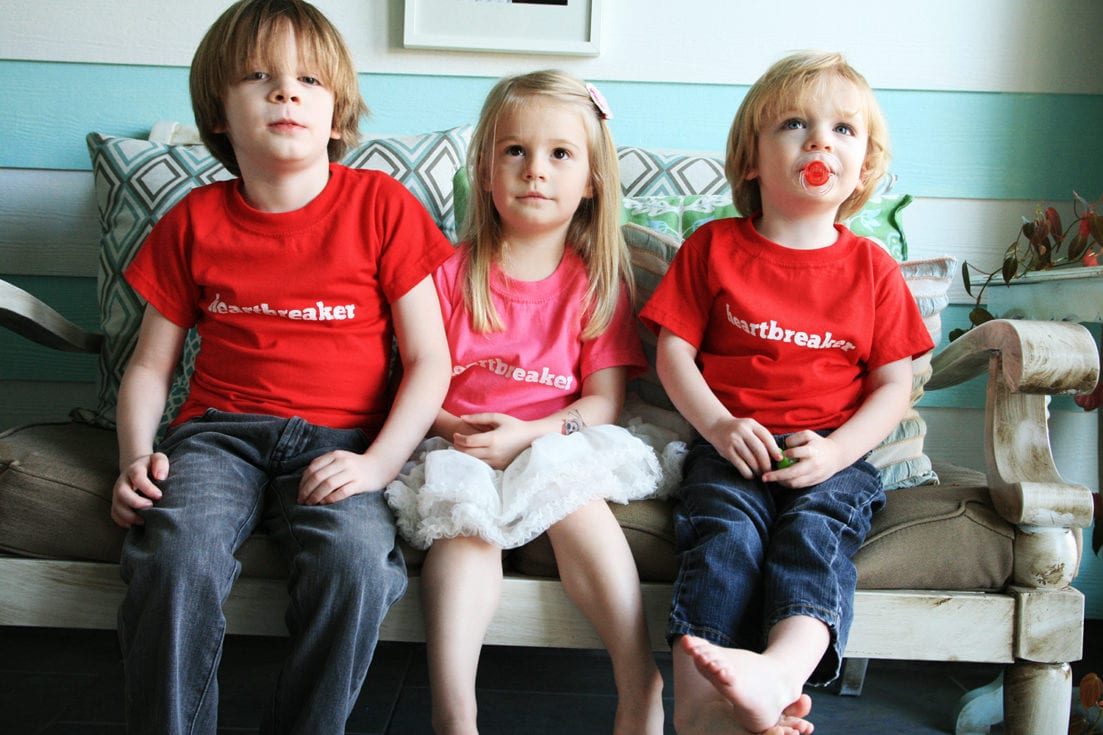
These were our Valentine’s shirts one year
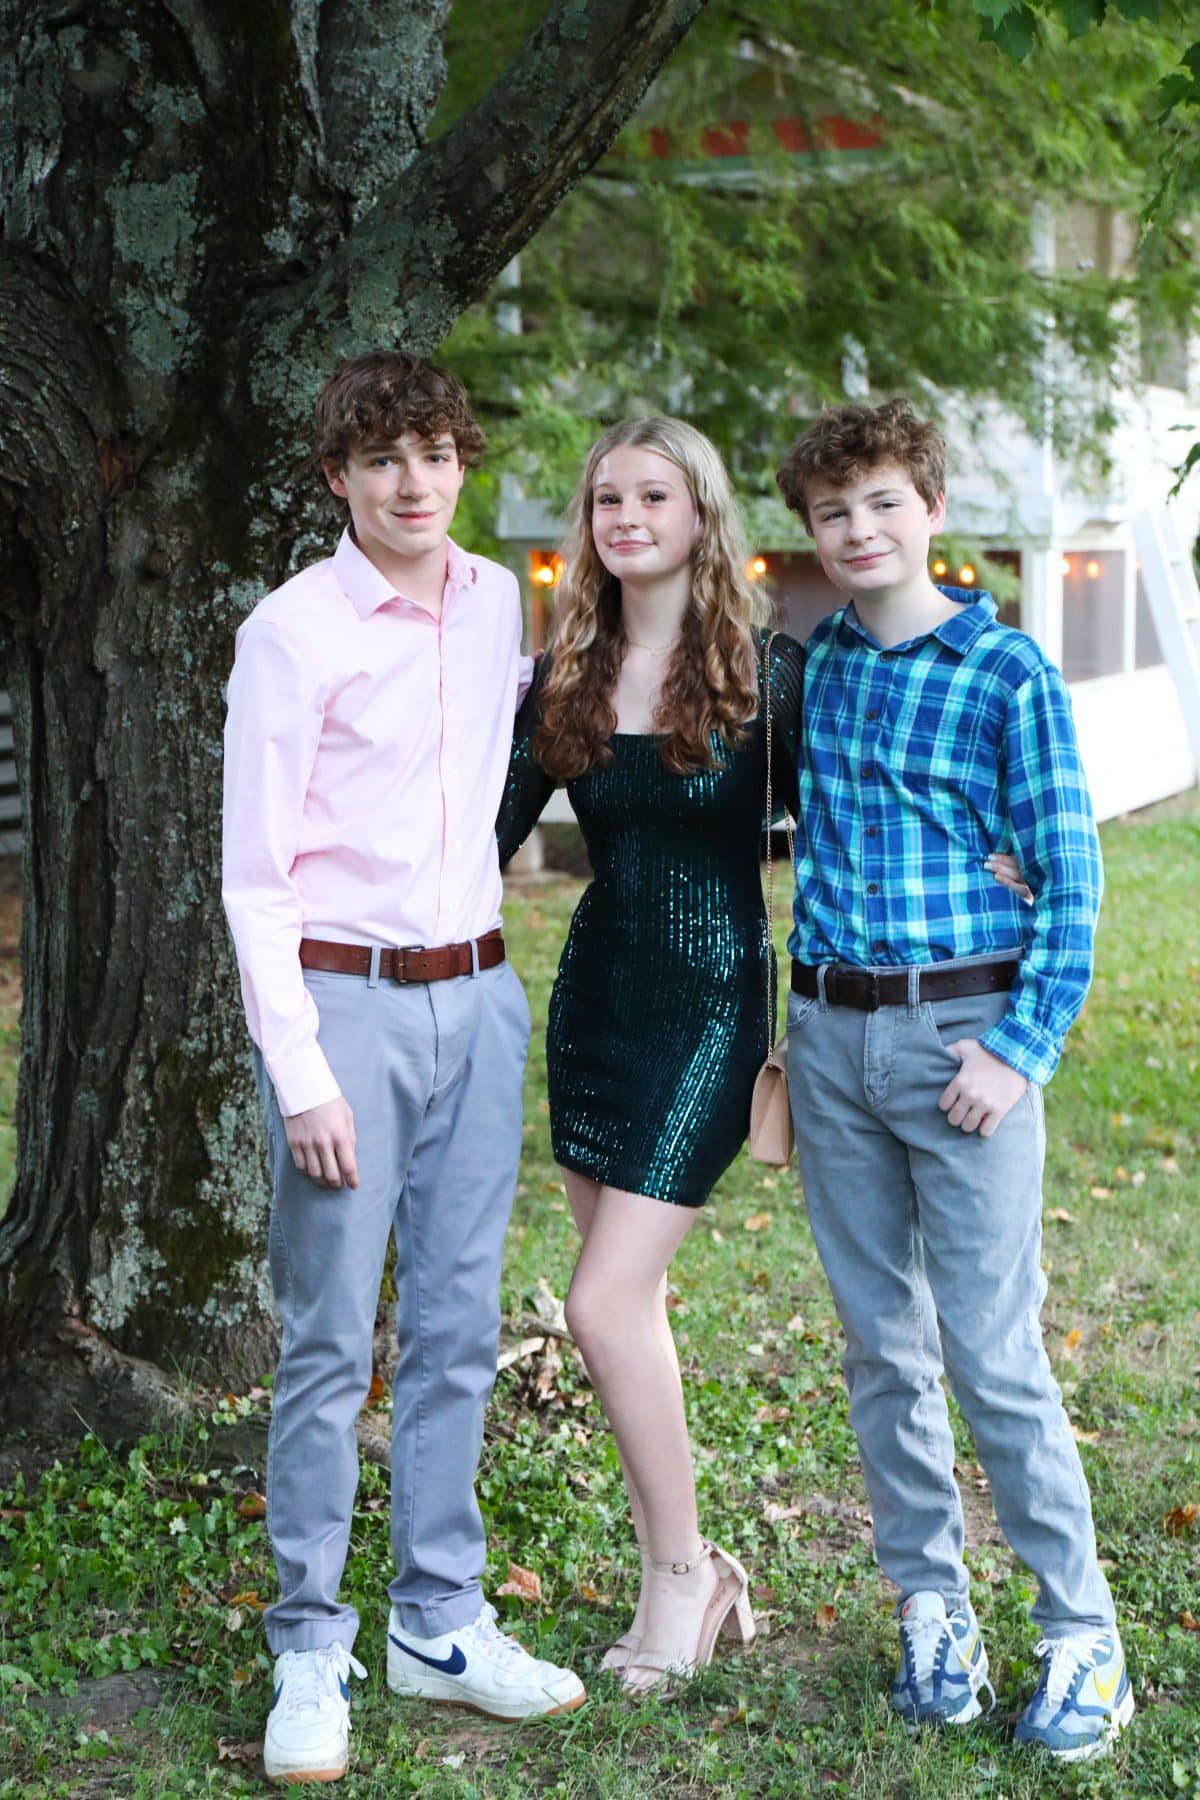
In case you’re wondering – because you probably weren’t but I’m having a nostalgic mom moment and don’t share much here anymore about them because privacy – here they are last weekend all ready for homecoming. Why did my babies have to grow so fast?
We’ve also been known to throw together some custom made shirts for all things Disney and other events.

It’s just a fun go-to we’ve loved over the years!

So this is the fun Halloween edition. Here’s what you’ll need:
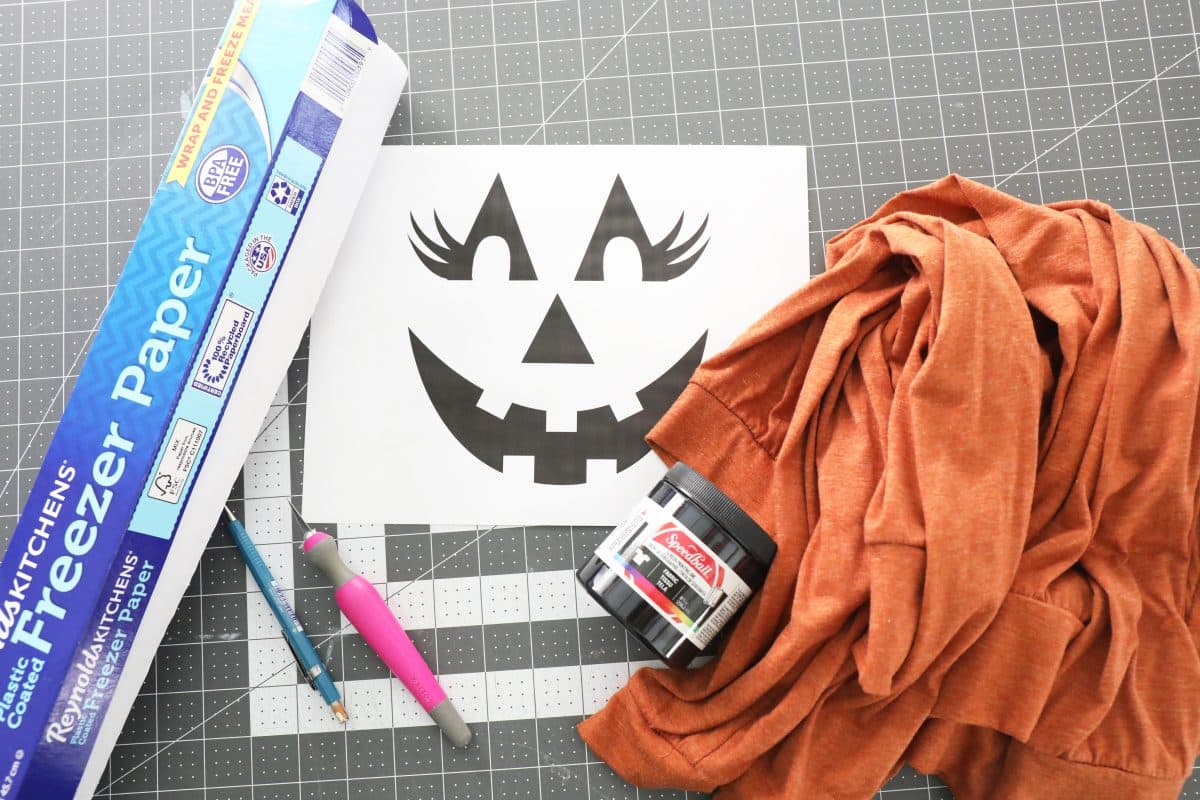
DIY pumpkin tees – What you’ll need:
{affiliate links below}
• t-shirt{s} – These are some great colors for a good price. {shirts}
• a print of your choice, this will be the image that you put on your tee.
• safe cutting surface + Xacto blade
• freezer paper + pencil
• speedball screen printing ink + various brushes of choice
• iron + ironing board
• pattern
DIY screen printed tees: getting started
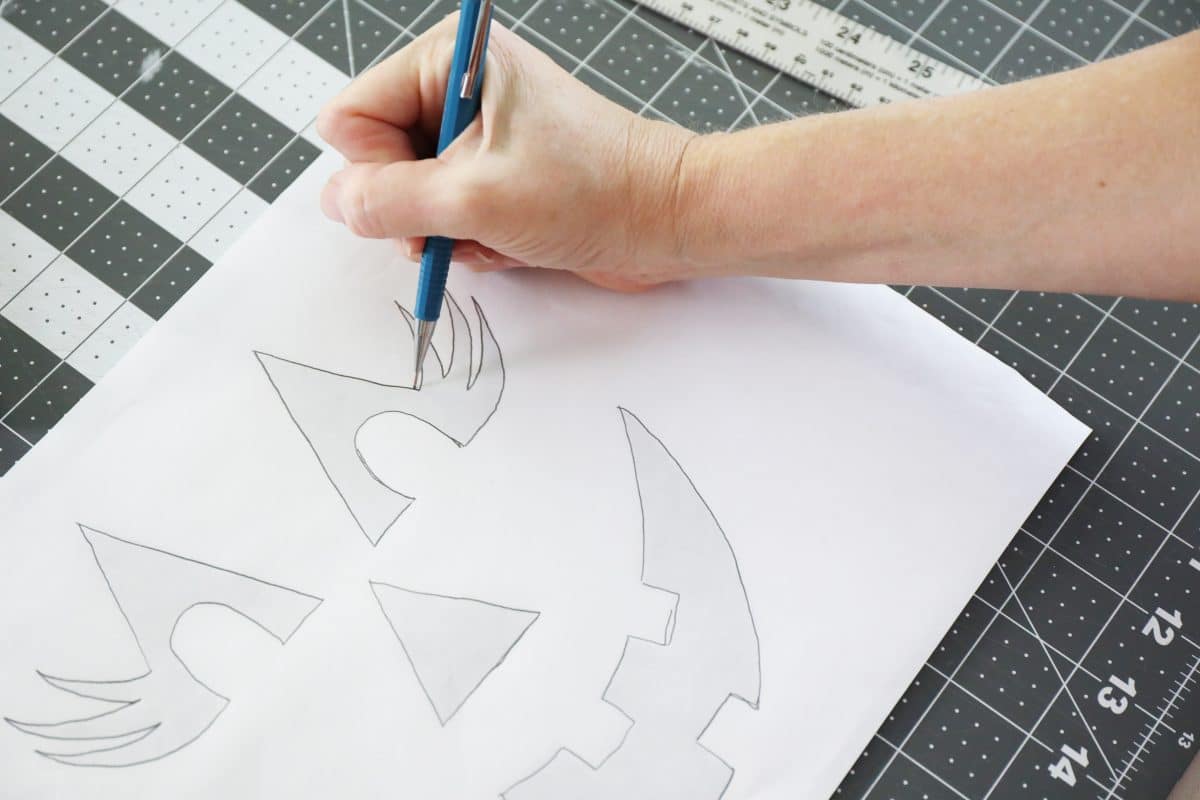
Gather your image, + freezer paper. Place your freezer paper on top, and tape it down if it helps keep it steady.
Get ready to trace.
DIY pumpkin tees: cutting
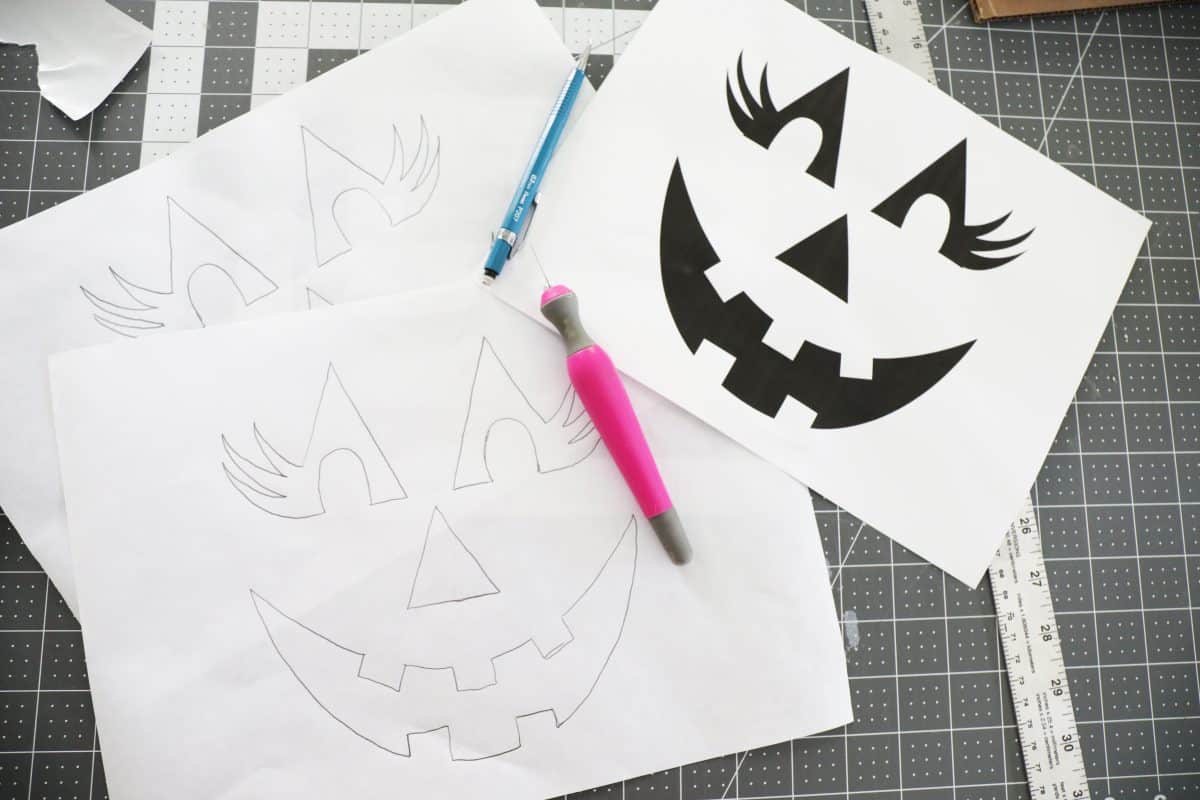
Once you’ve finished tracing your paper, remove the image underneath, and place it on your safe cutting surface.
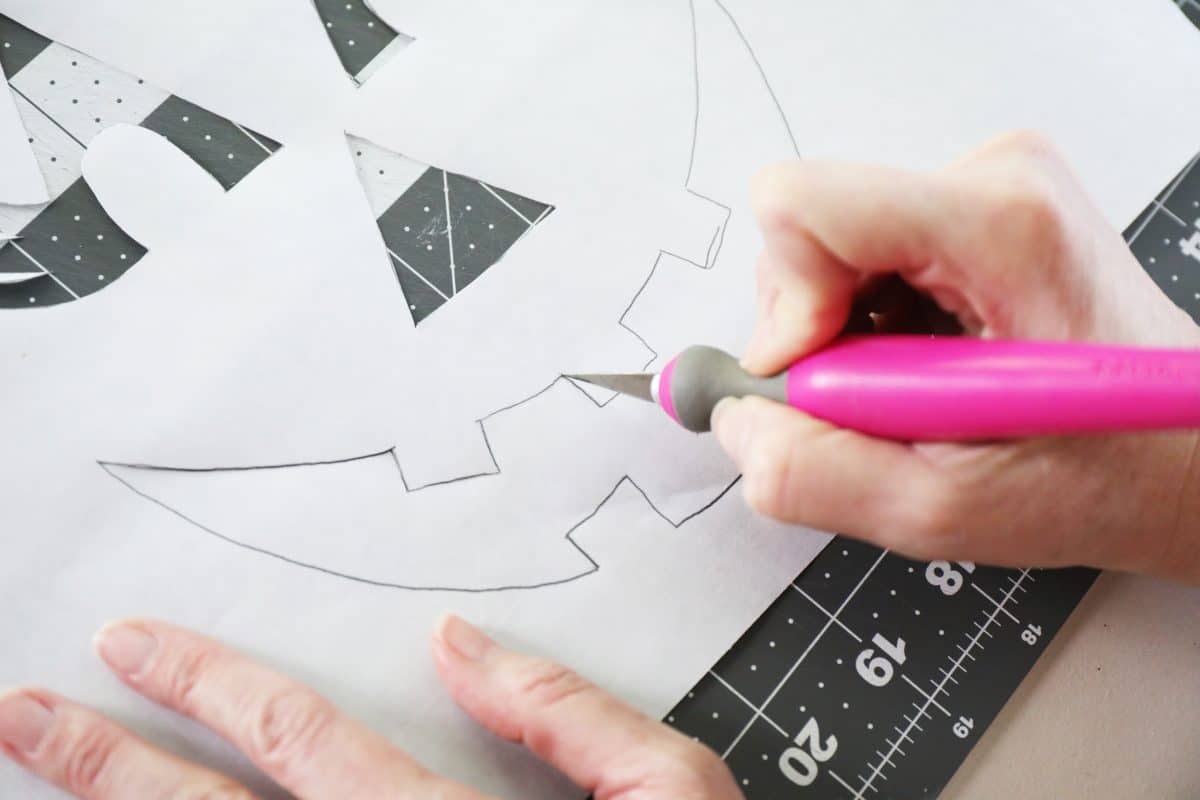
Cut the lines carefully with your X-Acto blade.
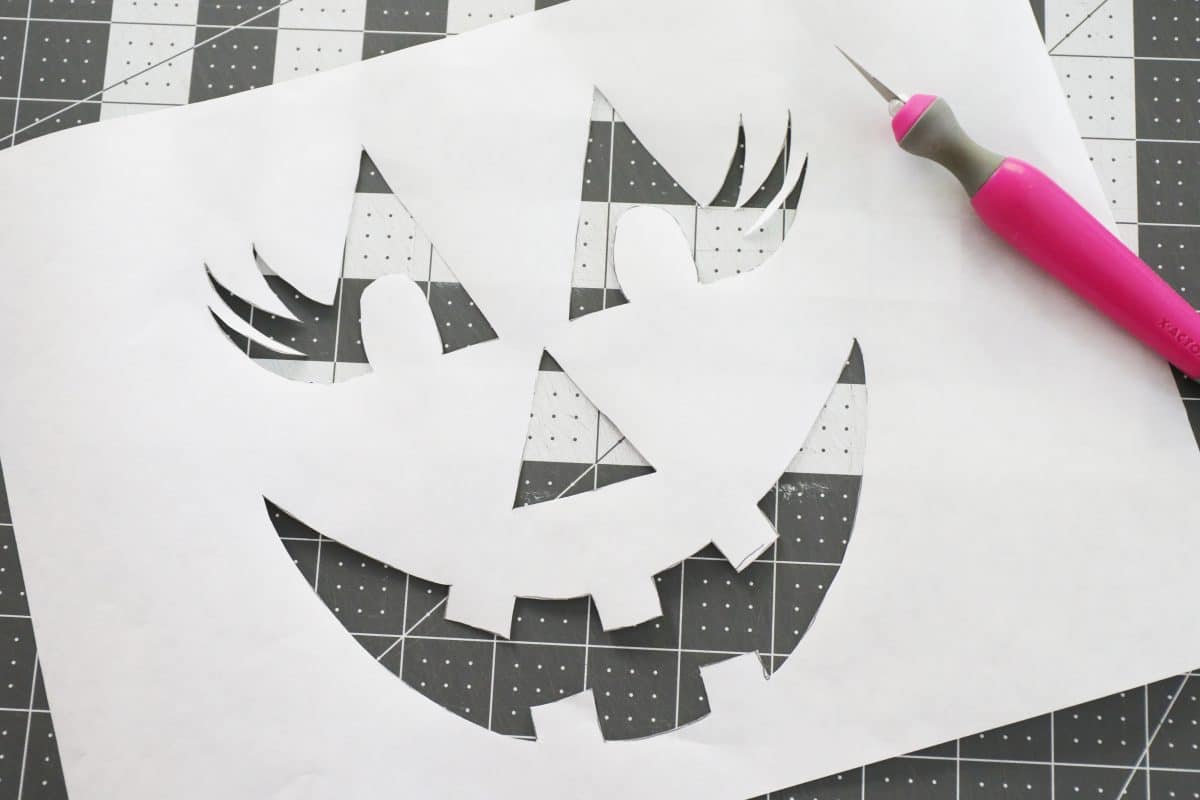
Once you’ve finished cutting, place all your pieces in one place to make sure you have everything you need. This particular pattern is so simple, it won’t be necessary to set anything aside.
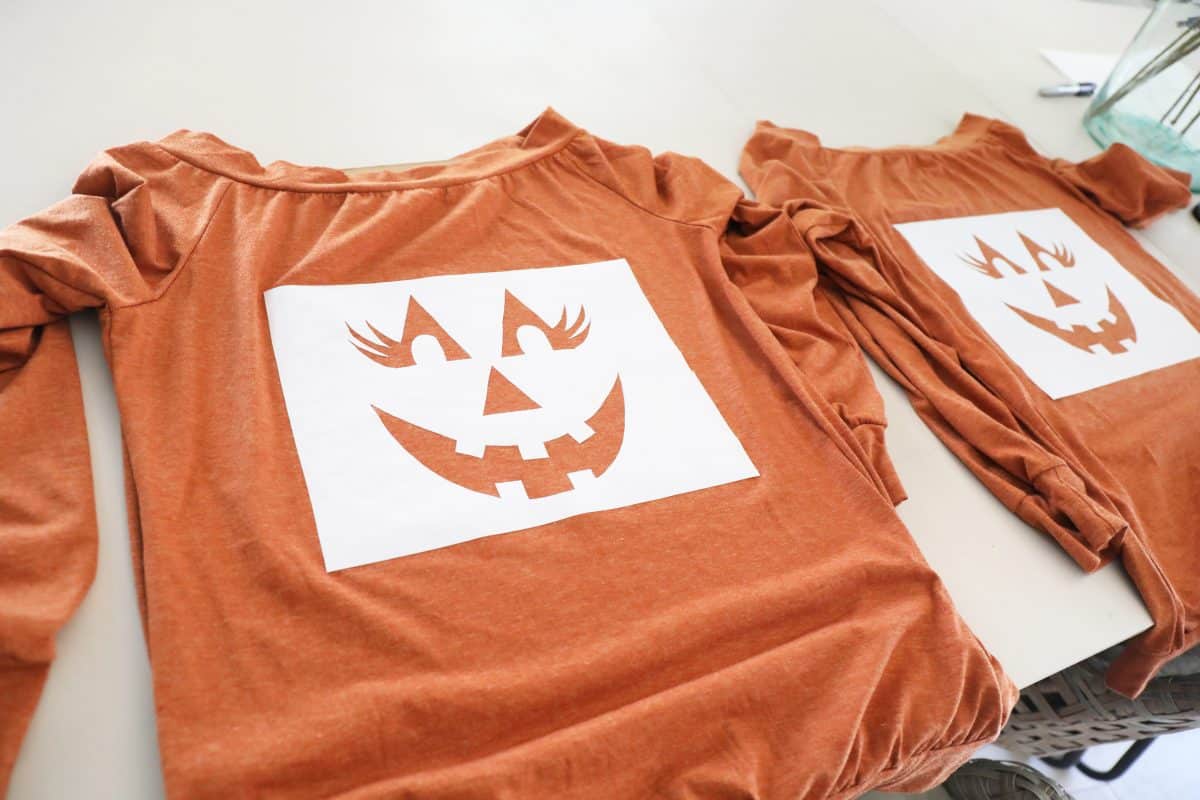
DIY pumpkin tees: prepping the shirt
Take all the pieces away except the ones you want to use.
Get your t-shirt ready on the ironing board.
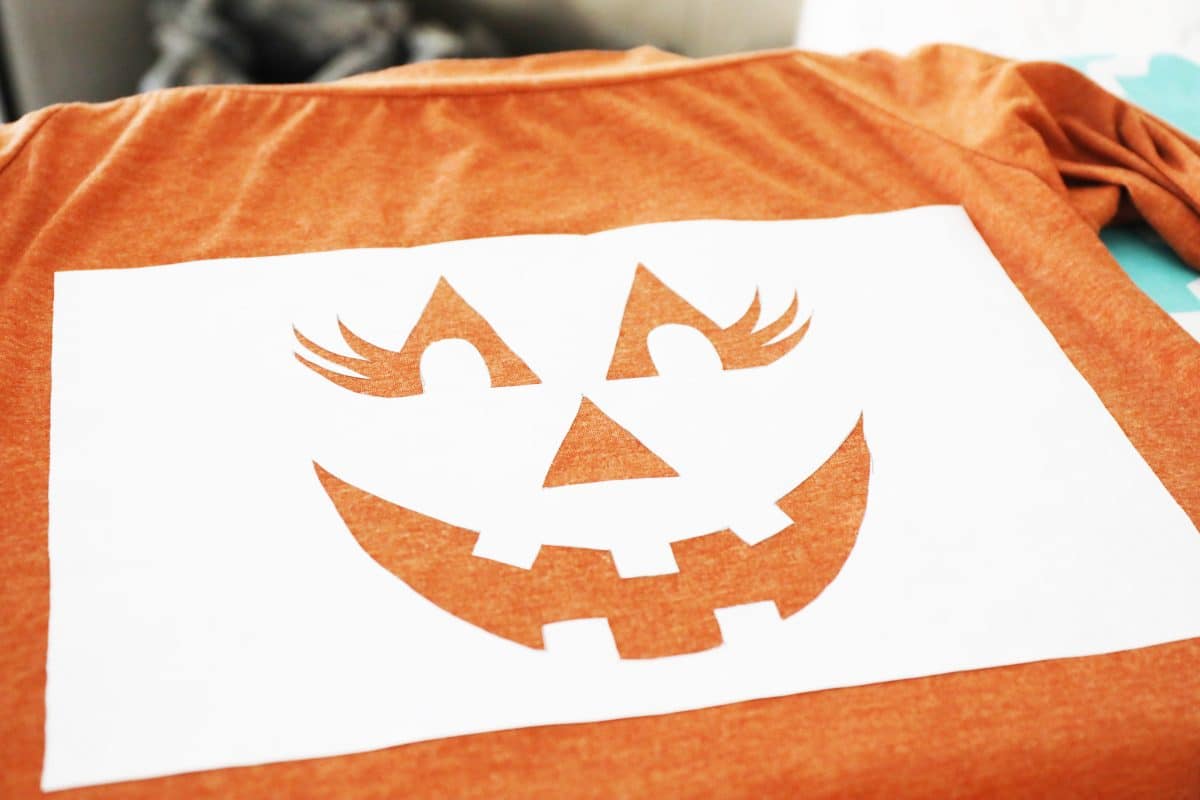
Carefully place the pieces as you want them on your shirt and iron them down.
*Be careful not to over-iron, because the paper may un-stick if you hold it for too long. Just a little is all you need.
DIY screen printed tees: printing
When you’re finished ironing, place a magazine or a piece of cardboard in the center of the shirt, to protect from bleeding. And you’re ready to paint!
Full transparency: I’d heard about fabric spray paint and thought I would give it a go this time. I even protected the shirts and everything carefully because I thought it would make the entire thing faster. I was WRONG and had both bleeding AND overspray. I was so determined to make these fun tees, I ended up ordering more. #facepalm #champagneprobs – When it comes to painting… stick with the paint. Trust me on this one. Nothing is grosser than just blatantly ruining a brand new shirt. At least I can donate them?
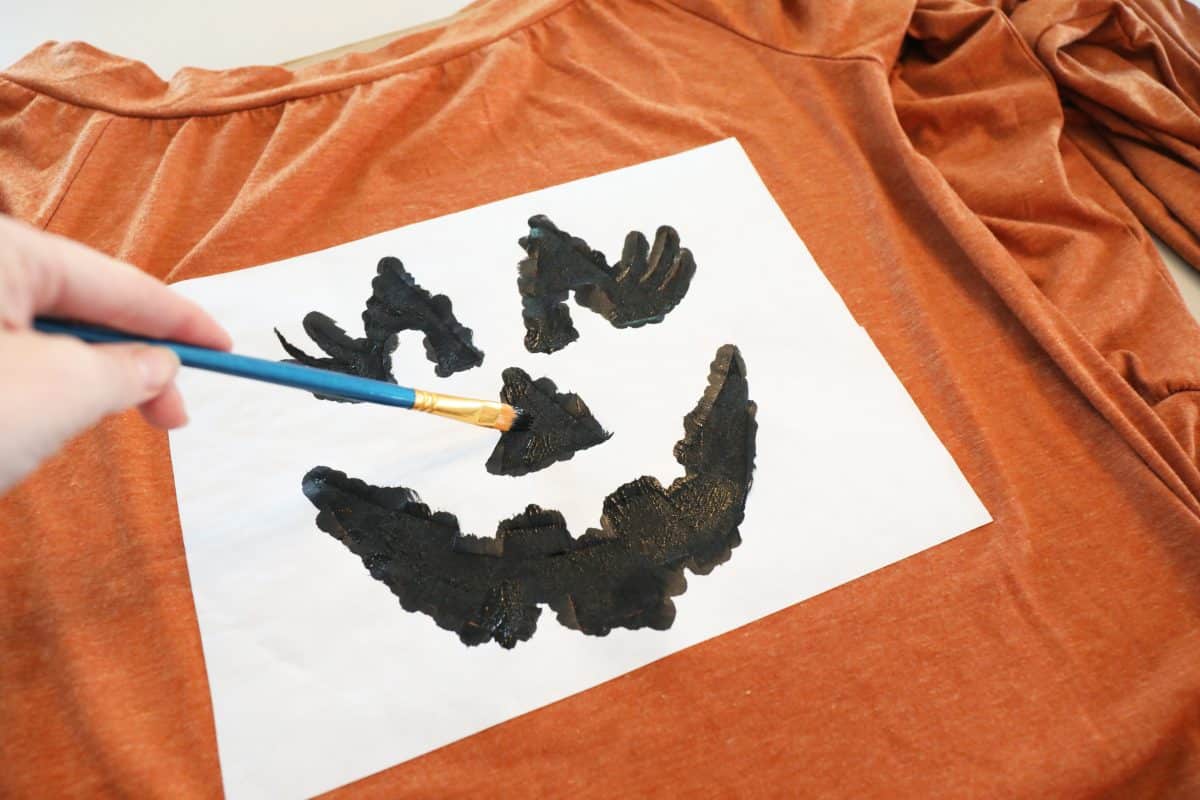
Depending on the kind of design you have, choose your brush. A smaller brush for smaller areas is always a good idea.
Carefully brush the ink away from the sides and apply the design to the shirt. When you’re finished {it’s best to wait until the design is COMPLETELY dry} remove your freezer paper to reveal the design!
DIY screen printed tees: setting the design
When it’s dry, remove the center protectant first from the inside of the shirt. Then you can heat seal the surface by ironing with a t-shirt over the design.
You’re ready to roll!
Our kids are the age now where Halloween night means parties for them and scary movies for us with lots of candy. This will be the perfect shirt to chill in all October!
Pssst…. You can see a little video version we made a few years ago, here! {Apparently we didn’t believe in editing so you’ve been warned.}
As always, let us know if you try them. Have an inspired day!
So beautiful! Diggin the vibes!
Love from Portugal