
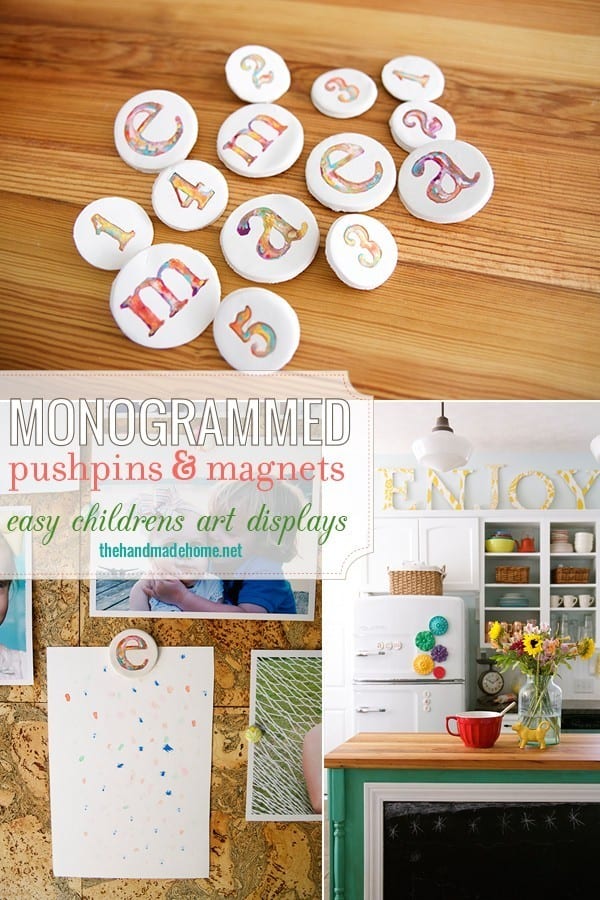
easy childrens art displays
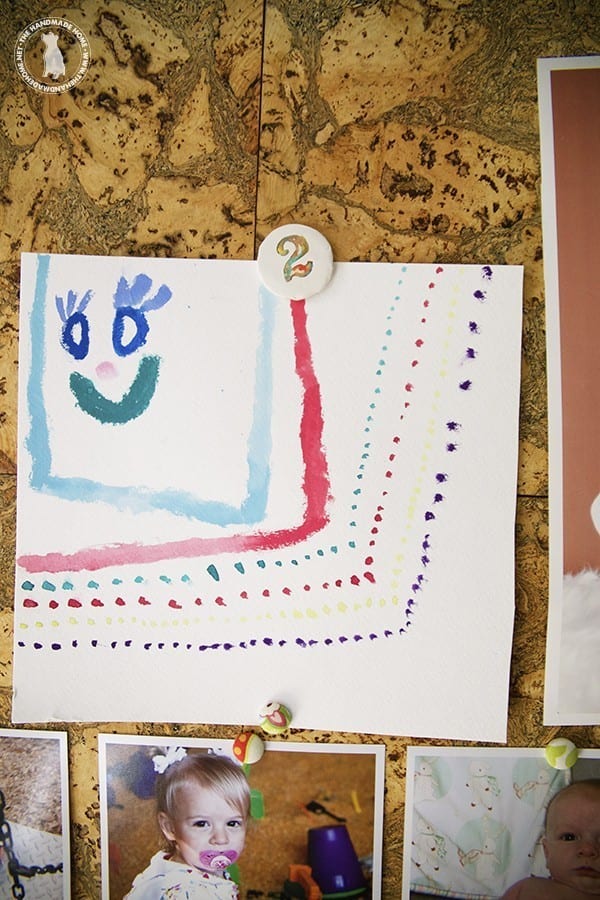
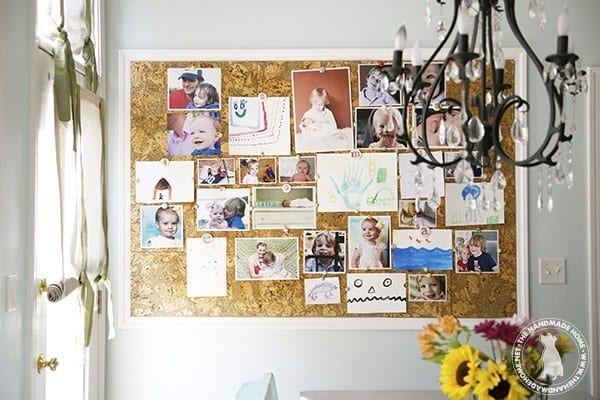
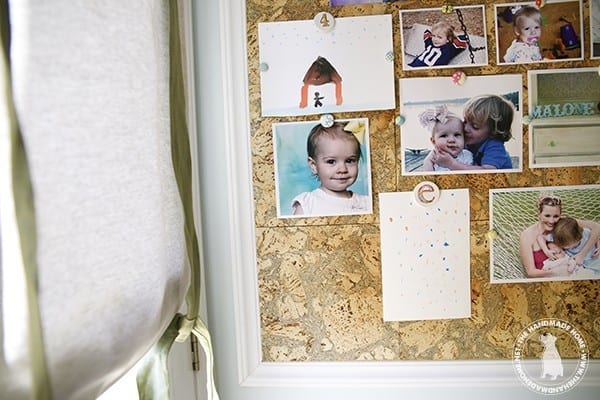
A few months ago, we freshened up our cork board in the kitchen… We were way overdue. And while we don’t have the heart to remove some of their older photos, we did add some of their art, as it’s the perfect spot for some easy children’s art displays.
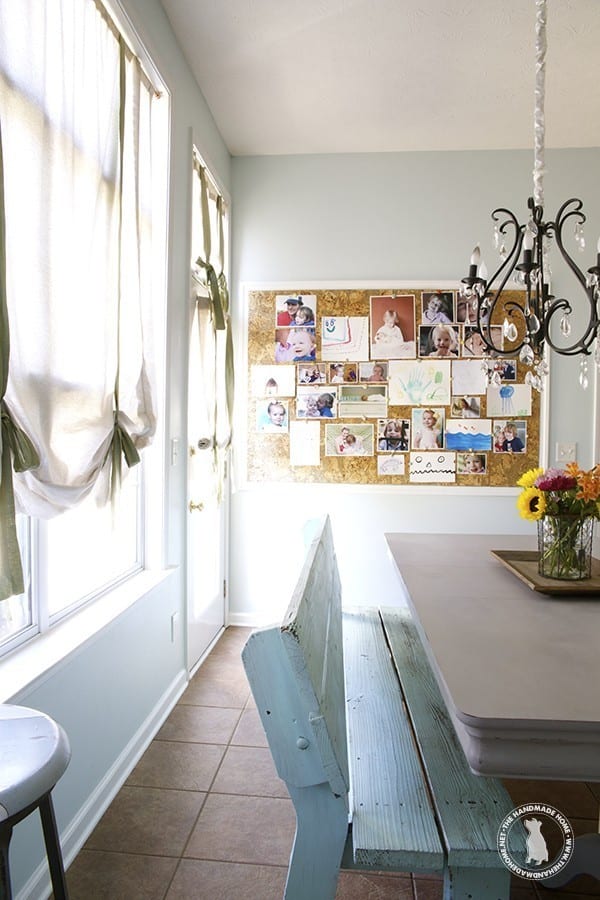
And one of our very favorite elements for decorating.
We’ve had a few rainy days here lately, and decided that it was time to get those brains and finger moving with some great craft time. Because sometimes, ya just can’t beat some good old fashioned craft time. So we broke out the clay.
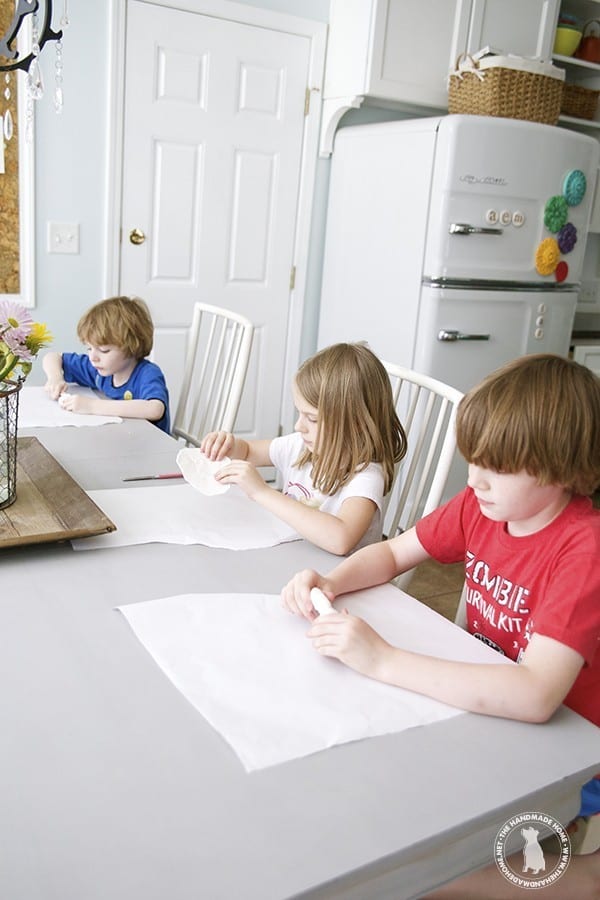
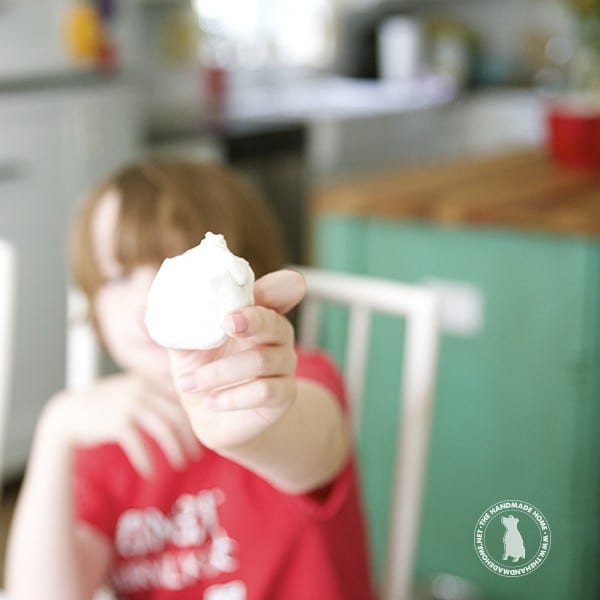
While Aiden was showing me his bomb, Emerson decided to represent a peace-lovin doctor.
Yeah. We just roll with it. ;}

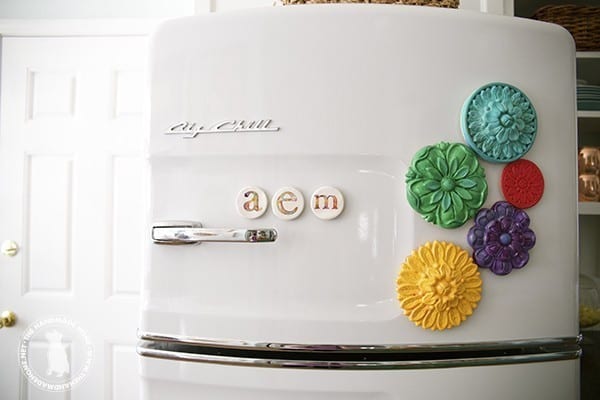
And while they were playing, I decided to make some of these: Monogrammed pushpins and magnets.
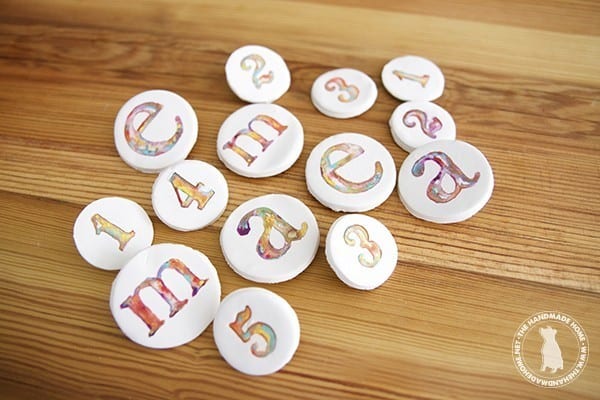
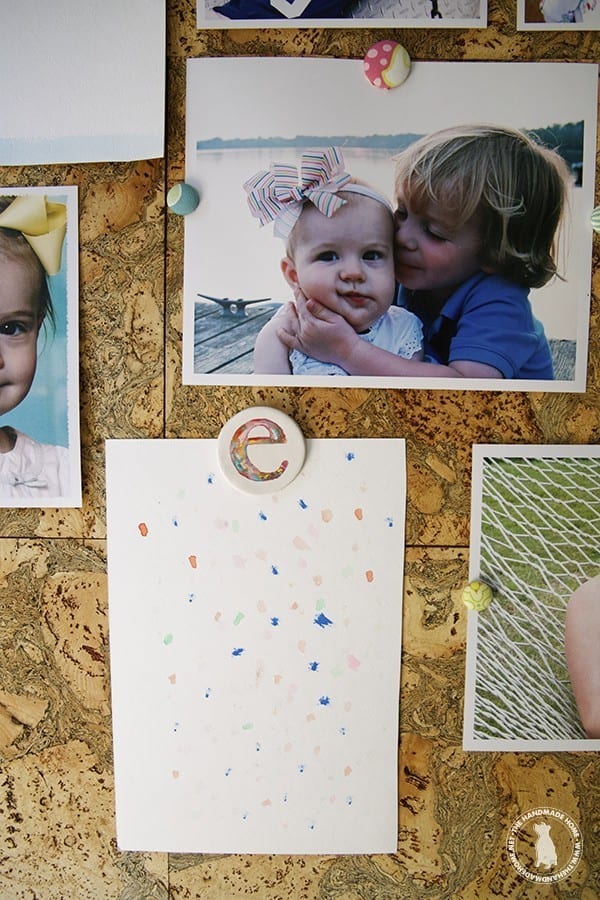
They’re perfect to show off their latest creations on our cork board,
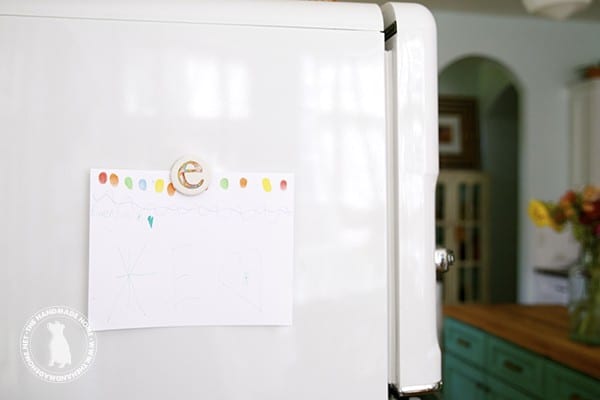
And make great magnets.
So here’s what you’ll need: {I had everything on hand already, but I realize not everyone is a craft hoarder like me… you’ll probably have a good bit on hand}
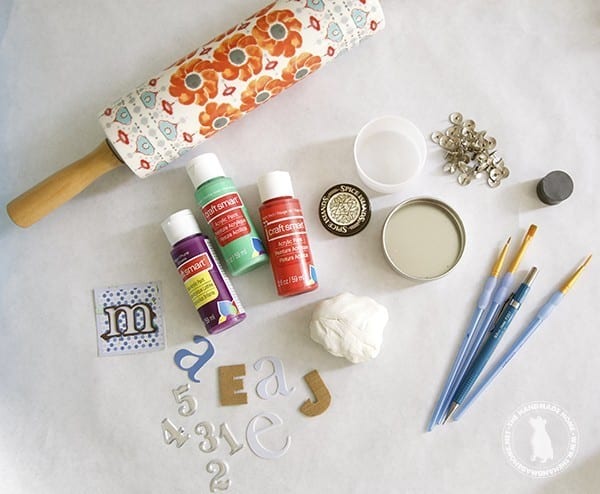
• Various shapes of choice needed for cutting {I could have sworn I had some cookie cutter sets but couldn’t find them, so I used a cinnamon rolls icing container, the top of a spice, and an old jar top.} You can score some cookie cutters here
• Bake-able clay {we use Sculpey}
• Various craft paints of choice + water
• Fine tipped paint brush {I used a 0/3 for the small lines}
• Magnets + tacks
• Glue
• A lead pencil {used for the fine tip}
• Stencils with letters/numbers of choice {these can be found in all fonts, shapes and sizes in the scrapbooking section of your local craft store, but you can also print some to size and cut with an X-Acto blade to get just the right look you want-easily traced for just the right look.}
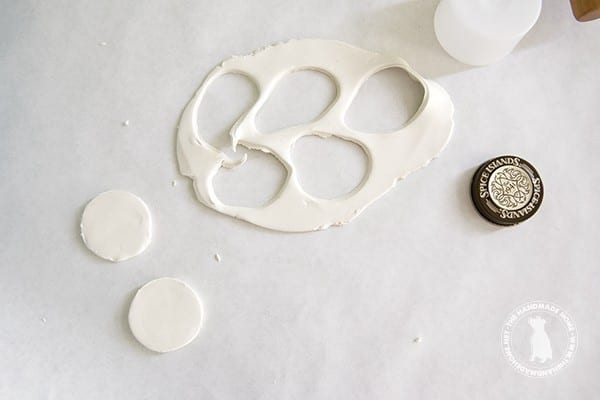
I rolled out a nice size with our rolling pin, and then cut various sizes with my “cookie cutters” baking according to directions {about 15 mins on 25o degrees but keep an eye on your oven}
When they were cool, I took colors of choice and some water, to water them down for various shades, just like watercolors. Then with the stencil I wanted to use, I traced the letter or number I wanted.
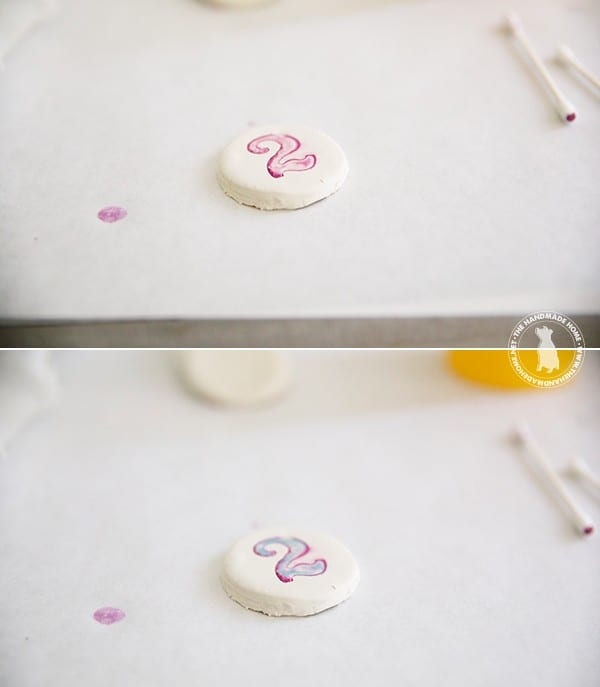
I gradually added layers as they were {semi} dried, and played with the paint on each one.
Helpful Hint: You can also use Q-Tips to remove a little of the paint on each one if it becomes muddy or too wet/saturated.
I gradually added different hues by just playing with the paint, and when it was dry…
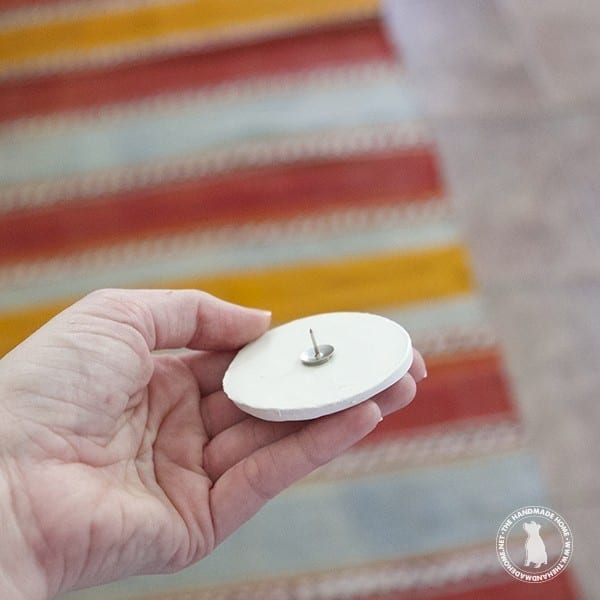
Added pushpins or magnets to the back with a quick dab of hot glue.
And they’re ready! Tada!
No frets if they go a little outside the lines – it adds to the “painterly” look.
Great little displays for artwork on our cork board,
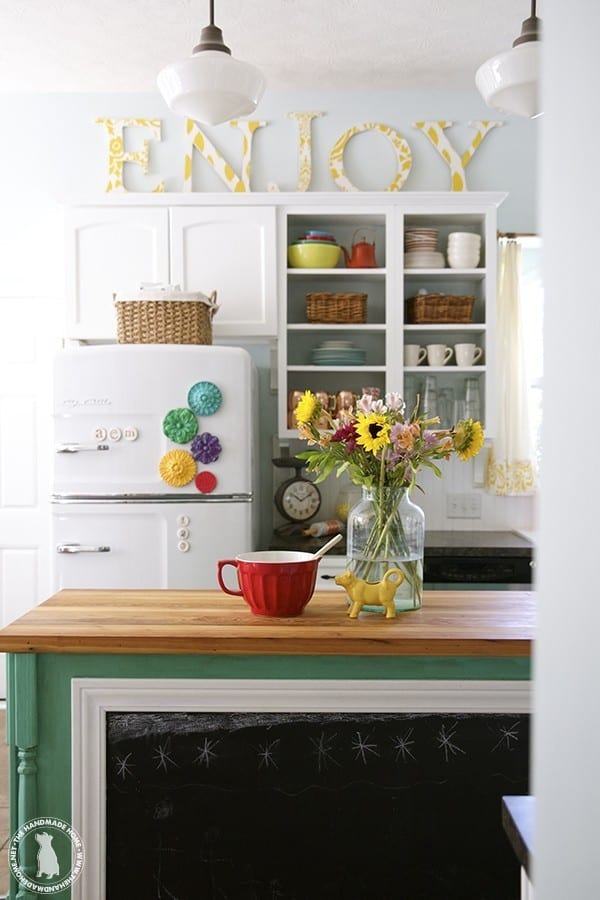
And fun little additions to the fridge!
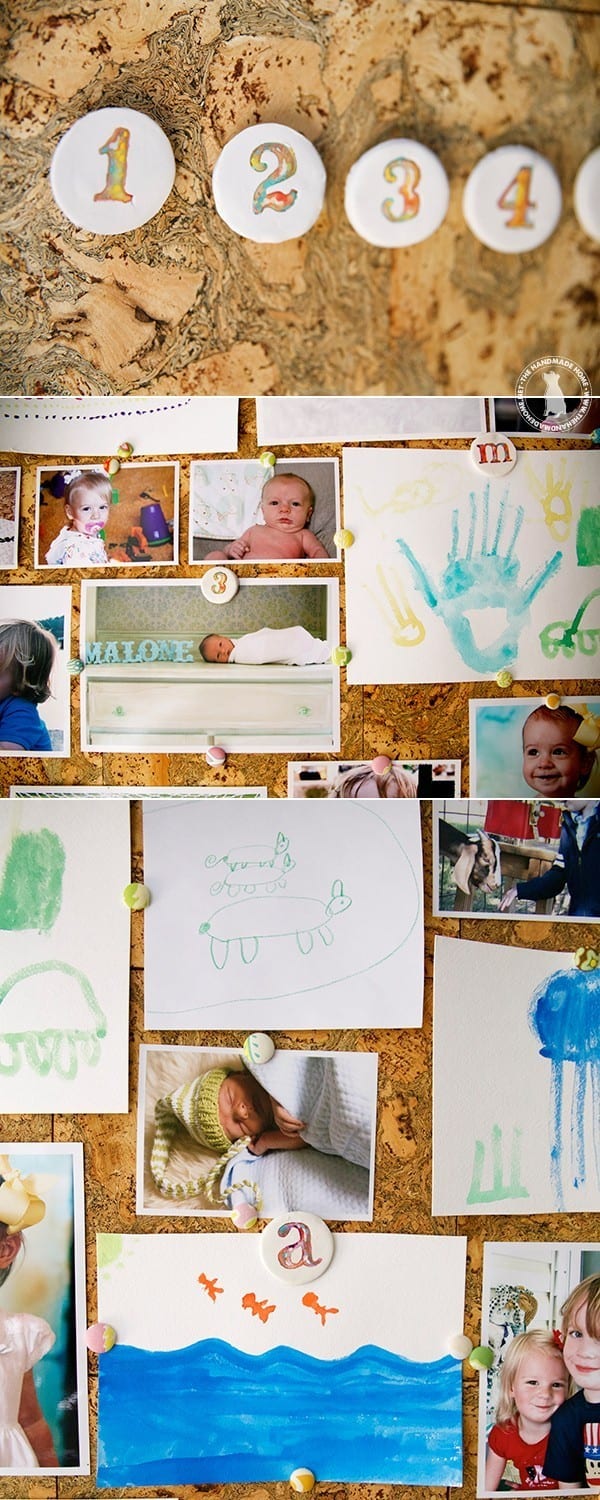
The kids love their bright colors to display all their stuff. And of course, they’ve already put dibs on their own letters of choice.
The possibilities of this are kinda endless… from number sets to an entire alphabet! We just love the fun, colorful touch it brings to displaying their work for all to see.
{Pssst – check out our other diy magnets here + here}
As always, let us know if you try it or have any questions – have an inspired day!

Every time you do something like this, I absolutely love it. I am going to try to make these this weekend when I get a chance to breathe- lol! Lovely idea. Thank you for sharing.
Thanks, Wendy! Happy crafting!
Just found your blog – I’m loving going back through all your archives and have already printed some of your freebies, thank you!! Did ya’ll build the blue bench at your dining table in today’s post? I’d love to know how if you did – found your entry way bench but it was a little different. Your family is fun to follow – Happy Monday?
Hey Tara! Thank you so much! No, we did not actually build that one. It was a flea market find – an old park bench that repositions into a table as well. We have loved it over the years!
Super cute idea!
Thanks so much, Poppy!
you could give these at gifts they are so great! what magnets did you use that was strong enough? thanks!
Hey Elizabeth! Thanks so much! We just used the standard ceramic craft magnets from the craft store – in a larger size since the pieces were larger as well. Hope that helps! ;}