We’ve had a little extra time on our hands lately, and thought another fun project that’s easy for kids, would be a great thing to share here. So today, we’re sharing how to make easy diy bookmarks.
The kids are loving them right now with the extra time they’ve had on their hands for reading.
Our middle even started a facetime book club with her friend. We love that they’re so into it right now. It’s perfect for all the downtime we’ve had.
You only need a few materials for this, and to be honest, they’re perfect for just about everyone from adults to kids and more.
And we love all the fun colors they have! Want to have a craft day with your own kiddos?
Here’s what you’ll need: {some of the links below are affiliates to support our book habit}
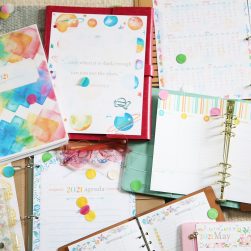
• watercolor paper
• watercolors + cup with water + paint brushes
• xacto blade {or scissors} + ruler + pencil
• yarn or embroidery thread of your choice
• laminator {optional}
• frogtape

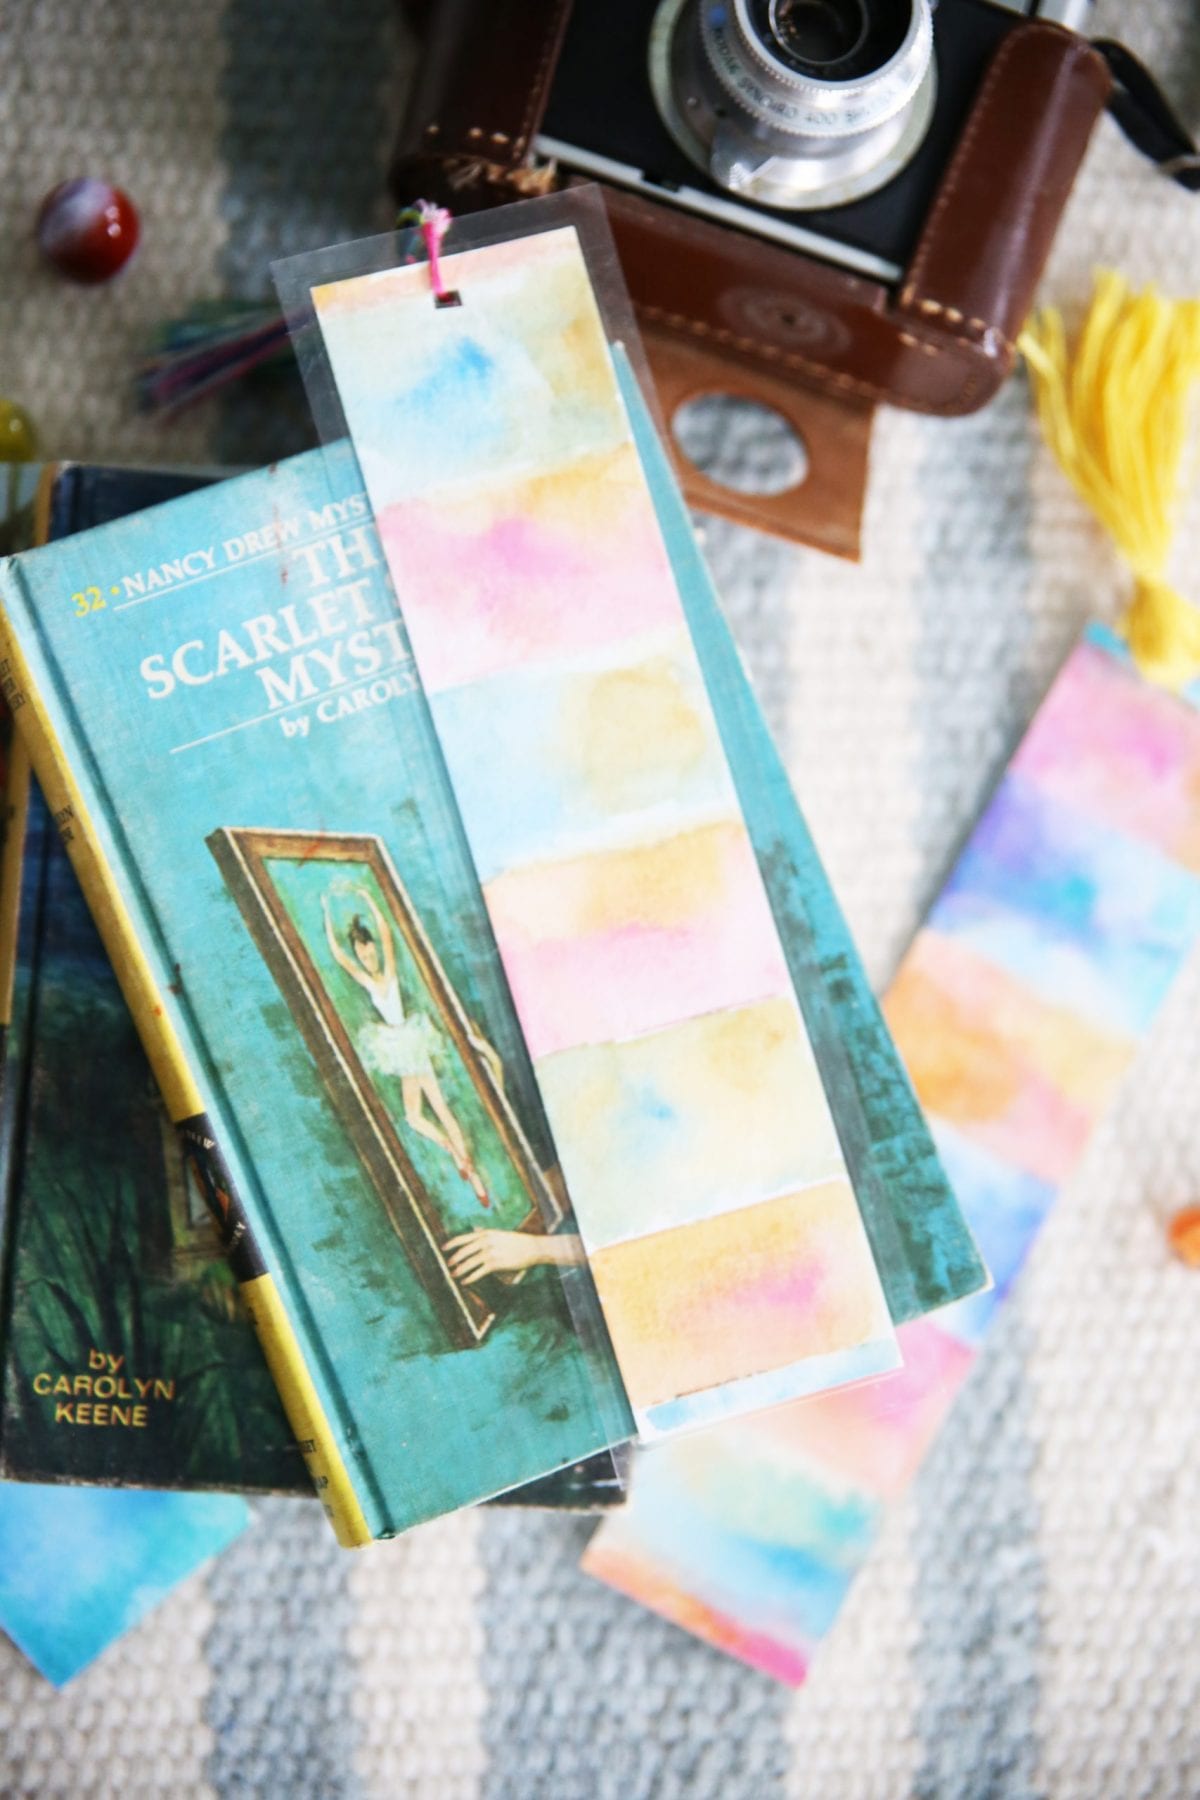
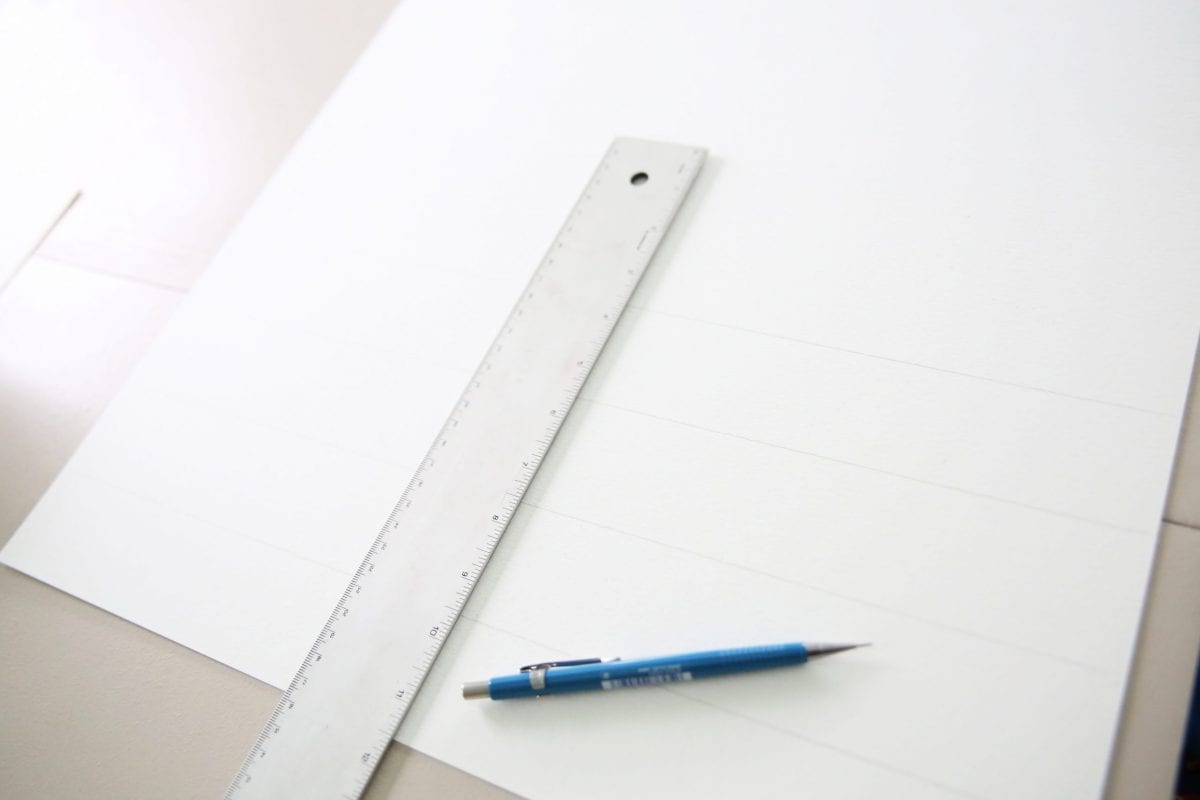
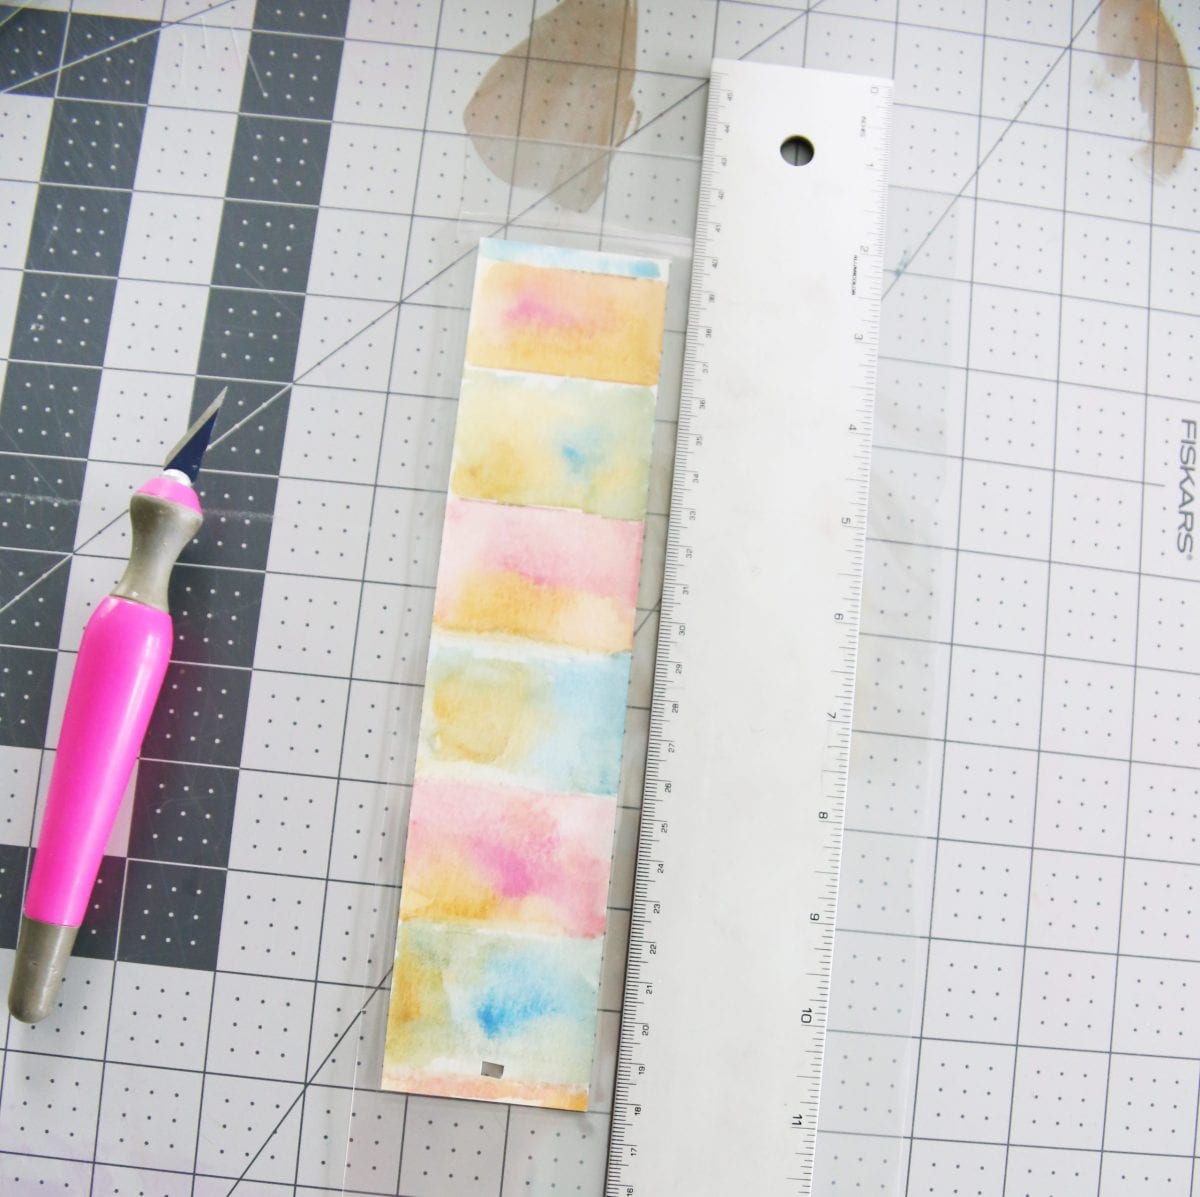
Take your ruler and mark off multiple bookmark edges on a piece of watercolor paper. You can use whatever size you want, we just ended up using the ruler as a template because we were actually too lazy to measure.
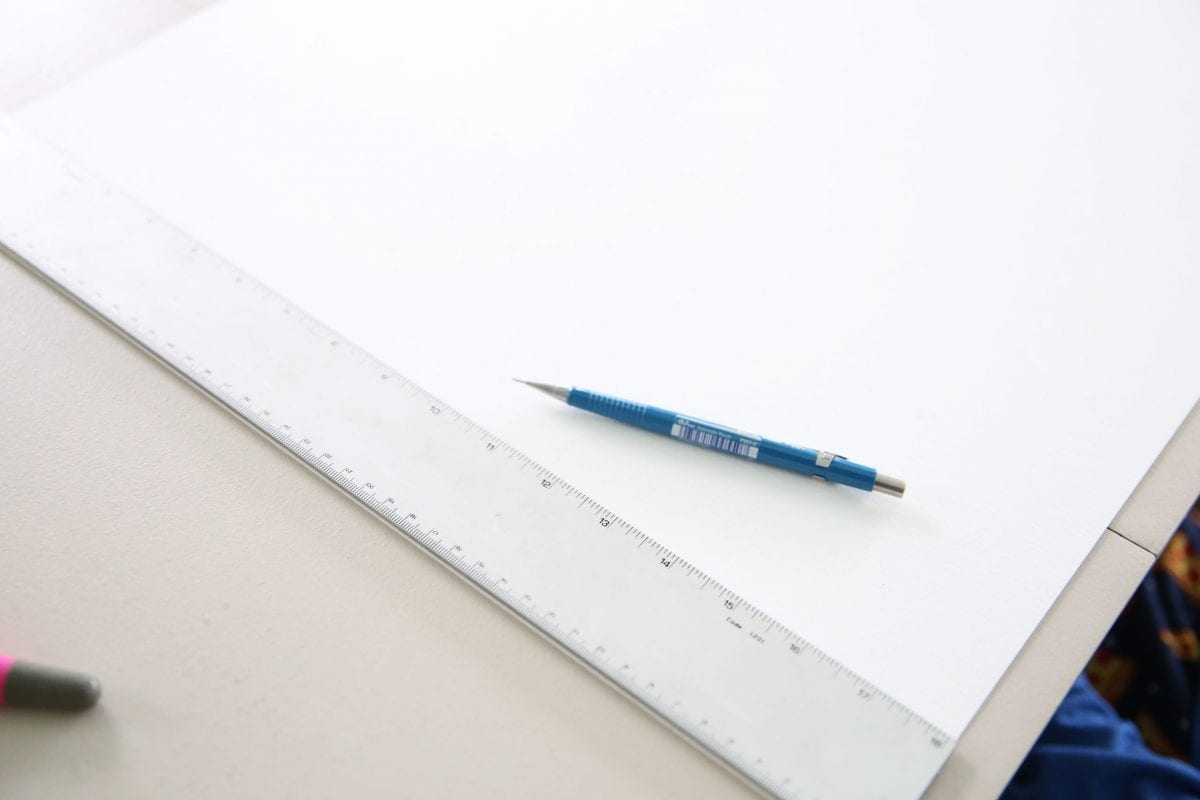
We marked them all off and then cut them out. These are your main bookmark shapes.
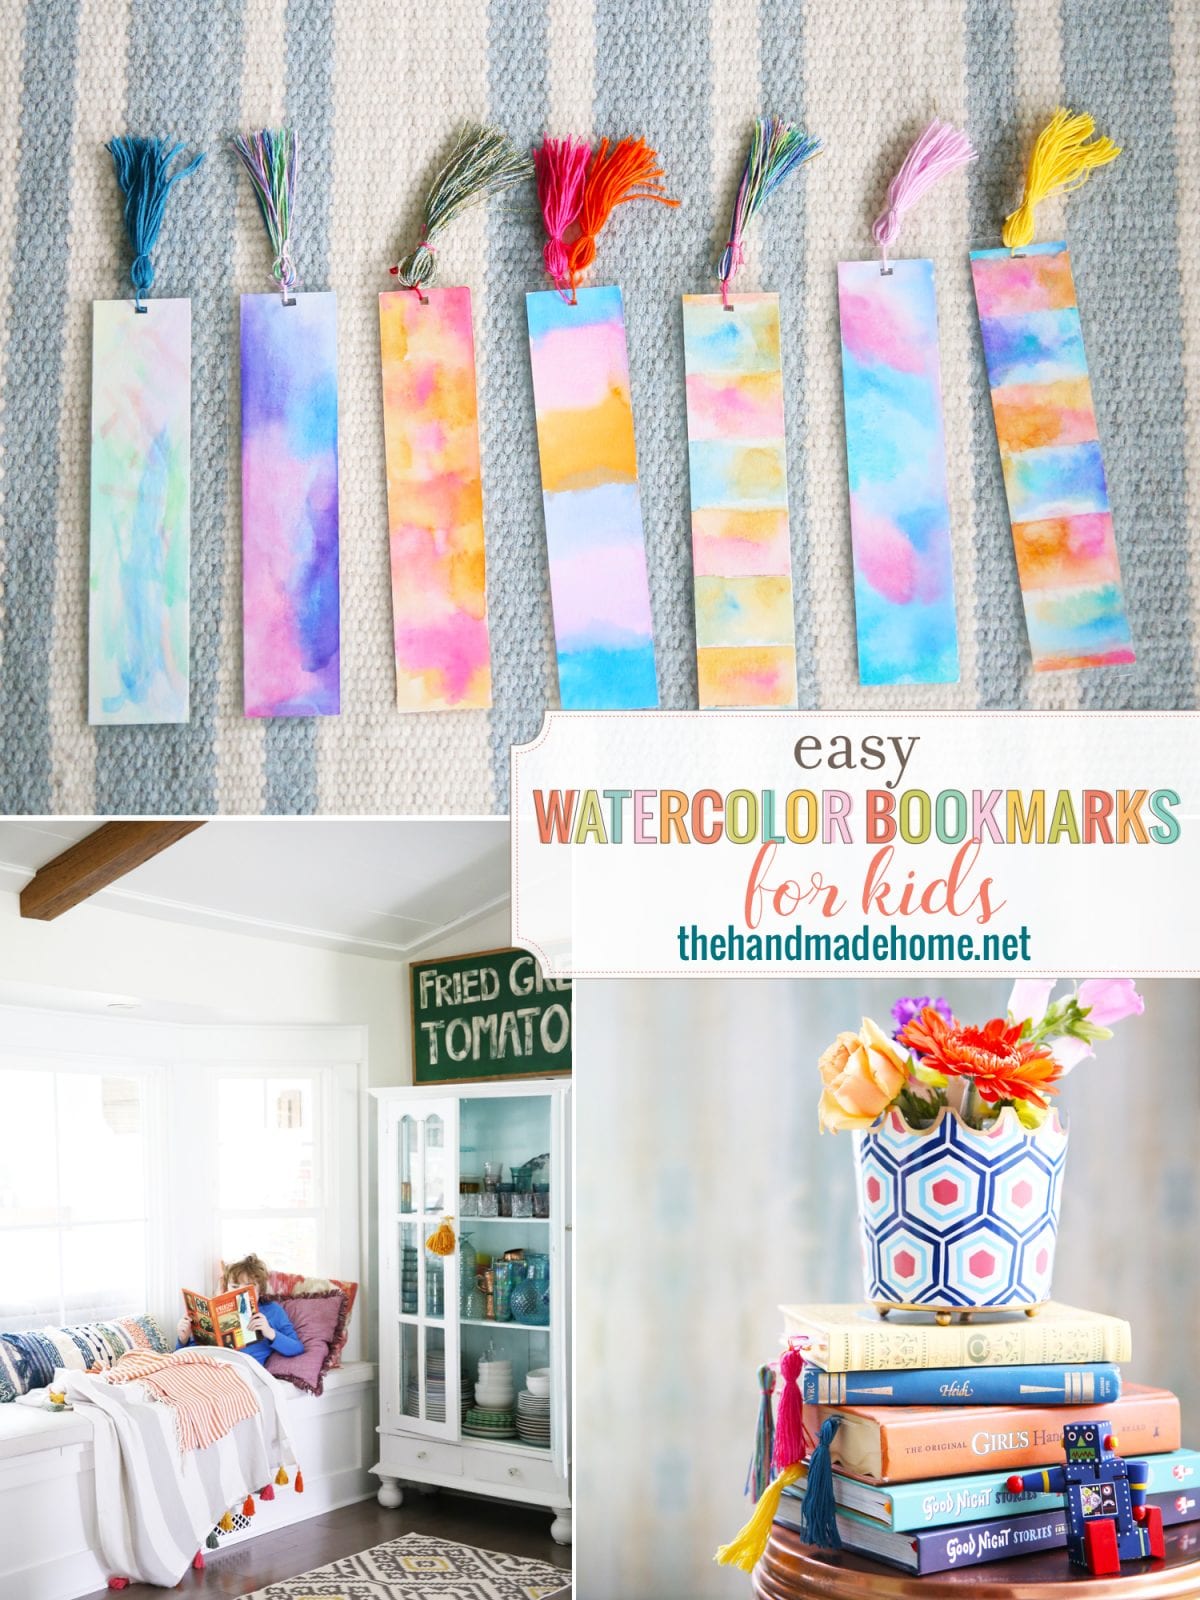
Then let your little artists {and you!} paint.
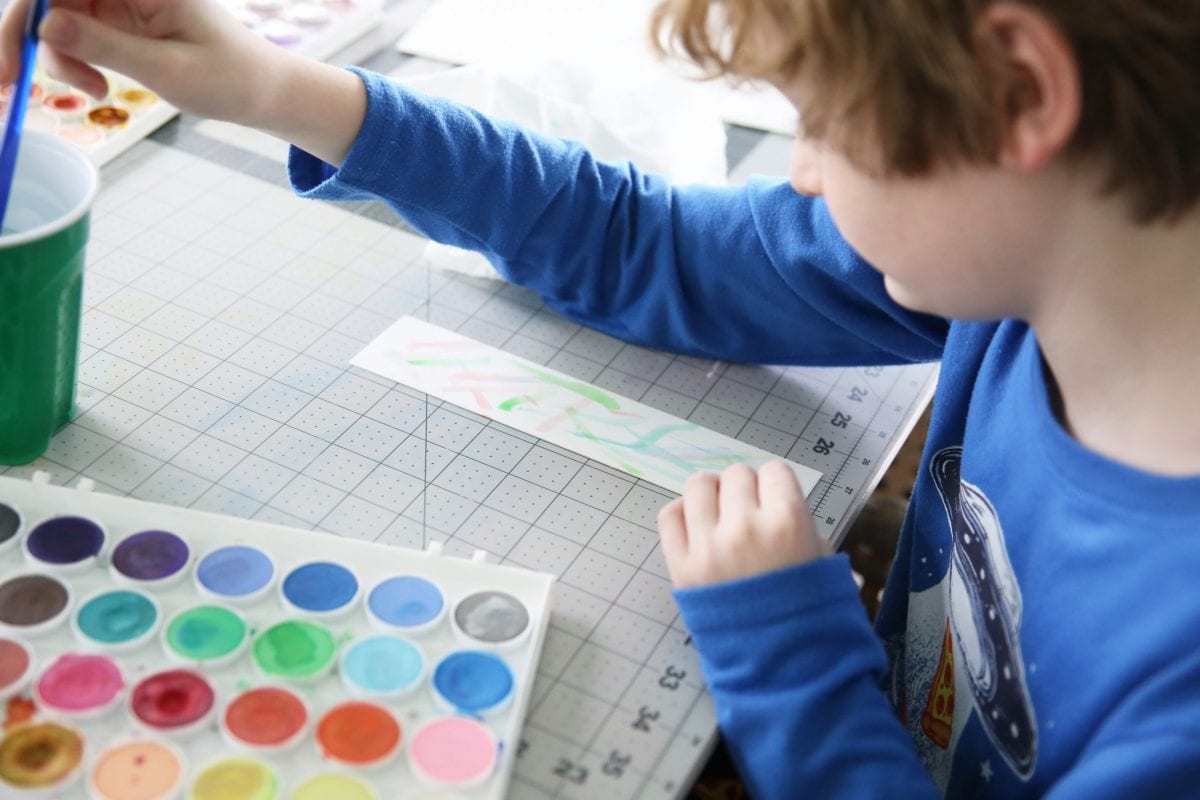
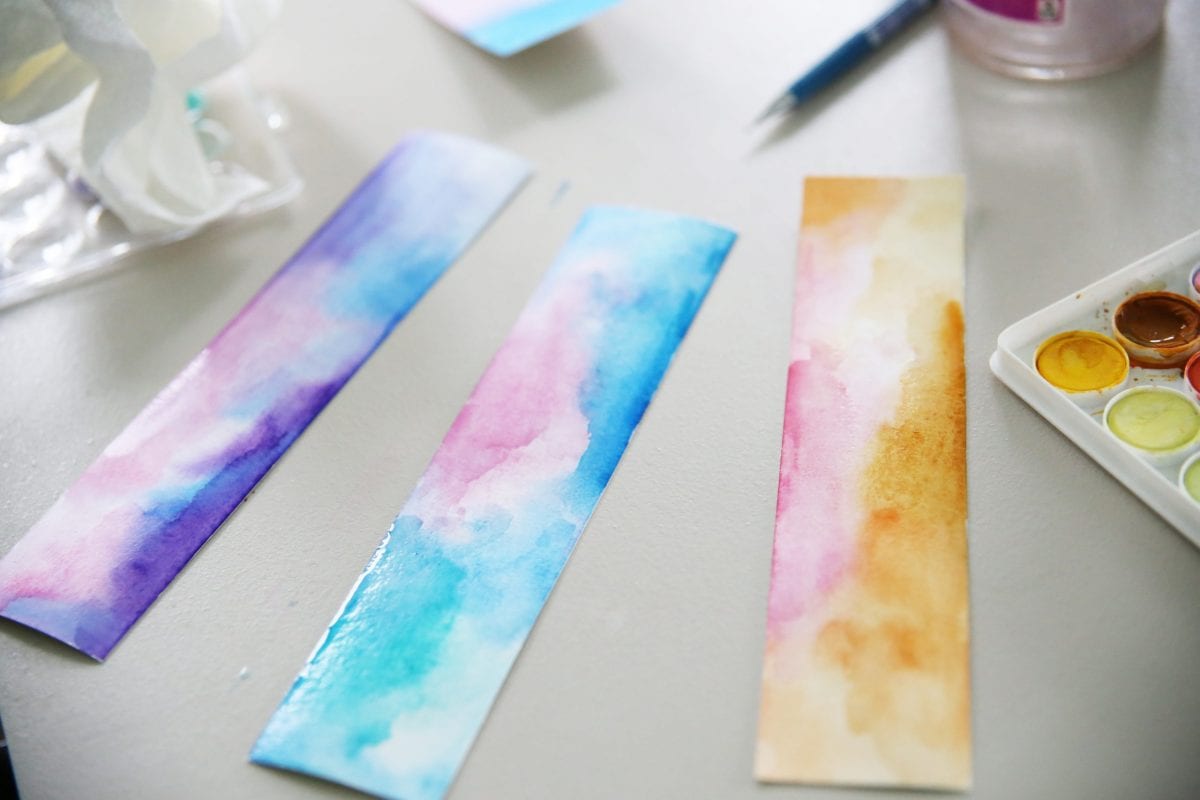
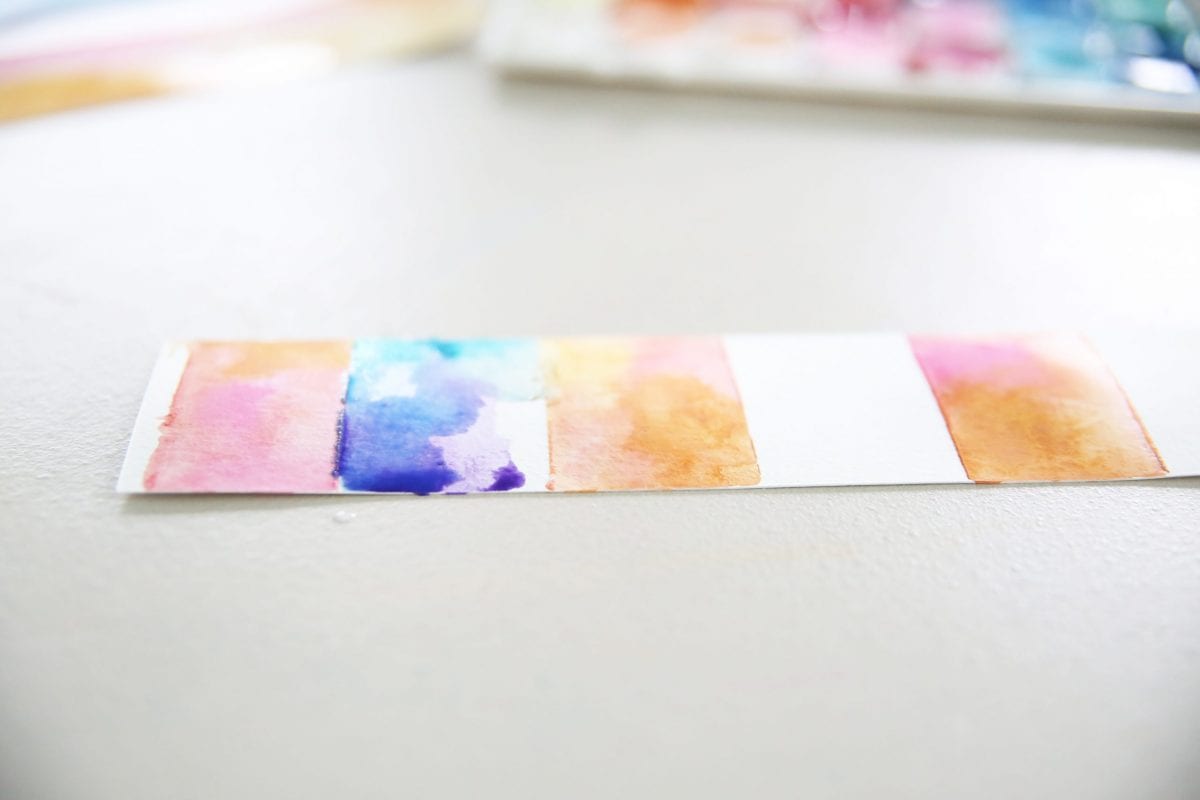
We kept our designs simple with some easy color blends.
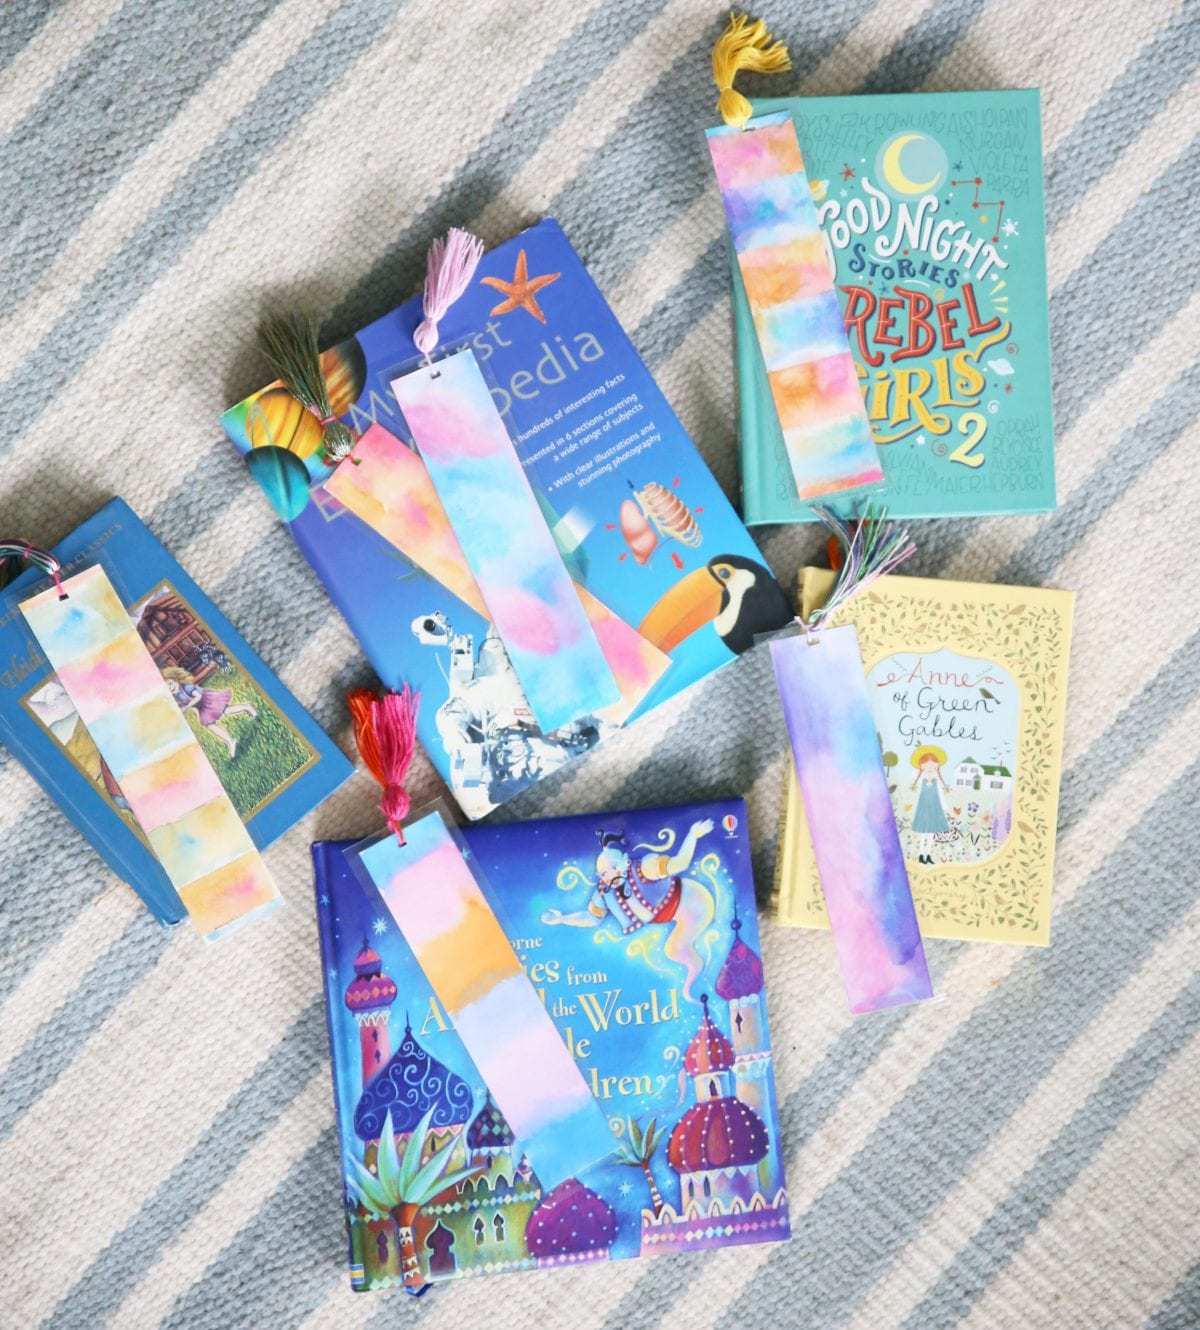
And even used some frogtape to create some fun stripey patterns.
We’ll be sharing some more in our stories today, but we simply leapfrogged {see what we did there?} the tape down the length of the bookmark, and filled them in with color.
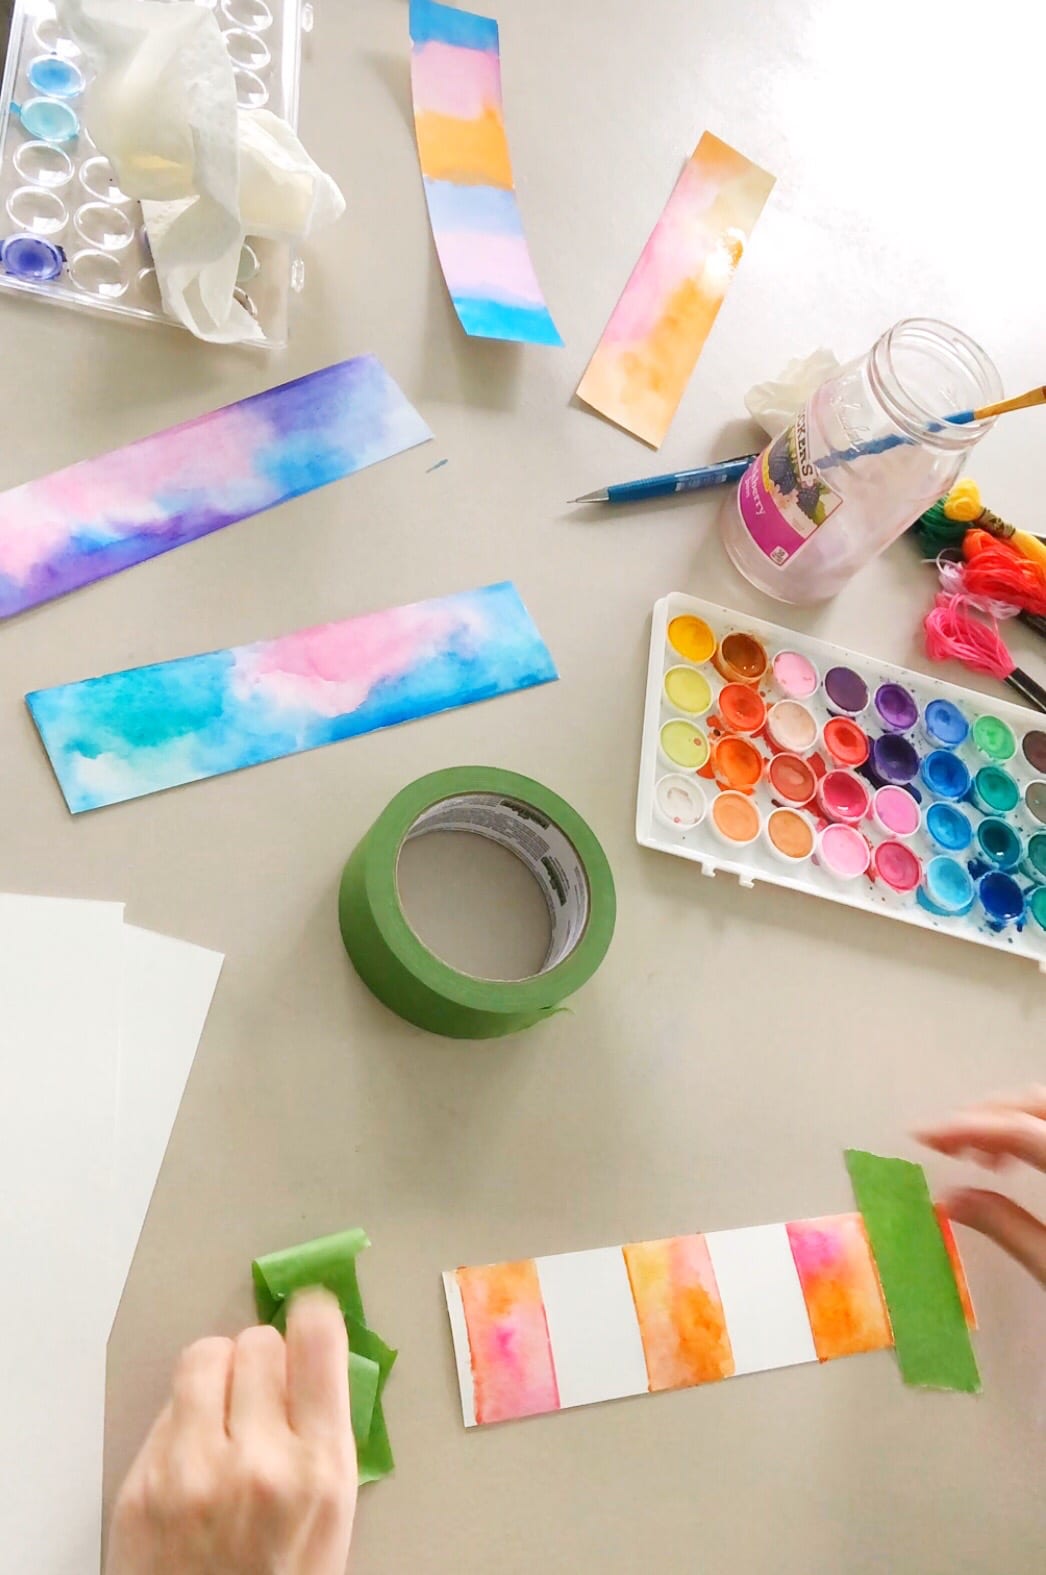
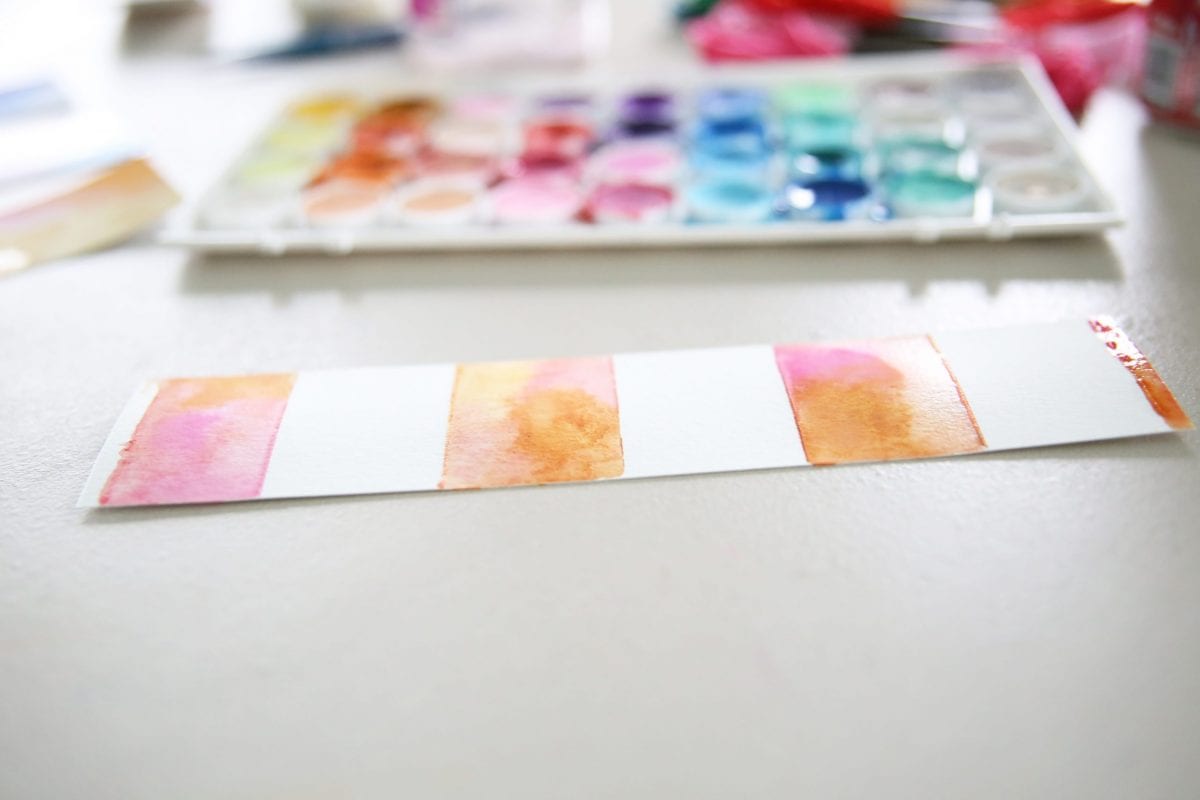
Once those were removed, we used the blank spaces to bleed in more colors, and blended them all.
Basically, there is no right or wrong way to do this. Just use some fun patterns and you’re good to go!
When all of these were dried, we cut small holes in the top, and then ran them through the laminator.
Note: Precutting before helps with the after part of touching it up after it’s been laminated. And of course laminating is optional. We just figured this was how they would hold up longer.
Then we made little tassels for the top.
If you’re working with embroidery thread, simply tie the top of your loop together.
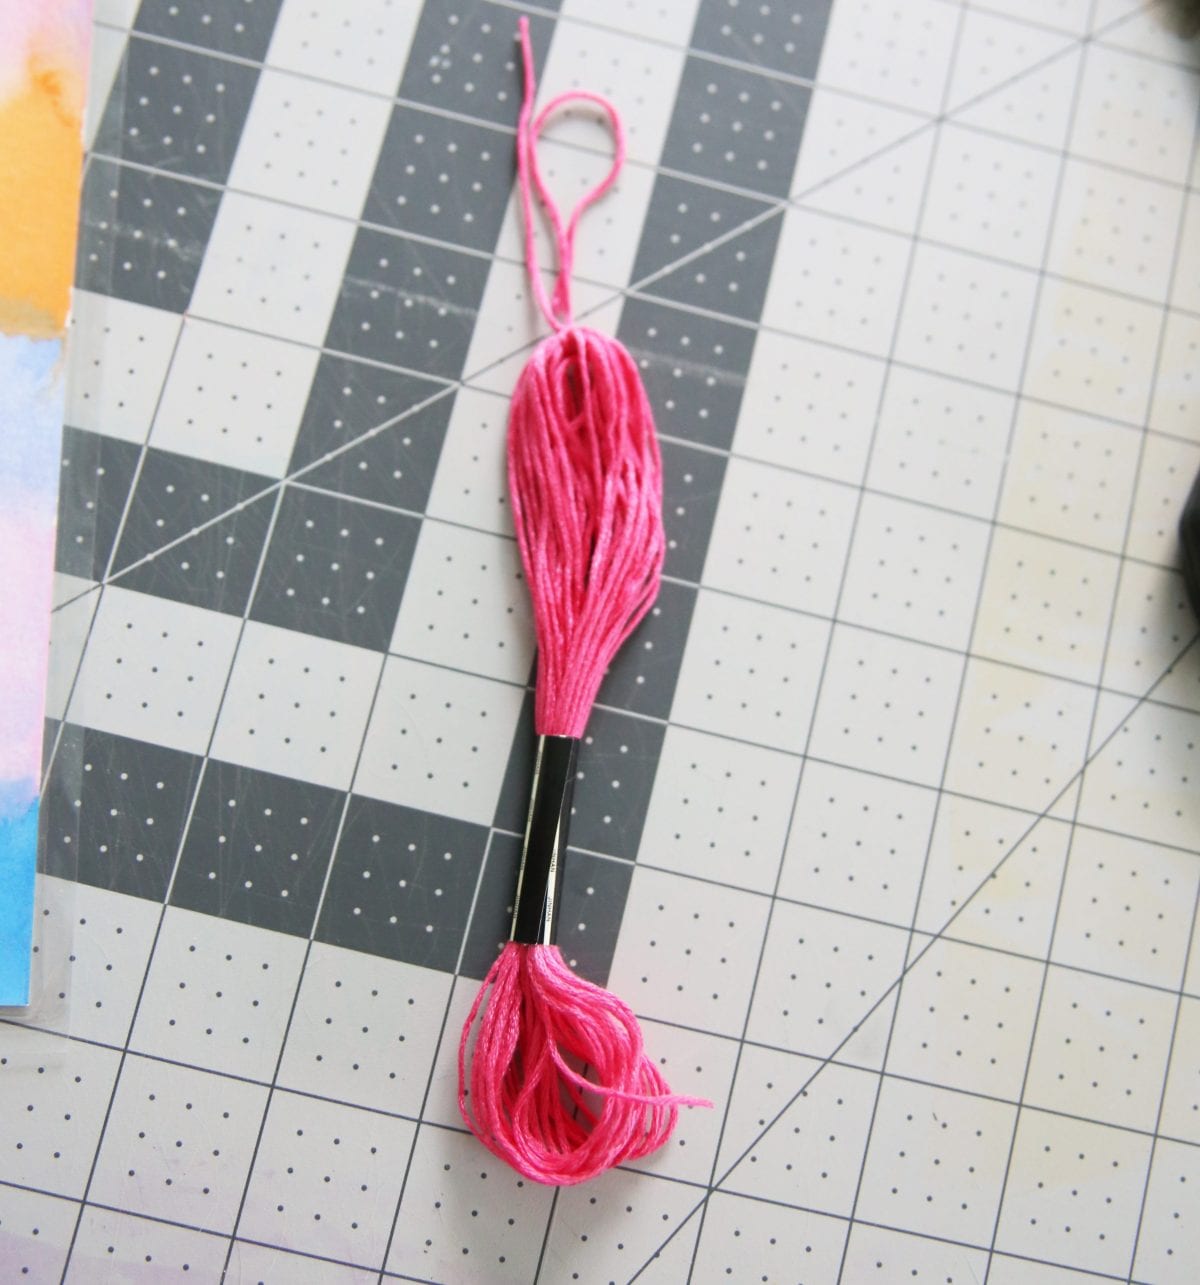
Then tie it around the top part again, as shown below.
Cut off the bottom half.
{You can use the unused portion for another tassel, so keep the paper on for later use. That makes it easier down the road.
Check out our other tassel tutorial, here if you’re making them from yarn.
And while we’re on the topic of crafts for kids, check out our tassel necklaces for kiddos tutorial, here.
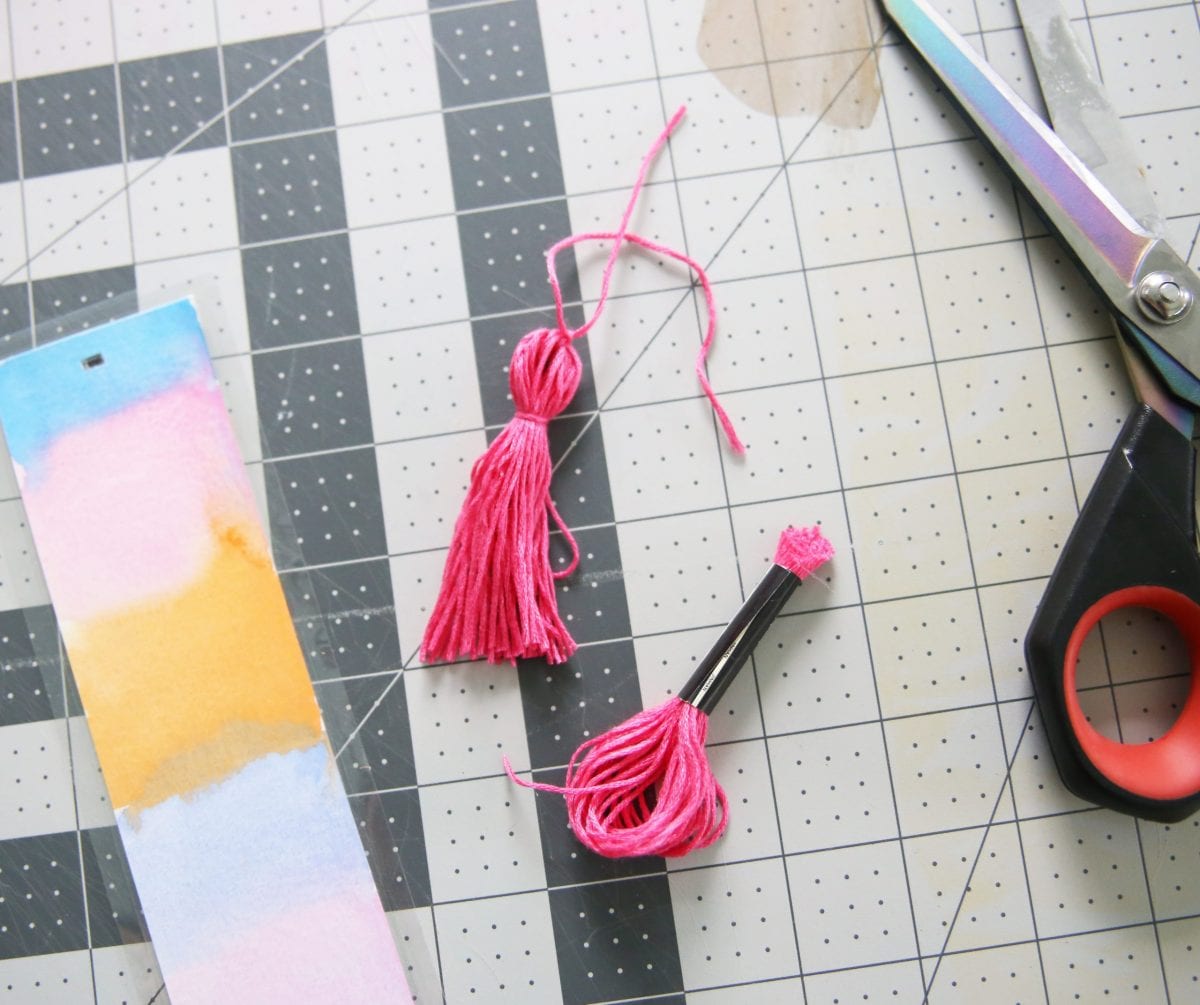
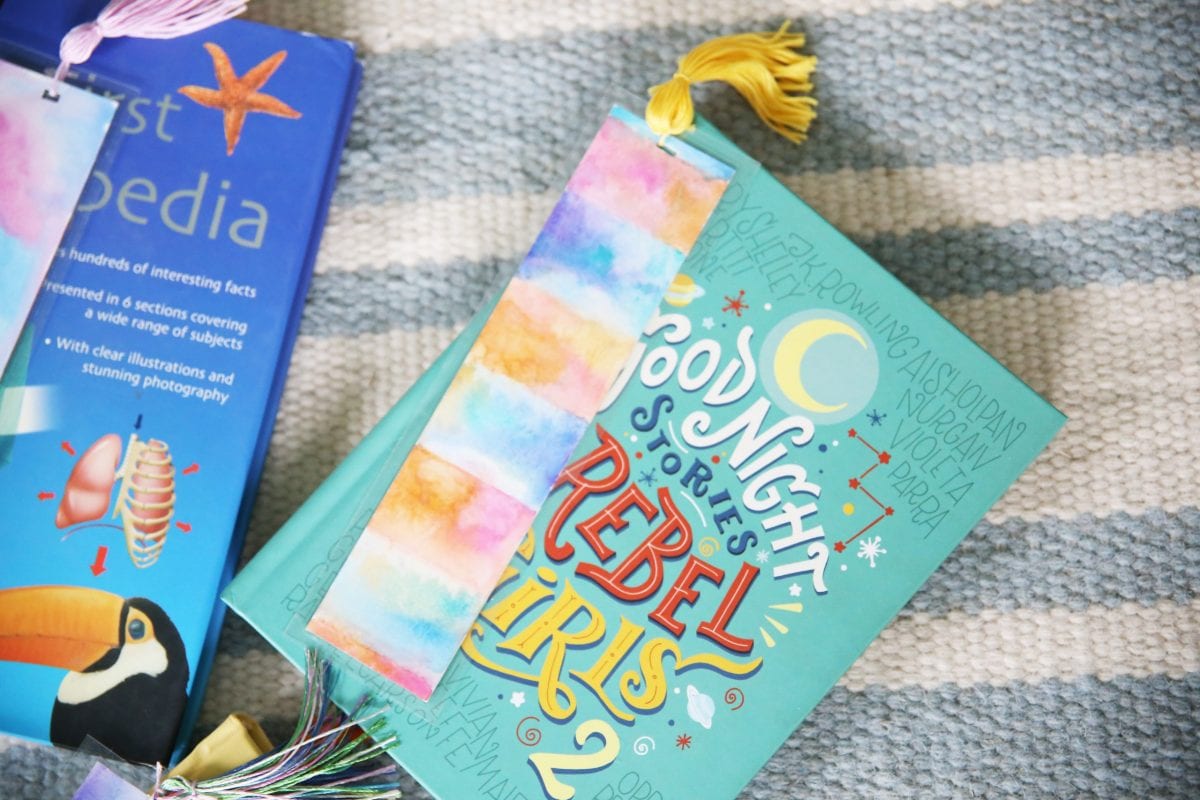
Once they’re out of the laminator, re-cut the small hole in the top, and attach the tassel through the available hole.
Tada! You’re done.

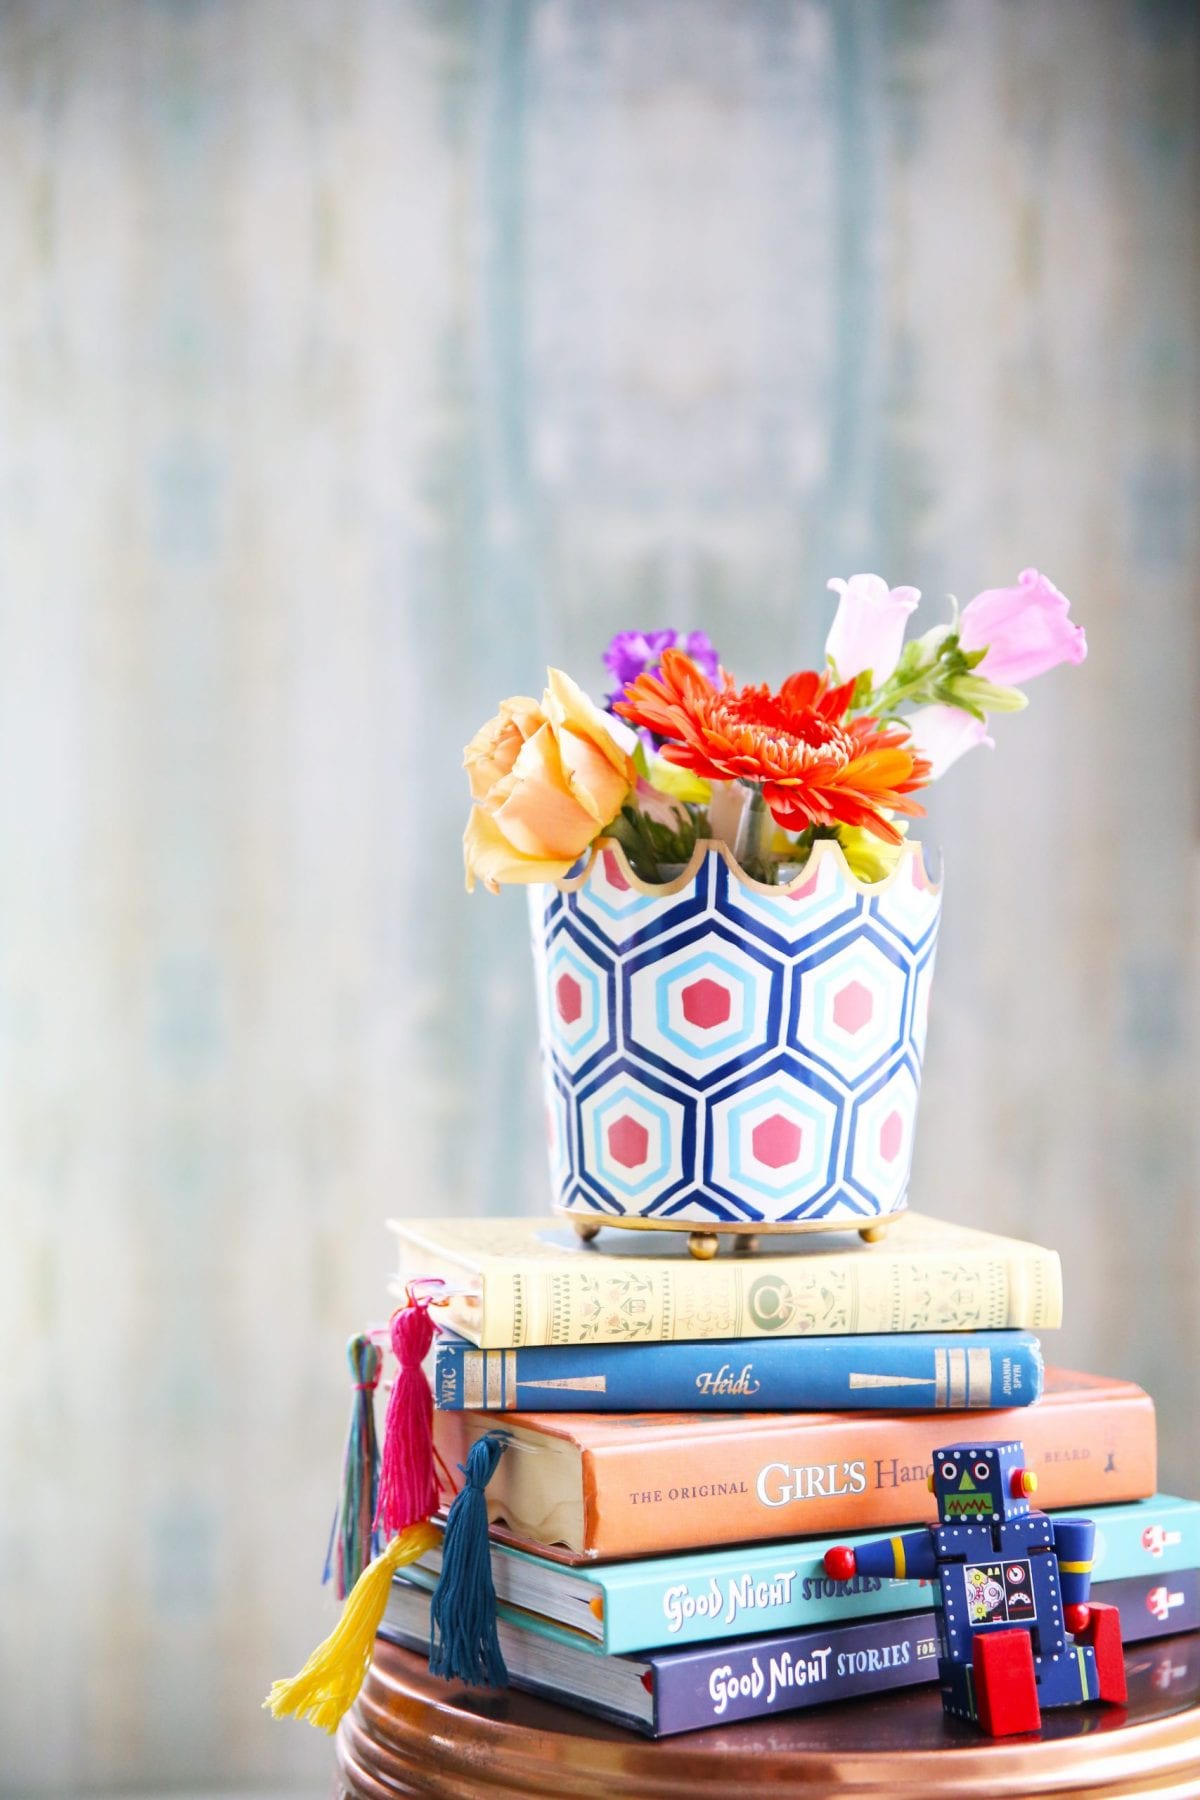
We love all the endless possibilities and colorful options with these little bookmarks!

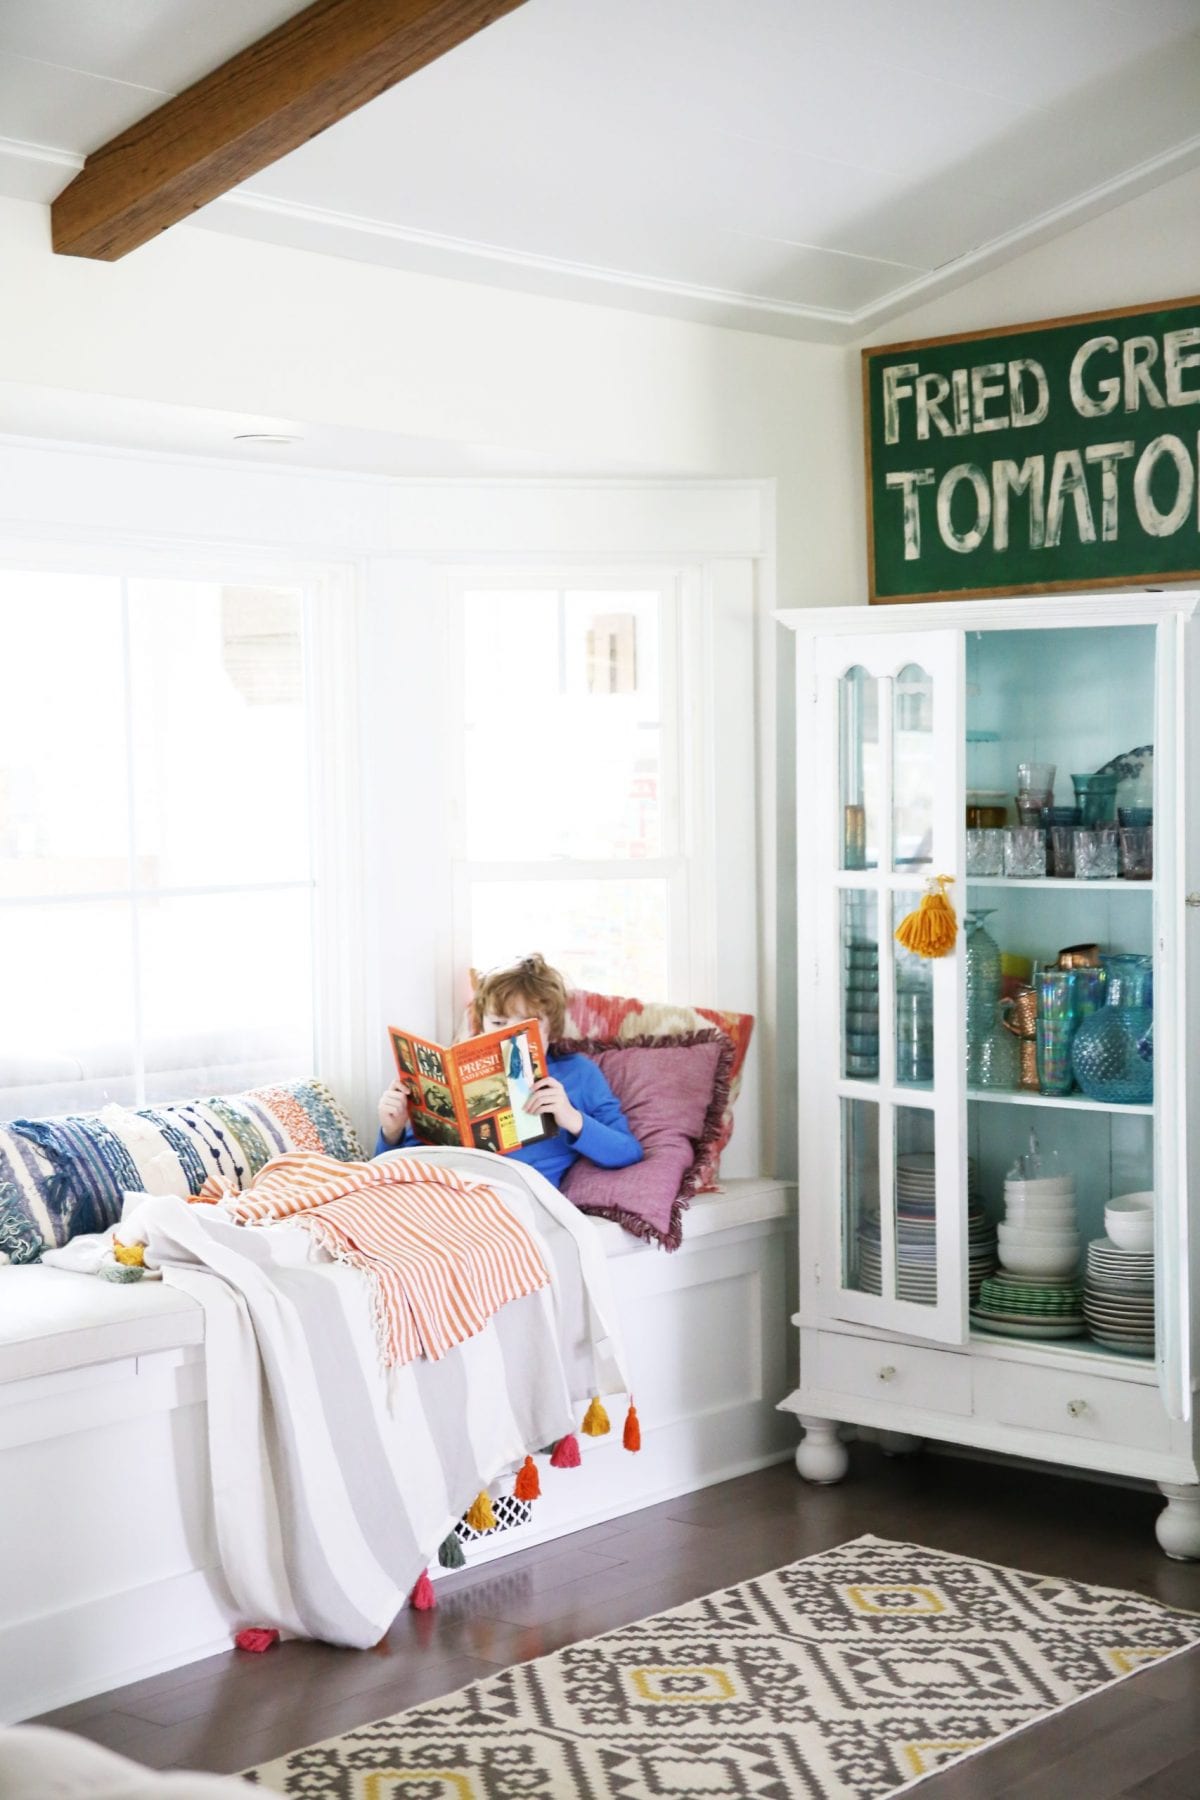
And there’s nothing cuter than seeing our kiddos with a cozy spot and a book in hand.
As always, let us know if you try them. We’d love to hear
Have an inspired day!


this thing is terrible because I want o know how to blend they are showing pictures only cant they make any videos or what