easy paper doll display
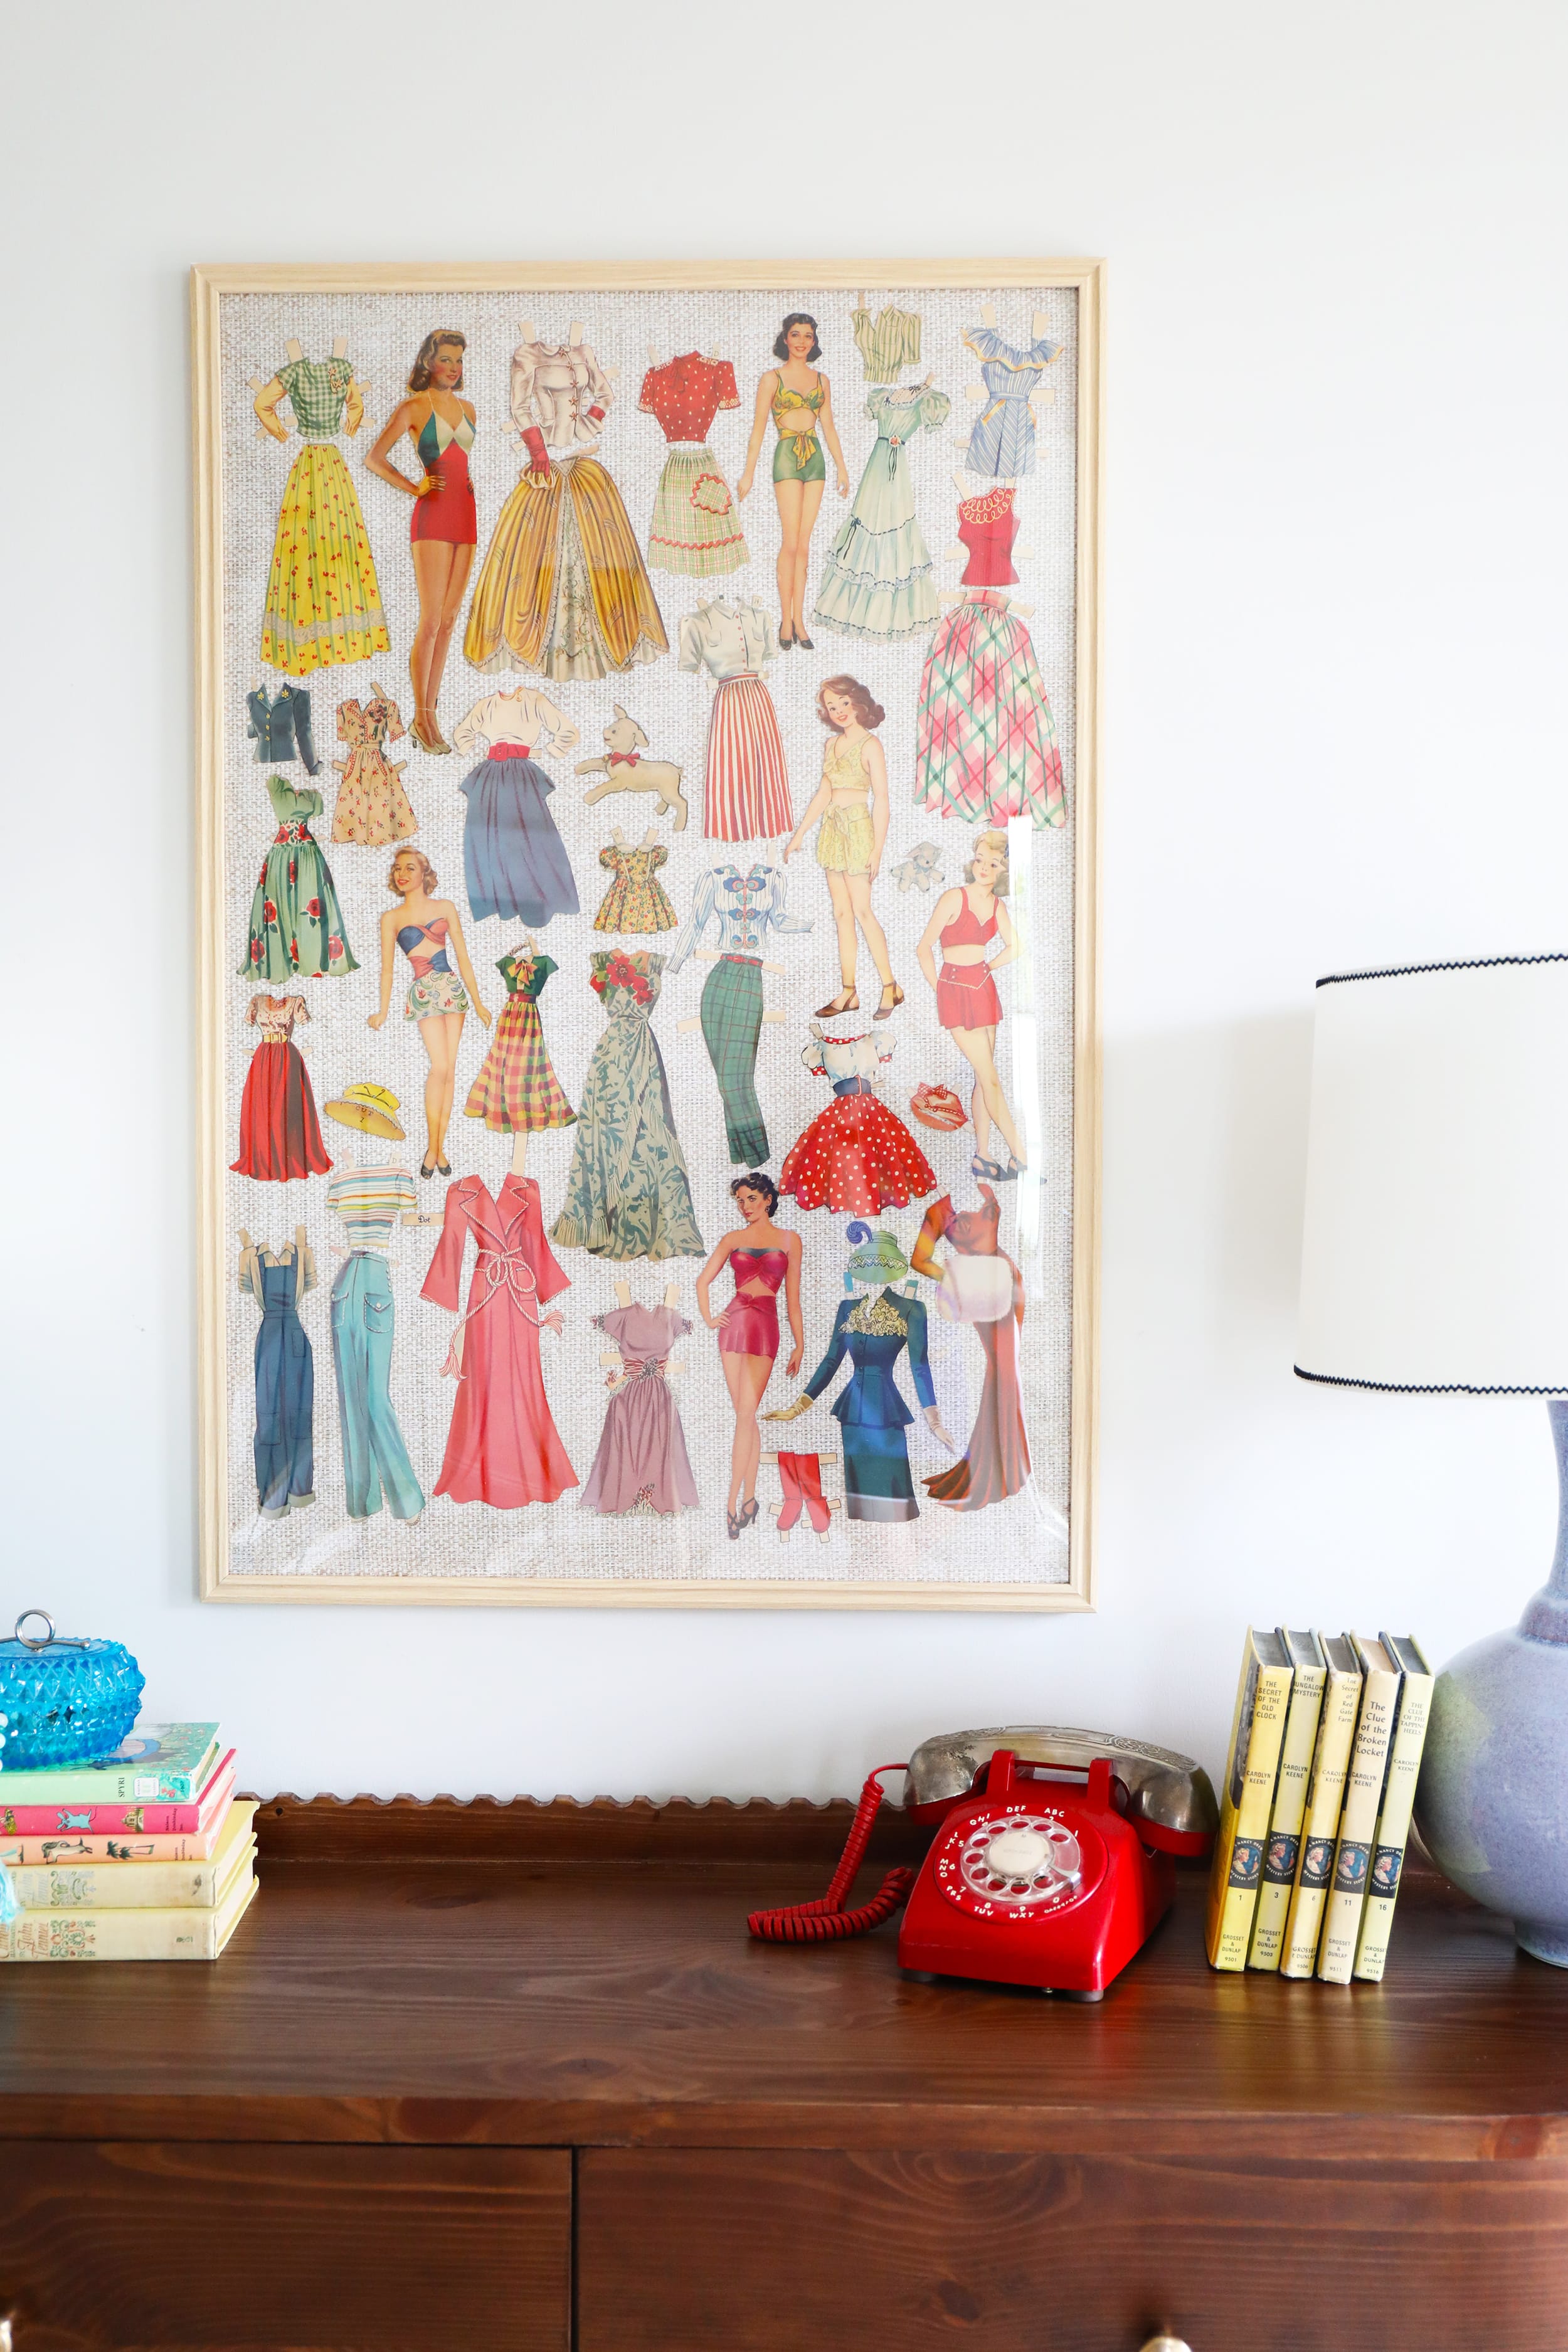
College is a month away. We’re gathering all things for her college dorm and decided this would be a really fun, easy way to display one-of-a-kind art in her space. So today I thought I’d share an easy paper doll display!
This one is a little bit of a throwback to her very first big girl room. And she leaves home in a month. Where did the time go?
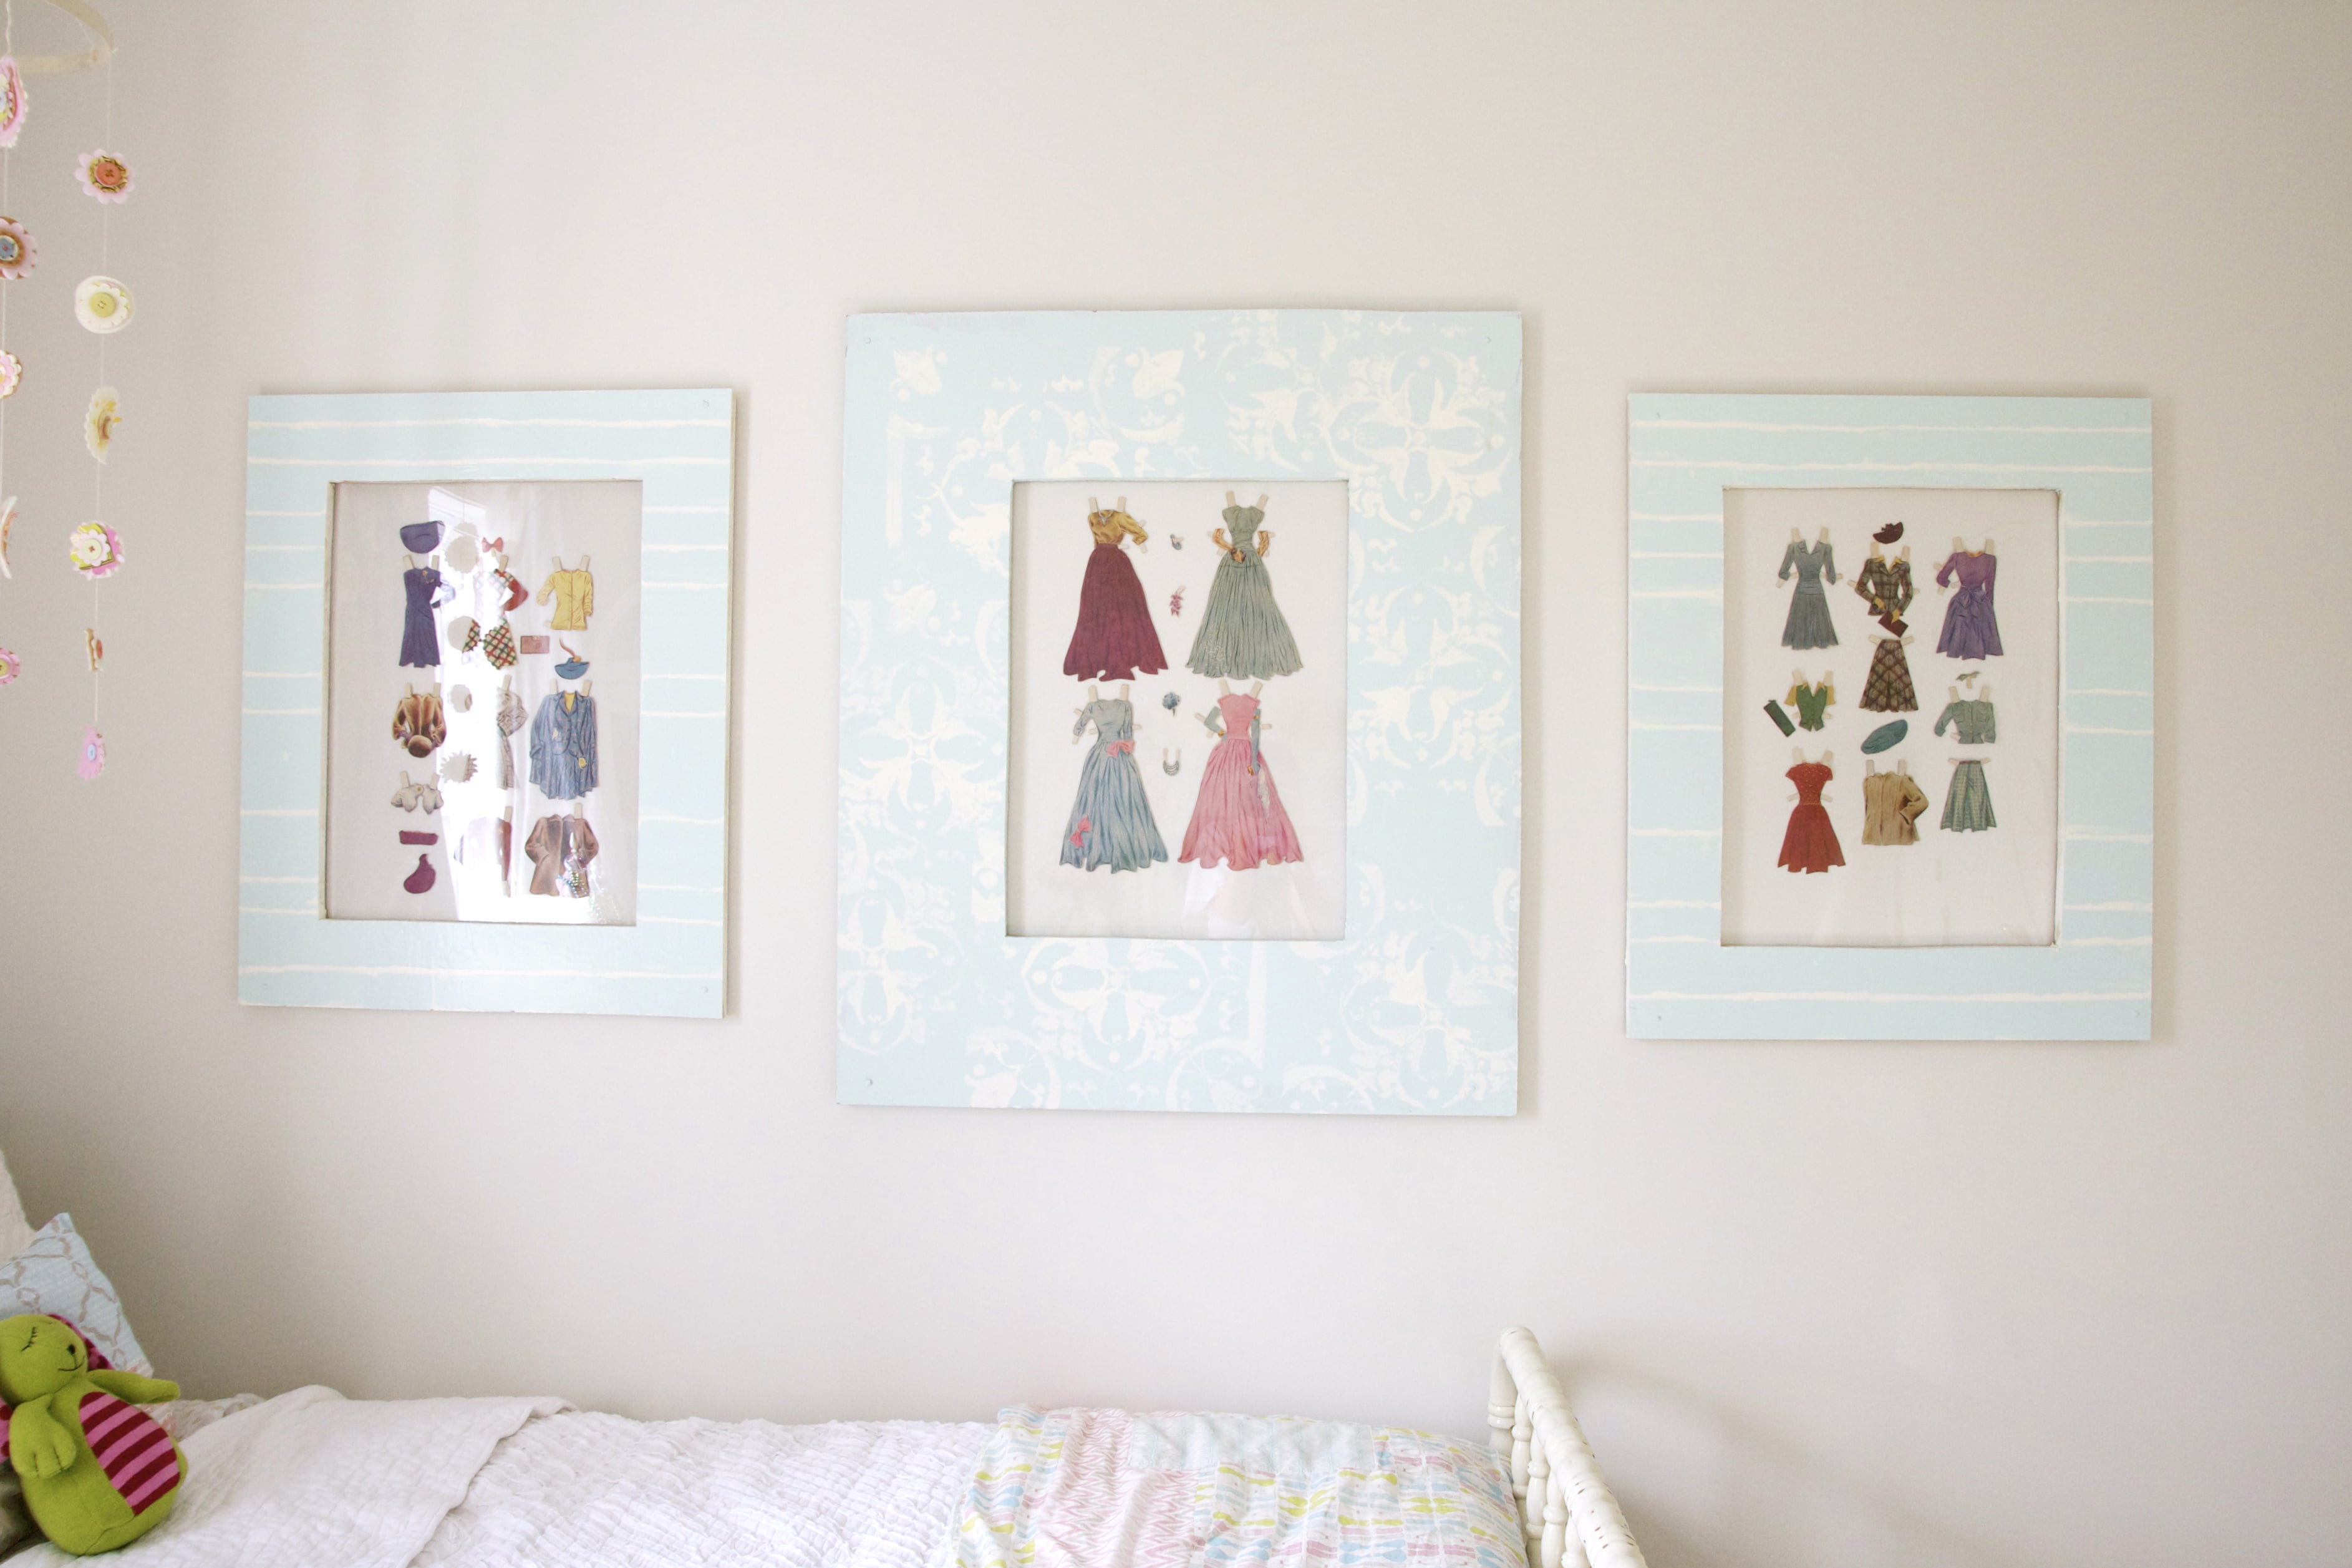
When we revamped her space, we ended up giving these to a friend, and I think in retrospect, I rather regretted giving up such beautiful old prints.
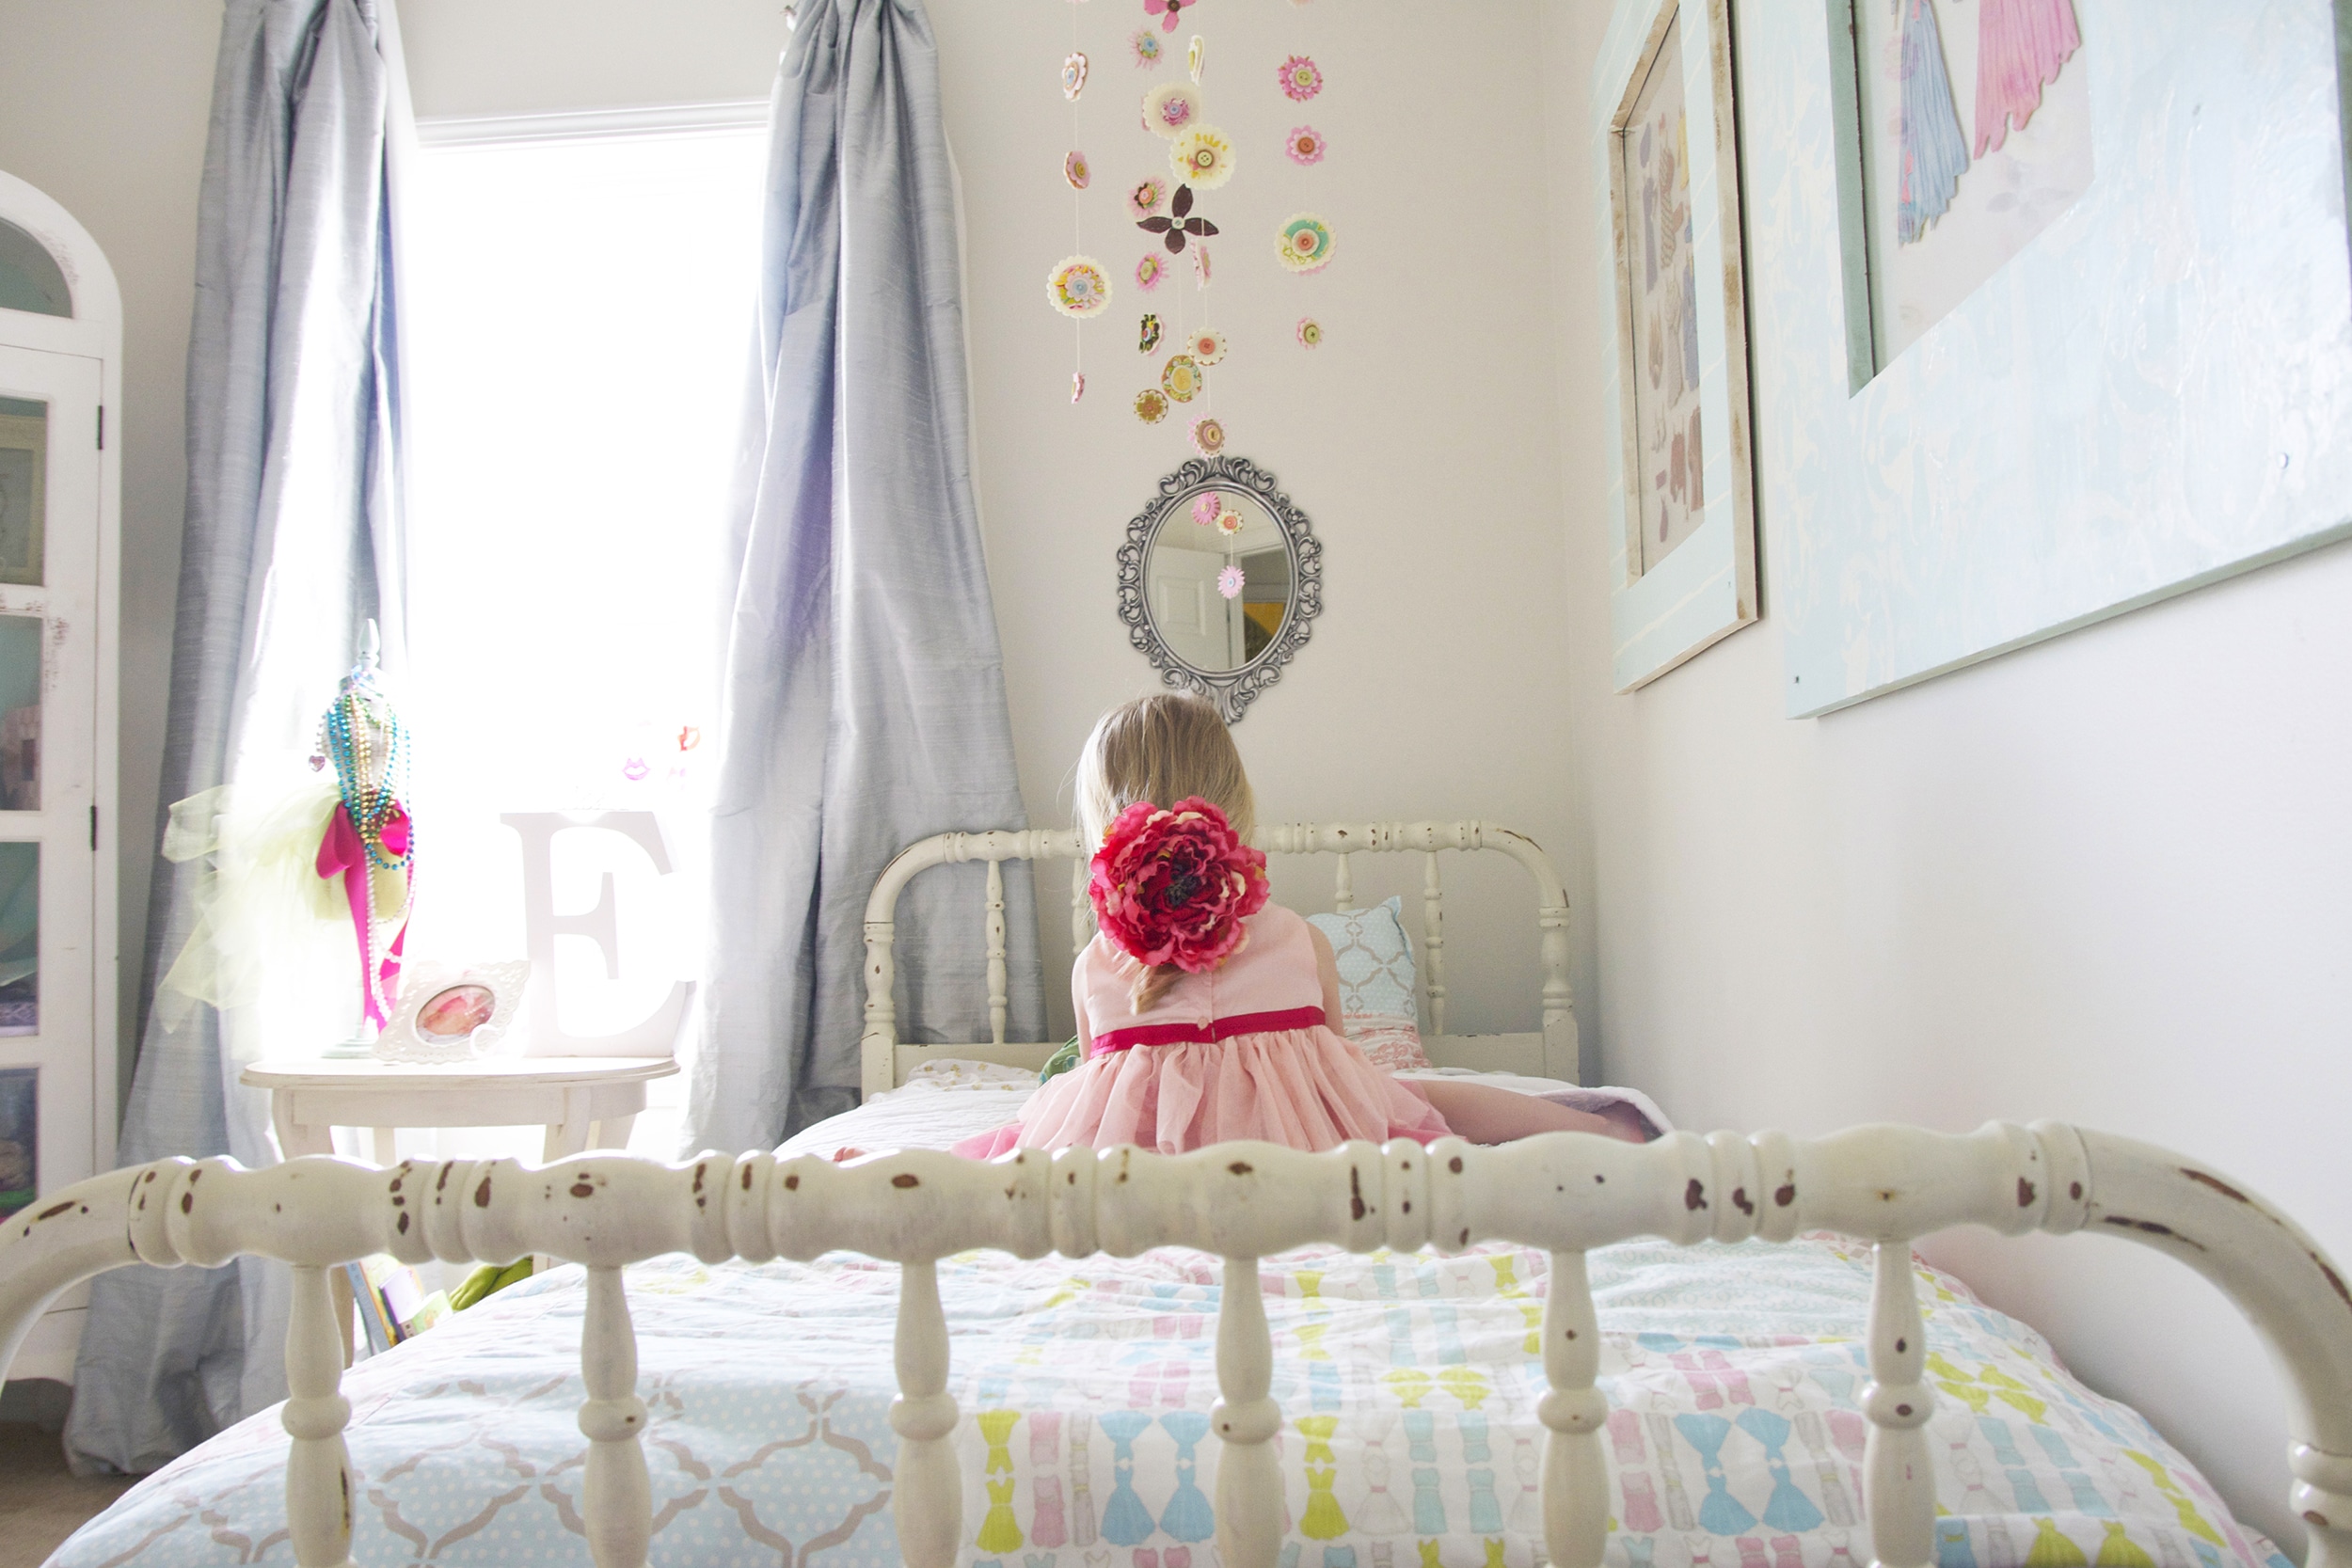
But we lived in a small town where people tended to gift us things, and I was always grateful to be a beneficiary of rare finds. So one day, someone gifted us more. It was like they would inherit items and then say, “Ashley or Jamin will know what to do with them,” which was very kind. For instance, I was once gifted art supplies by a friend’s grandmother after she passed away. I still use some of Cora’s brushes, and I know they’re hers because many of them were dutifully labeled so. They don’t make them like they used to…
Note: If you’re looking for your own paper dolls, Etsy and Ebay are great sources.
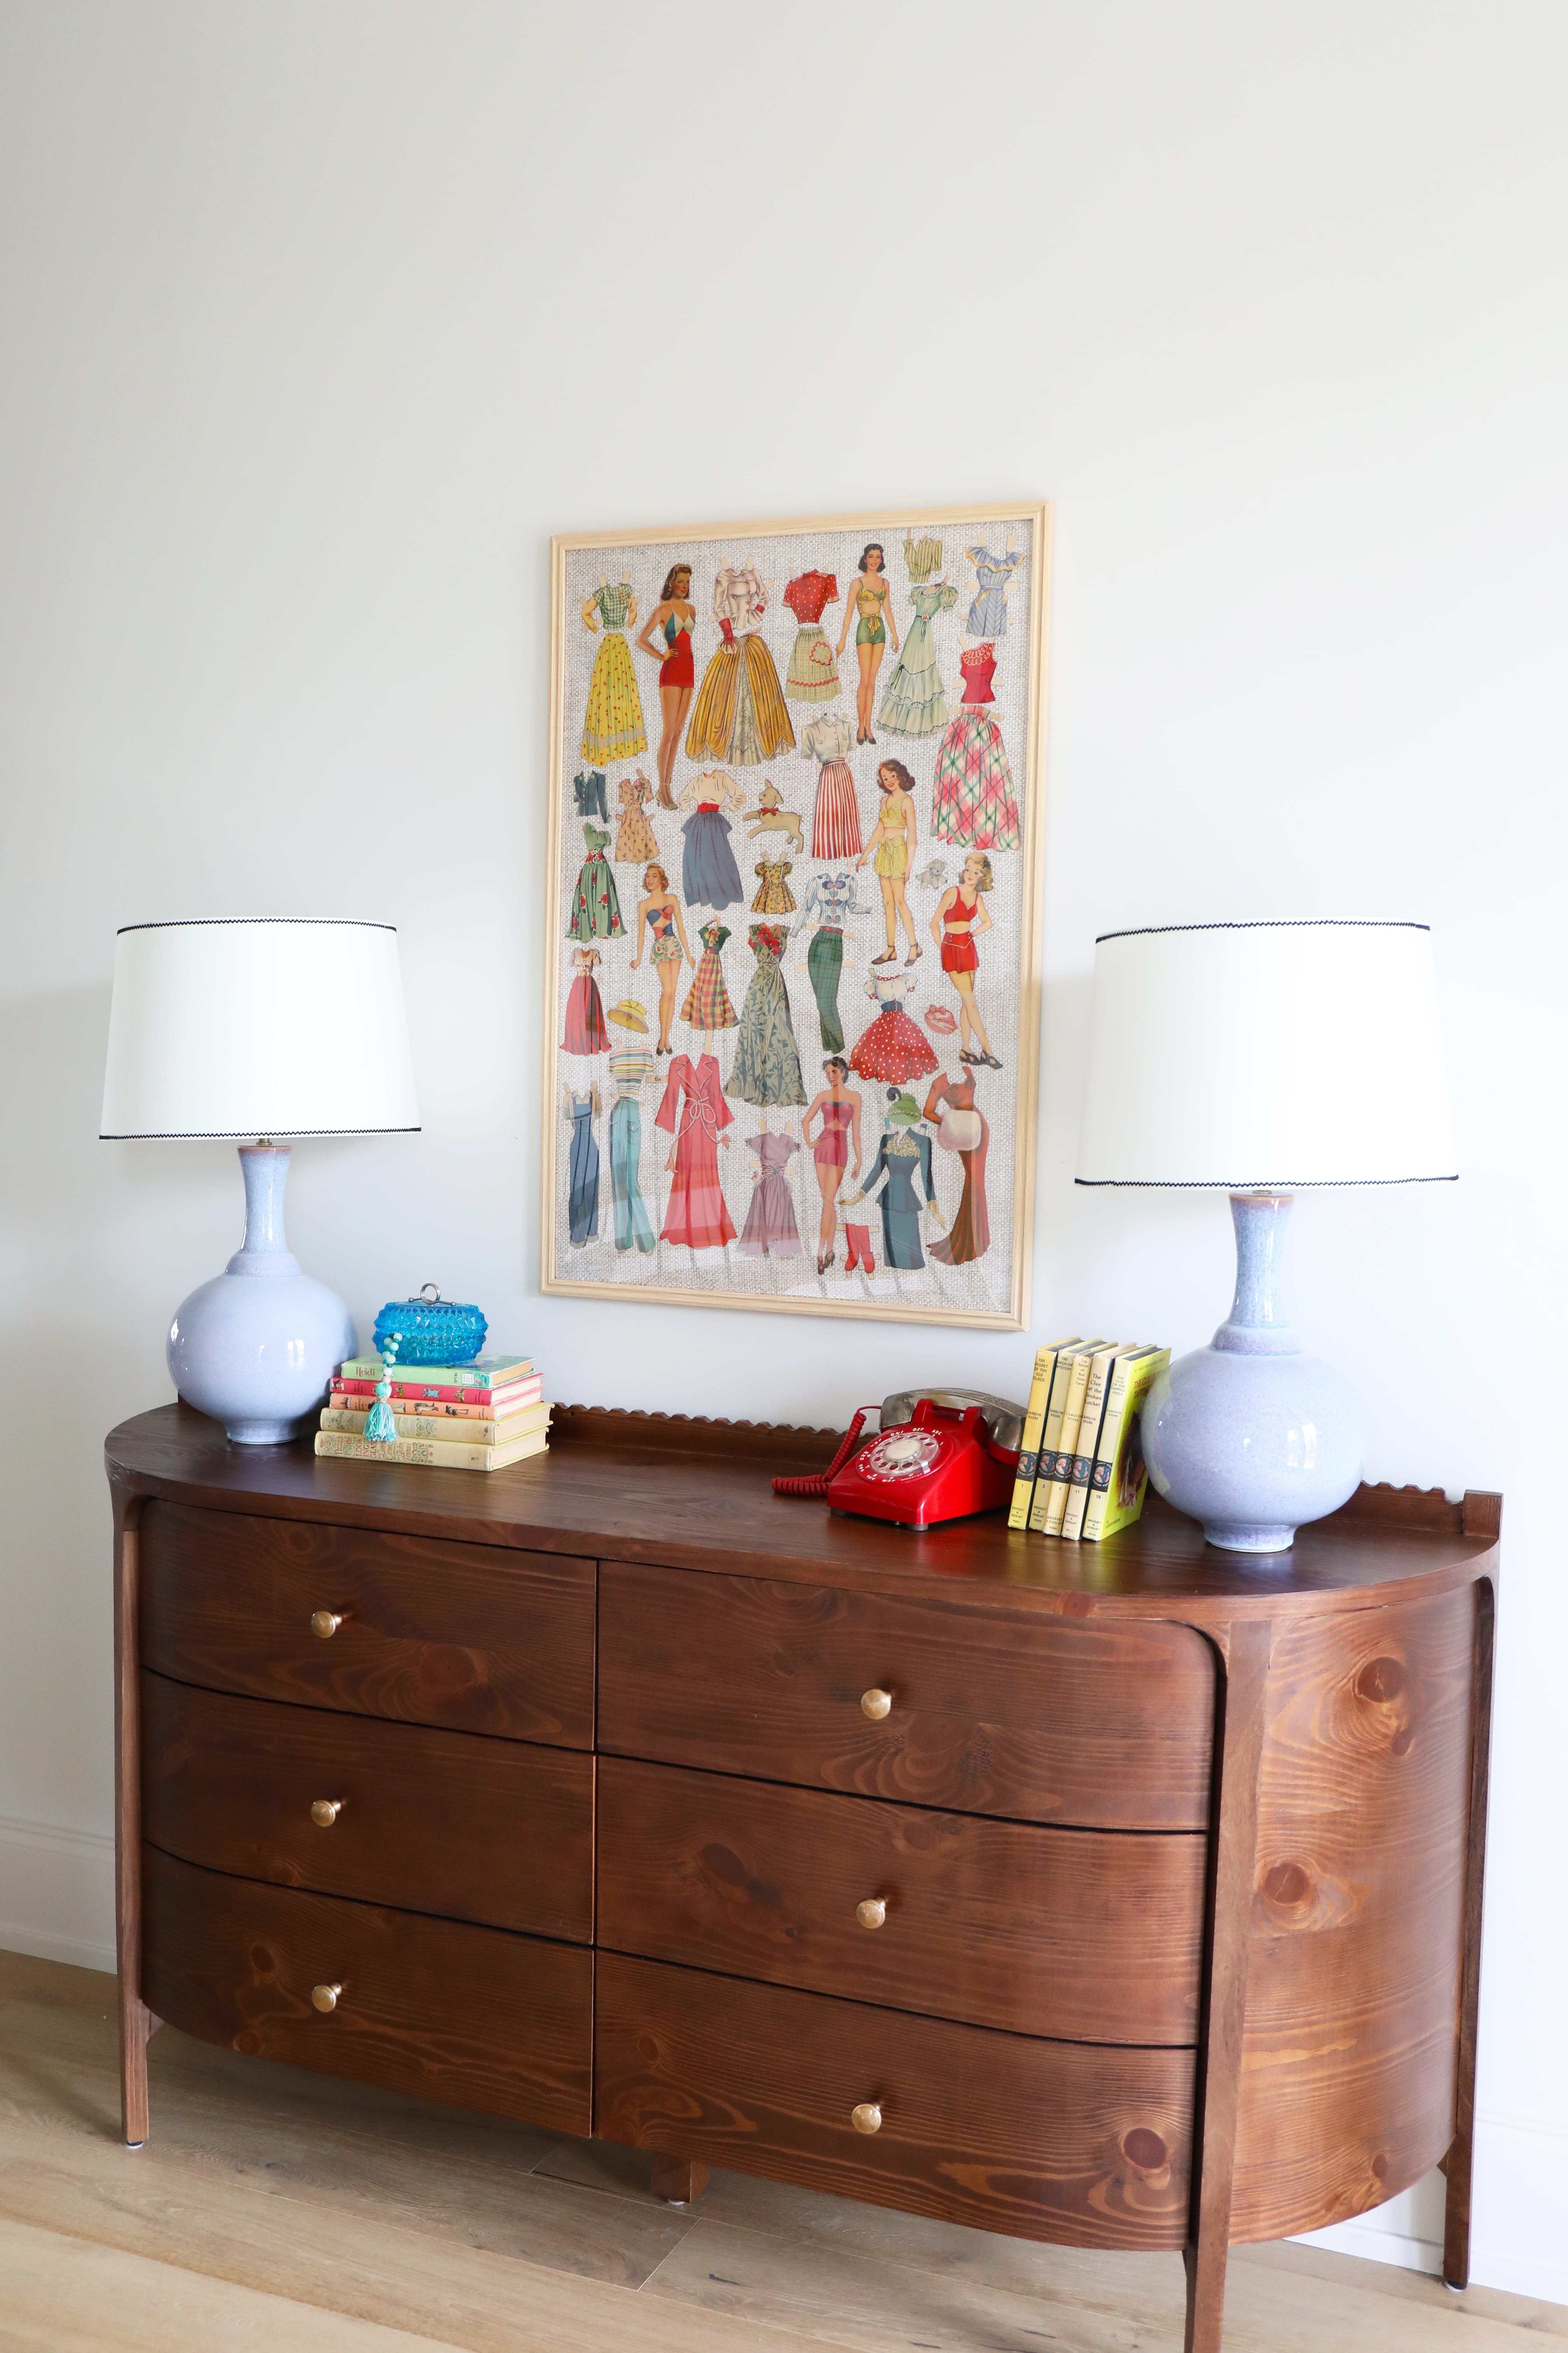
So at some point, we were given these paper dolls – an entire slew of them… and I held on to them for over a decade. Maybe more around fifteen years. I knew that someday I would use them again; I just wasn’t sure where.
So we decided Emerson’s dorm room was a great opportunity to display a few.
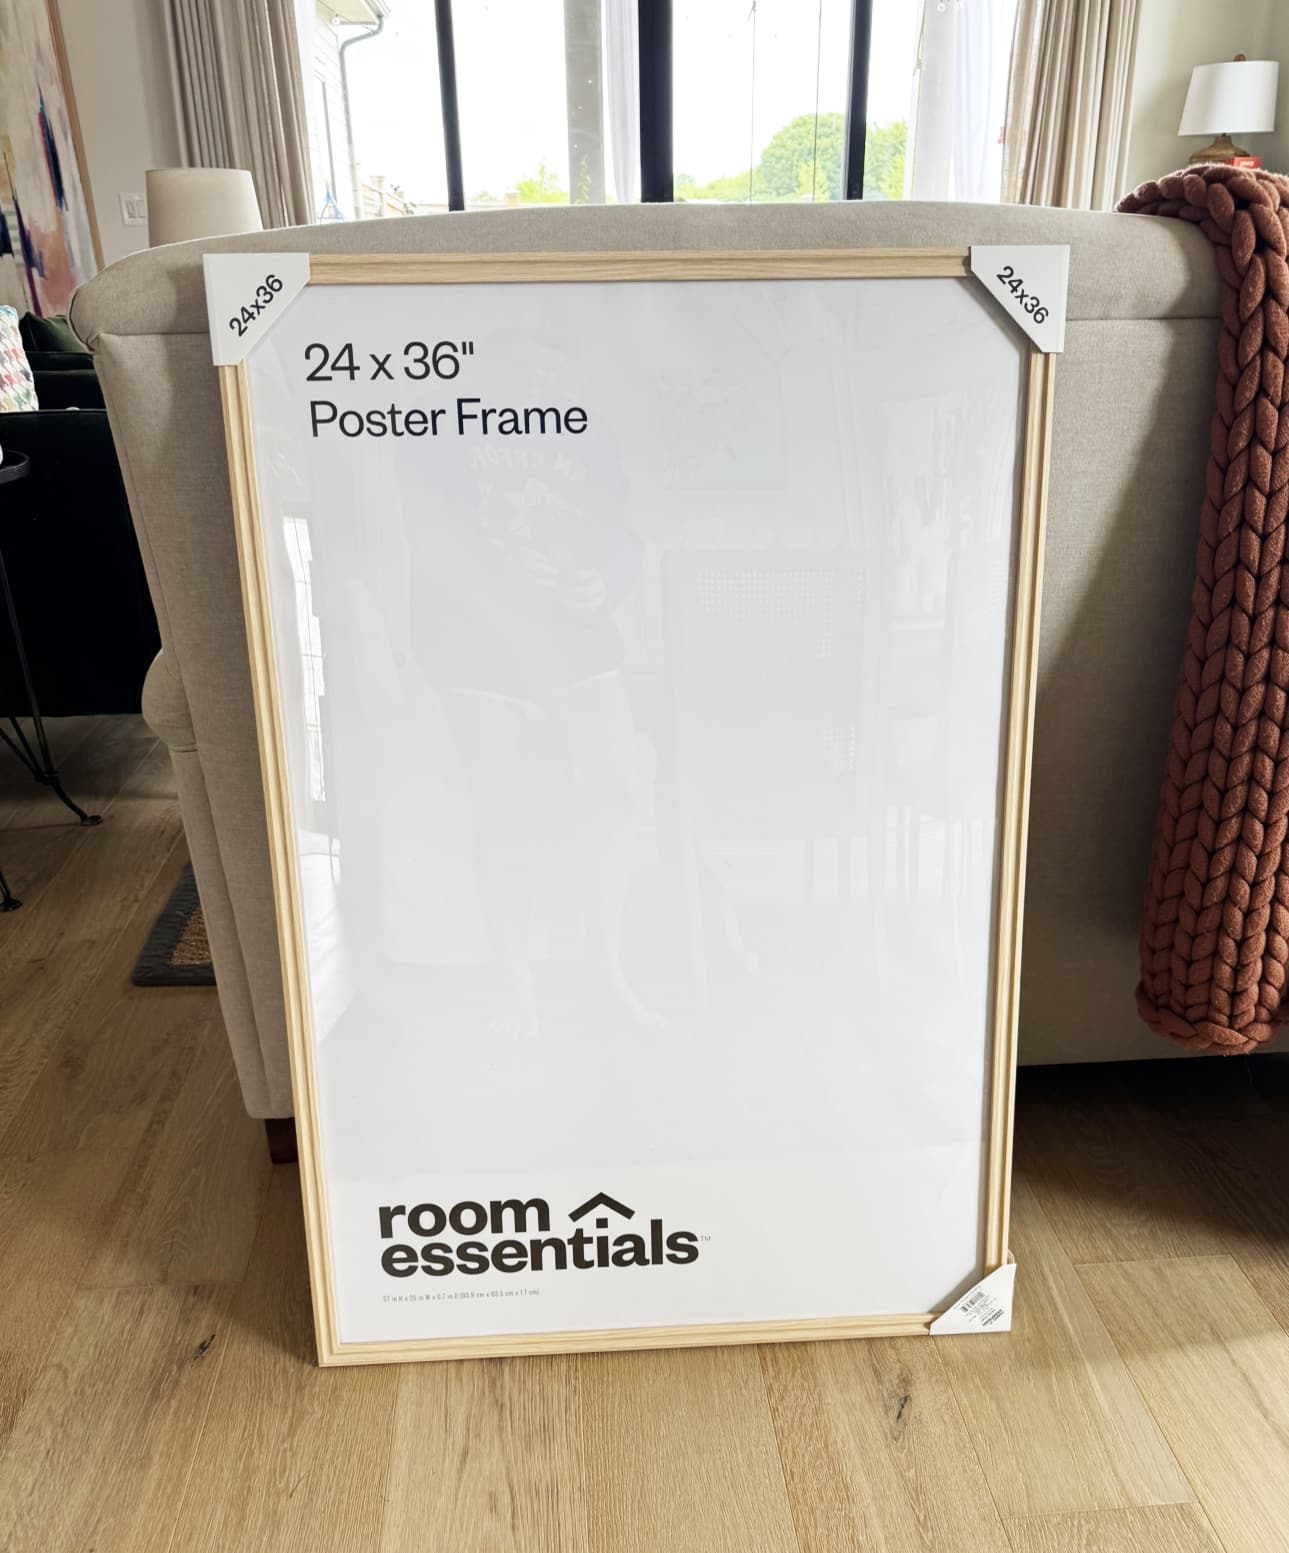
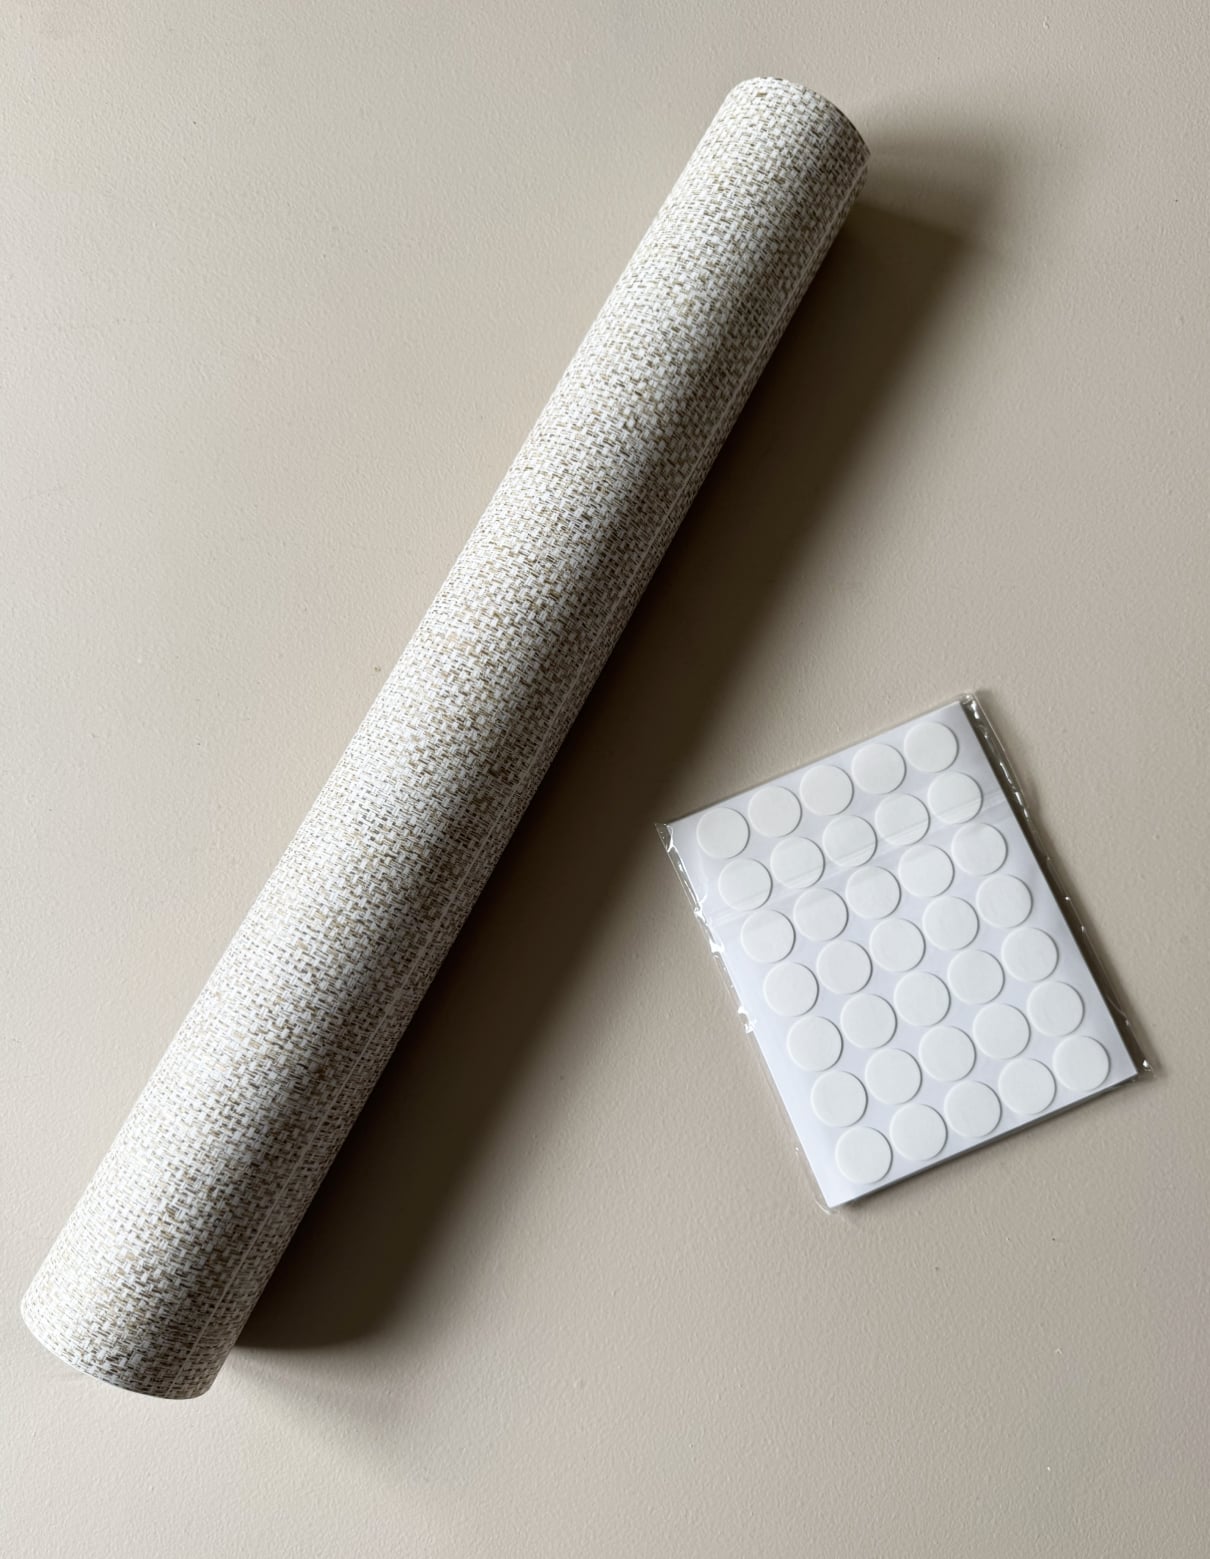
I grabbed a basic poster frame from Target and some grasscloth wallpaper I had leftover from another project. I also used these adhesive dots for mounting. {For the record, these turned out to be so tedious, I gave up halfway through and just used my glue gun on low heat… because I have bigger fish to fry. But alas, if you wish to help preserve your pieces, these are a thoughtful addition.}
Then we pulled some of our very favorites: a combo of dolls + outfits for style + color. For instance, we knew Elizabeth Taylor was a must-have.
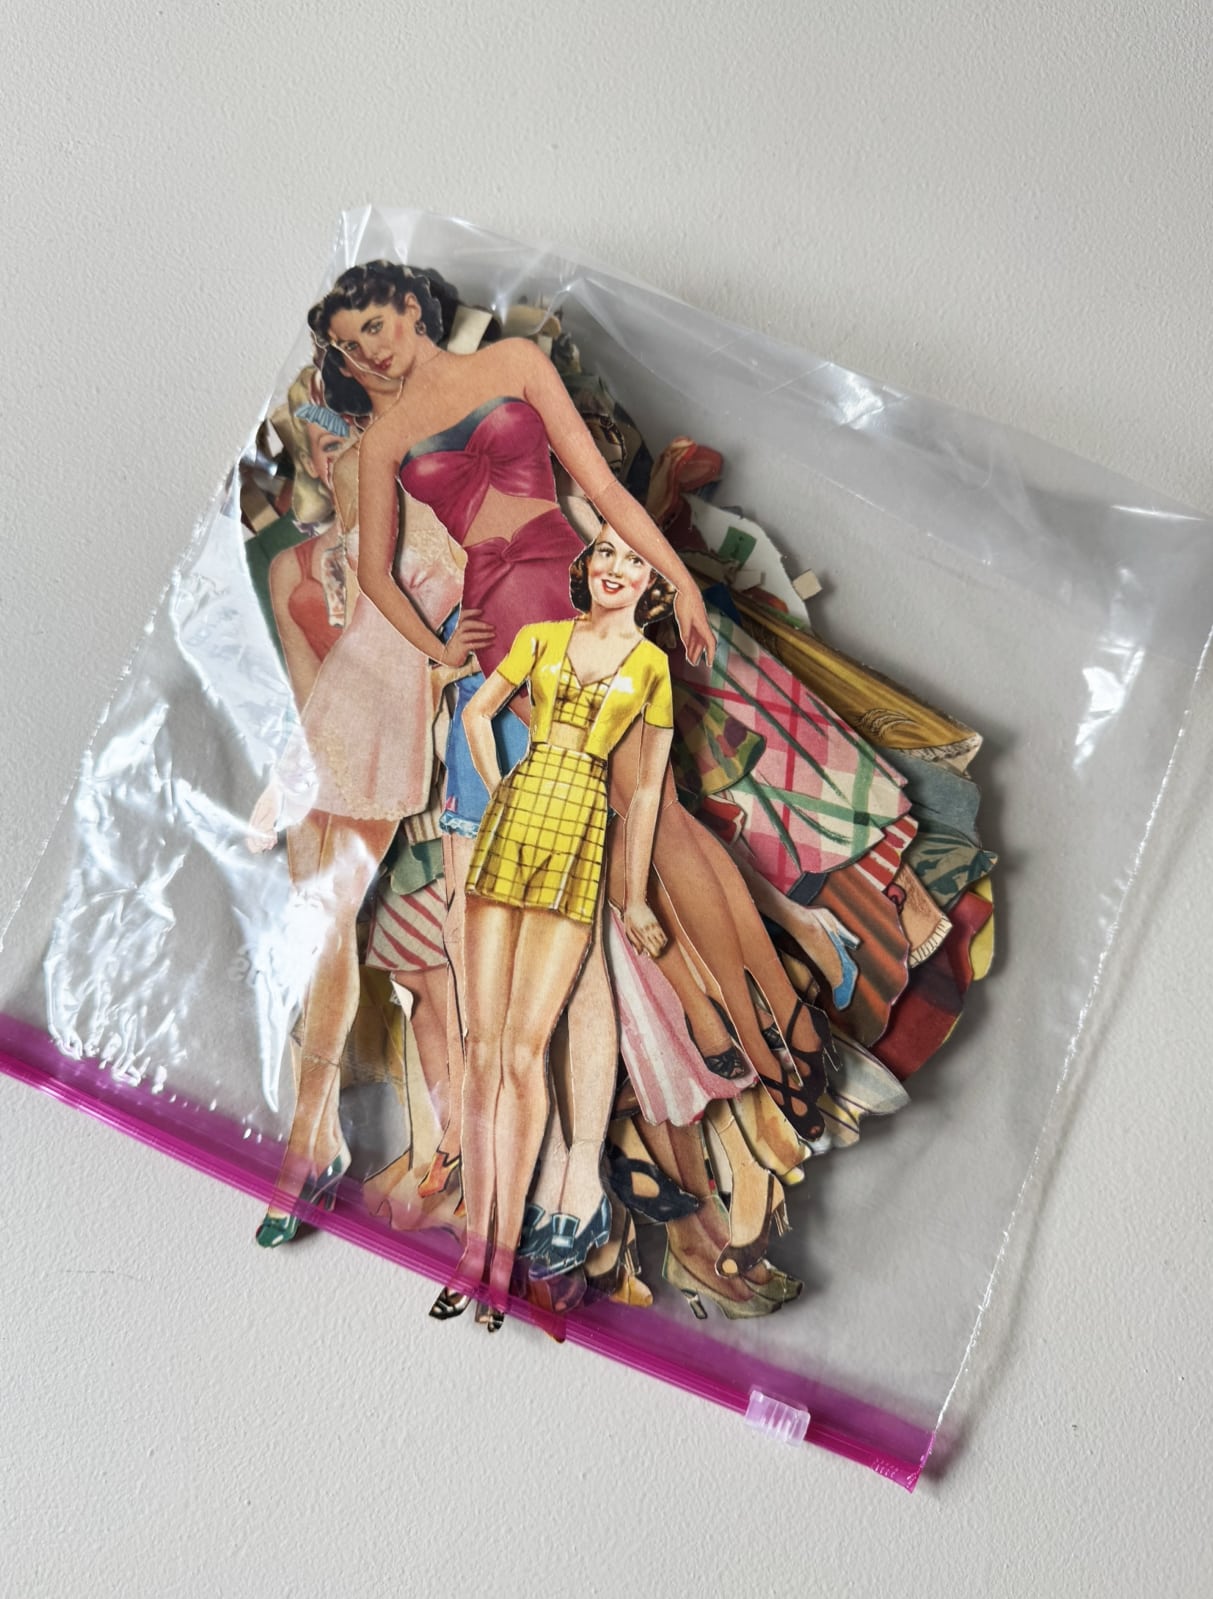
Next, I cut my paper and added it to the frame, dabbing glue around all the edges. I do love that the paper has a slicker finish, which makes it easier to mount.
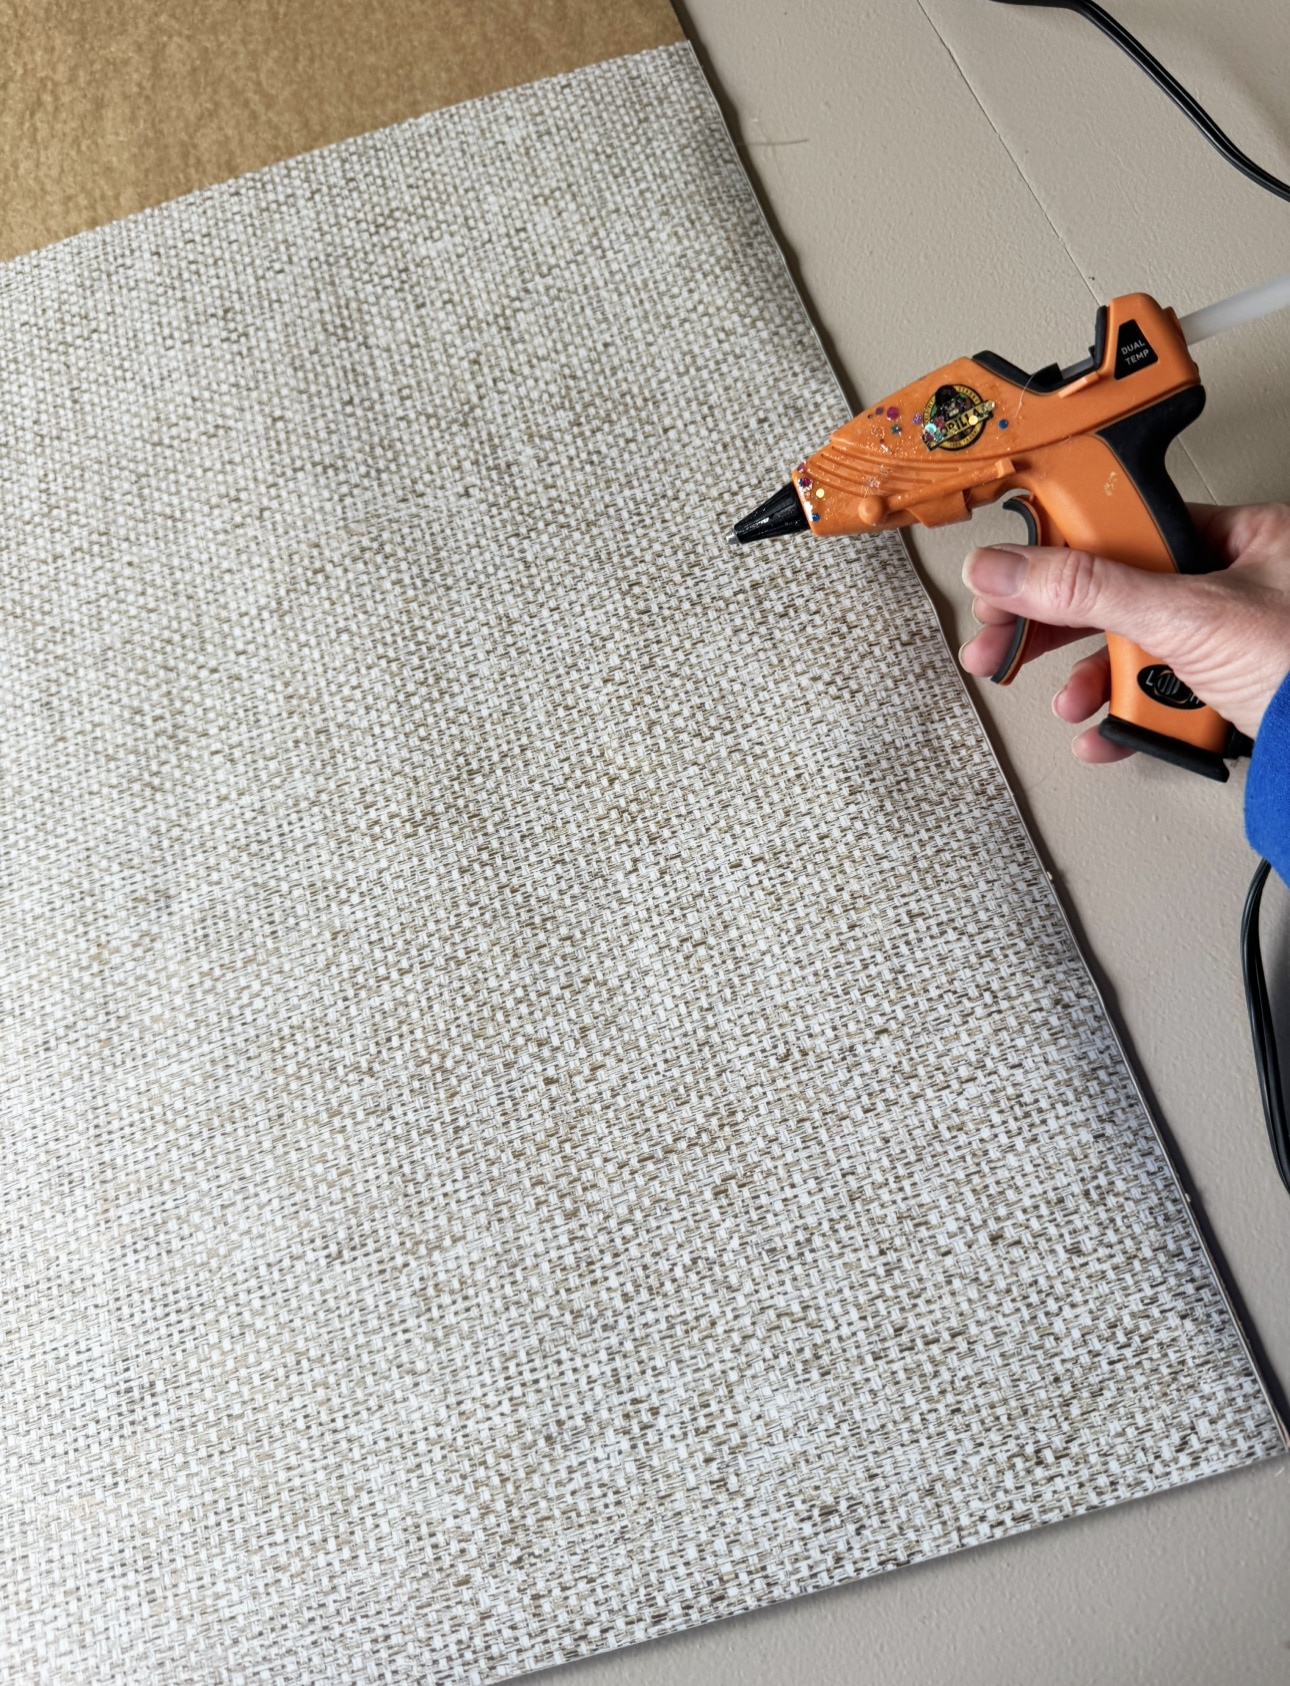
It took two sections, but what I love about grasscloth is that the woven pattern blends easily.
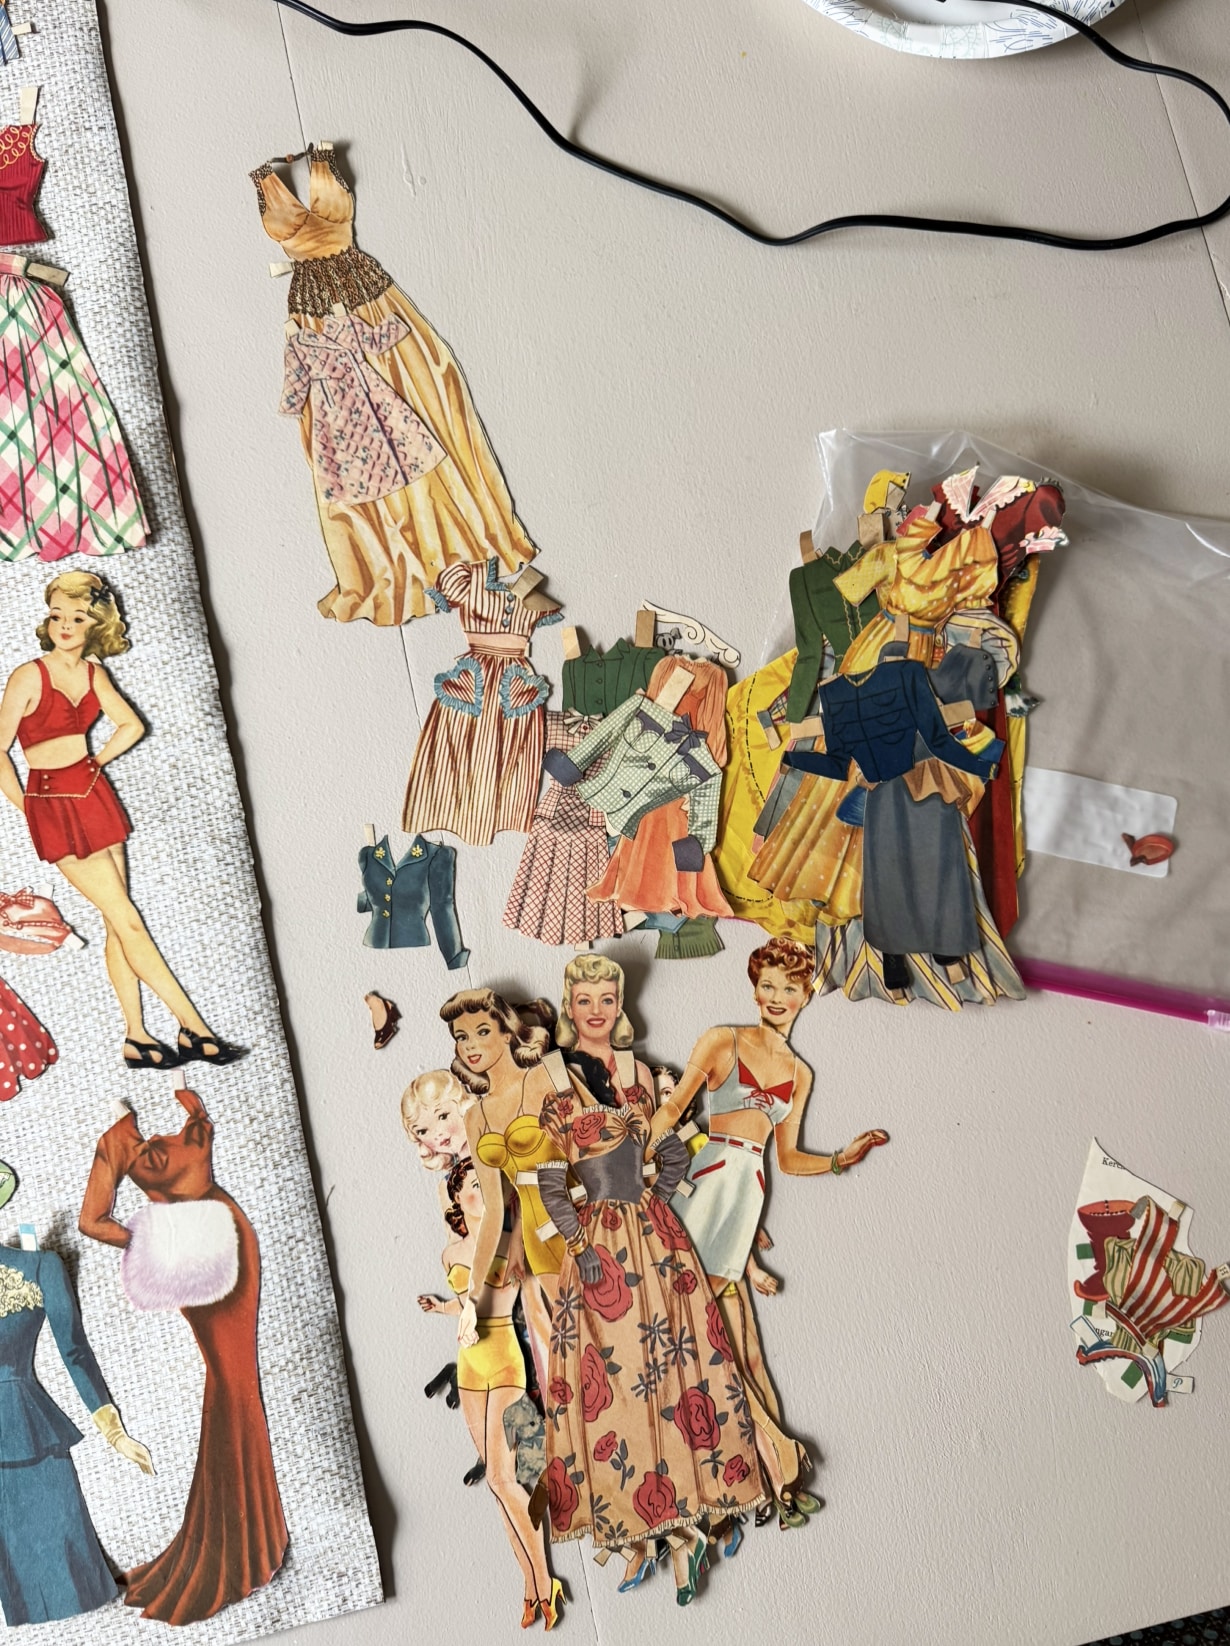
Next, we laid out our faves, and made sure they all worked nicely.
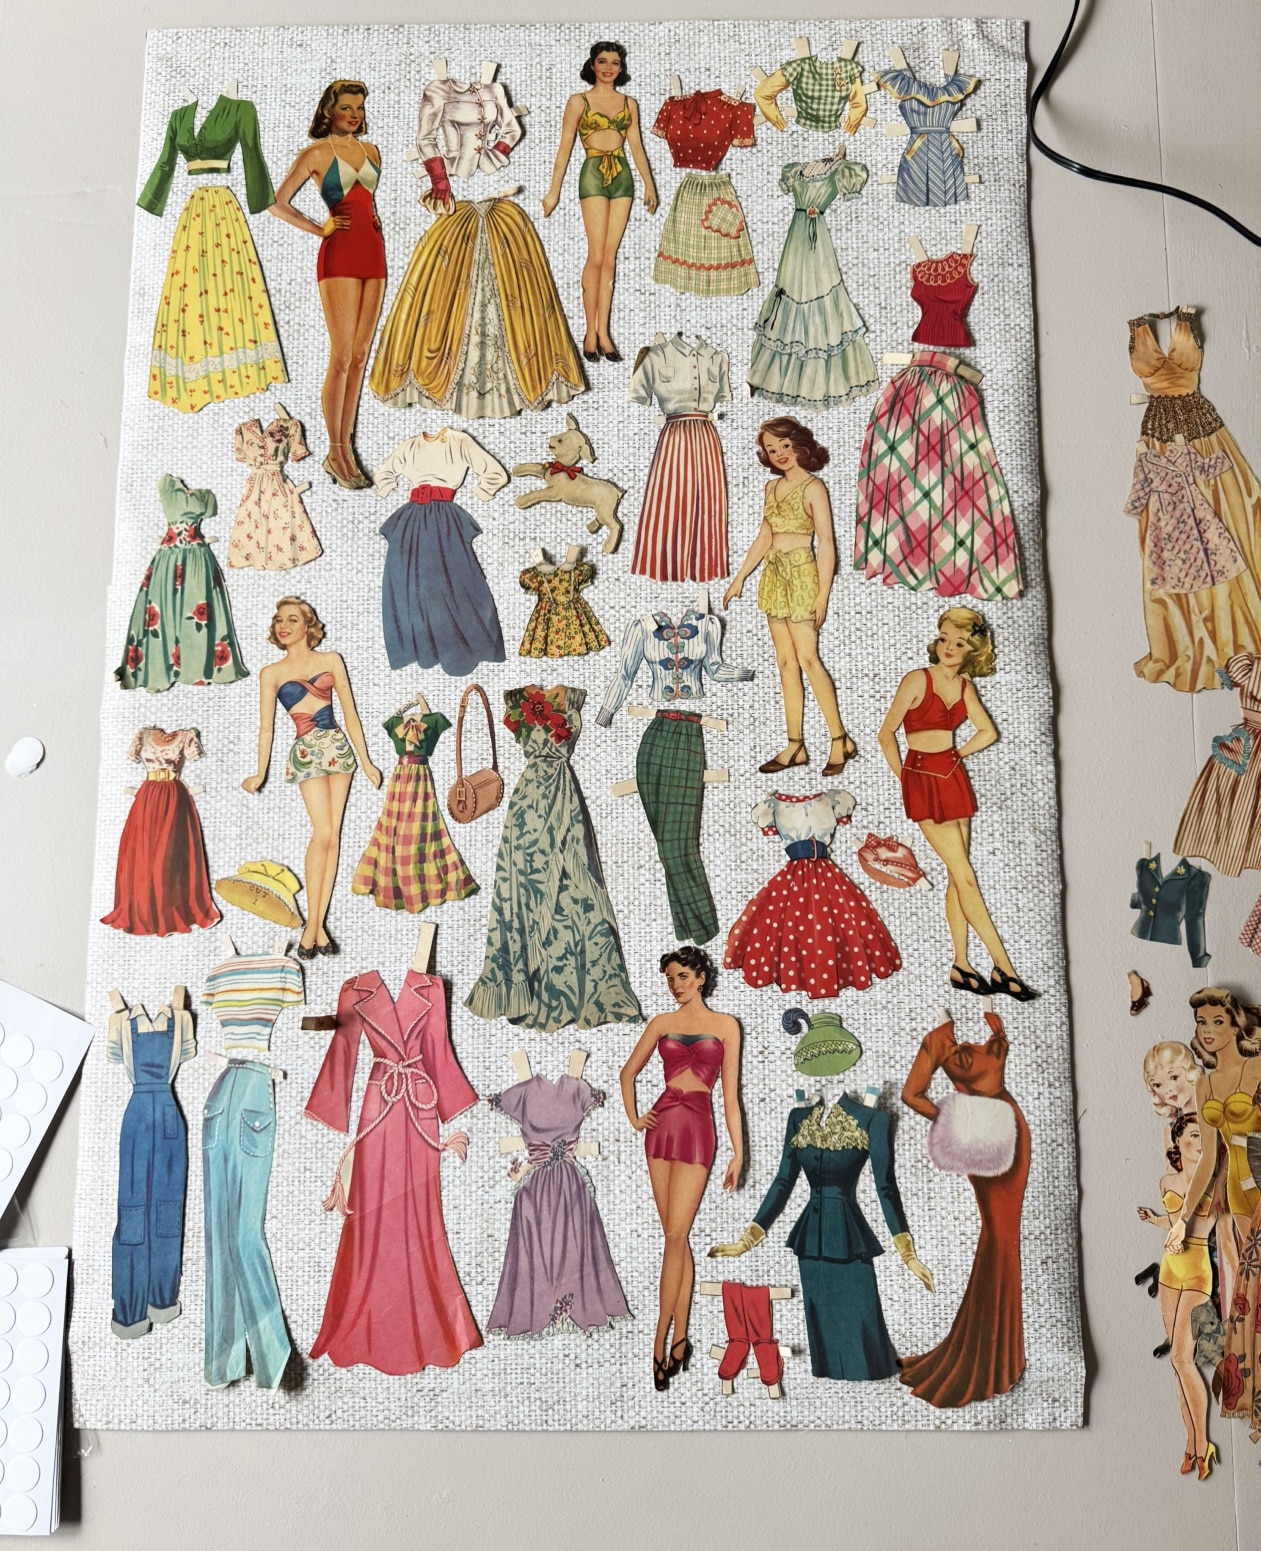
When we were ready to commit, we added each one to the grass cloth. Helpful hint: Make sure the mount side faces right side up so you can hang it. I did mine upside down even though I checked. And had to add a sticky hook to the back.
When we were done, I made sure there were no extra paper jibblets or cobwebs.. and… tada! Finito.
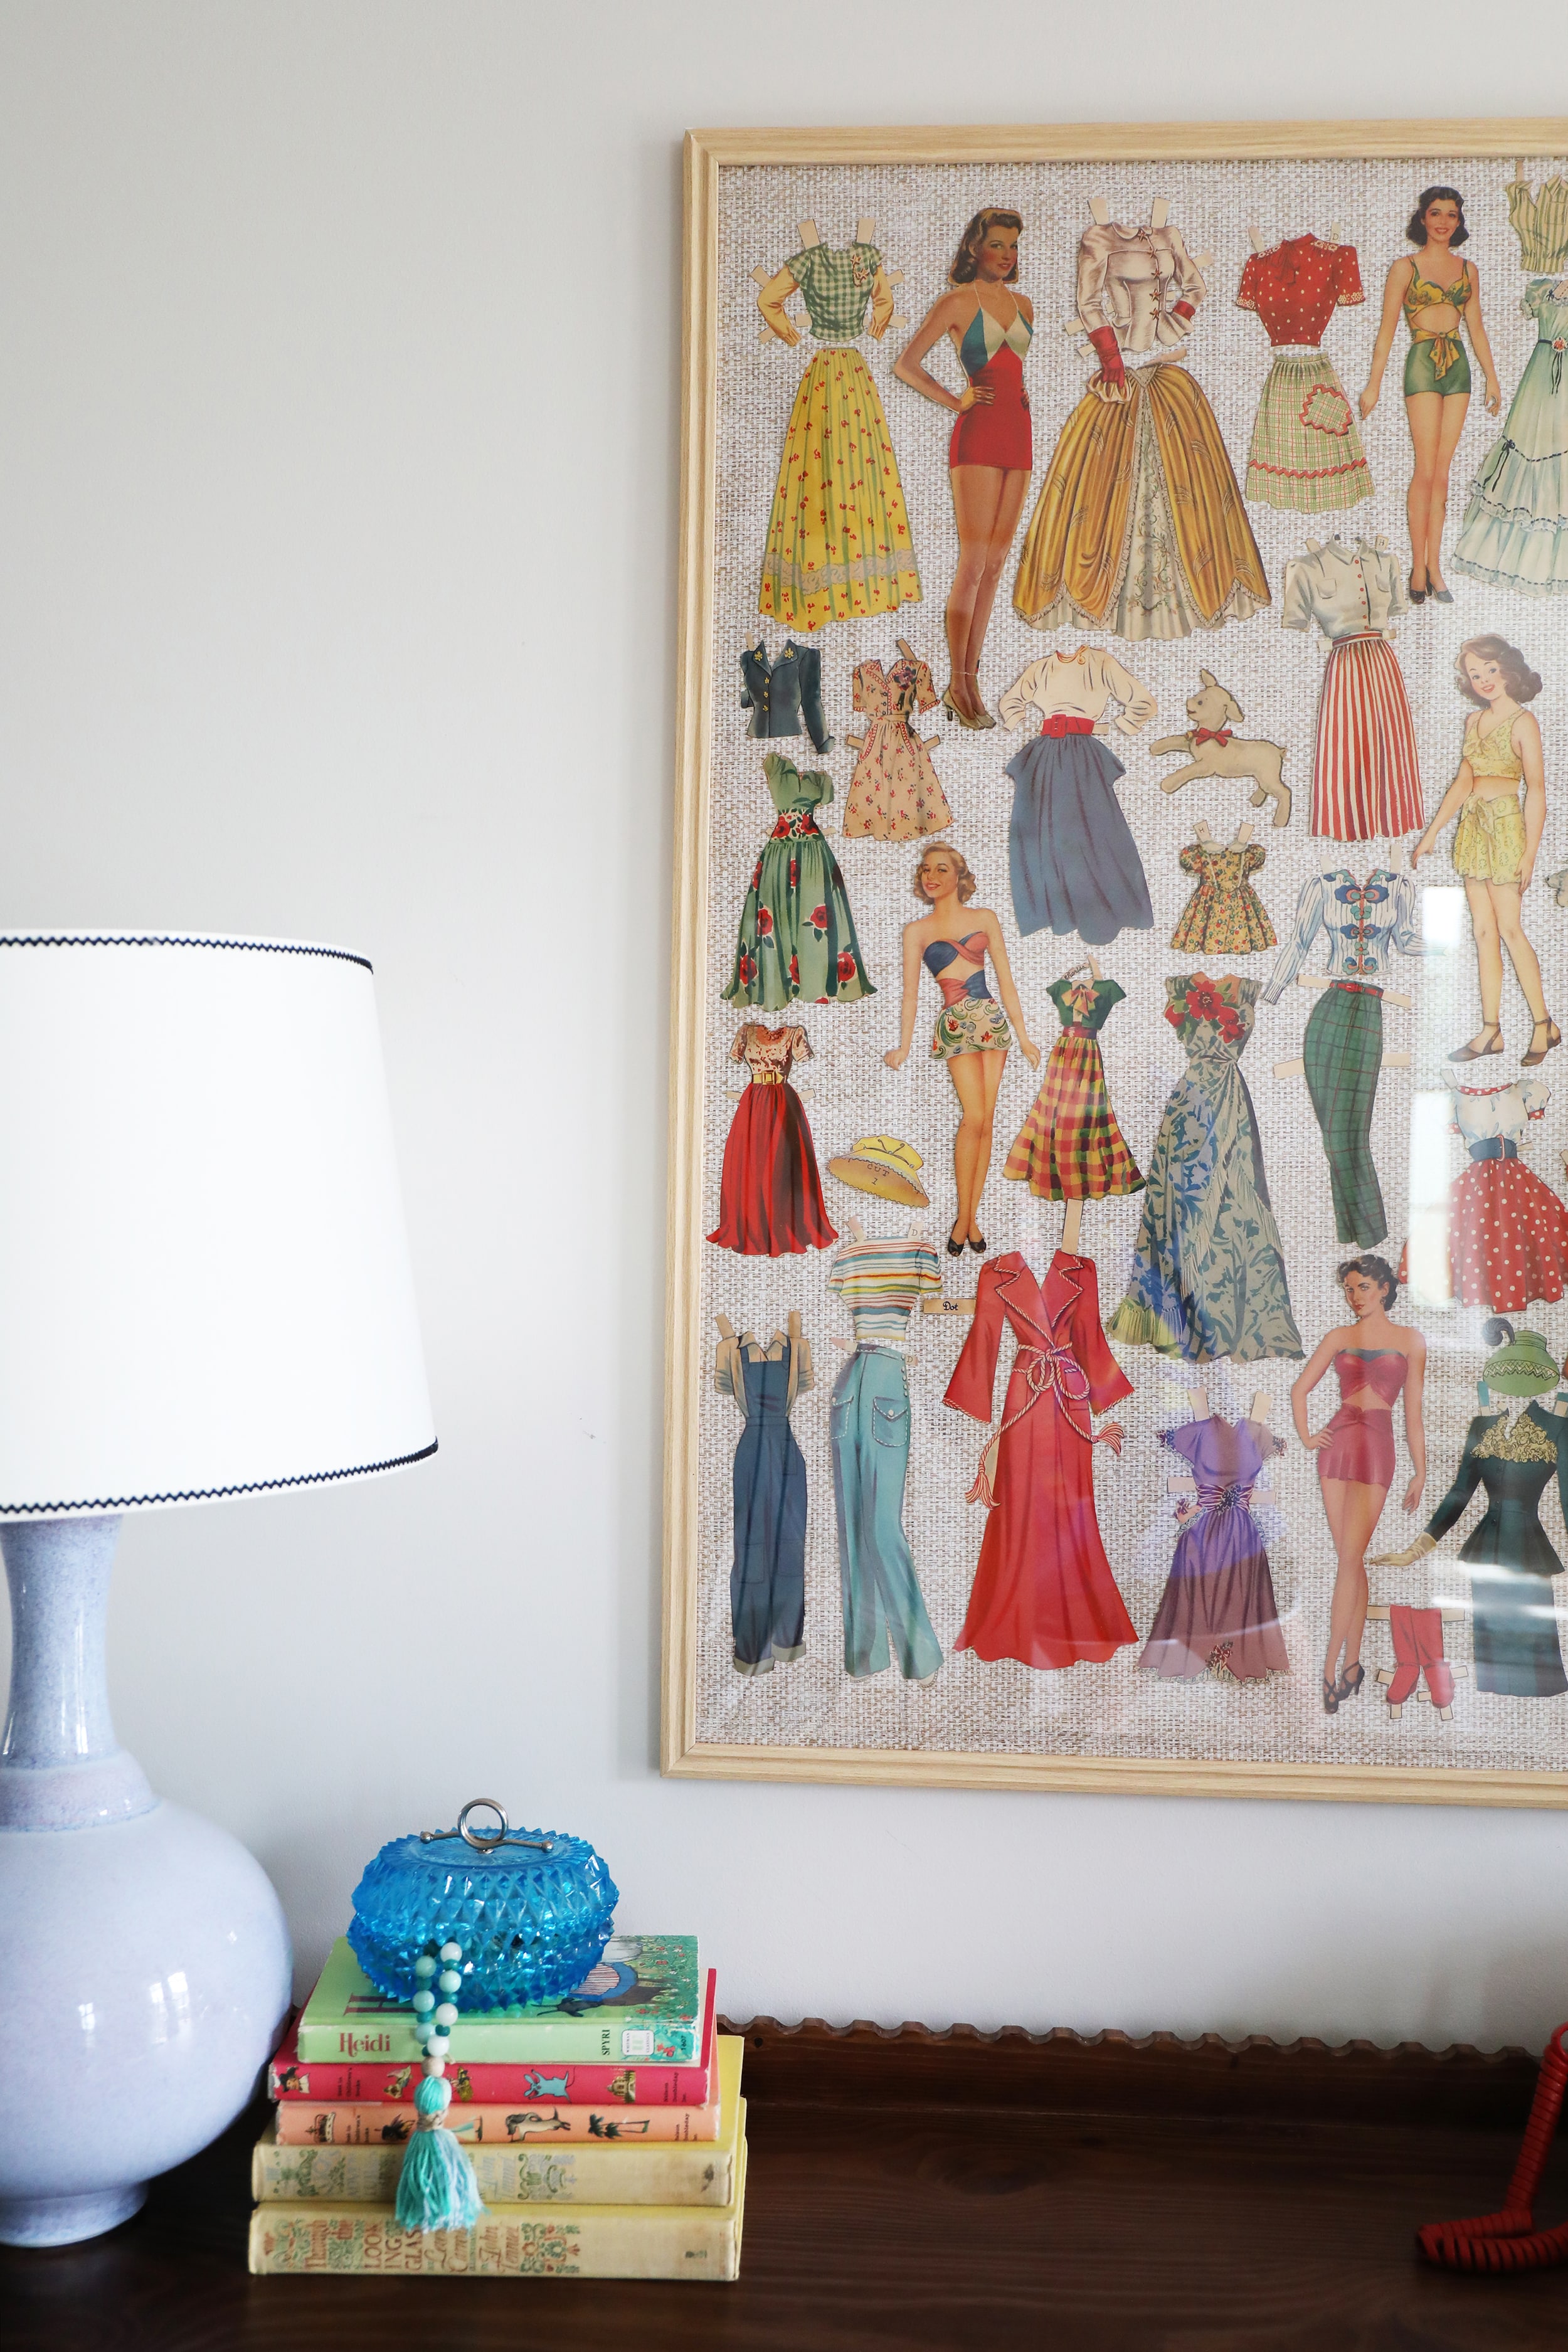
We love the fun color and vintage vibes it will bring to her space!
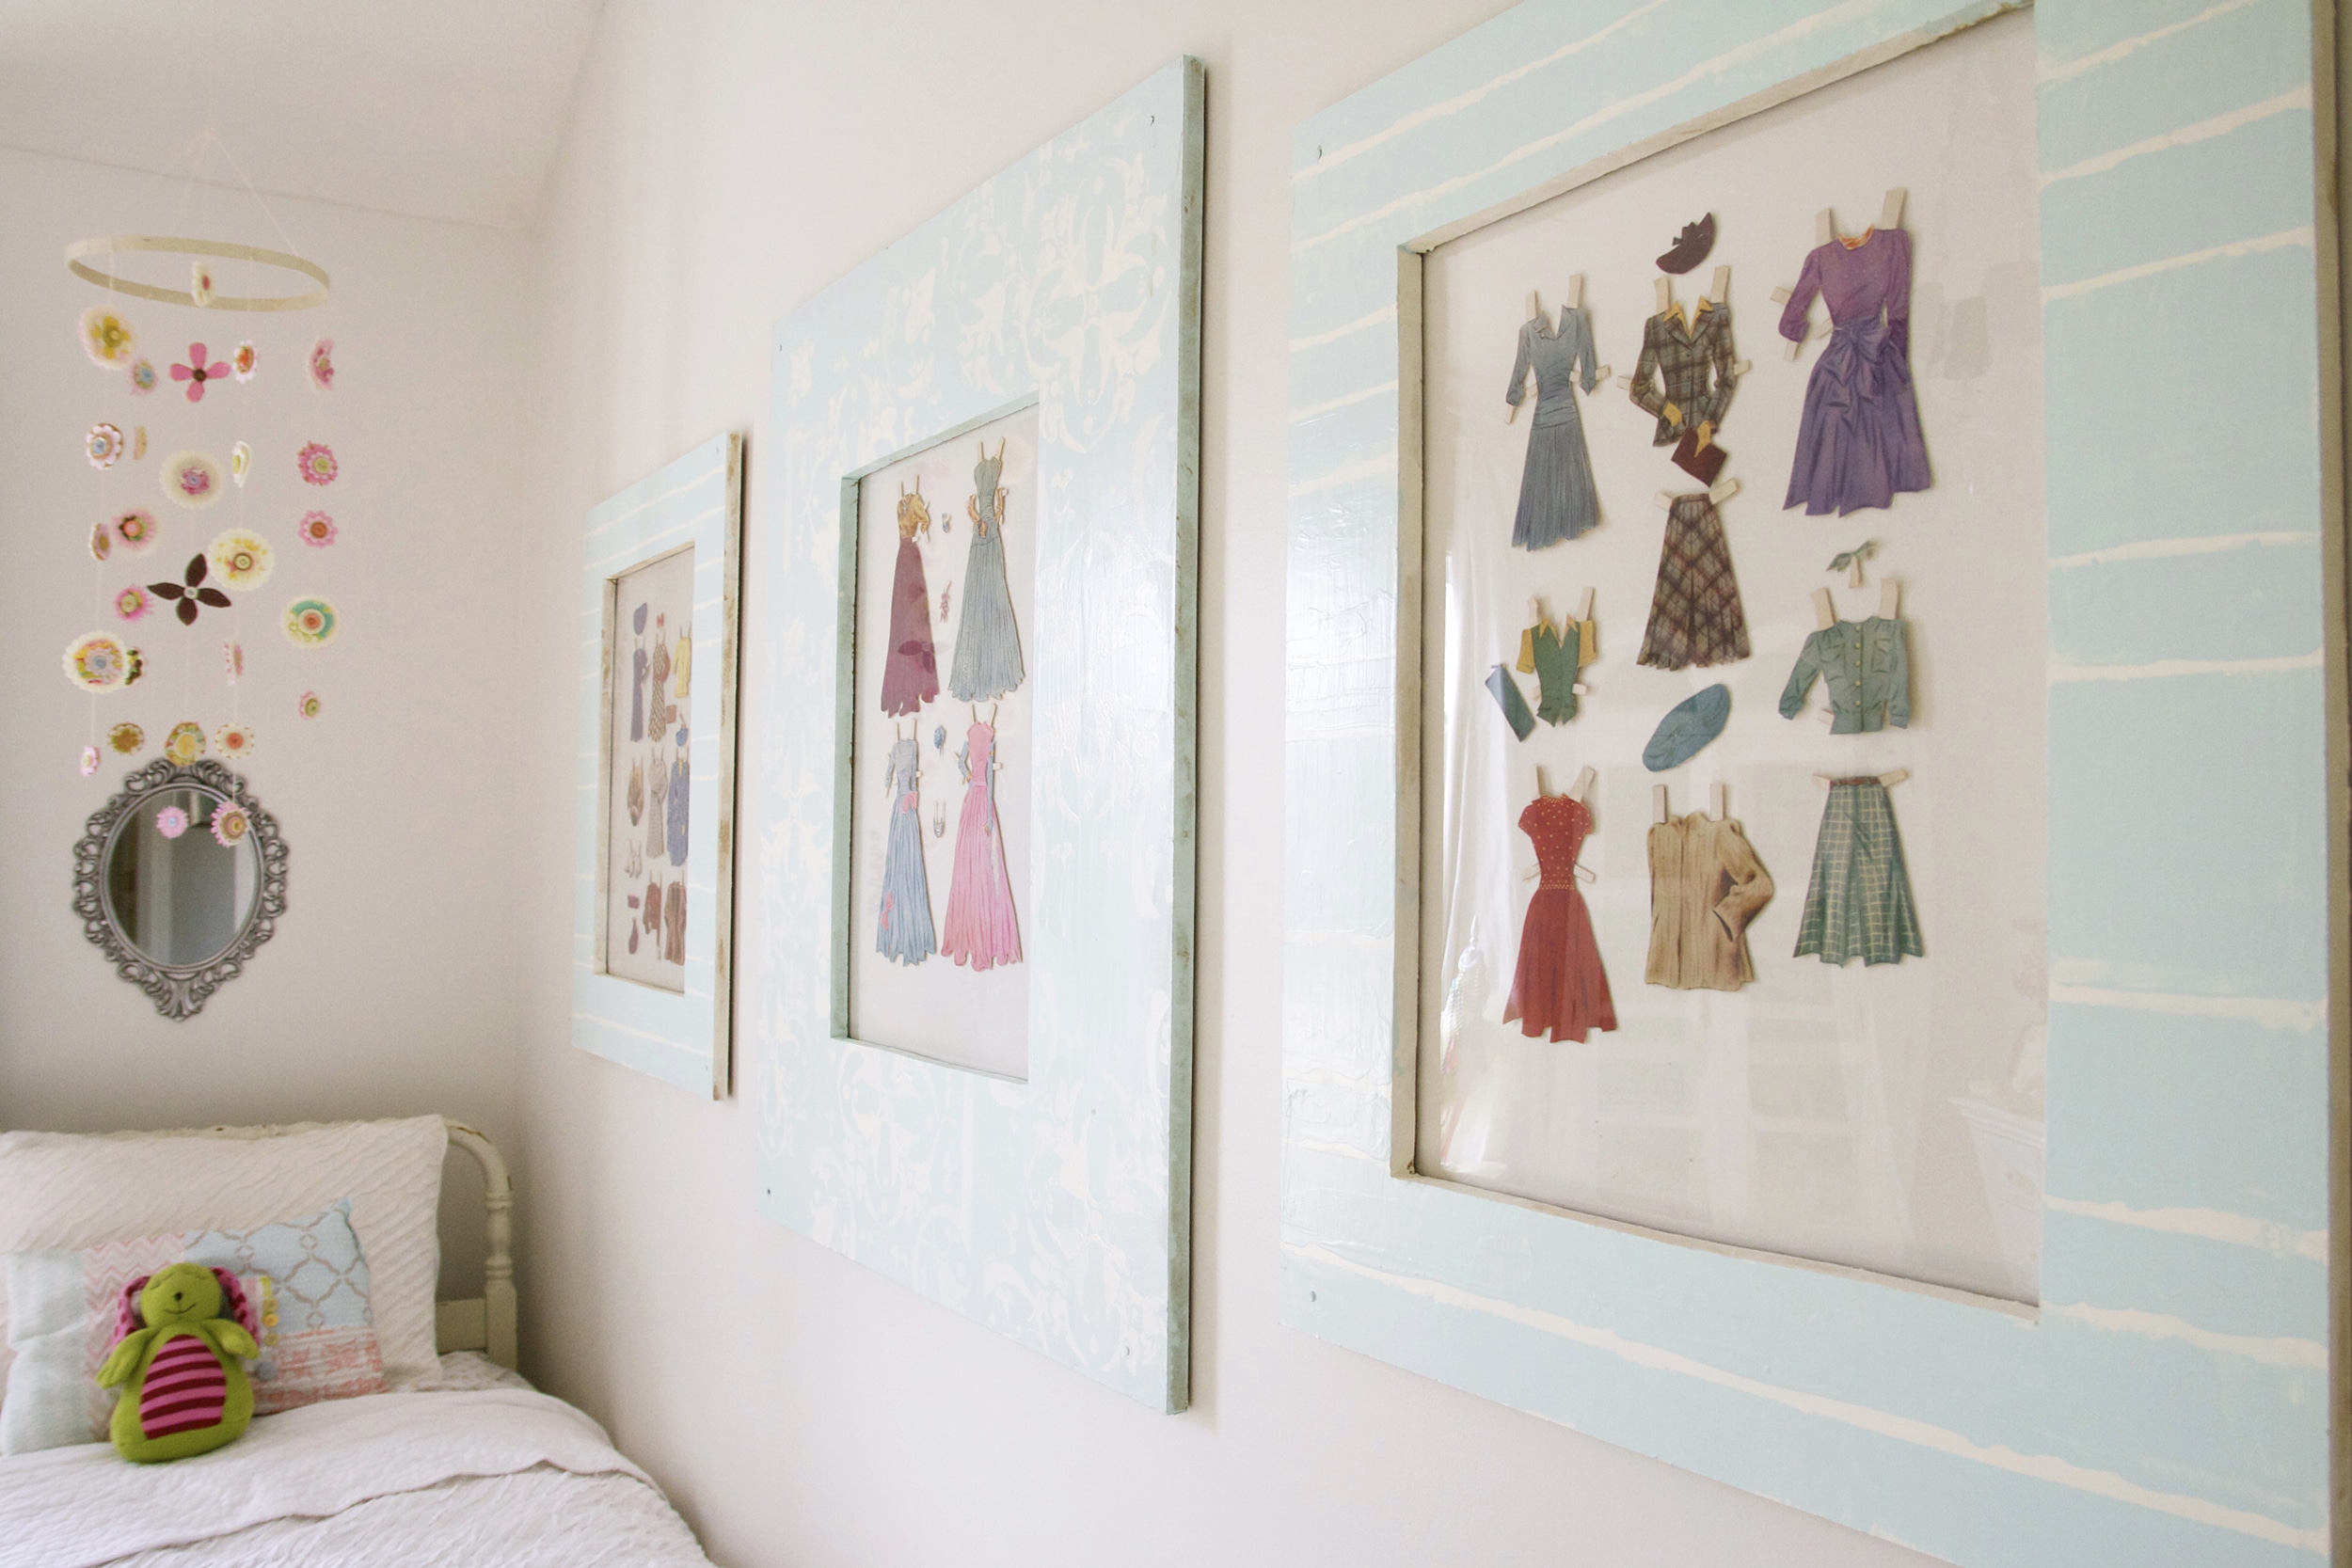
Such a fun throwback to the early days.
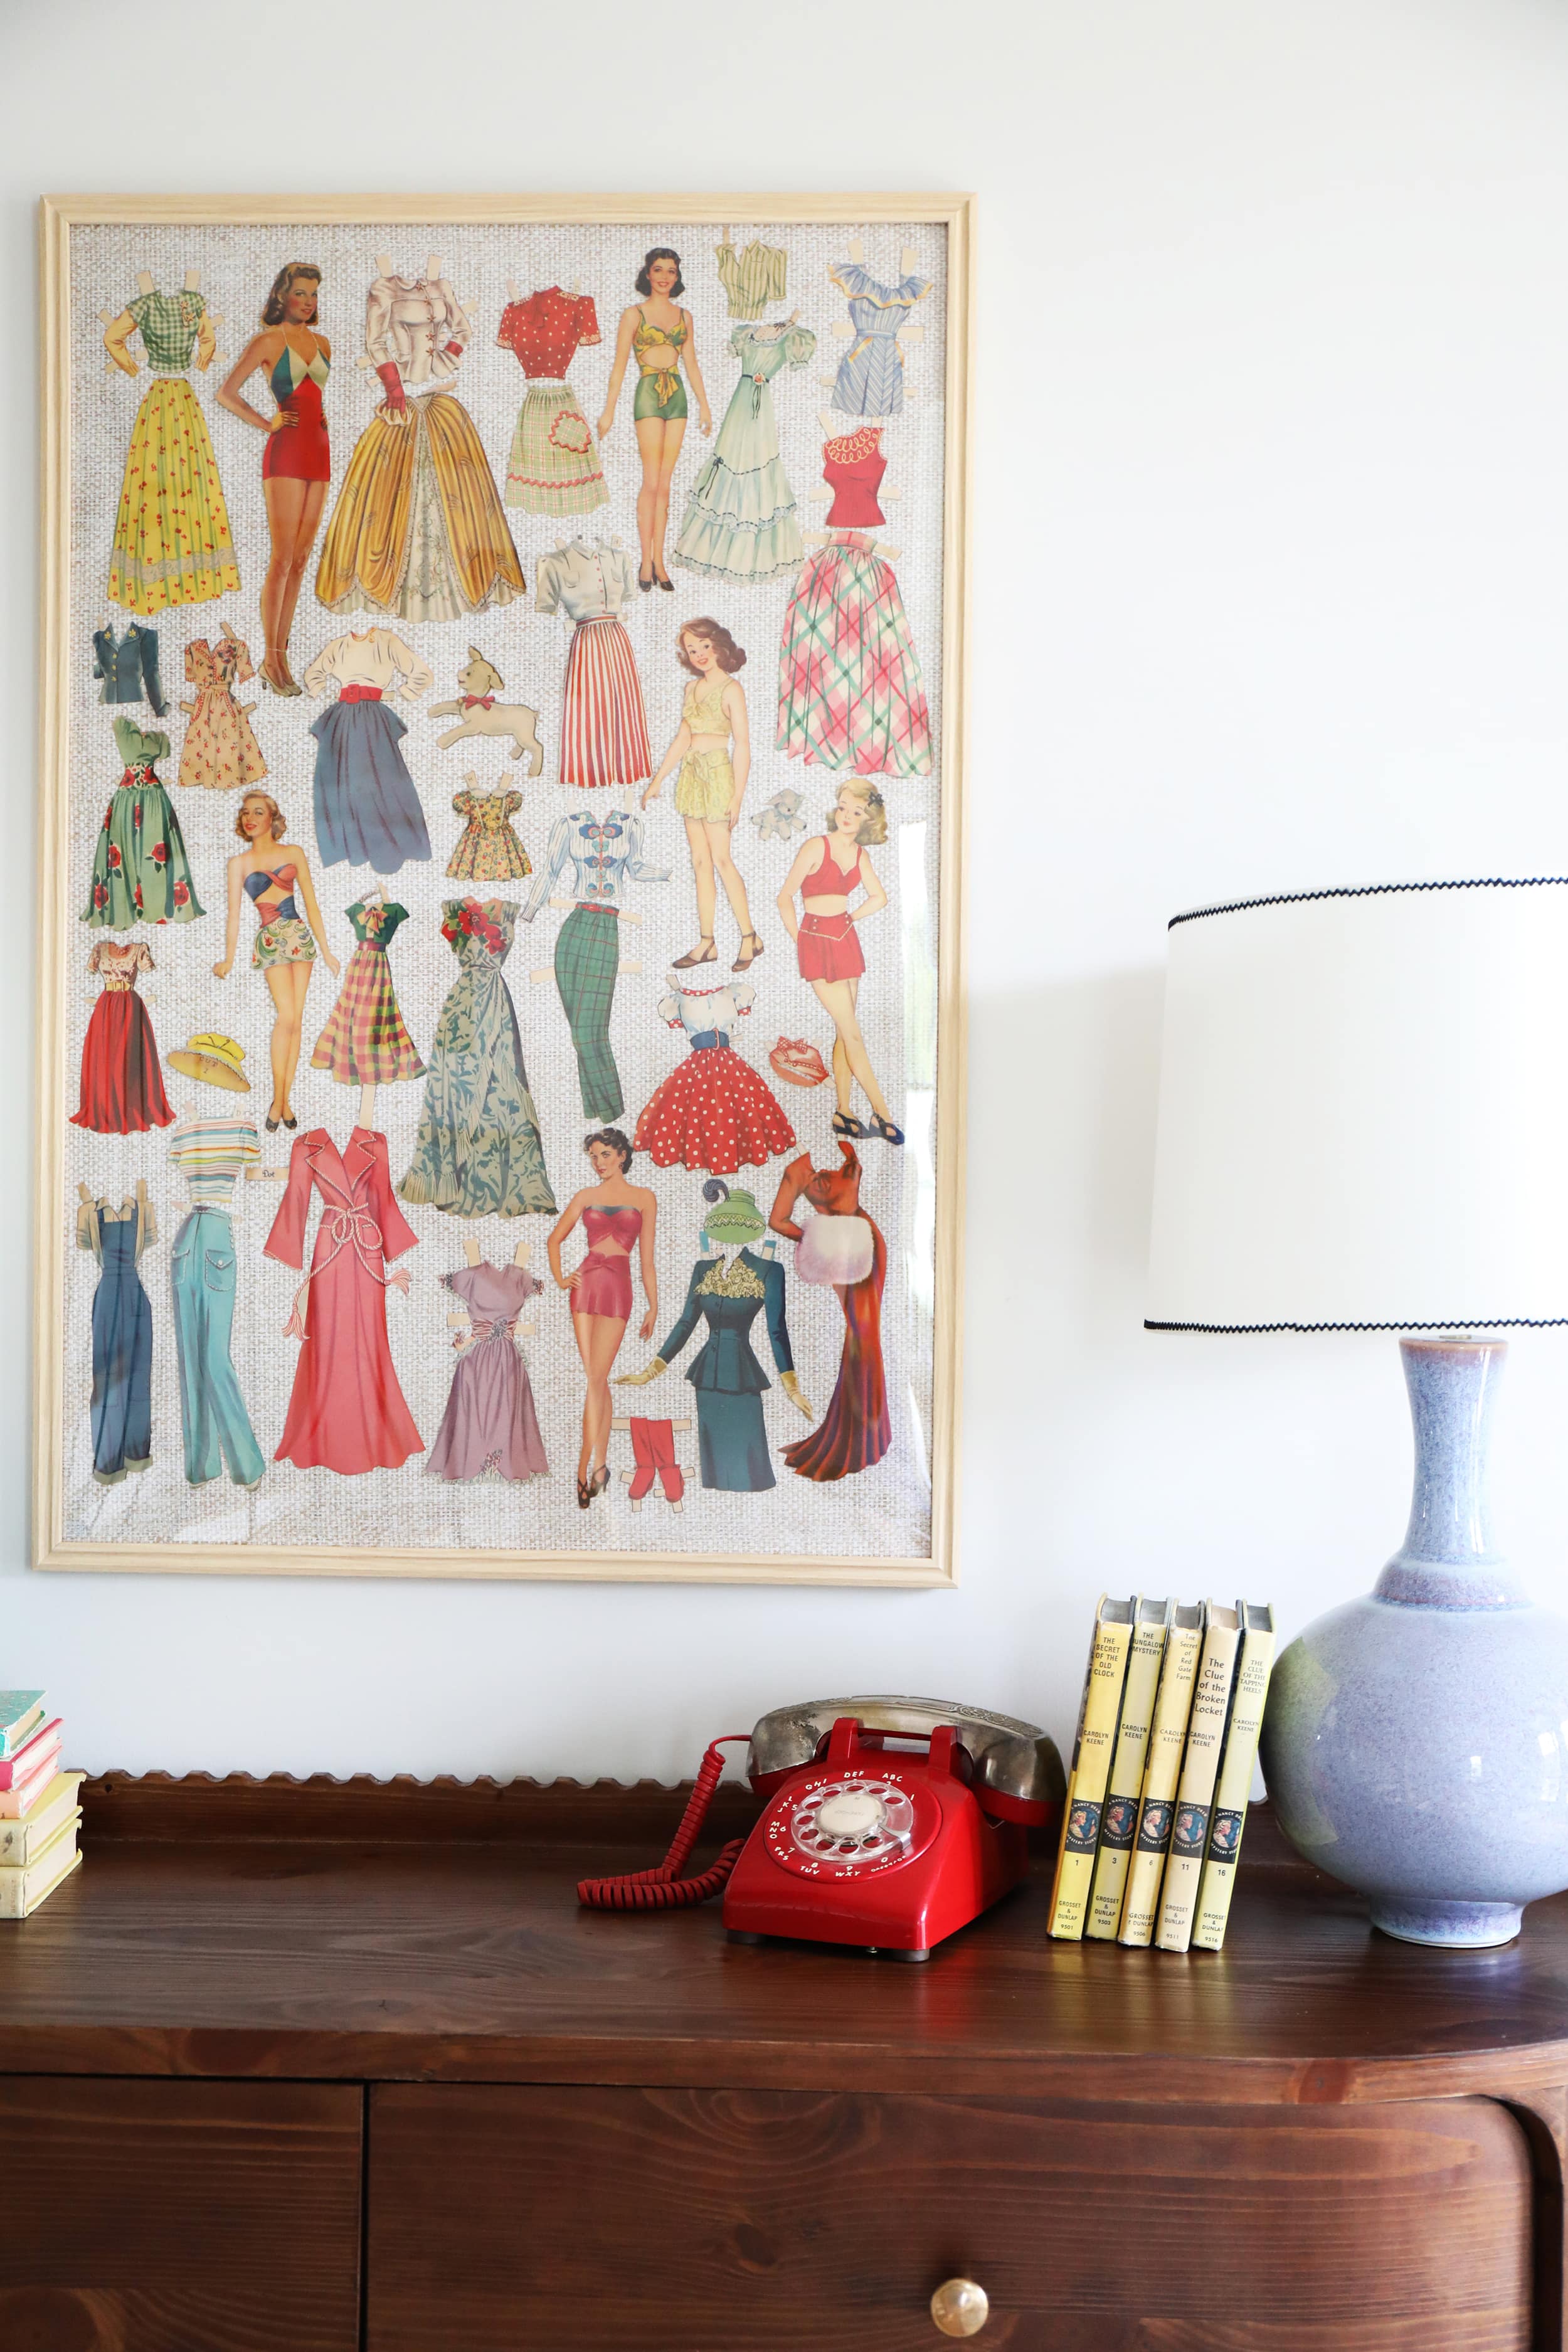
And we love this fun look!
Do you have some old paper dolls? Have you done anything fun with them? We’d love to hear. Have an inspired day!