
handmade driftwood star

In our last post, I mentioned that we spent memorial day weekend, here.
Knowing I just might be able to spend a little time perusing some of my latest magazine arrivals, I literally scooped up a pile, and carried them out to the beach to view. After all, you really never do know when or where you’ll be inspired.
One of them included the latest Pottery Barn Outdoor Living Mag, so imagine my delight, when I felt instantly inspired, while sitting on the beach, when I eyed this.
Nope. Not the furniture. That star. And I just so happened to be surrounded by piles of never ending collections of driftwood. I’d already been collecting some of the longer pieces, to spruce up my stockpile beside our fireplace. But I noticed that this particular star was made with smaller pieces of wood. The flat kind of driftwood. So to work I went collecting, up and down the beach.

This weekend I finally got around to what I thought would be a fun little project to add to our home. So I started out with my handy dandy projector, a perfectly drawn star, and a piece of super skinny {.25″} MDF.
You could easily do the same thing with layered cardboard, and an exacto. {I was afraid it would need the extra support, so I’m recommending layering the cardboard} and you could also very easily freehand it. I was being a freak chihuahua, {read: my usual} so I did it this way, since I wanted even proportions. Using this template, (Scroll down, and click on ‘star template’) print, cut, and then trace onto the cardboard. You can then easily cut it, using an exacto, and glue your pieces from there.
If you want a rather large star, use the same template, and print it onto a transparency. You can trace it onto MDF, for a sturdier, freestanding star, or again, skip a step and use it on the cardboard. You could also frame the star {per Nate’s fabulous idea} for a great look in any home.

pb teen: 60 smacks. {It’s on sale right now…}

So as soon as the MDF was cut, we laid it out with the wood and our glue gun. If you wanted to make one and place it outside, I’d recommend wood glue. Mine will probably adorn our mantel at christmas…so hot glue it was.

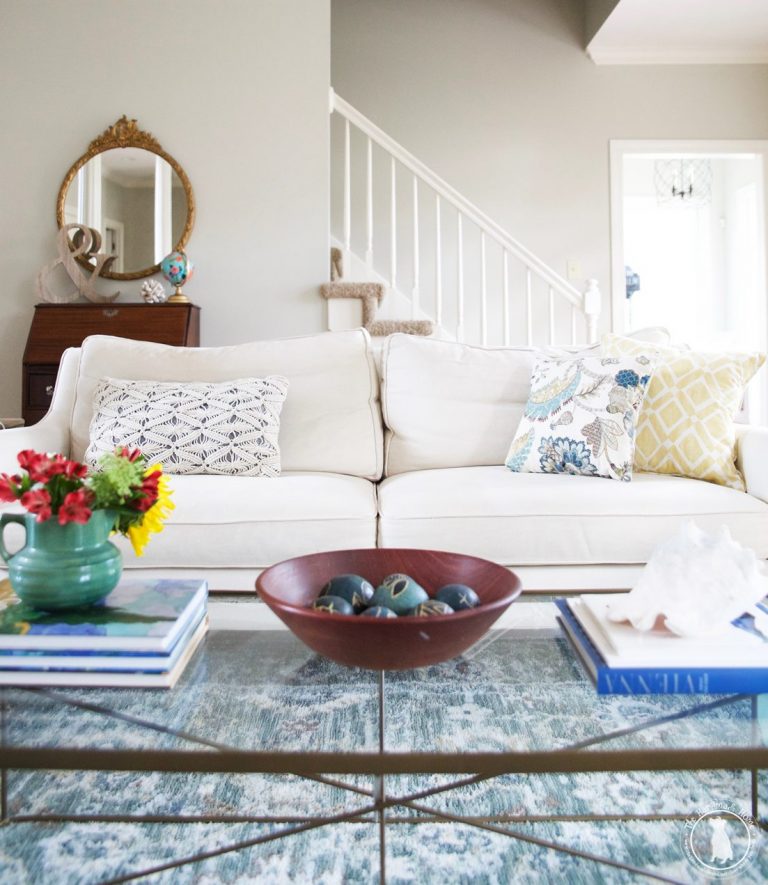
It was a lot like putting a puzzle together, but it only took around an hour, and is a great little night time/weekend tackle kinda project. Our star measures 2 ft x 2 ft. The perfect size to set ever so non-chalantly, while still making a great statement, anywhere in your home.


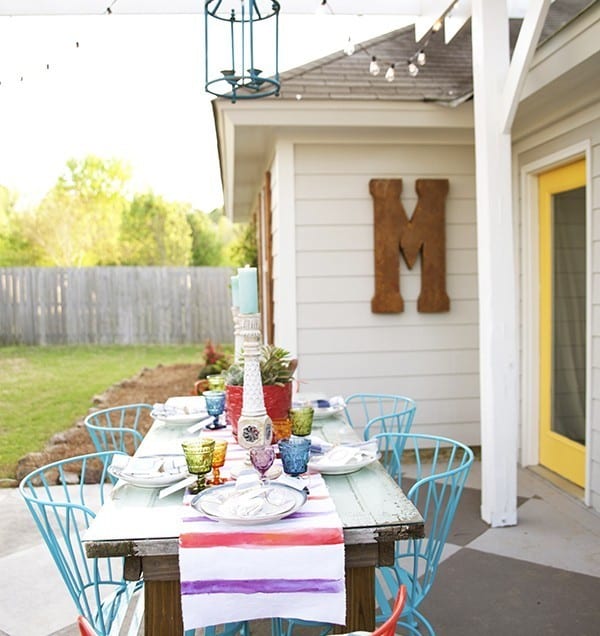
Another great way to bring the element of nature into your home.
This star would work with just about anything: twigs, shells, sea glass, pebbles, wood chips…the possibilities really are endless, and I’ll probably be knocking out a sequence of these for a bit of holiday decor!
Had your heart set on that driftwood, but not going near the beach anytime soon? Check it.
Who knows what you will make?

Love the star! How did you cut the MDF, with a router? I know you’ve talked about the projector before, I’m going to go back and look that up. You are an inspiration!
We used a regular saw and a jigsaw. You could totally use a router! 😉
You could have a store. Wait, you kinda did, though I didn’t discover you in time for it. Seriously. LOVE it. And that “check it” link you gave? The inspiration there is endless too!
you’re so funny. Yes, love me some Jamali!
What a great job! It looks sooo nice! I love it when people actually follow through with something. I have tons of magazine pages of to do’s. I like it!
Your star turned out great! I like it better than the one from PB!
haha thanks, Suzy!
This looks great! And I love it with your house colors!
Awesome – must remember this when we hit the beach next!
NICE! i’m always finding great bits of driftwood but I leave them at the beach thinking “what would I DO with it?” What a fun idea!!
OMG. I want a driftwood star and our first initial of our last name! What a perfect God-created, perfect, souvenir. Love it, Ashley!
Beautiful! you’re so talented glad I found your blog!
so awesome. love it.
I love the star! It turned out great! Hate that we didnt get to say good-bye at the beach. Precious picture of the kiddos on the porch too!
Beautiful! I actually like your version much better than the one from PB!
So beautiful, I’m so into the nautical right now and recently
Made a little planter out of driftwood…the star is
Perfection! Xo
Lucy
i LOVE those little teapot planters! did you make them? how do you drill a drain hole in them? gorgeous!
So beautiful! I love it – and yours looks better than the catalog!
Awesome! Would love to feature this on my blog! Unfortunately I’m not living in “driftwood rich” area…, so I have many still to go until I can create something substantial. Nice photography too!!
Definitely inspirational…I’m already thinking of what “my” take will be with this project. Even though I live near the beach, we rarely find driftwood. So…I’ll have to come up with another idea. Hmmmmm…..broken shells? Australian Pine cones? Something to think about.
Jane
I saw that star in the PB catalog, too, and it was instant love, too! I would love to make one in a heart shape! Thanks for a great tutorial! It looks just beautiful on your shelf! 🙂
xoxo laurie
Yes, I also like yours better than the Pottery Barn one. Very nice!!
I just lugged back a bunch of driftwood from Lake Superior. Not sure what I’m gonna do with it yet, but this is a definite possibility! Looks great!
Love the idea…I don’t get to the beach that much, so I wonder if I could use sticks around my yard that have fallen off the trees! I’m going to try it!! Thanks for the wonderful inspiration!
Wow! so lovely. Will have to keep this in mind. You did a great job.
I love that I found your idea the week that we are planning a trip to the beach, I am so hoping we find some driftwood while there. This is such a cute project.
I love your home and your gorgeous style! I am so thrilled to be your newest follower! Thanks for all the inspiration!
-Molly
thanks, sweet gal! ;}
Saw you on the Nate Berkus show. You are so creative…Love the driftwood star!!
Thank you, Patricia! ;}
Love, love LOVE your style! Thanks so much for sharing your fantabulous ideas 🙂
Thank you so much for stopping by, and your kind words, Connie! ;}
Thank you for sharing this beautiful idea! I just made the star this weekend with seashells. Very heavy. My husband will be helping me hang it! I plan on using wine corks next. 🙂
yay! I hope you enjoy your awesome creation! ;}
Very nice. Can’t wait to try this. Your directions are great to follow.