
handmade layered frames
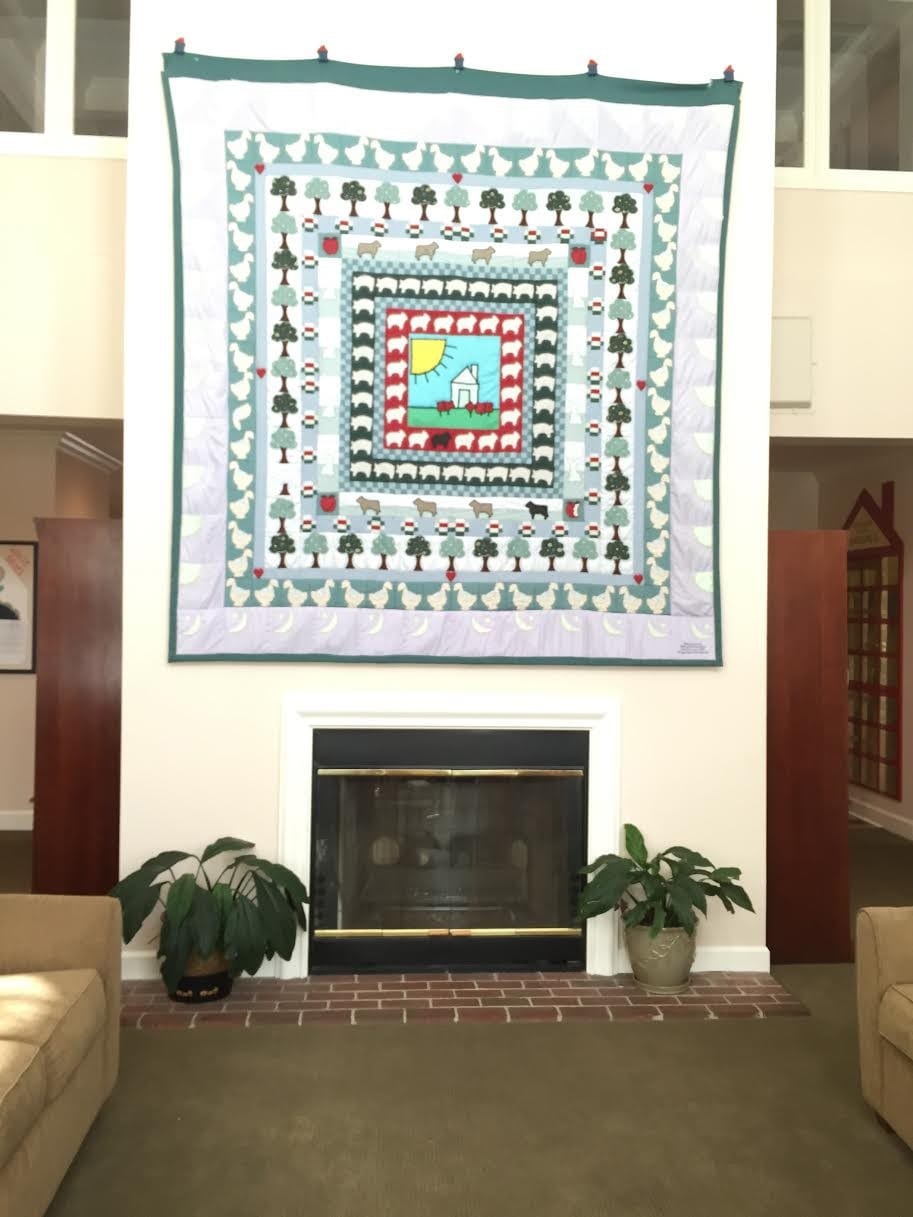
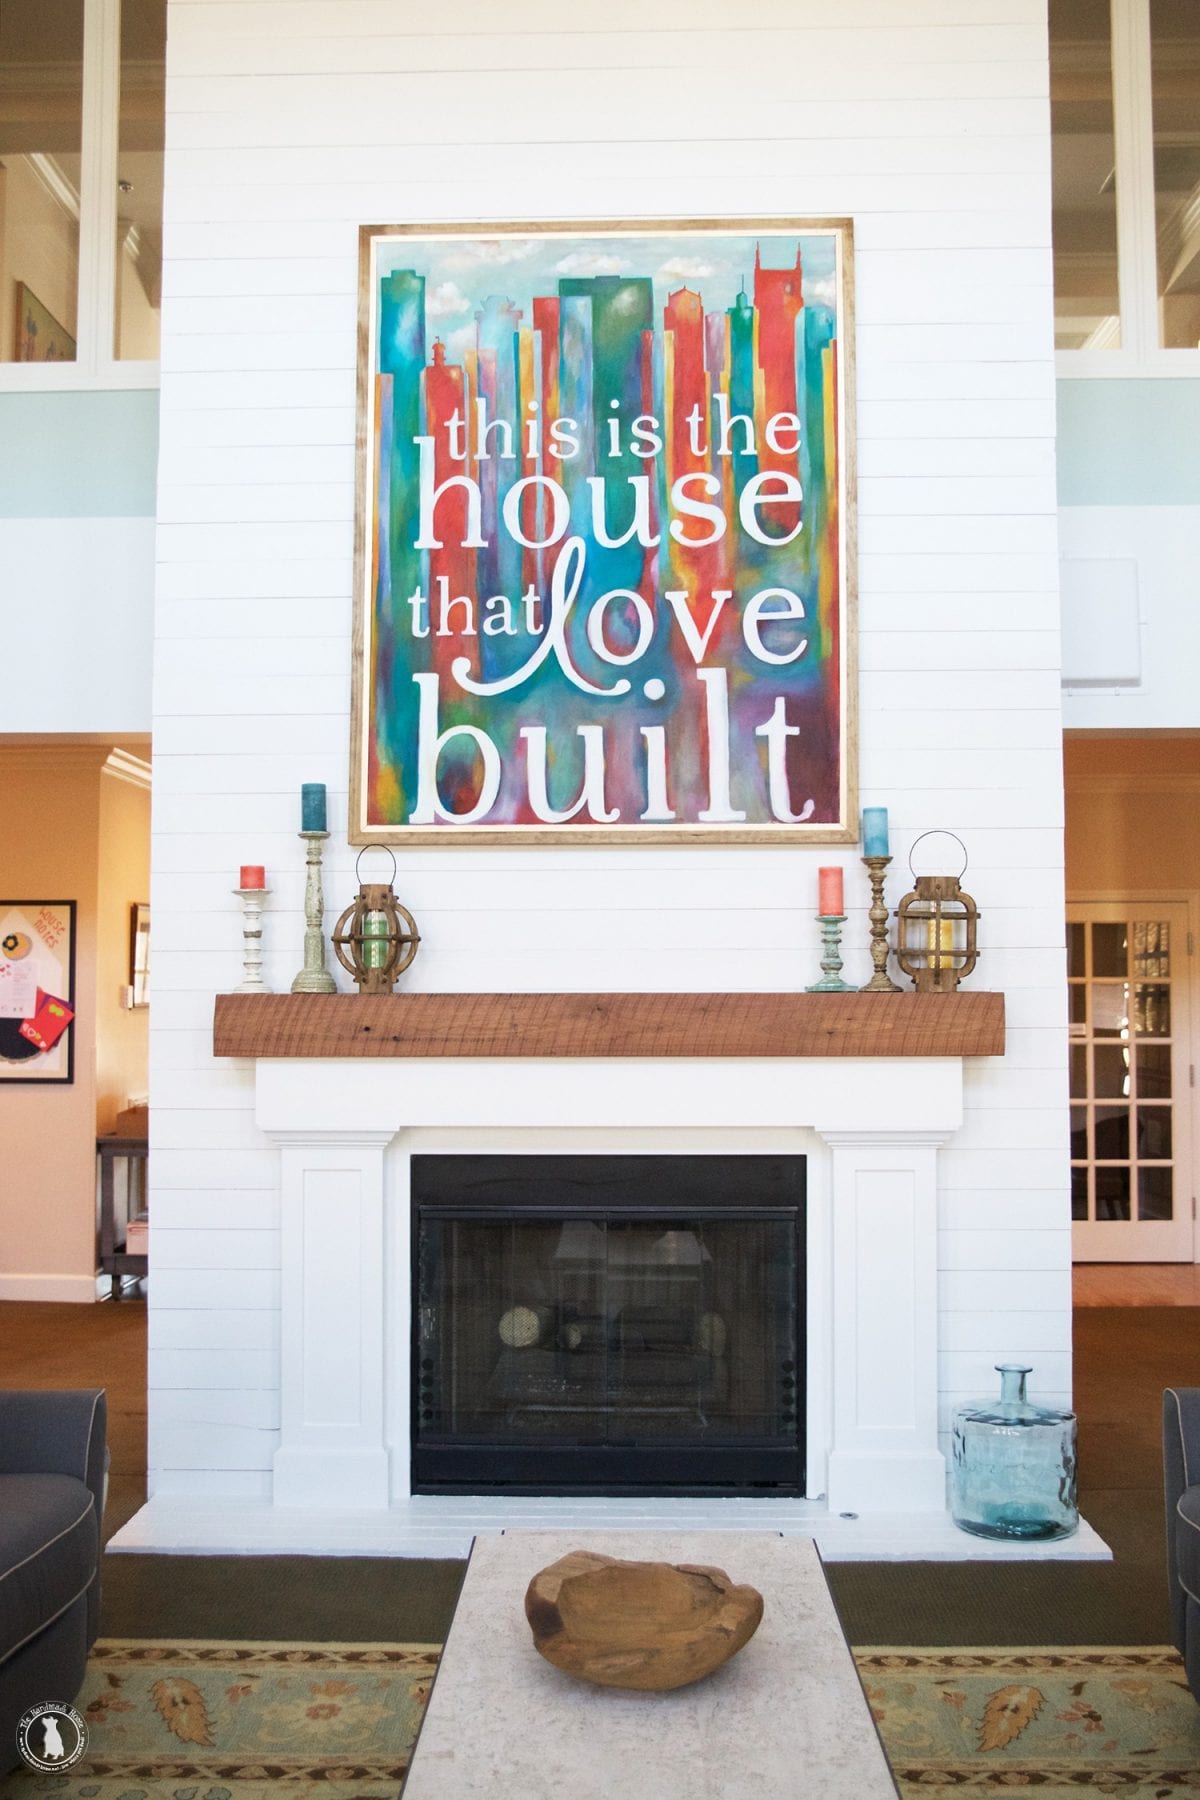
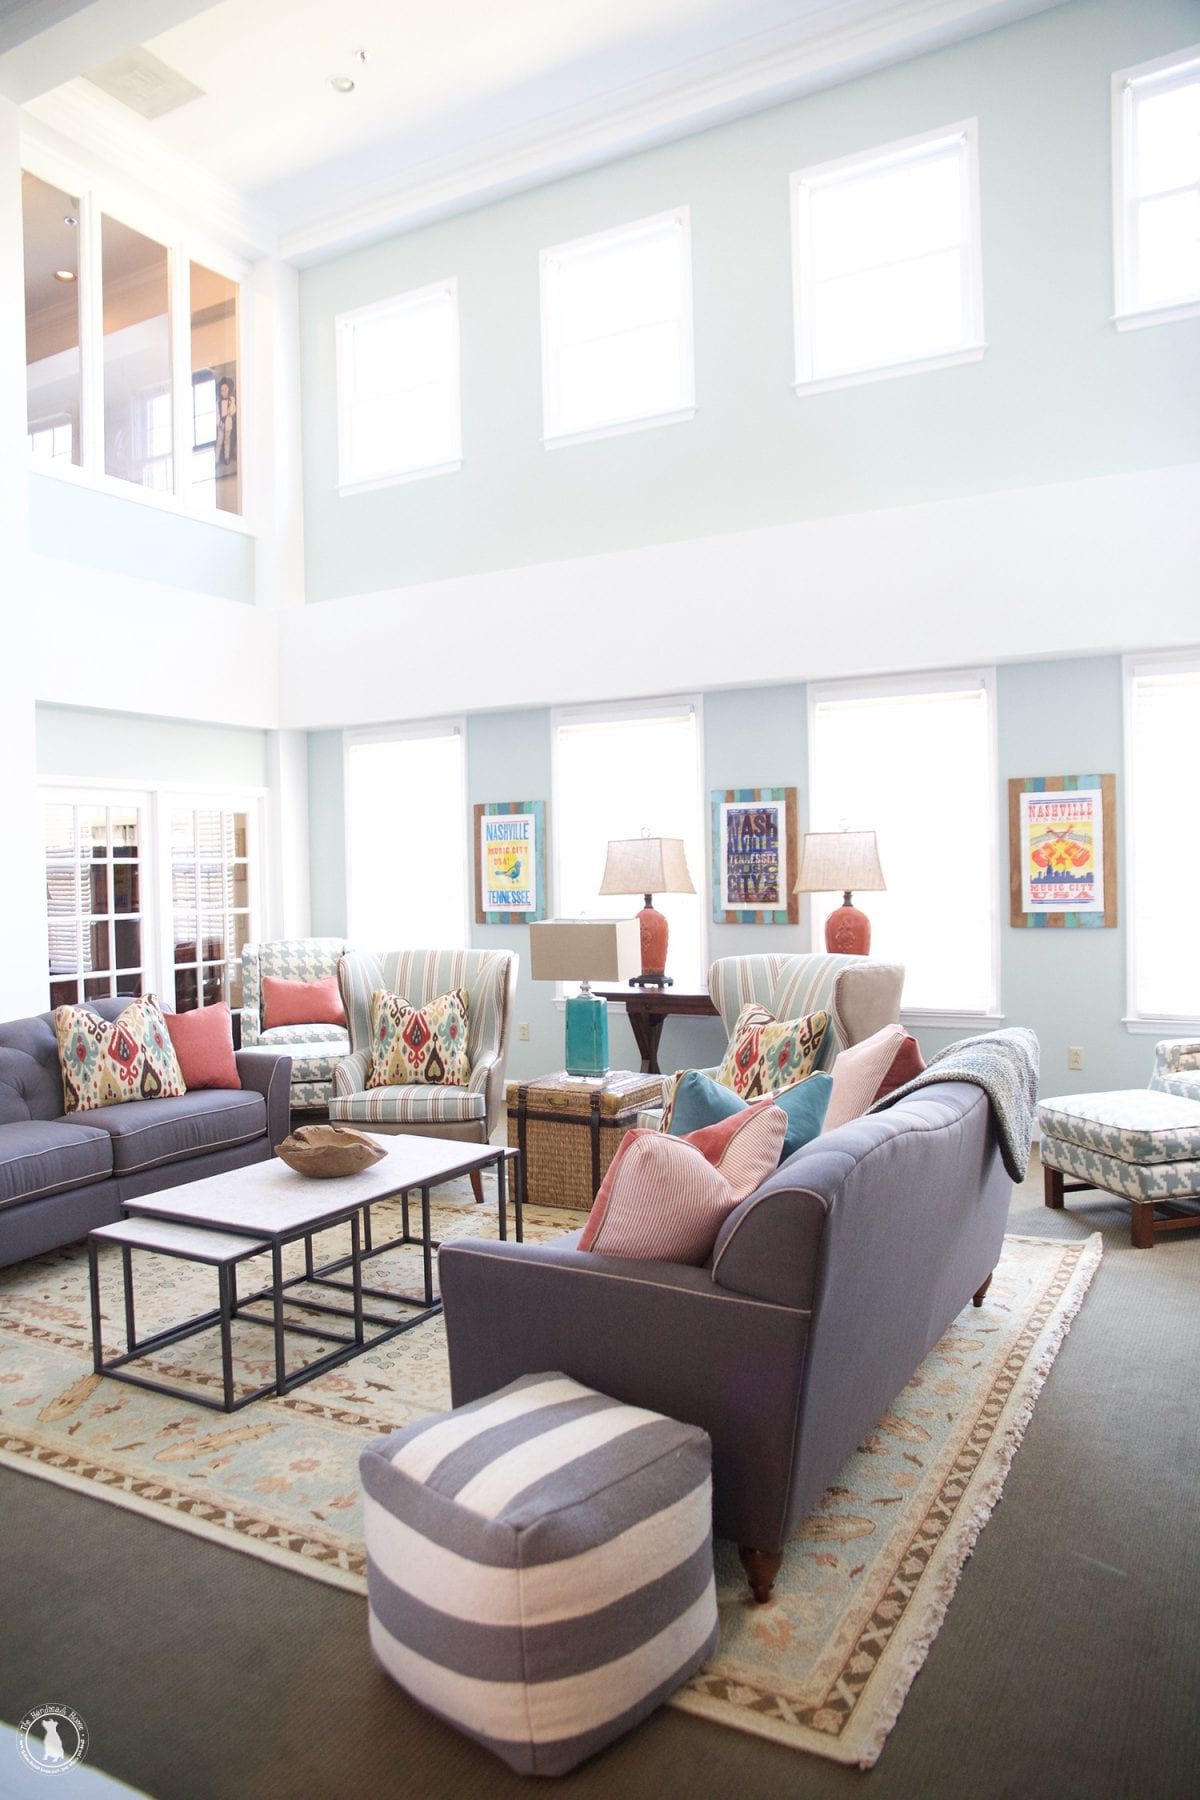
Remember our big fun redo a few weeks ago with La-Z-Boy for the Ronald McDonald House in Nashville?


We loved the before and after, and the fun space for such wonderful people.
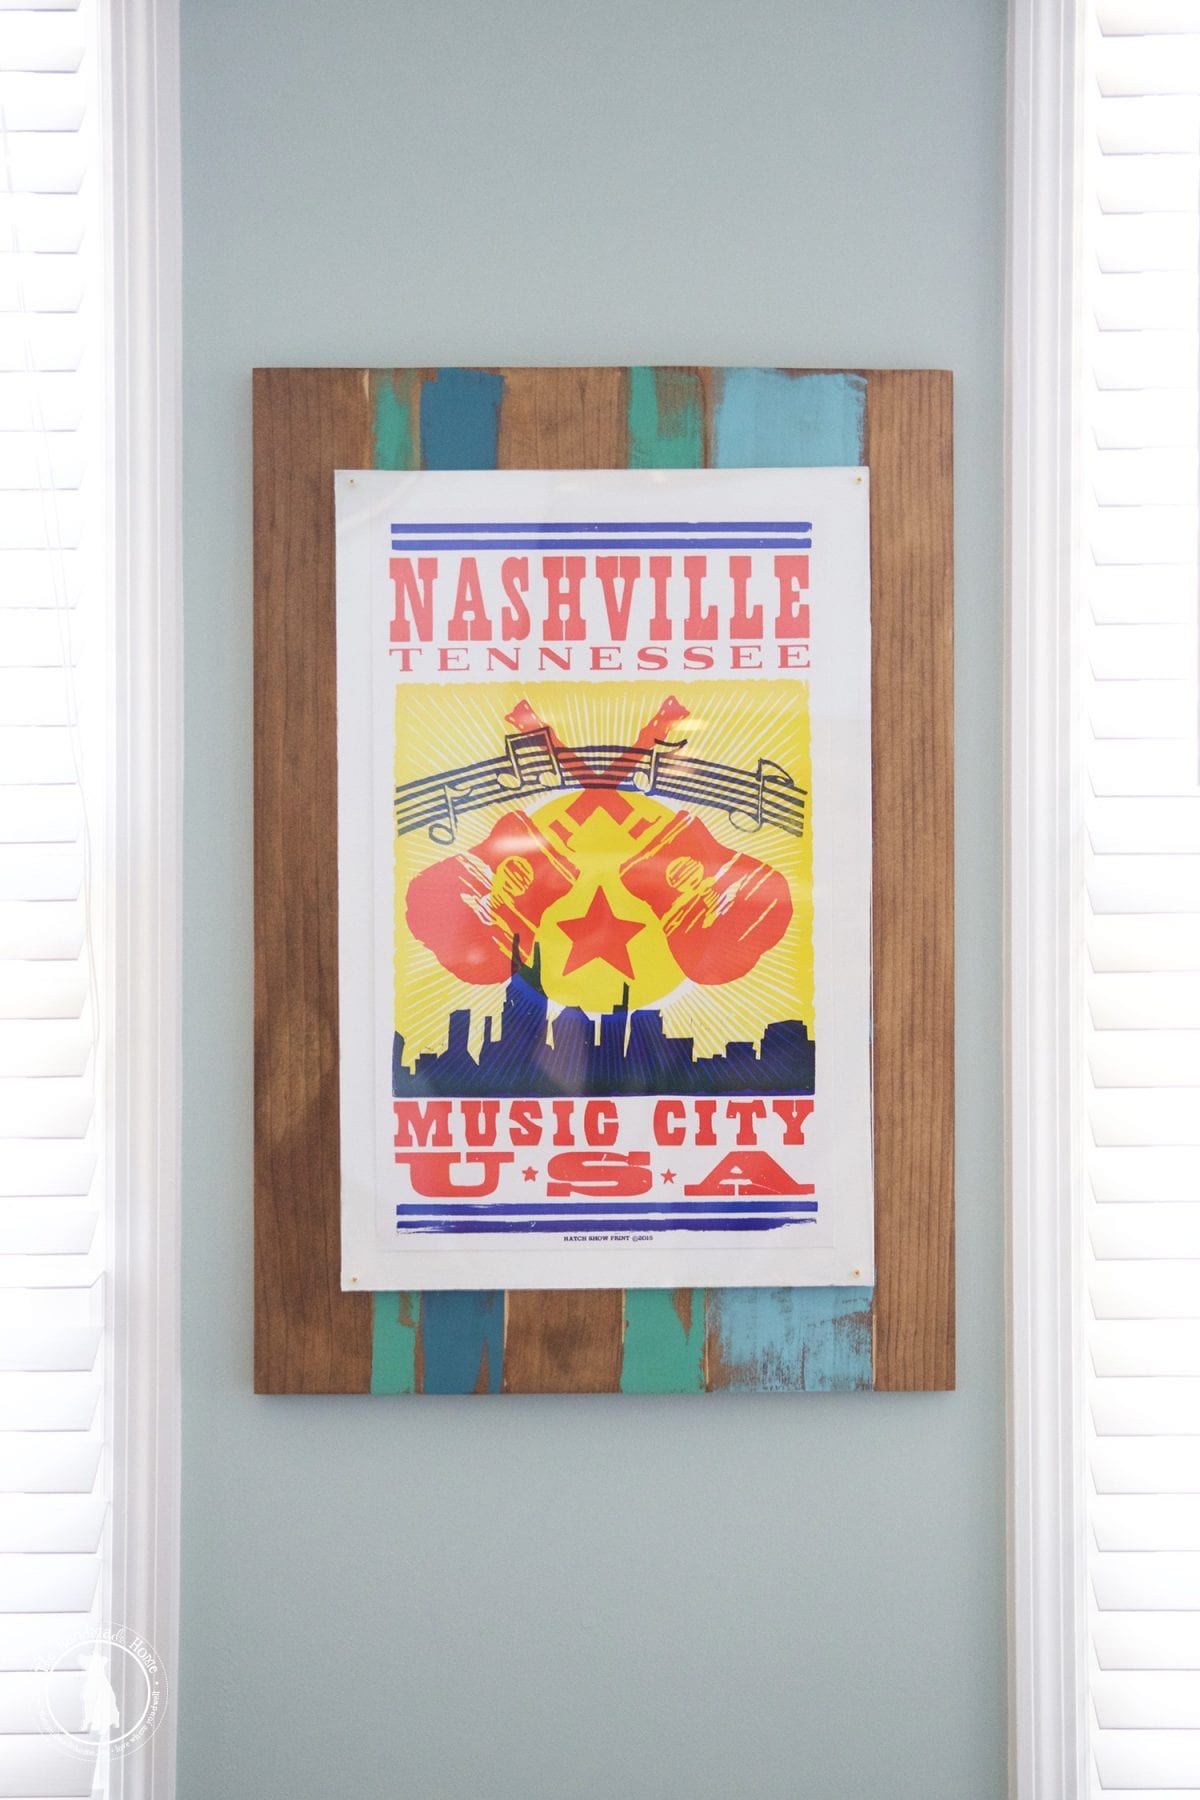
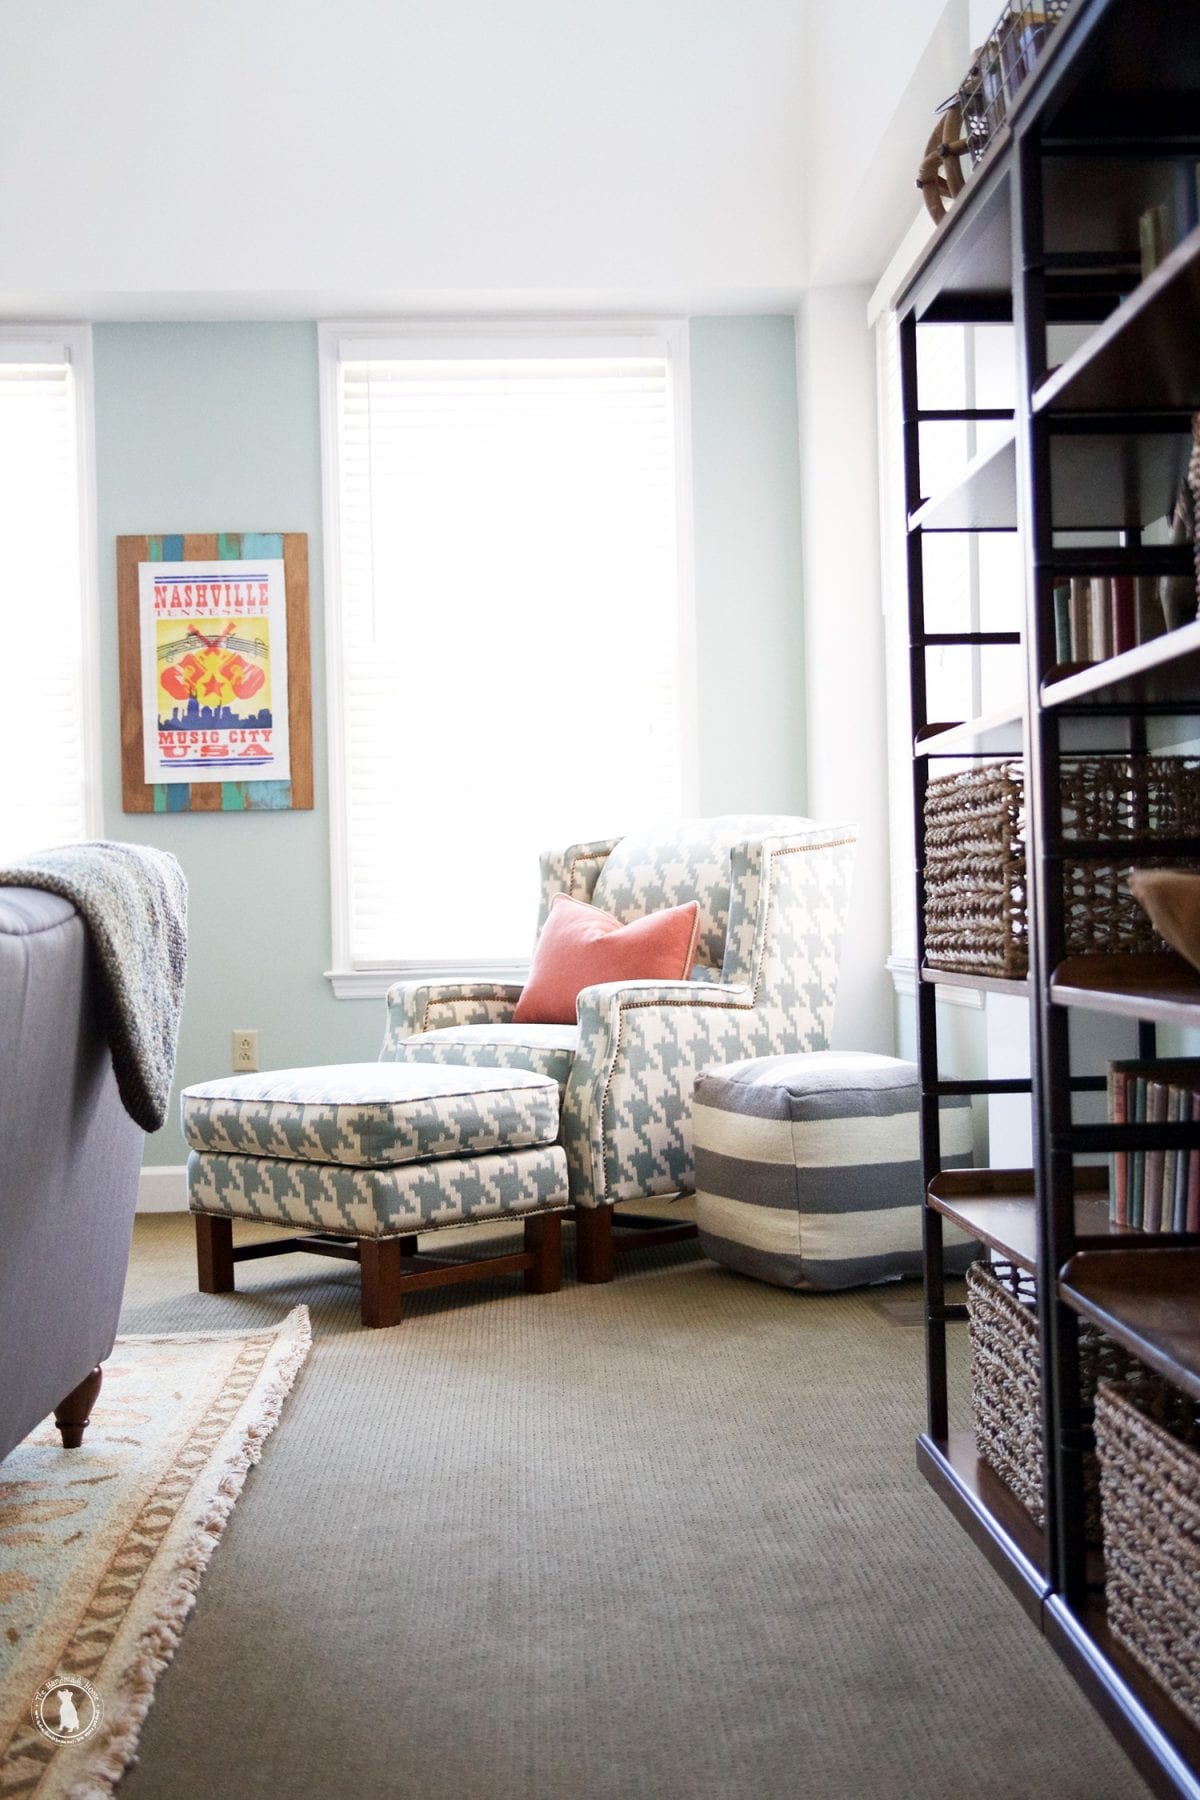
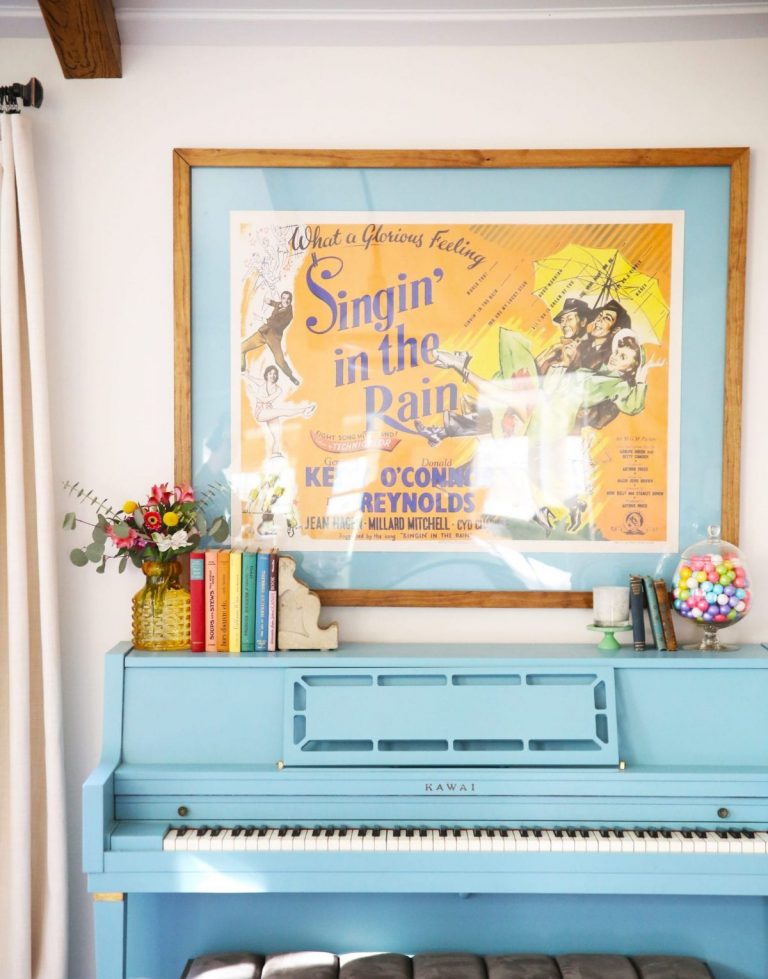
We adored decking out the space with a touch of Nashville, and when we came across these beautiful prints from Hatch Show Print for a fun local flavor, we knew we needed the perfect frames for them. They brought in a lot of color and punch of personality for the space. As promised, we’re back today with a how-to for these wonderful little layered frames.

Here’s what you’ll need: • wood glue • assorted sizes of wood • clamps • orbit sander • stain and paint • 1/4 inch thick mdf • 1/4 inch thick plexi glass • #6 3/4 inch screws • circular saw
As always, the first thing you need to figure out, is how big your art and frame will be. We were working with an existing piece of art that had to fit in a certain area, so we measured the space where we wanted to place the art. Then, we subtracted the amount of space we wanted around the art, and this gave us our over all size. Once we knew the over all size, we then simply subtracted the art size from the over all size, and we knew we had this much border to play with.
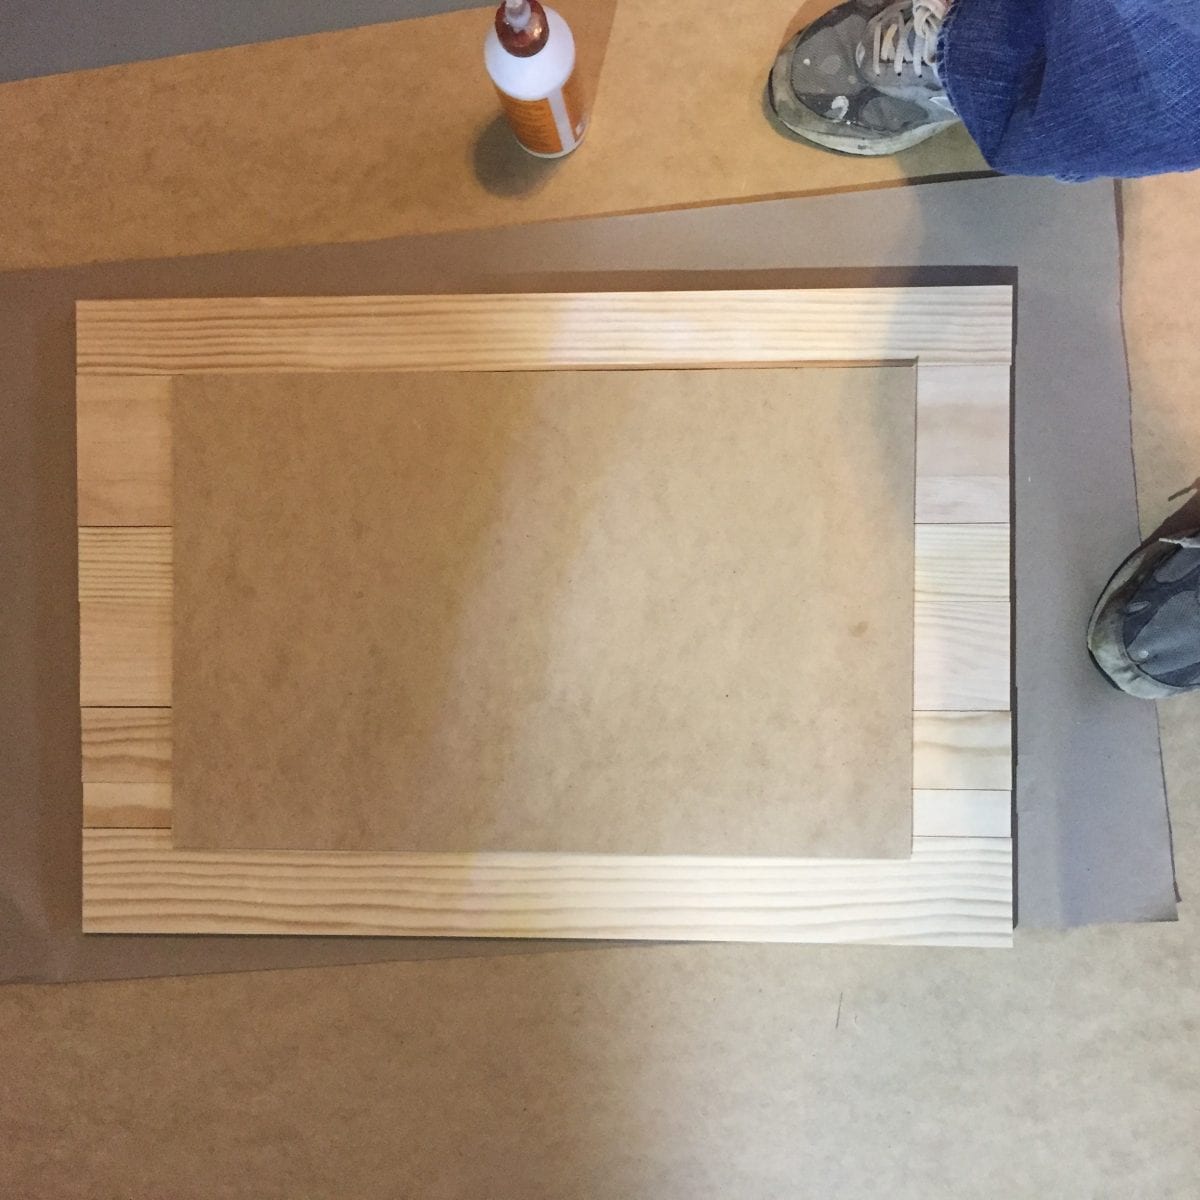
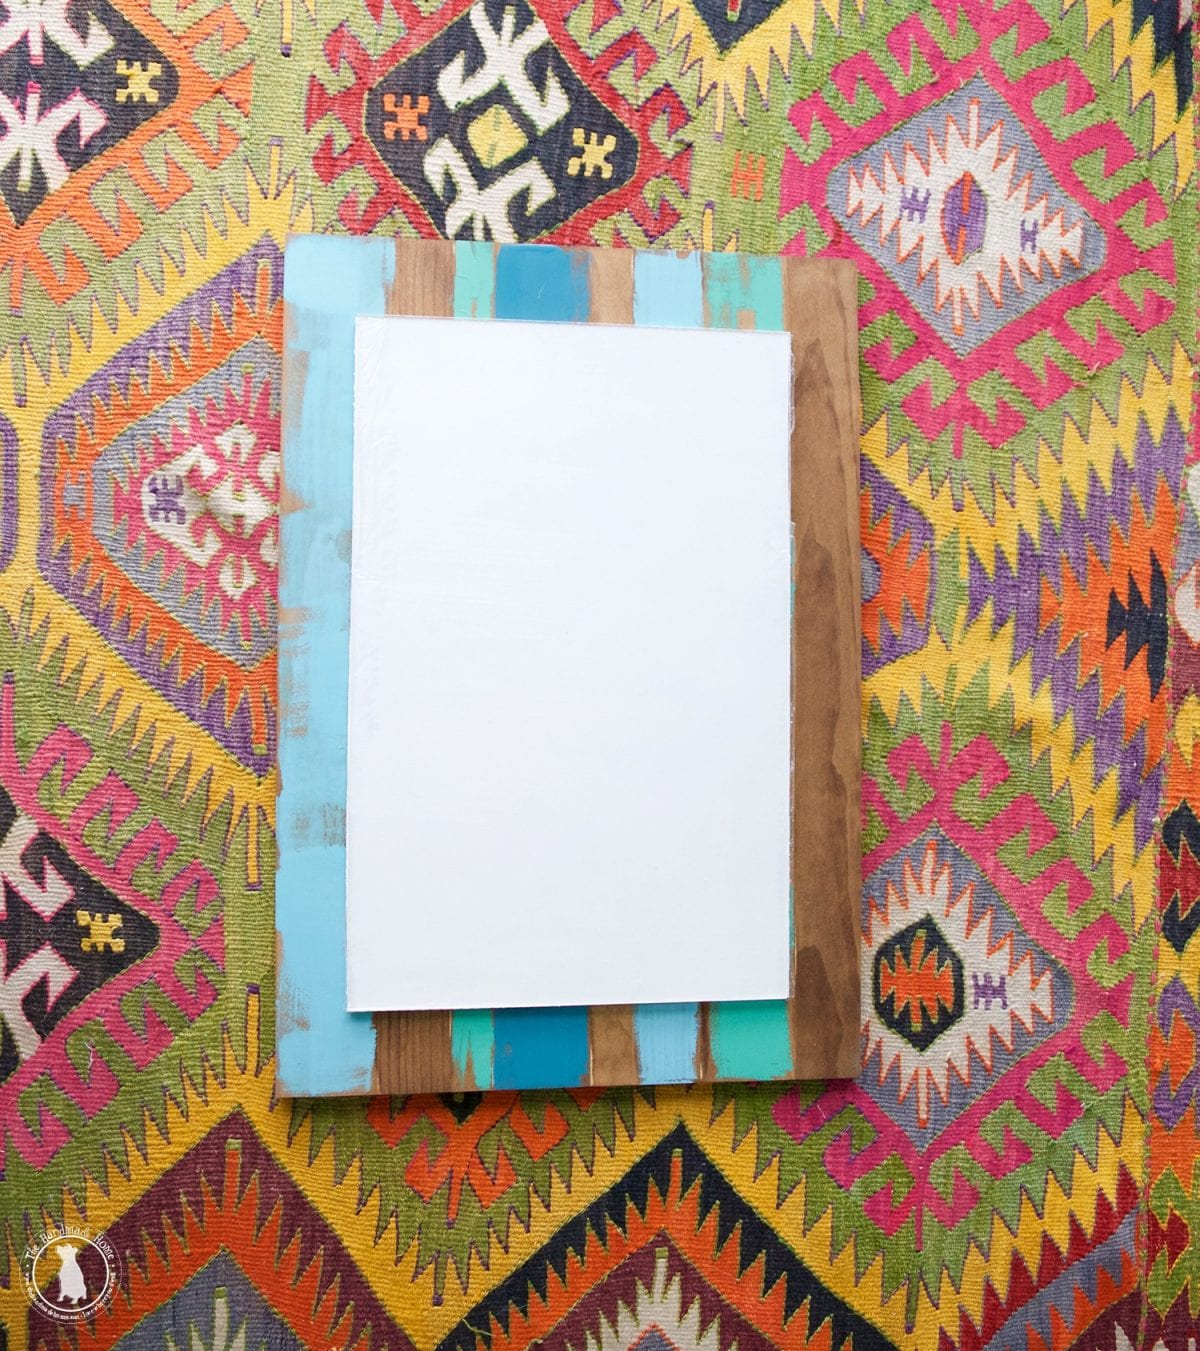
This piece of art would have 3 layers 1) the wood frame 2) the mdf mat 3) the art and plexi glass.
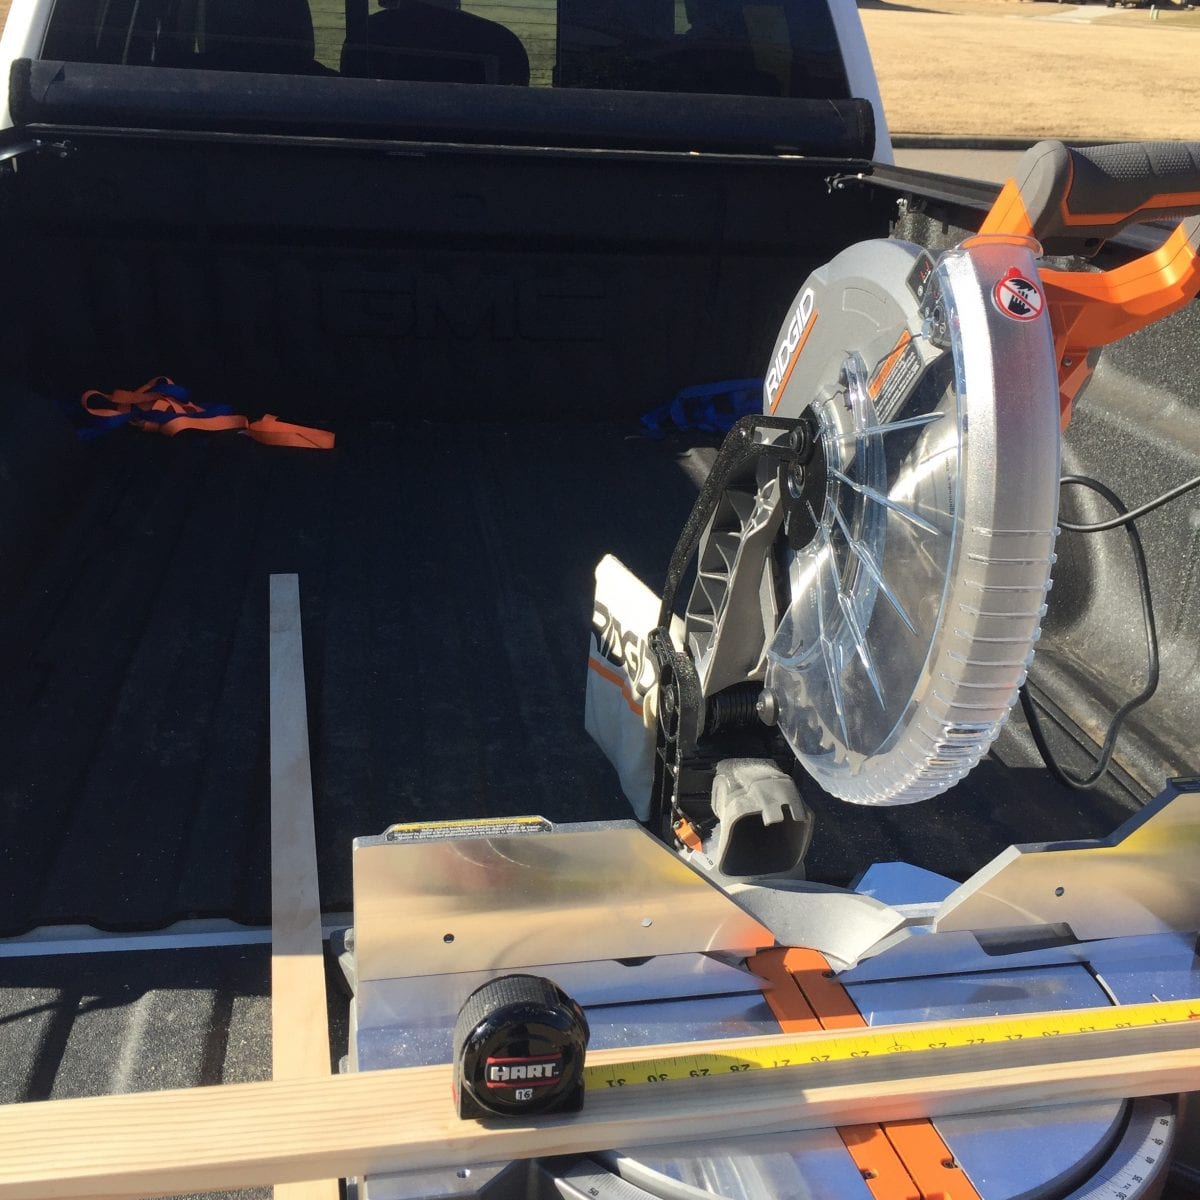
To build the wood planks, we bought some premium pine in varying sizes. By combining different width boards, we were able to get very close to the width that we had determined for the piece. Then we simply used our miter saw to cut the pieces to length, (you can have the people at the local home improvement store cut these for you or even use a hand saw).
Once we have our boards cut, we would need to glue them together using some wood glue and a few clamps. Simply run a bead of glue down one edge of a board and line them up in the order you desire. (Note: you really only need glue on one edge, not both. Putting glue on both edges will cause it to seep onto the face of the board.)
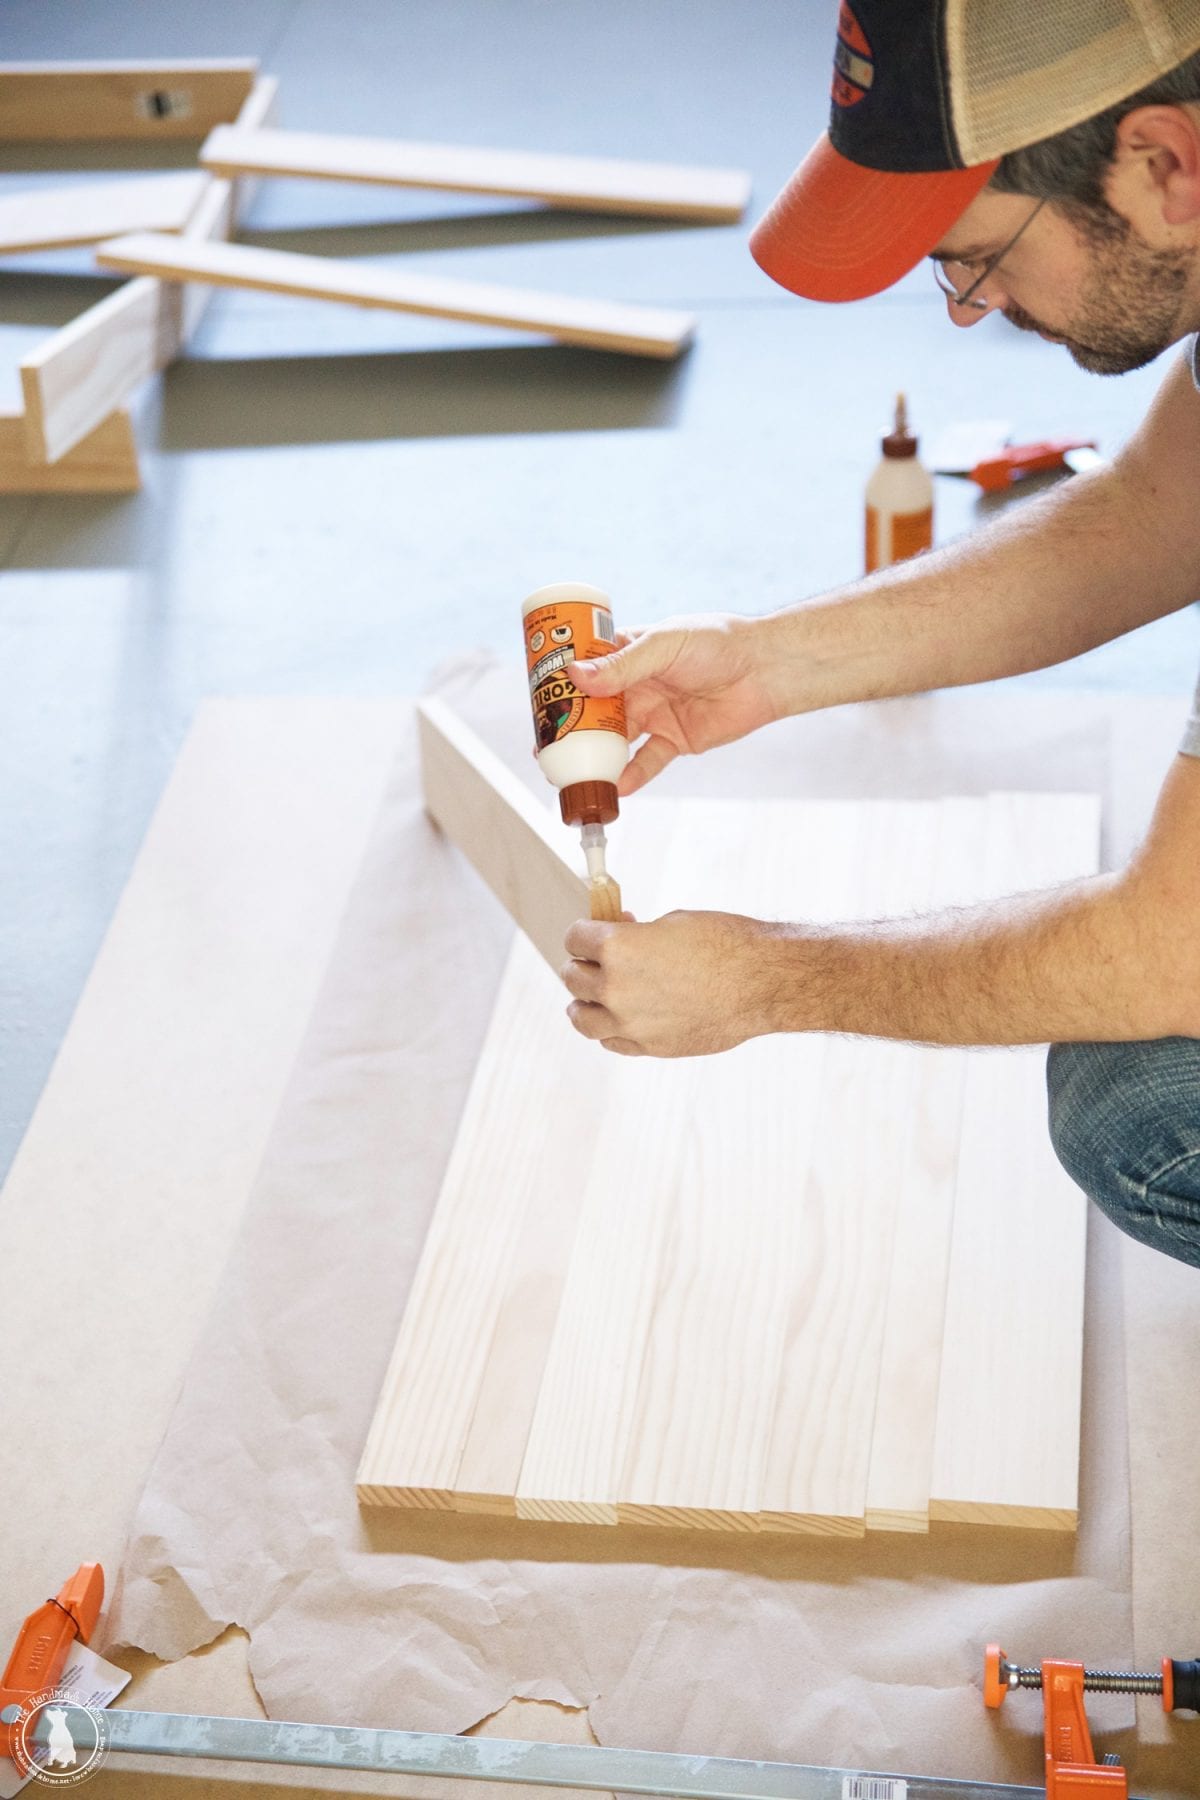


Once you have the edges glued and the boards aligned, simply clamp them together for the recommending drying time.
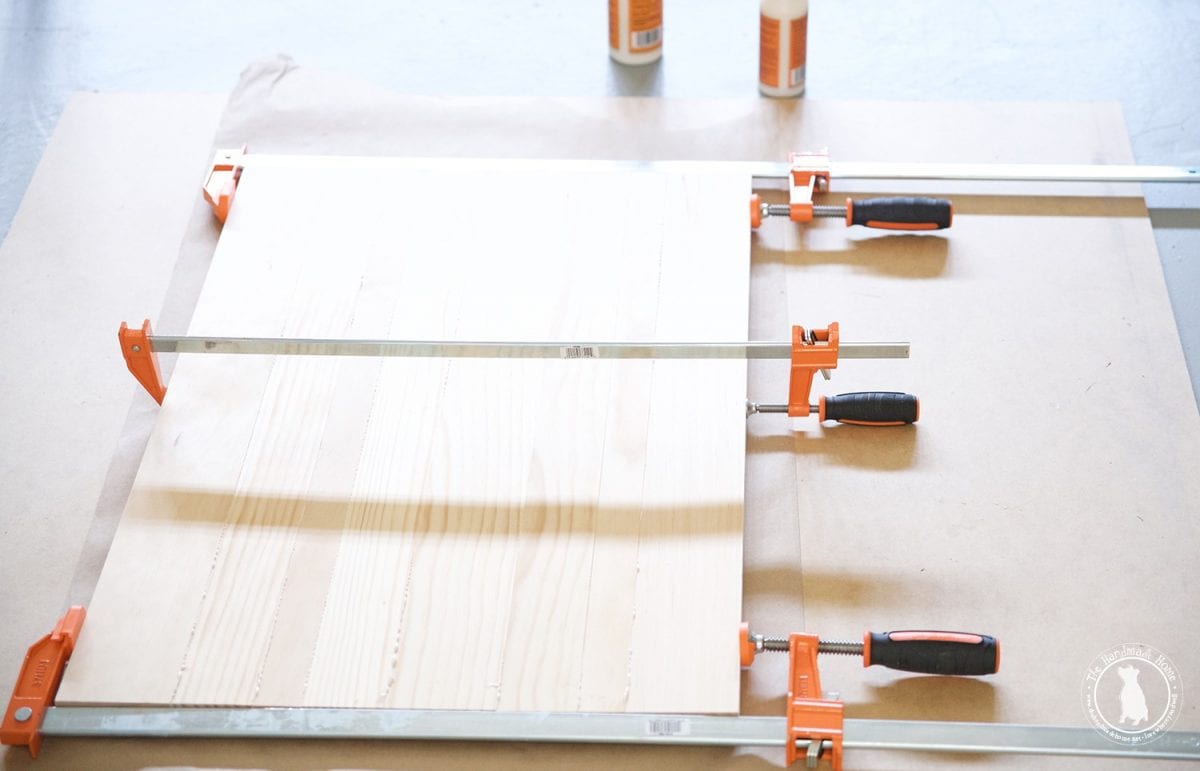
Once the glue is dry, you will want to sand the piece to smooth it out and make sure to remove any excess glue that did seep out. (Also if you can always trim your length if your edges don’t line up perfectly.)
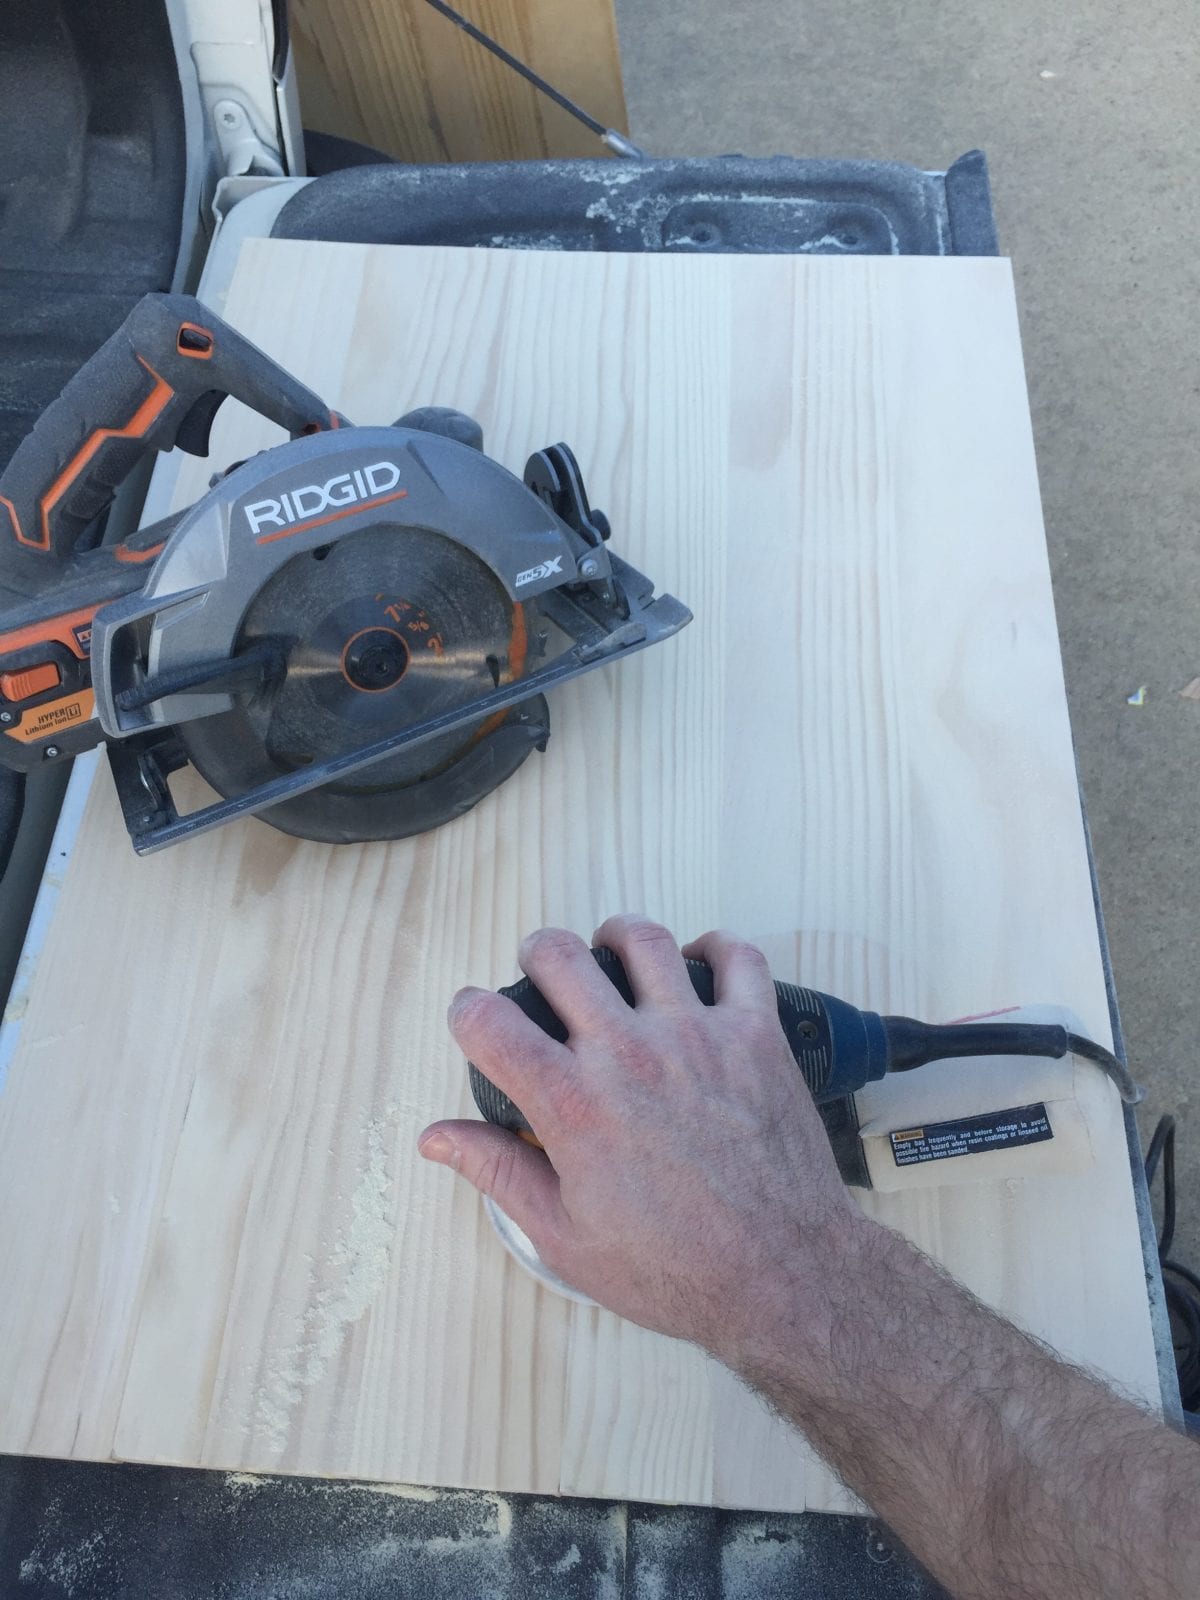
Once it is sanded, you’ll want to wipe it down and let it dry so that it will be ready for the first coat of stain.
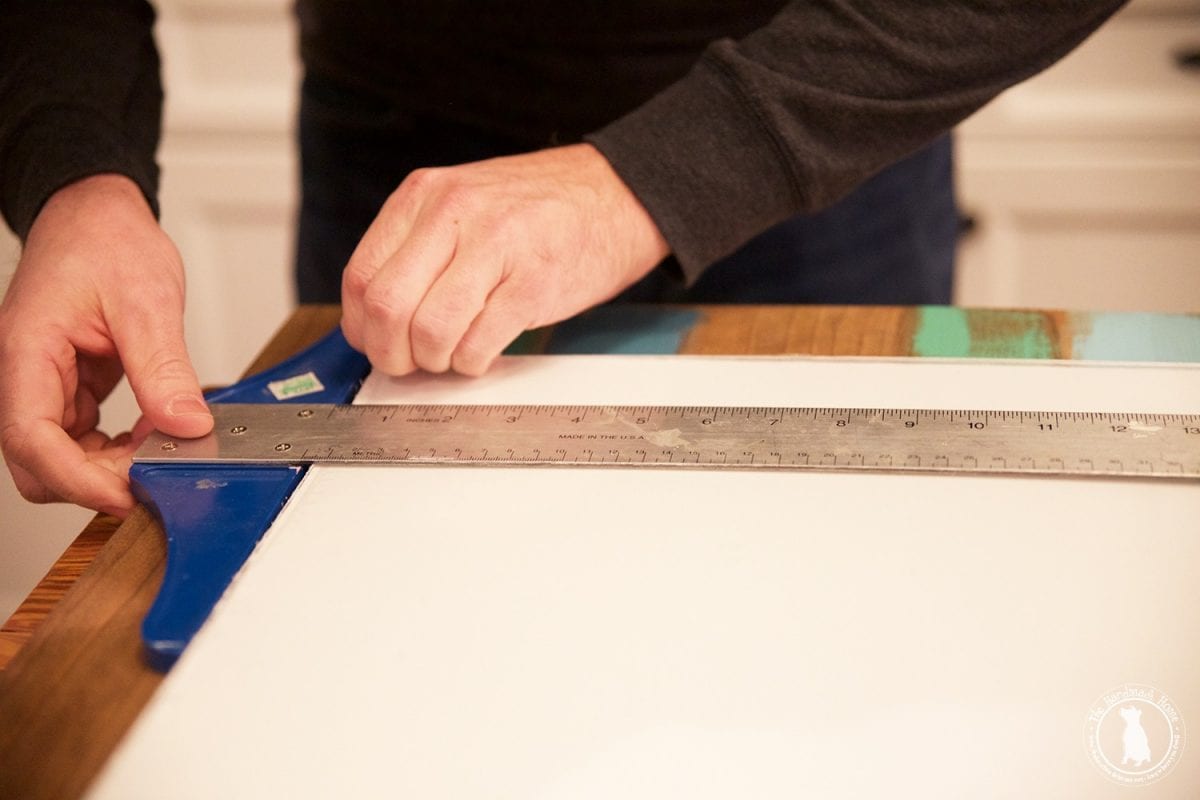
While it dries, you can cut your mdf and board down to size using a circular saw. (The winter hours caught up with me and I was cutting this at dusk, thus the photo.)
After I cut it, I laid it out on the sanded boards to make sure we loved the spacing.
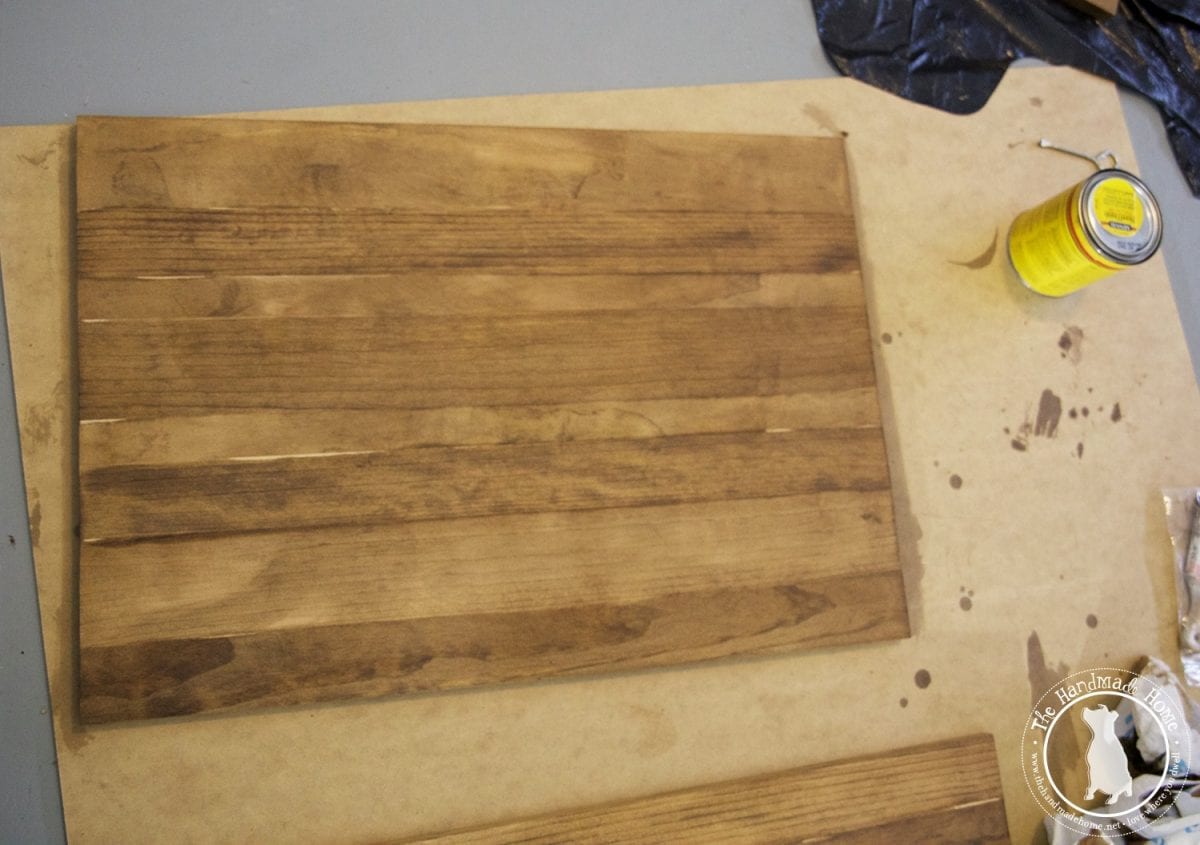
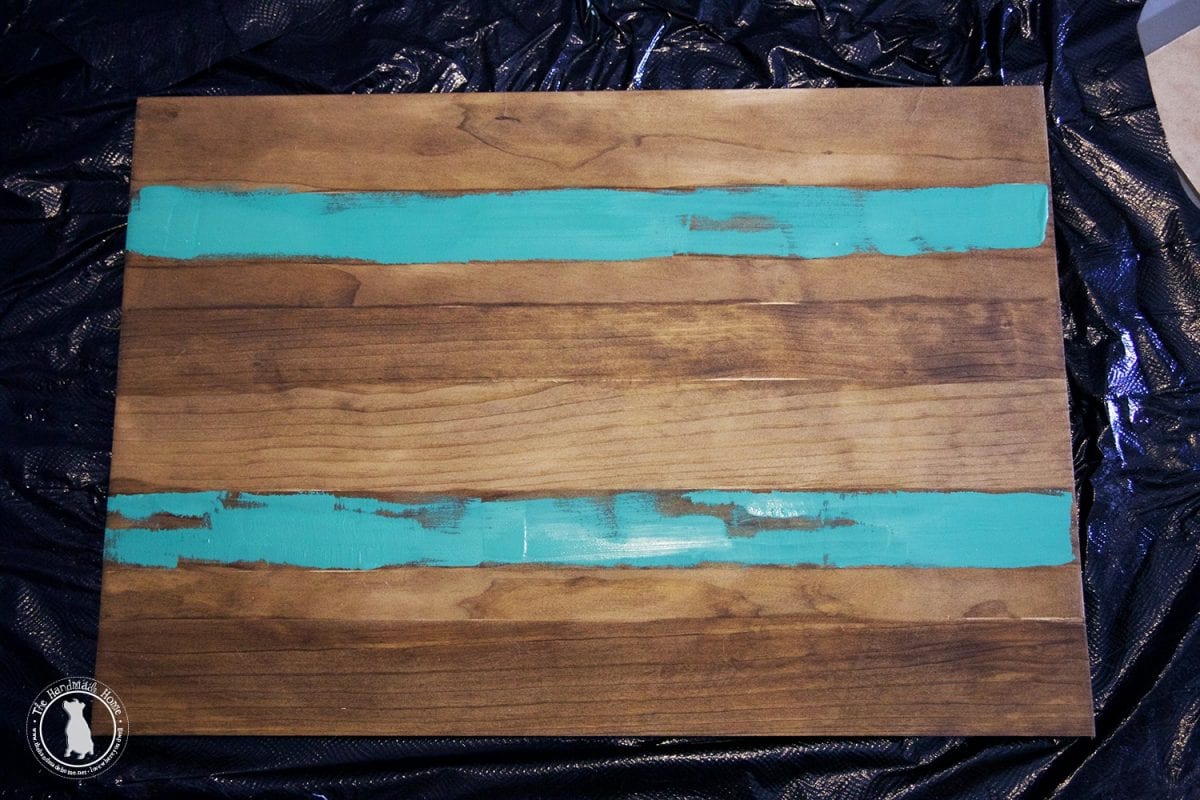
And then we moved on to the staining – we used Minwax’s Early American.
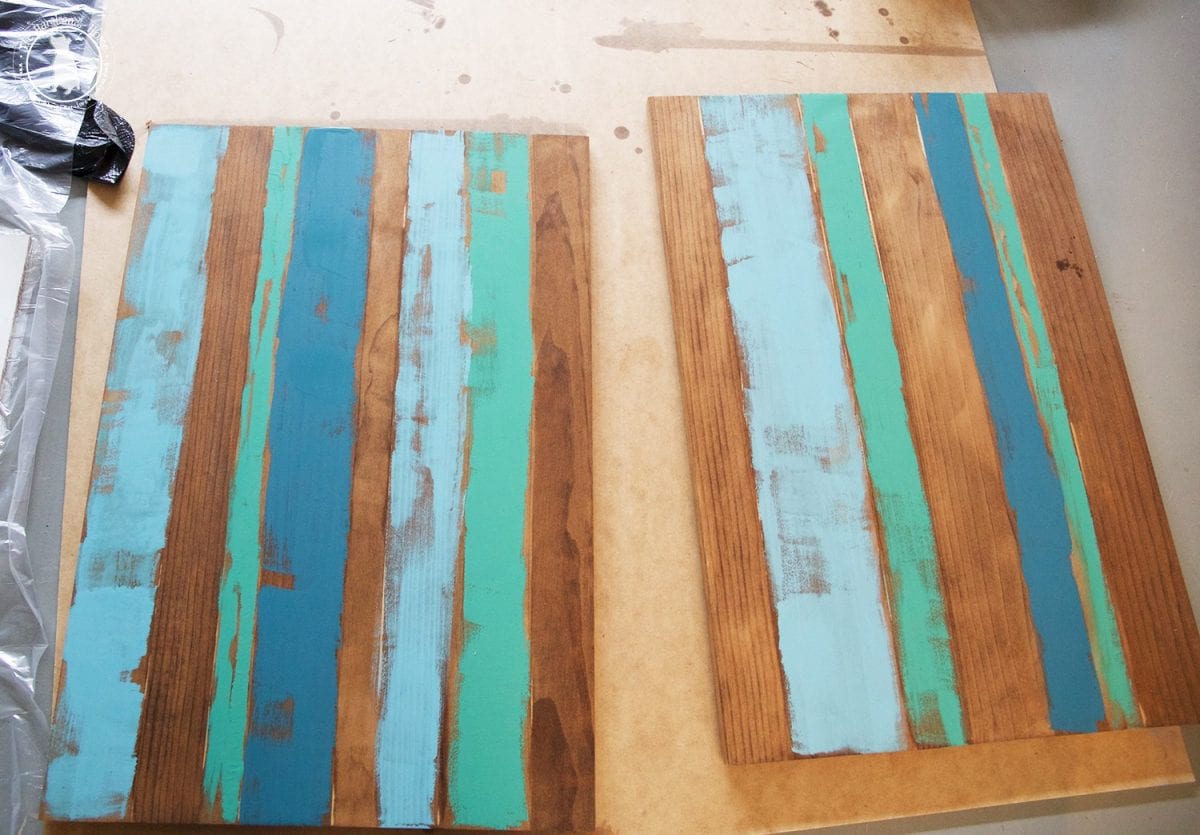
Once your first coat of stain is dry, you can begin with any paint of your choice. We always just use good old fashioned latex, so we can pick our own colors, and layer on loosely for a vintage, worn look.
If you’ve never played with this process before, you may want to practice on a different surface. But the best outcomes come from happy accidents as well. We just very liberally move our brush until we’re happy with the outcome and then move on to a different color. You can tape them off, but we find that by loosely following the wooden lines, we have a nice outcome.
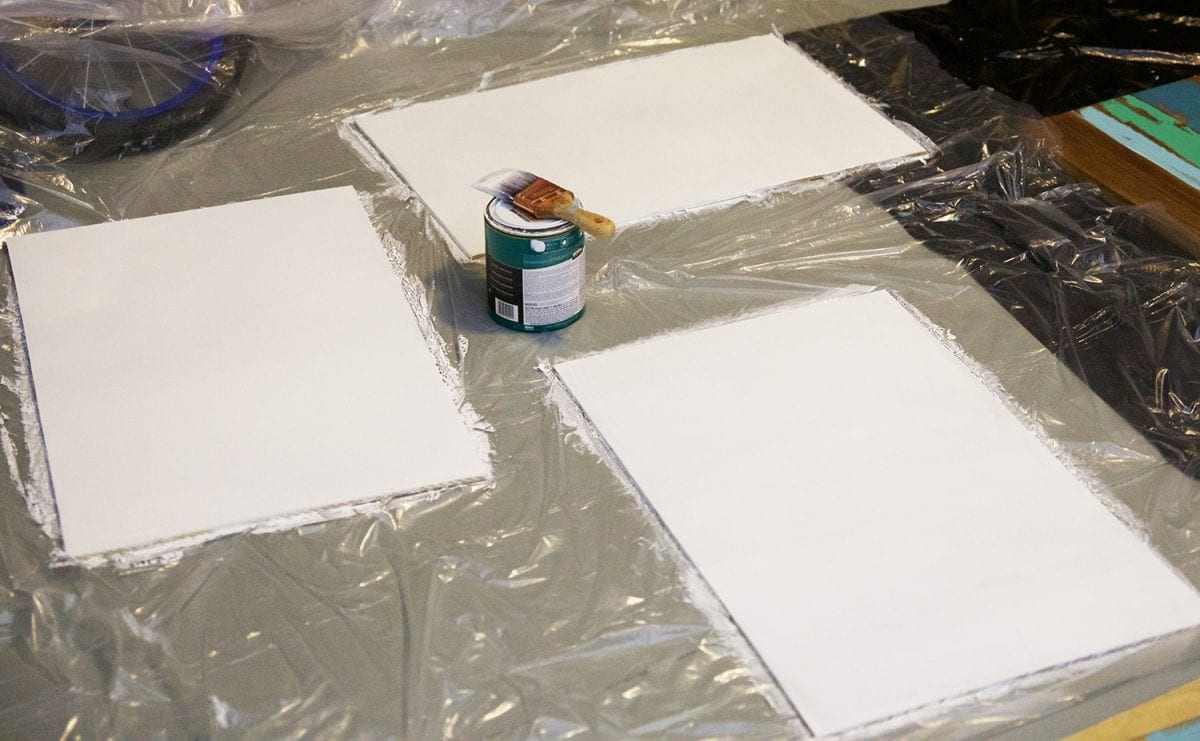
While those striped colors dry, we’re ready to move on to the top layer.
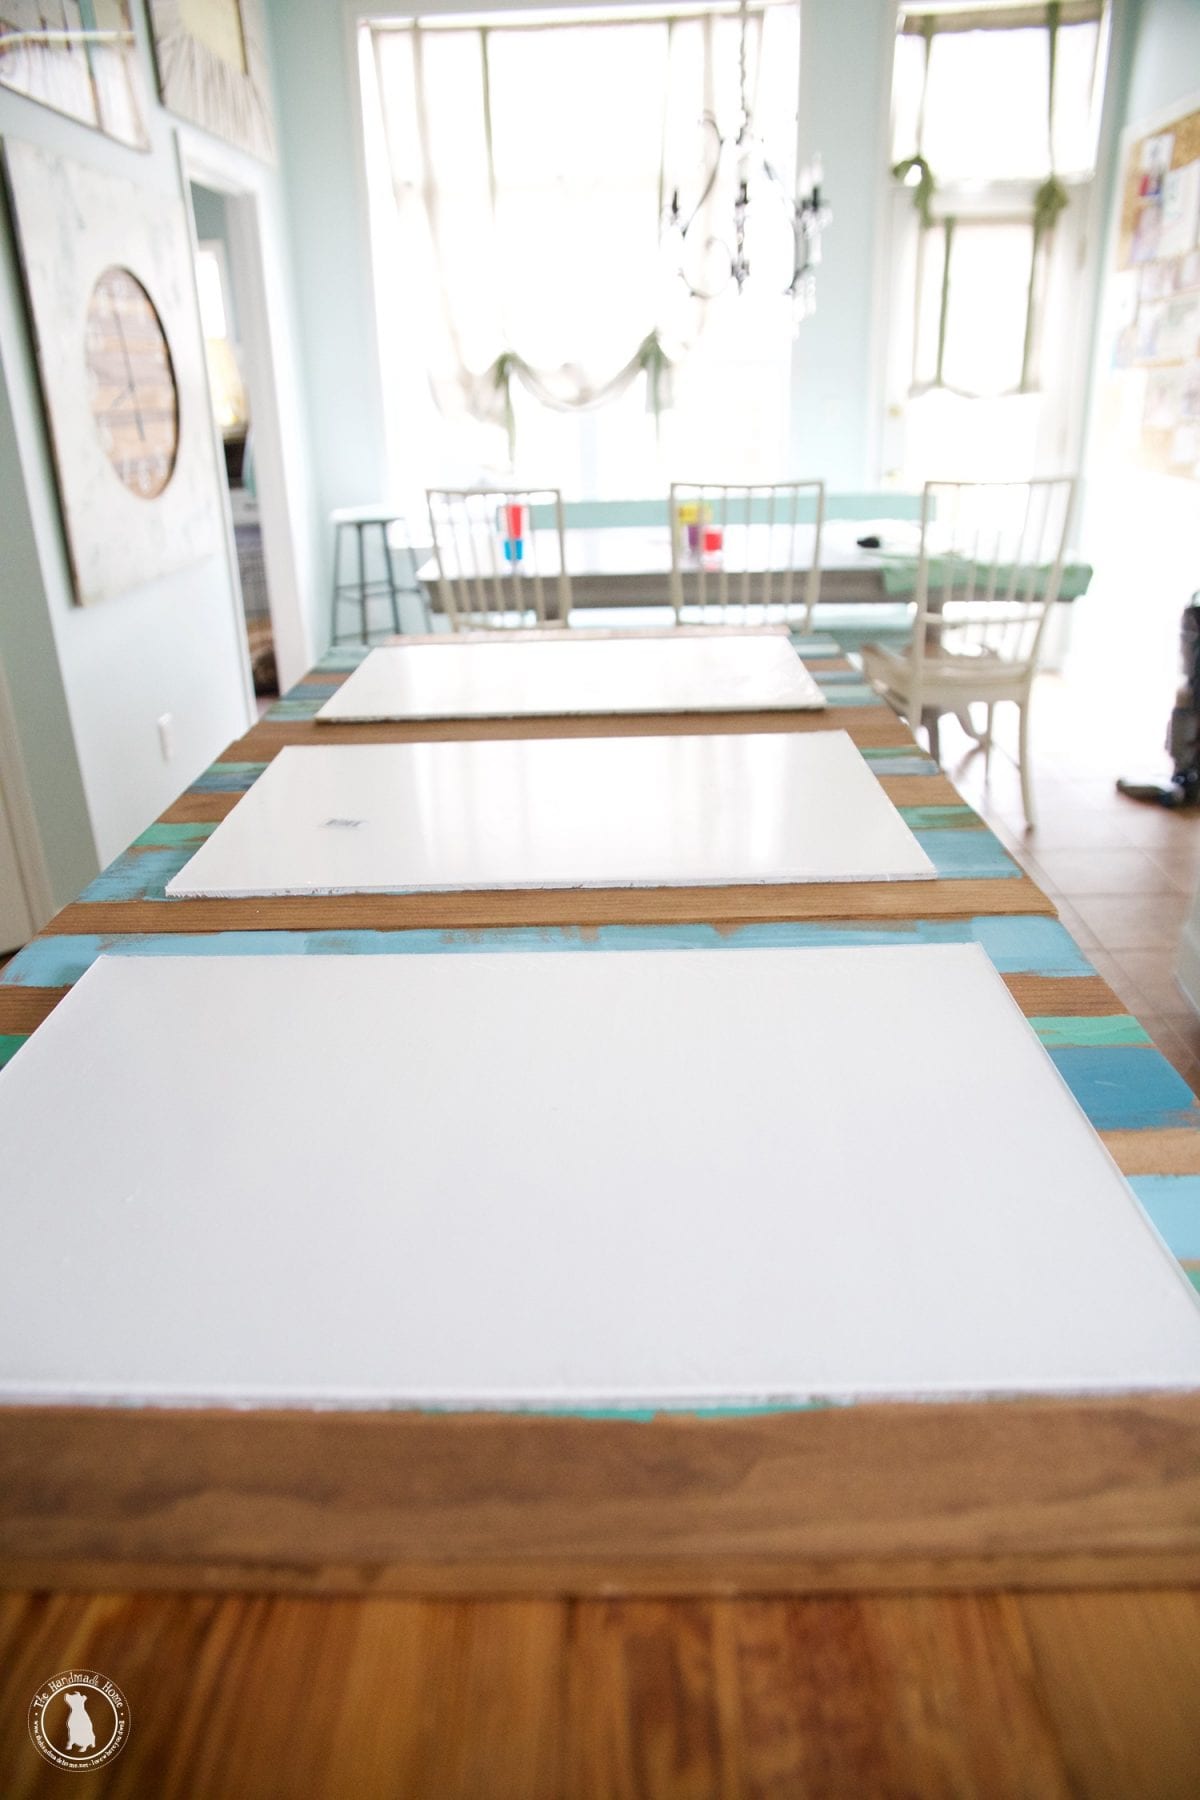
For this, we just painted our MDF white.
When all the pieces were dry, we were ready to put them together.
Placing the first wooden layer, and then MDF together with wood glue, let them dry. (It’s always a good idea to place some weight on something when you can’t use a clamp.)
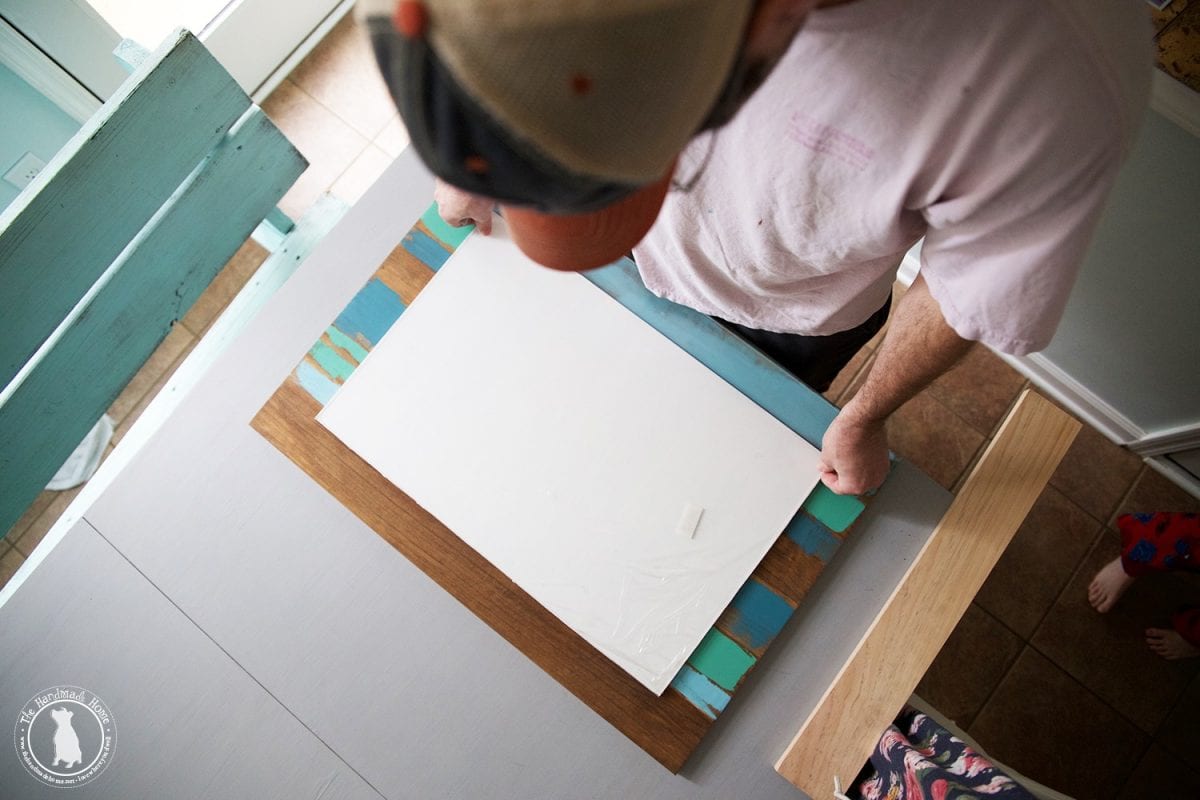
We purchased a plexiglass piece at the local home improvement store, but it wasn’t cut to size. So after measuring and marking on top of the assembled frame, and leaving on its protective plastic, we cut it down to size. This is a fairly simple process and can save you some money.
When all the pieces were ready and cut to the appropriate size, we were ready to put them all together in the final assembly.
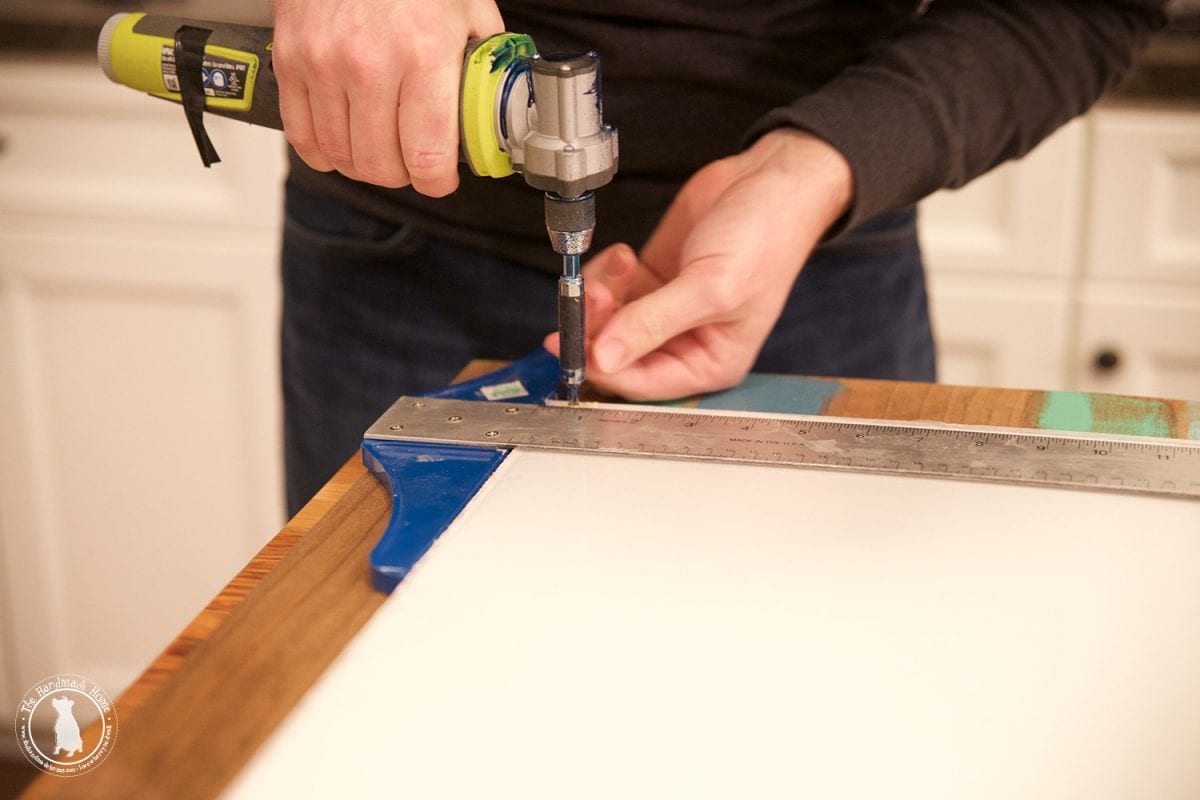
Measuring out from the corner, 3/4 inches on both sides, we simply drilled a hole slightly smaller than the screw we would use.
We placed a small brass screw in each corner, to secure the plexiglass to the MDF. If your piece is much larger, and the frame will need more than just four corners, as the plexiglass will begin to bow.
Fun little fact – this handy little tool is the one that fell and caused the spray paint grenade this fall – thus resulting in the pretty new garage floor. At least it still works ;}
When holes are drilled and screws are placed, remove them again, and take off the plastic covering on each side of the plexiglass.
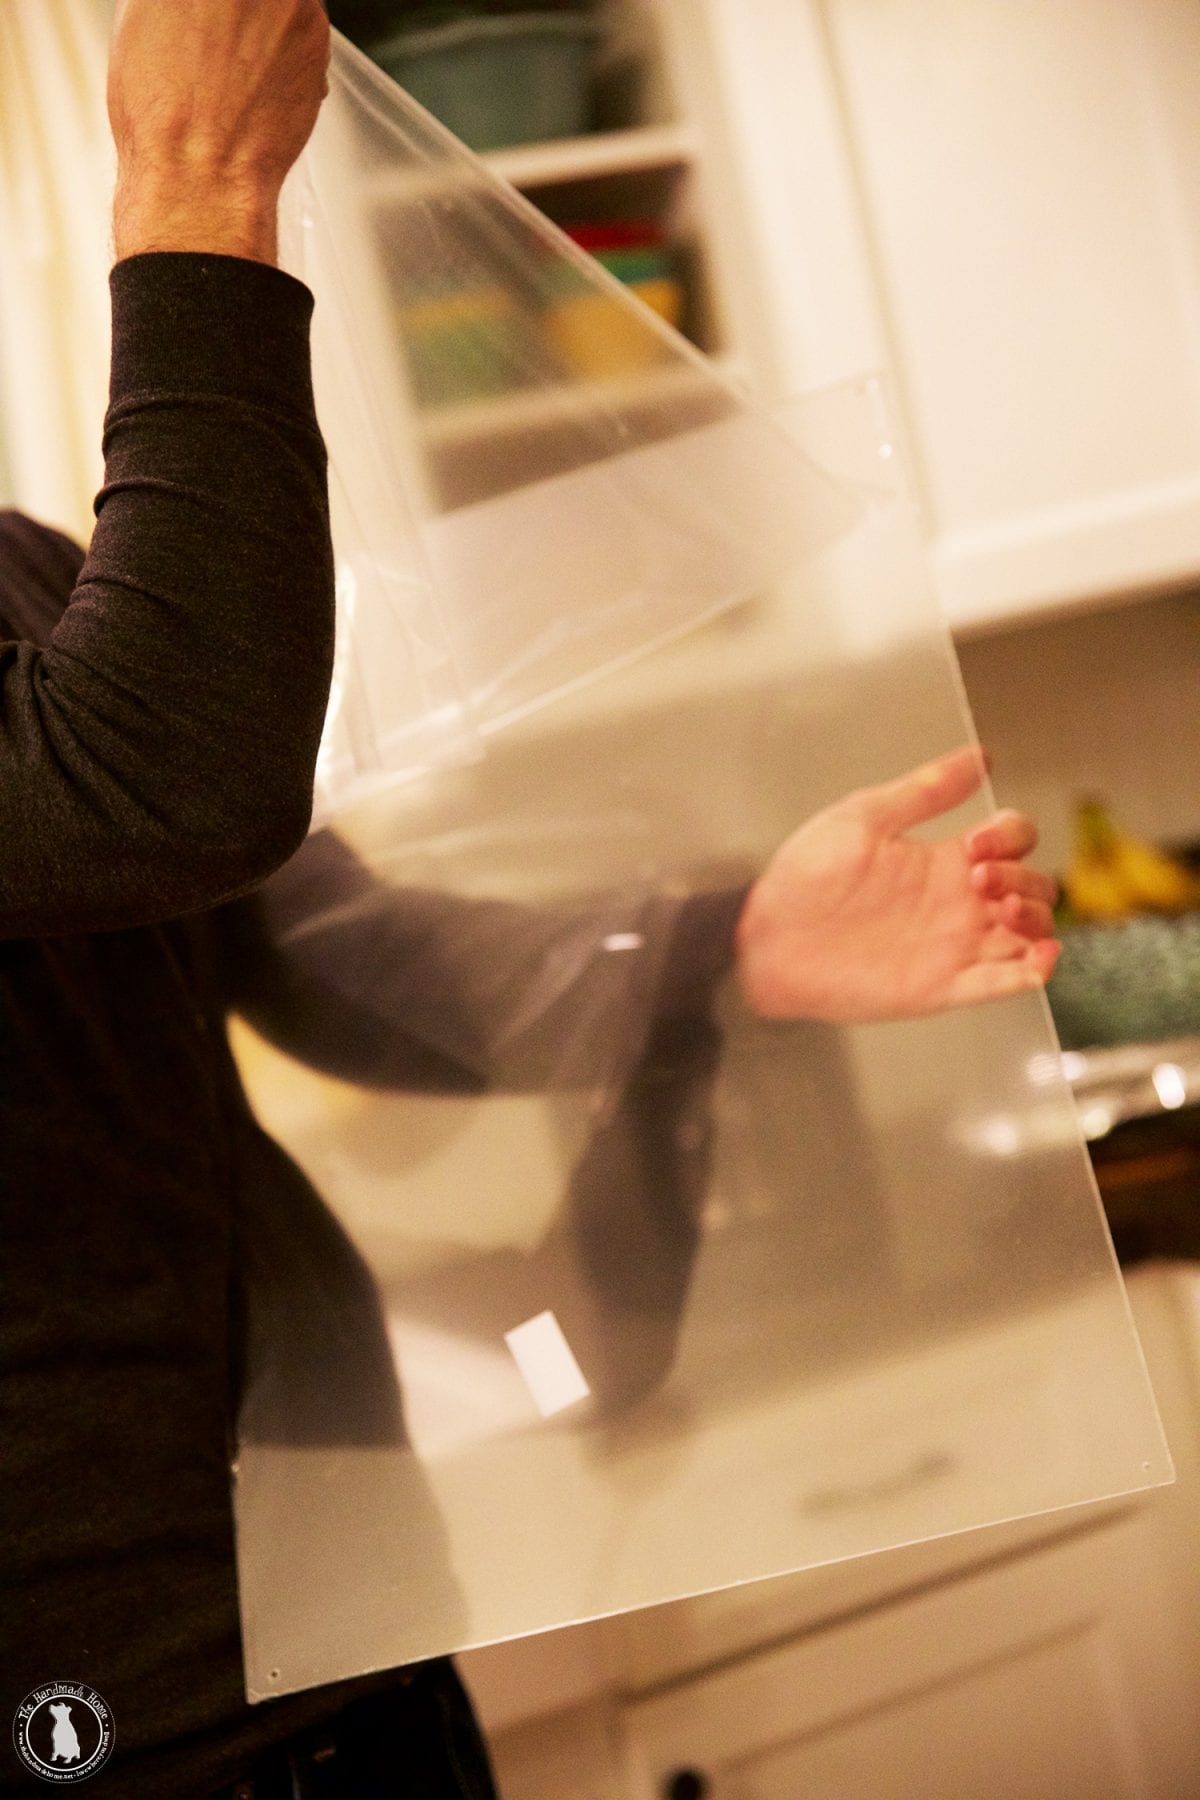
Place your art in the center with a little glue on all four corners, then placing your plexiglass on top, secure it.

Tada! Your art and new creation are ready to go.

They made the perfect little addition to the room makeover in the Ronald McDonald House!

As always let us know if you have any questions – have an inspired day!


okay i am from Music City, and I have to say I love the art work. I kind of got lost when you were talking about all of that subtracting…?? Sorry that is probably more clear to everyone else reading this… and where did you get your plexi glass??