
how to build a fence
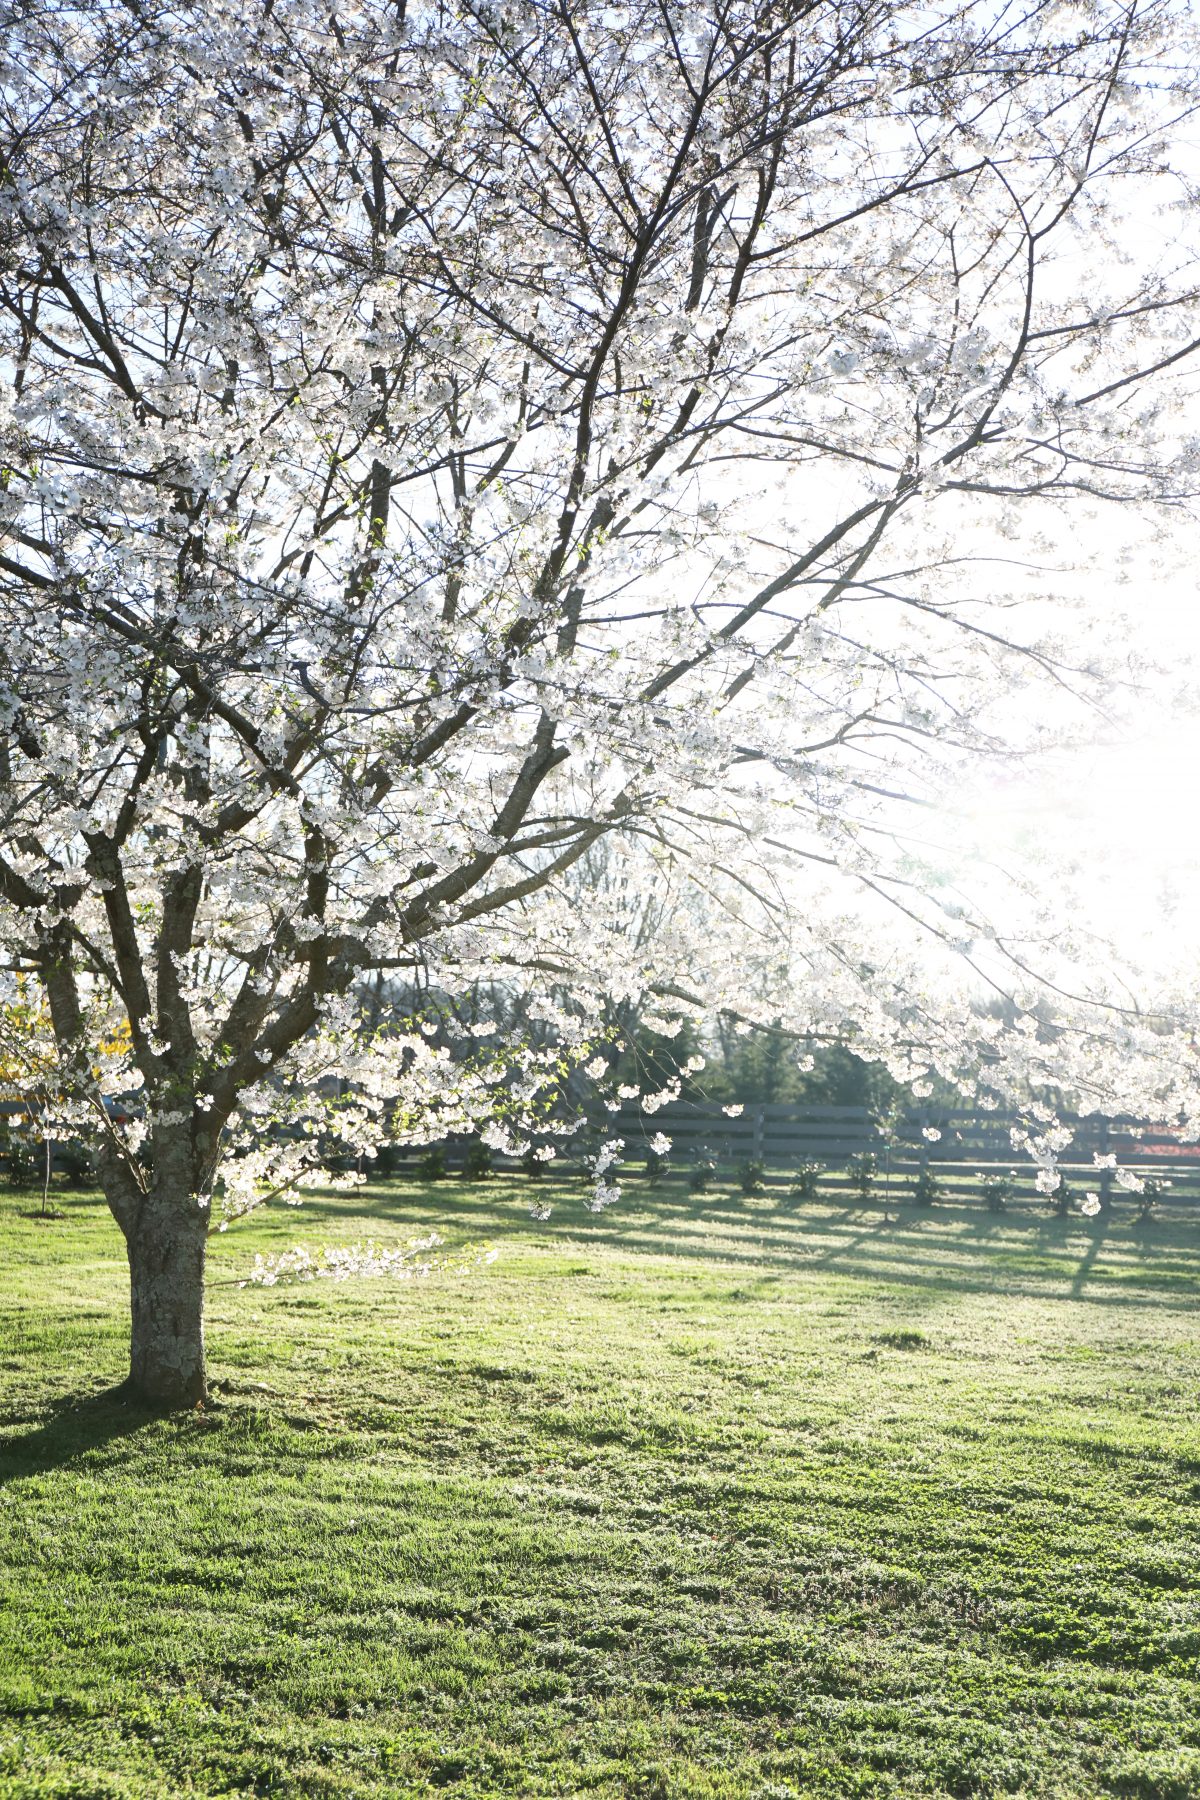
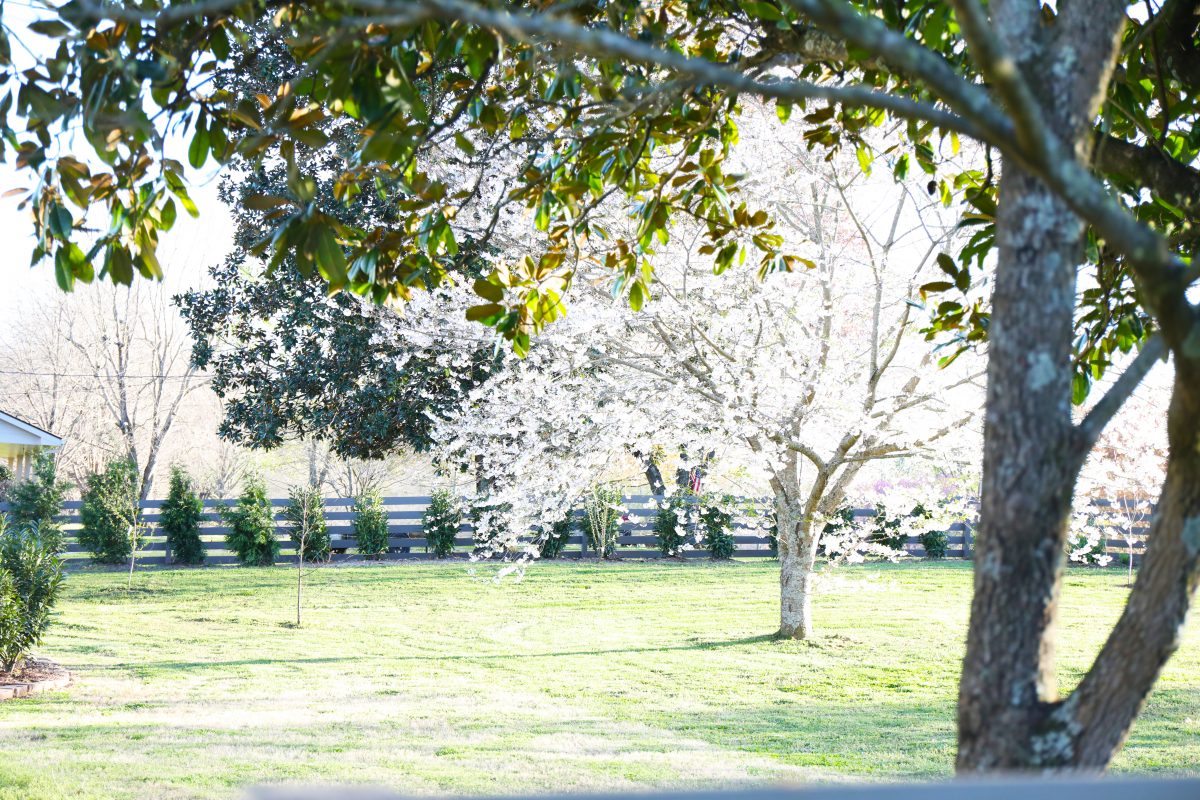
Last year in the apocalypse, we went kind crazy. The best way to explain the progress in our yard, from the side dining area to the cabana and all the outside details like privacy walls and 147 new bushes and trees, is to look at it overhead. But today we’re sharing how to build a fence, and I want to start with a pretty photo to show you how far we’ve come.
Okay guys. Stick with me. Because first, a brief history. The renovation of a house is never a simple one.
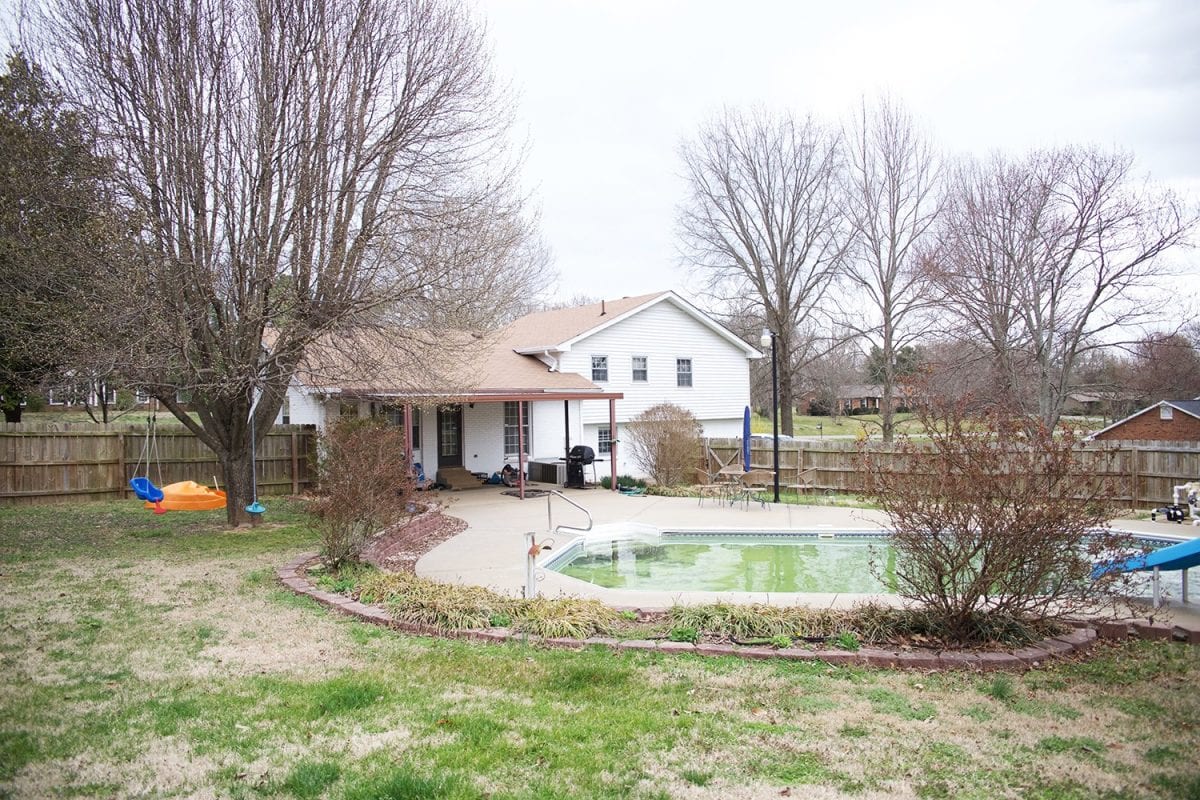
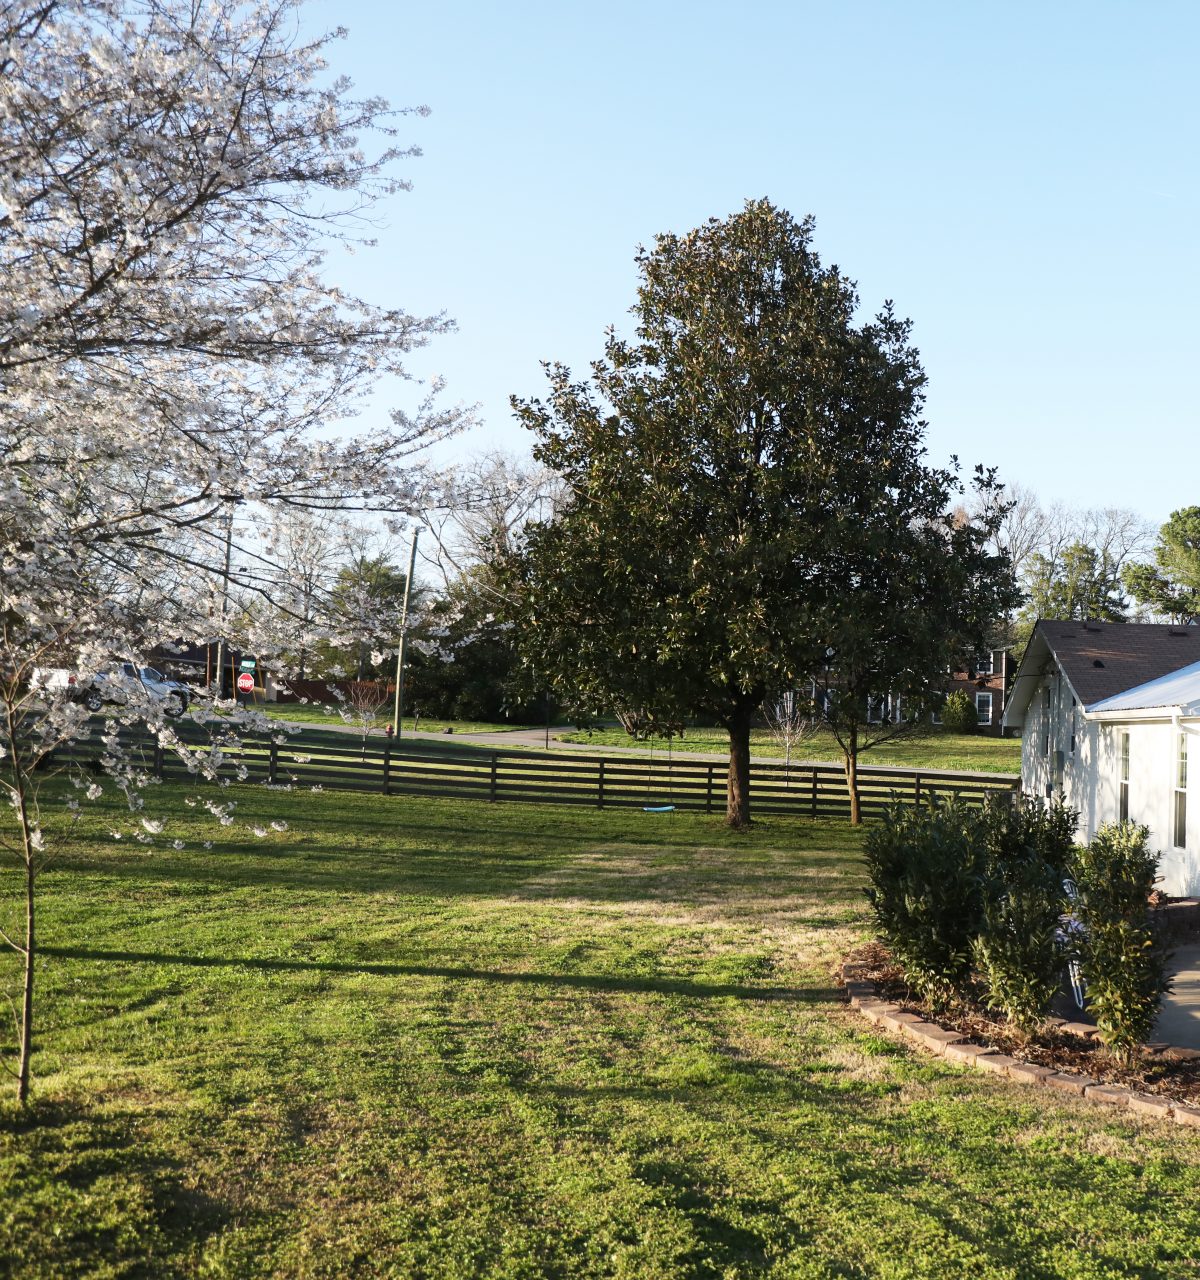
Once upon a time, there was a crusty old fence. This entire corner lot is ours. But you’d never know it from the street. People would come over and say “Oh, this is your yard?!” like the fence was really throwing them off or something.
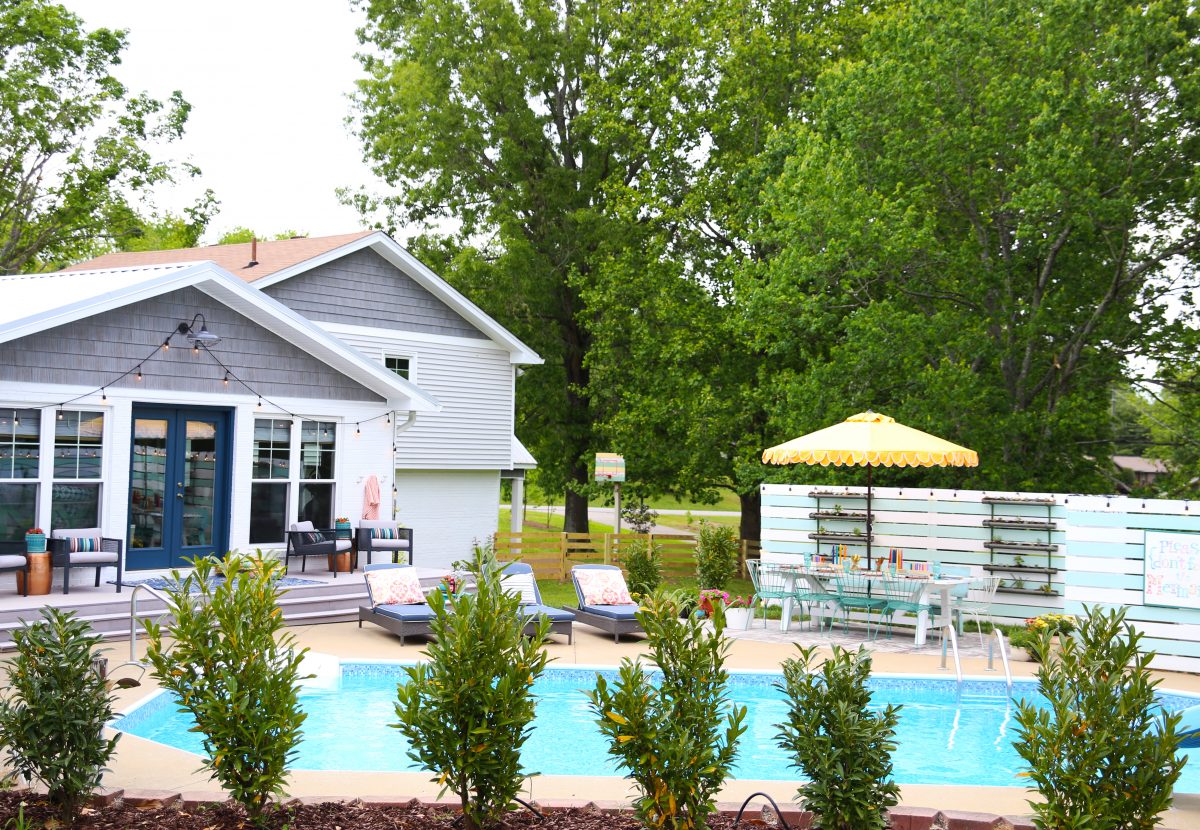
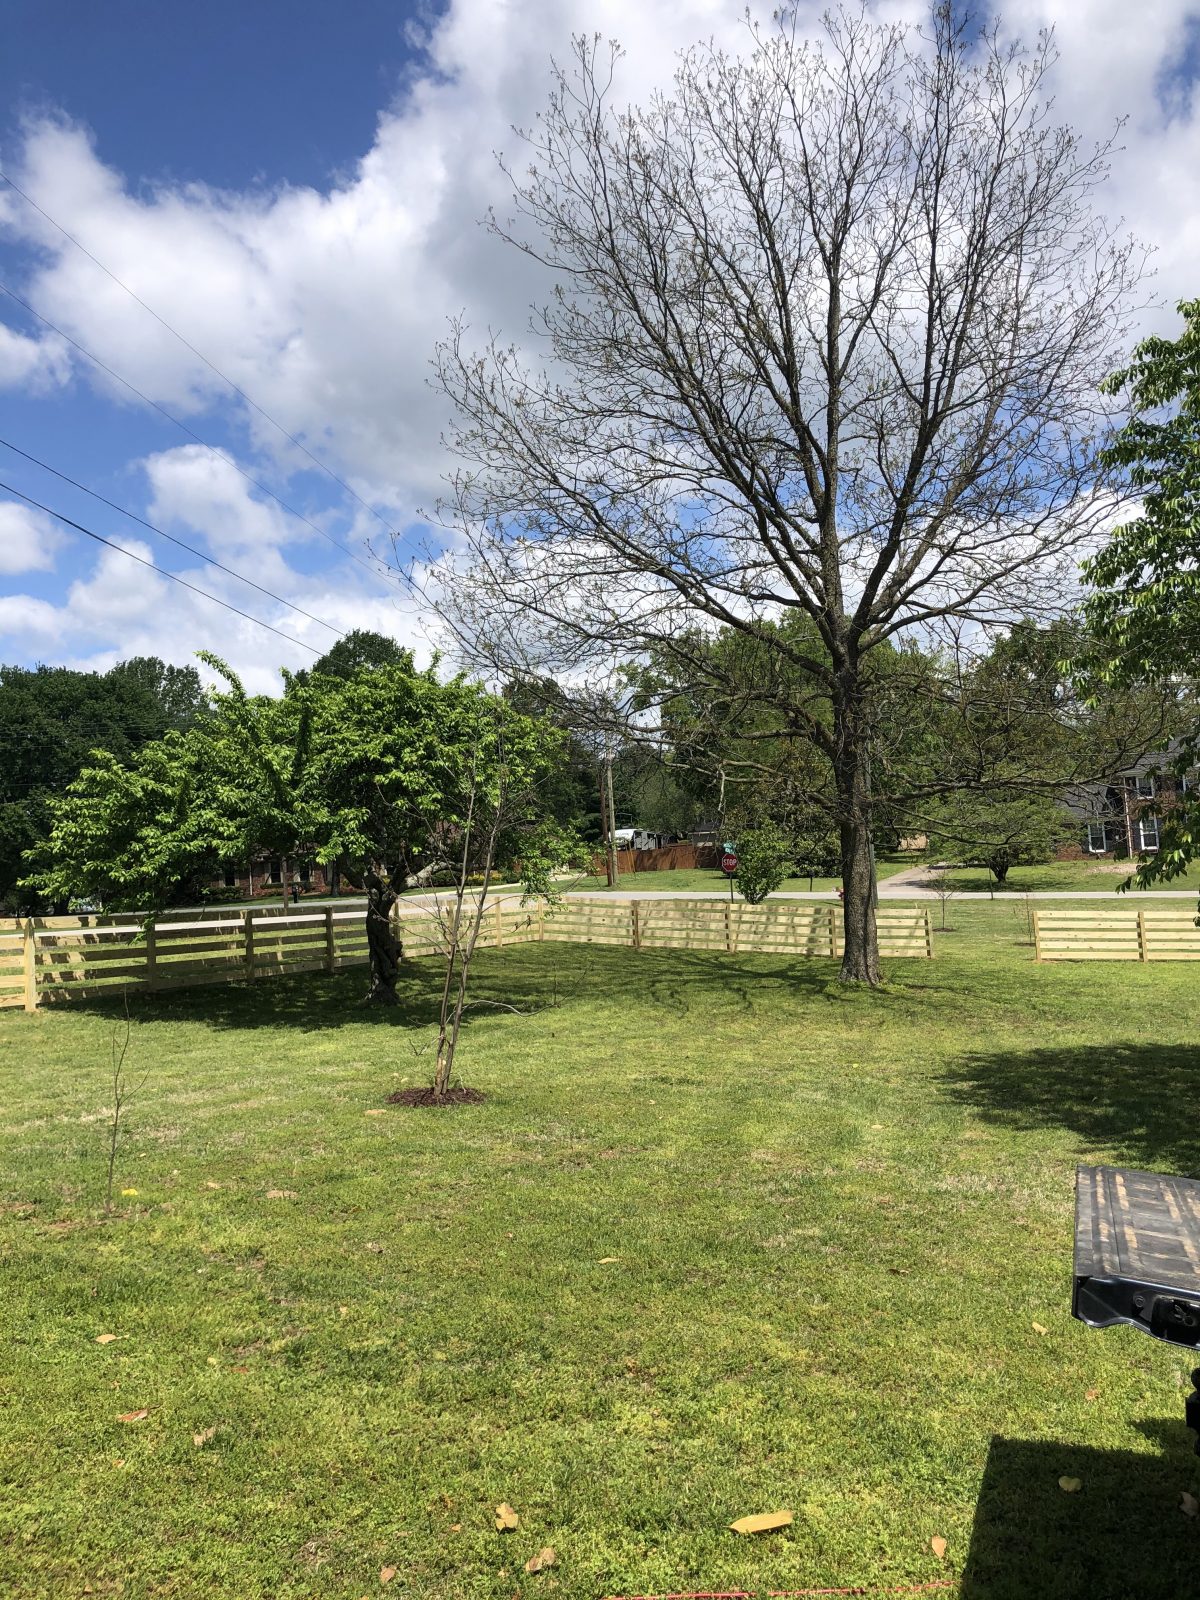
So we took it from the above photo which is a good idea for the before… to something that turned out pretty similar to this situation below in the after. Our dogs {two 70 lb rescue farm dogs} and kiddos were grateful for more space to play. And we loved changing up the yard for space to roam.

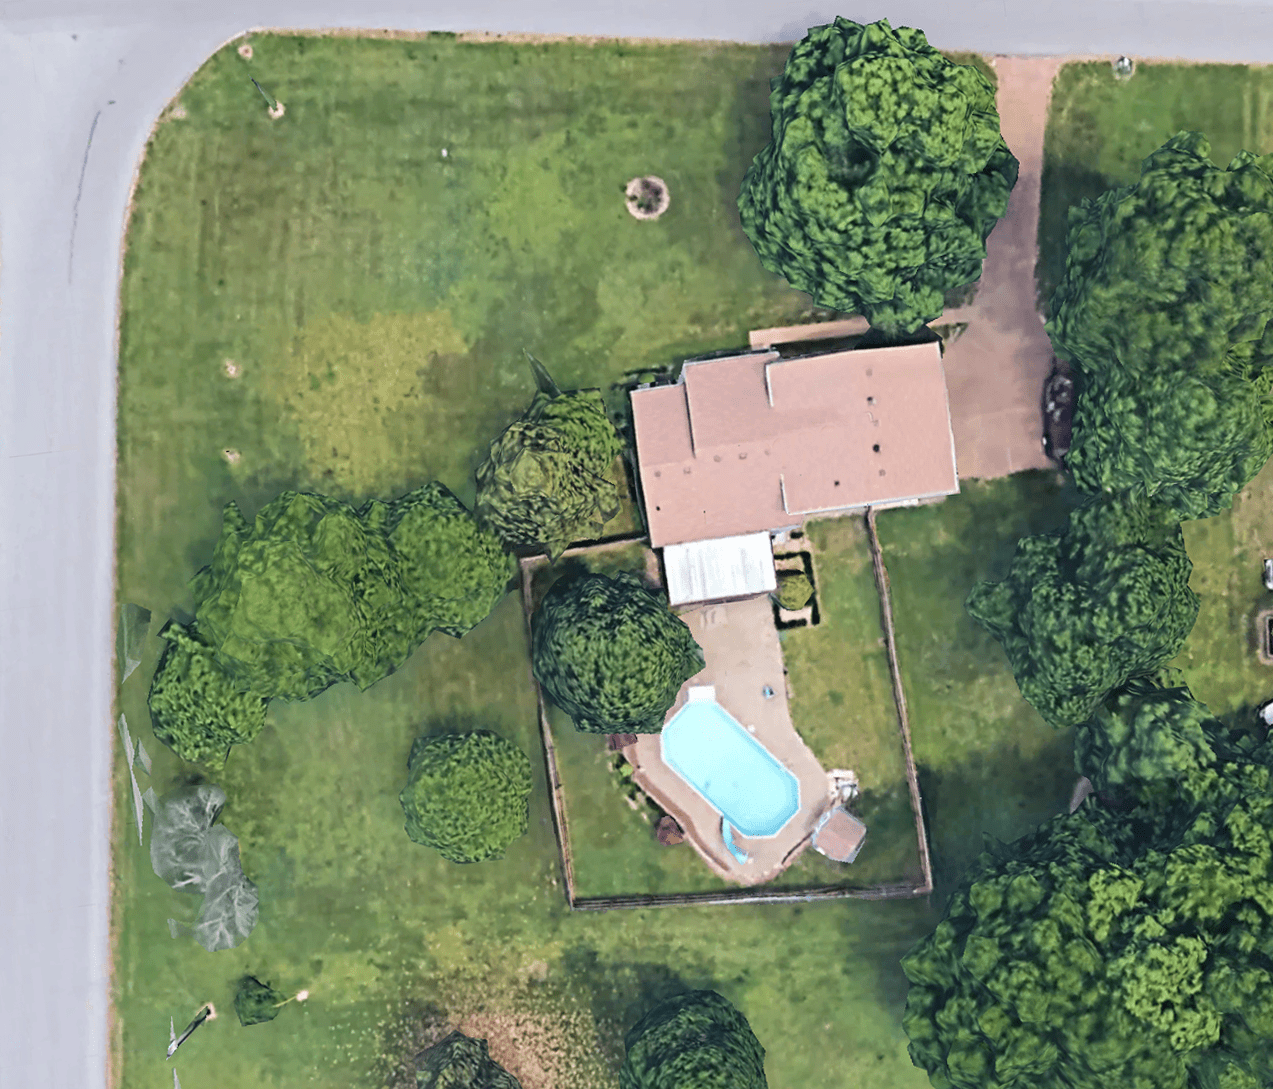
Those 147 plants and trees are not included in the drawing above. The idea, is that when we’re finito, we’ll have our very own little secret garden in the back.
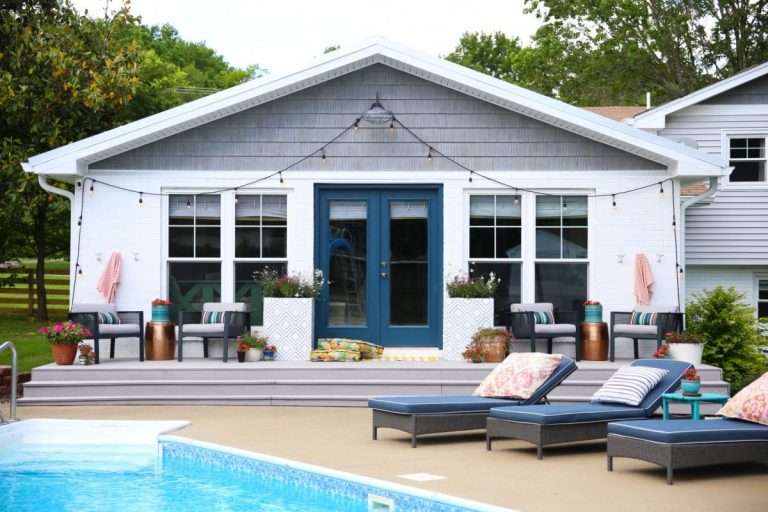
We even built these little privacy walls around the pool, to block out what the foilage can not yet do, while it grows.
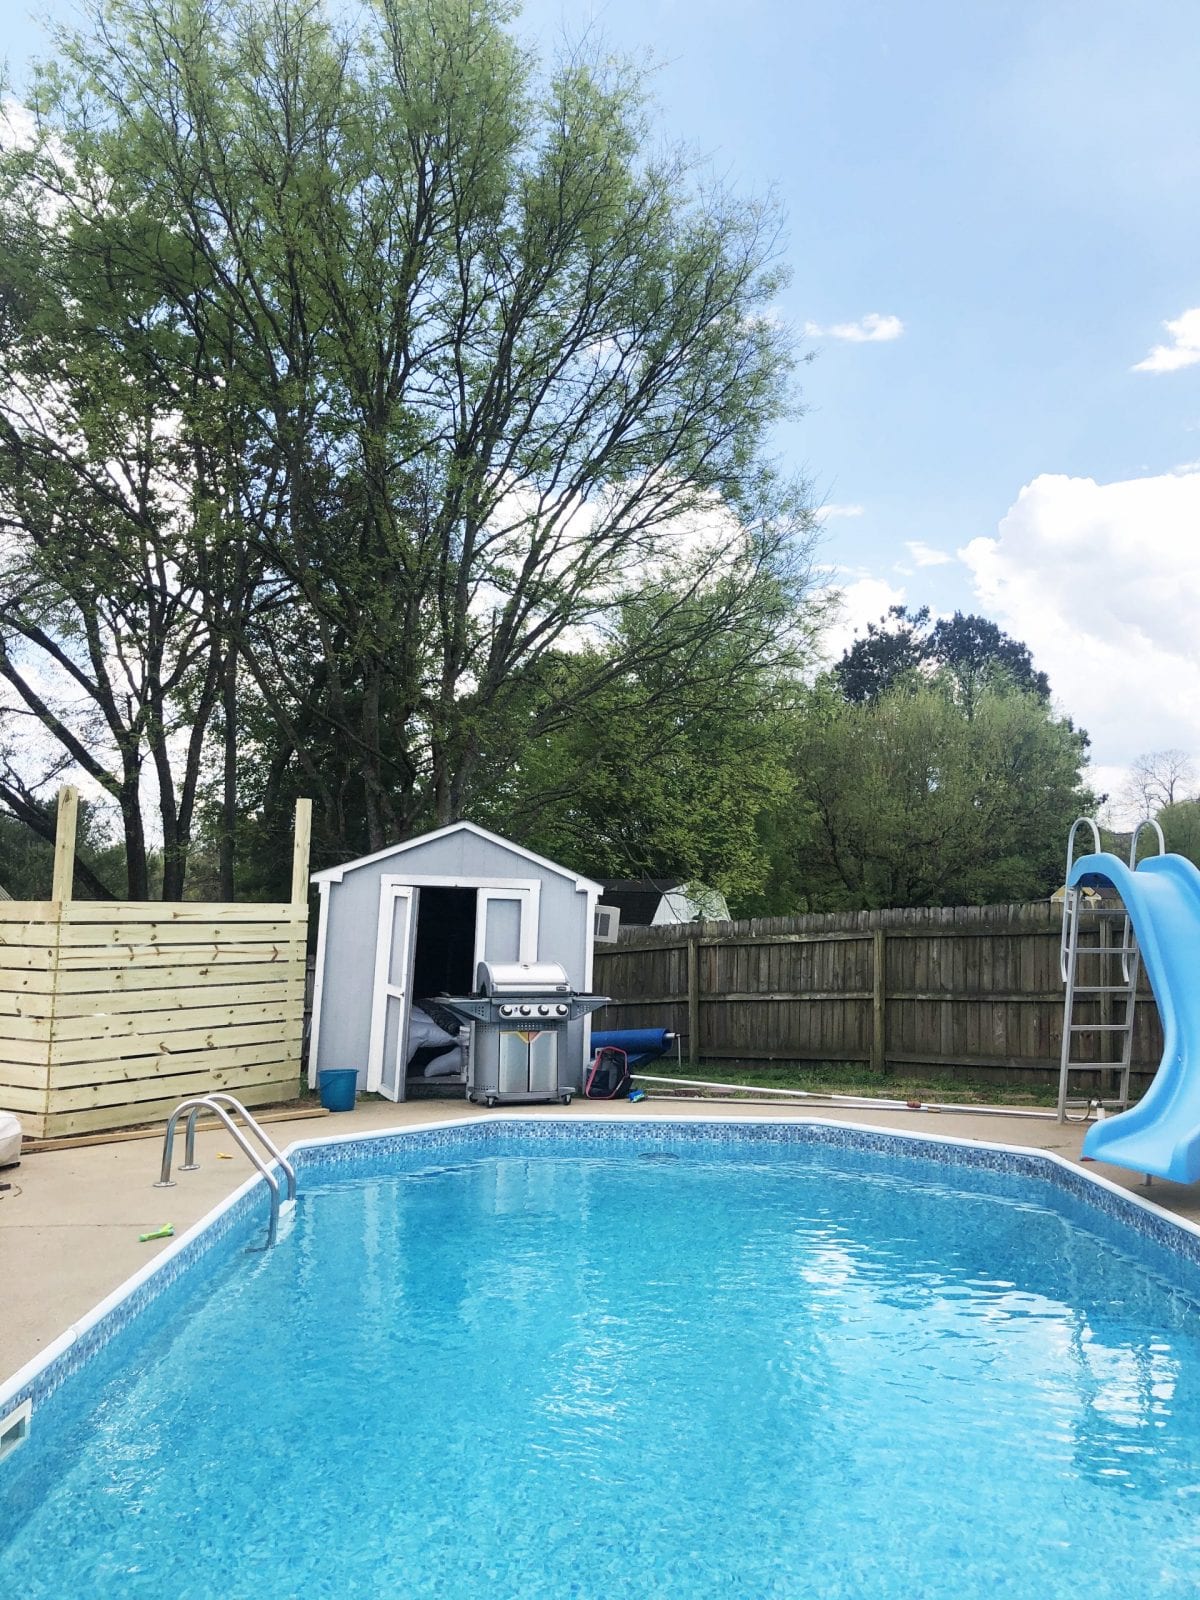
Last summer we left the crusty fence while we built the walls and cabana. Because privacy.
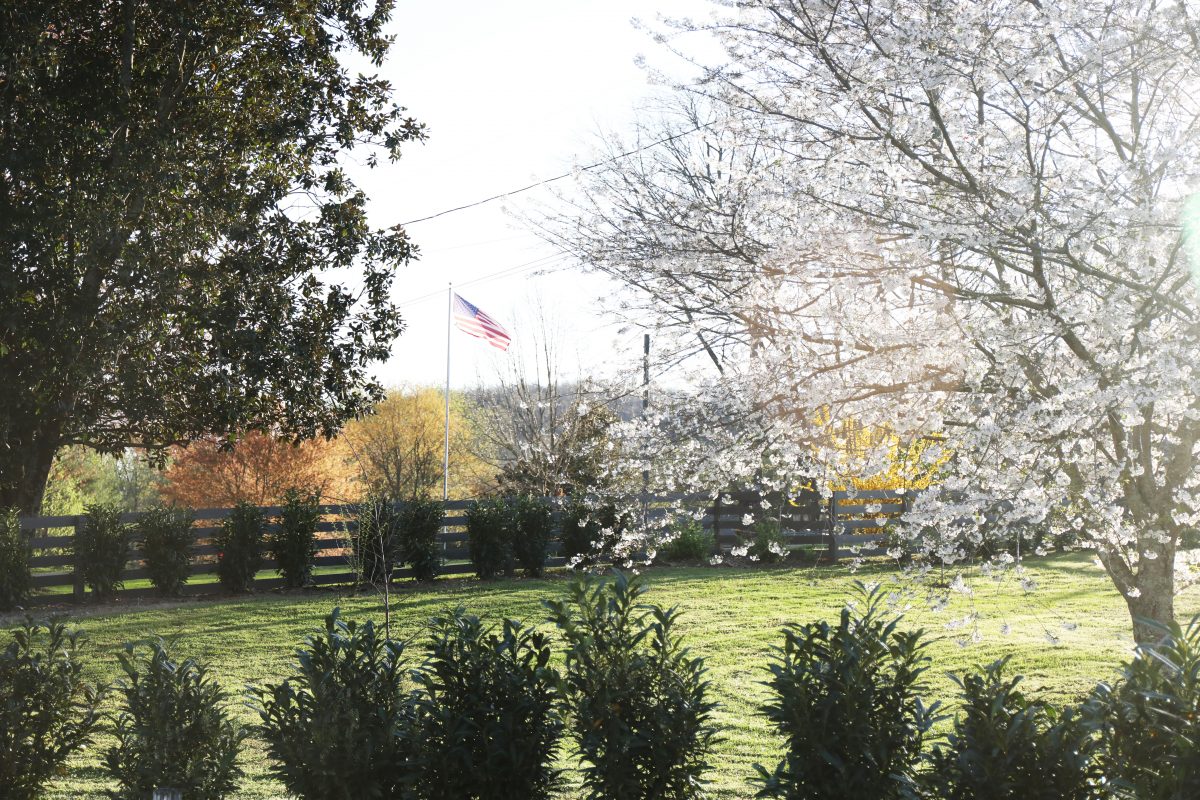
We’ve come such a long way!
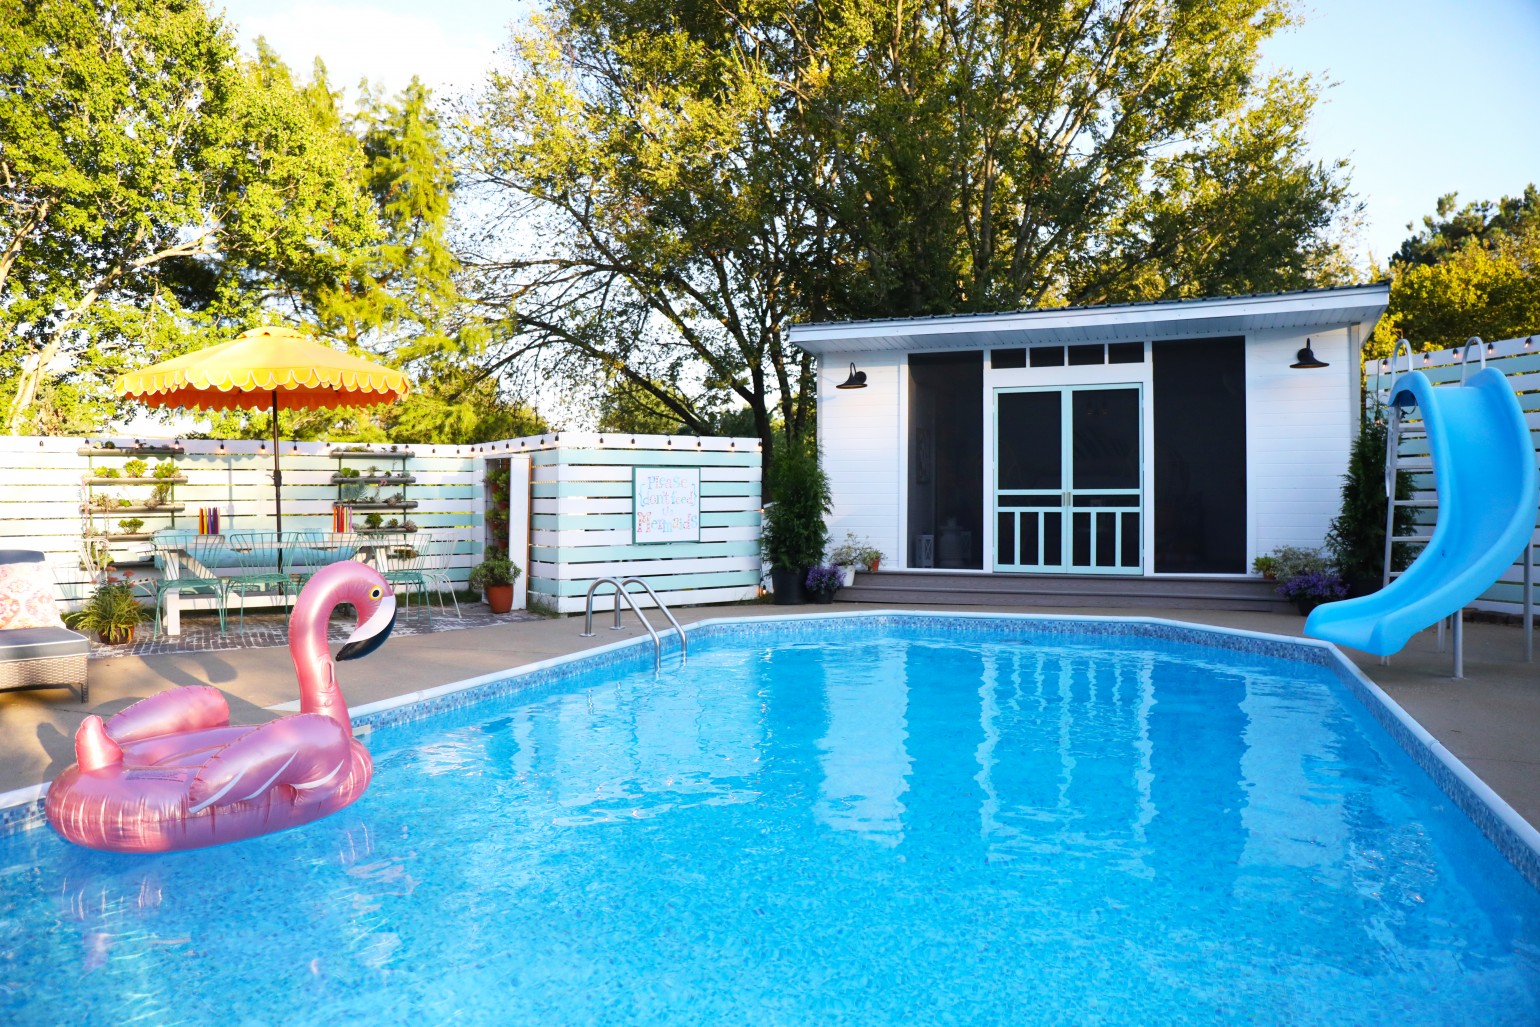
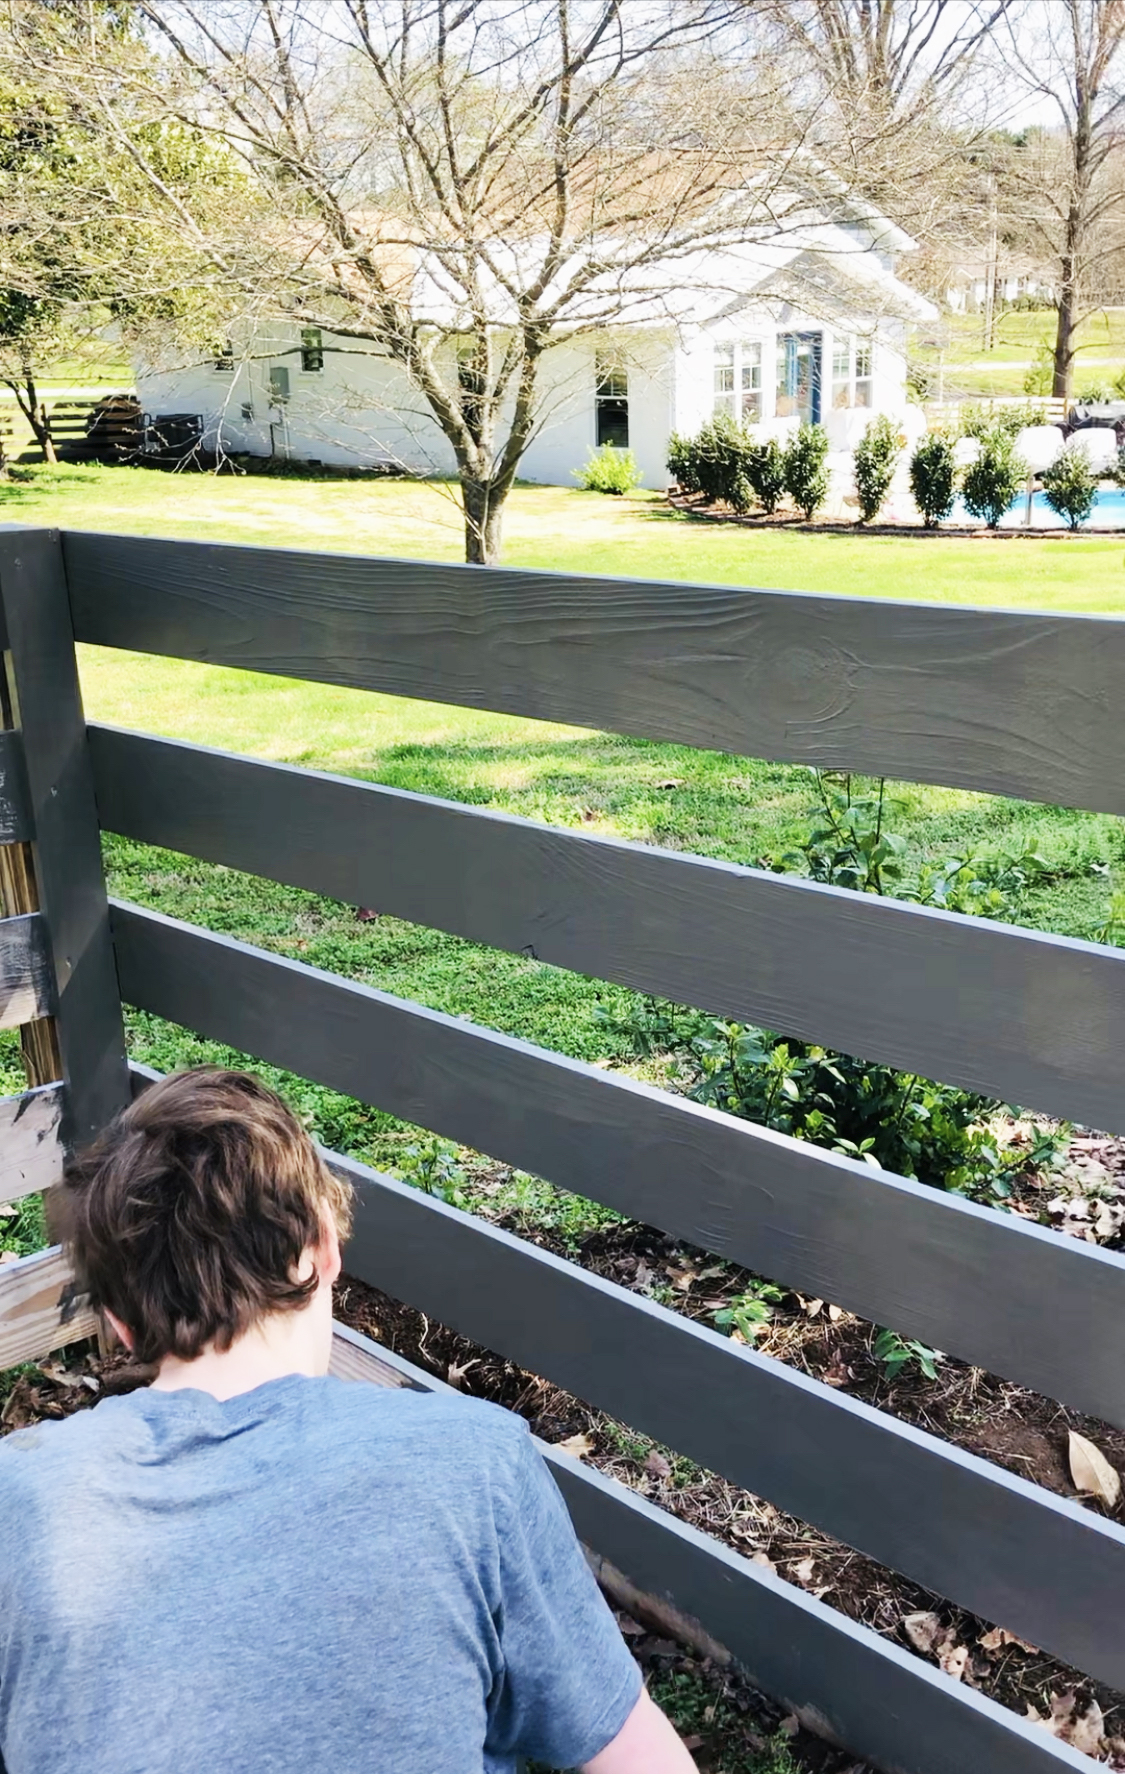
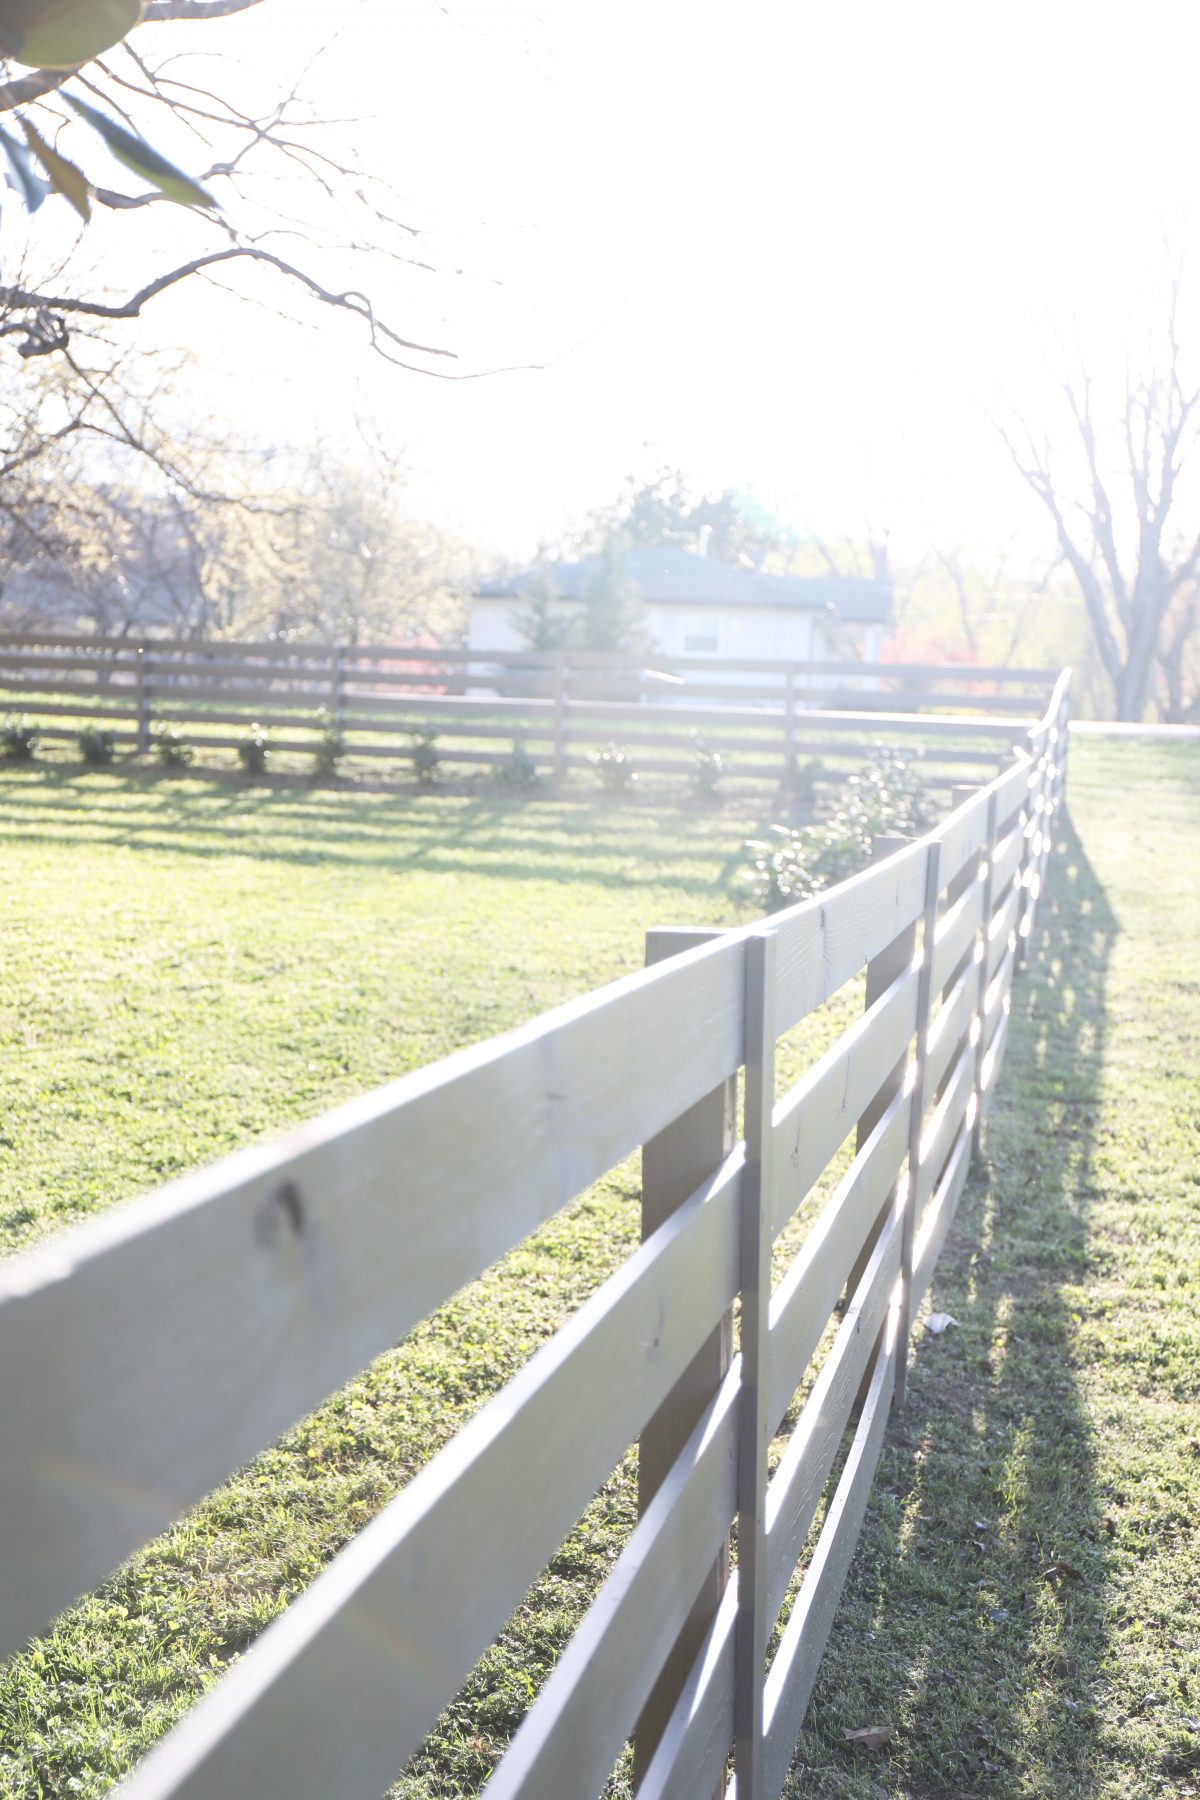
And here’s a little sideways glimpse, even though the fence is now painted and we’ll show you more of that, below.
In photos, people always think that the privacy wall IS the fence. However, our yard is quite large, as illustrated above.
We purchased this 1970-something fixer upper for the yard and school and a good life for our family. Since then, Franklin TN has turned into a mini-California, with offers rampantly 150k+ over the asking price. We received a cash offer for our home the other day, which is awesome and quite the opposite of from whence we came. But the problem is, where would we go?
So we have plans to stay. I’ll definitely be doing an updated shoot soon, because we have another big project coming our way that we can’t wait to share.
There. Necessary intro out of the way.
With that out of the way, we’re covering how we built our fence!
Plan it all out:
We have a big yard, so we were up in the air about what to do with both the pool area, and a fence. Because we wanted to maintain our views, but also provide some privacy, poolside. We needed to corral our dogs, and meet codes requirements for having a pool. We needed it to look good. So it truly helped to draw it all out with a plan as shown above, with the help of Google Earth.
The solution was a combo of foilage, privacy wall, and large fence.
Do it right:
Once you’re done with the initial plans, hire a surveyor to come check out your yard. Make sure that things are done legally.
Why? Because being perfectly honest, neighbors who have lived here before you may think part of your yard, is theirs, and be a little aggravated until you show them a correct plat map. That’s all we’ll say here, so a surveyor is invaluable.
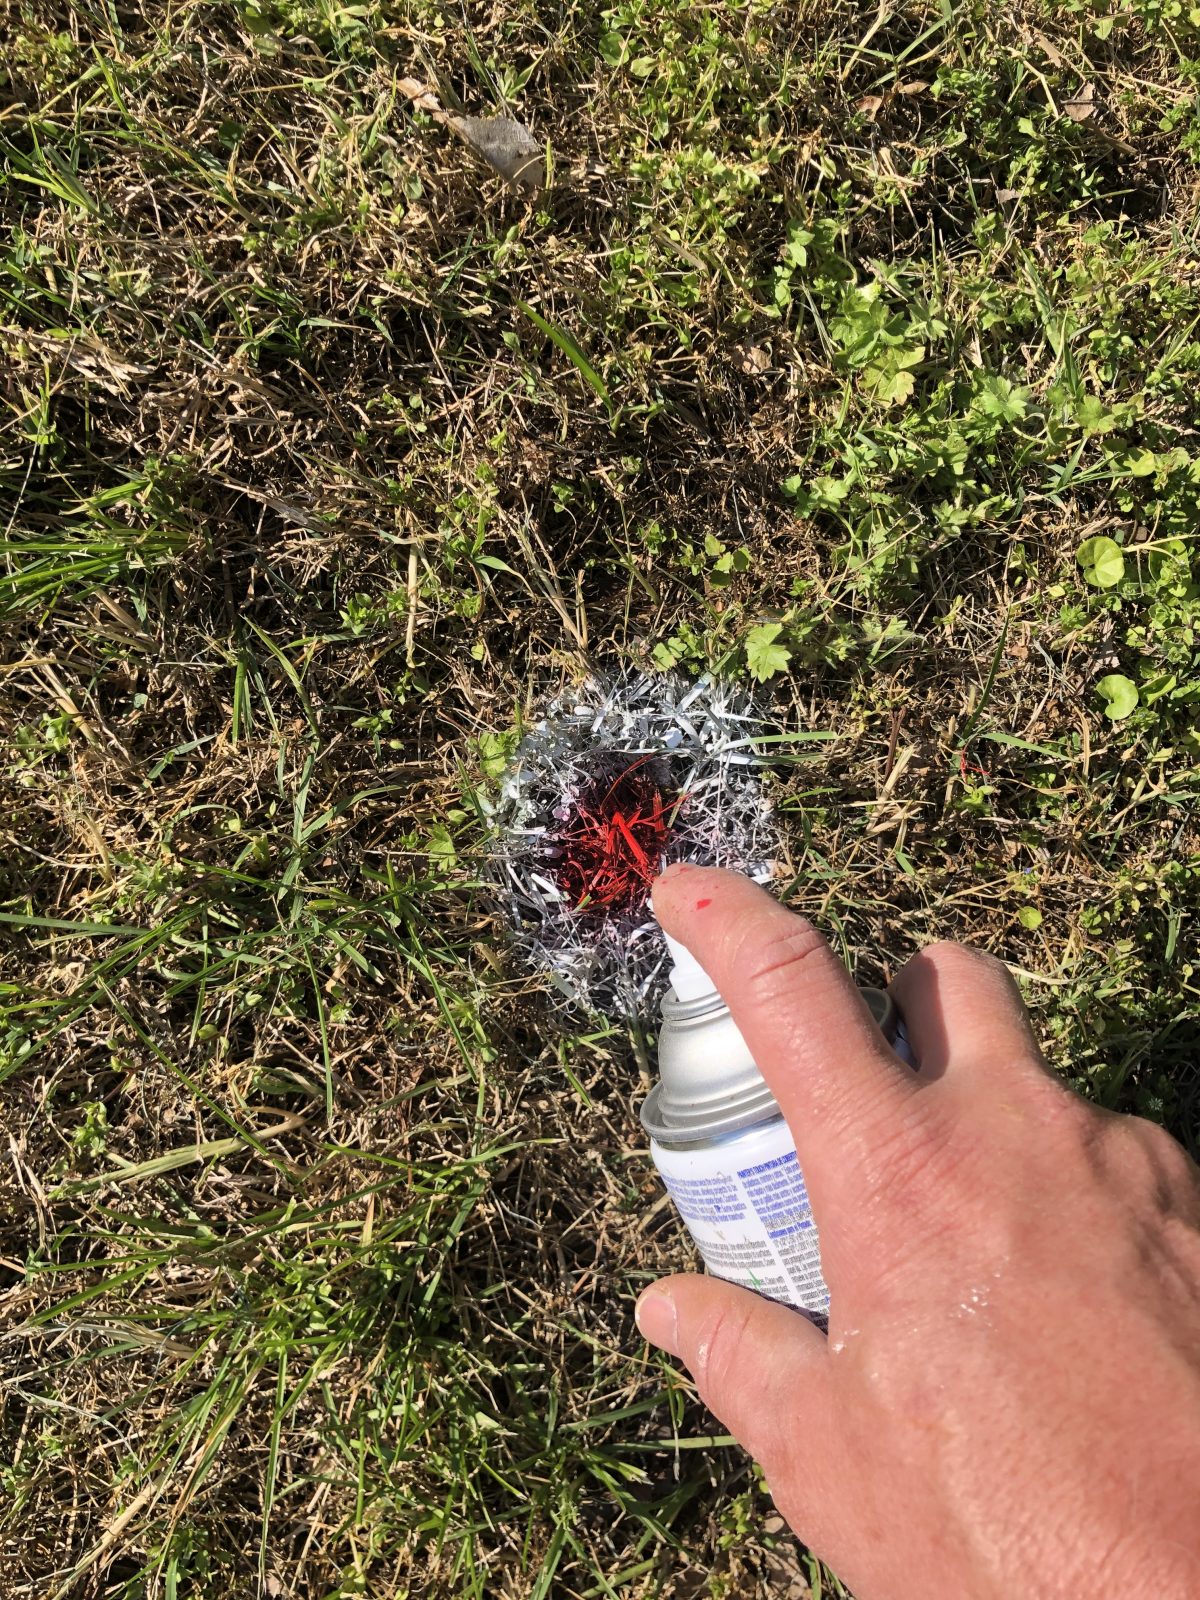
AND CALL 811 BEFORE DIGGING so that your underground utilities can be marked. That way, you don’t injure yourself, or gain a hefty fine. We called… and we hit a phone line and shredded it. Good times. Guess who’s fault it wasn’t? They forgot to mark it. Otherwise, 4k+ bill addressed to yours truly.

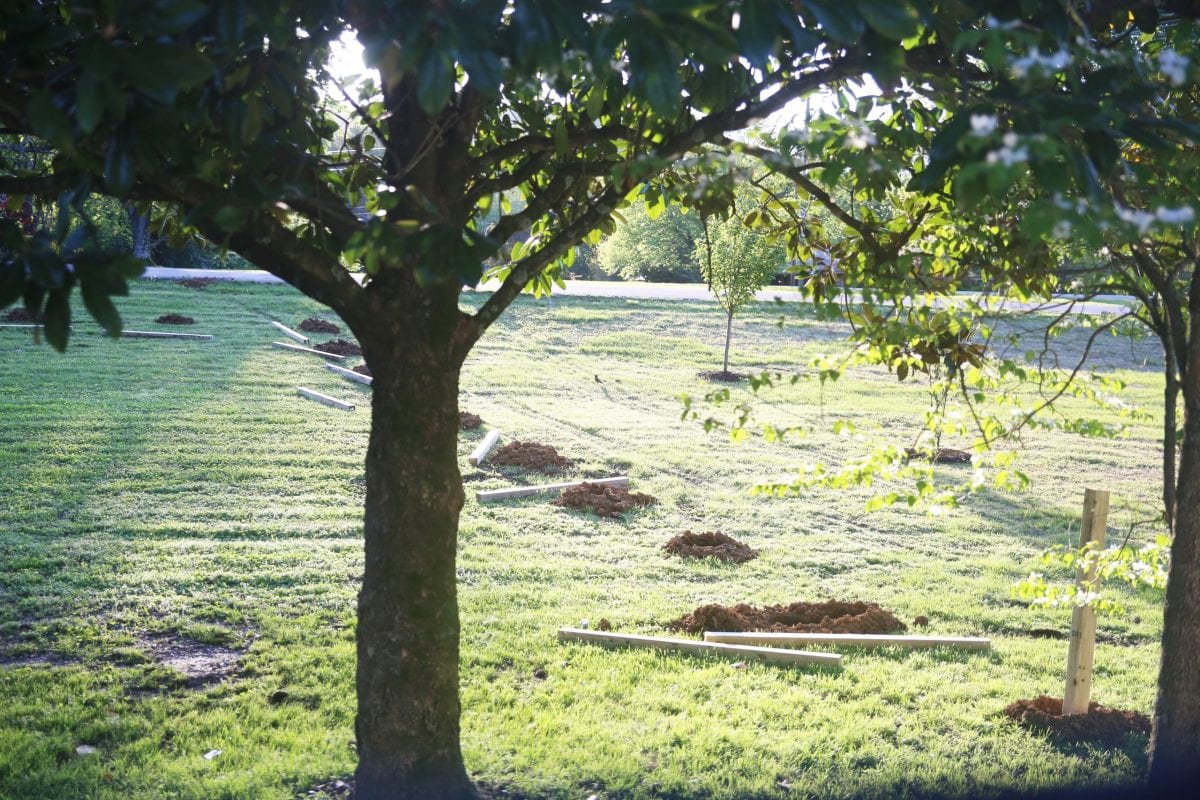
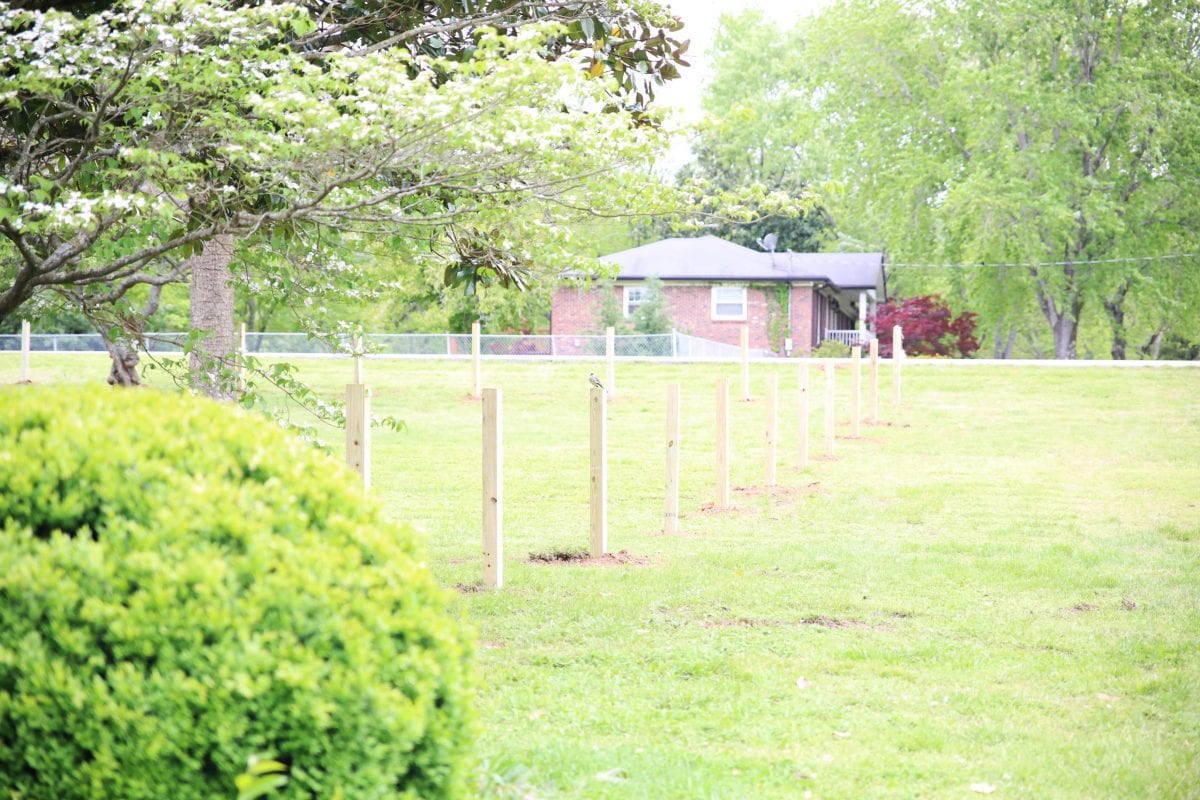
Once your utilities are marked, you can lay out your posts.
We started by pulling string all around our property and then used a can of spray paint to mark where our posts would be. We wanted 8-foot sections, so every 8 feet received a pretty little color of paint.
Dig it out:
Once the posts were marked out, the digging began. Fun times.
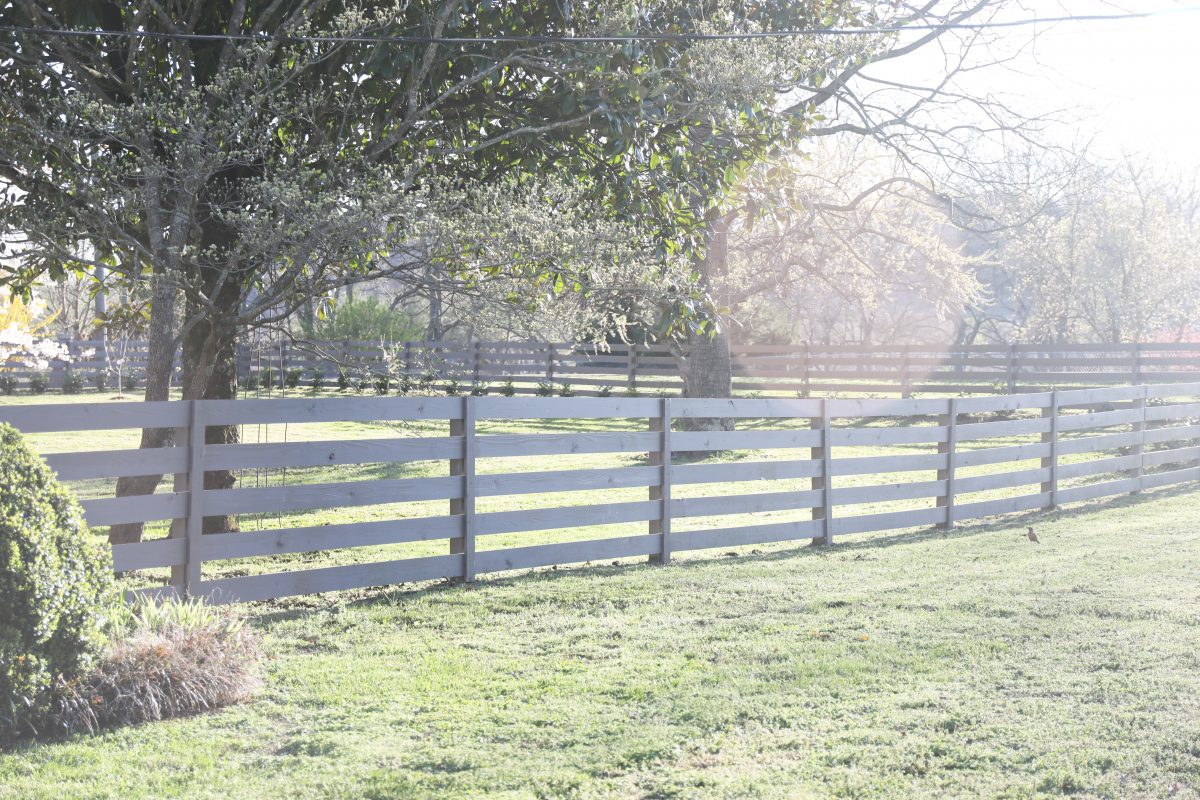
In our own fence, we used a 6-foot post. So we tried to bury no more than 2 feet of the post as we went around the yard, so that we would have a 4-foot high fence. We also knew that we could come back later and cut the tops off with our Greenworks reciprocating saw if we were a little high, to even them all out.
No concrete:
We didn’t pour concrete around the posts for a few reasons.
First, it was a ton of posts. Second, they are not weight-bearing and some movement would not be detrimental. And third, if I ever needed to adjust or replace them it would be no big deal.
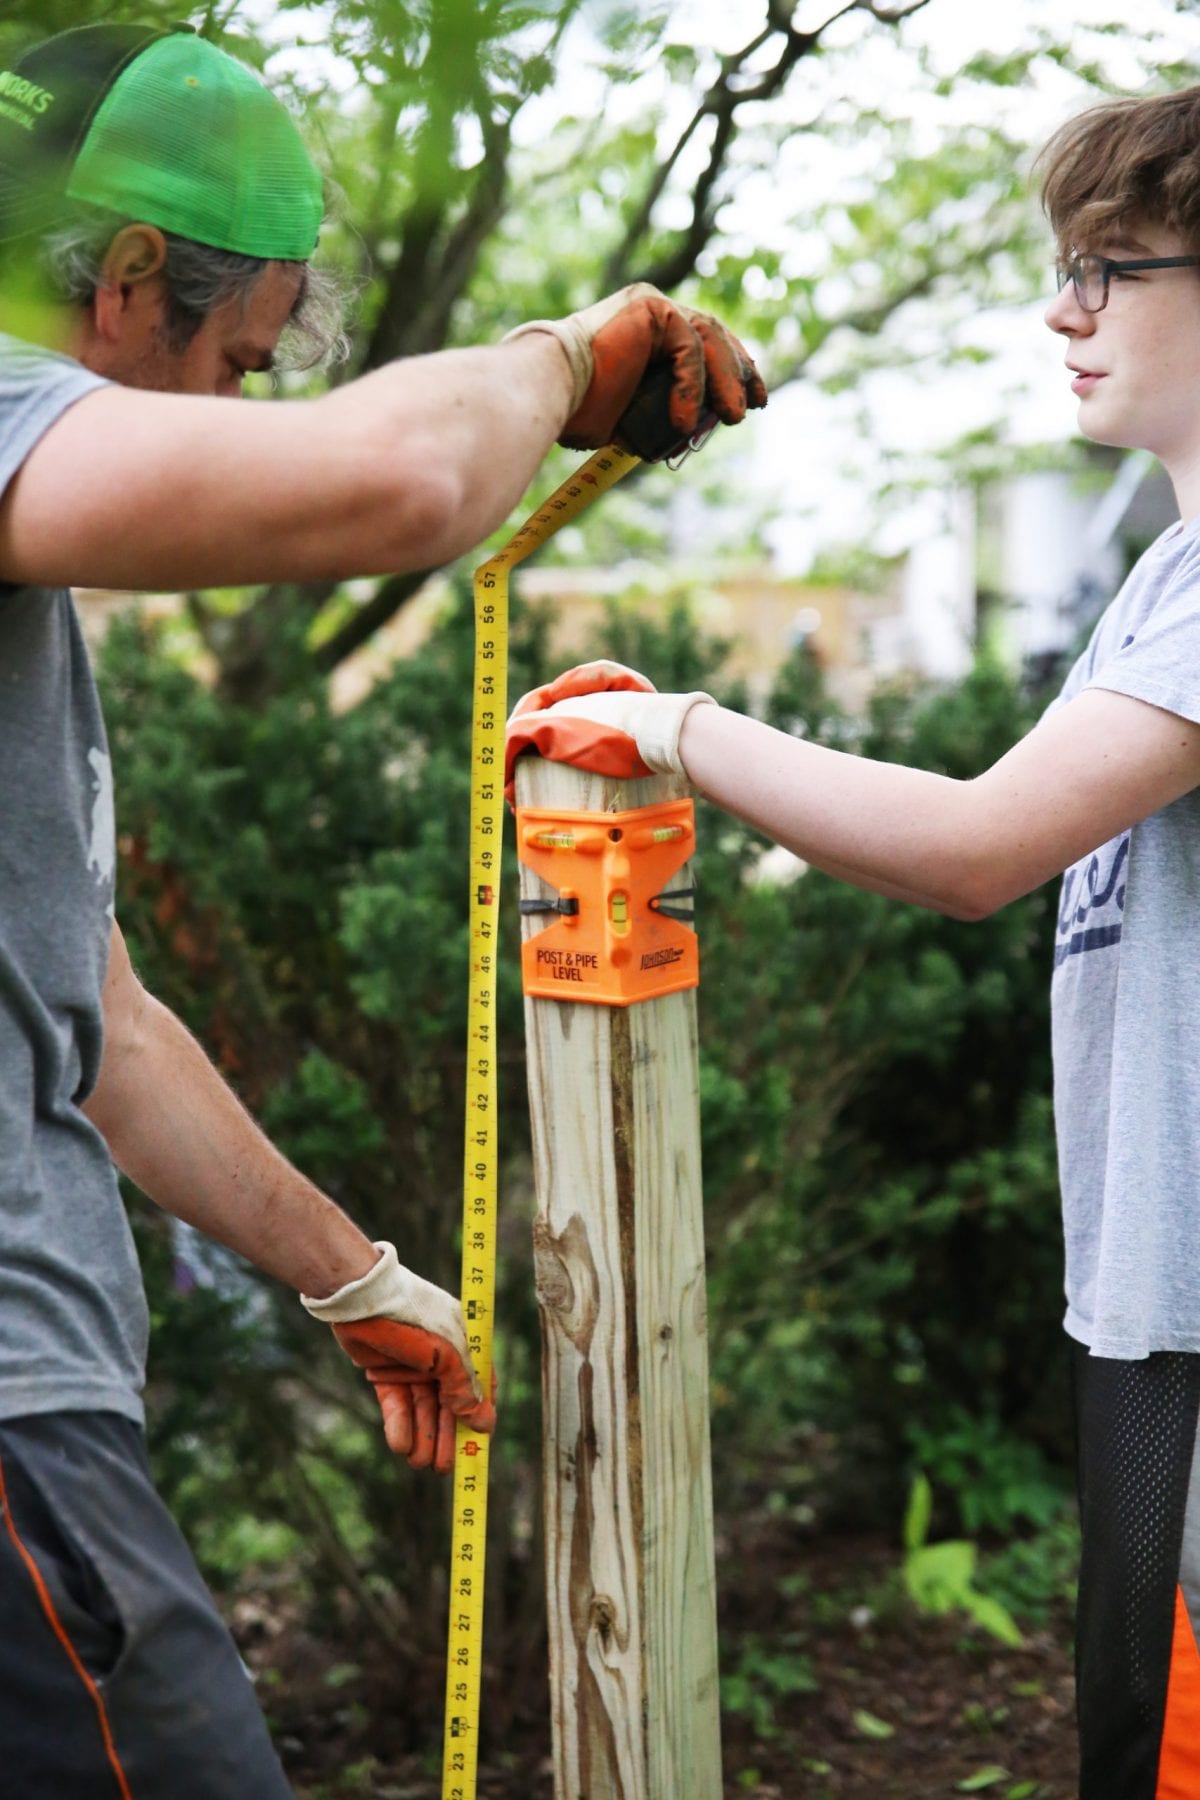
We used our post levels as well as a tape measure.
This was to make sure our posts were actually level, and spaced accordingly as we worked.
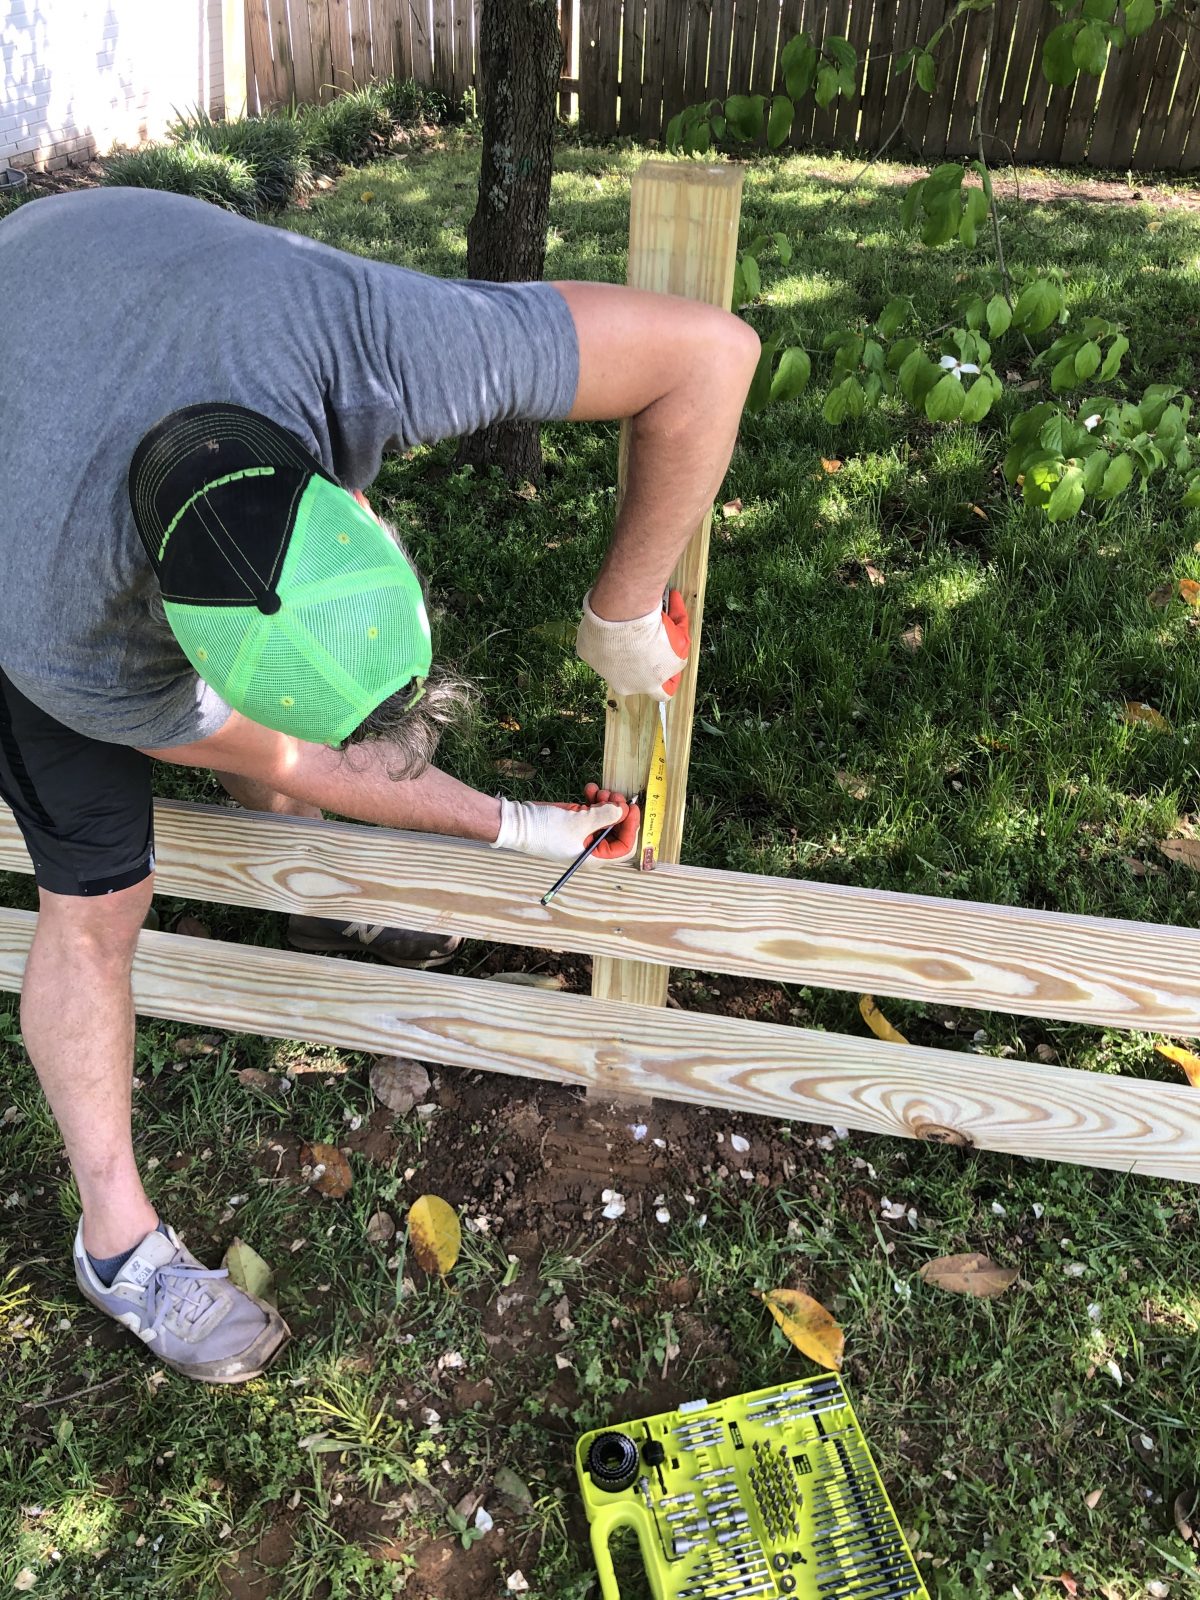
Add the rails:
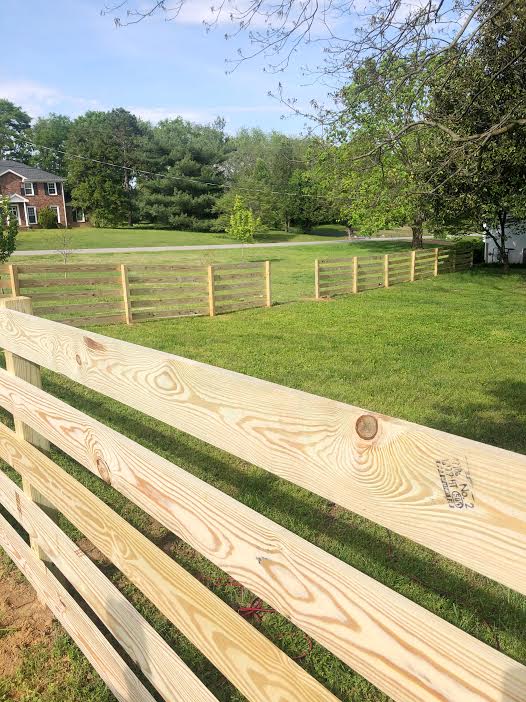
Next, we began adding the rails. Codes here require a four inch gap with a pool, so we built a 5 rail fence with a 6-inch board and a 4-inch gap between them.
We used Yellowwood pressure treated 1 x 6’s, deck screws, and our Greenworks impact driver.
This process took about 2 days. Considering that we do live on an acre lot and decided to fence in the entire backyard, we didn’t think it was a bad distraction in the middle of Covid. Especially when we realized how much we saved on labor costs.
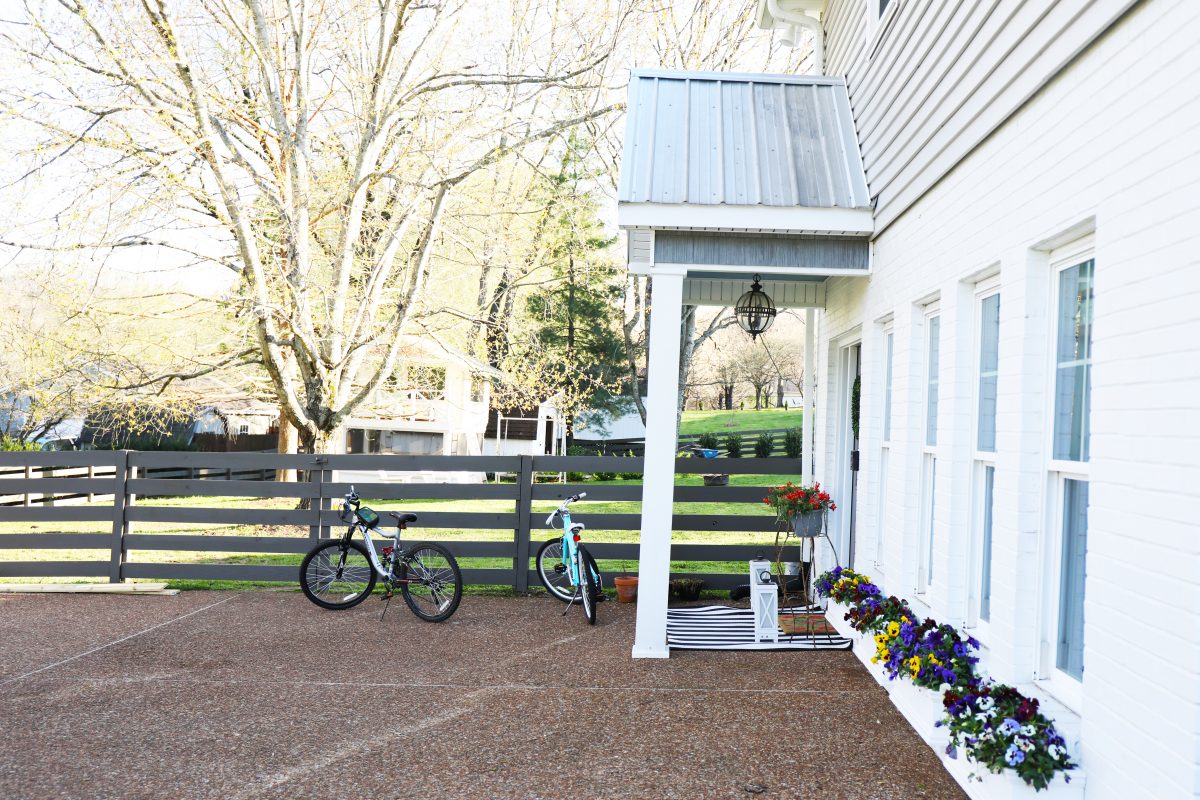
Pro Tip: Make sure your fence physically attaches to your home.
This will allow it to fall under most home insurance policies in case of damage to the fence from a storm. Check with your policy holder to verify this, but it’s true with most policies.
Build the Gates:
One thing you will want to make sure you plan for in your fence building process, is 1. Where your gates will go and 2. How big they will be.
Building the gates is pretty simple. You’ll need some heavy-duty hinges, 5 boards, and a 2 x 4 x 8.
First, you want to cut your 2 x 4 x 8 down to (2) 3′ 10″ pieces and then cut your boards down to fit your opening.
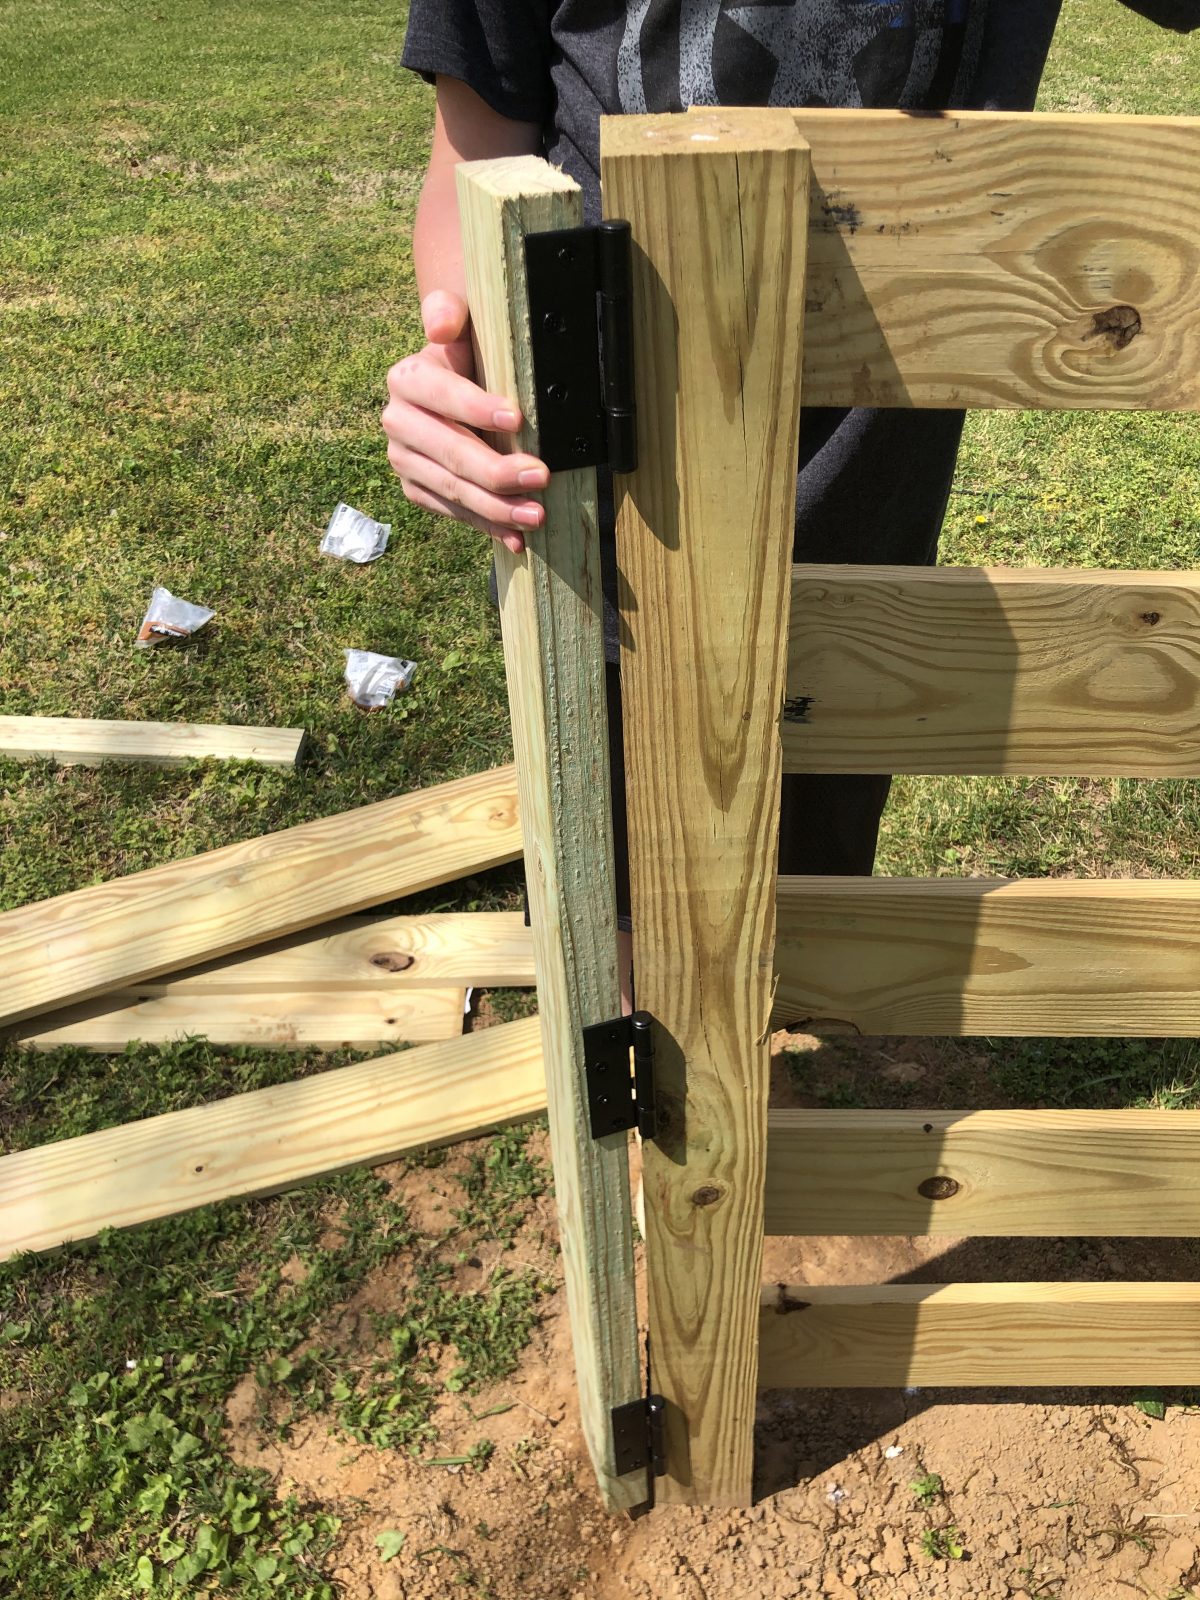
Next, attach your hinges to the post, and the 2 x 4.
From there, build off of the gate with your 1 x 6 boards.
Attach them all at the other end with another 2 x 4.
On painting:
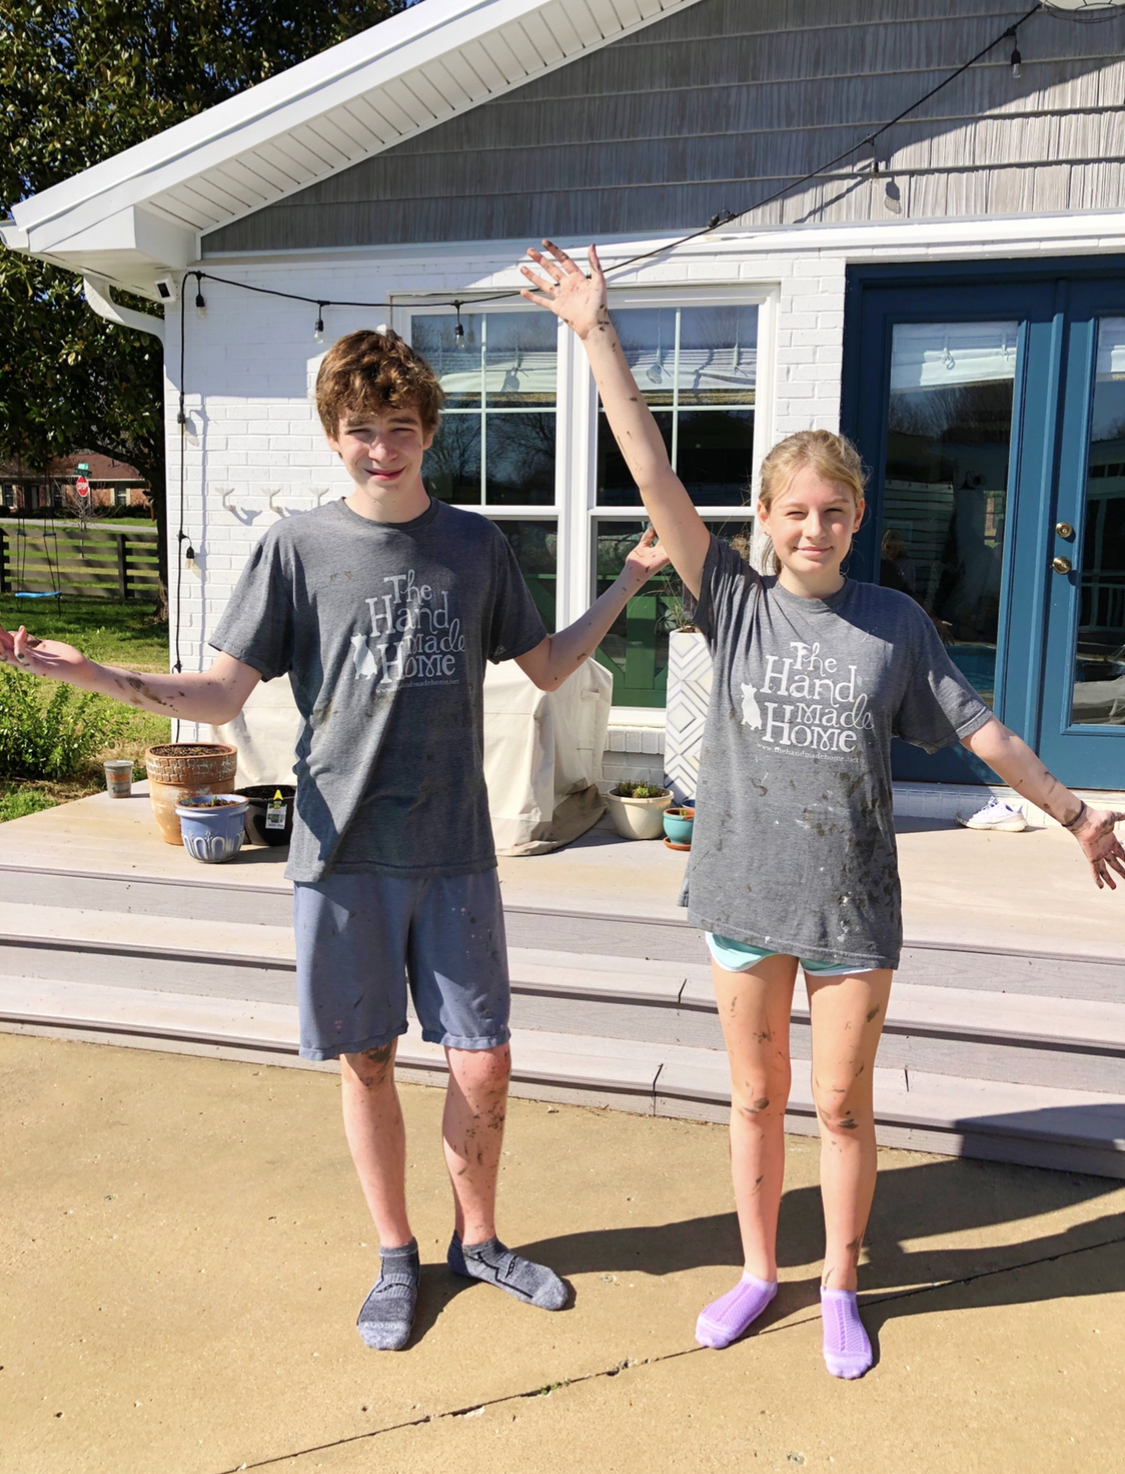
Added note: we waited six months before painting our fence. It’s good to wait that long before painting pressure treated wood. Also, by this point, we were exhausted, so we were more than happy to wait. ;}
We highly recommend you buy a Wagner paint sprayer it’s such a time saver and a great sprayer.
No. Really. We won’t ever tackle another job without it.
We put the kiddos to work, too, and they were super proud.
Even if they ended up with some of the Porpoise (SW 7047) Sherwin Williams Paint on them.
You can also check out the rest of the paint colors in our home here or the cabana here.
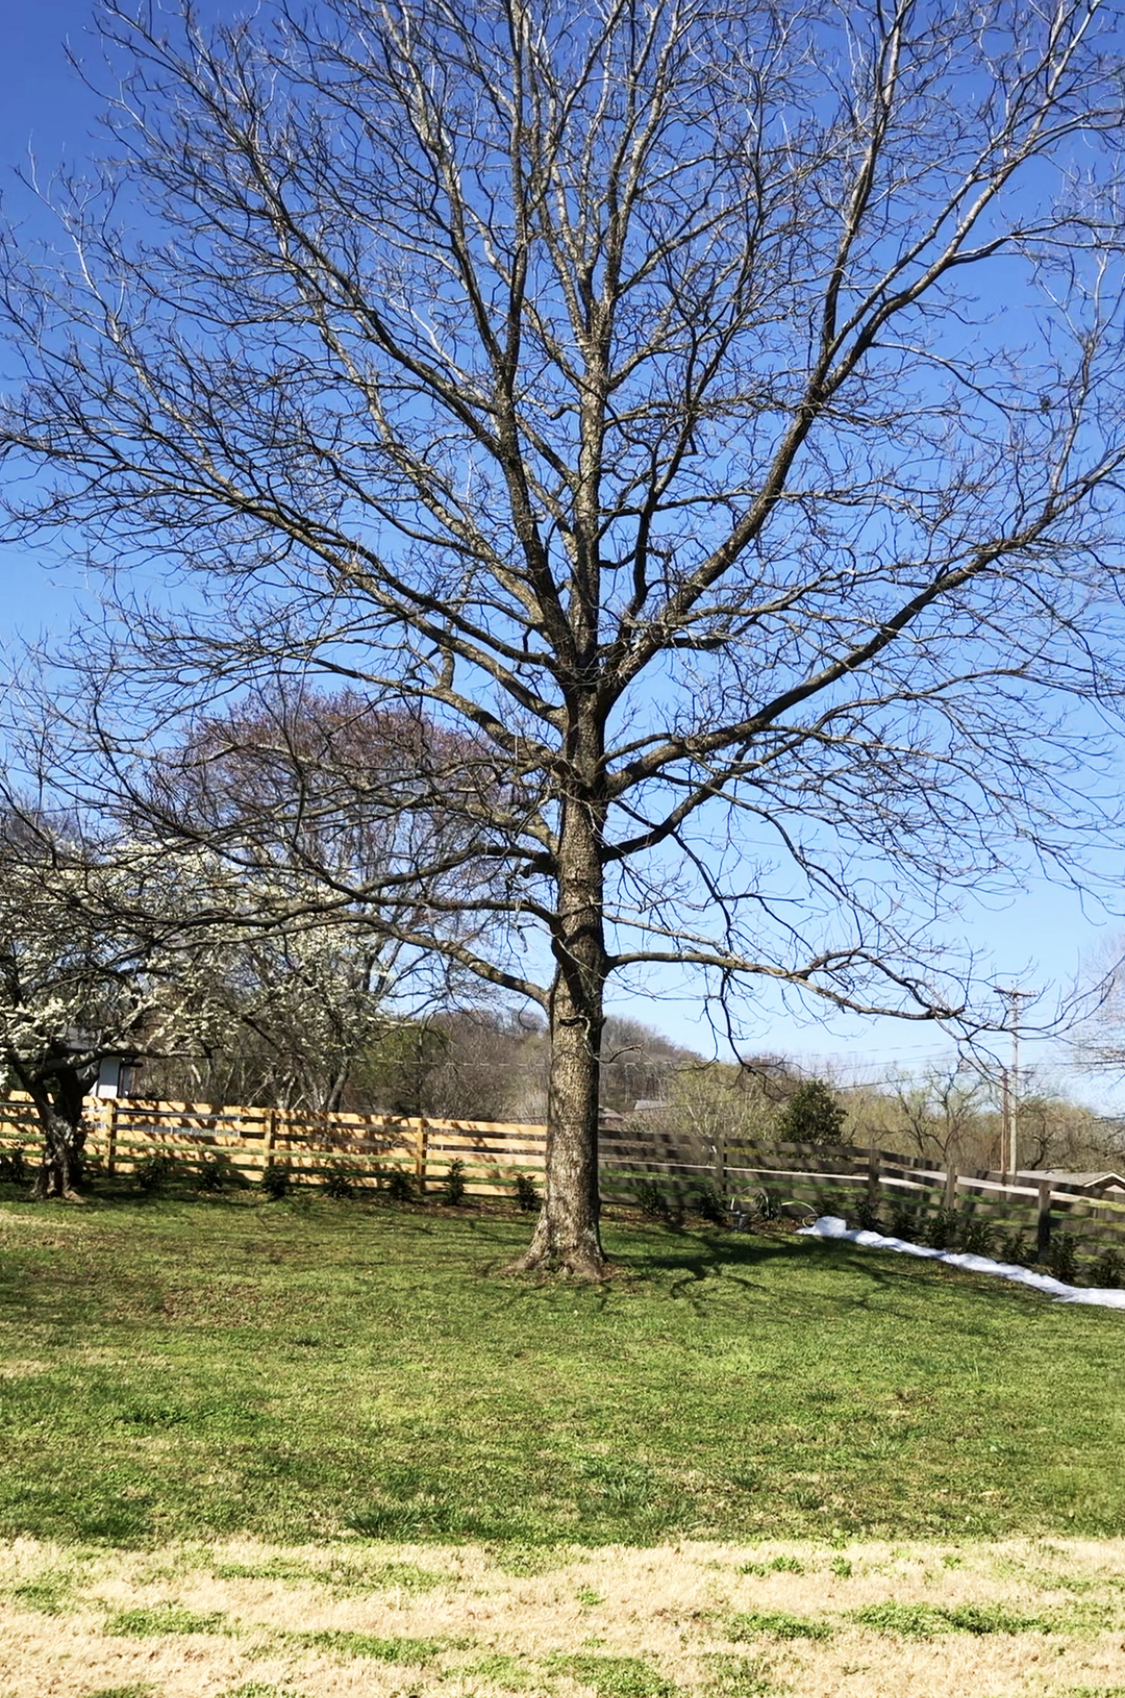
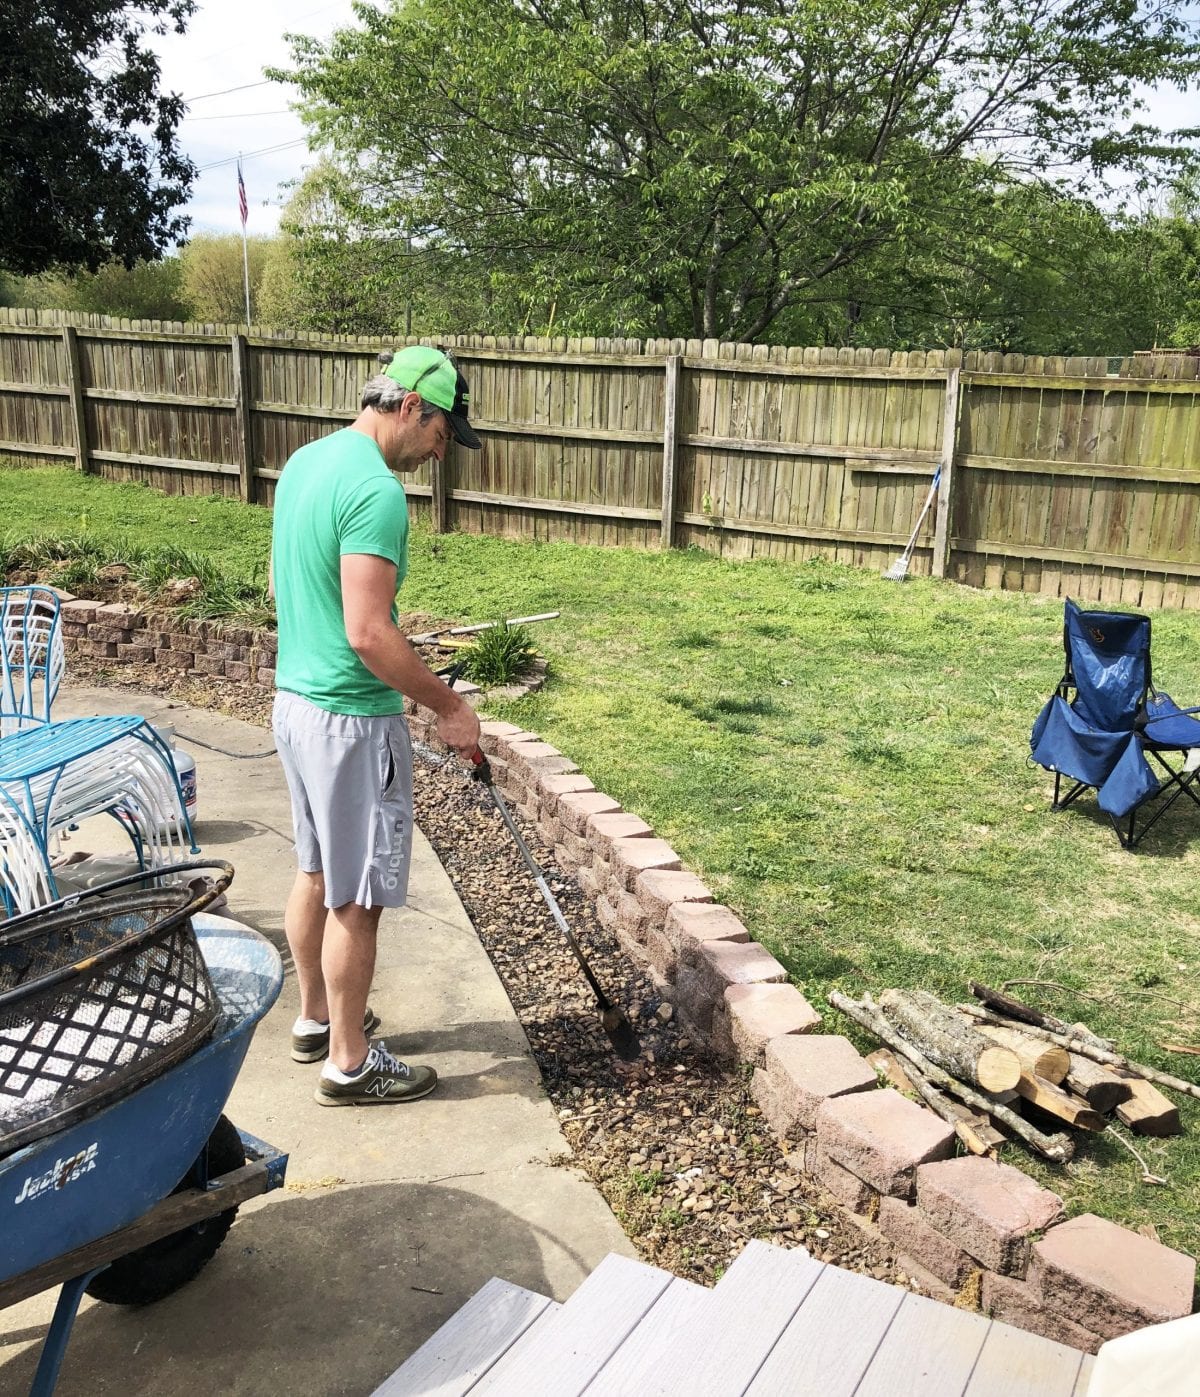
This was once upon a time our view… don’t mind Jamin – he was just losing his mind with a blow torch and weeds a-la pandemic lockdown. {He’s an enneagram 7, what can we say?}
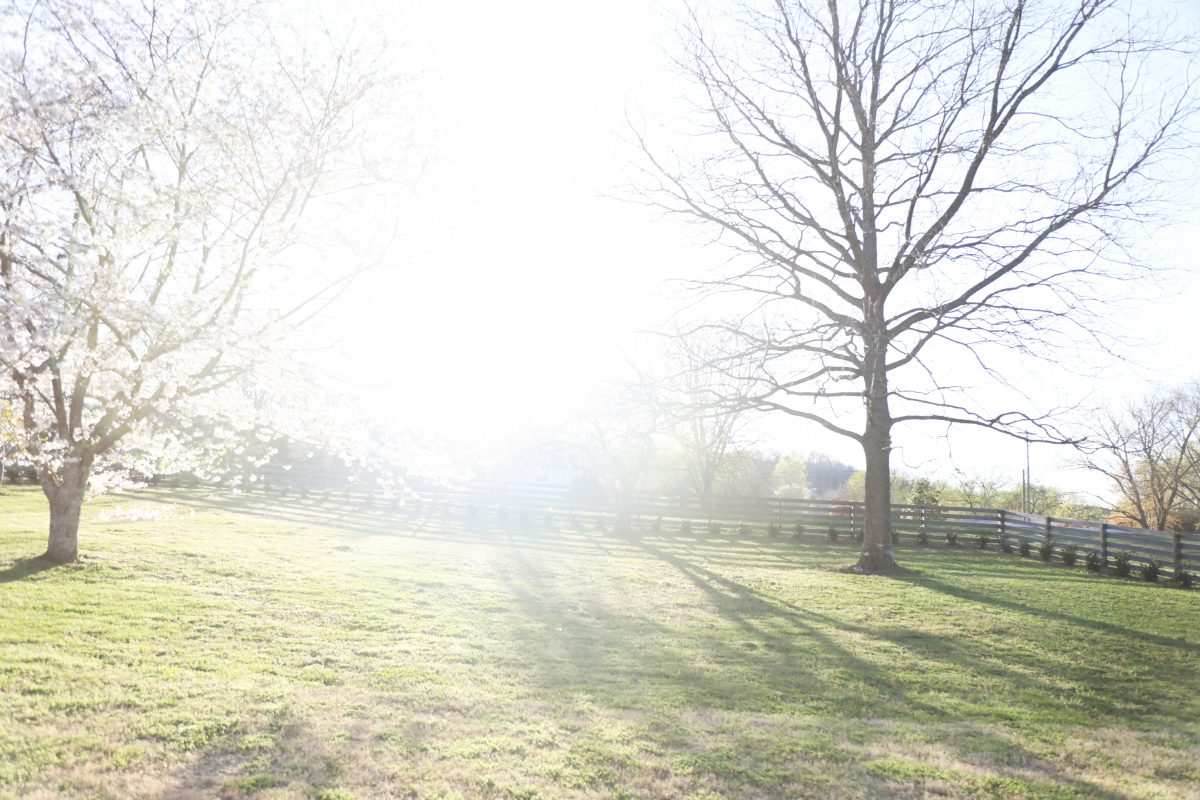
And here it is now! I mean, why wouldn’t we build a fence?
Oh, and these power lines? They’re going away.
Can’t wait to share!
We love the change!
As always, let us know if you have any questions. We’d love to hear!
Have an inspired day!


What an amazing idea!! Thanks!!