:: This DIY Owl Wreath post was brought to you in partnership with Waverly Inspirations and its parent company, Iconix. While we were paid for our expertise, all opinions and ideas are 100% ours. Please read our full disclosure pertaining to partnerships here ::

It’s round five, y’all!
If you’ve been tuning in for a while now, then you know we’ve been a part of the Waverly inspirations challenge, where every month we get some more goodies in the mail. And from those goodies, we create something with their fabulous products.
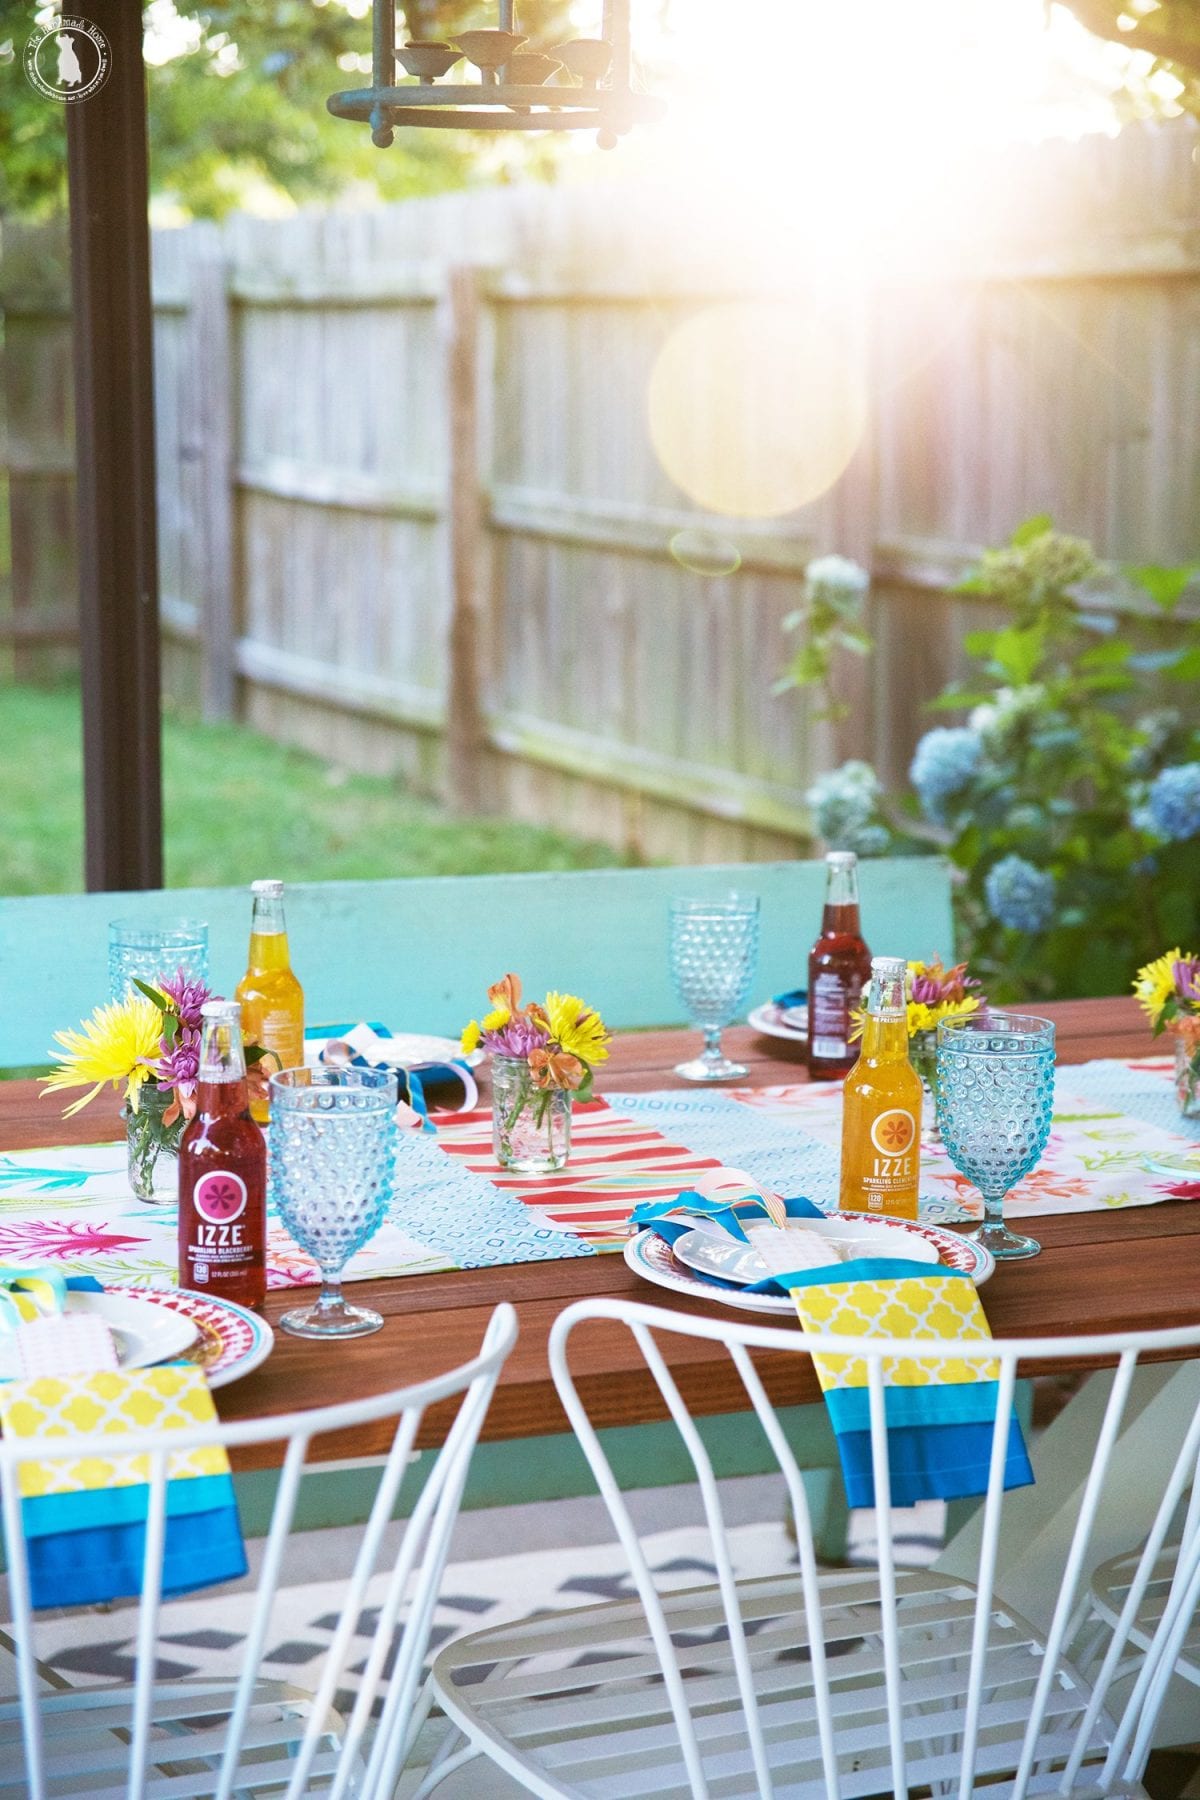
So for our first round, we decided to tackle a fun summer tablescape.
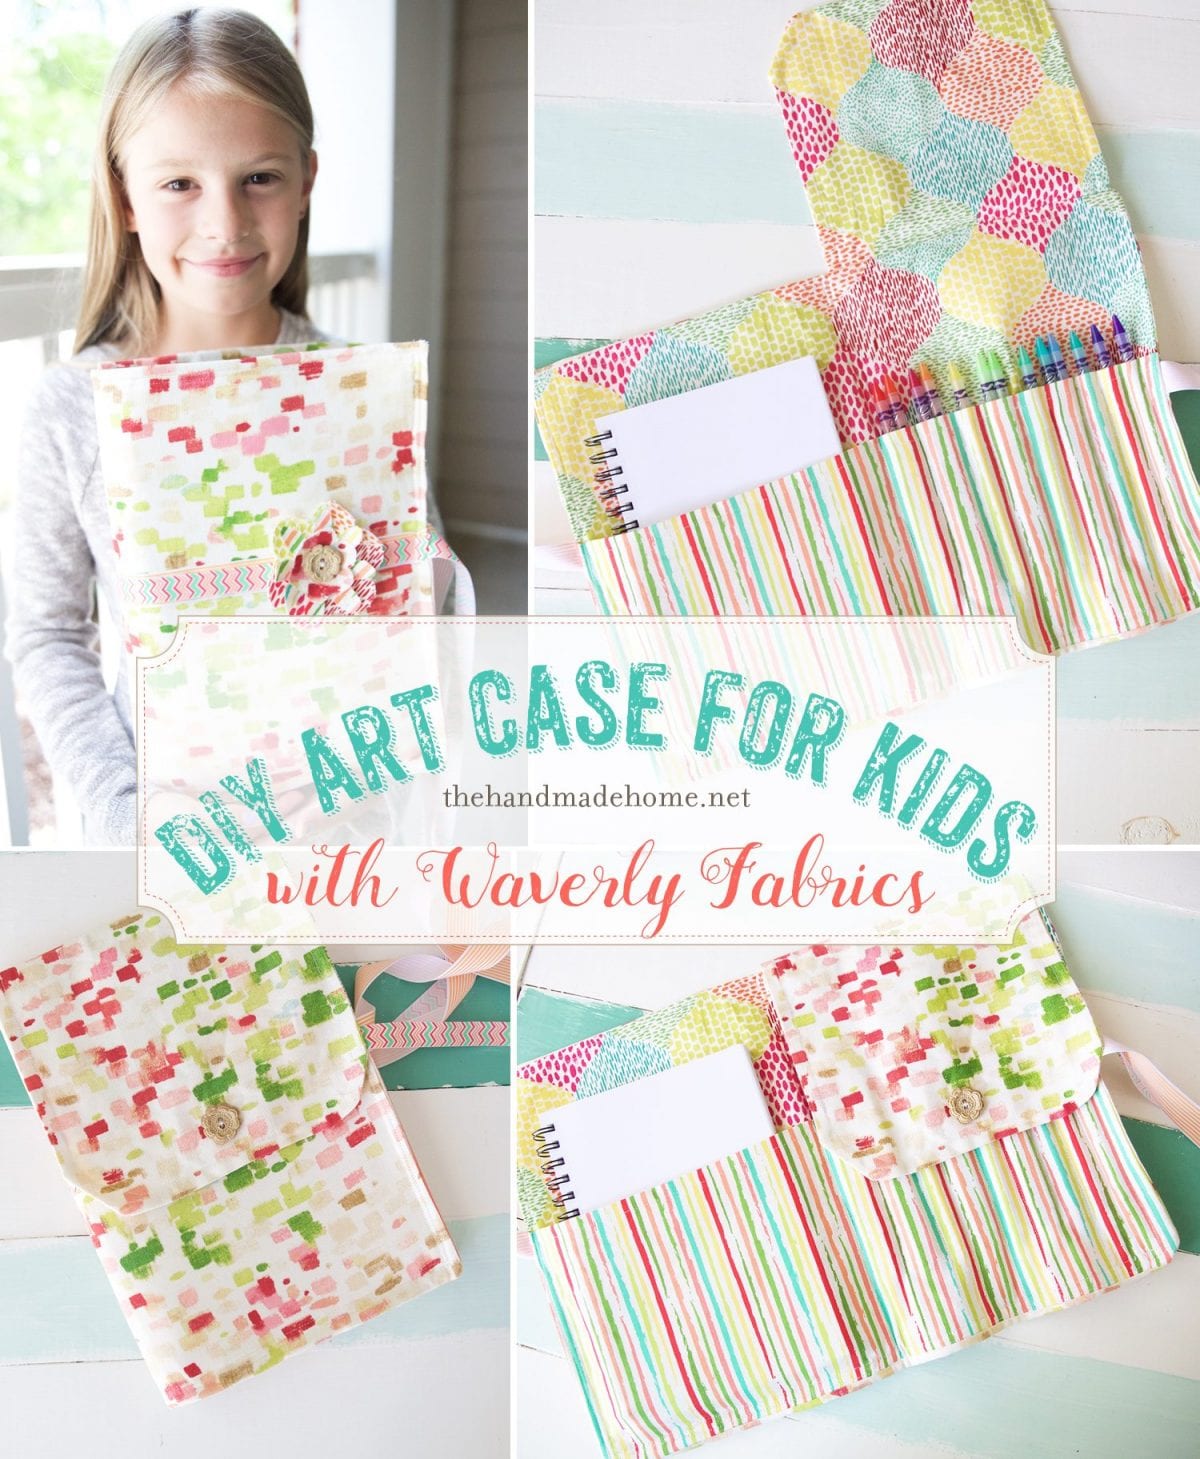
With round two, a diy art case for back to school!
This awesome menu planner {If we do say so ourselves} for round three.

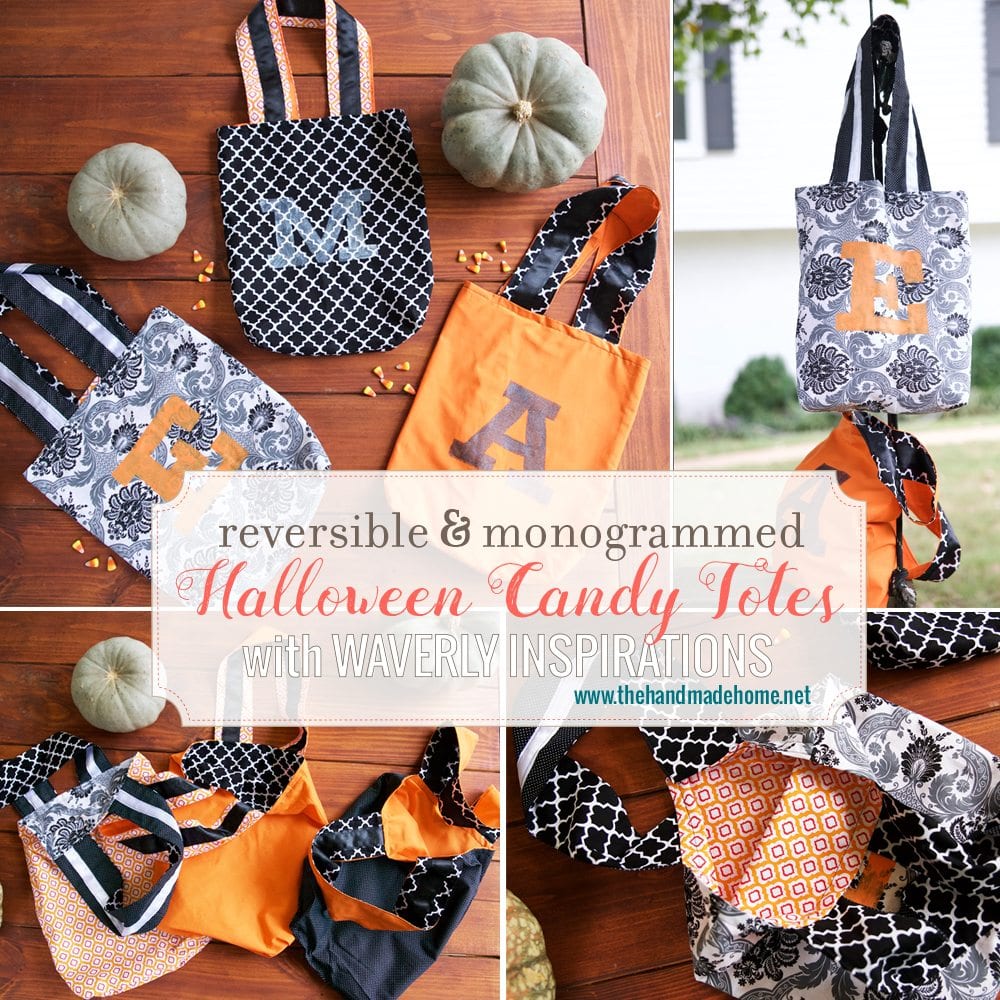
And our Halloween Totes for round four – you could change them for any every day occasion! So much fun.
And this round’s challenge? The theme was all about making our house a home this time of year. Wow, can we relate. The leaves are falling, and we want to cozy it up in every way possible.
So since we’re in the house, we thought we would take a moment and come up with something that truly reflected something fun. The kids have actually been doing a lot of school work in the afternoons on the back porch. That back door needed some love, since the inside was looking so good.
It’s been a tough transition, driving back and forth daily. And so we thought it would be fun to surprise them with something to warm up our temporary homework space a bit, while also getting them into the fall spirit. Their mascot at their new school is an owl. So naturally, we’re suddenly obsessed with all things owls.
DIY Owl Wreath
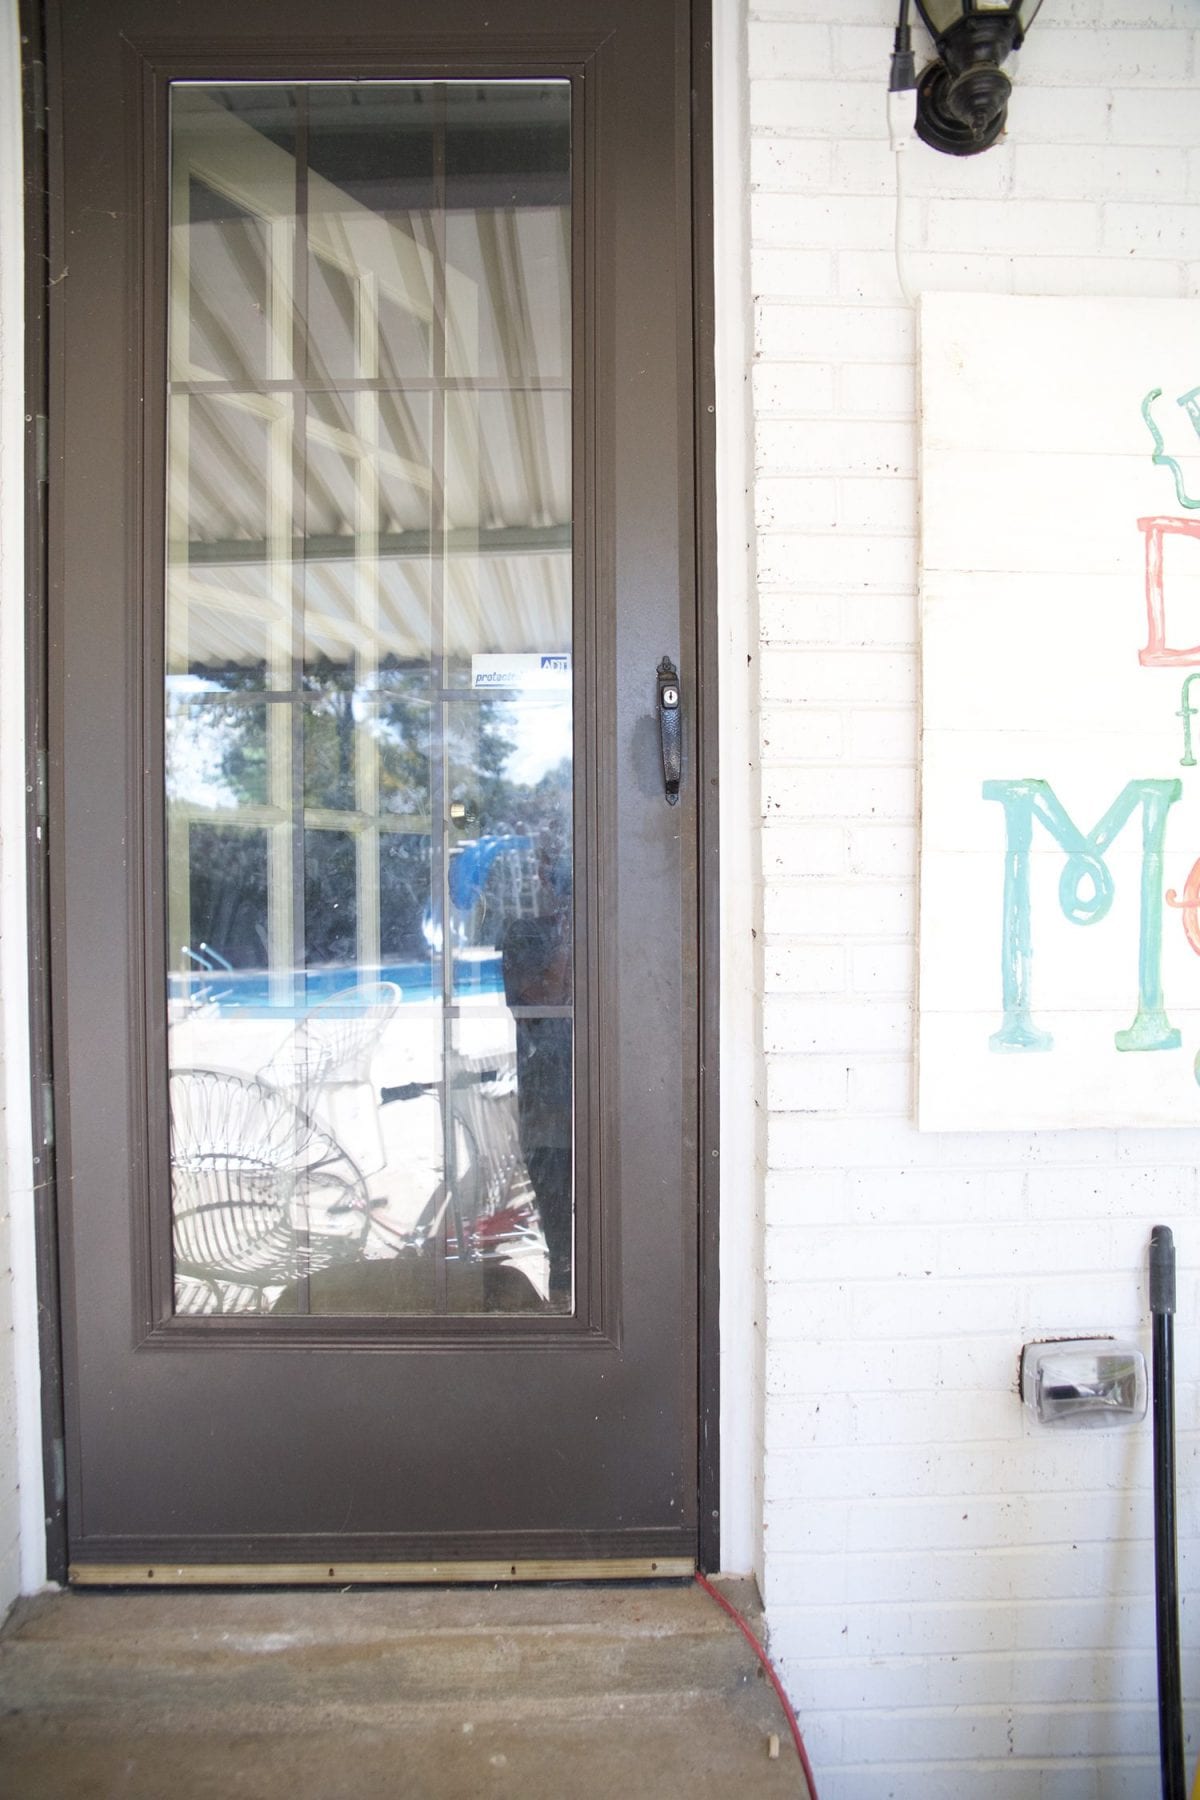
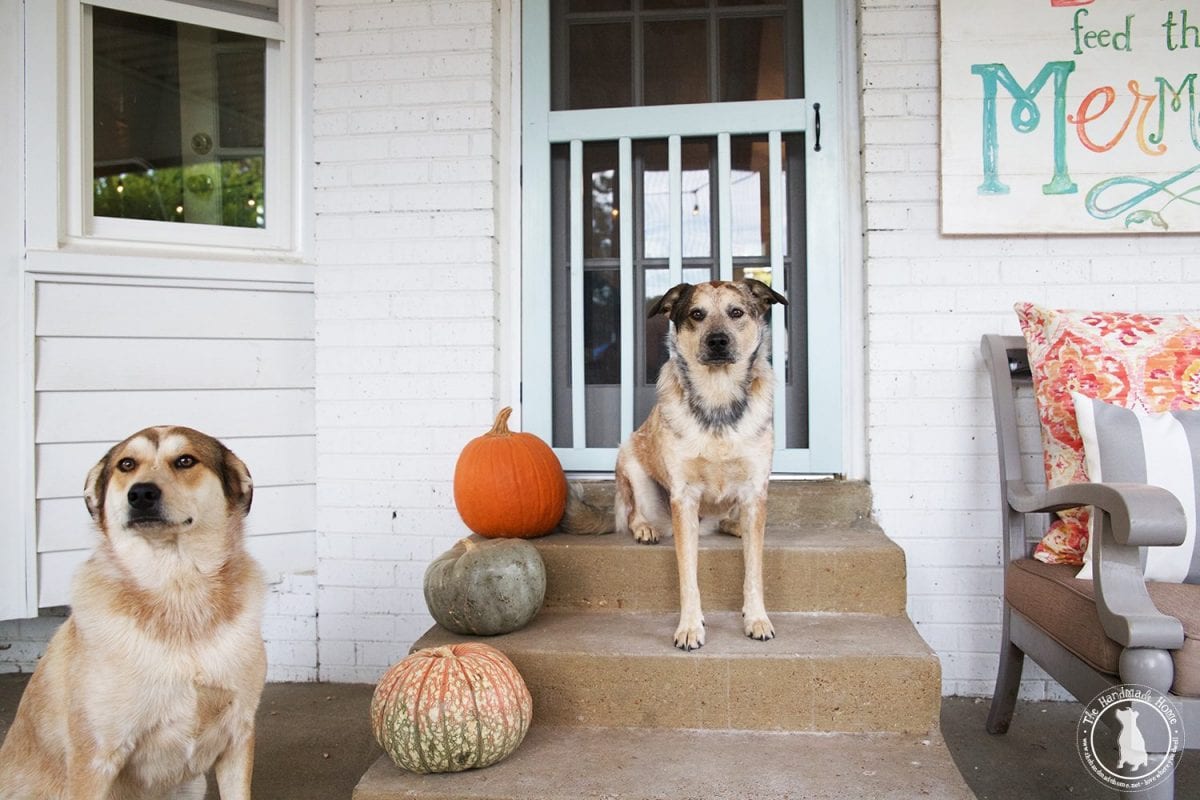
While we’re not doing much to the outside just yet, we have spruced up our back porch. So down came that storm door, and the crusty door behind it… and to celebrate the event… an owl wreath.
Emerson asked if she could have it on her door when we move it inside.
I’d say mission accomplished.
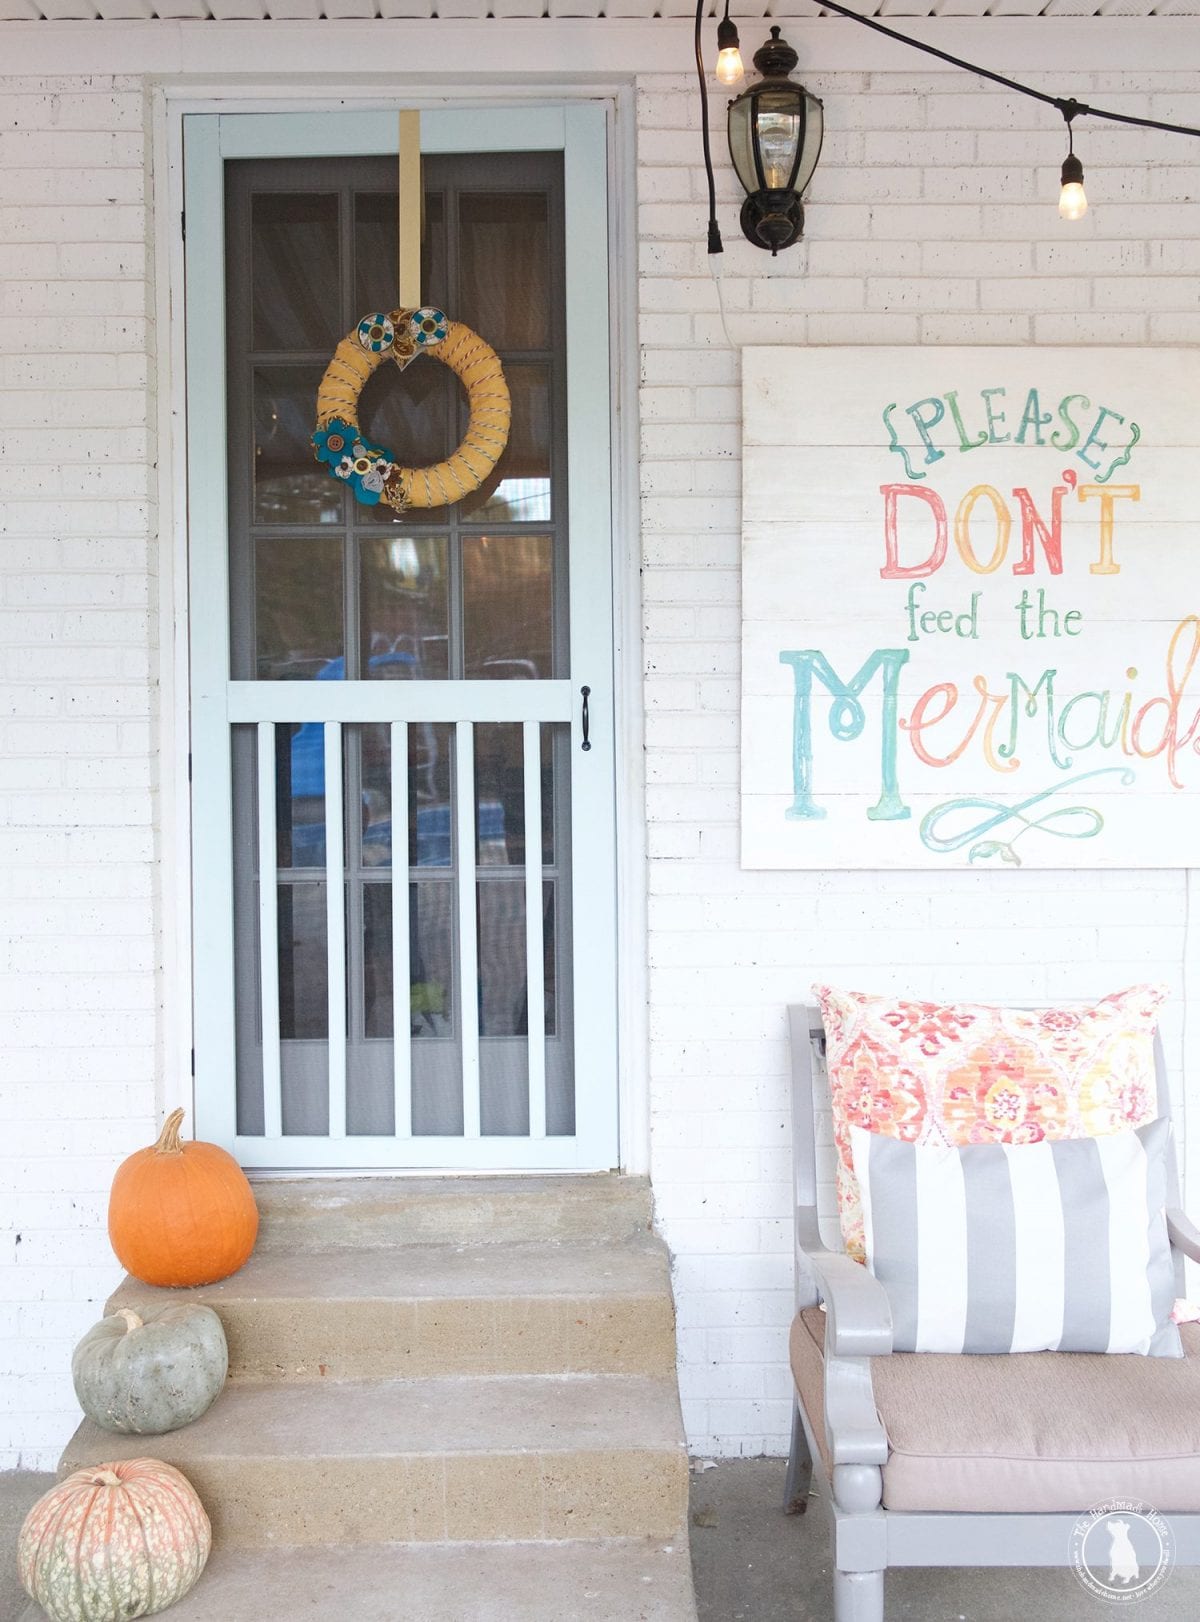
We love the way the little wreath and new door combo really warm up the back! We can’t wait to open up the back to enjoy some fall breezes. The inside is so fresh and new, and the basement {of course} and outside will be a bit of a gradual process. But it was awesome to add something fun we knew they would love.

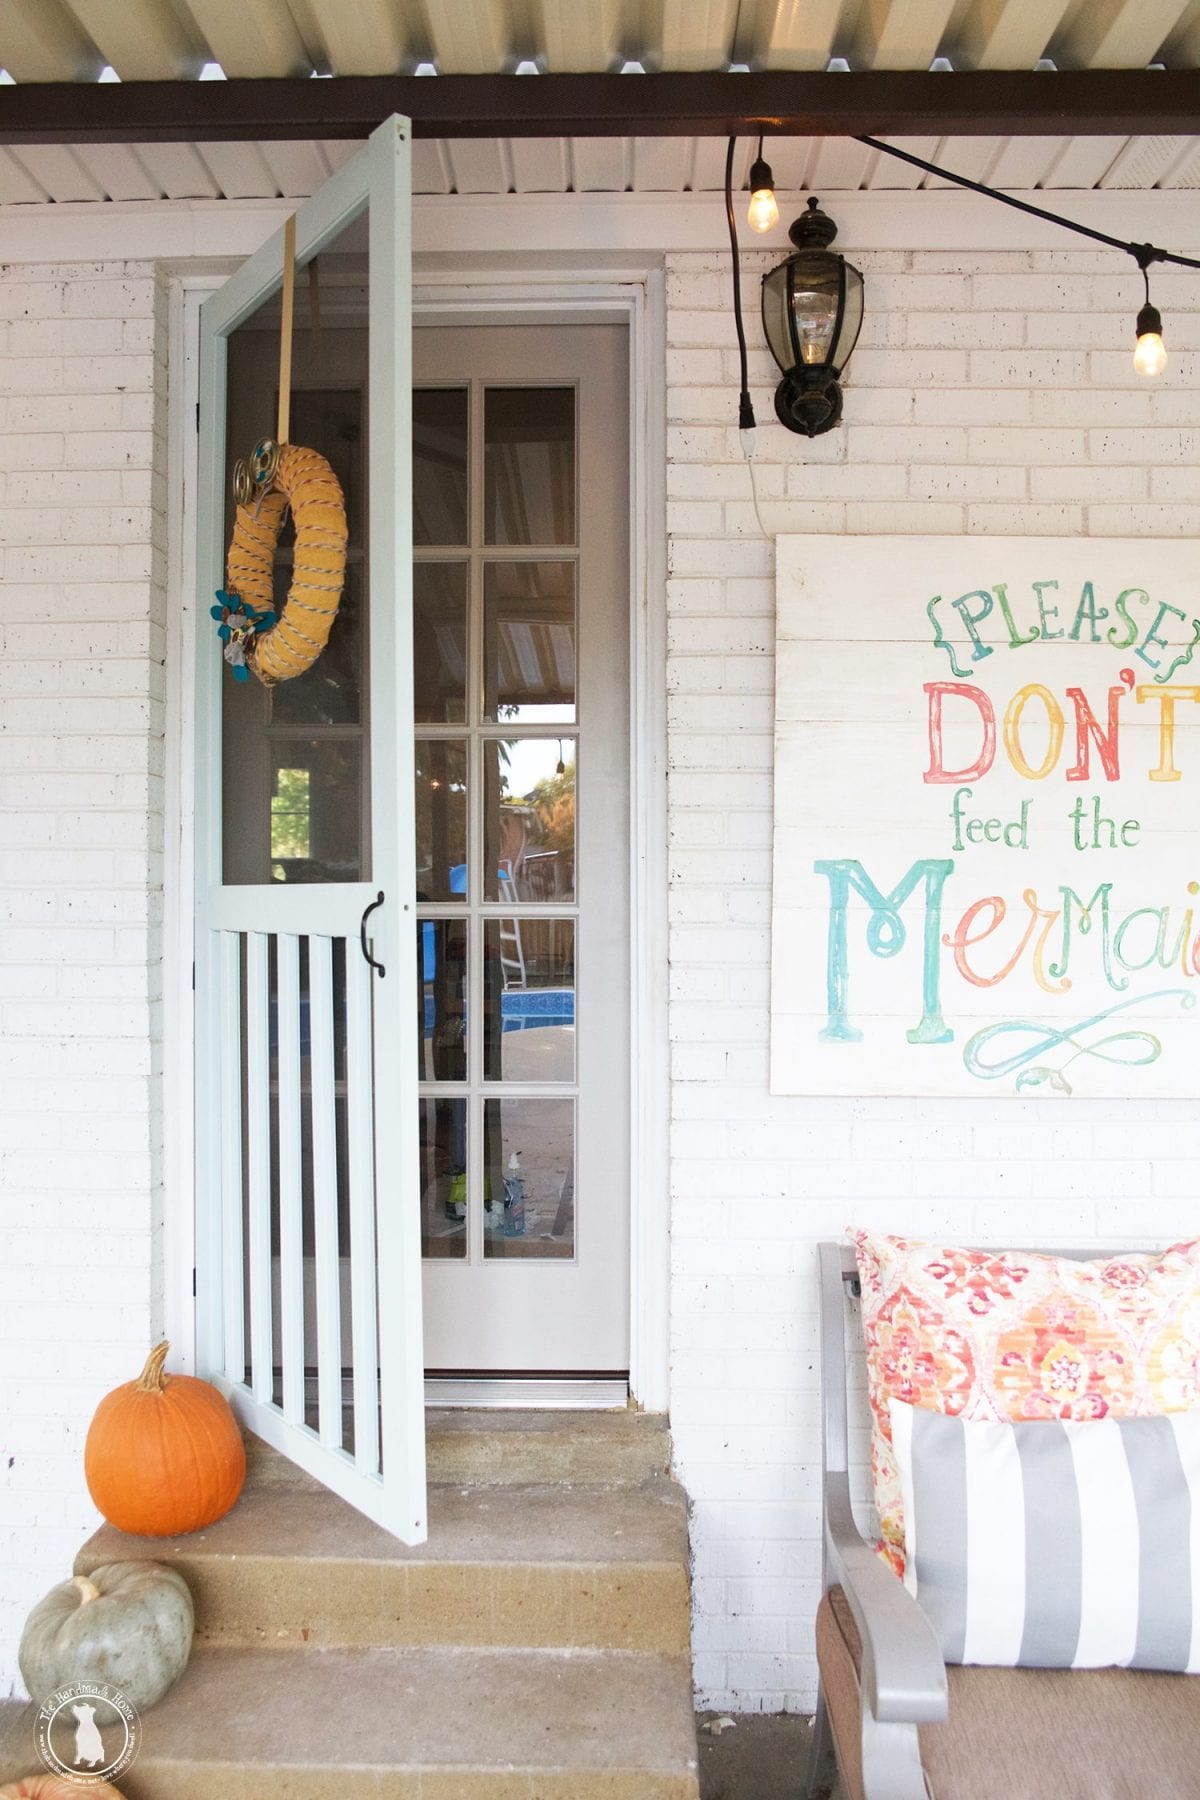
Our old back door even got a bit of a spruce up. And by spruce up, I mean it came down and we put up a new one because the hinge was rotten and we had to replace too much on the old one {I hope to use it in our future greenhouse}. You can even sneak a peek of our light inside!
A nice sweet shade of grey to go with a new look. Yes, everything is still covered up inside.
We are so ready to make this house our home.
Yes, we still needed to add that doorknob.
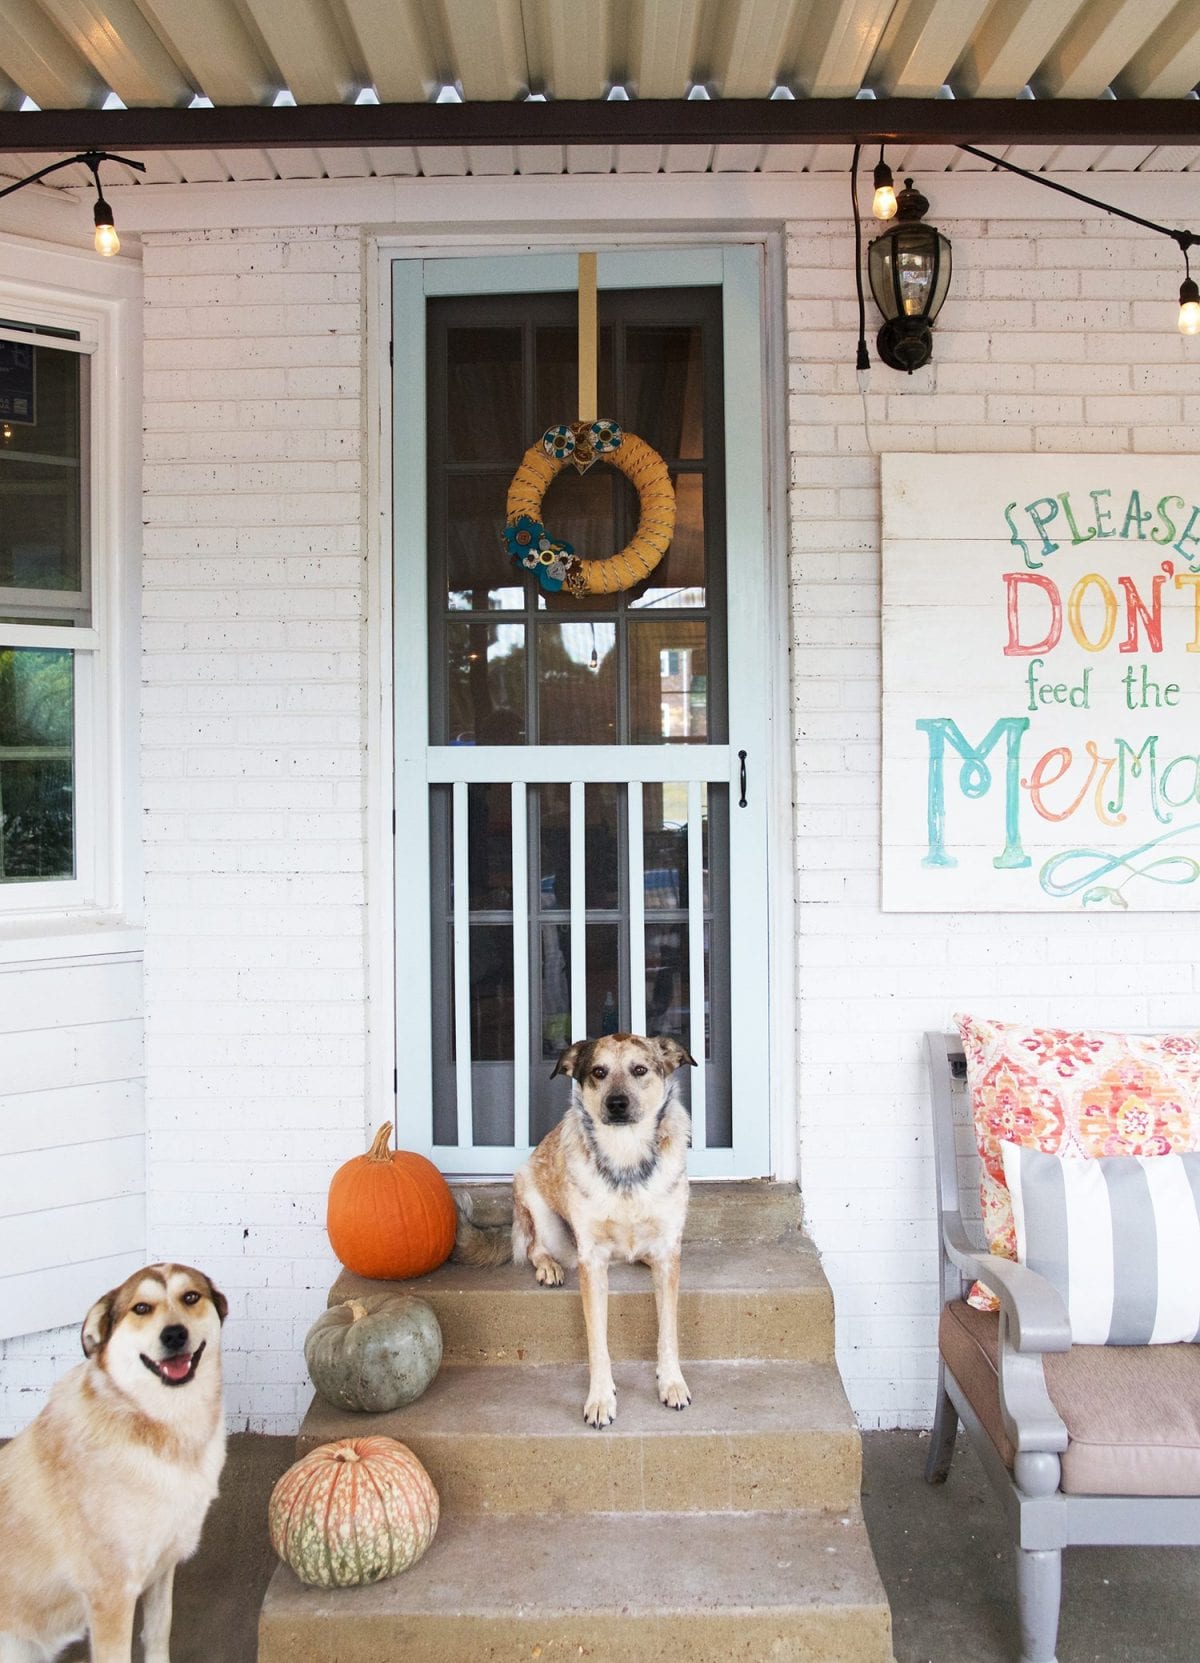
But the kids were delighted with their new little owl friend in the name of all things celebration, fall, and new beginnings.
Rigby and Fitz loved it too.
It’s such a simple project, it’s almost silly. But we seem to waver between the fun sewing projects, and really easy no sew with these projects. So in the name of easy no sew…
DIY Owl Wreath – Supplies
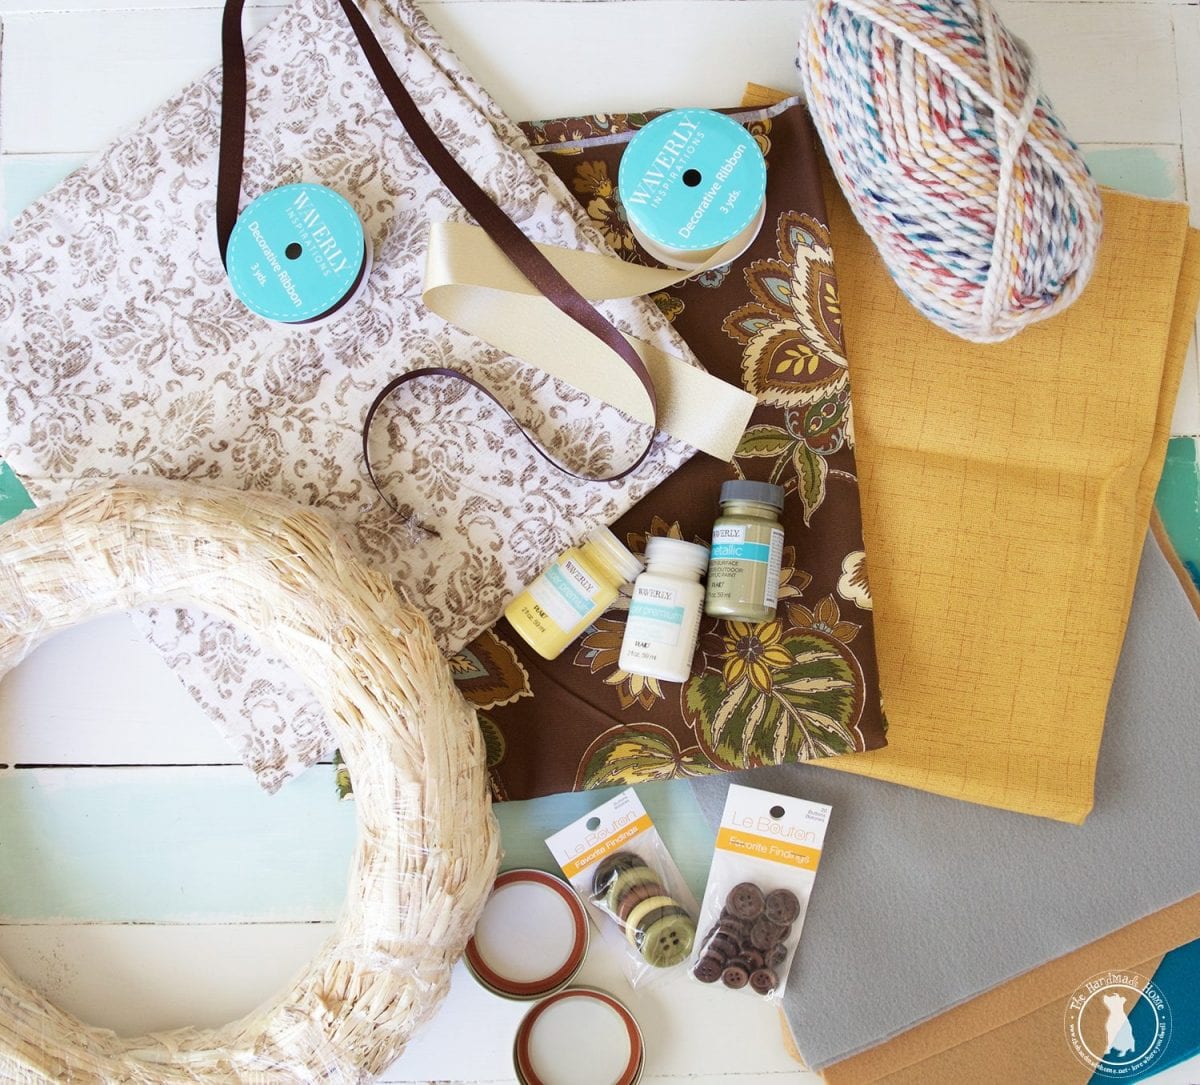
Here’s what you’ll need:
• A new door. JK. Not really. I’m delirious.
• Fabric of your choice – We adore the Waverly Inspirations line. • Yarn • Ribbon for hanging • Felt • Wreath form • Glue gun • Embellishments for your wreath – we used more fabric, felt, buttons, and two old mason jar tops for the eyes. – The possibilities are up to you! Bonus : all these crafting goodies came from Walmart.
First things first: decide what you want the outside of your wreath to be wrapped in.
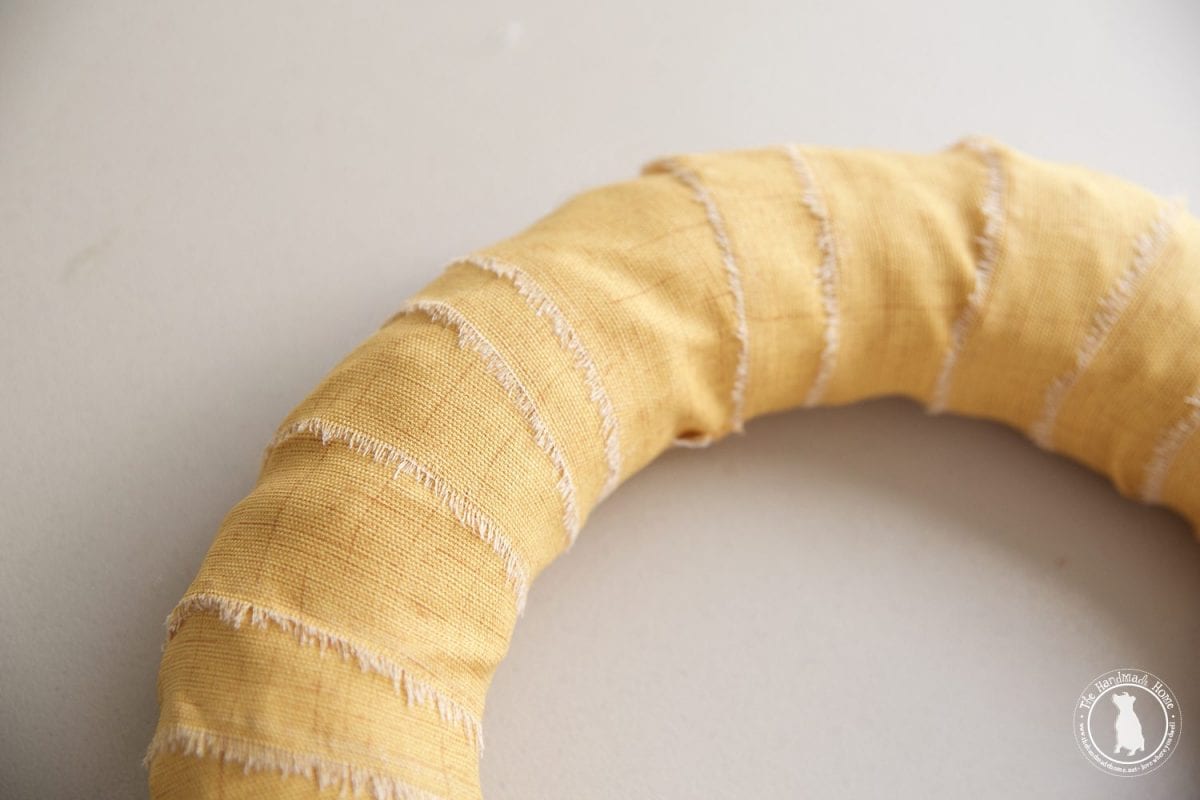
I cut a small piece at the top of my gold fabric, about 4-5 inches wide, and simply tore it. It will tear in a straight line, and it gives you a fun little frayed edge which I thought upped the ante with some character.
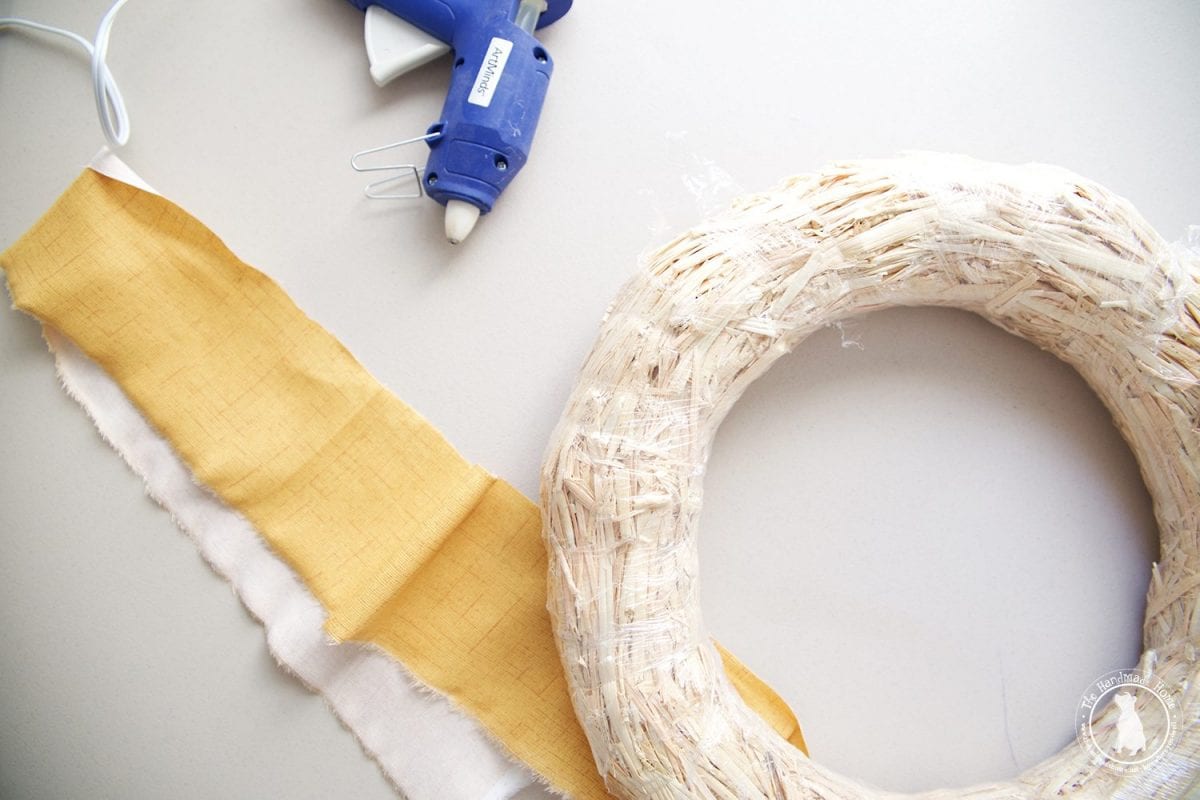
Slowly wrap it around your form, and watch those fingers!
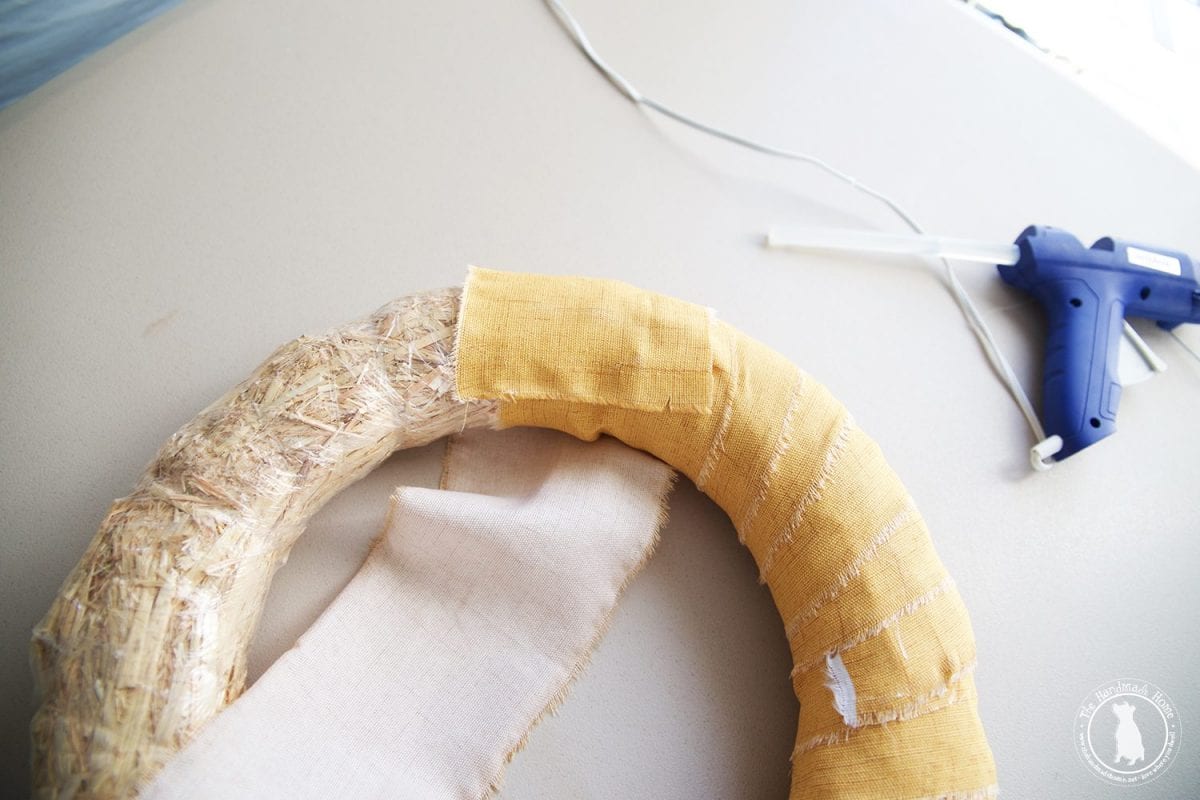
{Those white portions of the fabric went on the back so no worries – just plan ahead and have your beginning and ending seams on the back, as well… this way it looks like one continuous wrap from the front.
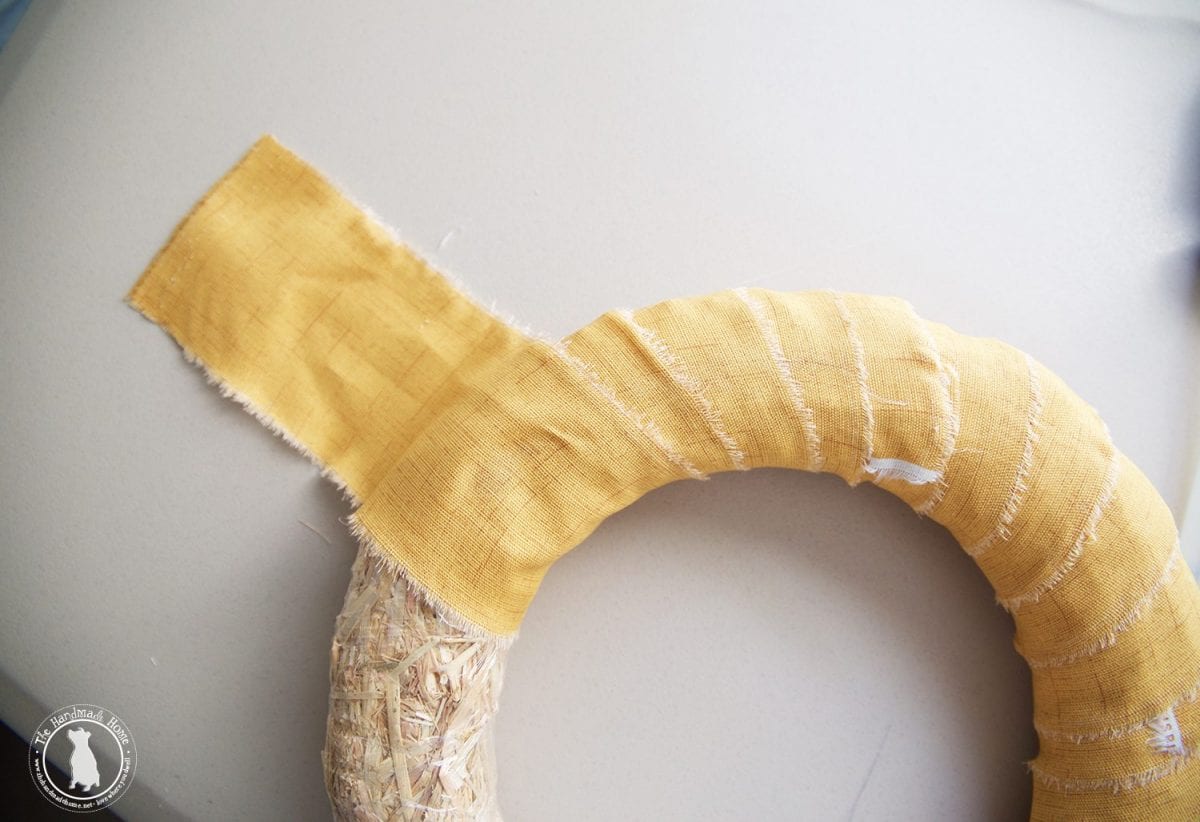
So the front looks easy peasy just like this.
Tada! Now you’re ready to have some fun.
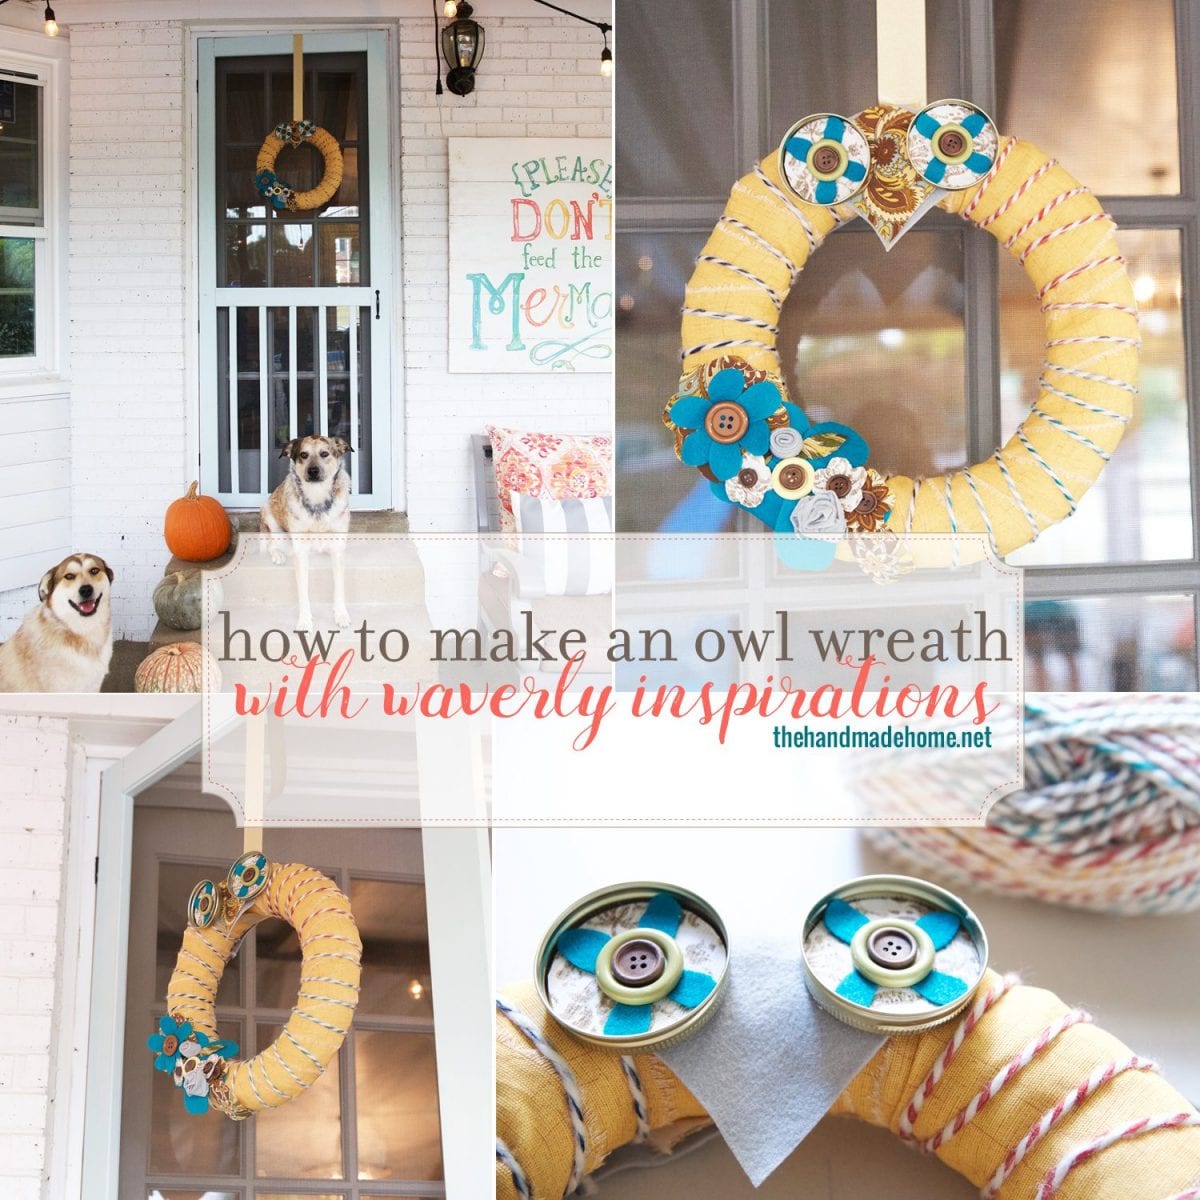
How to make an owl wreath
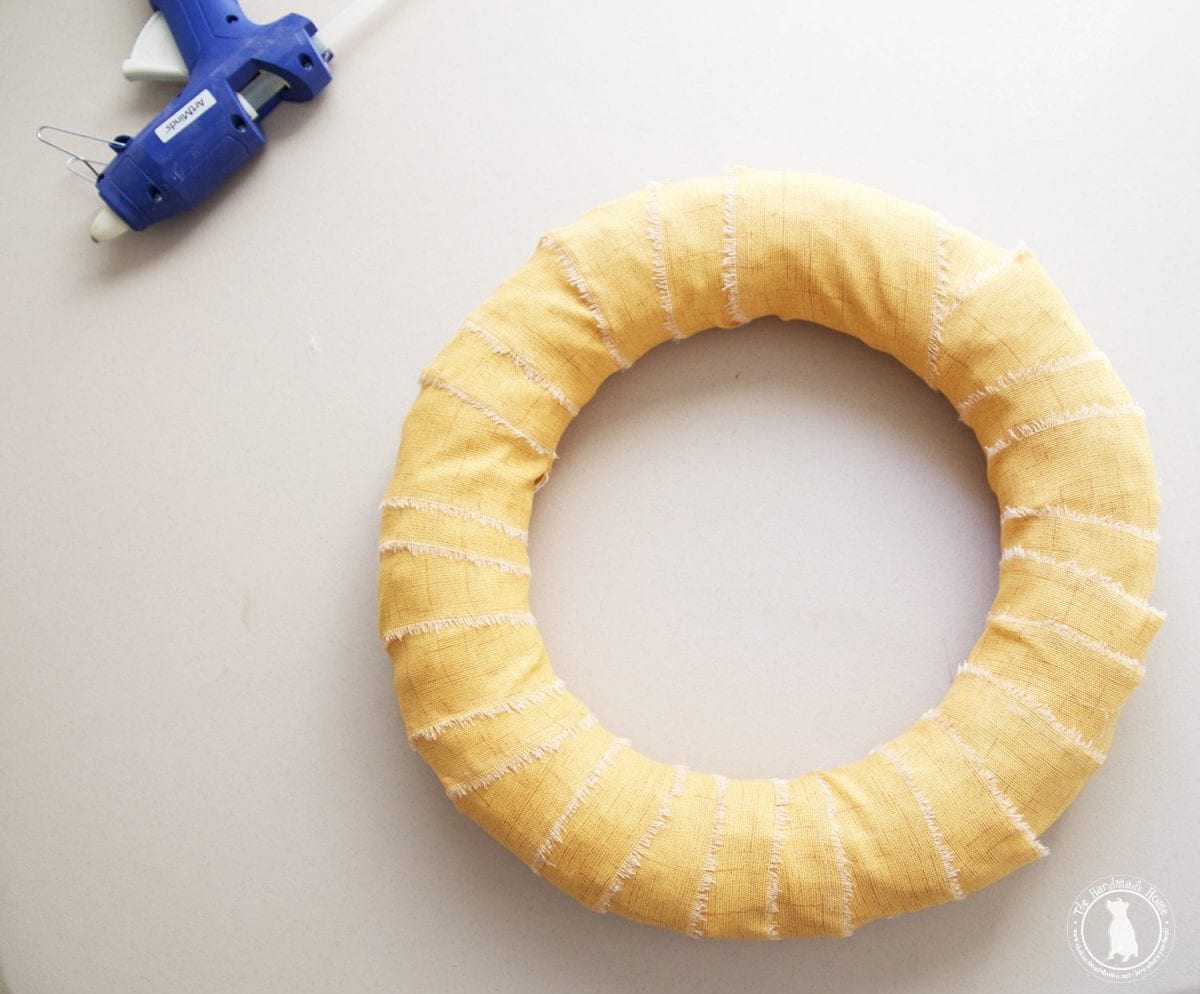
Then I took some fluffy yarn, and wrapped it around as well. It added a little more color and cozy.
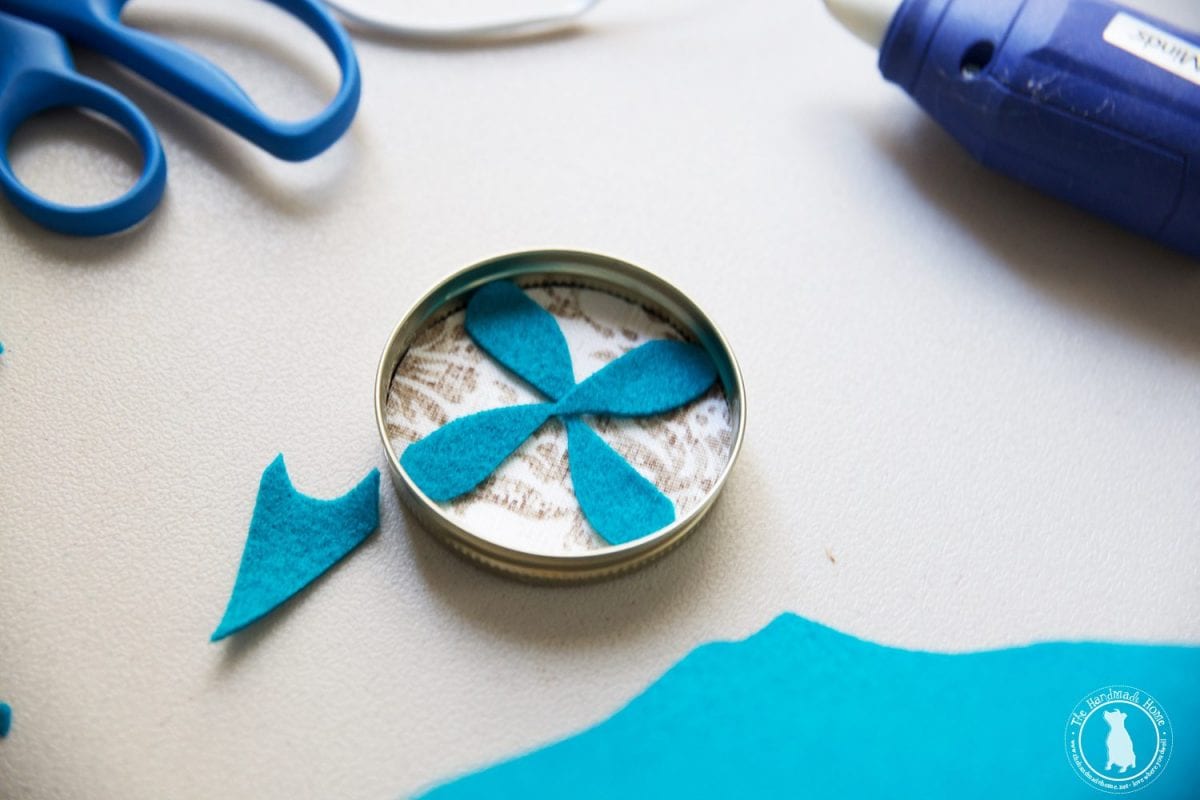
Taking another pattern of fabric, I traced the inner piece of the mason jar top.
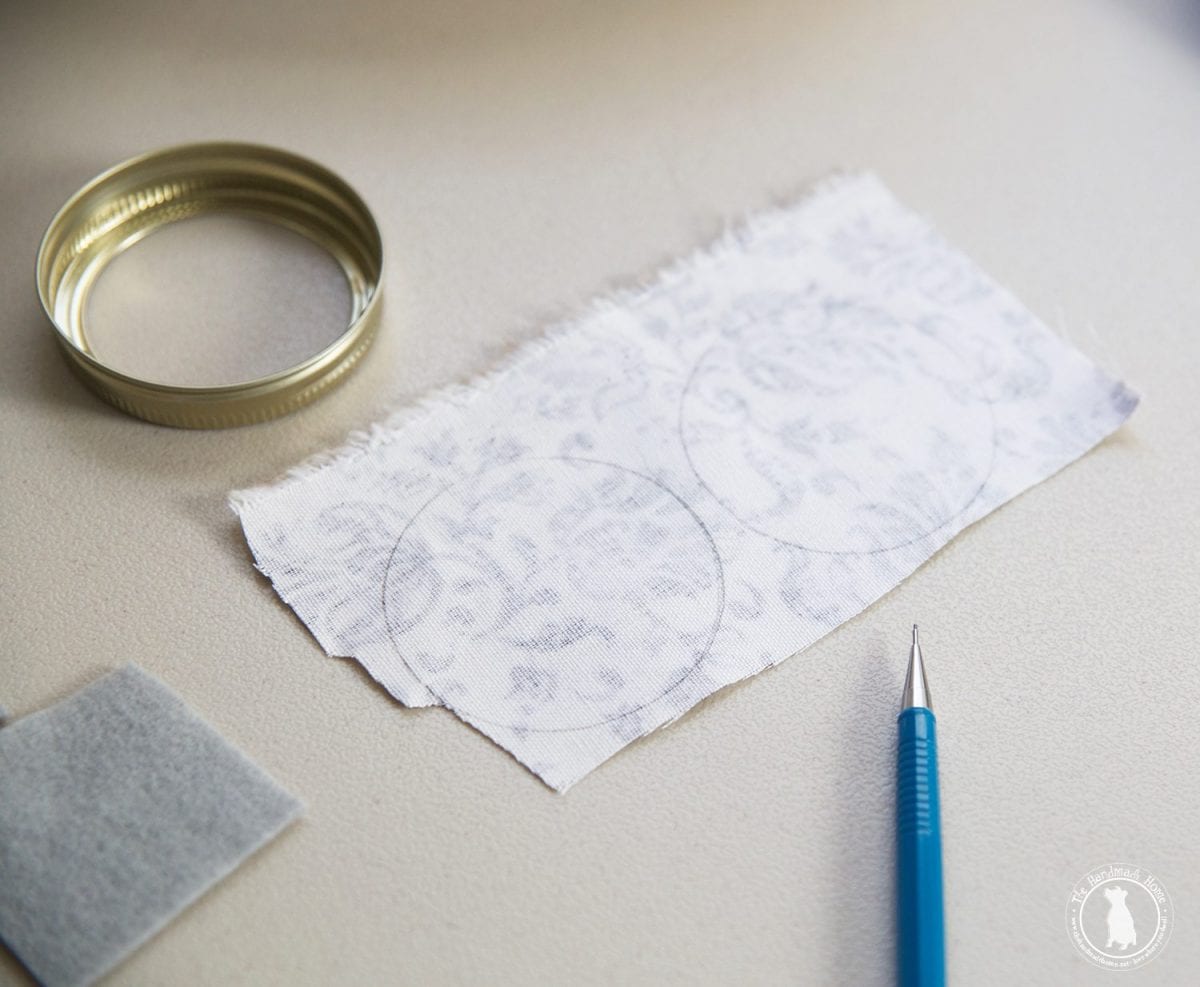
And then cut the circles out and placed them on the inside with a little glue.
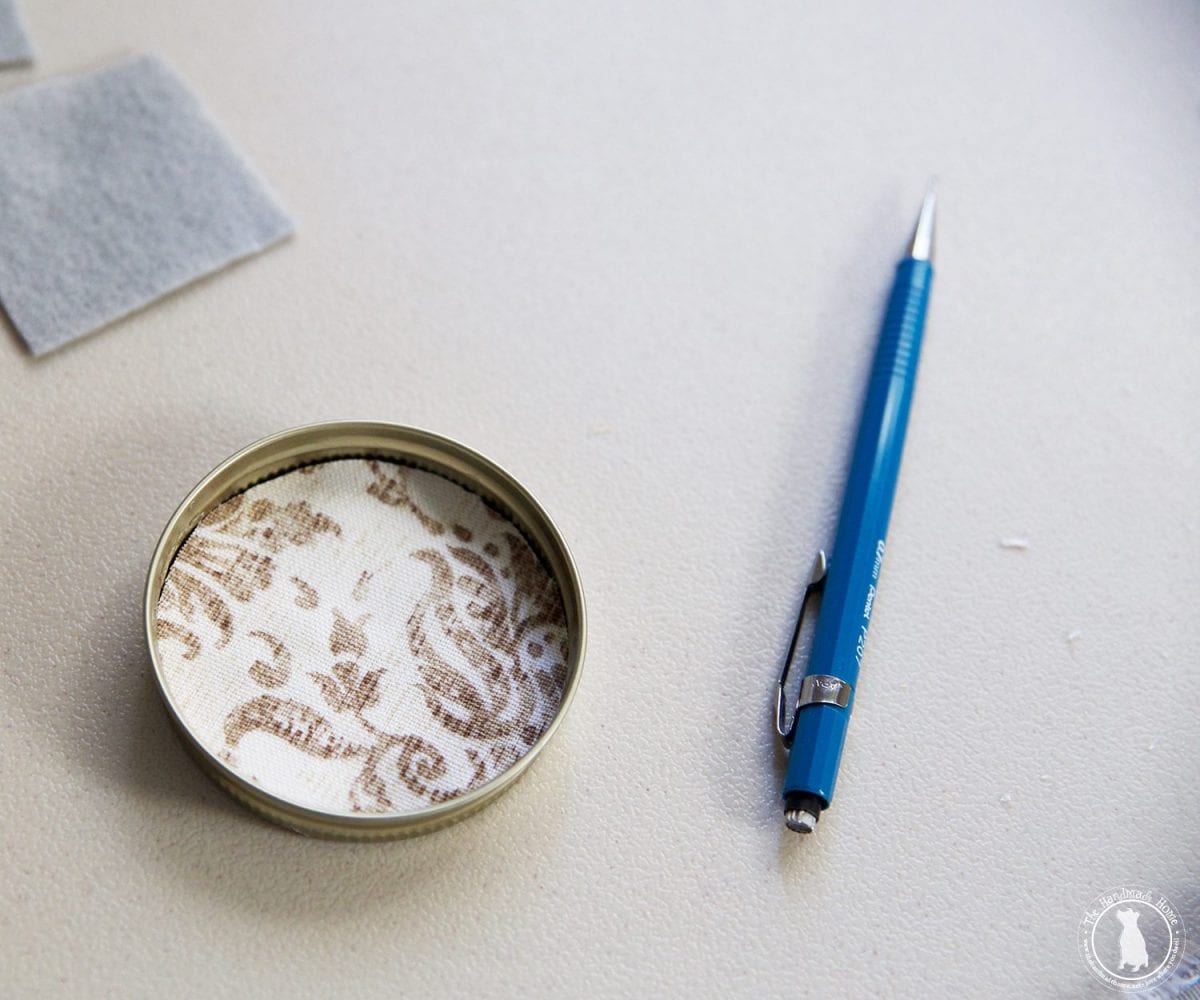
I even added a little felt for another pop of blue.
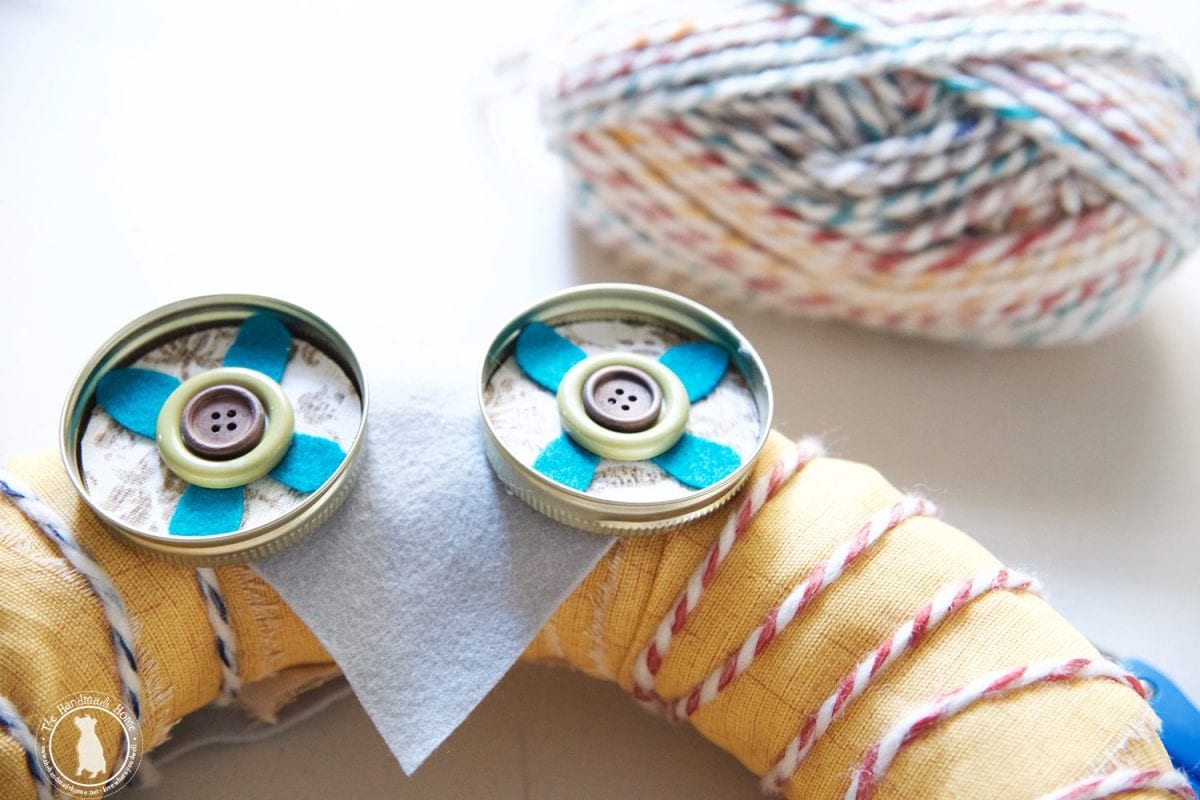
Secure them on top of the wreath… but first…
Cut out a diamond shape in felt {I later added the other fabric on top for another punch if you look at my finished pic} and added it in between the eyes for a “beak”.
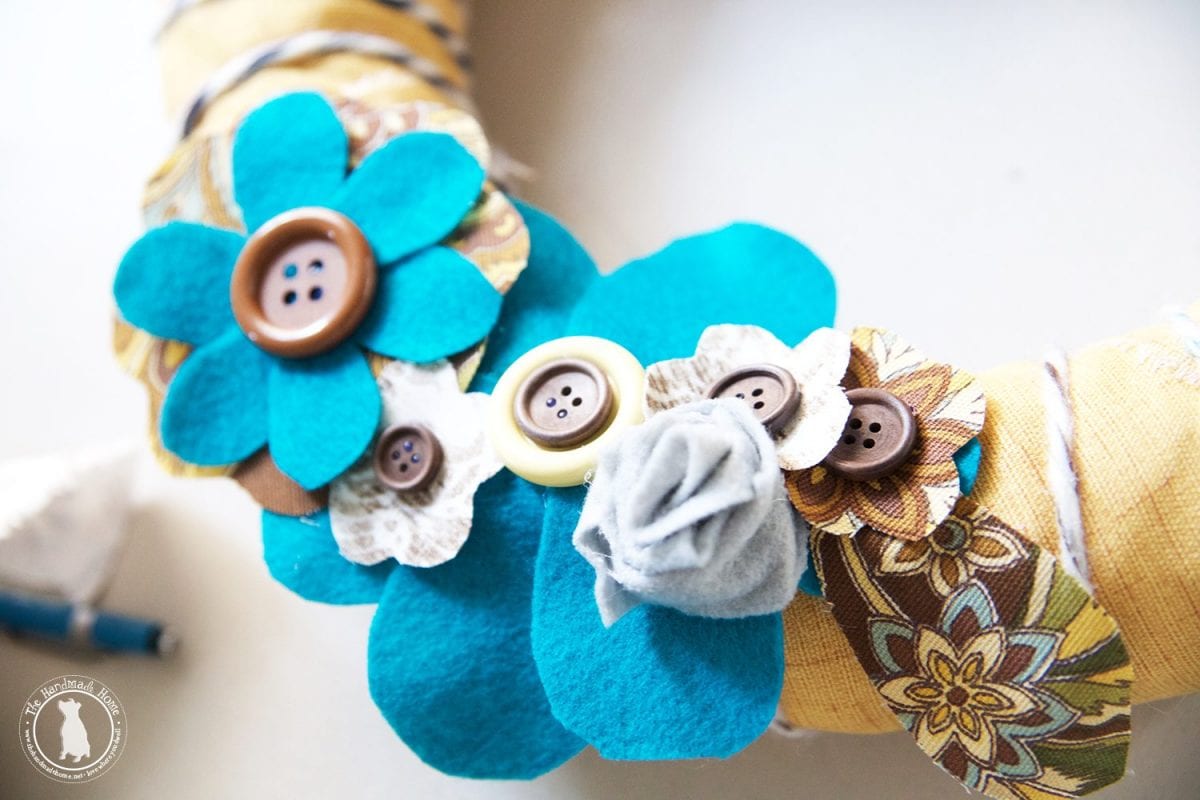
Then I cut and embellished with flowers made from felt, fabrics and buttons by playing around a bit.
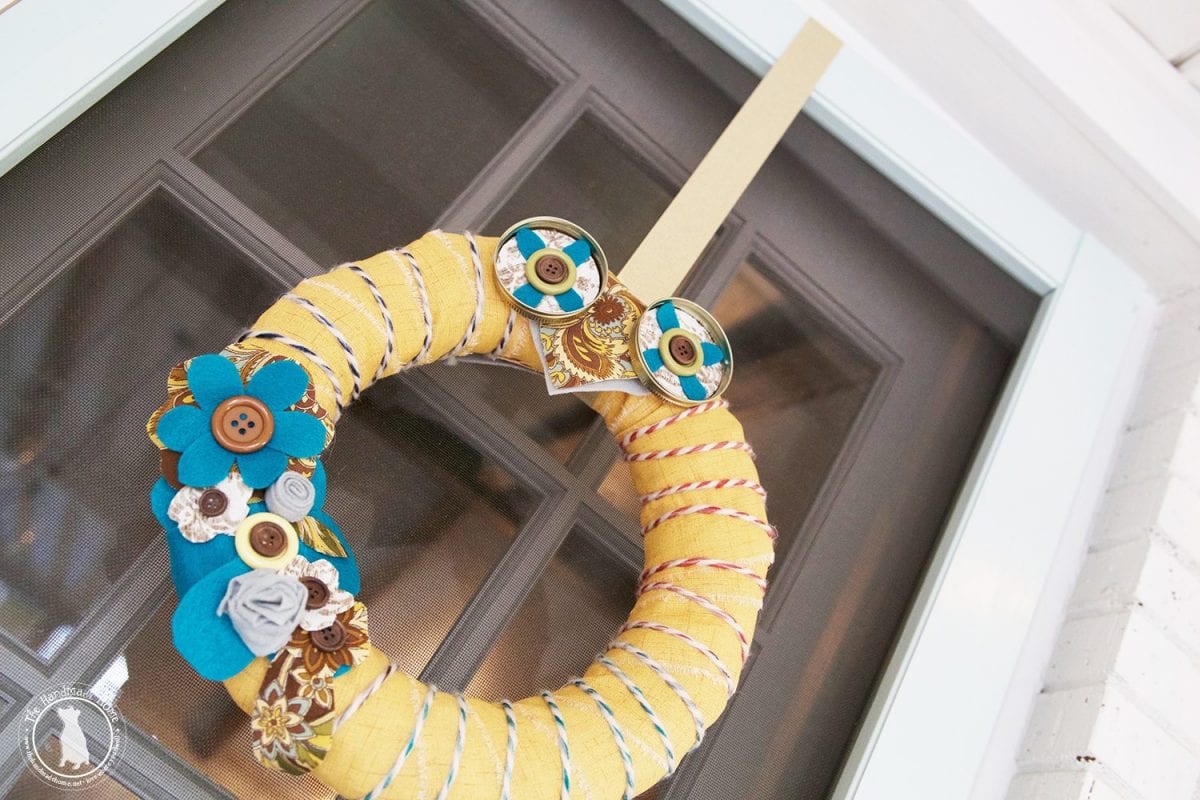
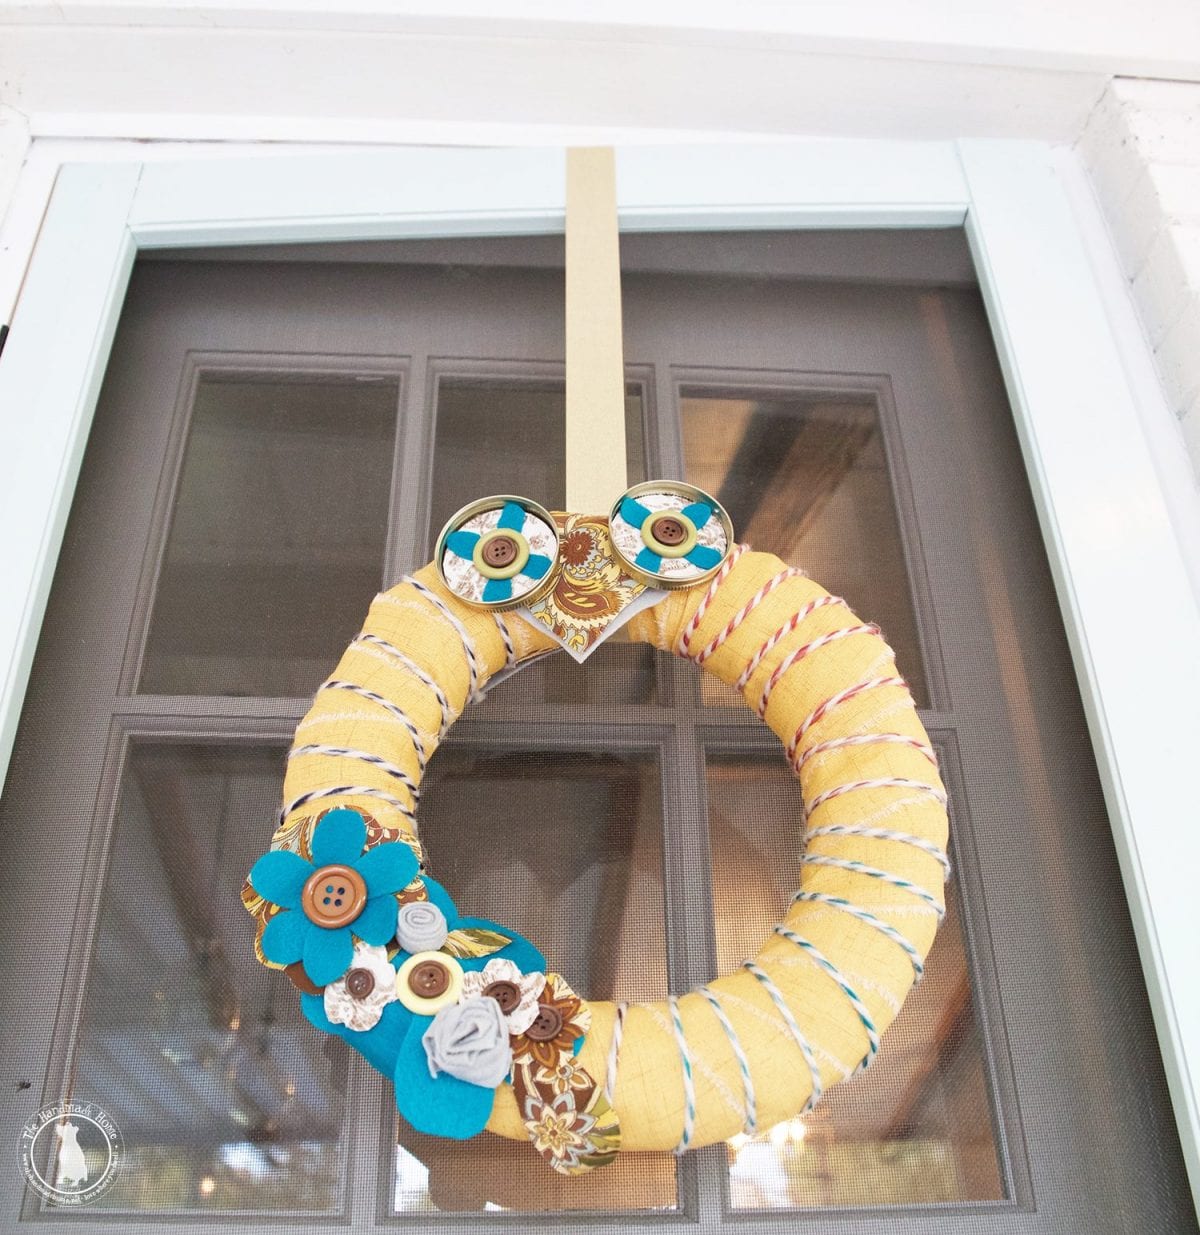
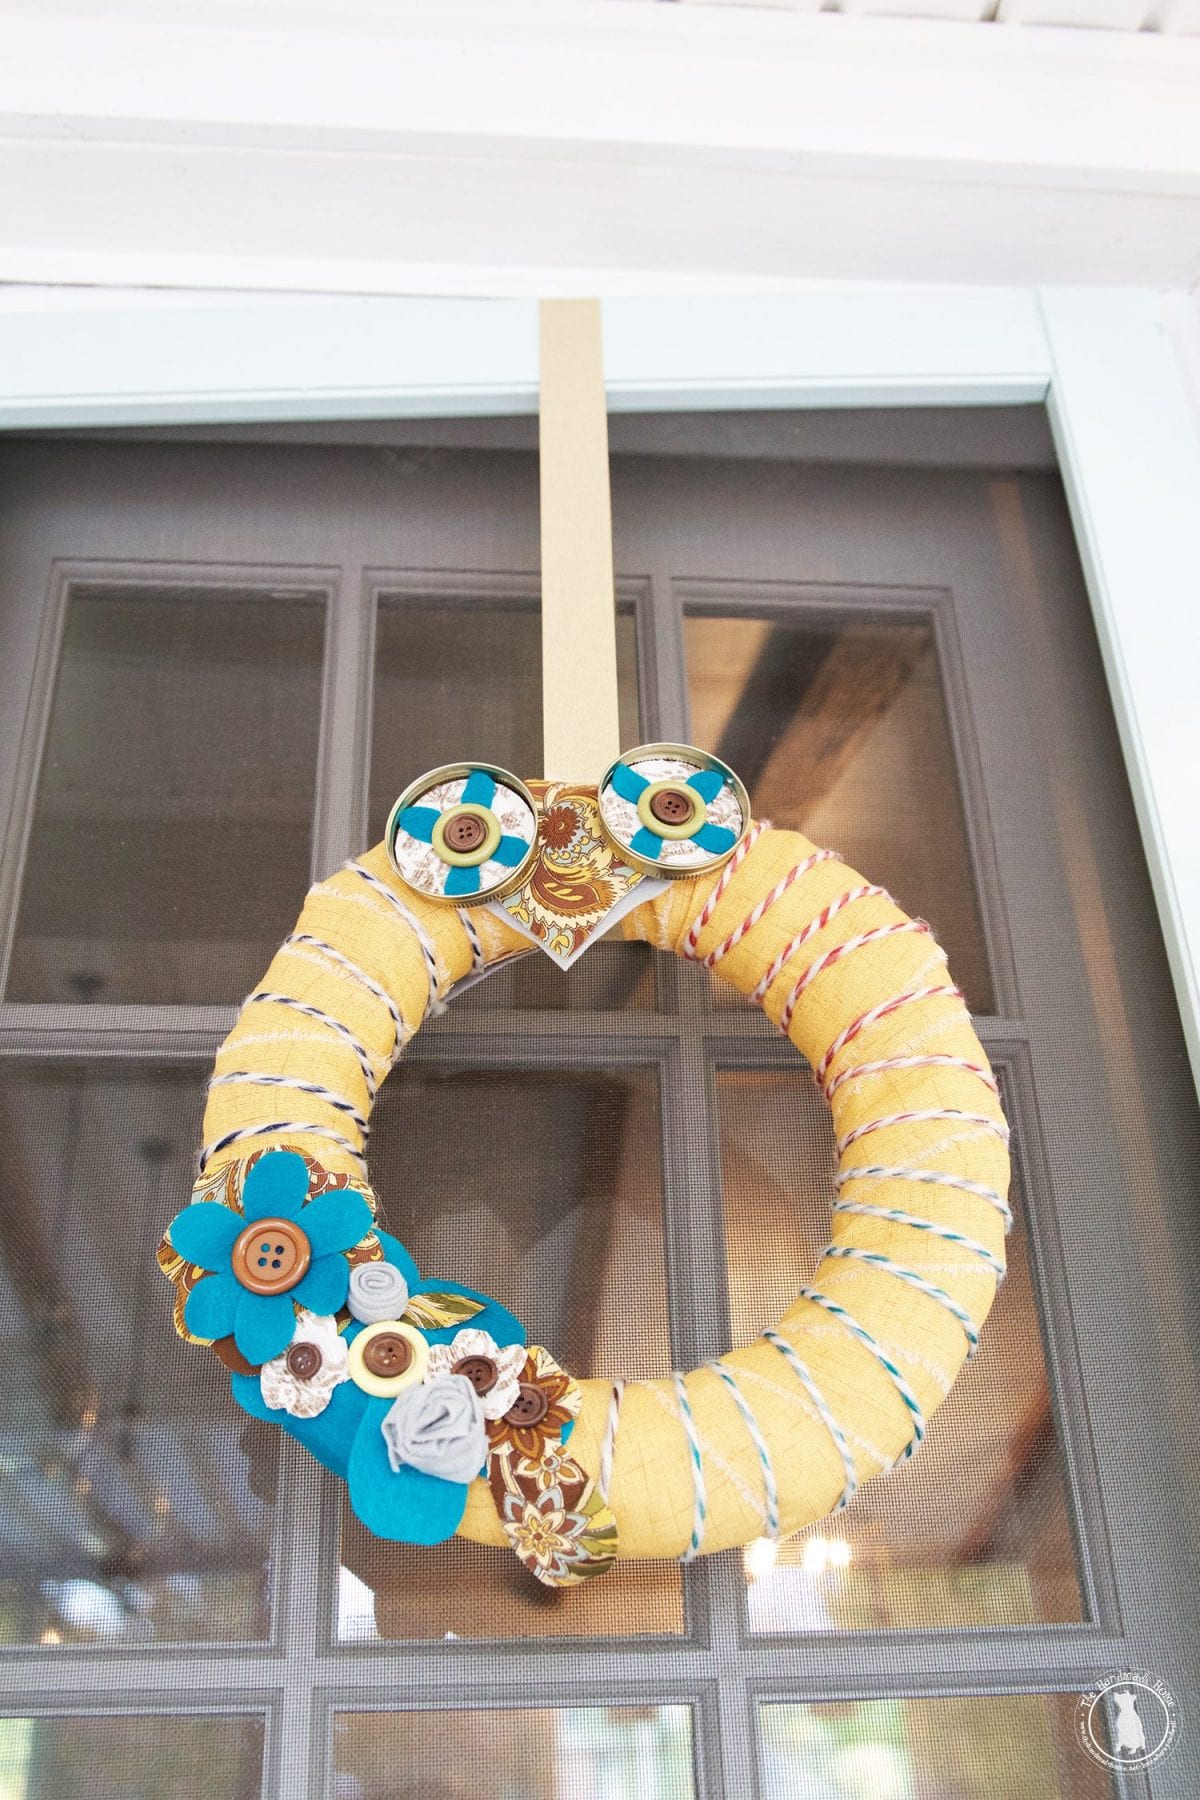
How to make an owl wreath – so cute!

When the little owl wreath was finished, he was placed on our screen door by attaching a ribbon to his back with a little hot glue, and then to the top of our door with another little smidgeon of hidden glue at the top.
When we’re finished, he comes right down.
In retrospect, I think there’s a fly in my photo. So cute. So adorable.
Not really… but these gals sure are.
As always, we’d love to see it if you make one! Have an inspired day!


This is so adorable! Love that you guys are in the house now… and I love that new screen door. Such a pretty shade of blue