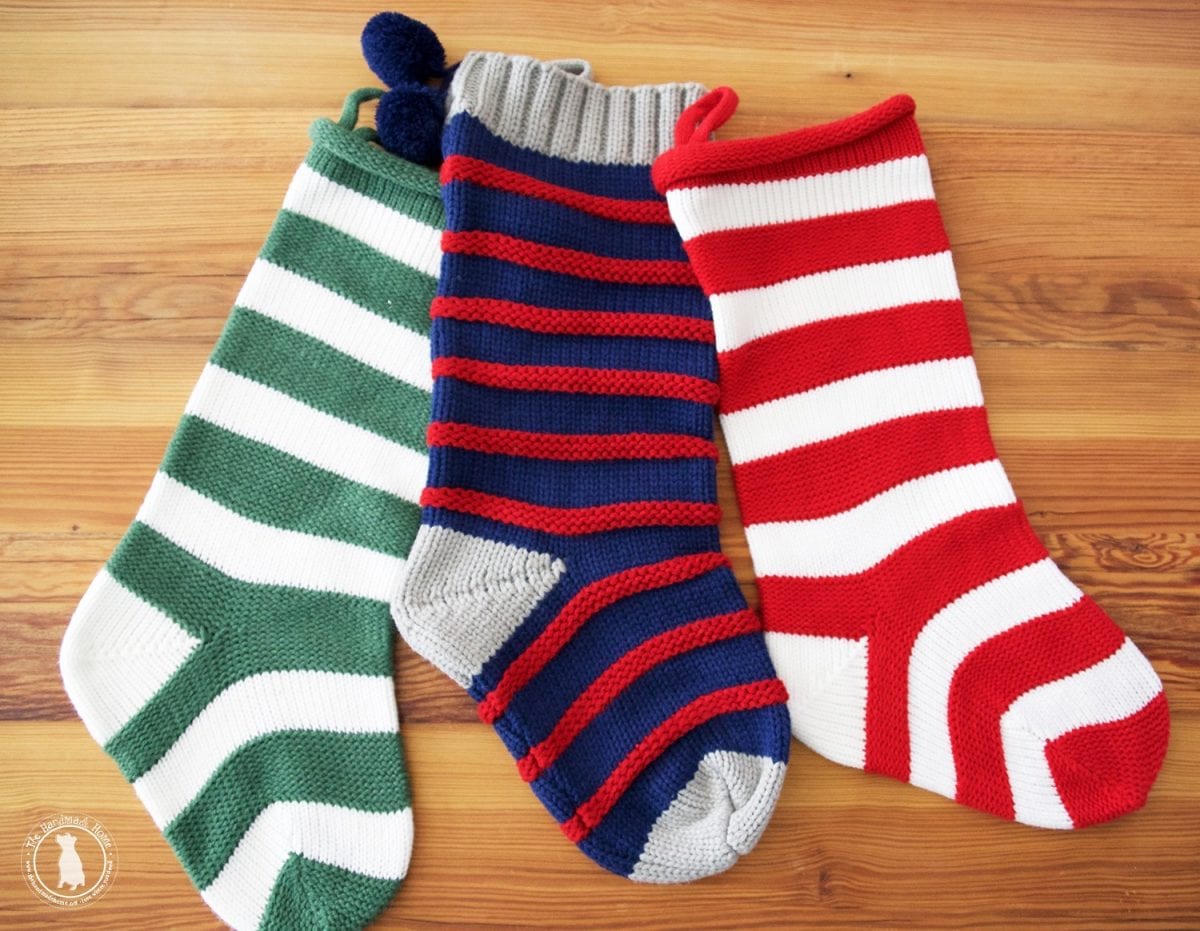
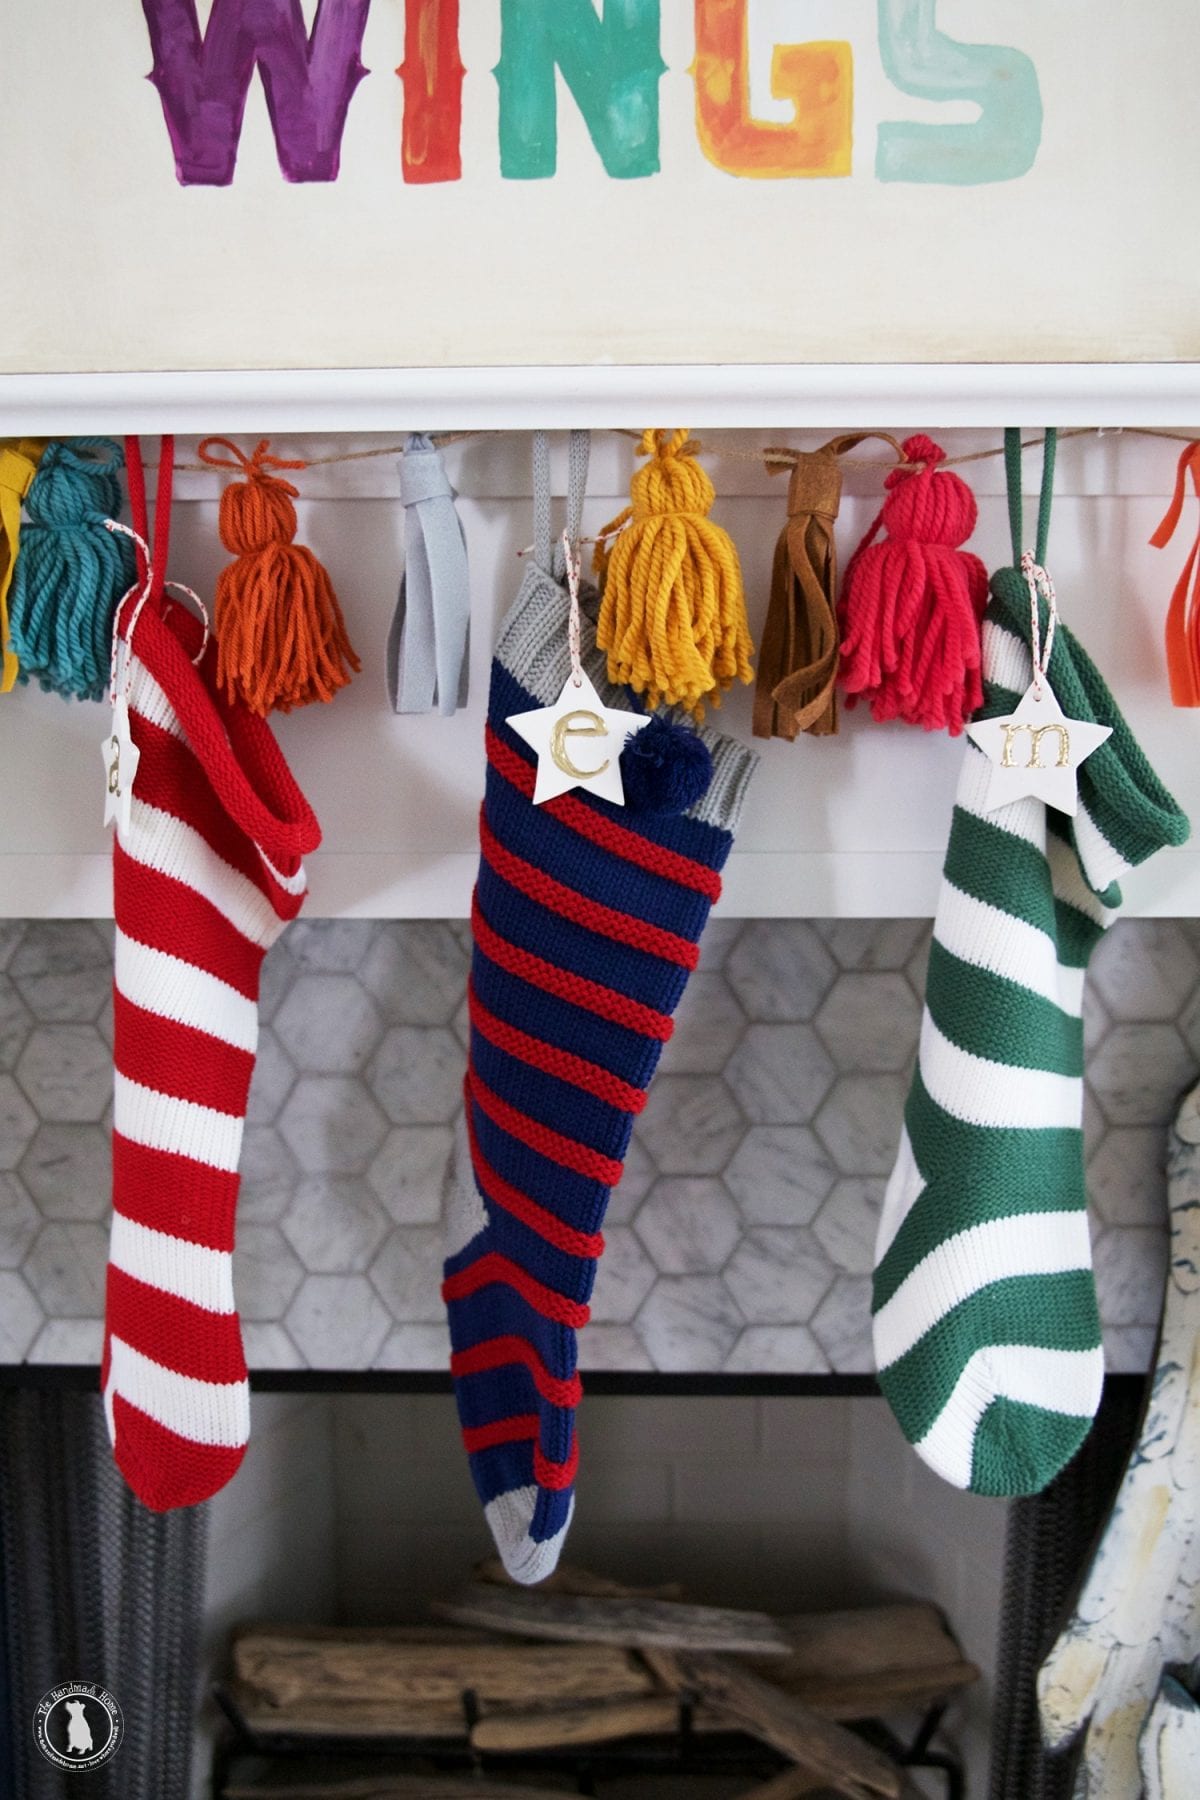
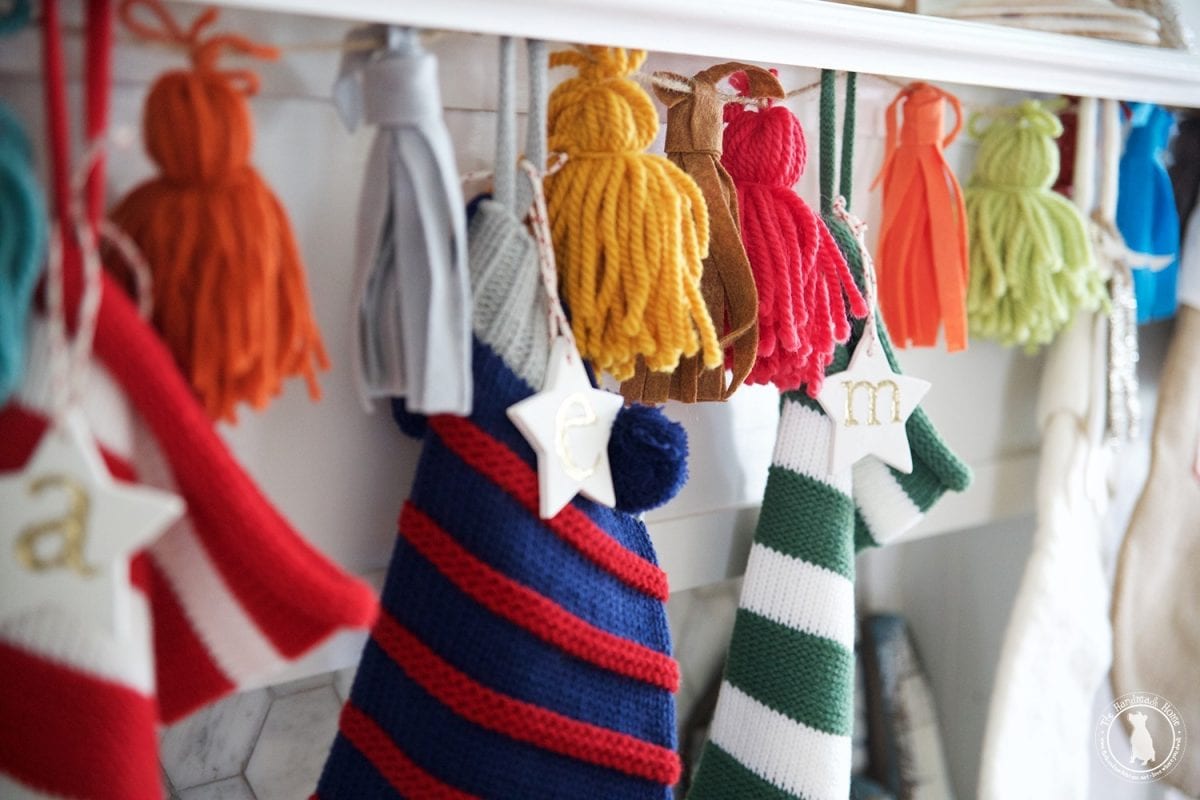
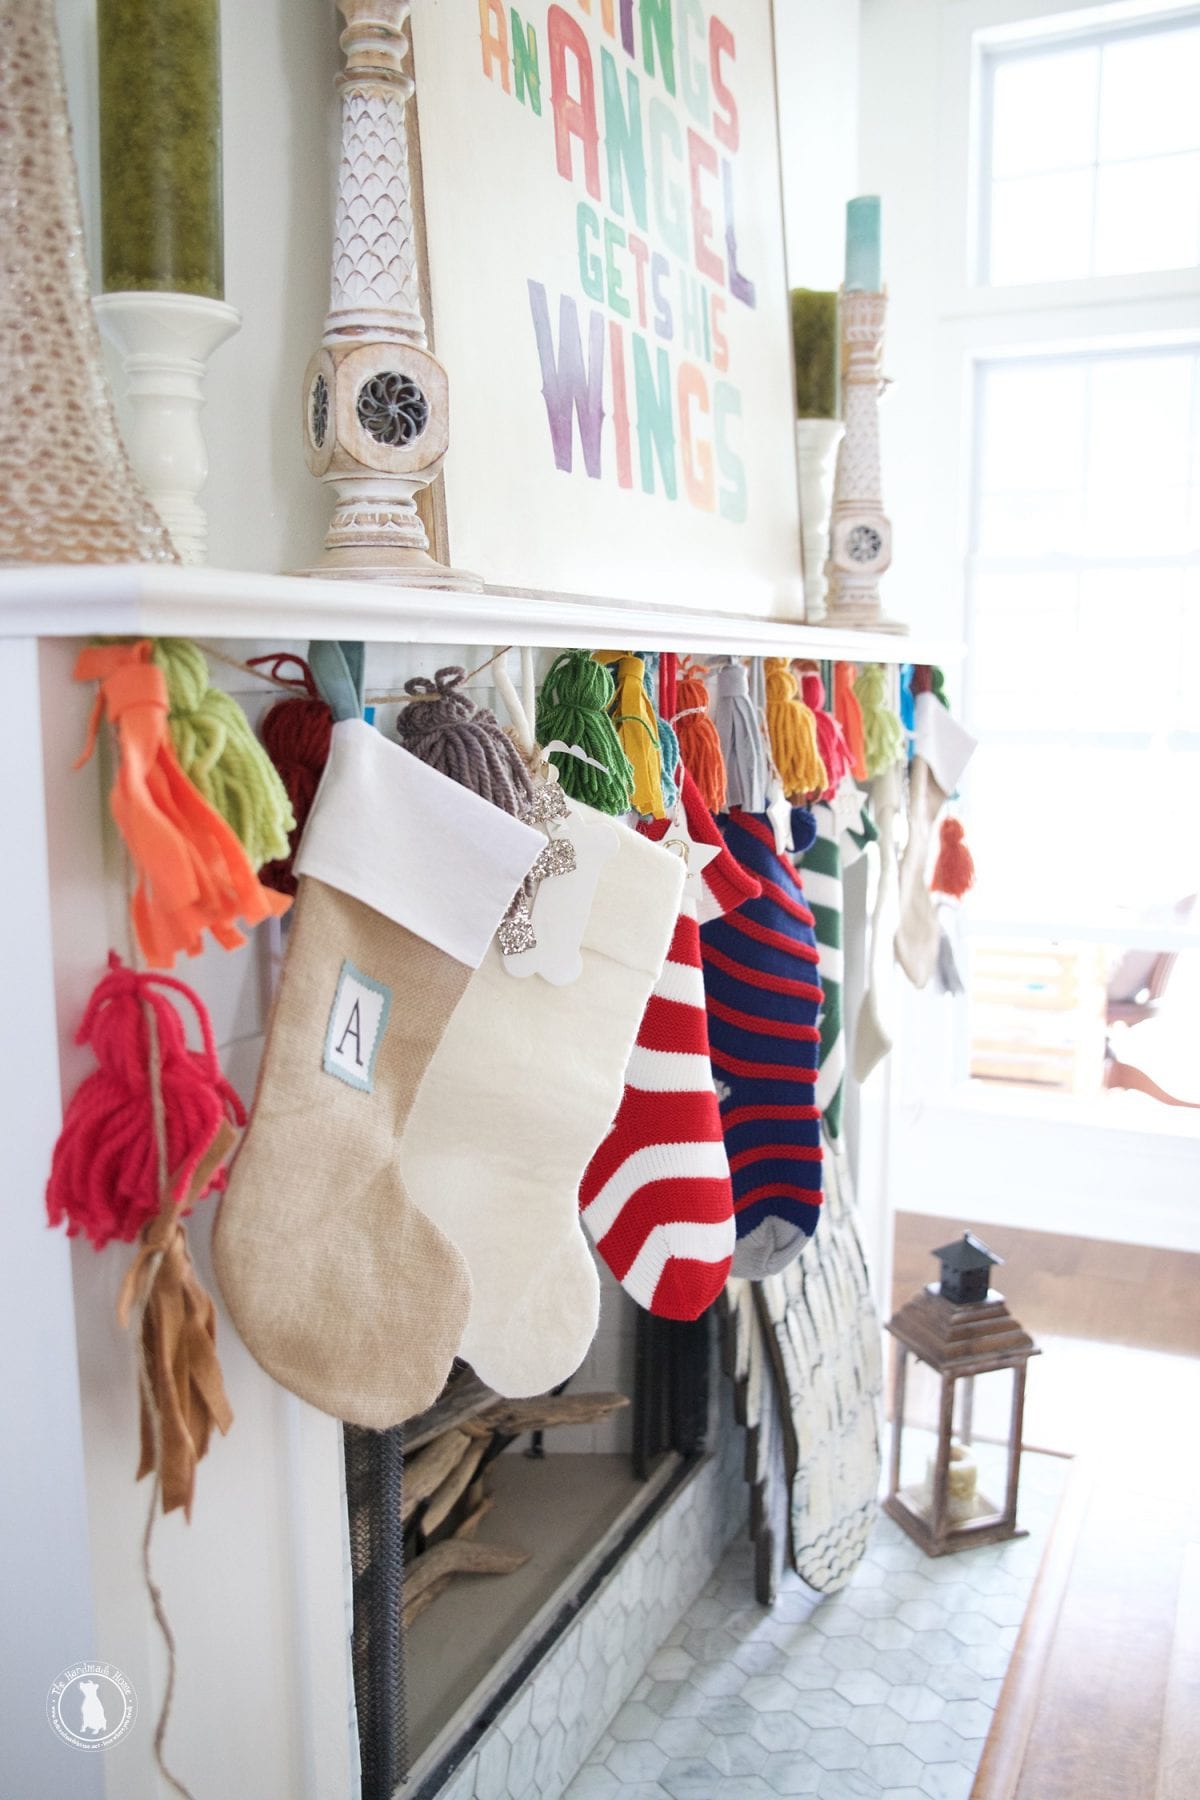
personalized christmas stockings
We mixed it up a little in the stockings department this year, and decided some easy peasy personalization was in order.
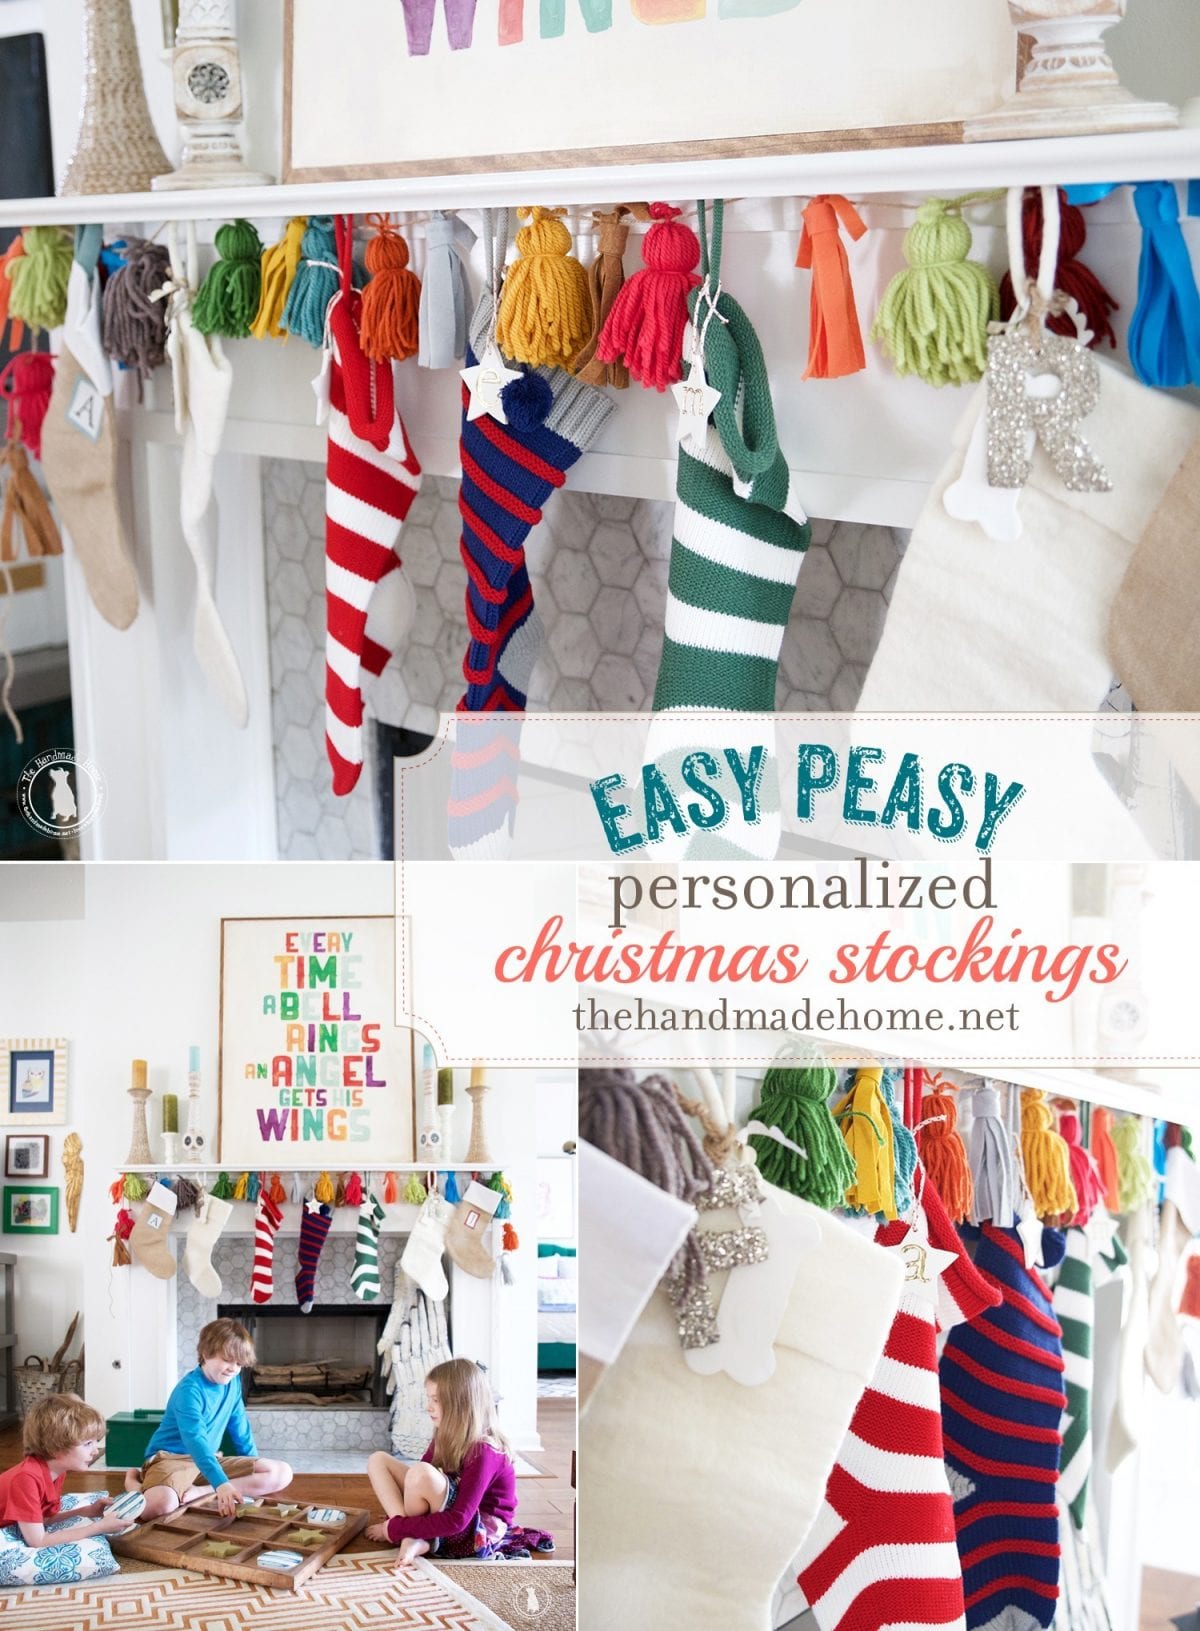
With two new additions to the fam this year + our fun colorful vibe, we needed to figure out a way to bring it all together with a bit more of a collected look. I don’t have a monogrammer, and thought this was a great project for anyone who wants to knock out some simple embellishments in about an hour. {Or less!}
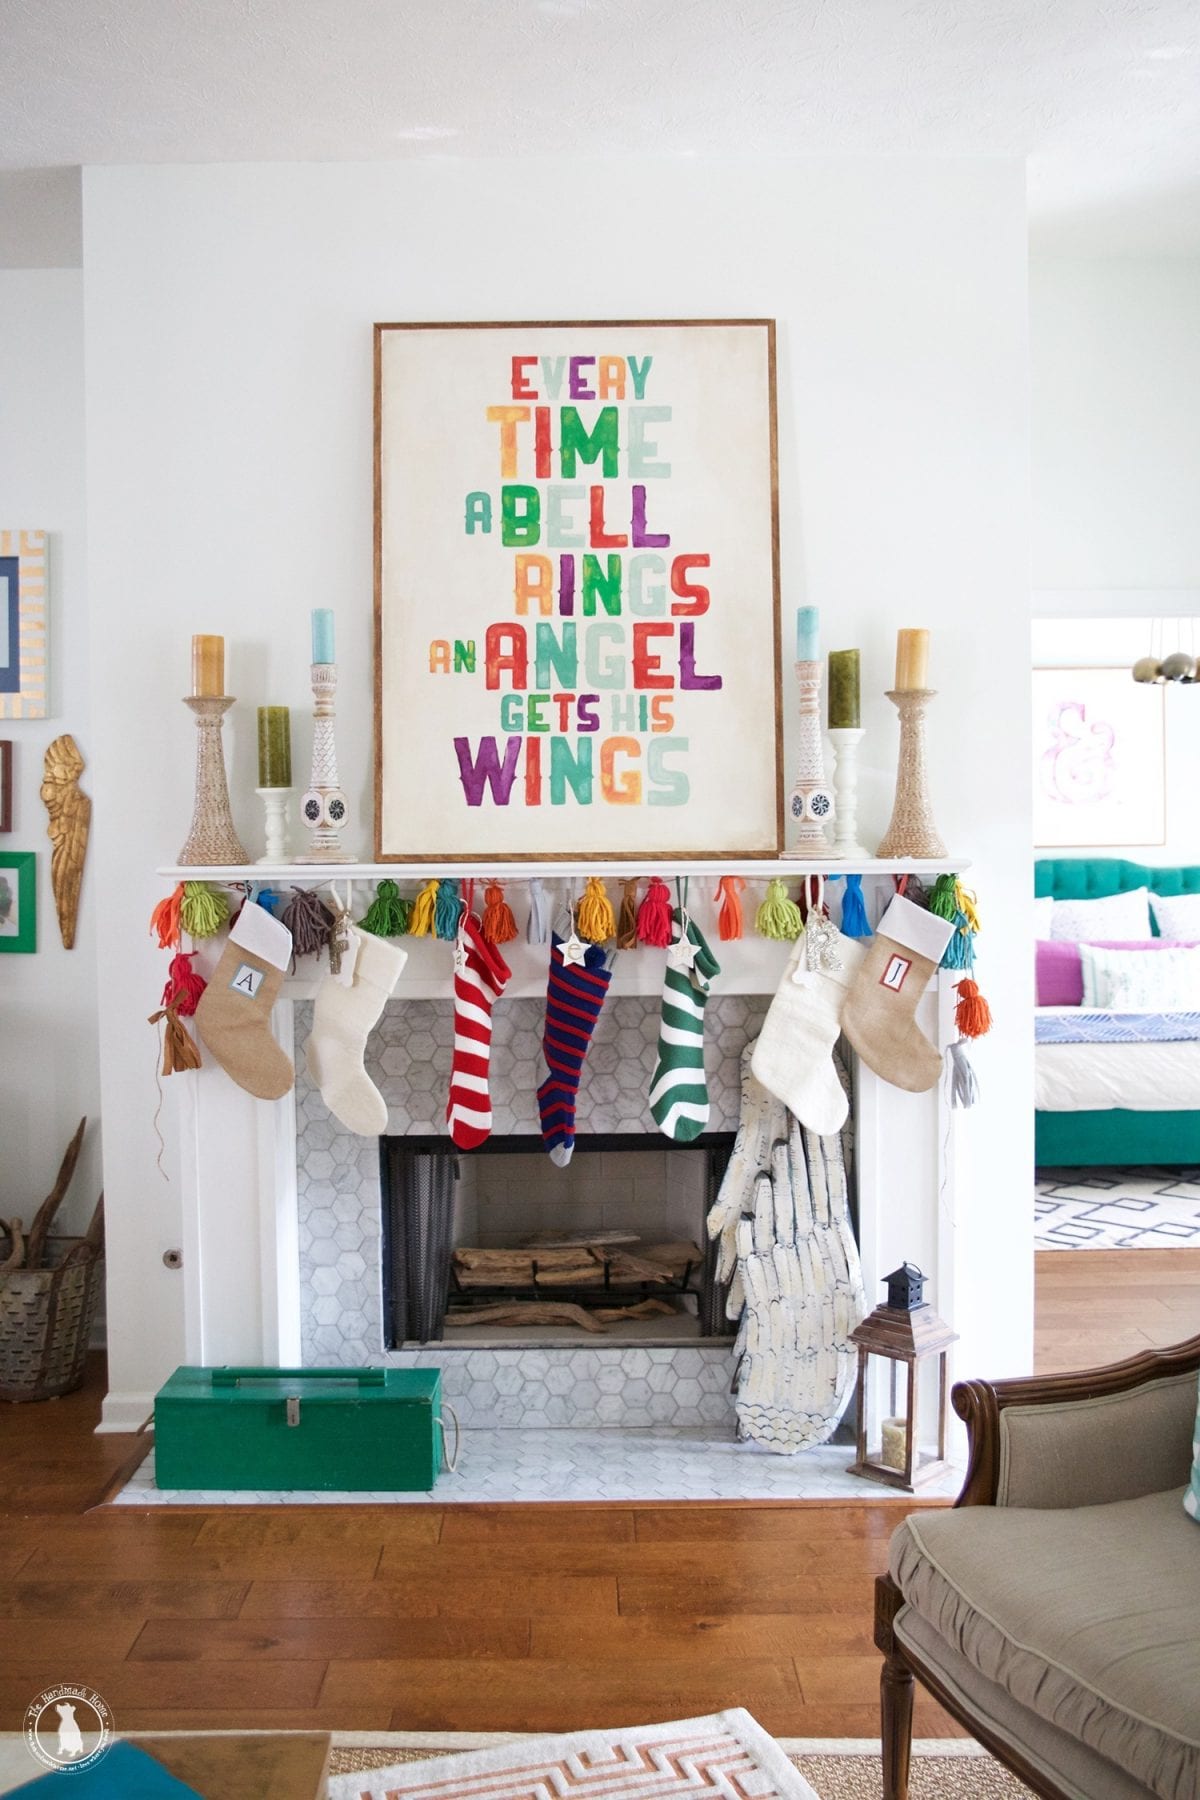
So we purchased a few extra stockings from other places, and decided to jazz it up with our little personalized ornaments.
These can be used as a bazillion other things, and they have been around our home. But here’s the holidaisical version for personalized Christmas stockings.
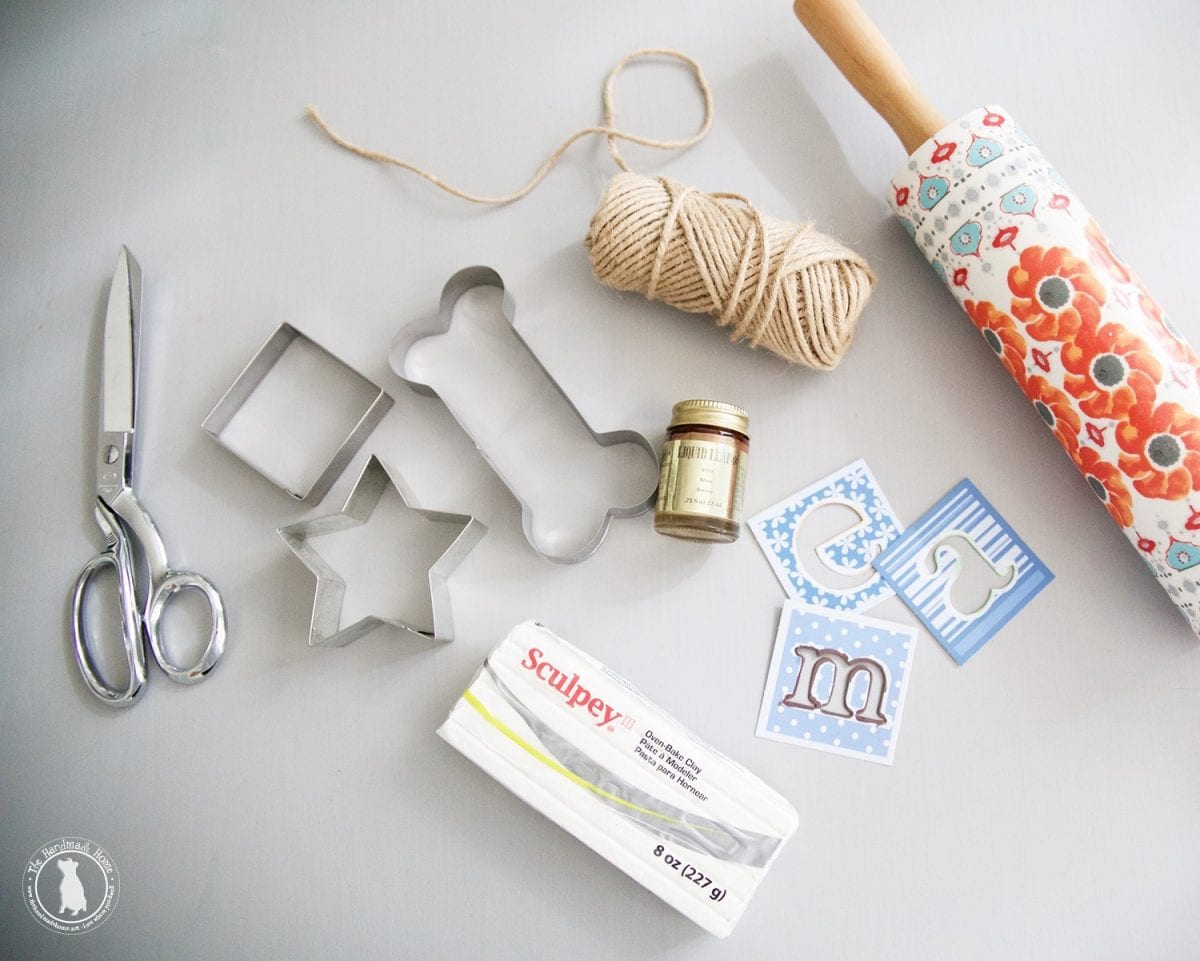
What you’ll need: • Sculpey Clay • cookie cutters {bone shape, star shape, square shape -your choice!} • scissors + twine • rolling pin • alphabet stencils {we picked these bad boys up from the local craft store a-la the scrapbooking aisle – you never know what you can find there • liquid leaf paint + brush • small sewing needle • cookie sheet + foil
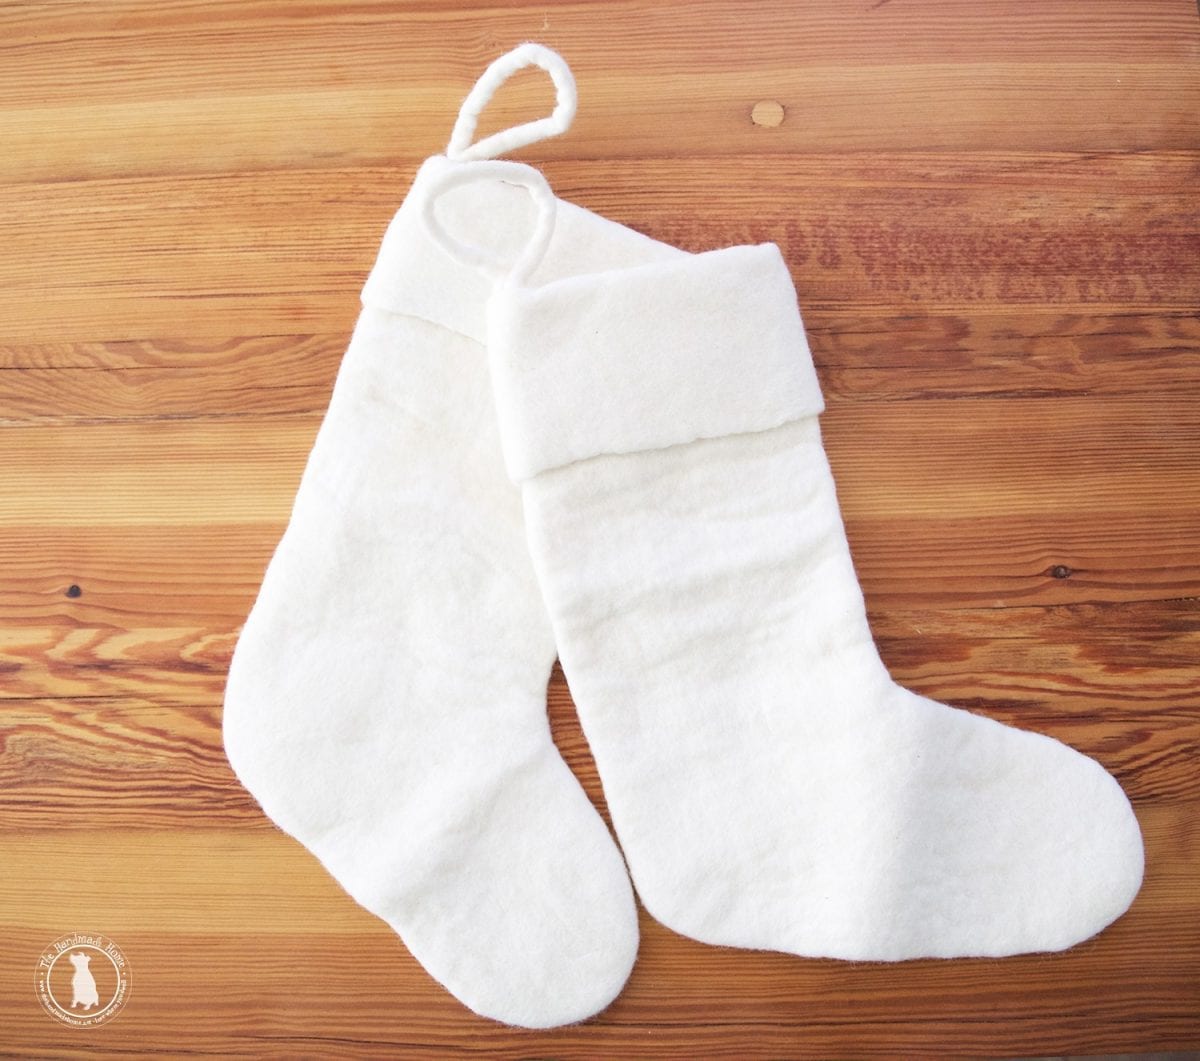
Stockings of choice: we snatched up these simple ones from West Elm + funs stripey ones from Target.
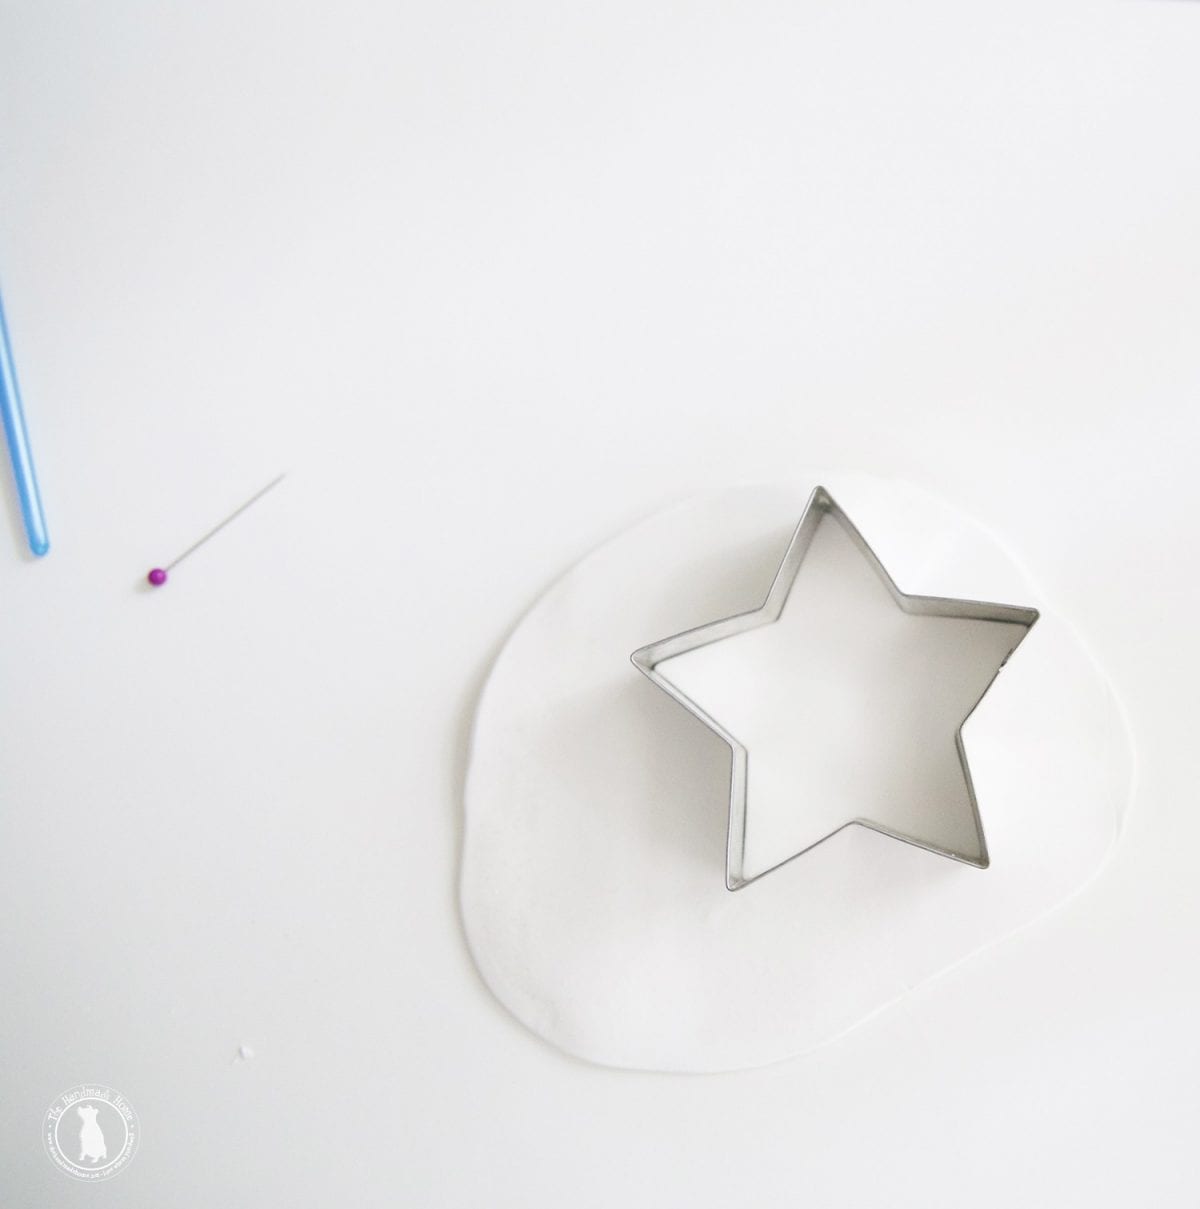
Working on a protective surface, {we think it helps with the clean up, and we usually use a poster board or wax paper} get a nice amount of clay, and warm it with your hands. Then roll it out with your rolling pin to a decent thickness.
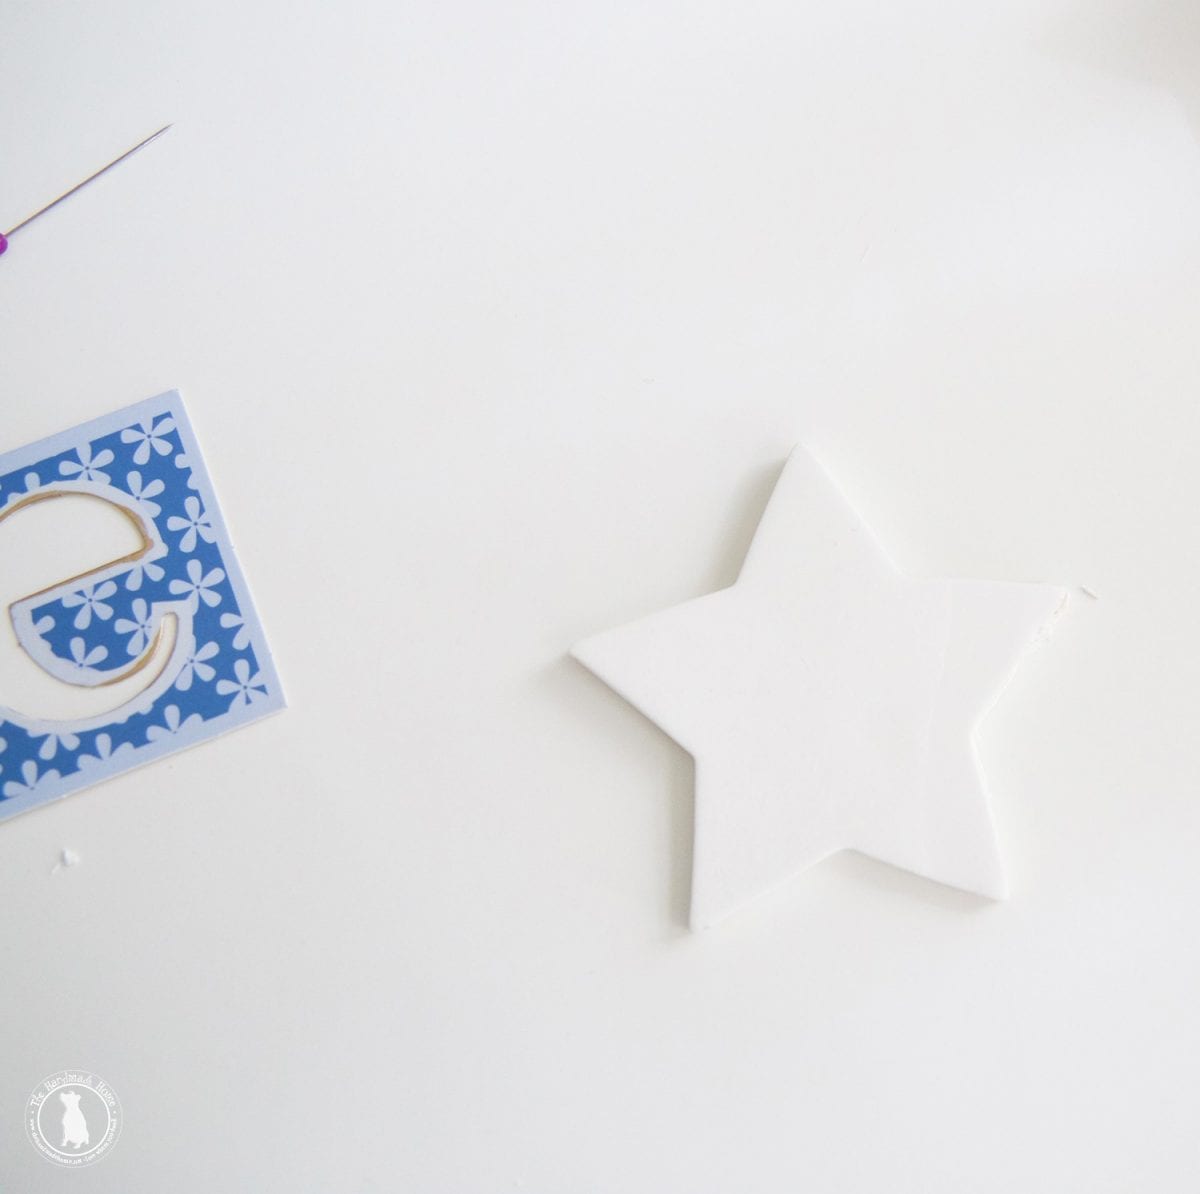
Cut it with your cutter of choice, and while the cutter is still down, pull up the rest of the clay so it doesn’t warp your shape.
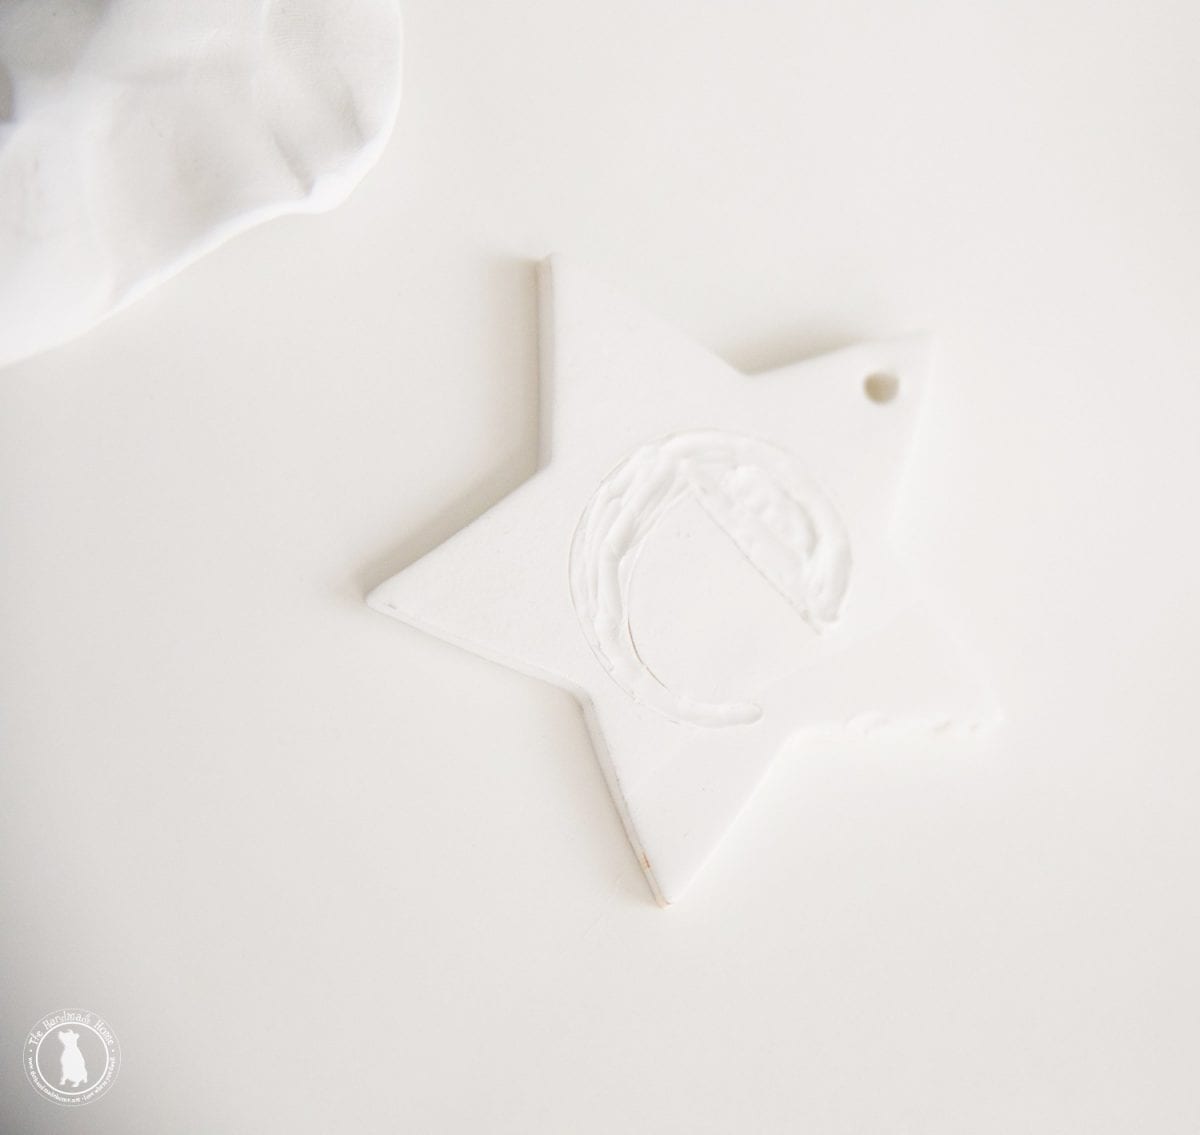
Then take your stencil of choice,
And lightly trace the shape. You’ll see in our clay tags tutorial linked above, we had some metal numbers that we pressed down lightly on top, so again… you never know what you’ll find in the scrapbooking department. I need to get my hands on some letters of the same making!
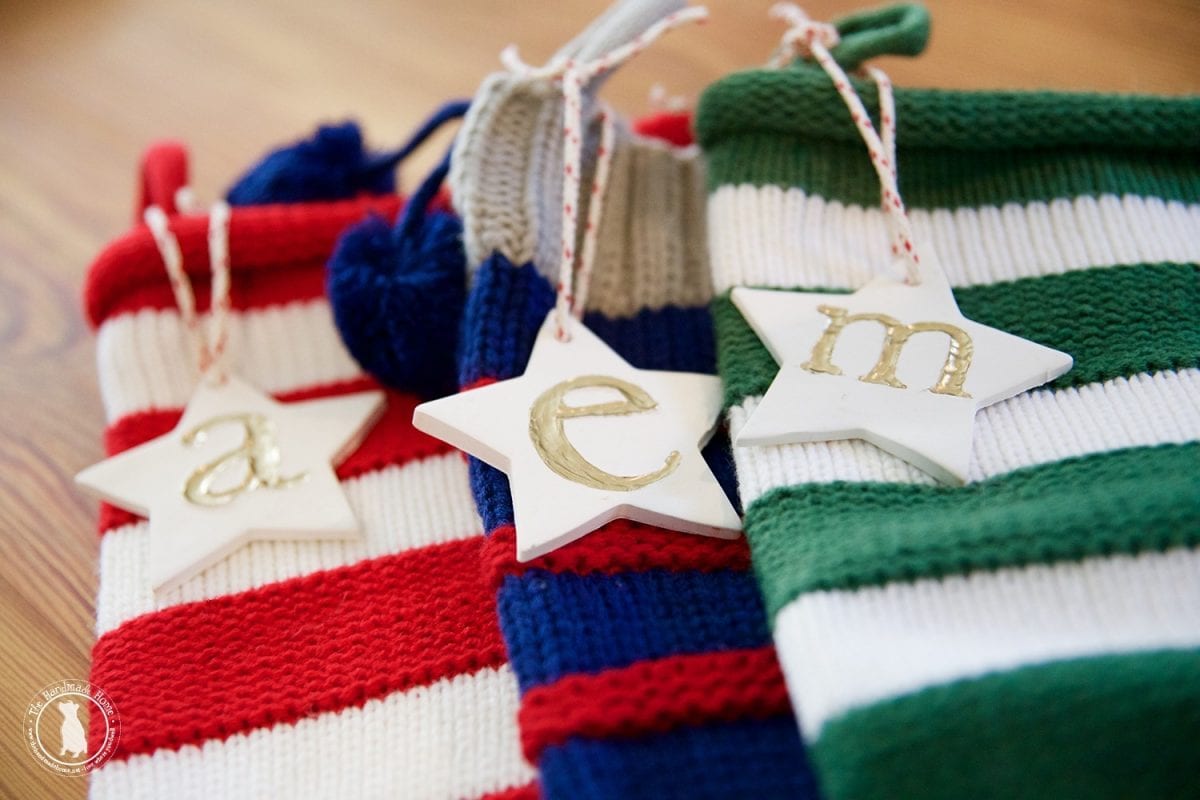
Once you’ve done that, don’t forget to use the end of your paintbrush to punch a hole in the top of your shape for easy threading.

I pressed the inside of the letter down a bit with the ball end of my needle, just so the paint wouldn’t leak over the edges when I painted them. It also gives it a fun, etched feel.
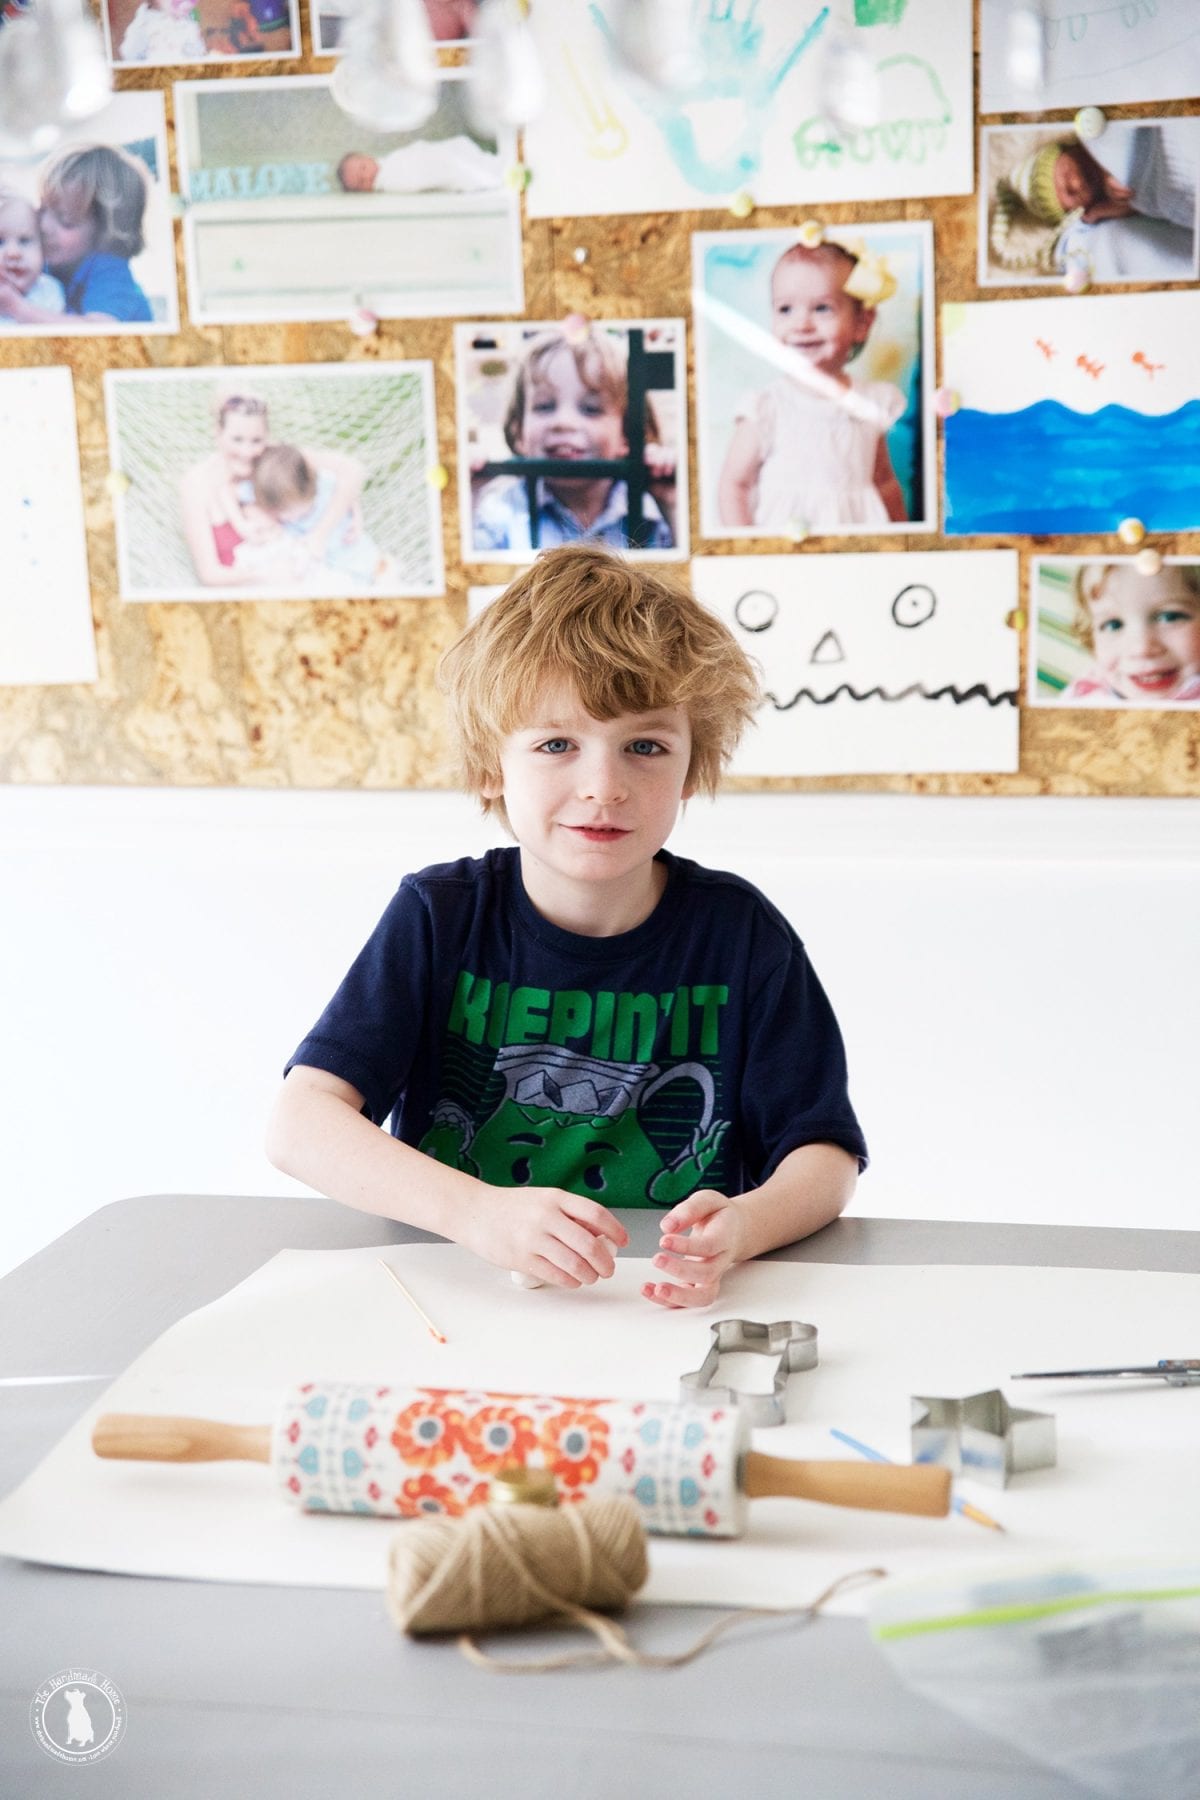
There’s something about the clay that brings out the fun in the littles. They had a blast making their own versions… bed heads and all.
Which soon evolved into people… which soon evolved into play dough people… which soon evolved into all of the colors everywhere.
It’s very much a When You Give a Mouse a Cookie situation around these here parts.

And it very much makes us happy.
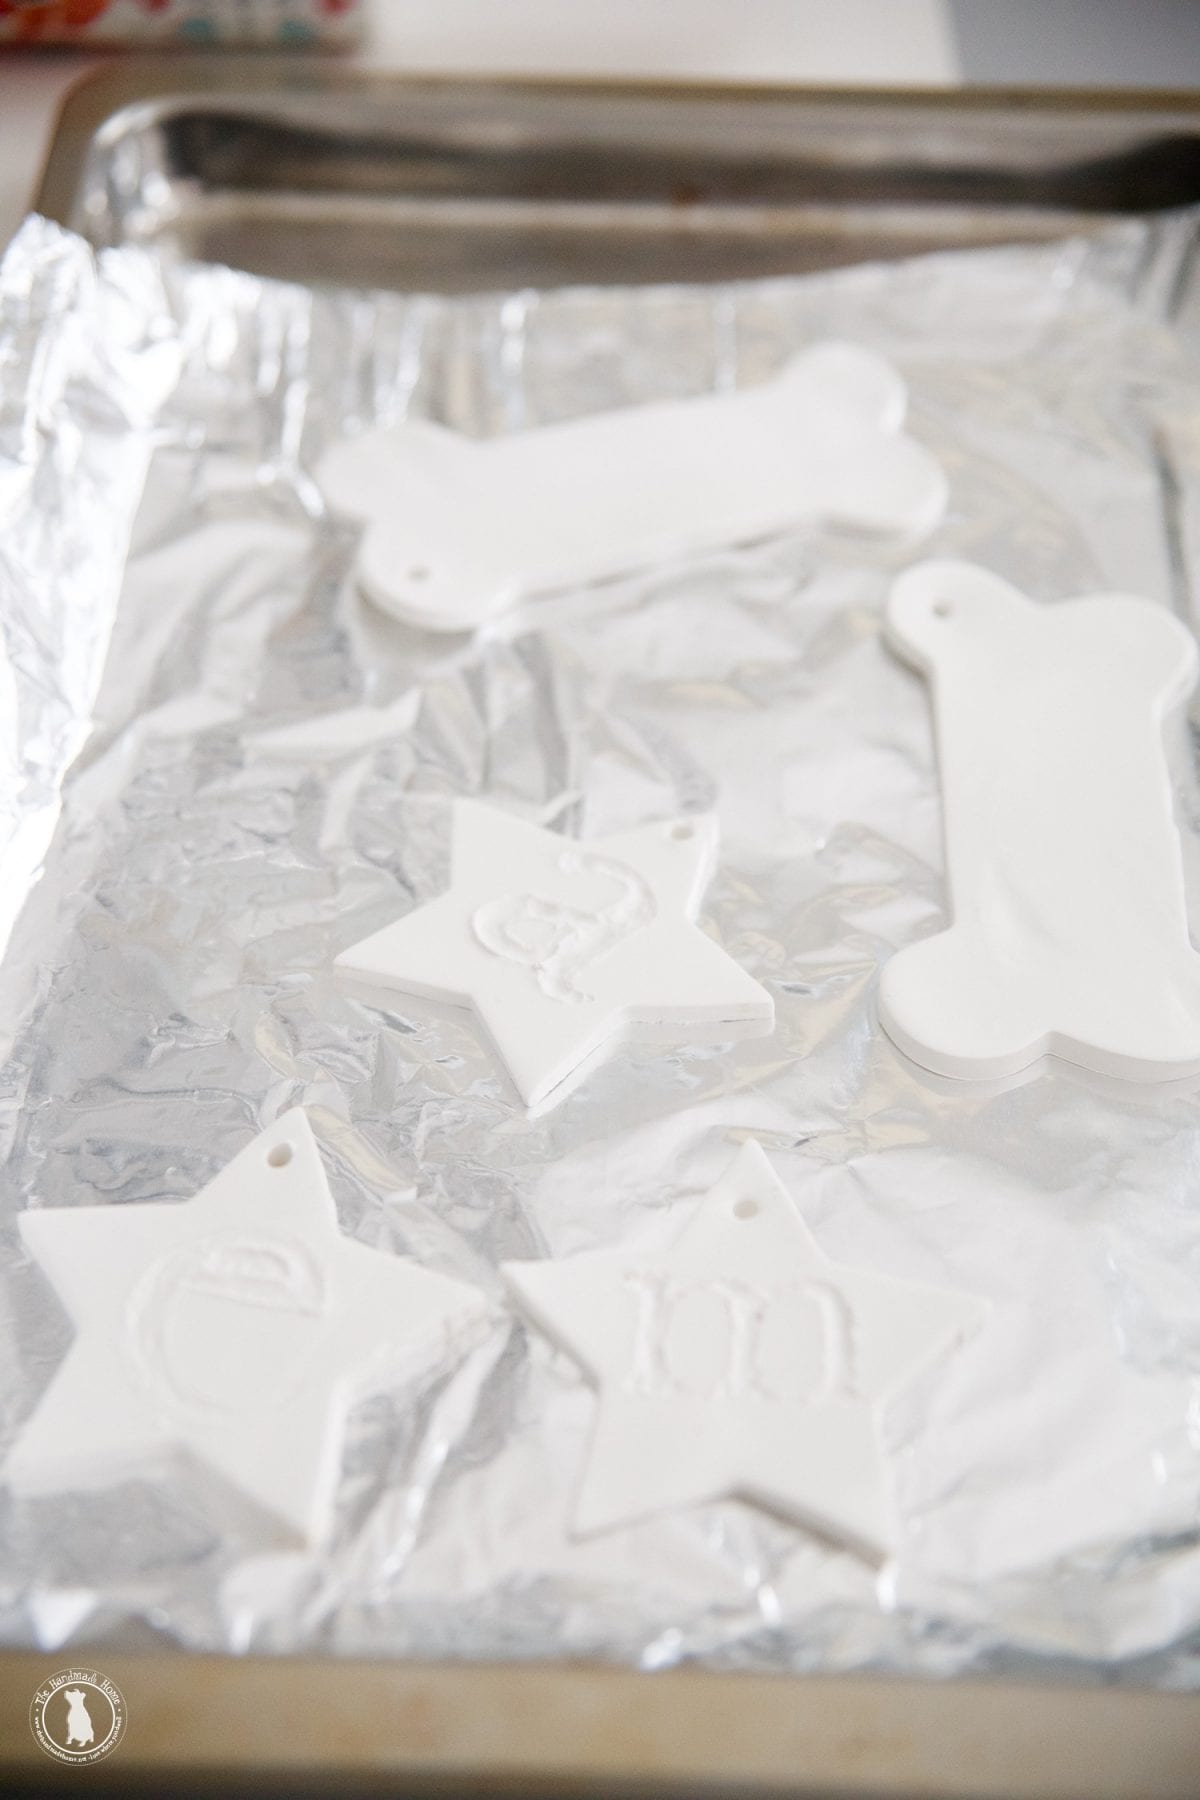
Once baked, let them sit for a while, and cool. {Follow the directions on your sculpey but it only takes a few minutes per thickness}
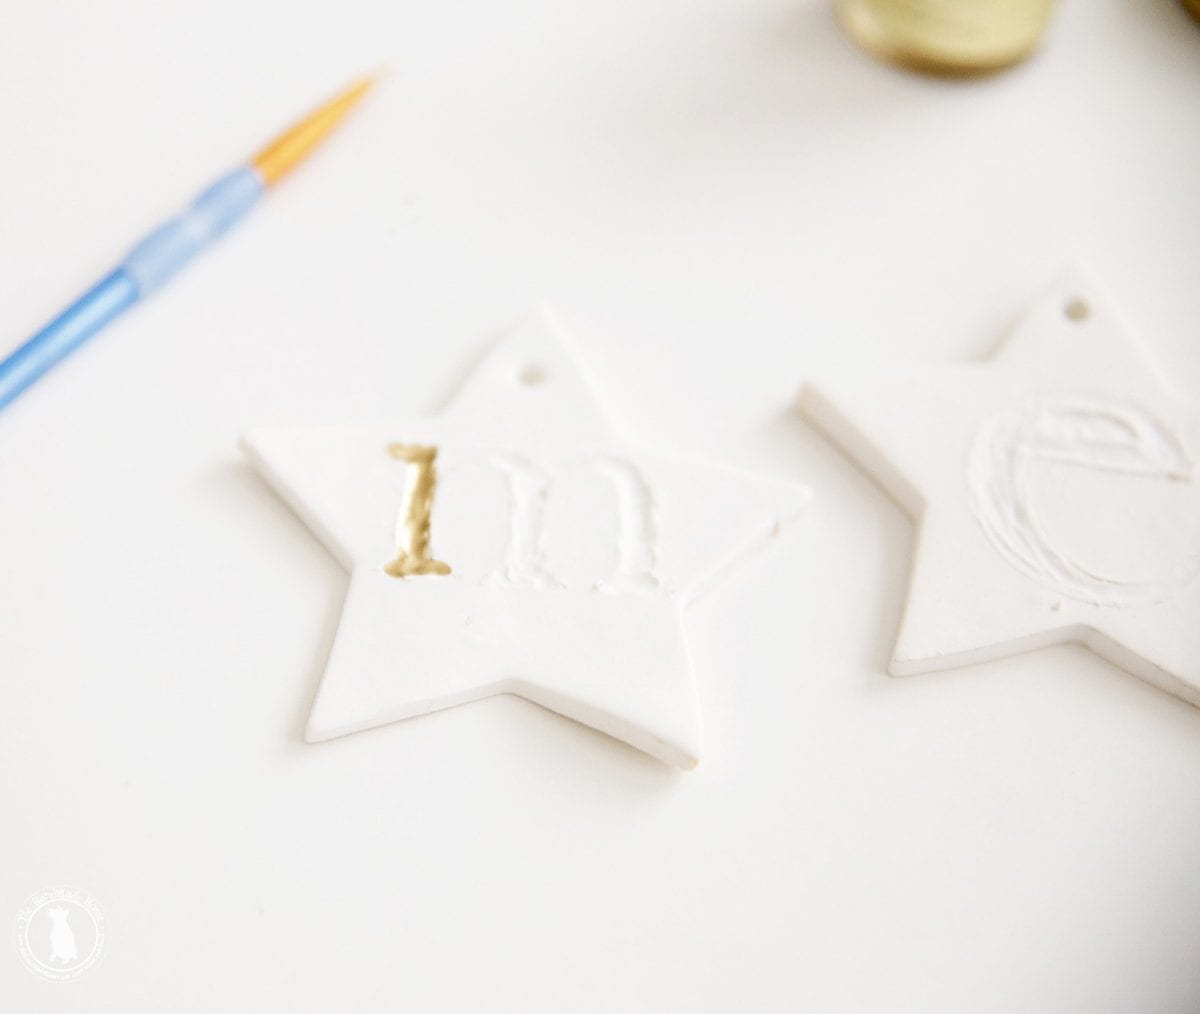
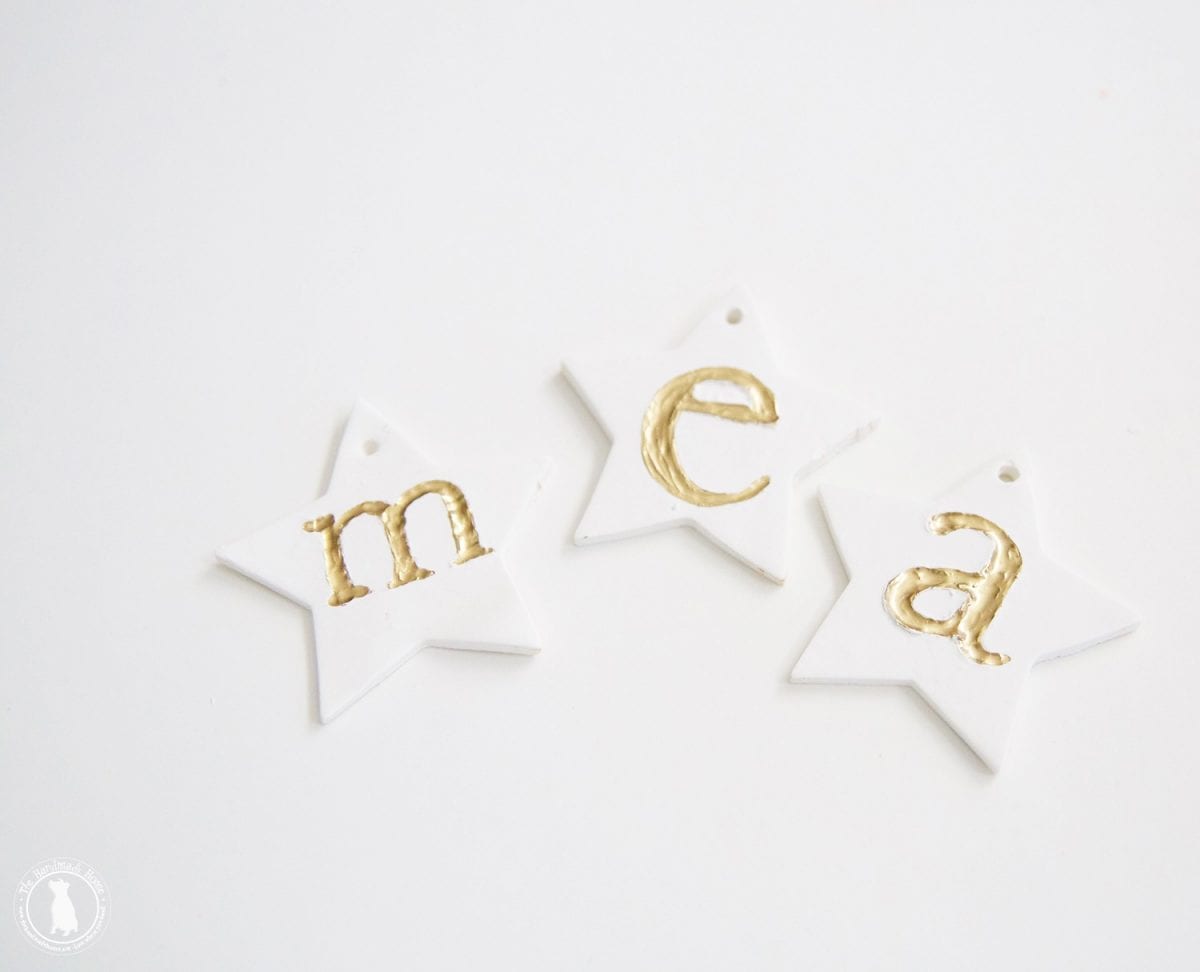
And when you’re finished, paint ’em up.
For the pups {Rigby + Fitz} we used another version of our place settings {scooped up at the local craft store} to embellish their little bones.
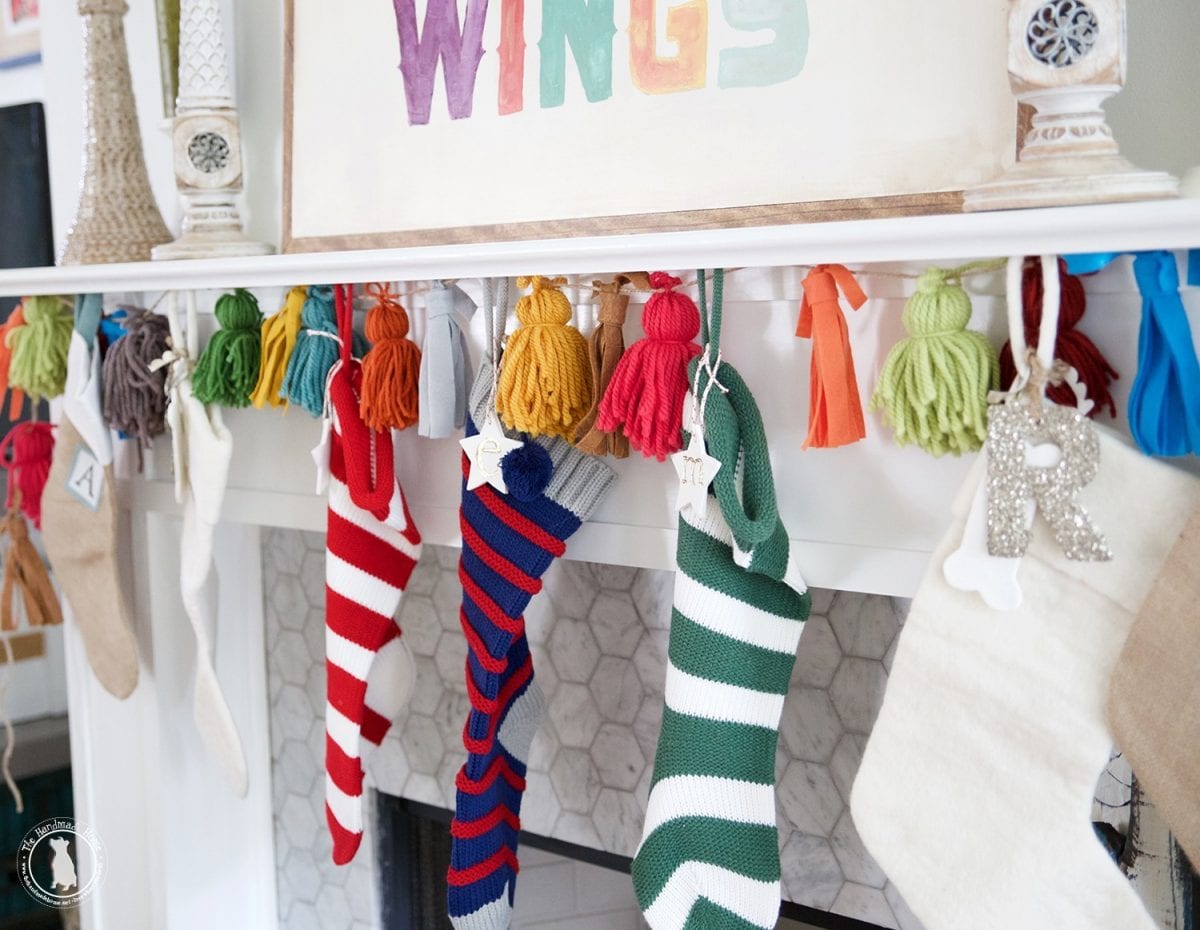

And when the paint was dry, we attached the little stars to each stocking.
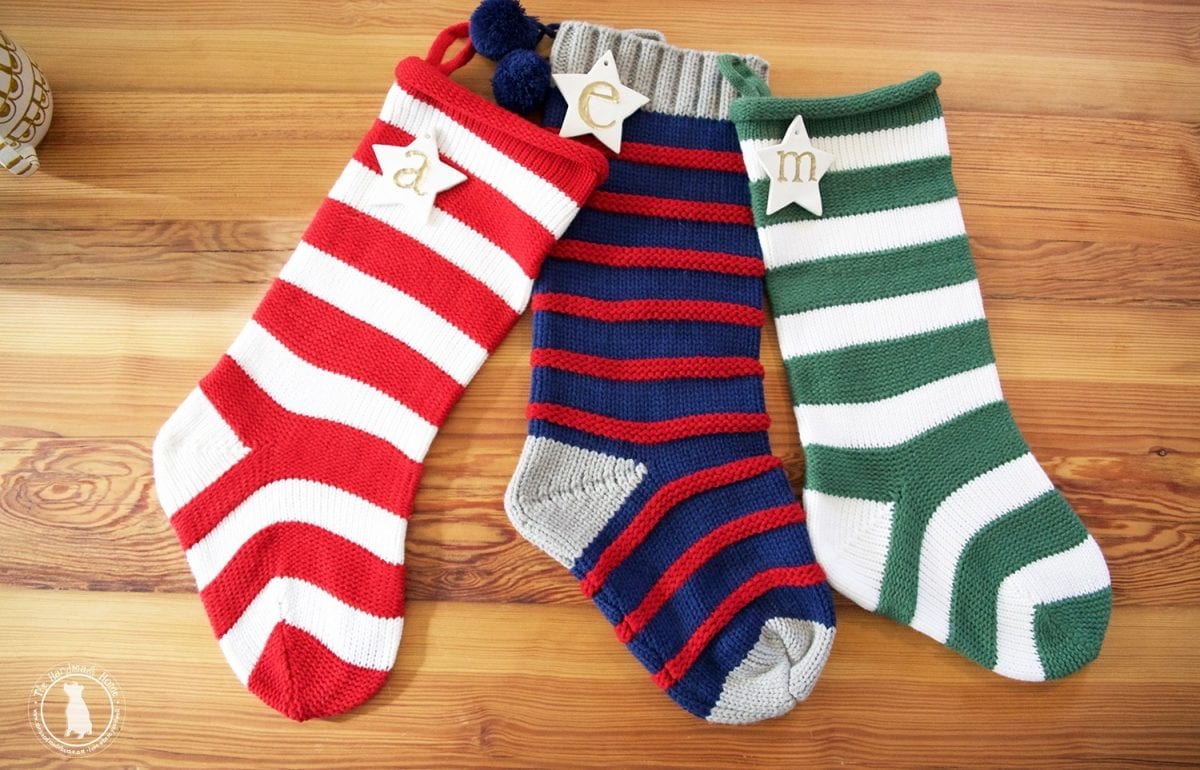
You can do any variance in any version you like… easy peasy rice and cheesy!
Our twine for these were a-la the dollar spot at Target. A blessing and a curse, as we’re sure you well know. I turn into a zombie with all the creative possibilities. It’s like a crafting train wreck in my basket. More patterned straws! And tags! And other things I don’t really need but make really great styling options! Make it stop! But not really!
Okay. I’m back.
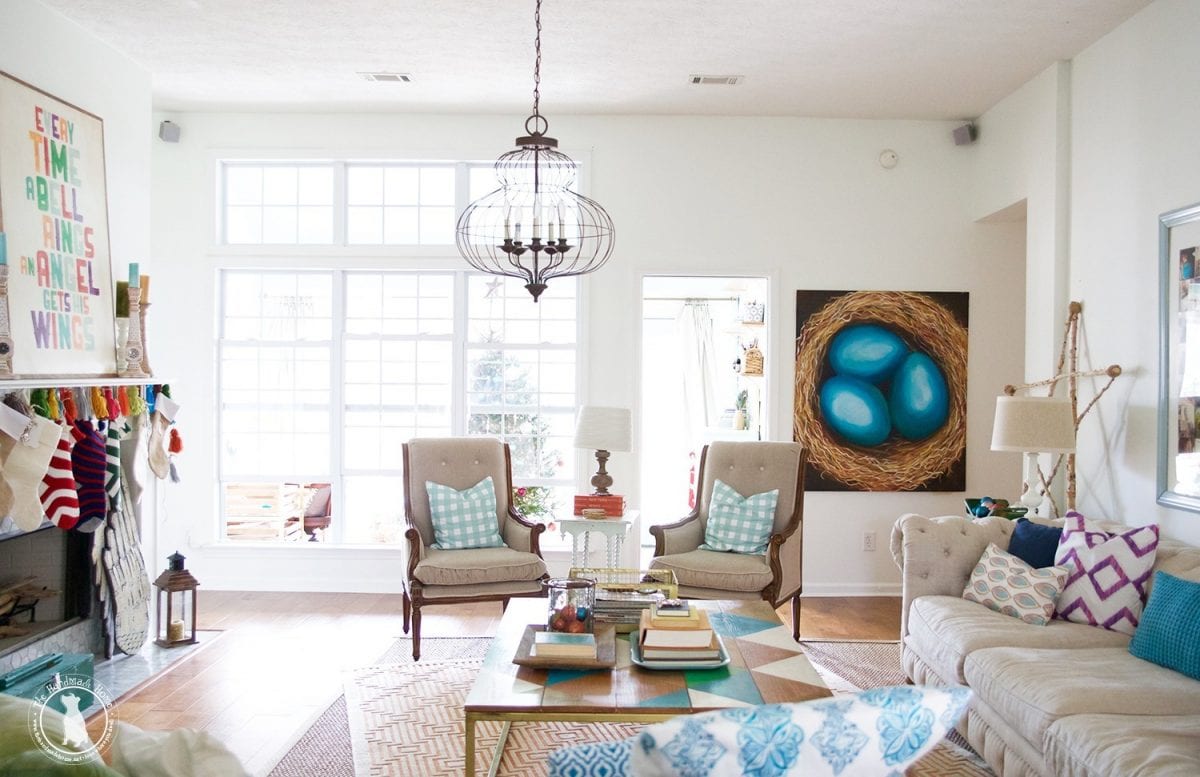
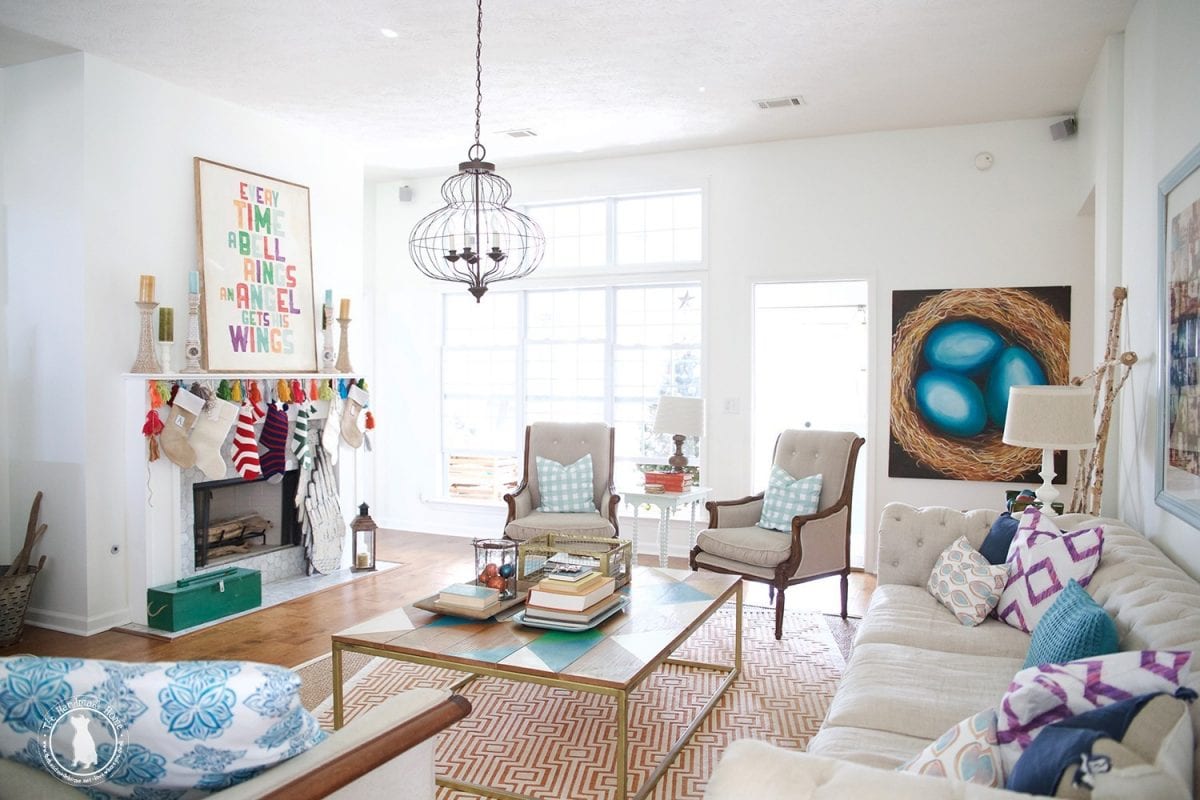
And there you have it! Our little embellished stockings… which tie in nicely with the space if we do say so ourselves.
We love a simple, colorful Christmas!
PSSSST – now save up to 100 dollars on our Every Time A Bell Rings print!
Falalala – have fun decking your halls and as always, have an inspired day!