pom pom monogram letter
Lately, we’ve seen a few pom pom projects floating around the internet, and wanted to try our hand at something fun. So the other afternoon , Emerson and I sat down to create our very own pom pom monogram, with handmade pom poms. And without further ado, how to make your own pom pom monogram letter.

It’s quite a simple process, that only takes a little time. It’s the perfect hands on project with your kiddos while you watch a movie or listen to music and spend some time together. The result is something unique and colorful for any space. Bonus: it would also make a fun gift for any little {or adult} you know who might enjoy it!

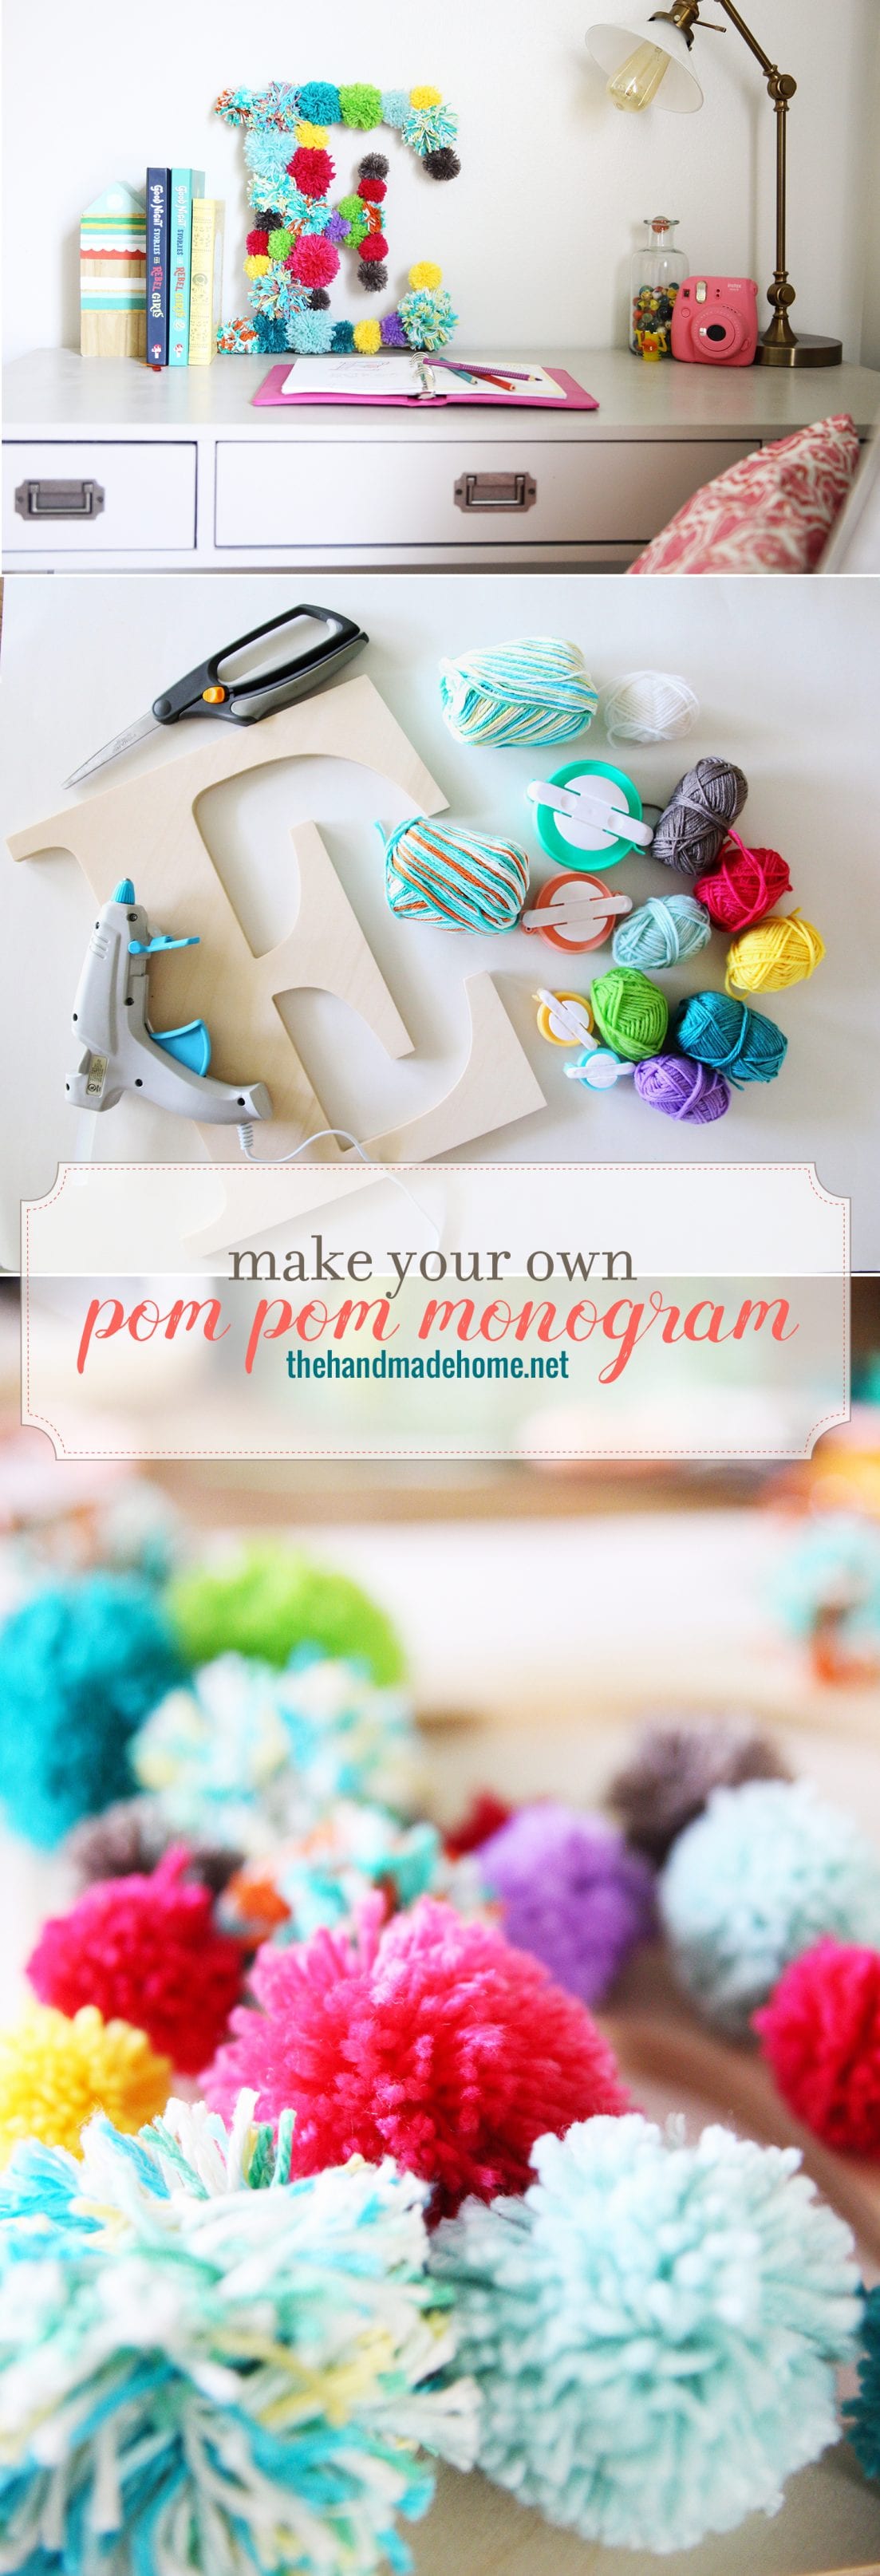
So, here’s what you’ll need:
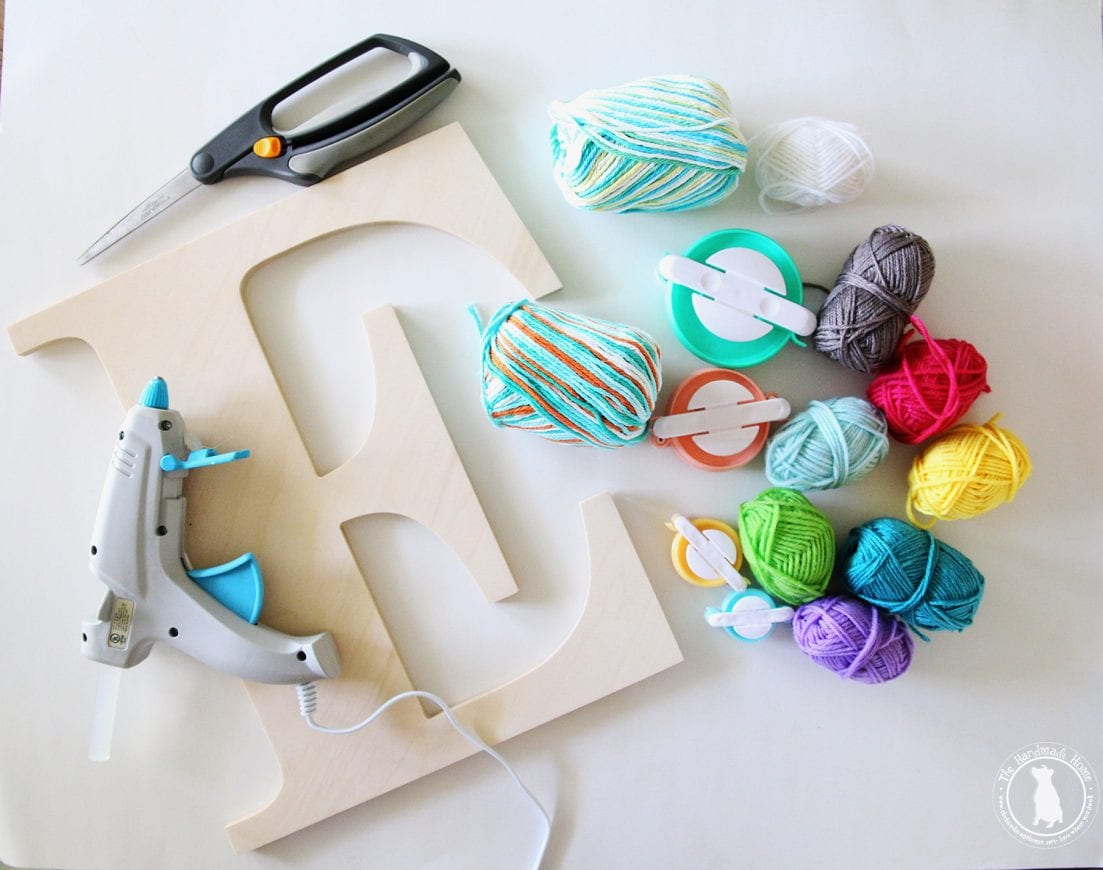
wooden letter of your choice – you could always cut out your own but we were feeling pretty lazy and decided to go with the store bought kind.
Yarn – in bulk here and special colors here
scissors • pom pom makers • Glue gun
Round up your supplies, and you’re ready to begin making your pom pom monogram letter!
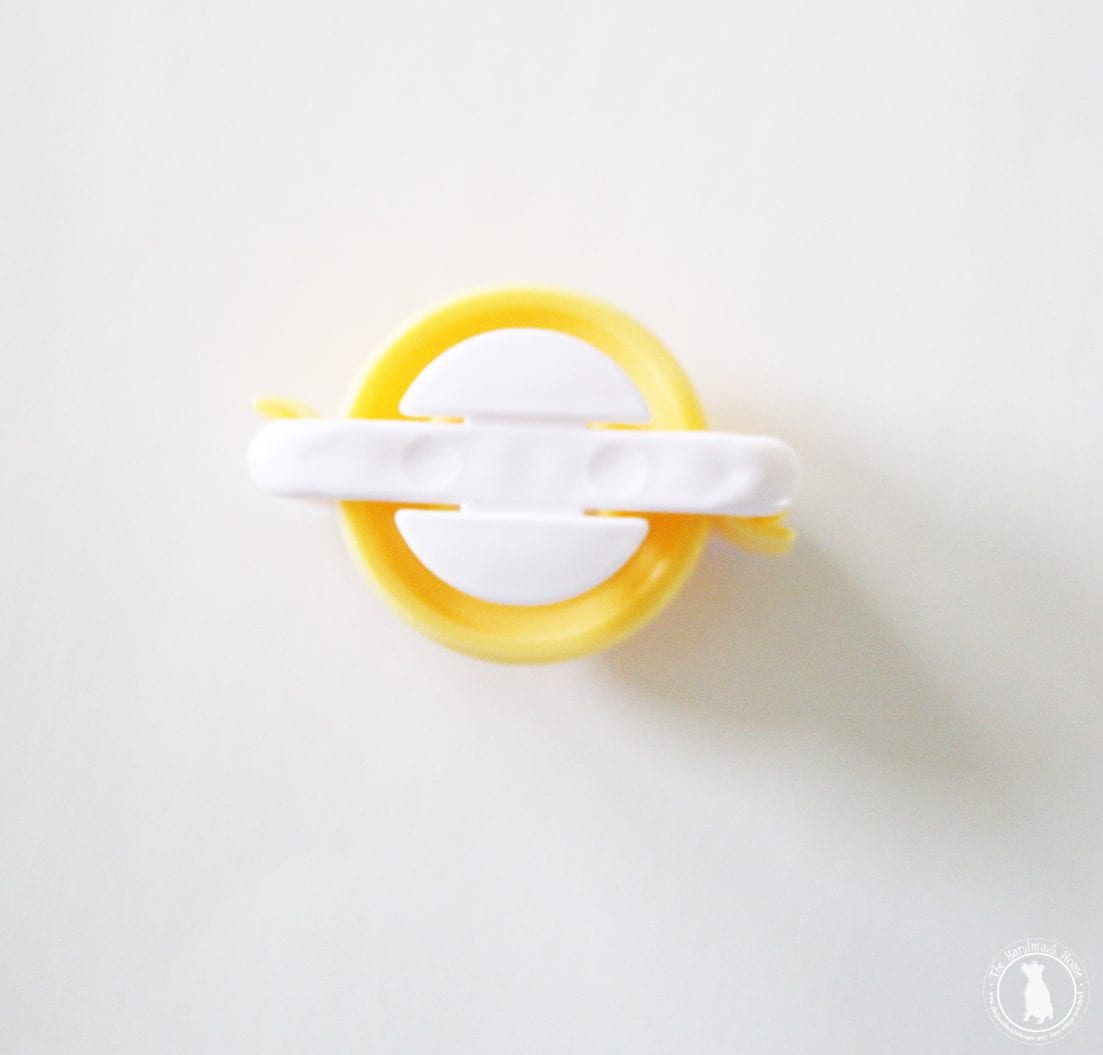
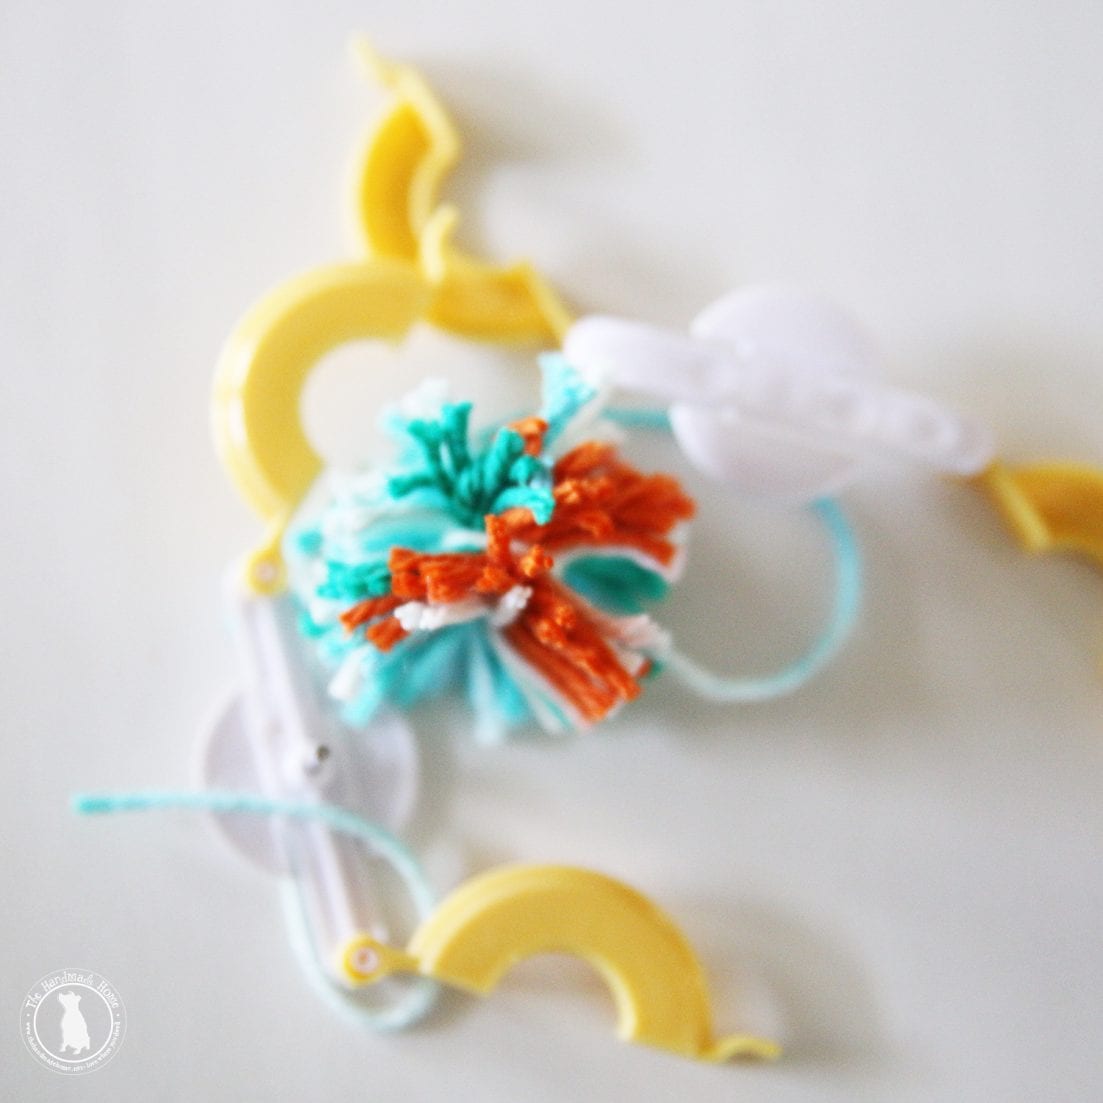
Take your pom pom maker {they come in four different sizes, so you can mix and match as you go} and open it up. There are two sides that hinge, making 4 c-shaped sides, total. It also snaps together in the center, so you’ll have it snapped together, with the sides opened as shown below.
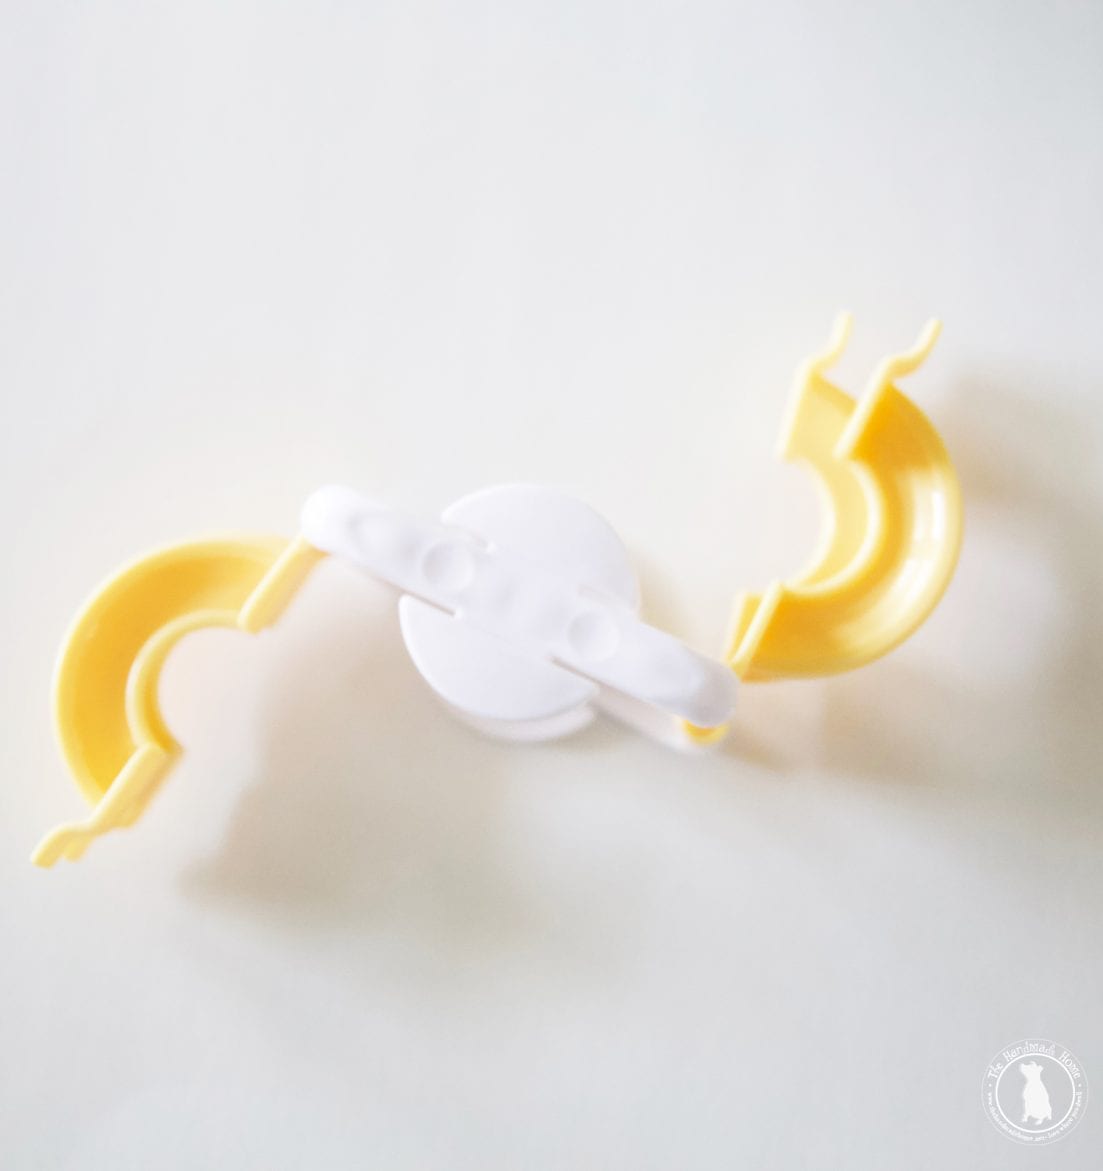
Taking the yarn of your choice, wrap it on the first part of you “c” that the pom pom maker makes when it’s open. {That will be two sides}.
When that’s complete, turn the pom pom maker around, and keep going on the opposite side.
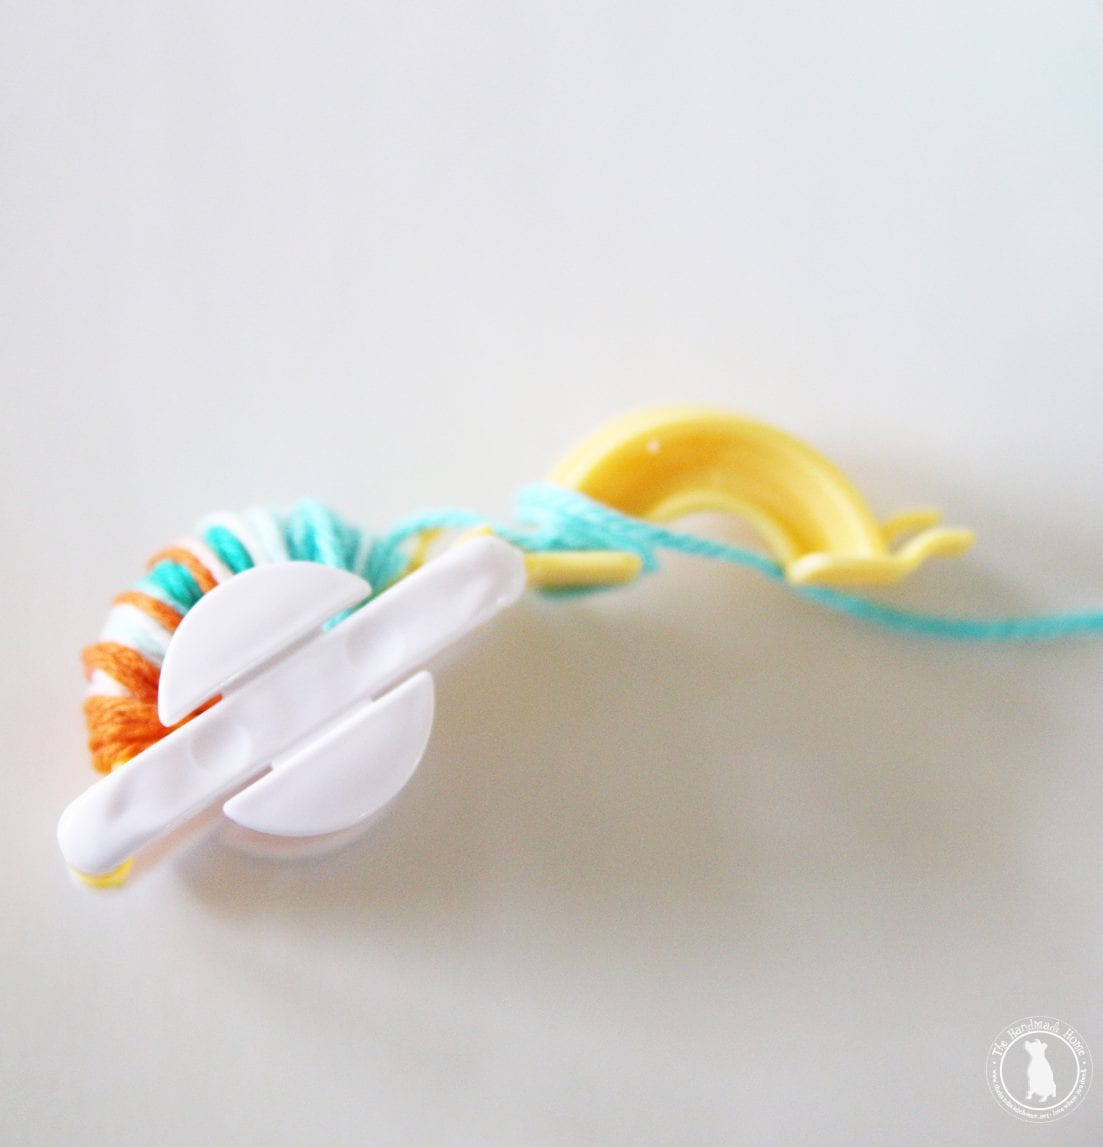
When it’s wrapped on both sides, close the C-shape back up on both sides, and make sure it’s secure.
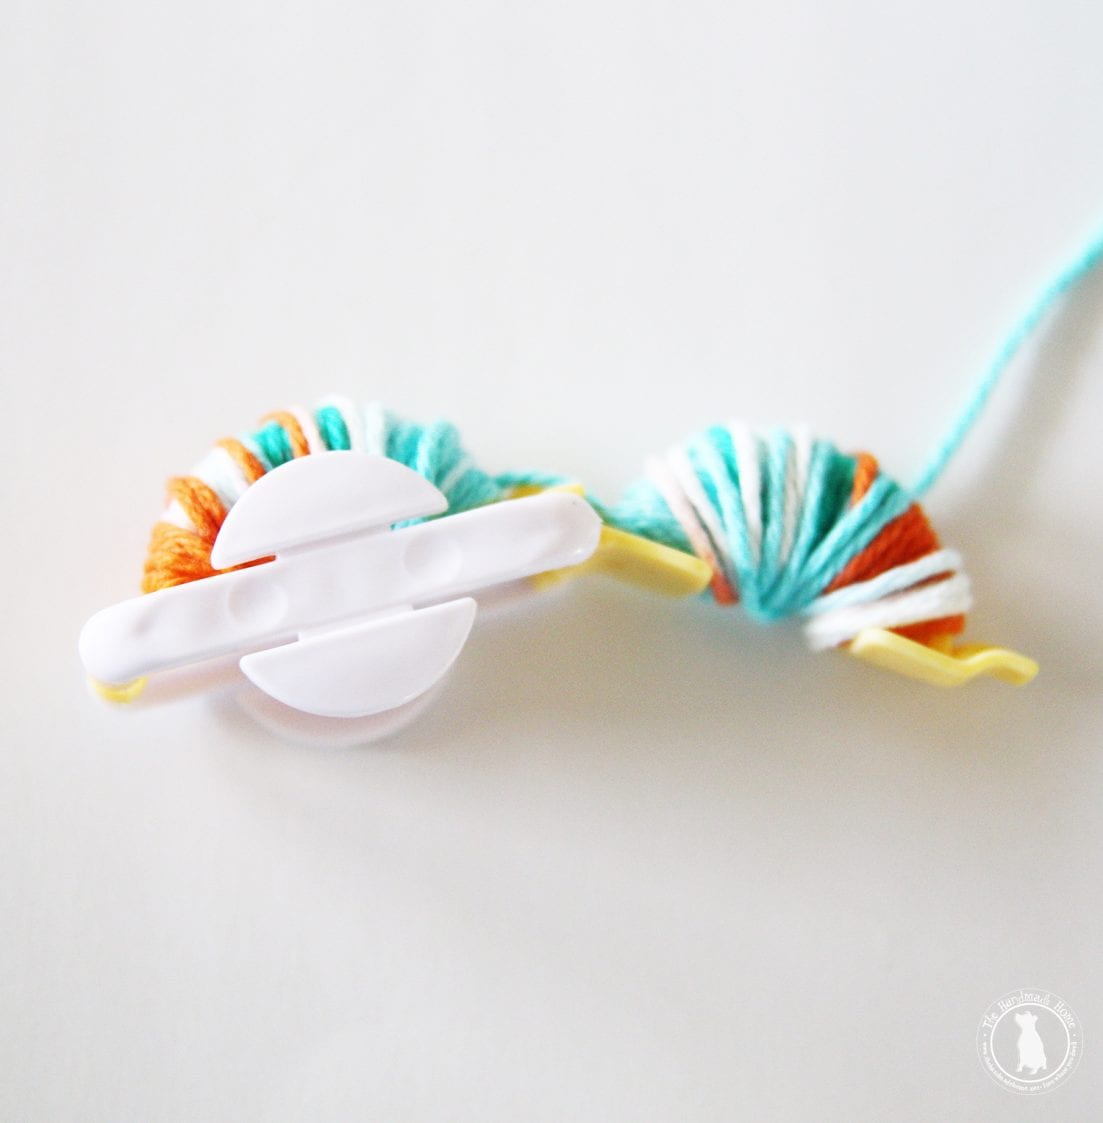
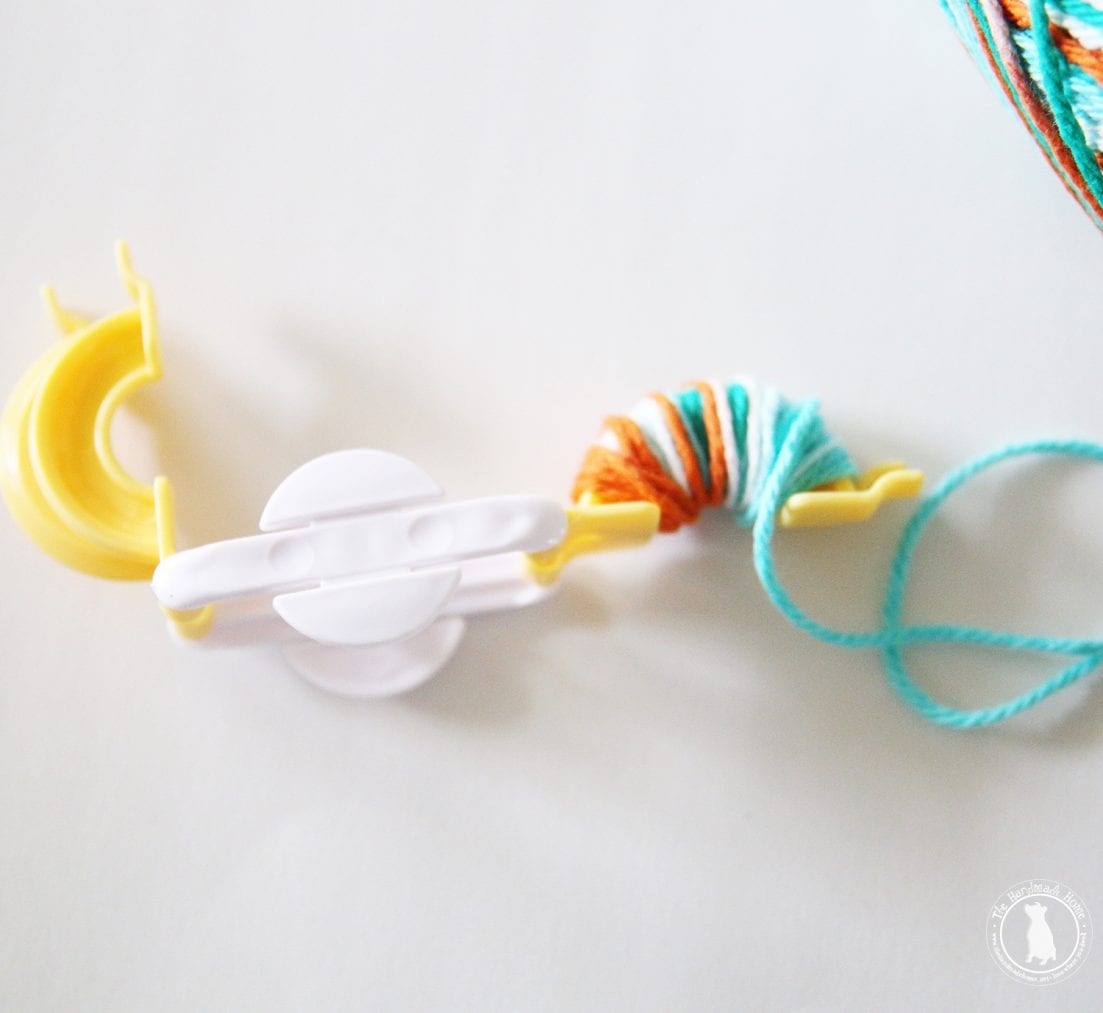
Following the C-shape on the circle, gently cut it lose, so that it looks like below.
While it’s still together, take an extra piece of yarn, and tie it. This will be what secures your pom pom.

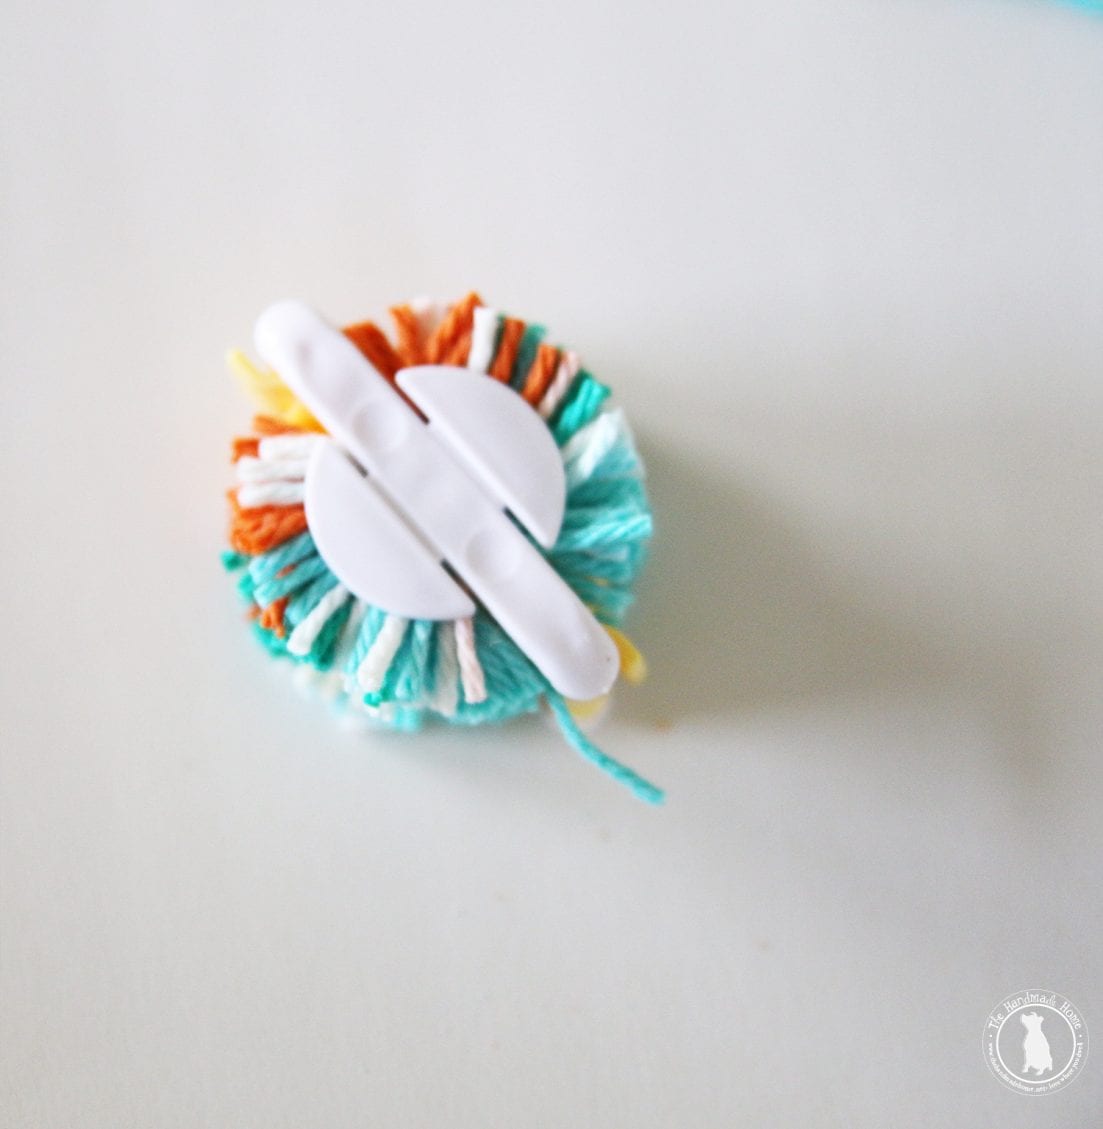
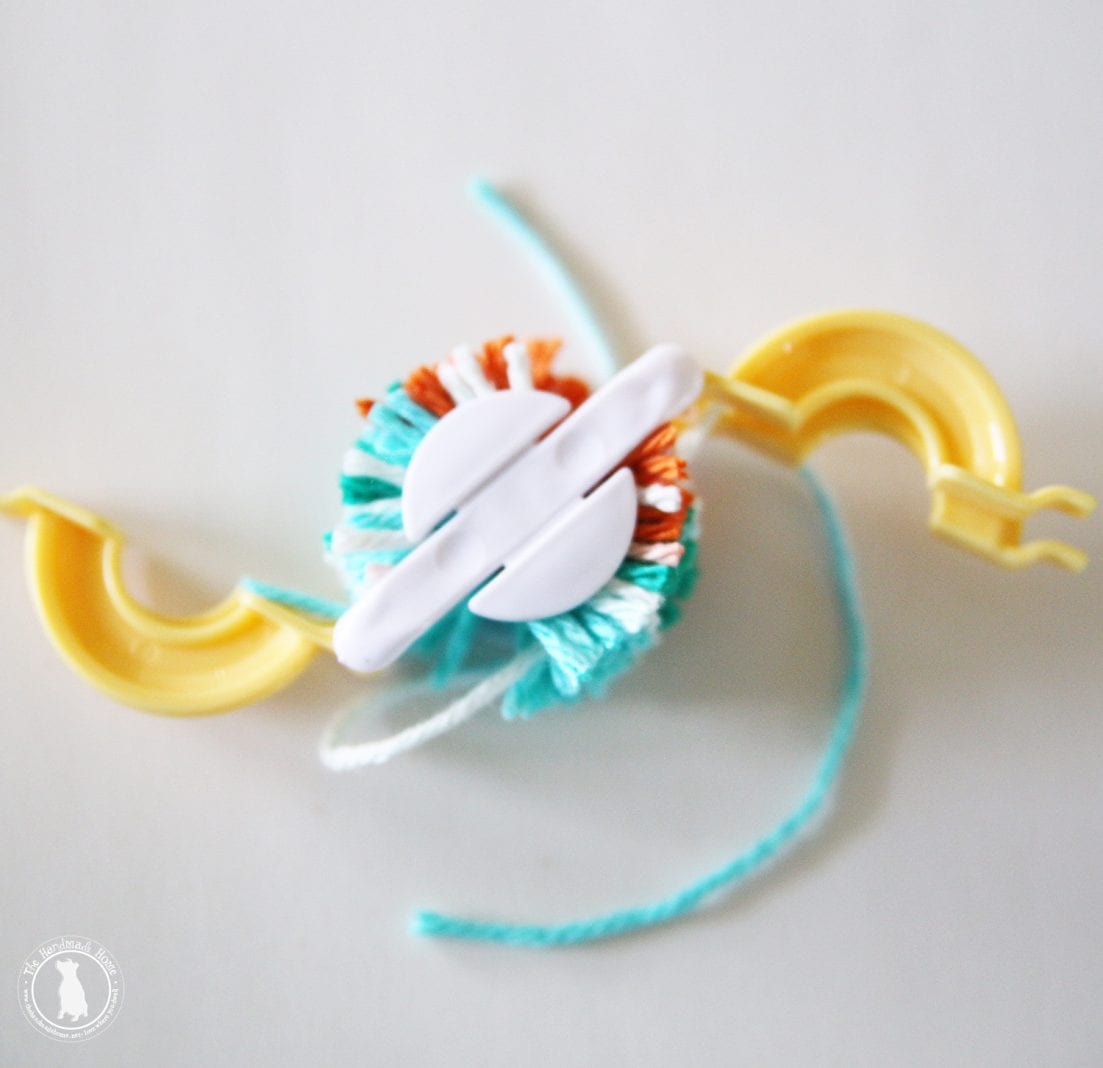
Open the hinges back up, and it should look like this. Then, pull it apart from the center part, and you’ll have your pom pom!
If you purchase the set, it comes with instructions on the back. I just thought it would be easier to show them in photography here, too, since that can sometimes be a little confusing. Note: You can also make poms without the pom pom maker. I’ve done it both ways, and like this one better since it’s easier to maneuver.
Check out our other instructions here.
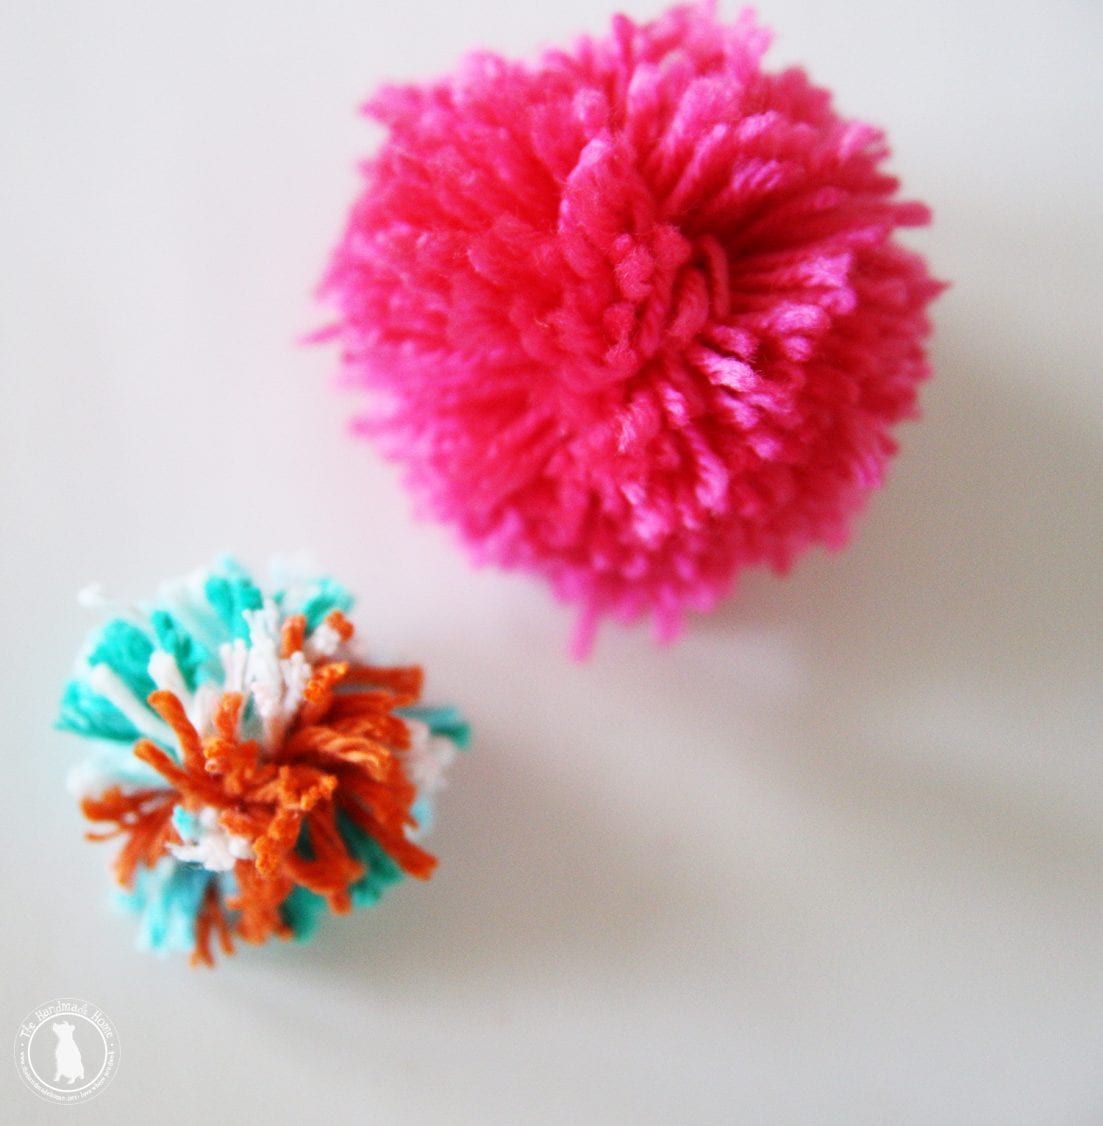
Tada! You have your pom poms and you’re ready to go. So close to finishing up your pom pom monogram letter.
Adding them to the letter
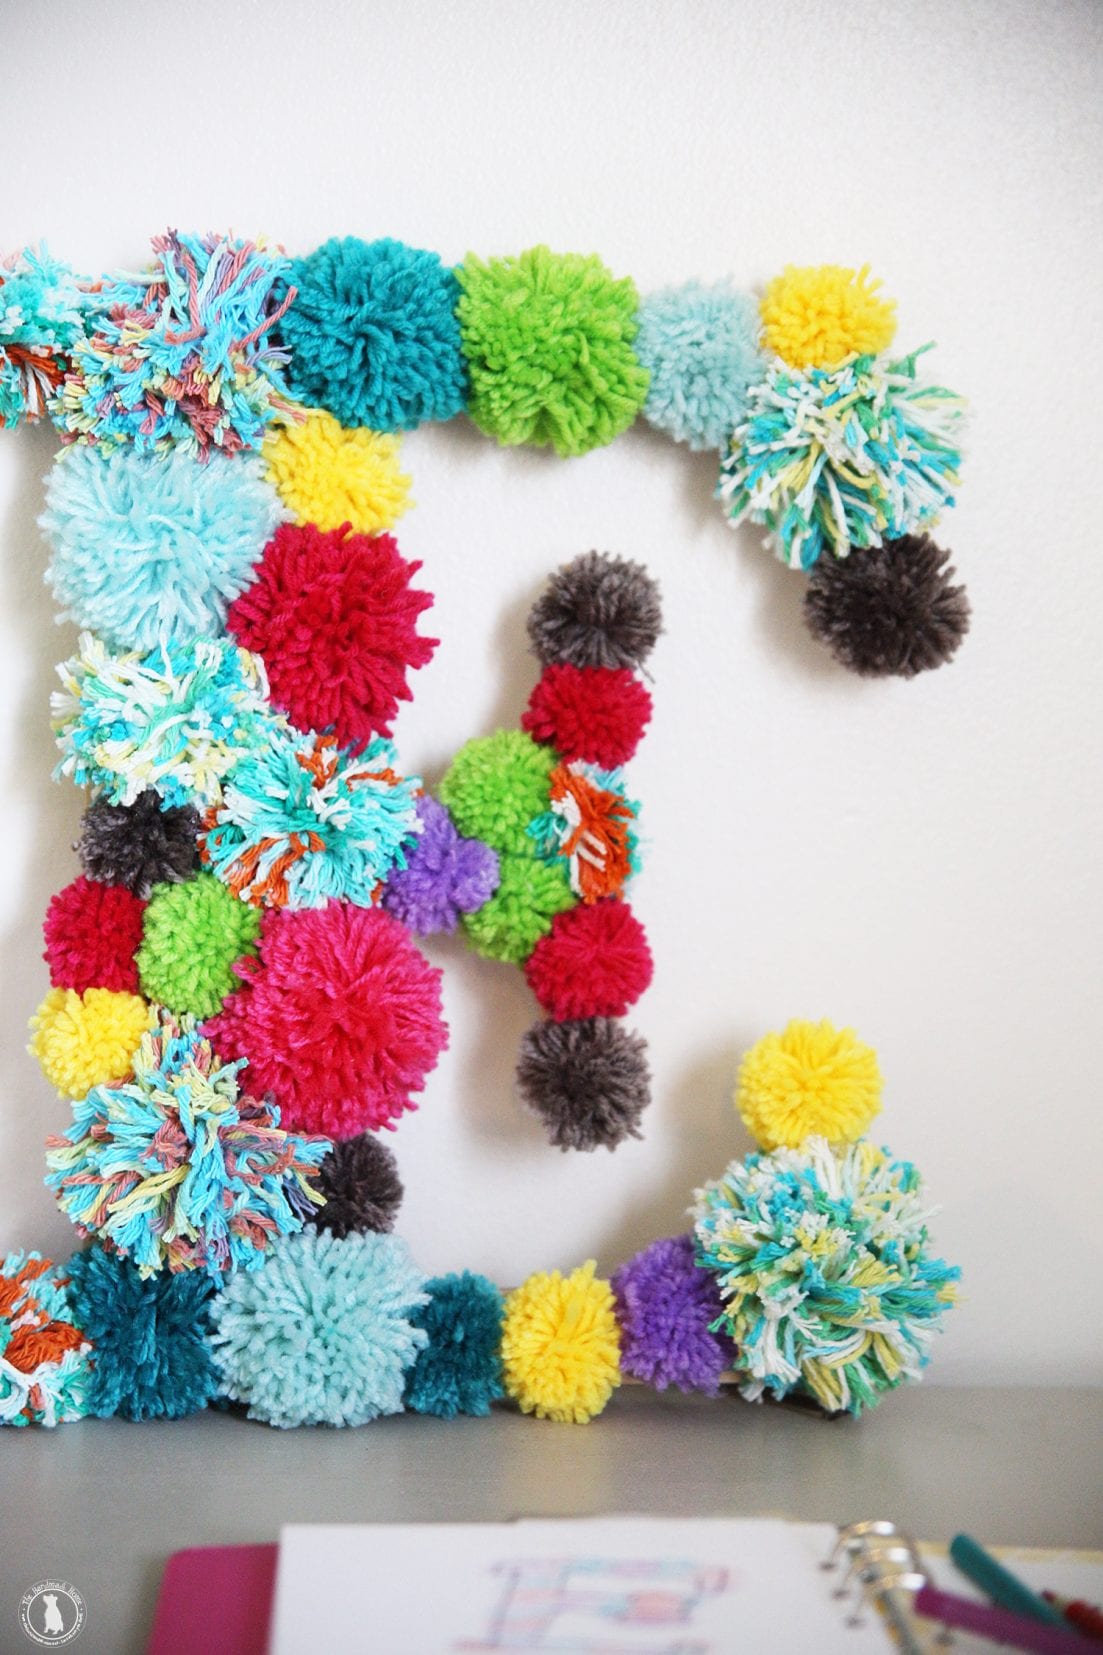
I just laid out our letter with Emerson, and we made the pom poms, positioning them as we went. We even tried distributing the colors so that it had a nice balanced feeling when it’s done. That way, we knew what kind to make.
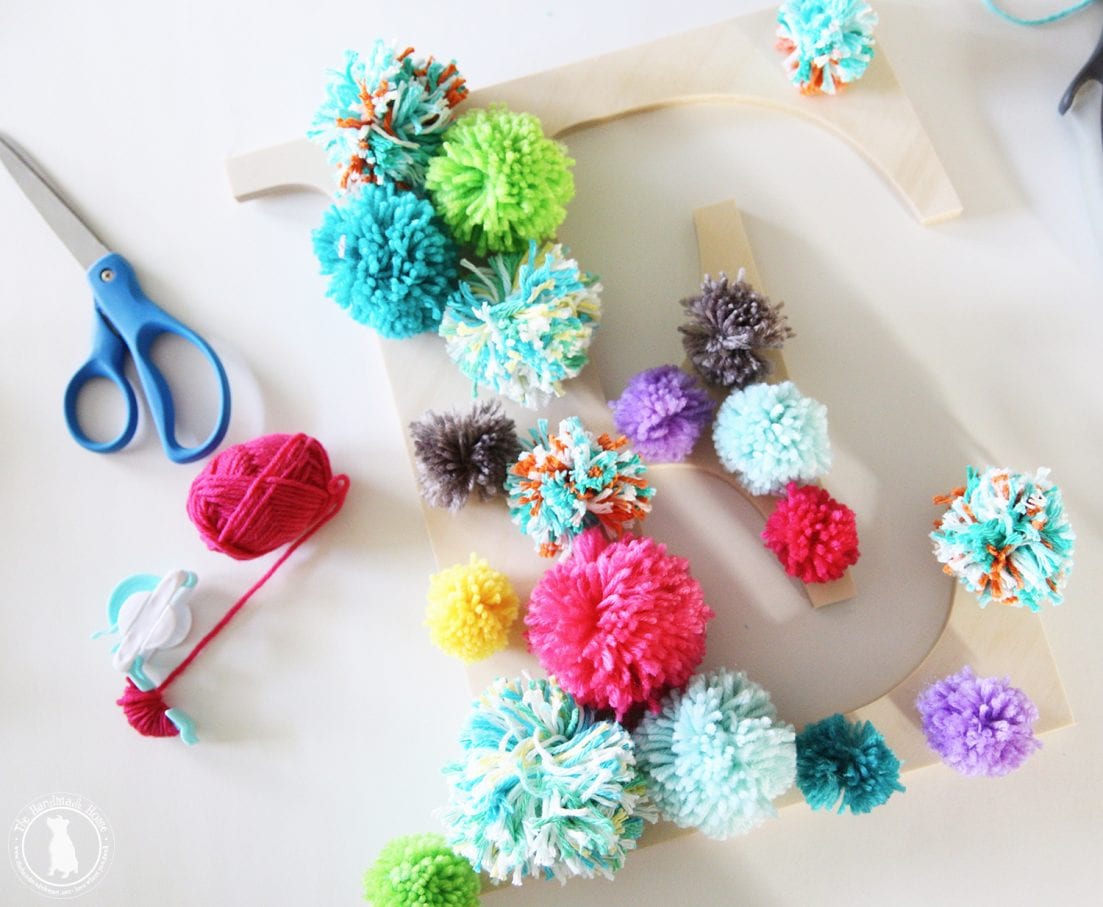
Heating up your glue gun {be careful if little fingers are involved} you can position each pom pom when you’re ready!
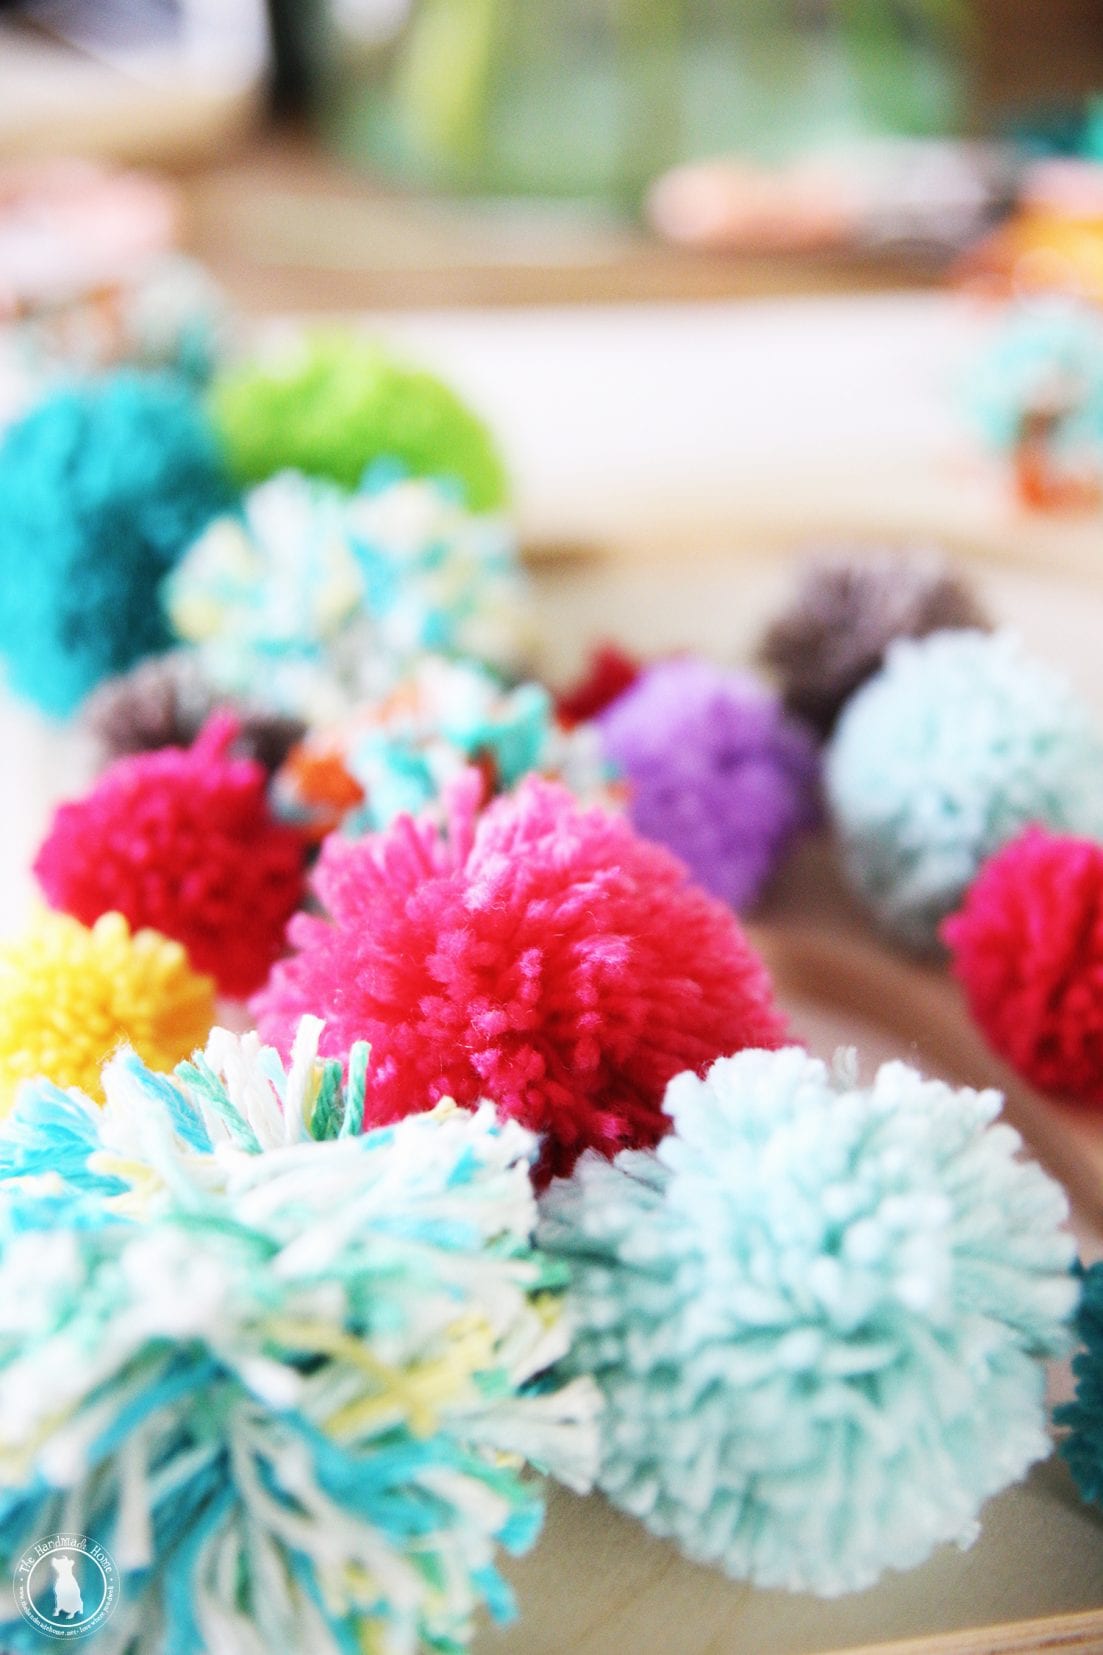
And we were all finished!
That’s a big E with a lot of style.
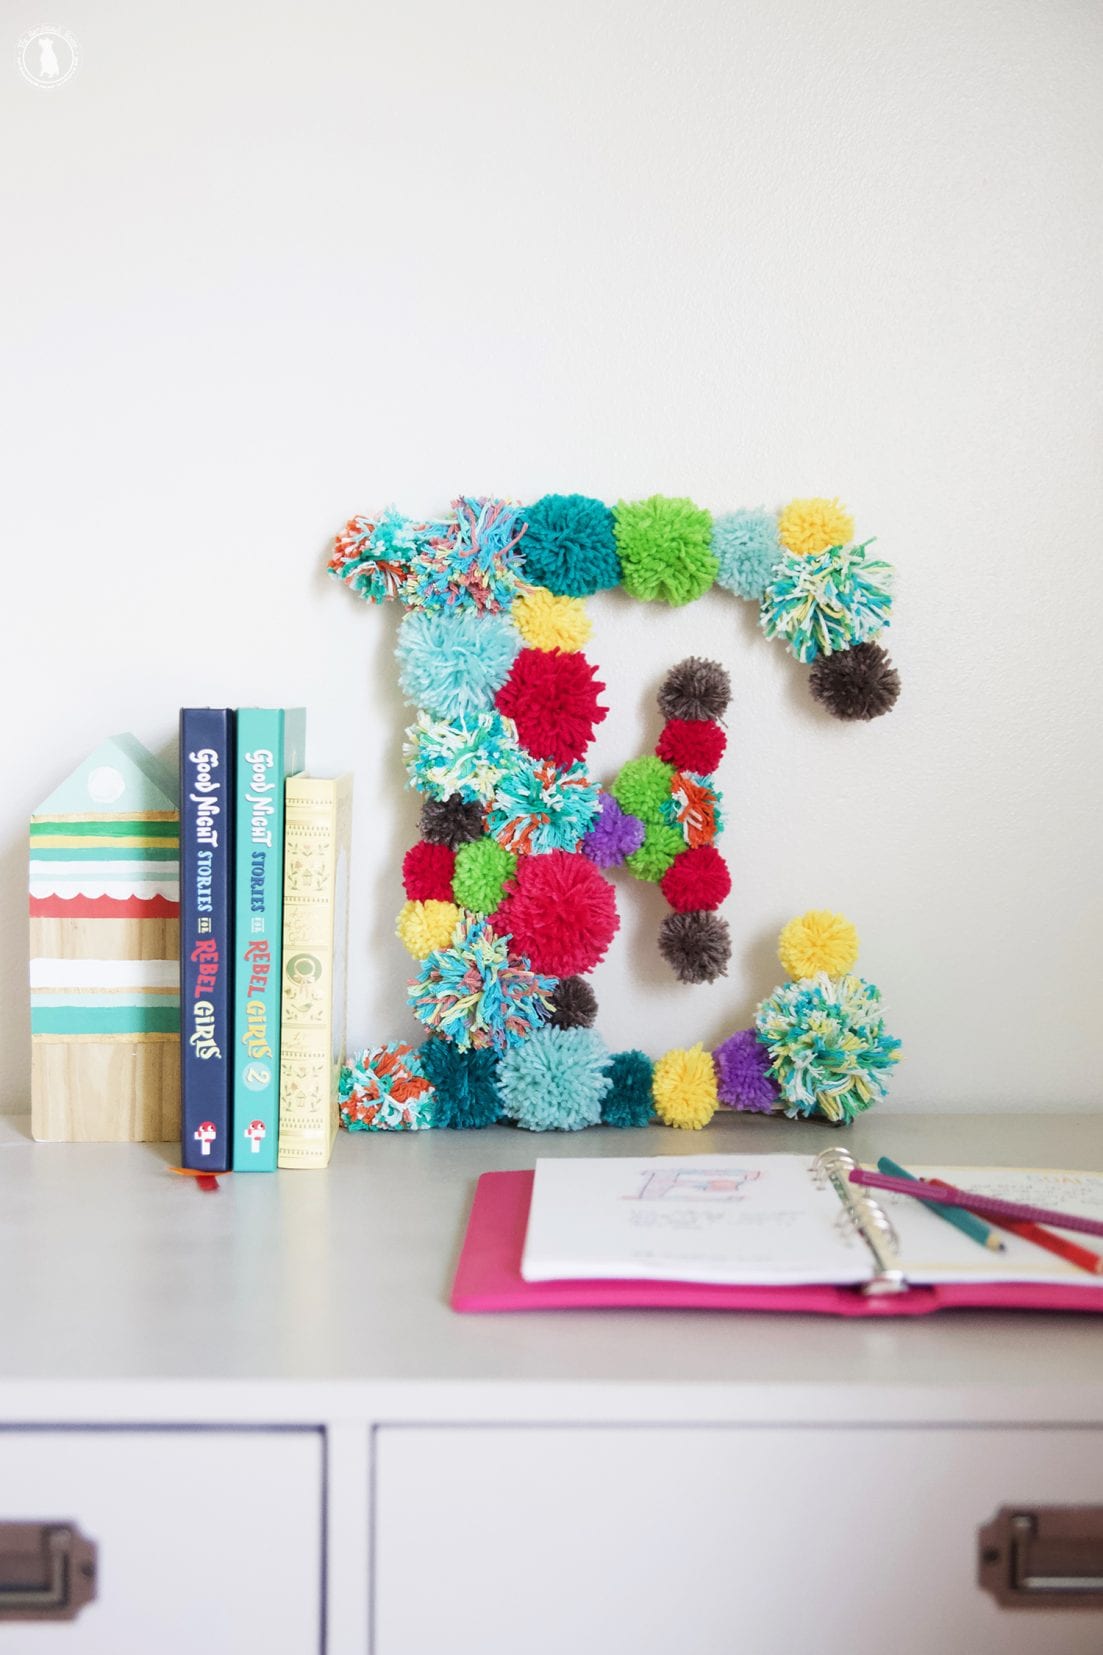
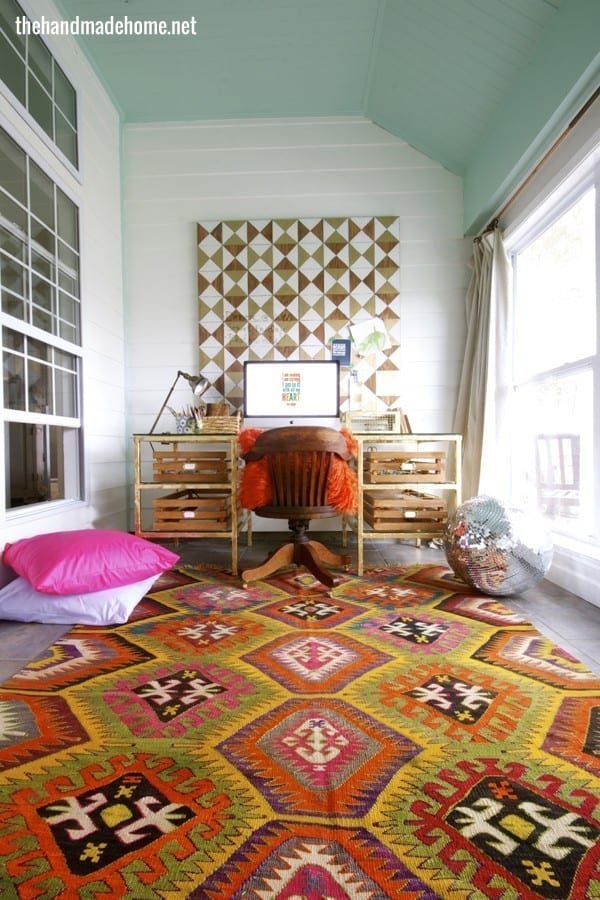
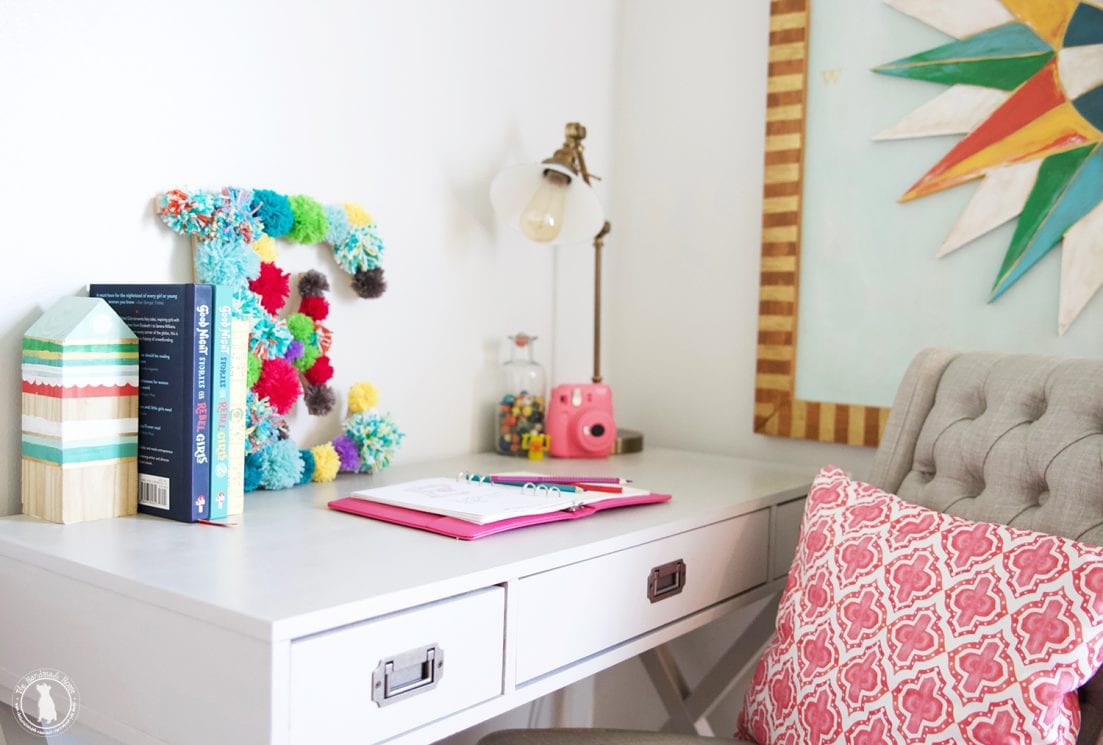
She loves the bright colors and immediately put her big monogram upstairs on her desk.
It brings in bright colors with lots of fun.
We hope you enjoyed our little pom pom monogram letter project today.
As always, let us know if you have any questions! It’s such a fun project to do with your kiddos.
Have an inspired day!