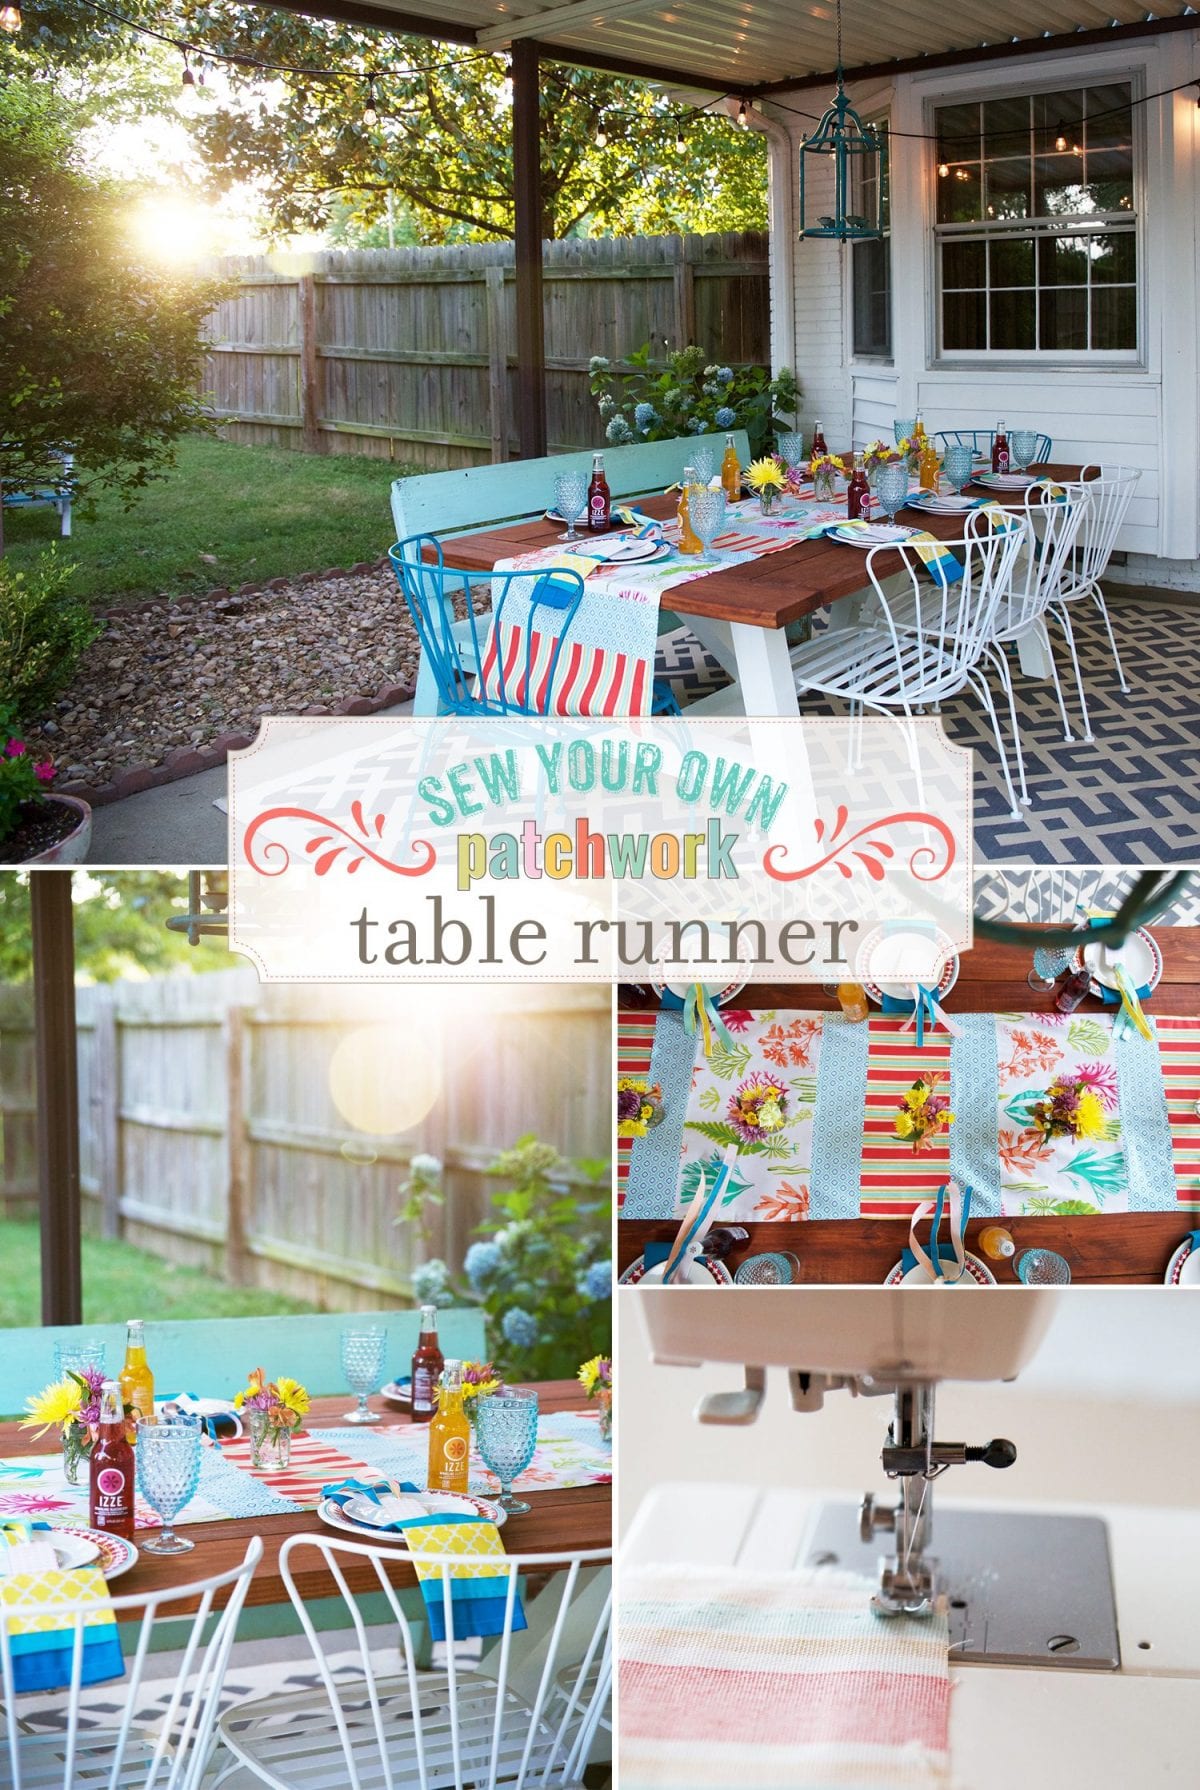
how to sew your own patchwork table runner
Last week, we were more than thrilled to announce our partnership/challenge with Waverly Inspirations.
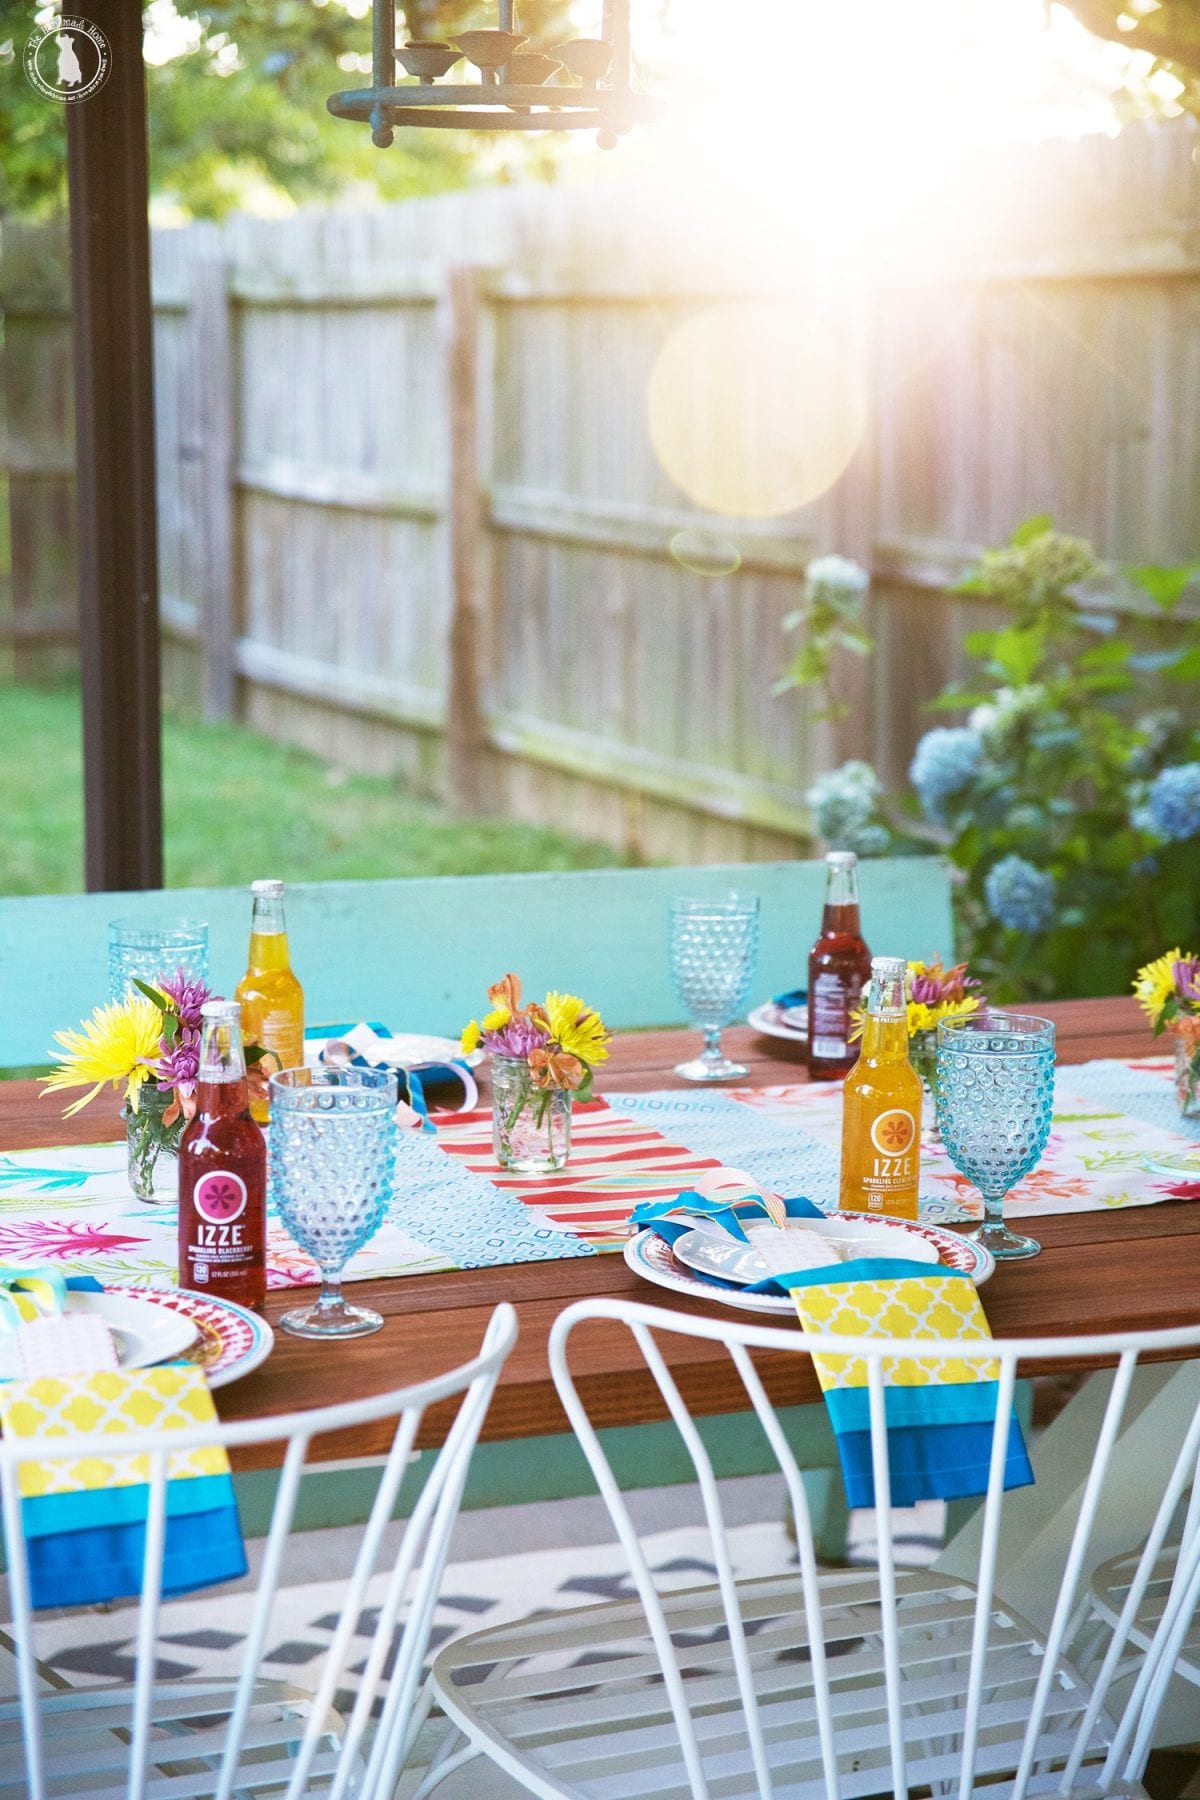
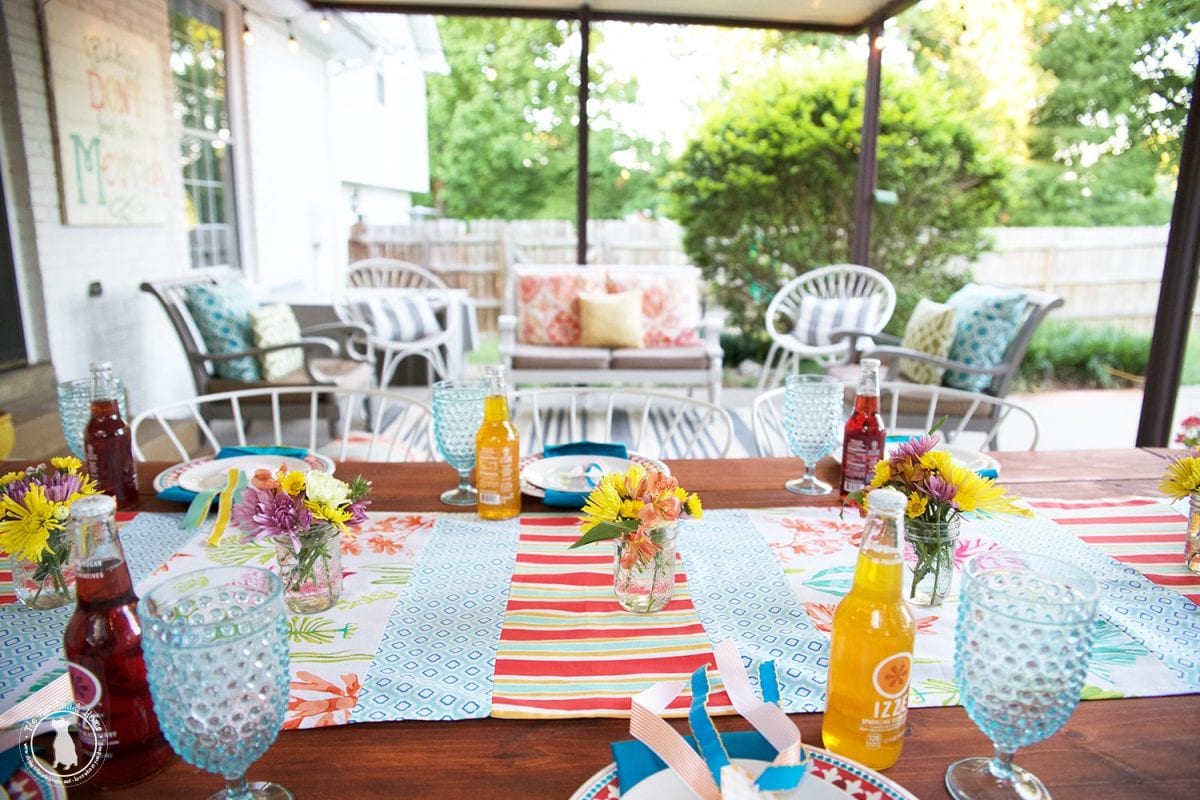
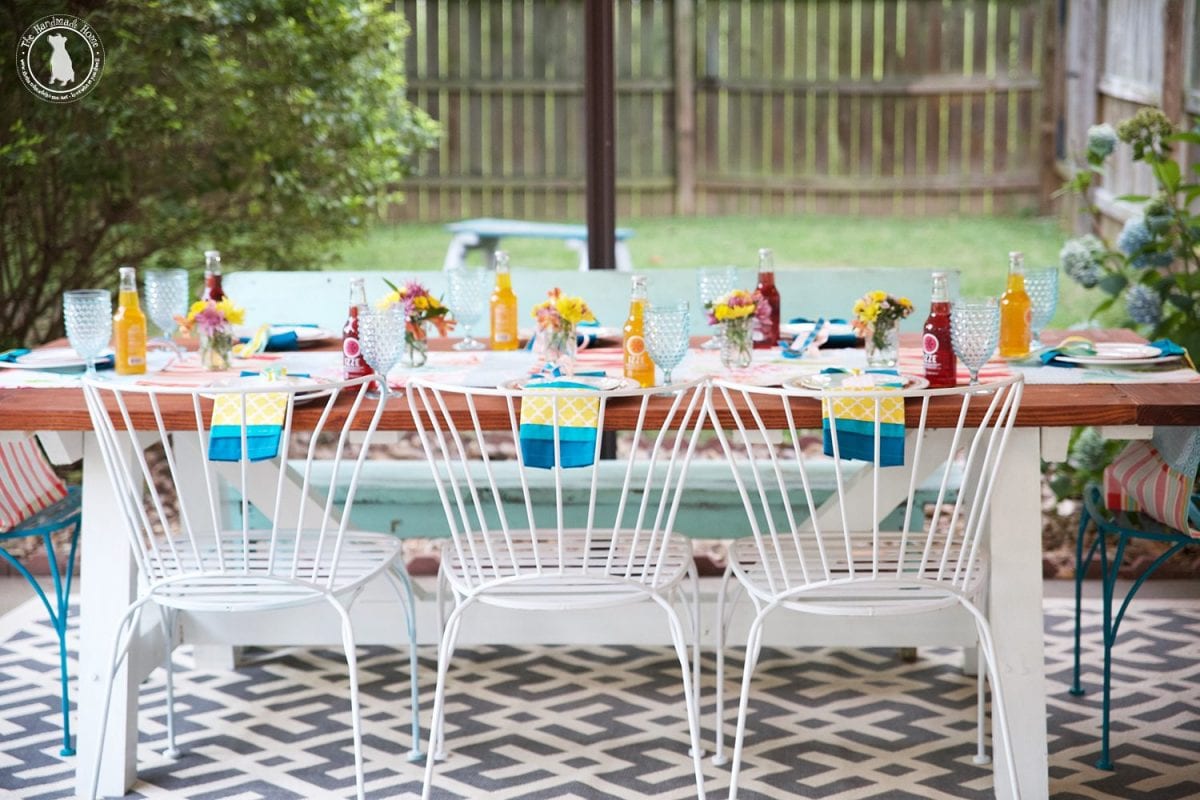
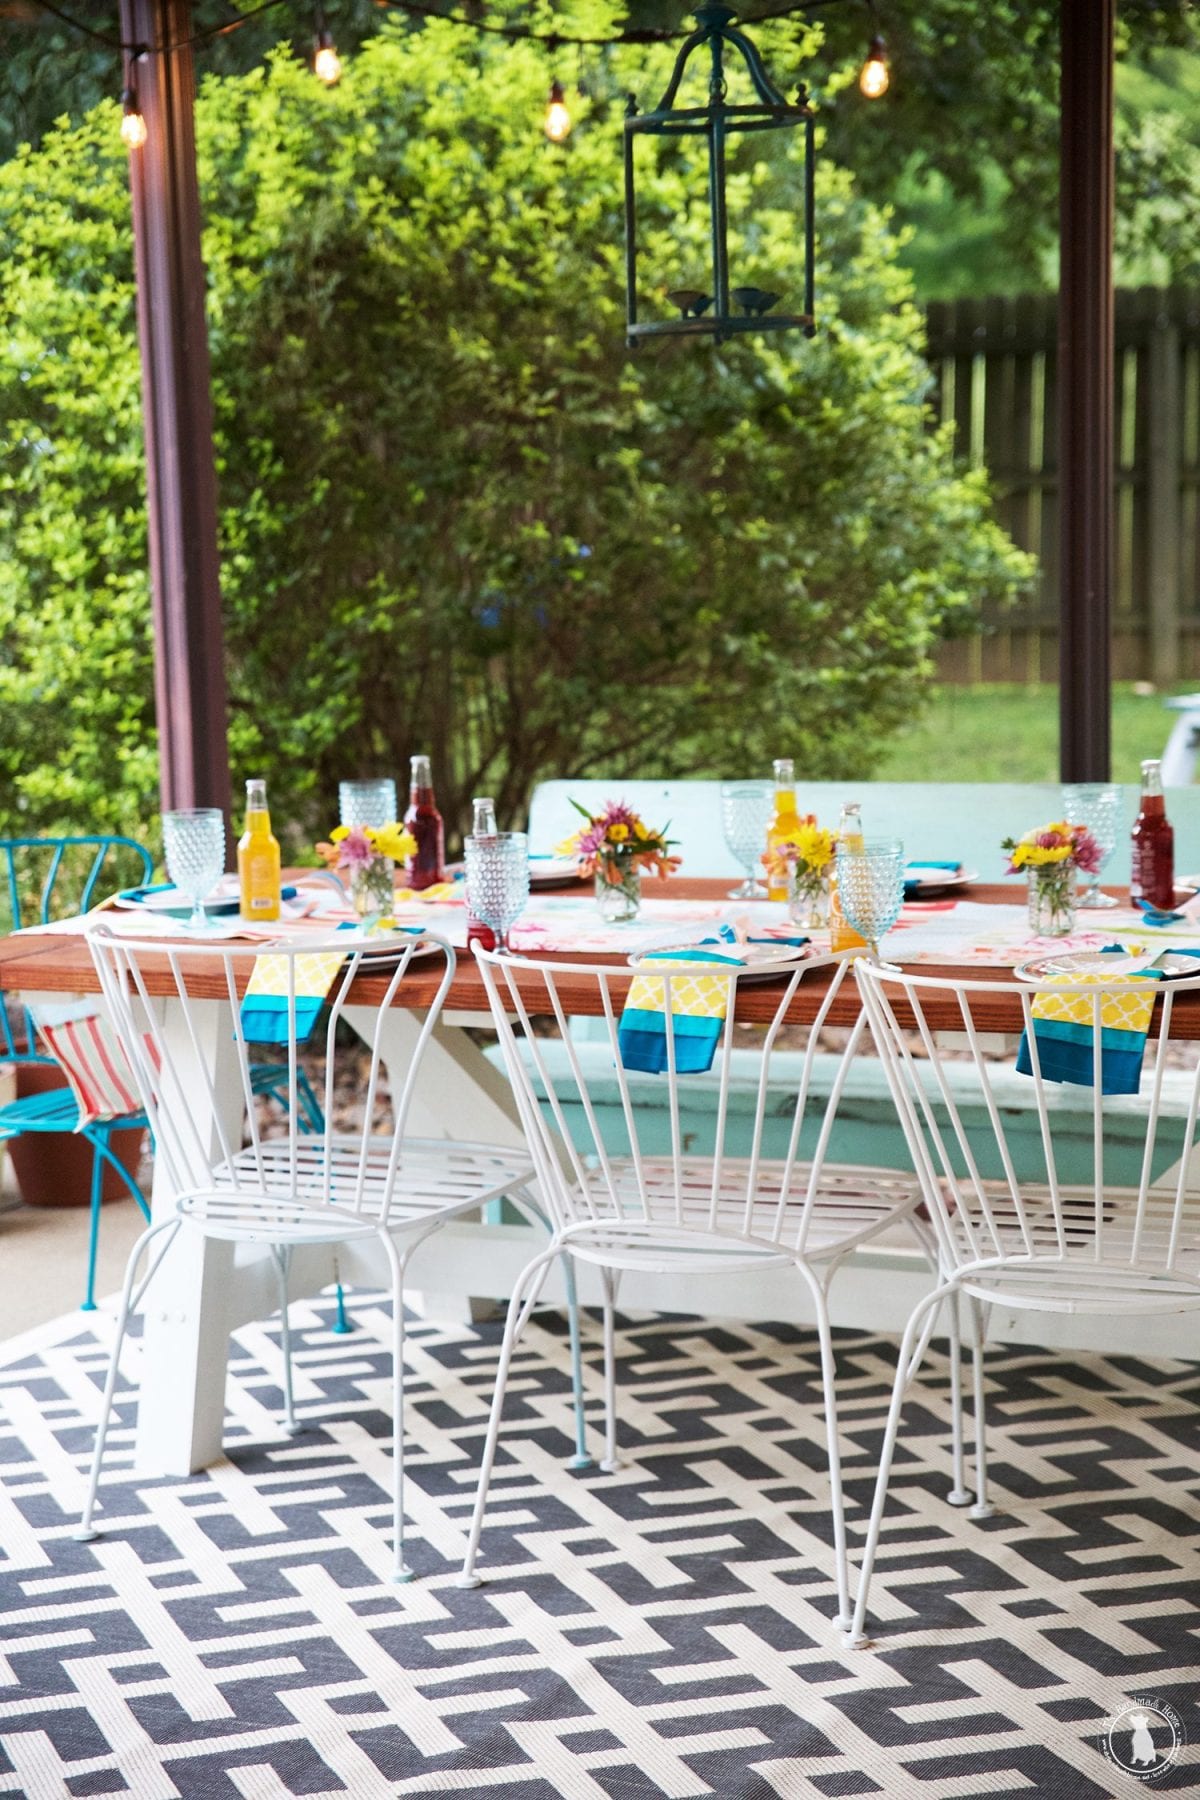
We took that little box full of goodies and a challenge to create something with it as a nod to summer fun, and decided to turn it into dining alfresco for our back porch area. Key for entertaining during the summer months, with everything we have going on inside, for sure!
The best part? Is that everything you see at this table is from Walmart. Yes, the fabric line, and everything. Who knew, right?

I’m a bit of a self-taught {read: reluctant} seamstress – seamstress would be stretching the description for sure, but I enjoy creating things for our home, from fabrics. It’s probably one of the most valuable and rewarding things you can do for your spaces.
I think one of the keys to doing it is thinking about the end result, and embracing the fact that it doesn’t have to be perfect. I don’t necessarily enjoy sewing, but I adore the end product. There’s just something pretty empowering about looking back and saying to yourself, “I figured out how to make that”.
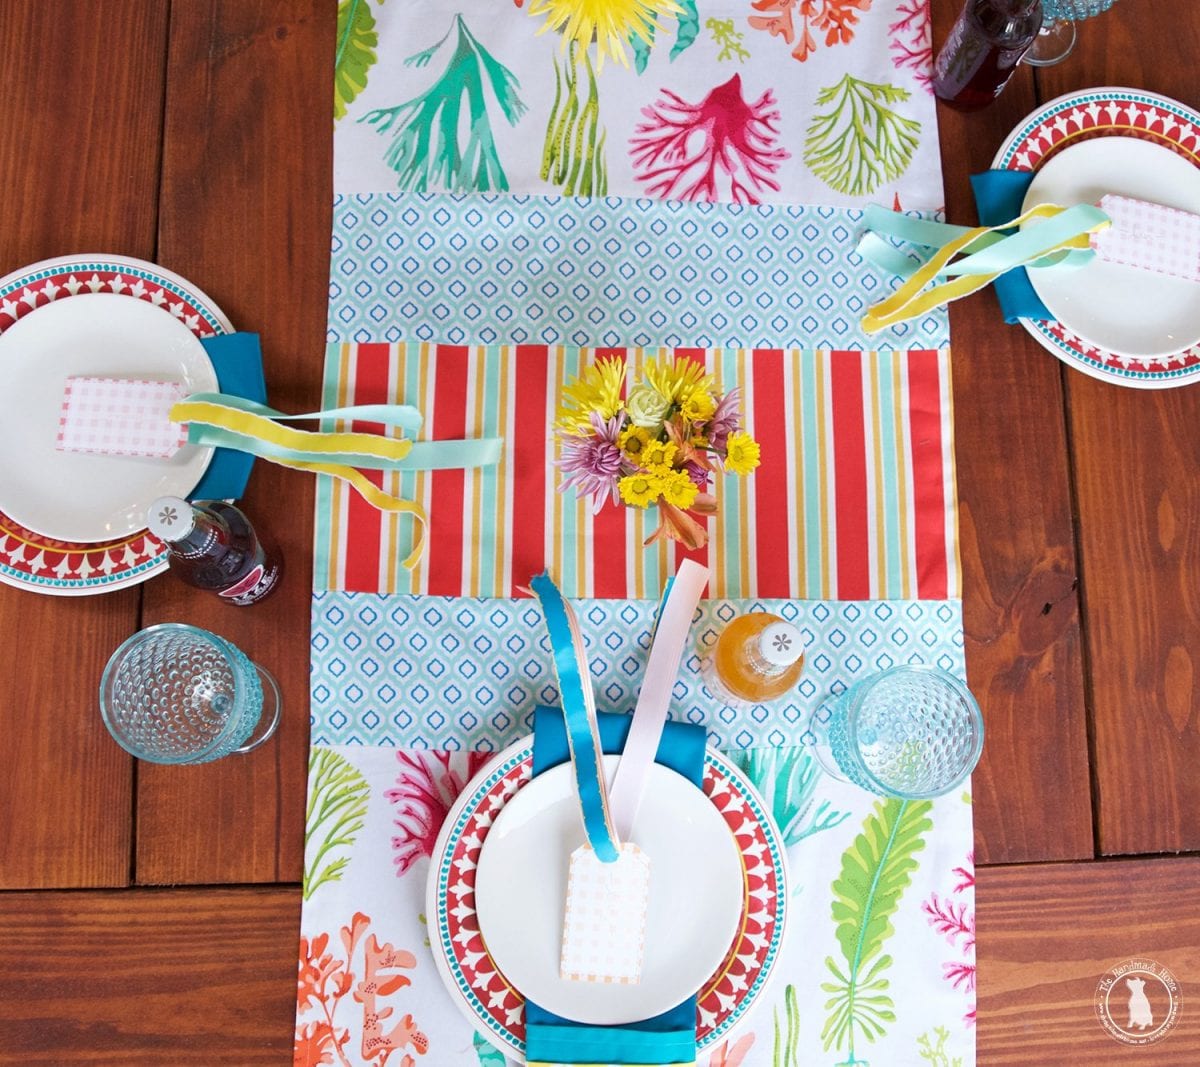
So, I made a patchwork table runner, and some handmade cloth napkins from what they sent. It’s a great way to bring a hit of major color to your tablescapes, and fun to your entertaining. It’s also fairly simple. Here’s how we did it:
• Measure
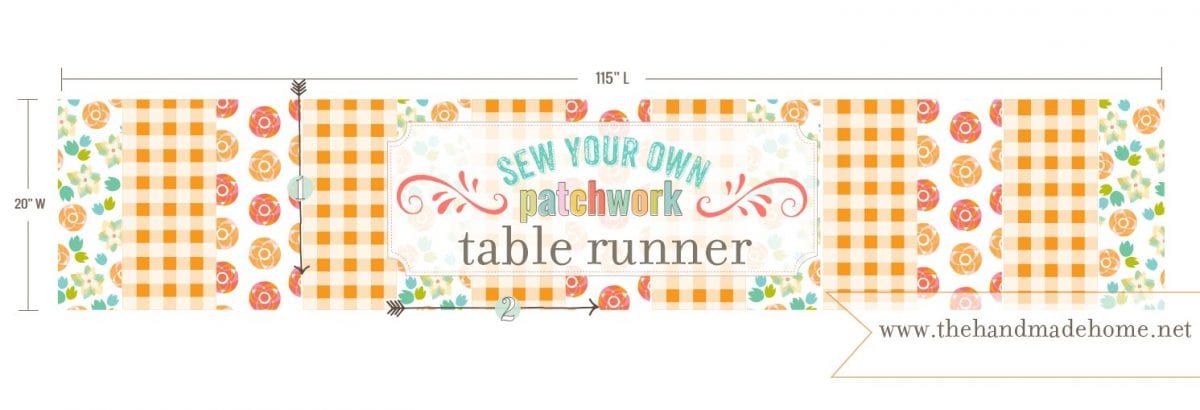
Decide which length and width you’d like your table runner to be. We wanted to use ours on our massive outdoor dining table, so I measured ours to {roughly} 115″L x 20″ W. Your runner doesn’t have to be your exact guesstimated number, but it helps to have an idea, so that you stay within the measurements you think would be good to use in your own home. It also ensures you have a nice pretty overlap on each end of the table.
• Plan
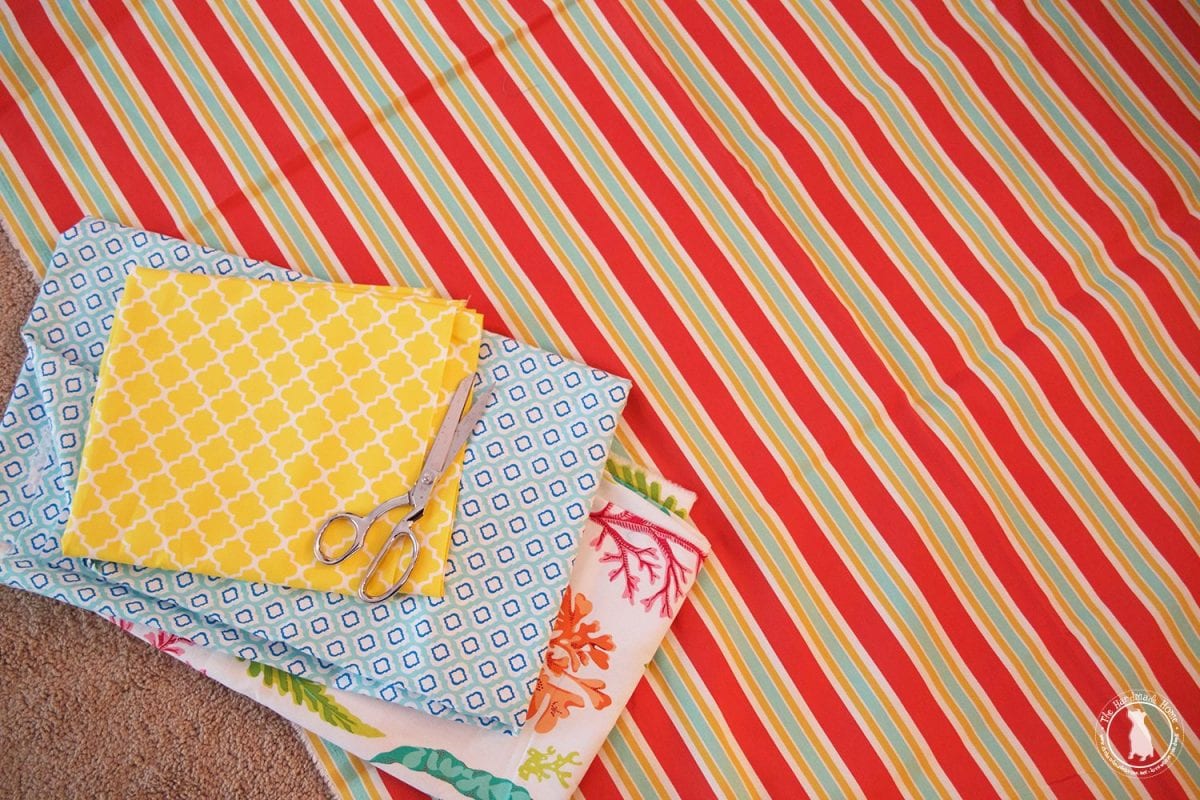
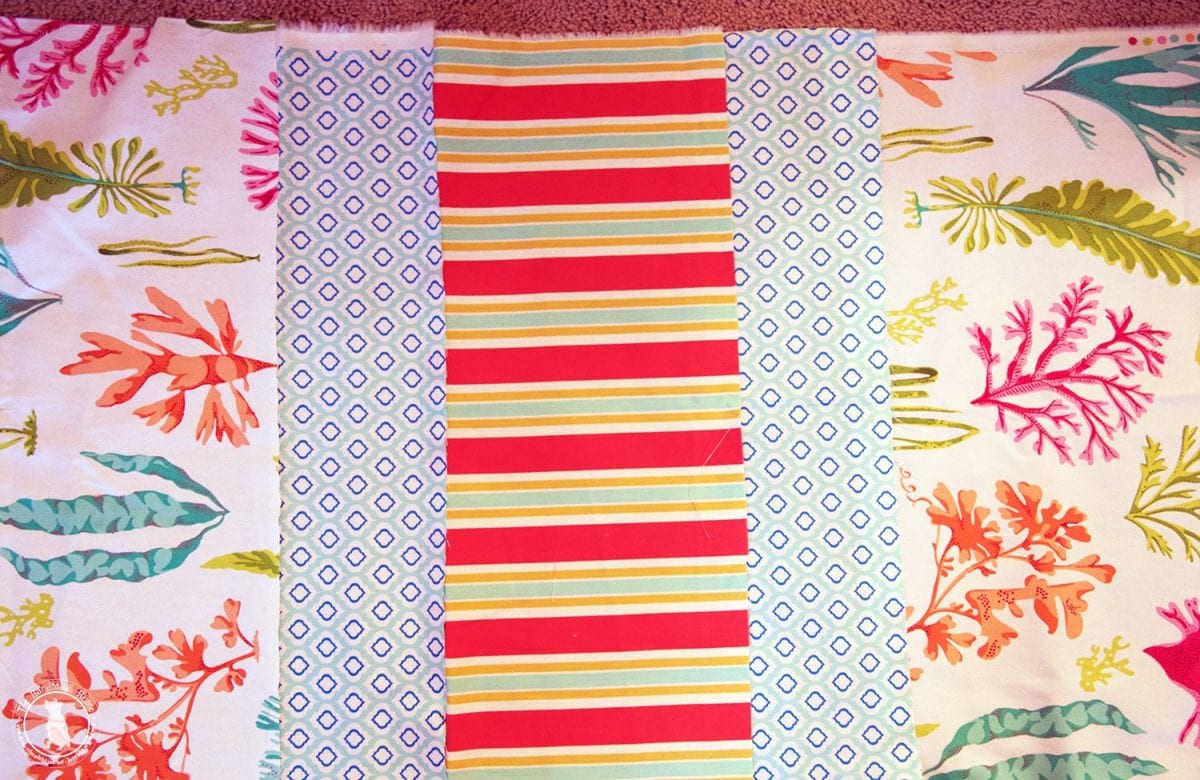
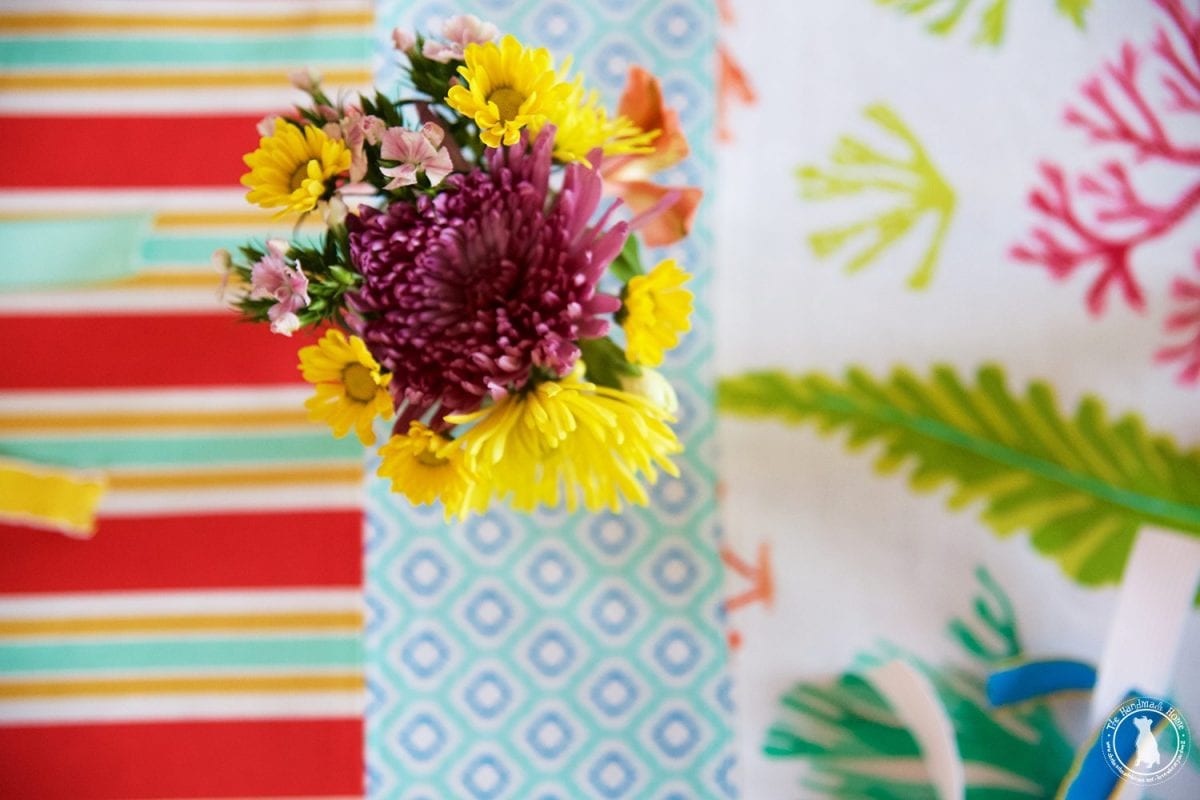
Next, play with your fabric combos. They sent us 6 different patterns, and I knew I wanted something bright and bold. So I took three different patterns, and literally laid them all out to see which ones looked the best together.
Then I decided, proportionally, what would work best.
Planning ahead is always the best strategy when taking on a sewing project. That way you’re sure you have enough of the length and patterns needed.
Hint: if you’re new to this game, measuring and cutting is always the most tedious part.
At least, until your bobbin runs out. ;D
• Cut to size
Once I decided which pattern would look best together, and what repeat I wanted, I cut them to size based on my own measurements. Again, based on your own design, this will be different for everyone. But variance in widths with the strips of fabric next to each other is always a good thing when it comes to creating interest in your design.
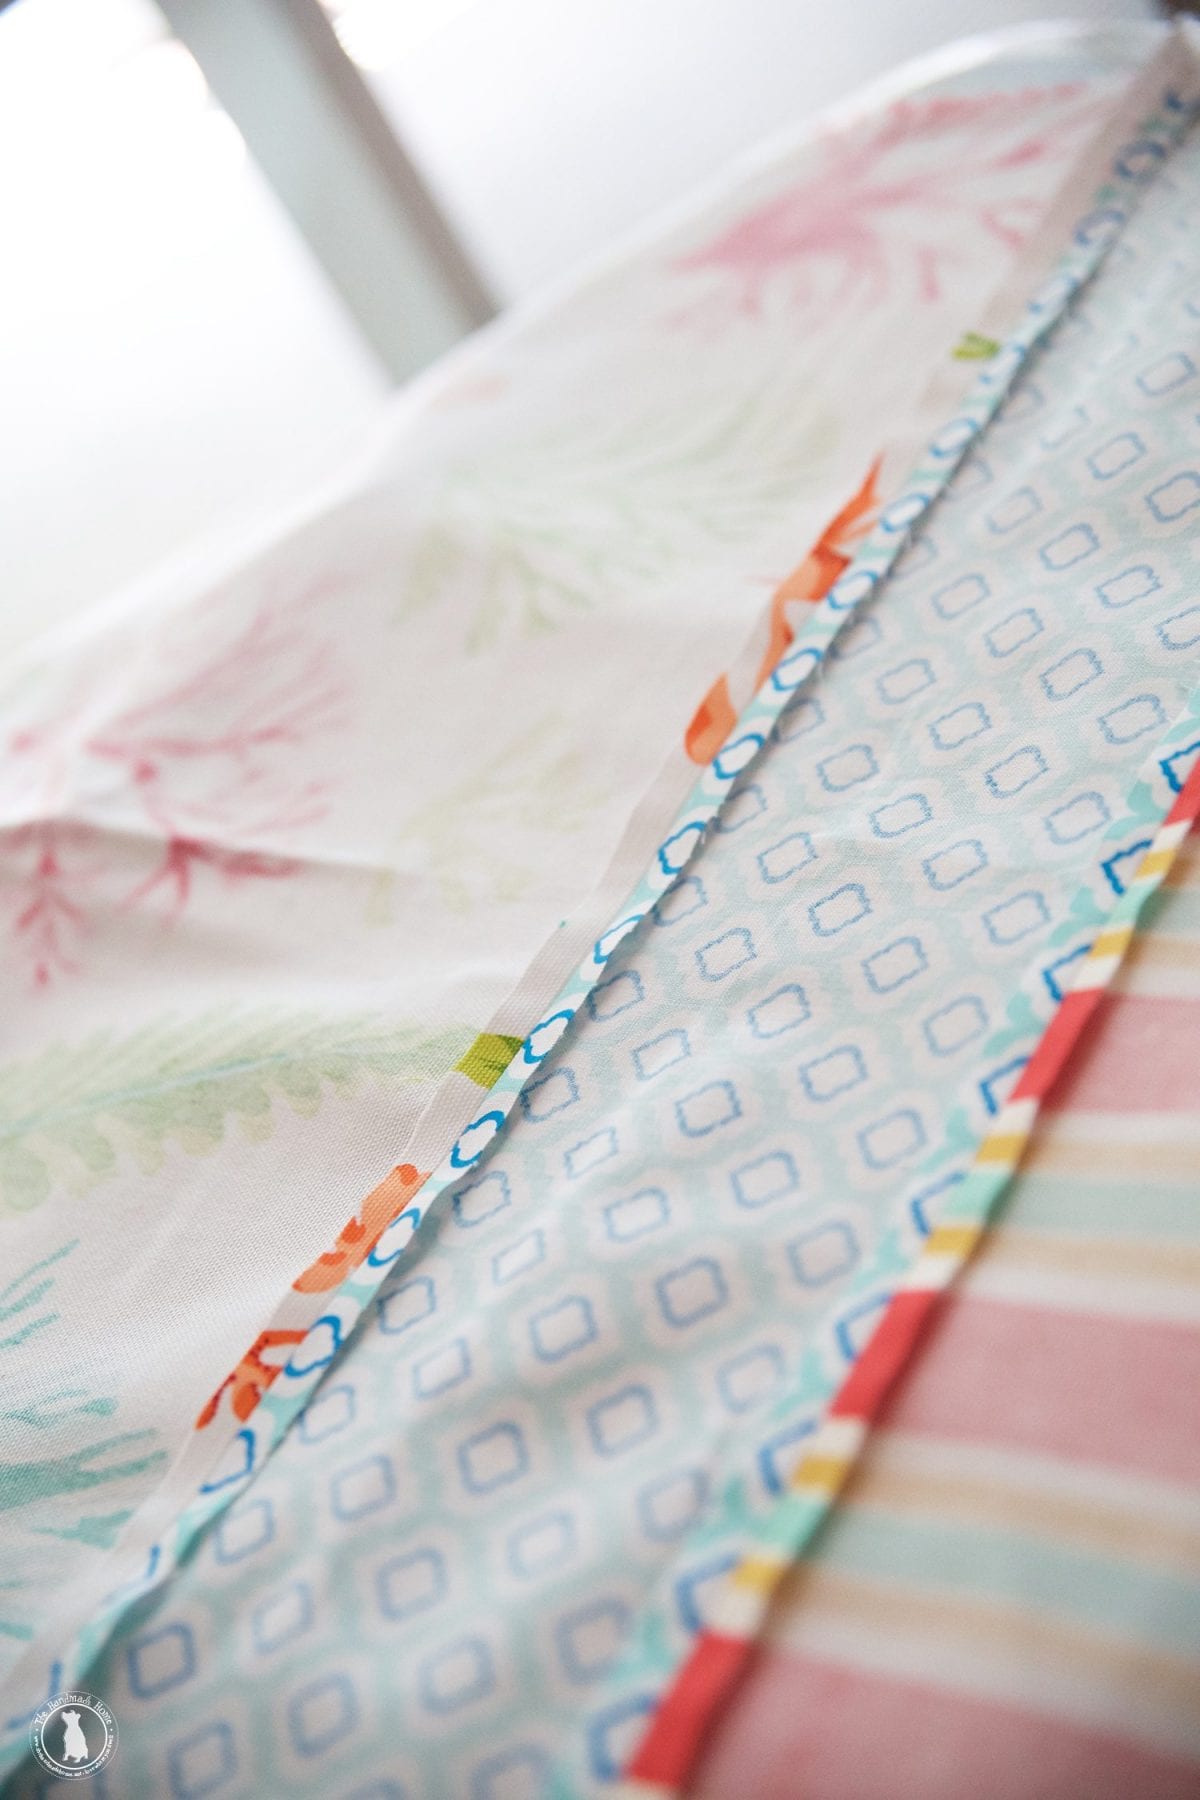
Tip: Because this was a patchwork project, to stay on track I laid everything out first. It’s always good to keep up with it all like this, so you’re not ripping seams, later.
Also, see those seaweed patterns? Since they were the first pattern that faced either the same or different directions, I planned ahead to make sure each little patch faced a different direction than the one next to it. This way, each seaweed pattern alternated which direction it faced. Just something to think about when planning out what you want to use, and how the overall look will present itself on the table. Again with planning ahead: If you want to alternate your patterns, make sure they are flipped and joined on the correct side when you sew your strip together. {More on that below.}
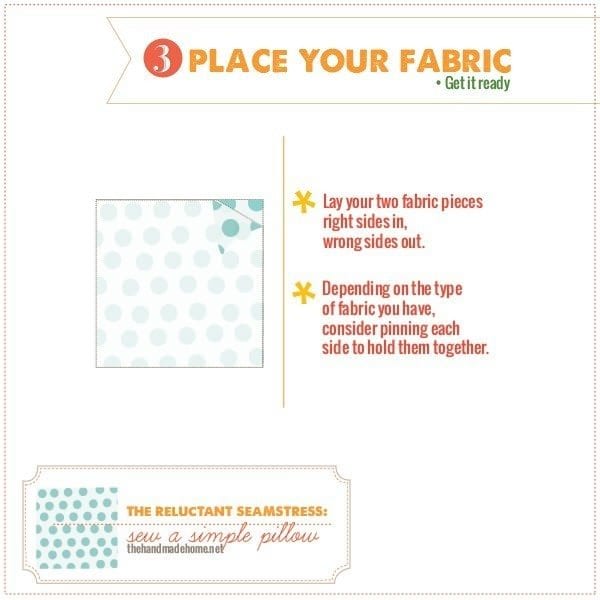
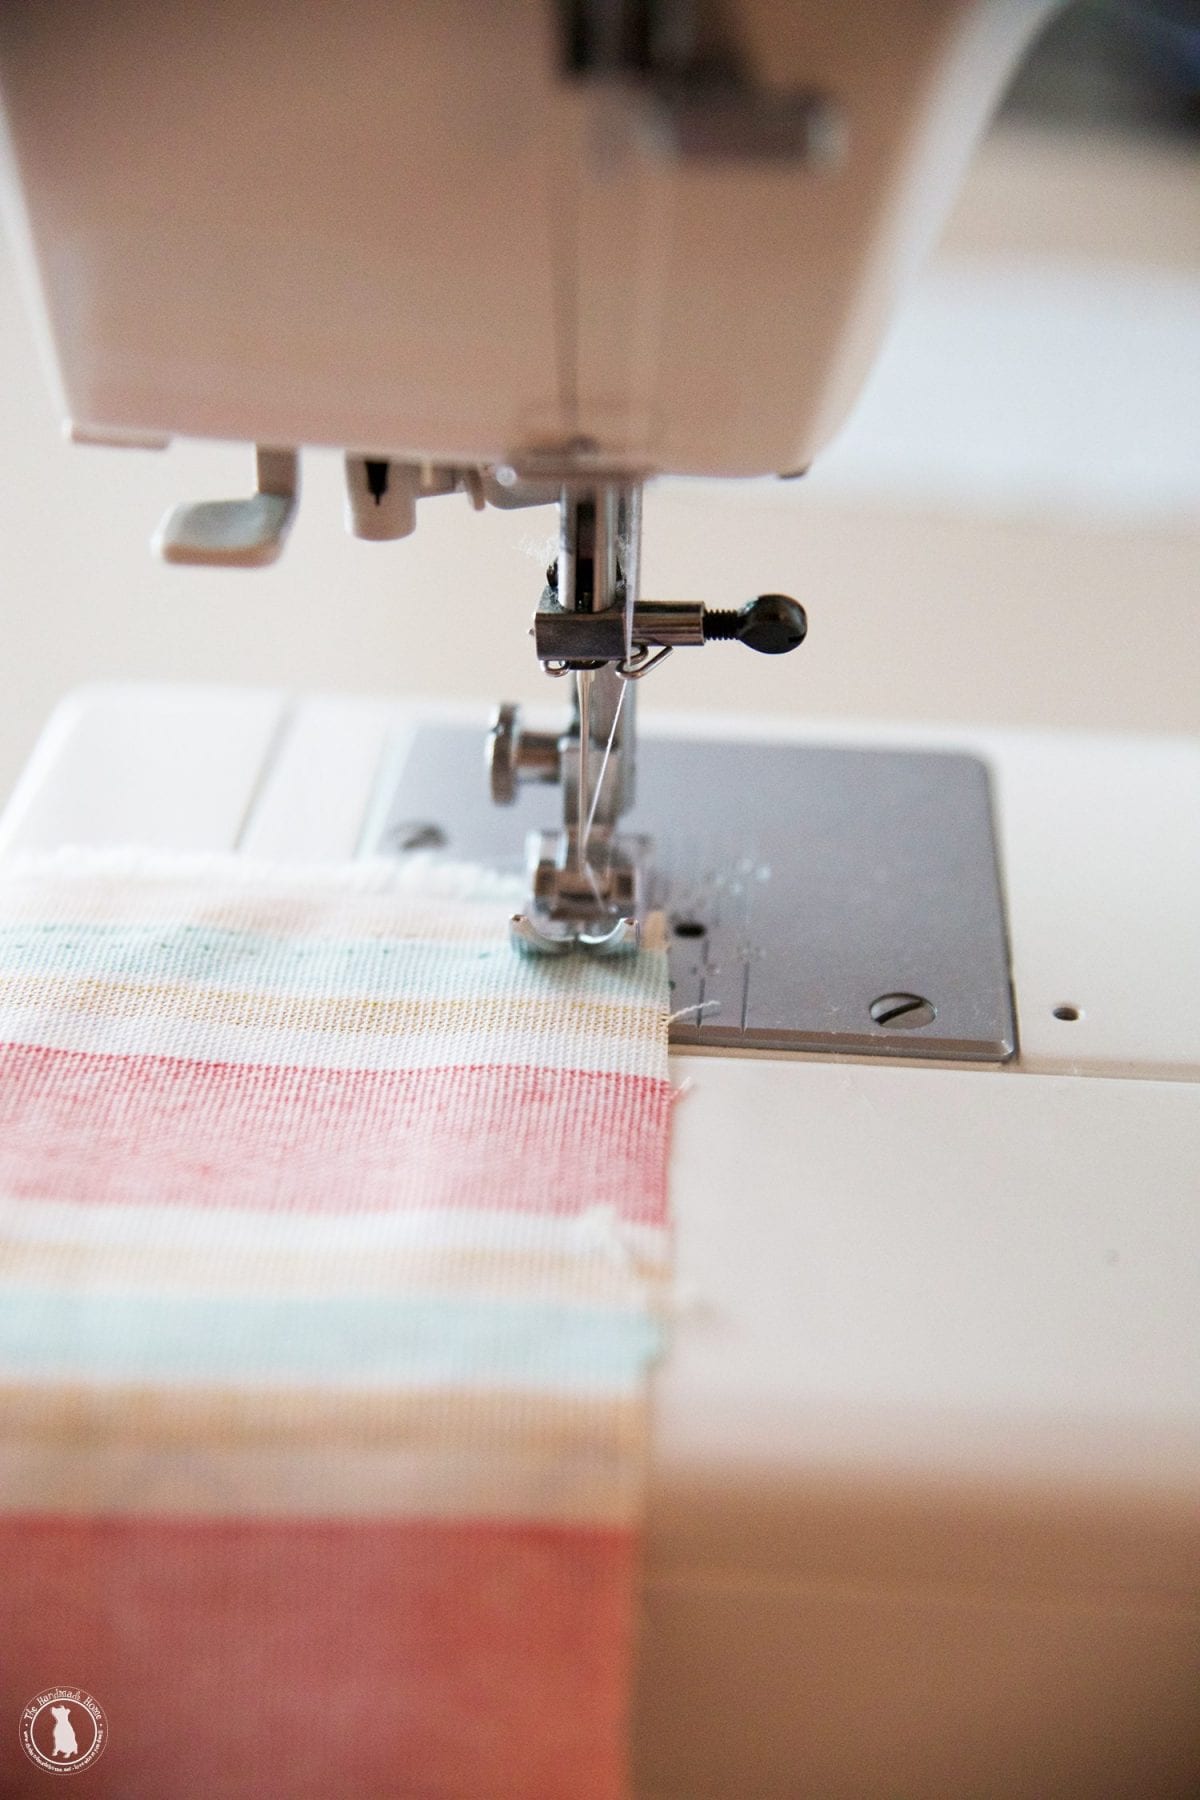
• Place the right sides, in. Wrong sides, out.
The next step, is a lot like sewing a pillow. Only with one side, instead of all four. Place your first two fabrics with the sides you want to show, together. In other words, place the right sides, in.
You can even get more of the basics, in this post how to sew a pillow, here if this step is a little confusing. But here’s a basic diagram to show what I’m talking about when I say the right sides, in.
Sew them together on one side the strips, and leave it.
Next, flip those two pieces back over, and iron the seams down for a straighter line.
Tip: Iron and Pin as you go. It helps those seams stay straighter, and you won’t regret it.
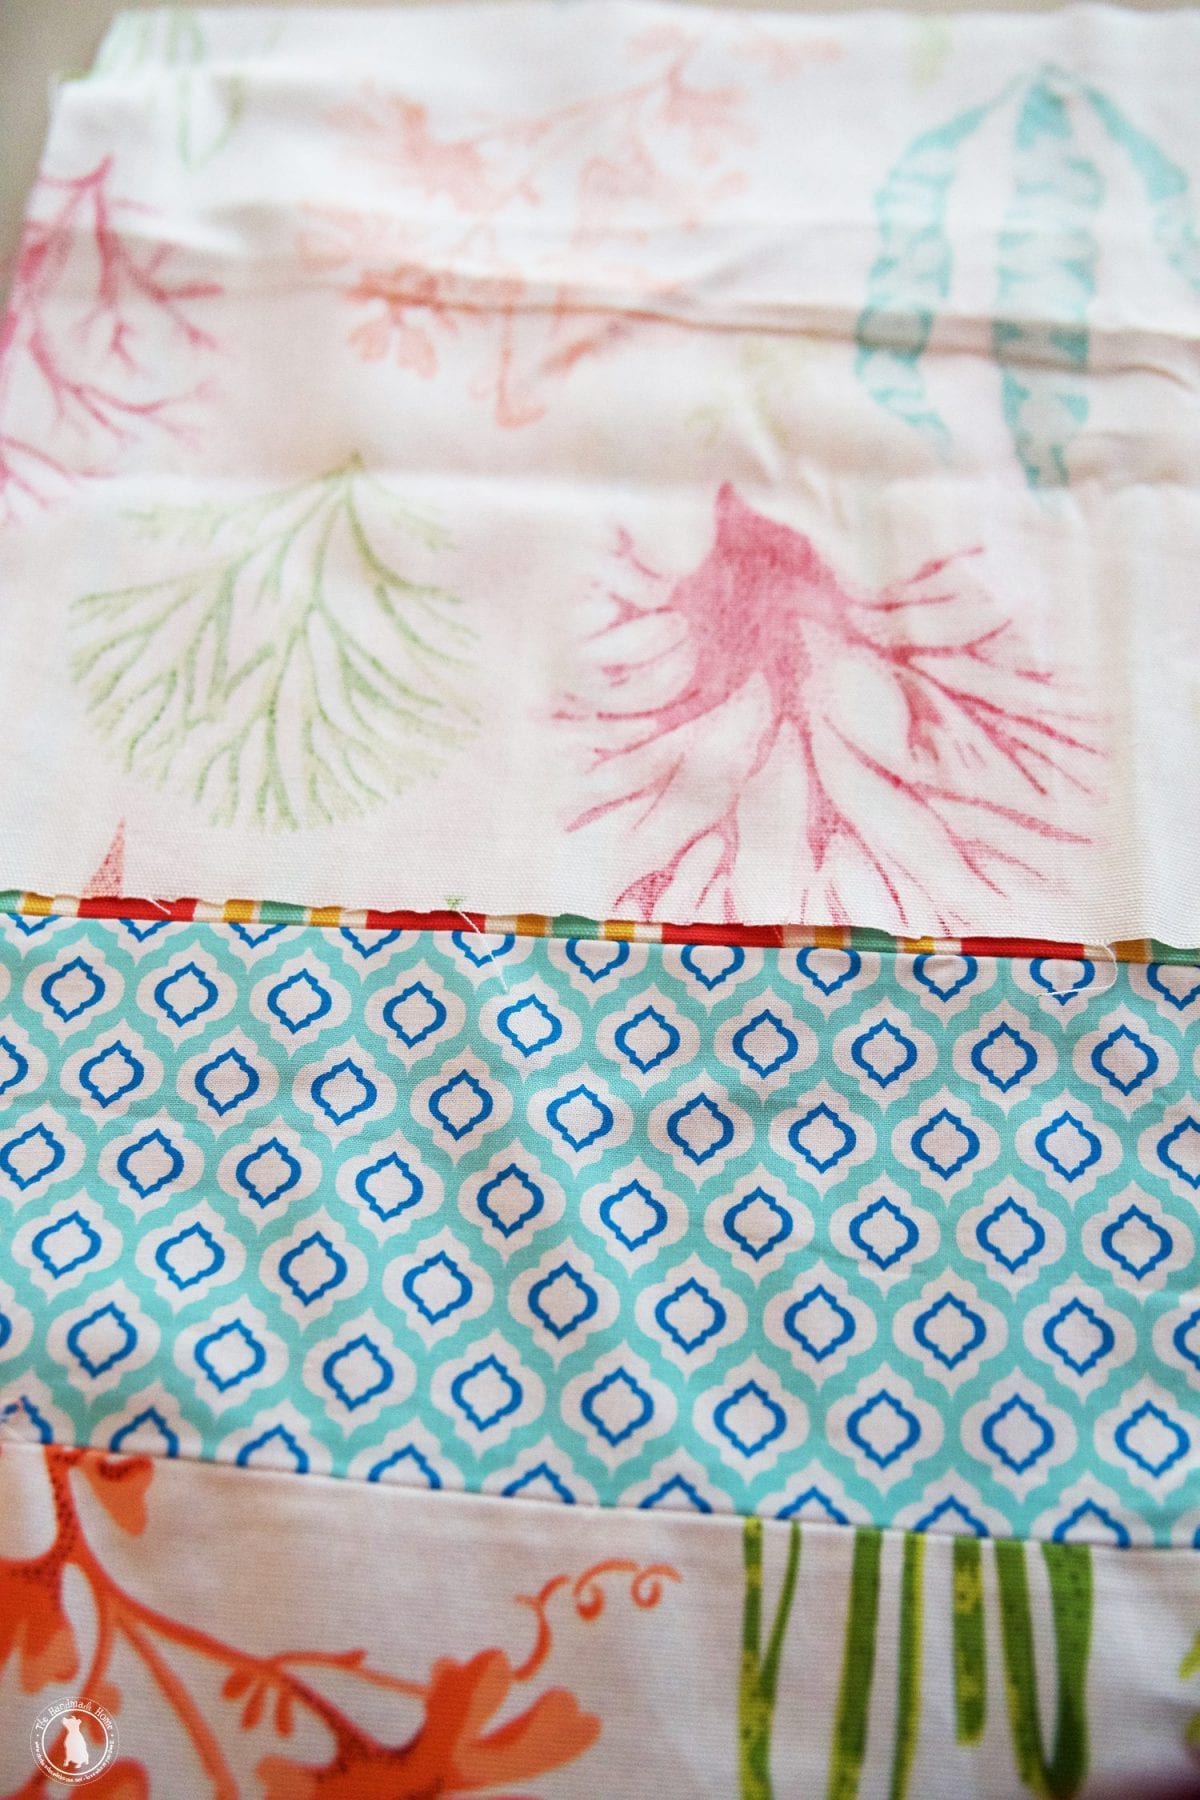
After that, add the next piece, just as you did the first two. Right sides in. Wrong sides out. Place it face down on top of the other two existing pieces, and connect that strip to the end. Exactly where you wish for it to be joined on the runner.
Flip it back over, and iron those seams on the other side for nice, straight lines.
• Repeat
You’ll repeat those few steps until you’ve reached the desired length and overall look of your pattern with the table runner.
• Outer Hems
Once you’ve patched all your pieces you want to include together with the strips of fabric for your desired length, it’s time to finish it off with the outer hems.
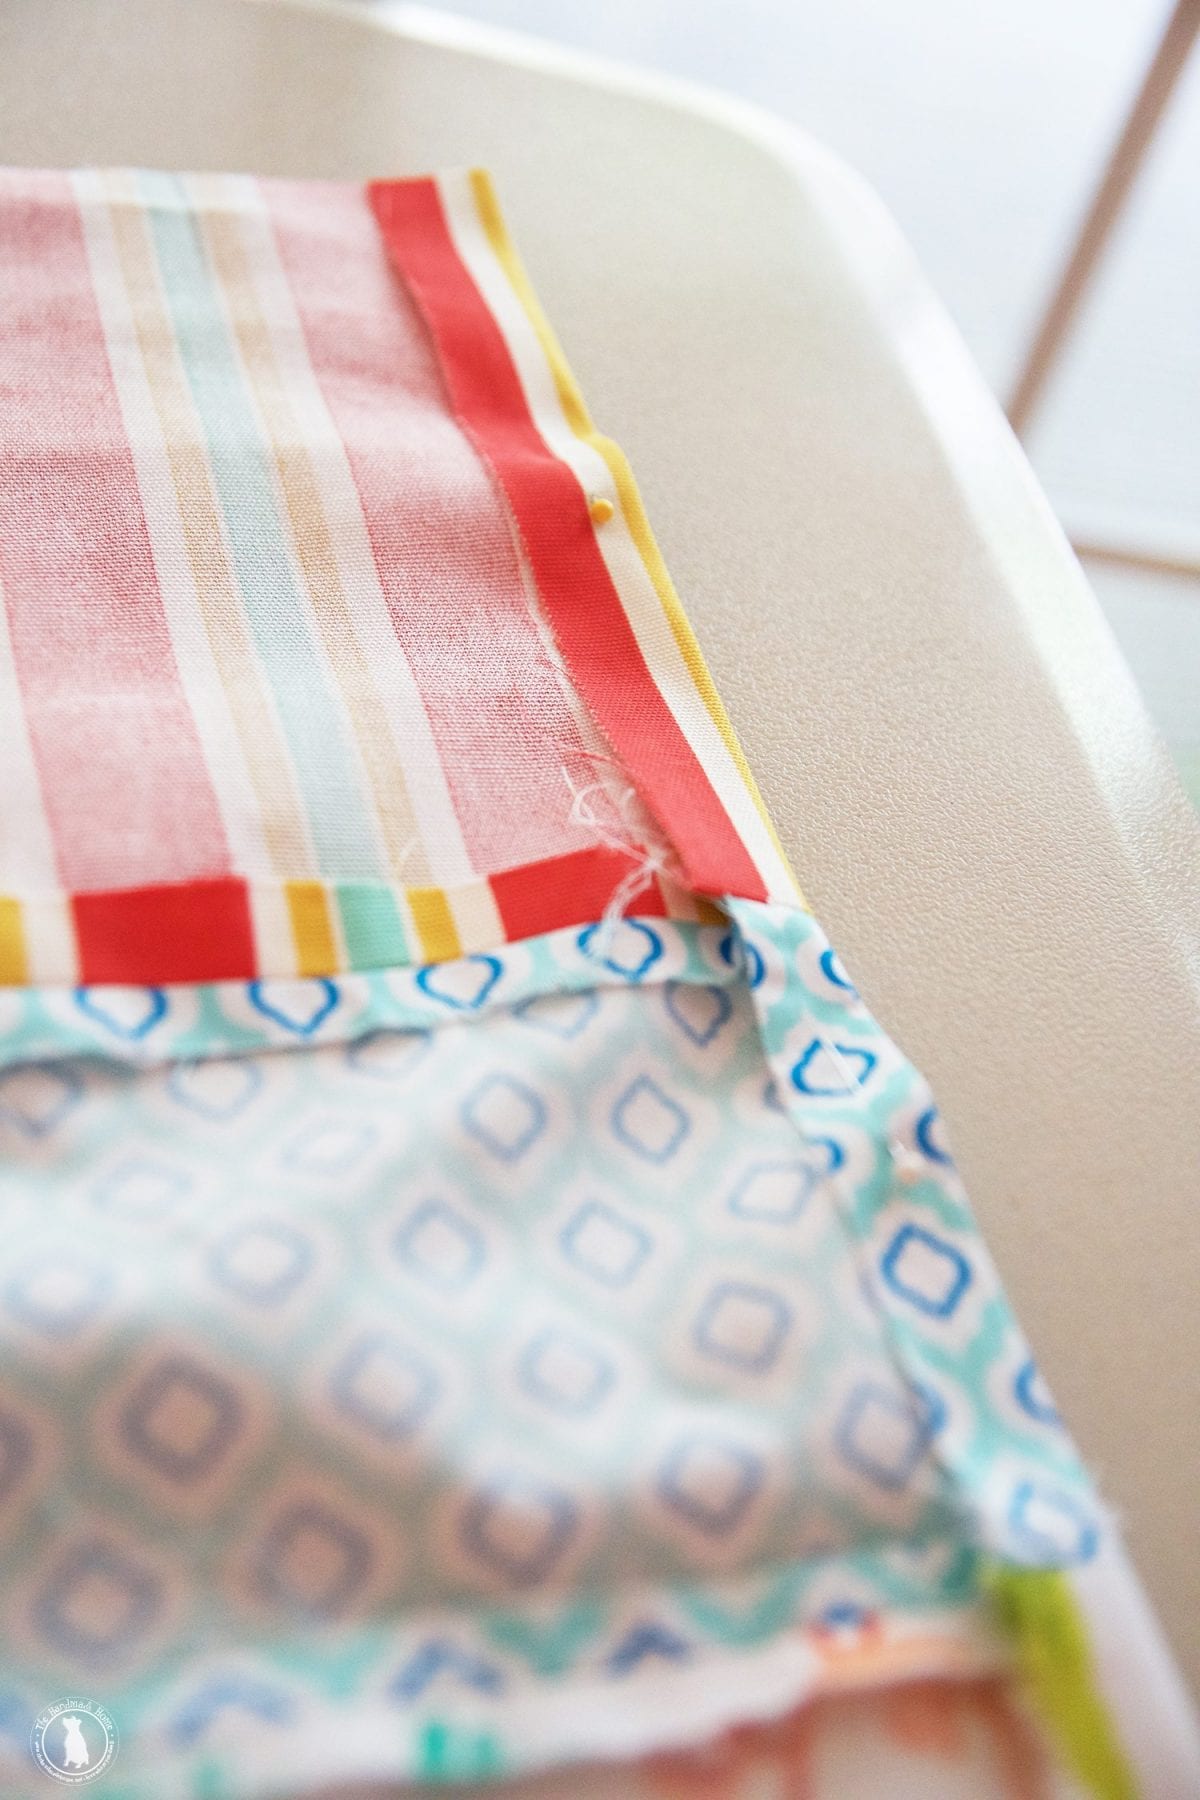
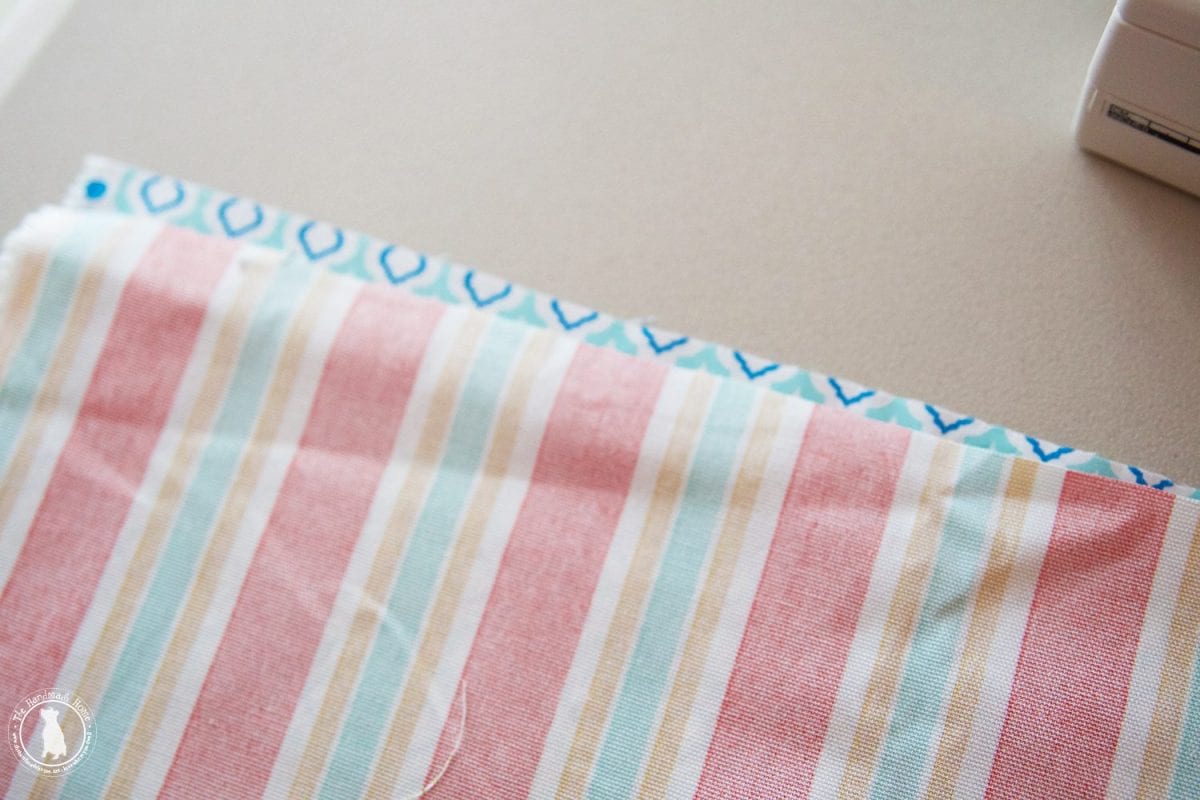
I recommend ironing and pinning as you go, before you even begin on the outer, since some of your fabrics cut to widths may vary a bit. Some of my strips were a little longer than others, so I Ironed and pinned them down. I even trimmed up a few just so it looked neater when flipped over as a finished product.
This helps keep it neat… though obviously it doesn’t have to be perfect. {read: Don’t look too closely at my table runner.}
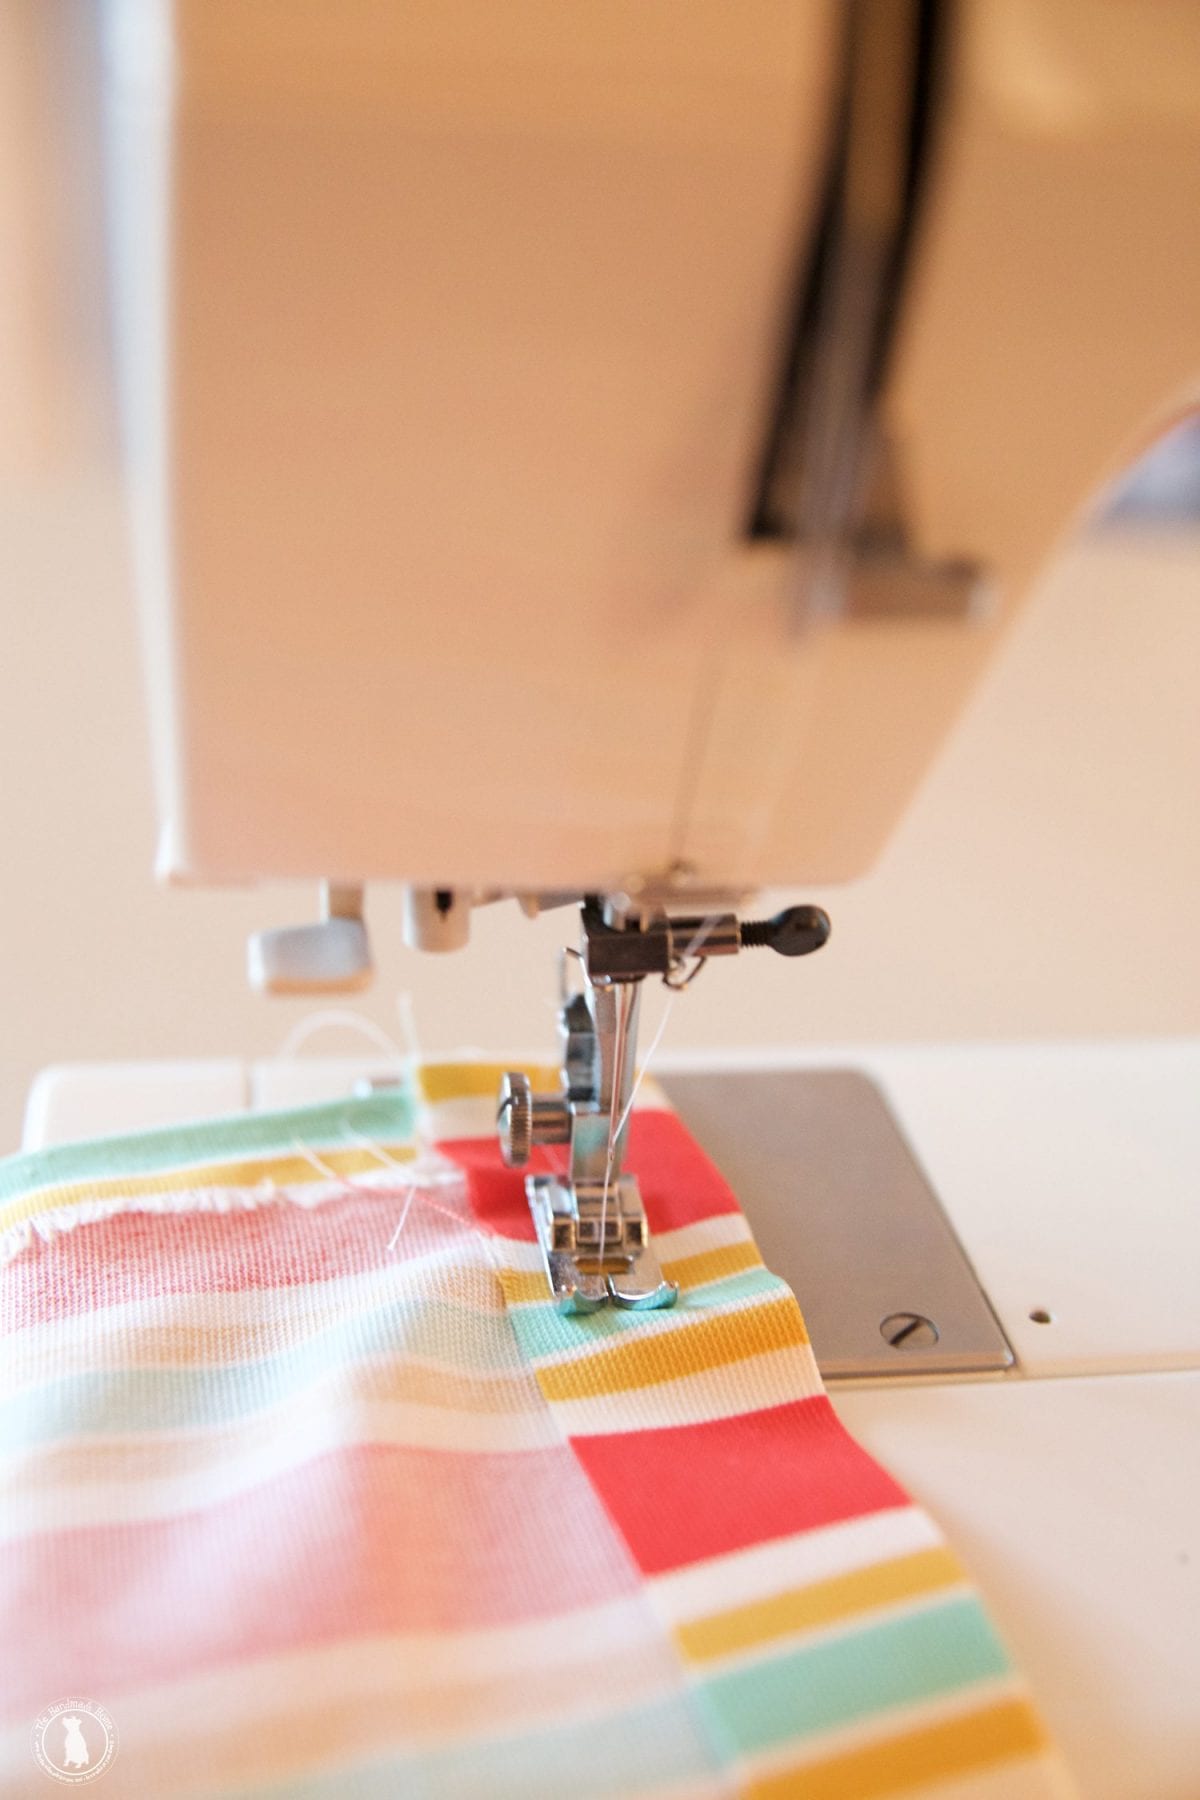
• Long sides first
Tip: If your table runner is one big rectangle, then sew two of the longer sides first.
Next, two of the short sides or end pieces of your “rectangle” shape. That way your hems are even.
When you’re finito with all four sides, flip it over, and TADA! Pat yourself on the back for a job well done. You did it!
Here’s a quick diagram of all the sewing steps to review…
Once the design has been decided upon, and you’ve measured it all, cut to size and laid it out, you’re halfway there and finished with the most tedious part.
Next, you’ll sew:
- All your pieces together, one strip at a time. Iron them down as you go with the seams for a neater, finished look.
- The outside hems: iron down on each side and do both long sides, first. Then the short sides or end pieces for a nice, even completed look.
And that, my friends, is how you make a patchwork table runner.
As always, let us know if you try it. We’d love to see!
It’s been a while since we were able to dive into a fun sewing project for the home. For more of our fave projects, check out our Sew, and No Sew ideas here!
Have an inspired day!