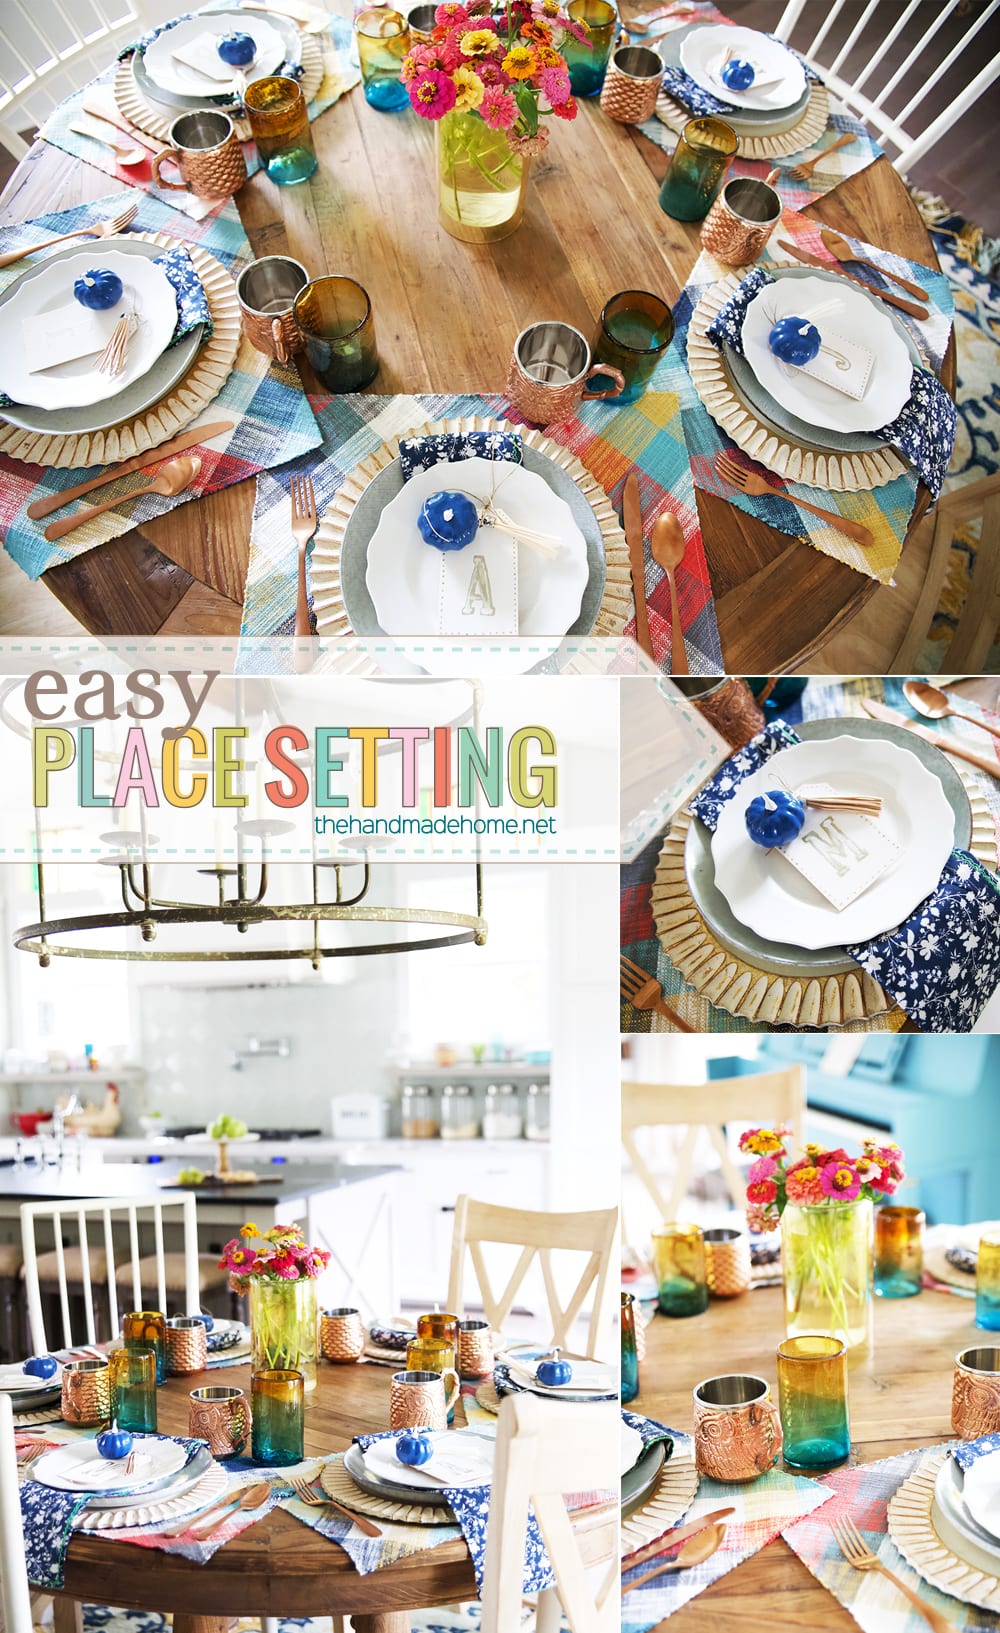
If you tuned in earlier this week for our fall tour, then you probably saw our little place setting ideas at the table. Even though we weren’t quite ready for it, we’ve switched gears into fall and we’re hoping to conjure a little cooler weather in the name of all things festive. So that includes a few fun ideas for simple fall place settings, if you’re ready to add a little fun to your table.
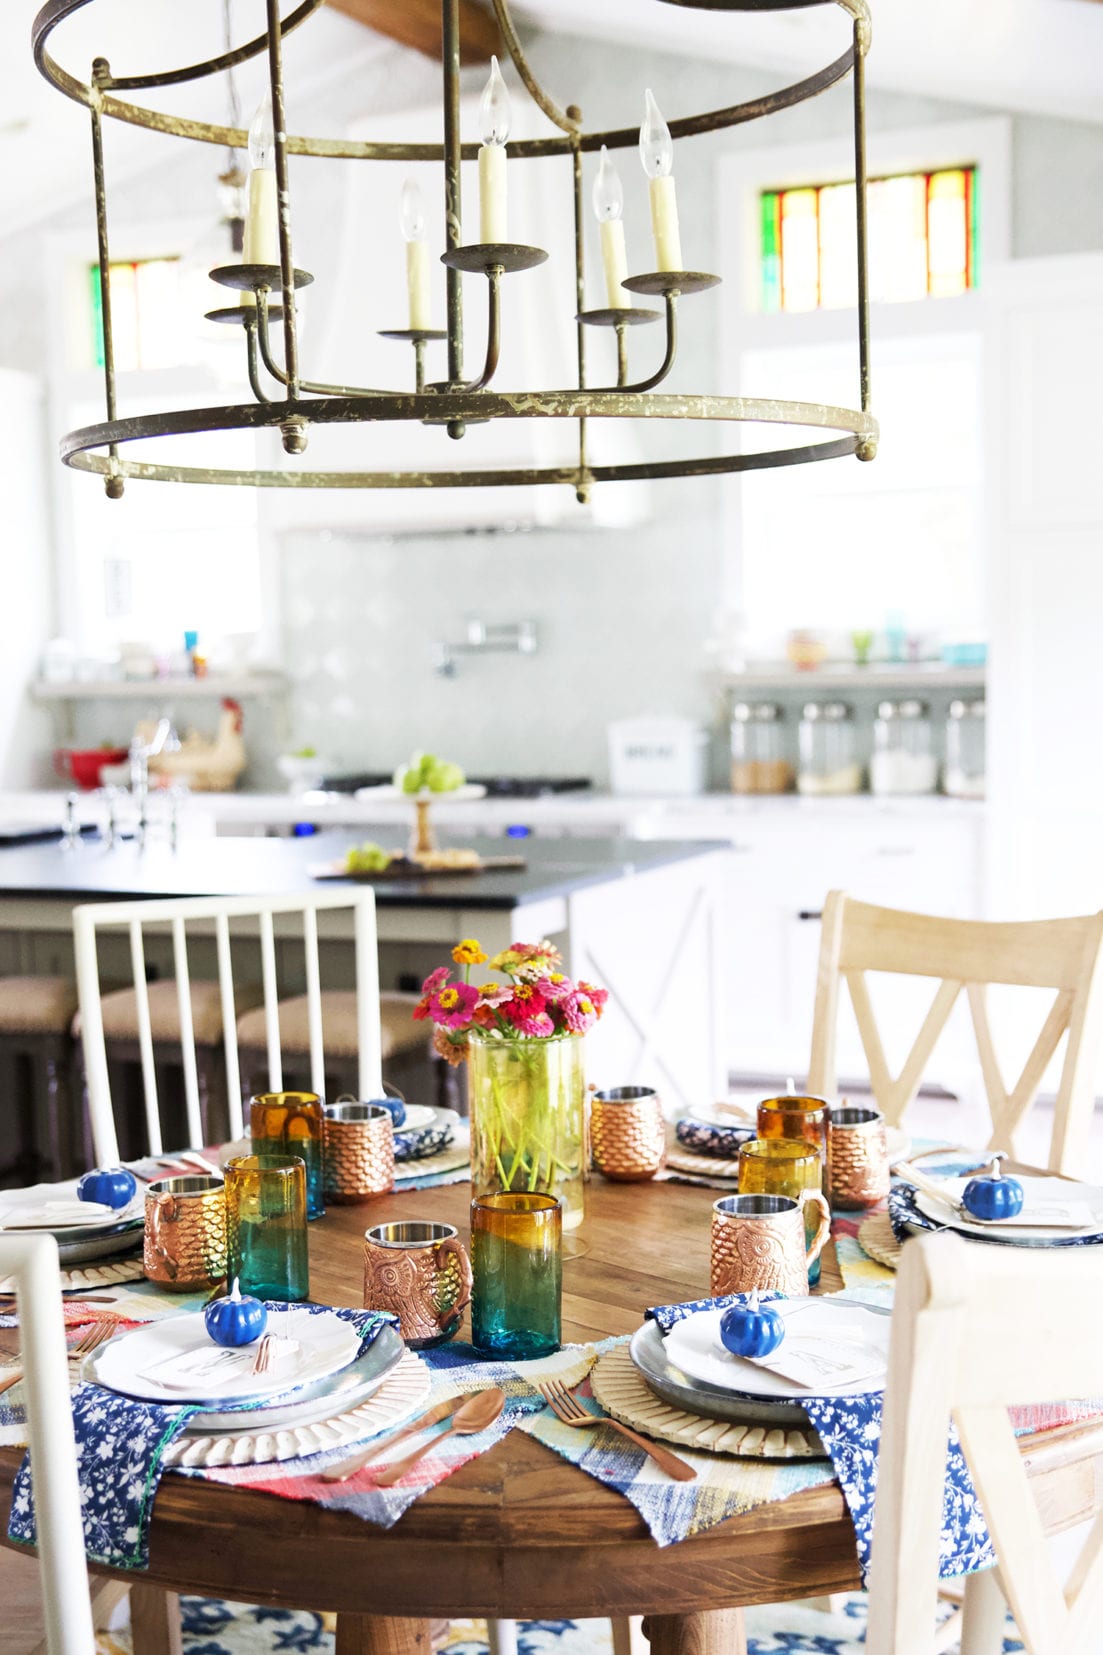
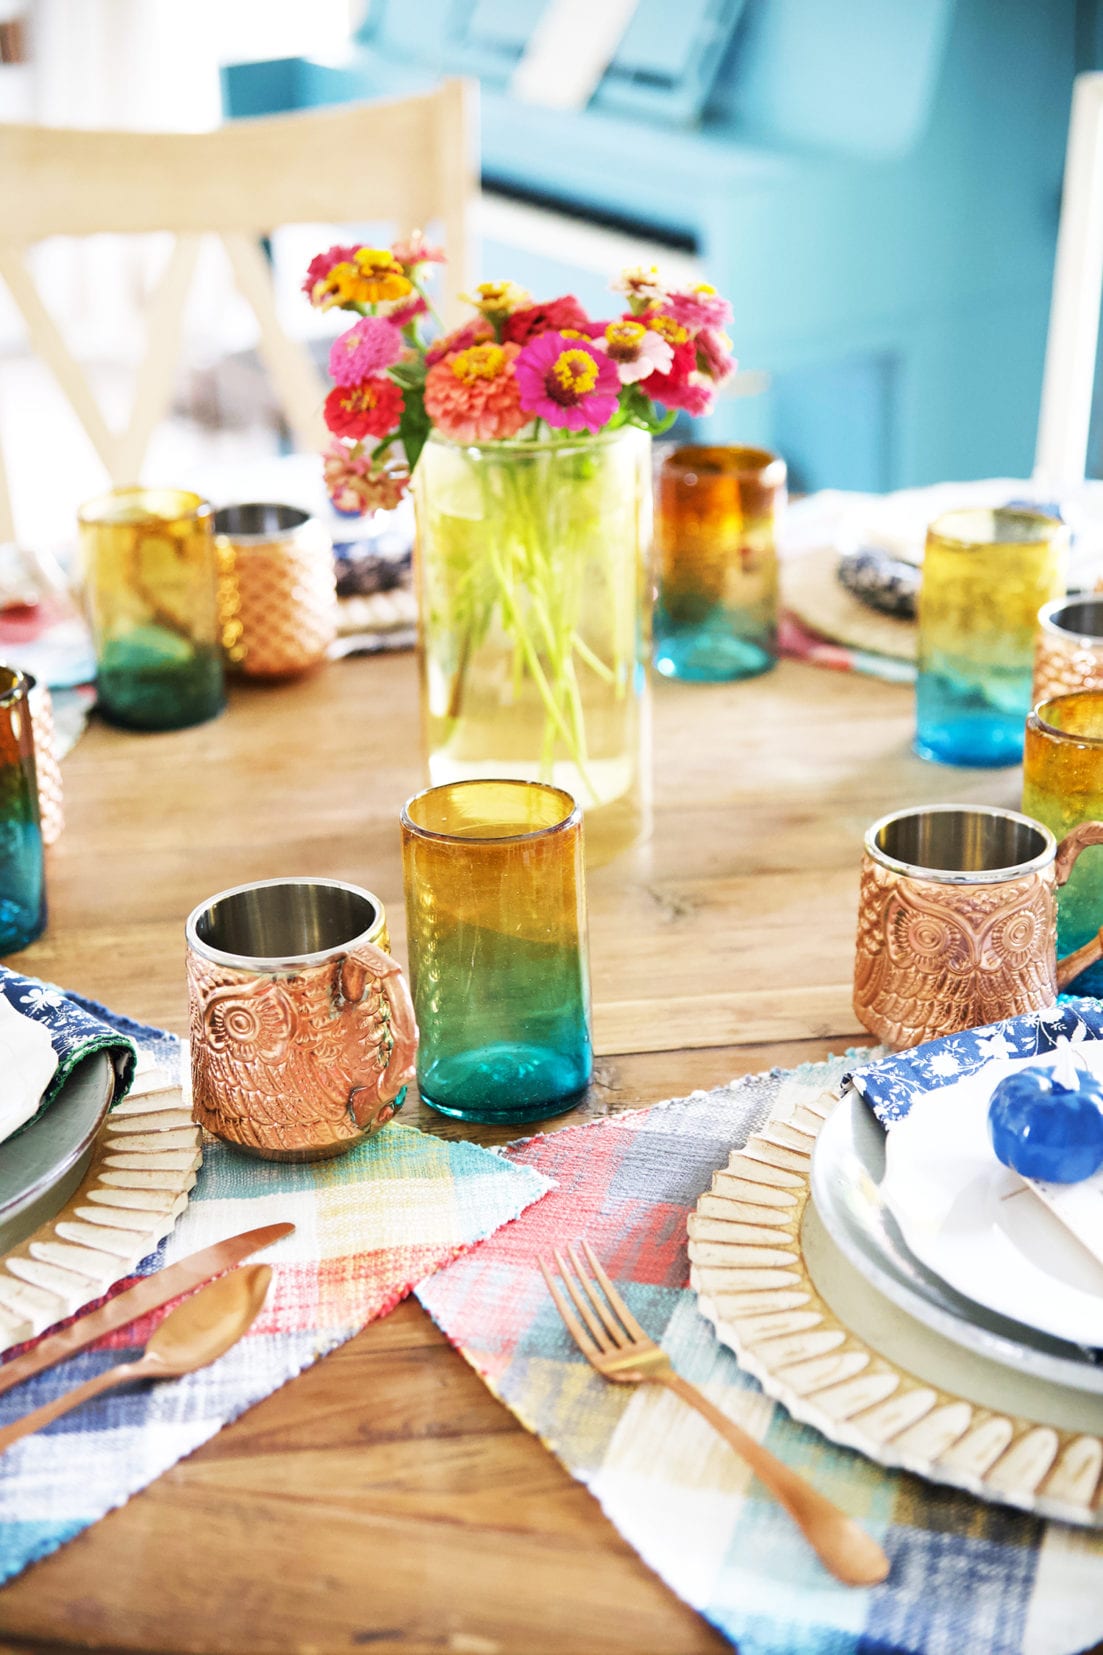
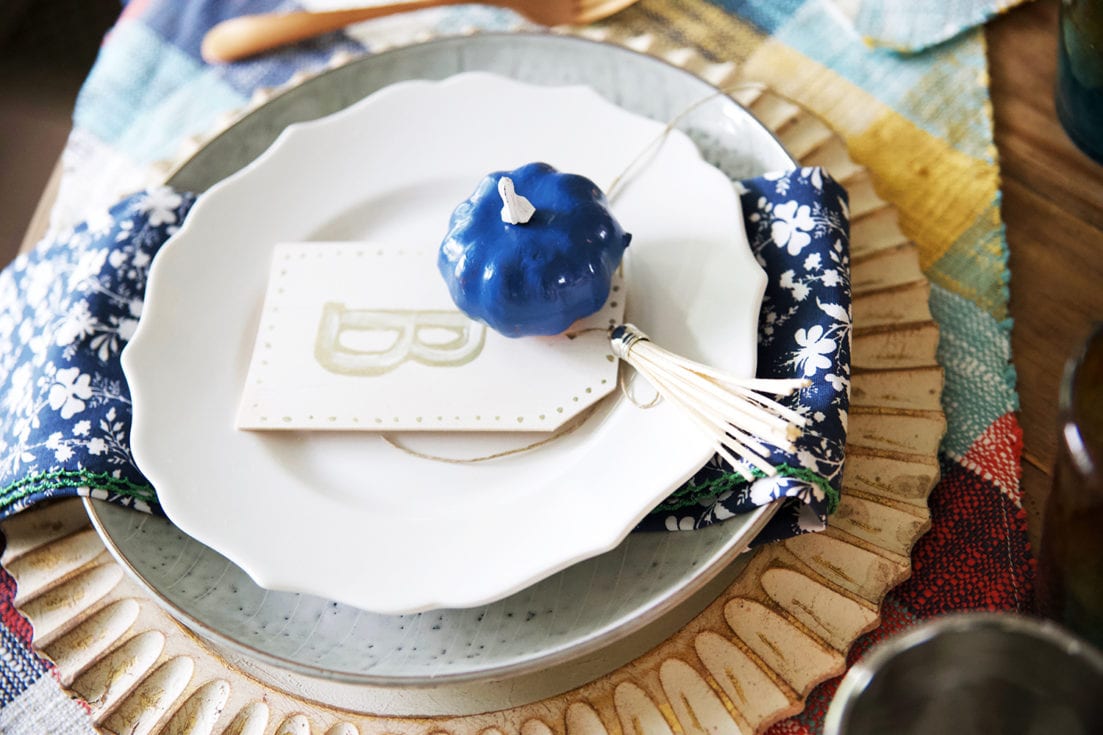
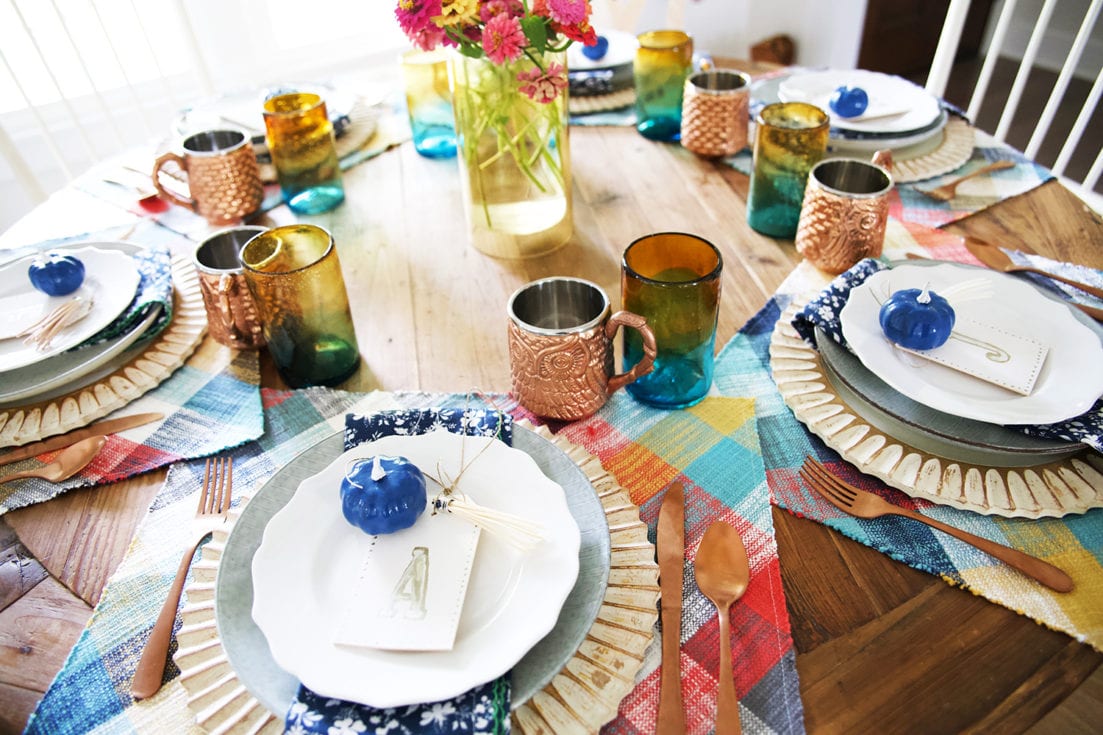
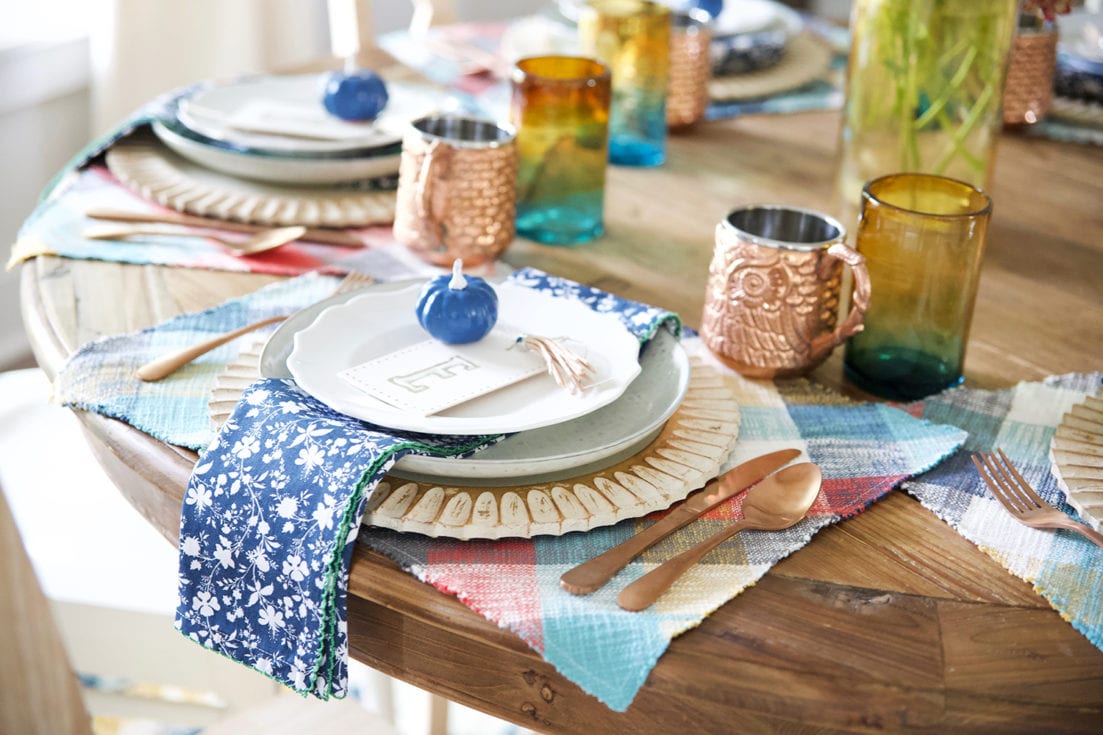
We loved layering plates and chargers with copper-toned accessories, colorful place mats, and napkins.
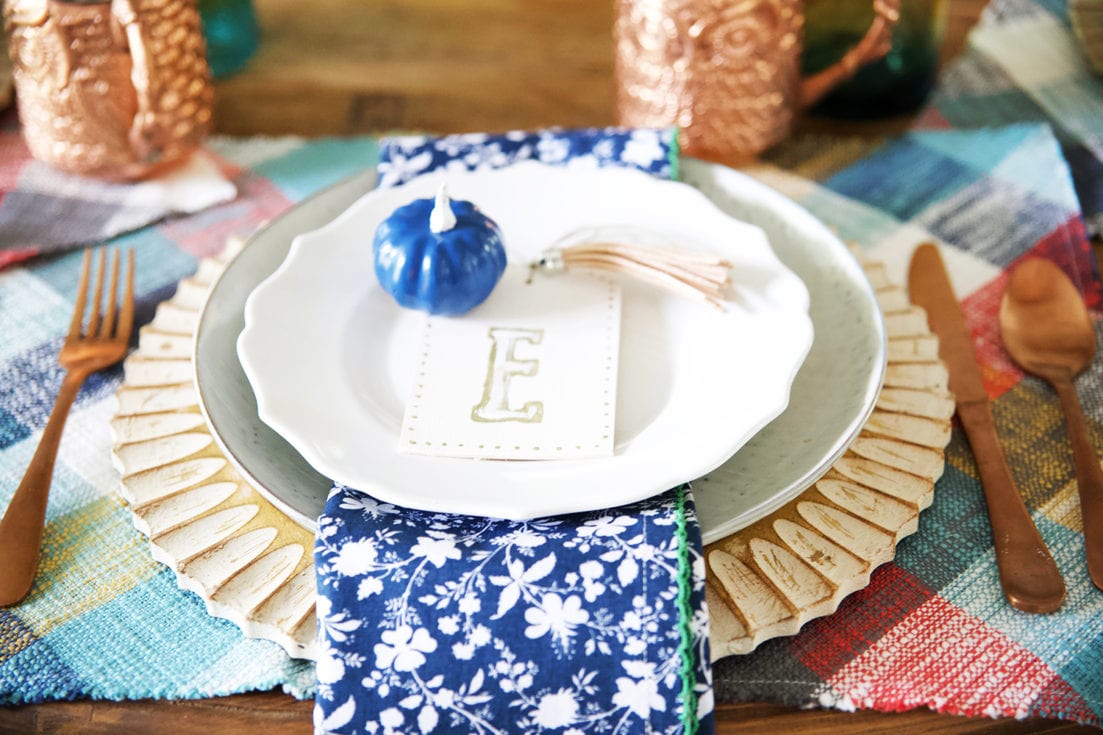
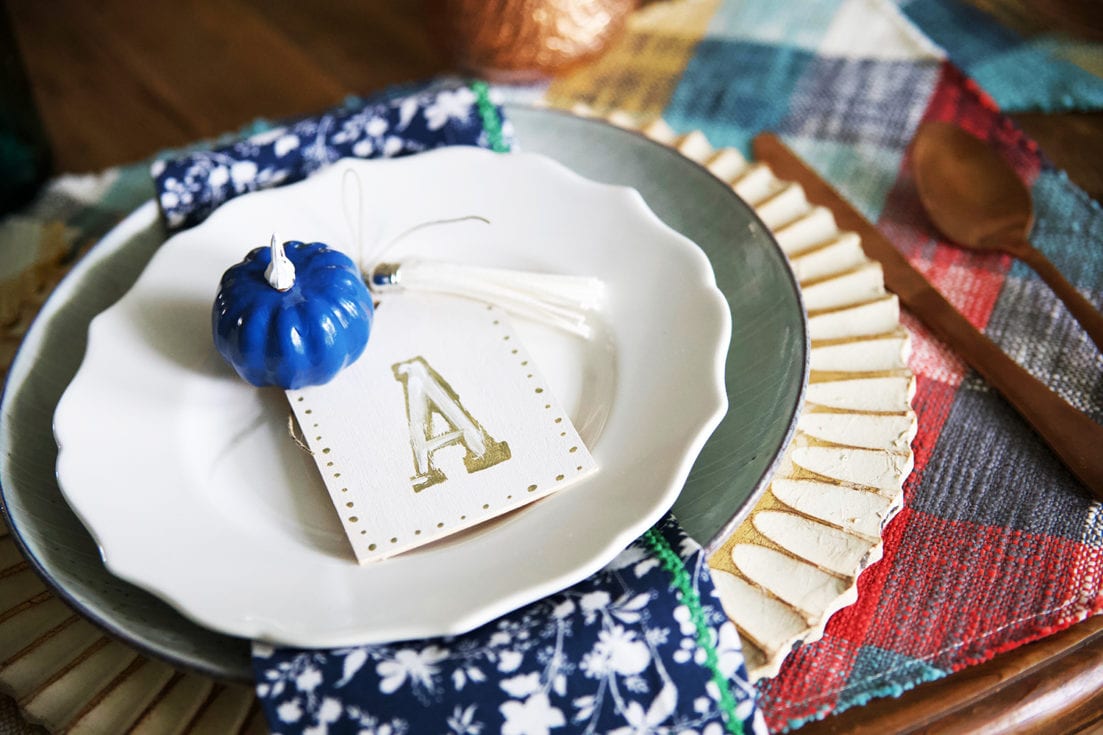
But my very favorite part, were the shots of blue with the little pumpkins and our place settings.
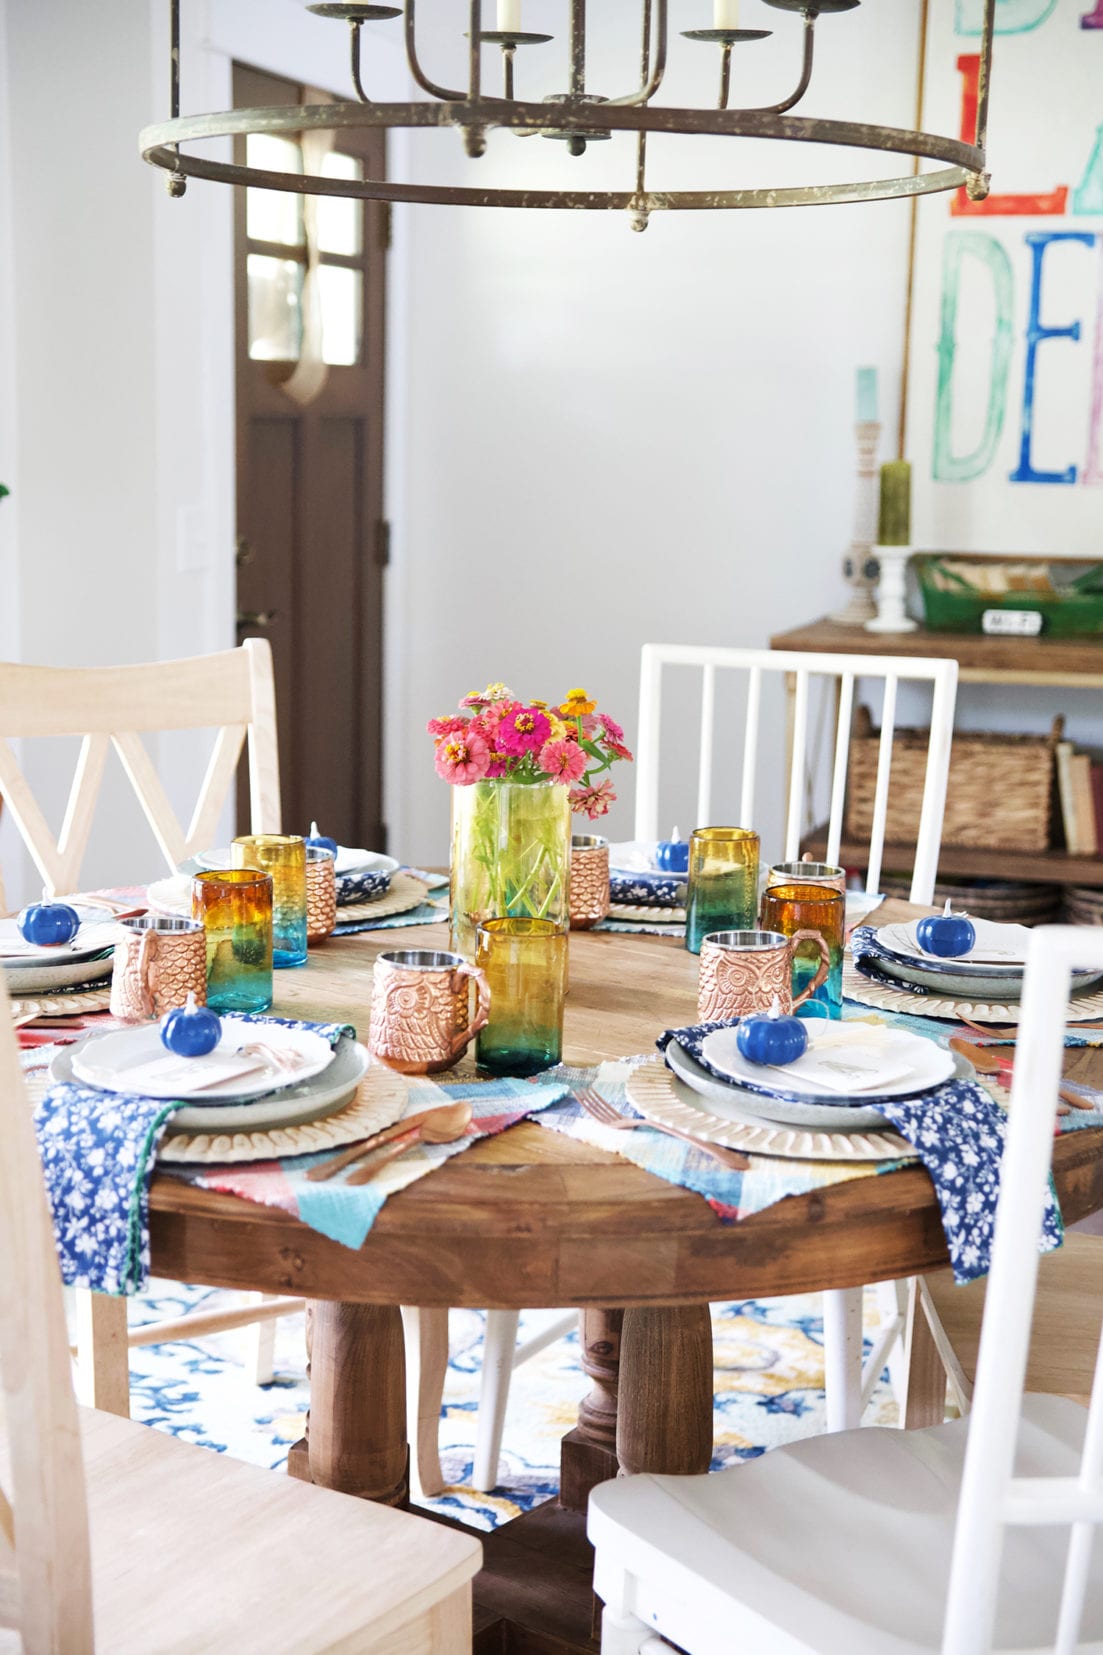
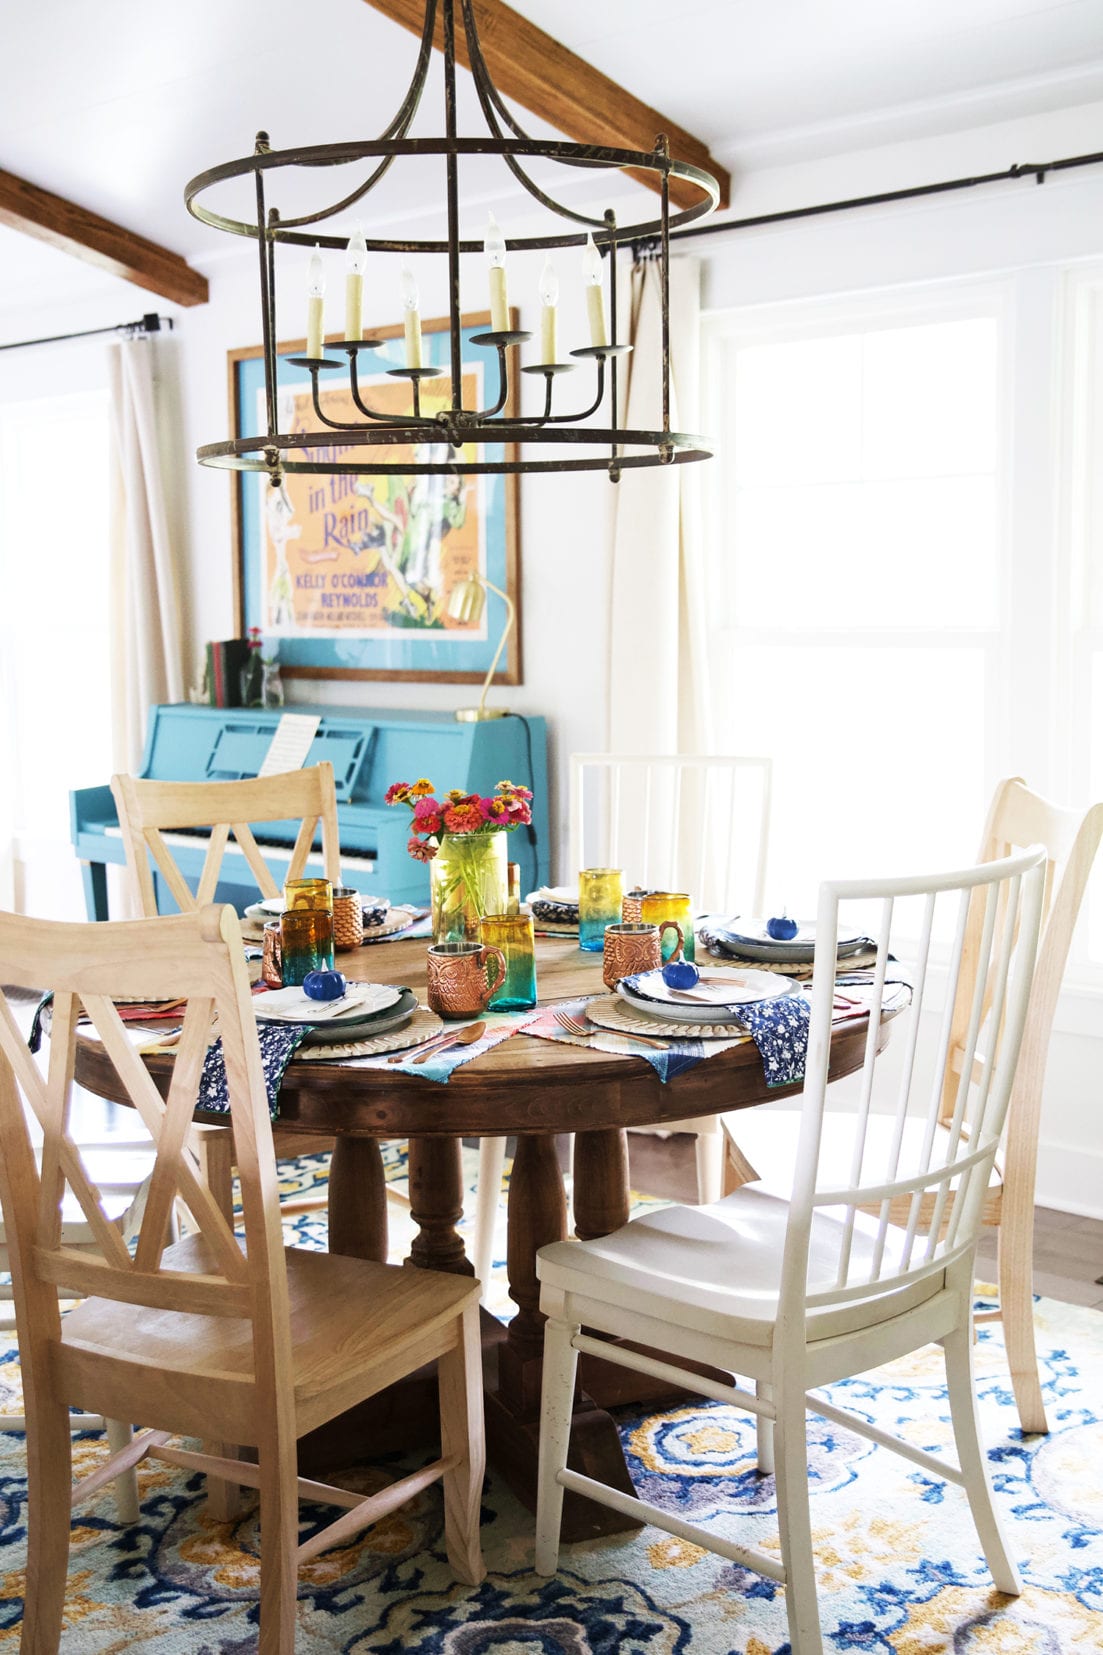
Our house is usually the antithesis of fall, so it only makes sense to embrace it, and make it our own.
It’s always more fun to put your own twist on things, anyway. So bright jewel tones and fun metallics it is.
We really do a no-fuss approach to place settings, usually keeping an eye out year-round for things that we can layer and add as we go. These elements are usually an accumulation of napkins and a few placemats. Some fun glasses and inexpensive plates and things we’ve just collected over time make for a great table.
We even added some little foam pumpkins that we gathered from the dollar spot at Target. Their colors weren’t quite right, so I broke out the craft paint and gave them a coat of blue to lighten and brighten and tie everything together. Then, I decided we needed some place setting cards to polish off the look.
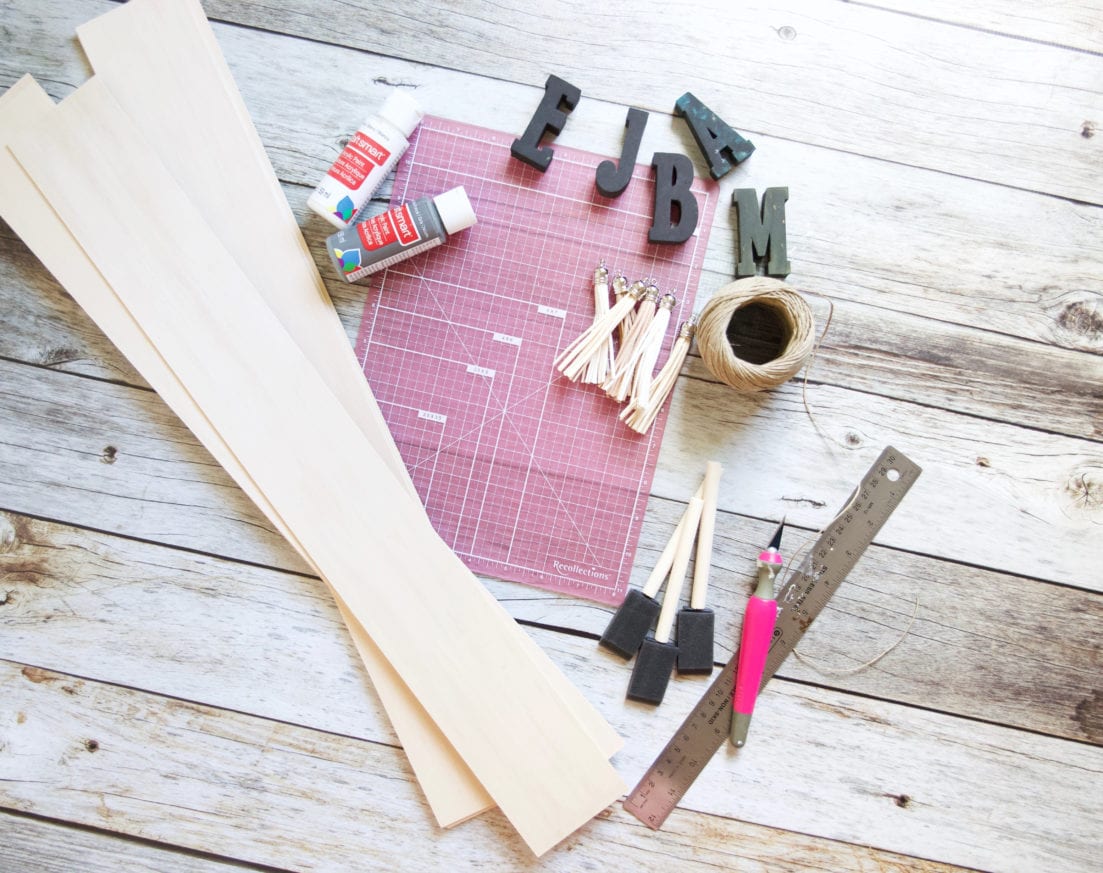
Here’s what you’ll need: {affiliate links below}
• Balsa Wood Strips
• X-Acto knife + Ruler
• Protective surface to cut on
• Paint {of your choice} + small brushes + foam brushes
• Twine
• Tassels – you can also make your own here
• Template to paint or freehand your letters
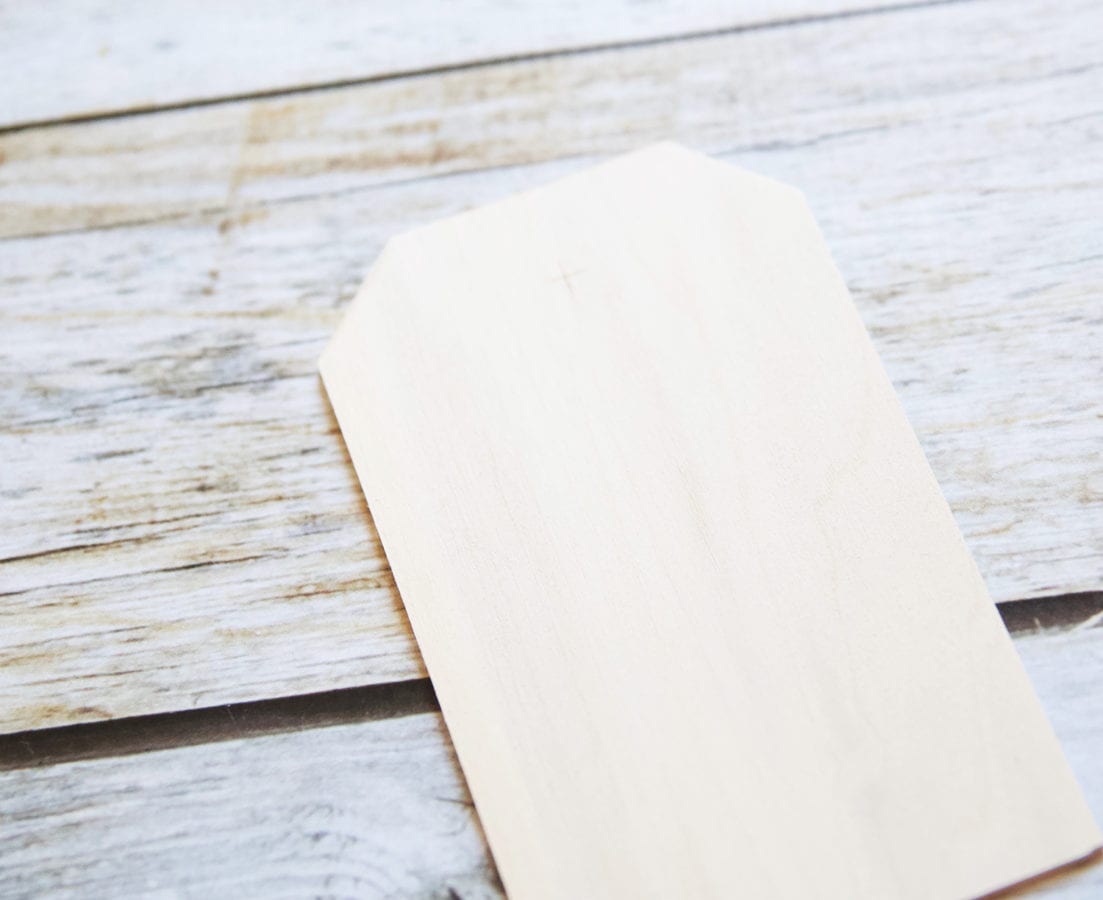
Taking your balsa wood strips, your X-Acto + ruler, cut the tags to size.
How long you’ll want them depends on your top plate, so it helps to plan these out if you’re doing them for a party, to know how big the diameter of the top plate will be. This way they fit nicely on the top.
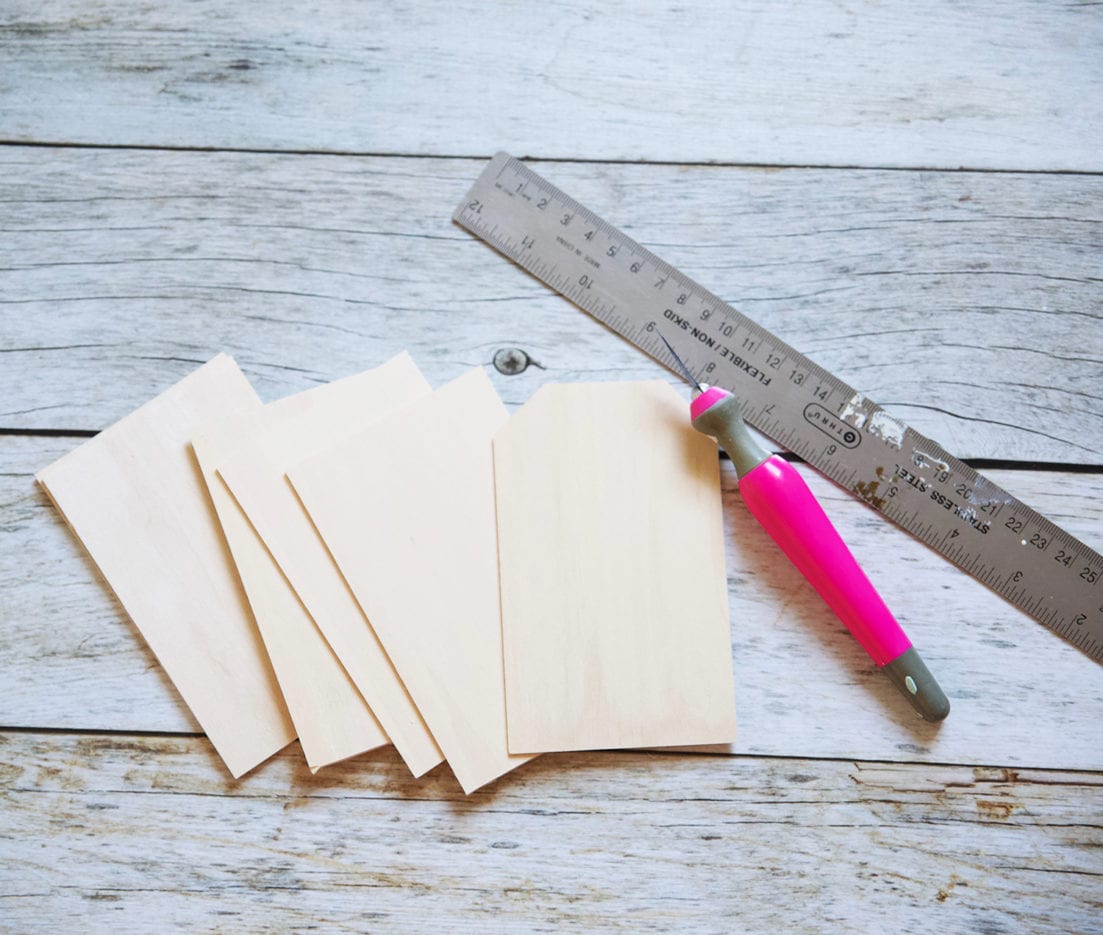
When you’ve cut them to size, trim off the corners.
Hint: It helps to measure from corner to corner with your ruler, so you get the edges pretty close to symmetrical.
Once you’ve finished that step, cut a small hole in the top. I did this by making a simple cross shape at the very center, and then cutting corner to corner across the lines so that the hole is large enough to place the twine inside.

Once that step is complete, give it a nice simple undercoat in white. {If you wish to leave the natural wood look, that would look just as good. It’s hard to tell in the photography but we wanted a little more contrast for our gold paint, and this made a great primer for the rest of the paint.}
We didn’t want much because while it is wood, we wanted you to be able to tell that it is.
I think this is what gives it a special touch.
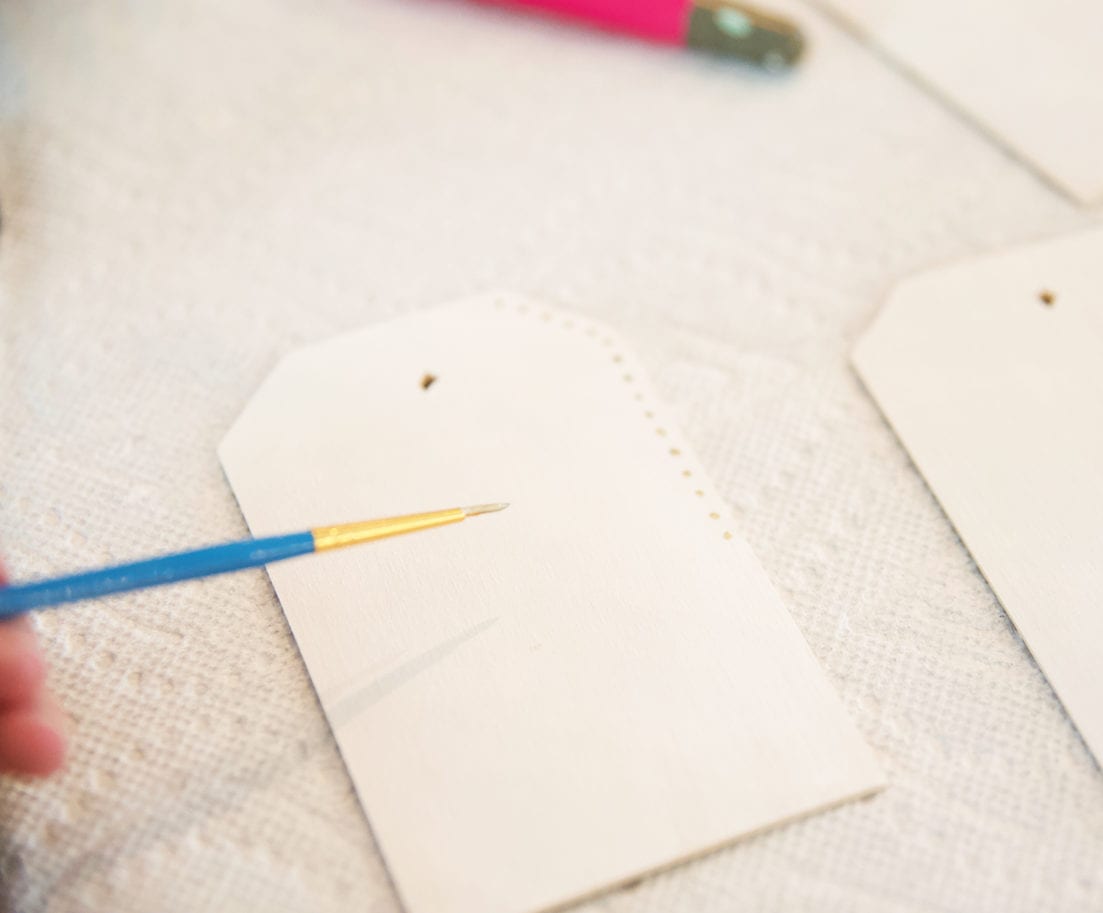
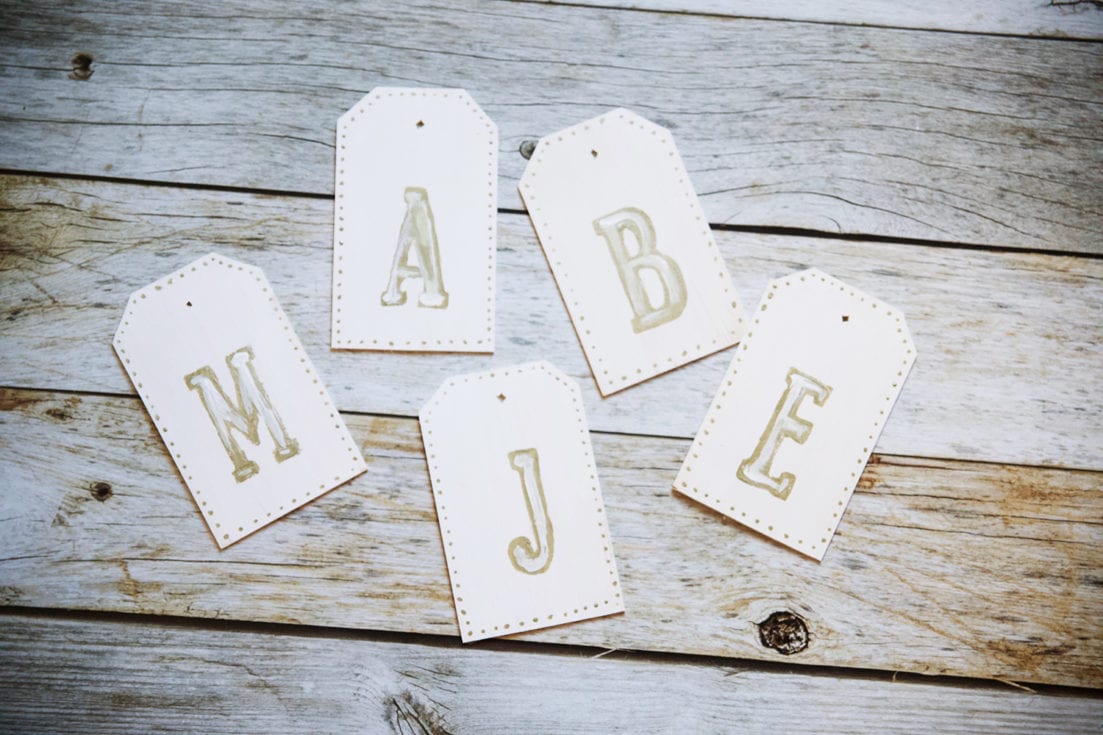
When the bottom coat was dry, we used paint with a vintage/gold touch, and made small dots all the way around the edge. And when that step was dry, we knew it was time to place our letters.
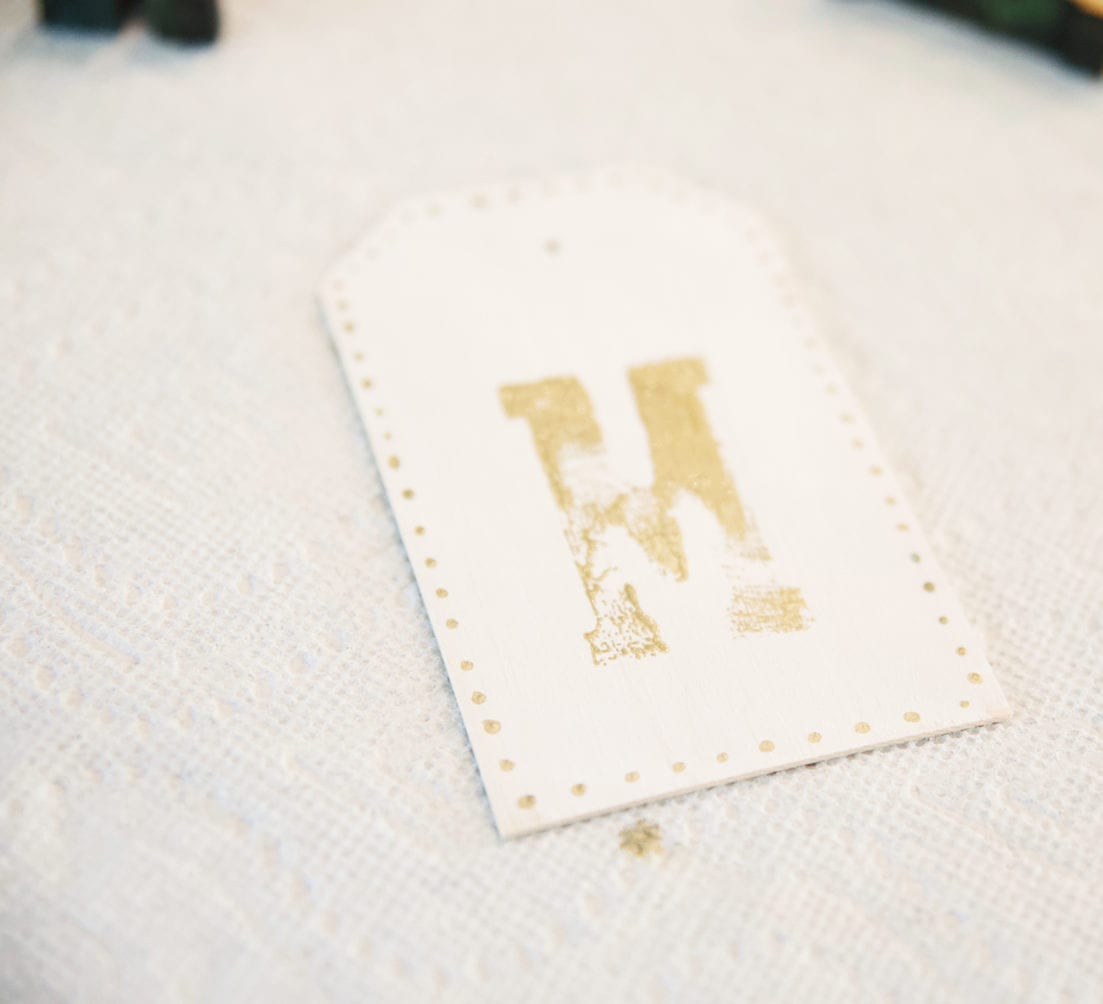
This step is fairly easy if you’re using stamps.
Note: You can also take a larger letter printed out via the printer, and cut the edges out to use as a template, and trace from there.
With the stamp approach, we just filled it in with paint {make sure that’s the correct side if you’re dealing with foam letters} and gave it a nice stamp. From there, since we had our basic shape, we painted it in.
When that was dry, we went over it roughly with a coat of white on the inside, to make it look distressed.
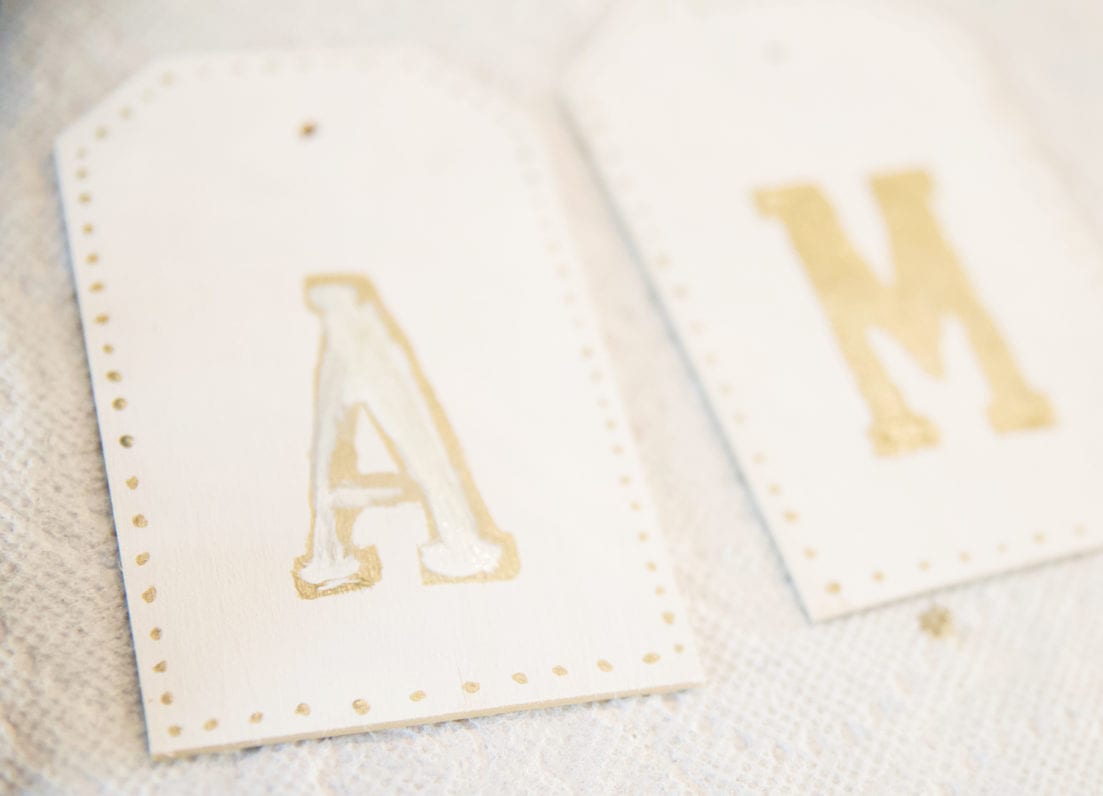
Tada! They were all done and ready to go. When the letters were dry, we added a little twine, and a tassel to top it off.
These make a cute little keepsake for dinner guests, and the perfect bookmark, too.
We love the simple, rustic feel they bring to our fall table!
As always, let us know if you have any questions. And we’d love to see if you try it!
Have an inspired day!

Love it all!! So fall but no orange 🙂 Yay! I wanted to get your thoughts on round dining tables. I’m looking for one but not sure about size. I see yours seats six. I want mine to seat at least that many! Do you know the dimensions on yours? Most I find are 48 inches in diameter, but I’m just not sure that’s big enough for my space or our family. Do you like the size of yours? Does it have a leaf insert so you could enlarge? Thanks in advance!!!!
Hey Brittany! Ours seats six, but I would have gone larger had our space allowed. ;} Because of the walkthrough area between our table and sofa, and centering it in the eat-in space, we did what we could, which is 54″ wide. I would go at least 60 if your space allows for it, and look for something in a leaf when needed – that would be the ultimate situation. ;} I hope that helps give you some perspective! Good luck in the search – those round tables are tricky, but worth it! I always tape them off on the floor in the space, if that helps. Just to be sure. Good luck!