
the ins and outs: put a back on it

I received a question in my inbox that went a little something like this:
Just found your blog today. Love the dining room transformation and your style. I want to change the interior of a cabinet to grasscloth too. When I brought up the idea of painting the inside, my hubby said nothin doing. Its from his family and over 80 years old. You said you used desticky tape? What does that mean? How did you find a small amout of grasscloth without having to buy a whole role? If you have any other tips on how to do this /plan on posting a “How to” I’d love to know/read it. Thank you, thank you!

I thought it would be great to go back over the same subject matter again, if anything, to get our wheels turning on finding something in our own homes that we can easily revamp. If you remember my old post, I have quite a few examples there, and I recommend this little maneuver quite often, to revamp old bookcases, shelves…you name it. Whether its a coat of contrasting paint for an additional shot of color, wall paper, or fabric…I’m not so sure you can go wrong when this is done well, to bring in some major character to your space.
Bonus: it works fabulously when attempting to preserve a piece you don’t wish to paint.

Though I have a lot of painted pieces in my home, I realize that some are beautiful when left as is. If you wish to lighten them up without taking a brush to them… {almost like the dark couch/light pillows solution} this is a great compromise. I’ll give you a quick run through on these: different approaches, all with the same end effect.
1. For our dining room, I used grasscloth.

I found it in a roll, at a little place like this, online. {I ordered it so long ago, I’m not really sure where the exact site is} As far as answering the question about purchasing only a little piece of wallpaper for the project, I’m not so sure that’s possible. But if I can just say, I’ve come up with a bazillion uses for mine, and have nearly used it all. You could even cover a stack of unsightly books with the stuff.
For this project, I stenciled mine, and then stuck it on, but if you had, say, one or two friends who wanted to go in with you and do it themselves, you could work it out that way. I would also recommend searching etsy for scrap paper, or asking around town at any of your local stores. You never know.

So basically, I cut the piece to size, stenciled it, and when it was dry, removed all of the shelves from my cabinet. I then used ‘destickied tape,’ which was my silly, fancy shmancy way to say I-stuck-it-to-my-pants-a-couple-o-times-before-sticking-it-to-the-back-so-that-it-in-no-way-damaged-the-piece-for-when-I-changed-my-mind-later. Desticky tape is much easier to say, isn’t it?

It made a world of difference, and technically its only stuck on all four corners, but the shelves and plates help keep the paper in place.
2. My friend Andrea used the same technique for her china cabinet. It’s a piece that wasn’t meant to be painted, and will be a family heirloom one day, but we collaborated and came up with a solution for hers: an old feed sack.

And it looks fabulous.

A great example of how this method changes with each piece: her shelves were not removable. So, she simply measured, and cut it into strips, then mounted each corner with double sided “destickied” tape. {Yep. I’m making it a word.} TADA! I think she brought even more character to the piece than it had before, if that was possible…

Dark furniture is awesome, especially antiques. But they can become a little overwhelming in your home if you have lots of them. If they don’t stand out in any way, it can get a bit boring. Backing a dark piece in something fun like this, helps keep the feeling fresh and bright, without ever coming near it with a paintbrush. Which brings me to…
3. I wish I had my before shot of this piece, but that would include combing through thousands of archives, so just know, this piece was rescued from the depths of despair. An old china hutch that I decided would be the perfect touch for Malone’s Nursery.

And it was! We gave it a new life with a fresh coat of paint, and backed it in this fabric to go with his baby bedding.

This back, the piece of wood situated on the back of the shelving, was removeable. So, we simply laid the piece face down, on top of the fabric, facing out, and wrapped it around each side. What did we secure it with? Duct tape, of all things, to preserve the fabric and back of the cabinet.


Here’s a shot of the hutch {bookcase} turned to the side, and the backside as well. As you can see, an entirely new piece was born.

I hope this quick run through answers any of your questions you may have had! Do you have something you can stick a back on, and breathe fresh life into this weekend? Hurray for unexpected uses, and the effects they have on potentially tired pieces.
_______________
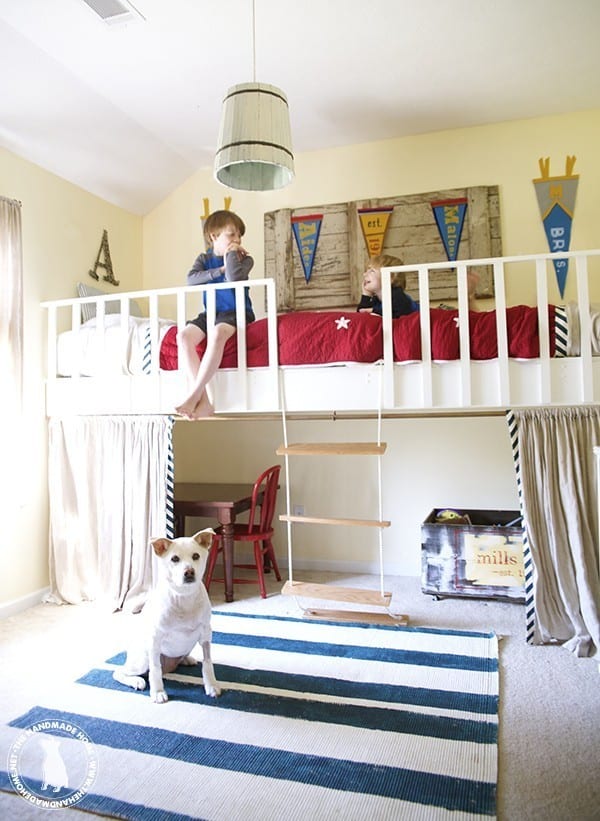
Just a side note and shameless plug: if you live nearby, and you’re interested, I’m getting ready to sell quite a few pieces-The hutch, my china cabinet, and the buffet in the dining room, to name a few. Probably more before its all said and done. I just have a few fun {think built ins} ideas up my sleeves I want to try for the dining room, and the boys are outgrowing this hutch look. They’re ready for their official shared man cave room this summer! I’m purging, and will be listing them on craigslist next week-but you can have first dibs if you’re interested. Shoot me an email! Thanks!


Thanks Ashley for more info to my question. I really liked your friends cabinet as well with the feed sack material. I haven’t purchased the grasscloth yet. I’m looking at a cool blue color and its like $36 a roll but I have to buy 2 rolls. What would I ever do with that much grasscloth? I’ll browse etsy first like you suggested. Thanks again.
sorry it only took me about two months to get to it! I hope it helped!!! I am sure I can help you come up with a few grasscloth project ideas, if you’re interested! 😉
Where on earth do you live?? Please tell me you’re close to Arkansas! I would love to have that hutch! (fingers crossed…please, please, please be close by!!)
sorry girl! I’m in sweet home alabama! 🙁
eh, what is that, like a mere 700 miles?
Husband would be like “yeah, that’s nice honey, I don’t even think so”…
oh well, I knew that stupid finger crossing thing never worked
I’m nearby & I’d love to see what you’re letting go. You never know what I might need! If you have time & don’t mind, shoot me pics & prices. I’ll let you know if I find something I can’t live without.
Thanks for the terrific tips. Love the results.
I’m on the hunt for several furniture pieces right now. Unfortunately nothing that you mentioned above. Darn, cause I’m close to you too! But please let me know if you decide to sell anything else!
i’m interested in your sale things – i’d definitely like to know about it all! i fb’d you last week about my daughter moving off to college – so do keep me informed please!!
your post gave me a good idea – several years ago i took that weird backing off of my daughters bookshelf – we decided when we painted the bookshelf that it looked better with the back off and having the wall color showing through. so for a while i never knew what to do with that odd back thingy (its not wood, so i really don’t know what to call it!)..anyway, i ended up painting a (ginormous) peace sign on that huge thing for my younger daughter and its been hanging in her room until recently – she’s kinda outgrown peace signs :/ i don’t have the heart to paint over (all MY hard work) it, so i’m thinking of covering it now with ‘desticky’ tape and putting back on the bookshelf for my college-aged daughter to take with her..she’ll have blah walls in her apartment – and it’ll make it fun and colorful! so – thanks for the idea!!
I’m wanting to know the paint brand and color you used for the nursery hutch?! It’s beautiful:) – thanks
Hi Christian, I’m afraid I painted that hutch long before I kept records/blogged/did anything. I have absolutely no idea what color that is, and we no longer own that hutch. I am sorry! Thank you!