We’ve received a few questions lately, on how we get our chalkboard art “just right”.
And this kind of made us laugh, because we’re nothing close to the amazing art we’ve seen in other places… I mean, be glad we don’t plan to quit our day job any time soon. Because that would be sad. And interesting. And weird all at the same time.
But it got us thinking. No matter how “trendy” they become, we don’t think chalkboards ever really ever go out of style. Because the beauty of chalkboards is…
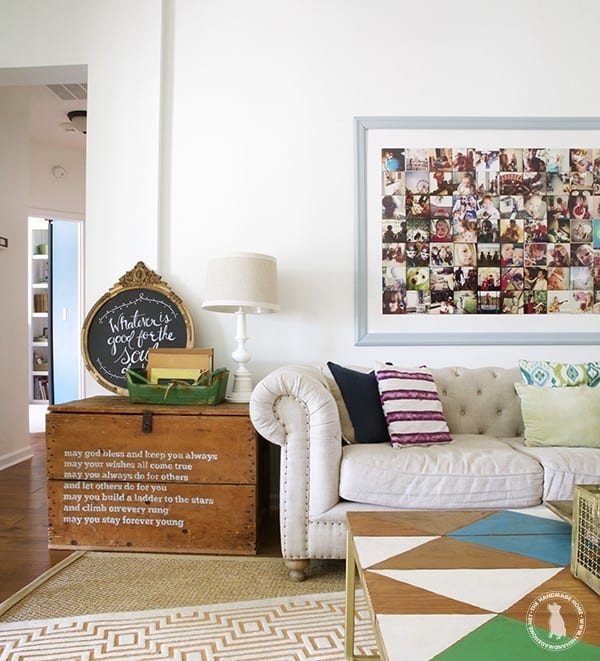
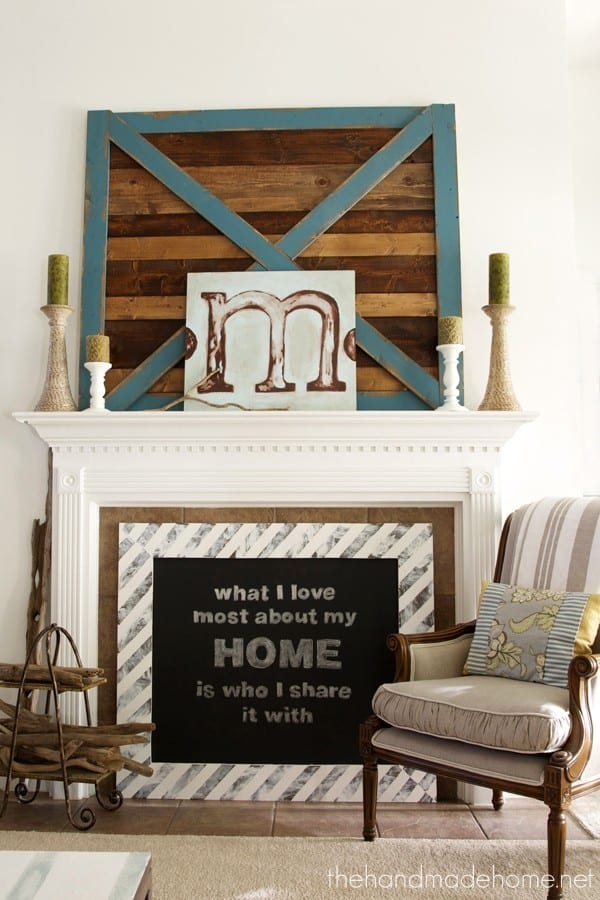
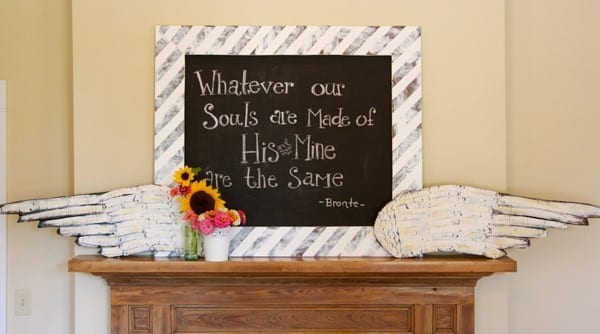
From inspiring quotes,
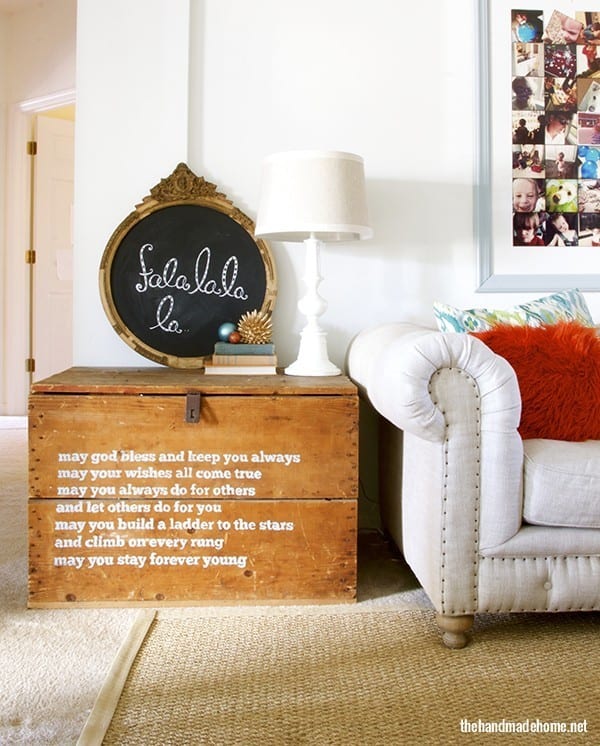
To a little holidaisical hooplah,
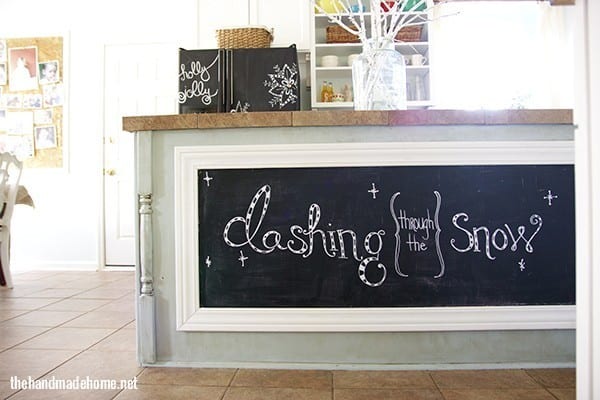
Seasonal updates,
Weddings,
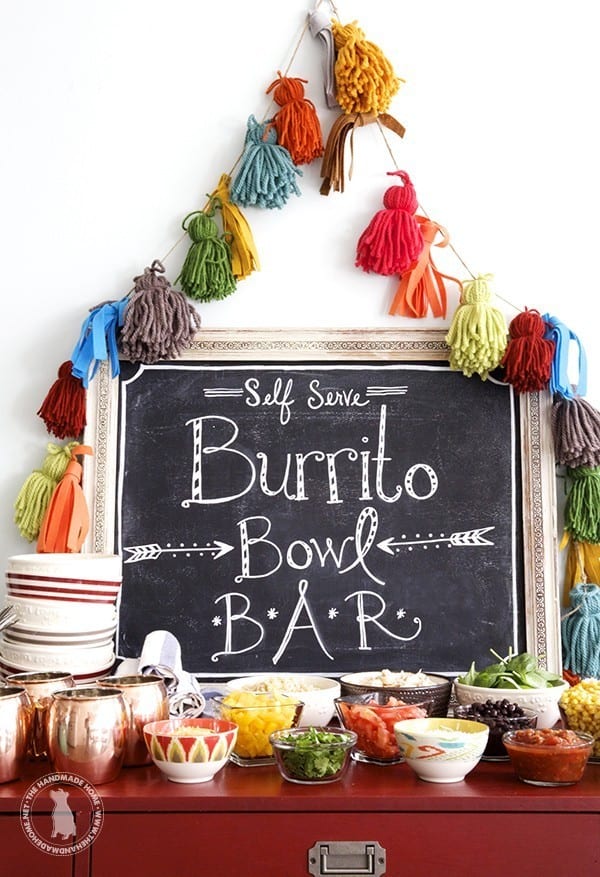
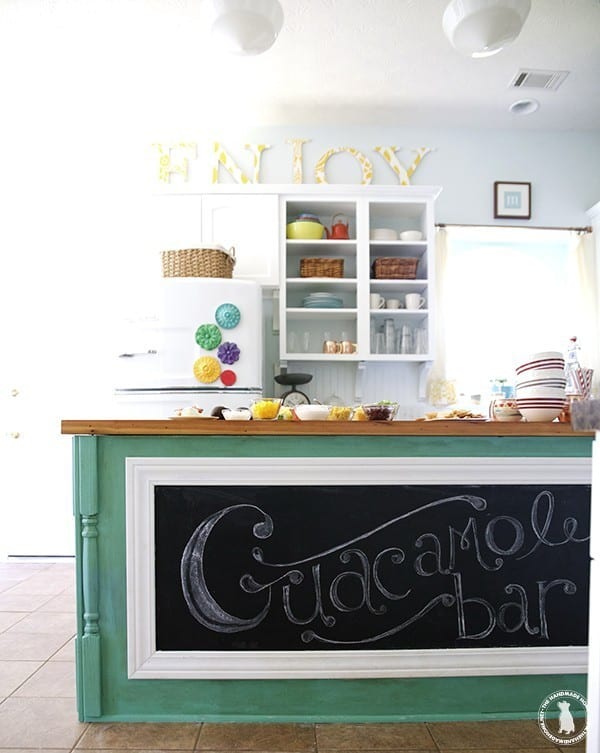
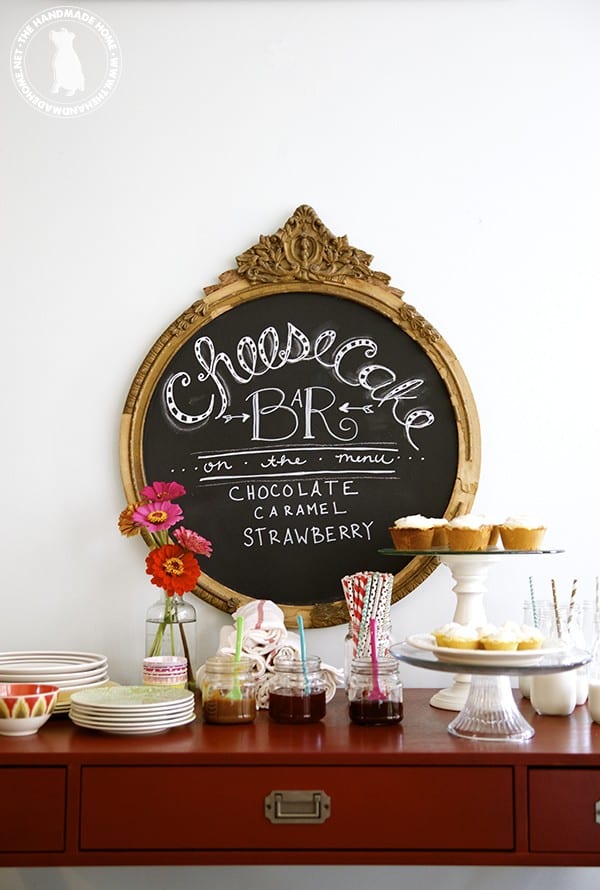
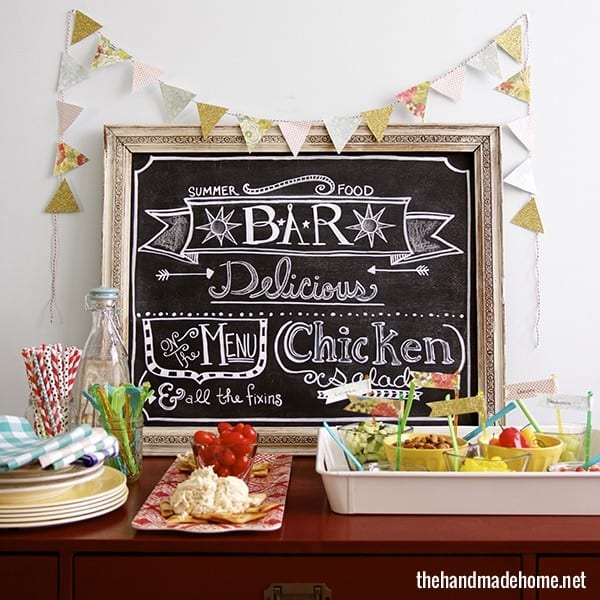
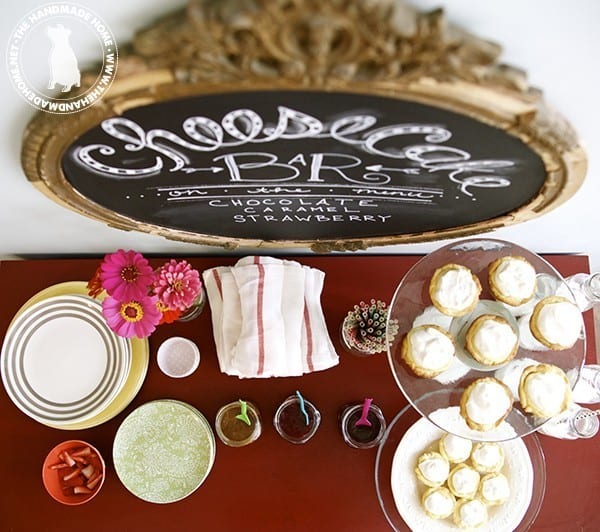
Menu planning,
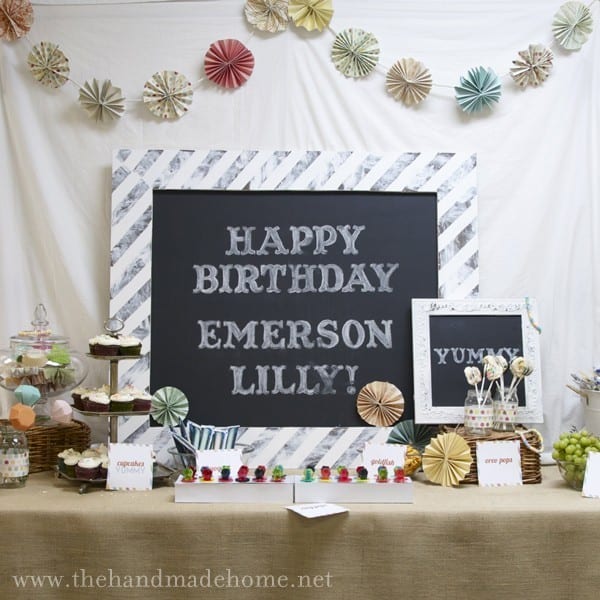
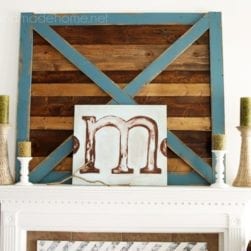
Birthday setups,
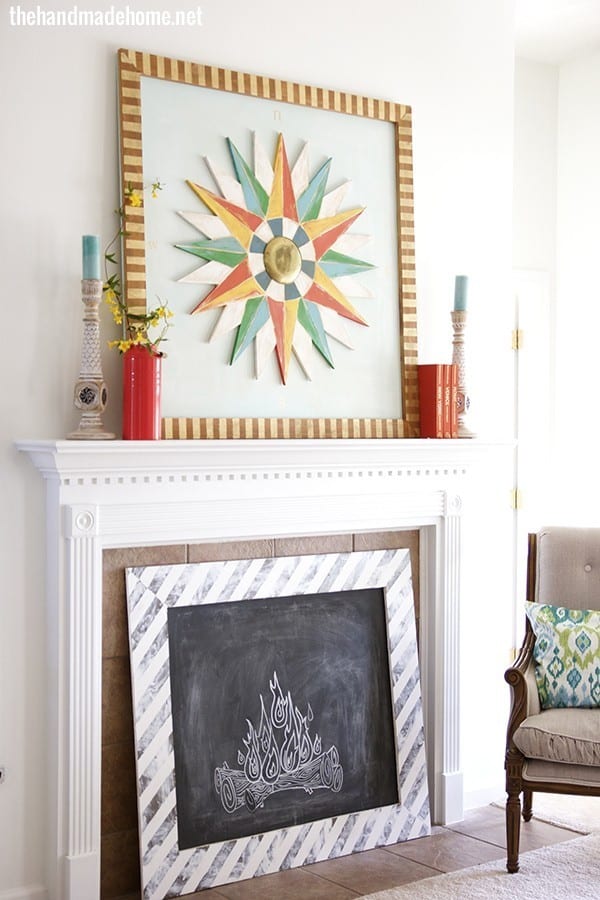
And just every day stuff…
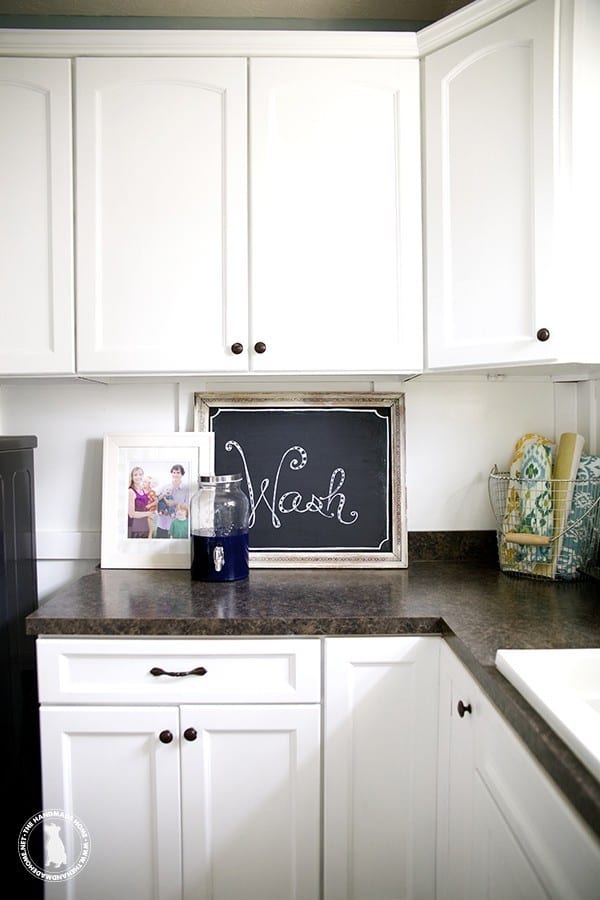
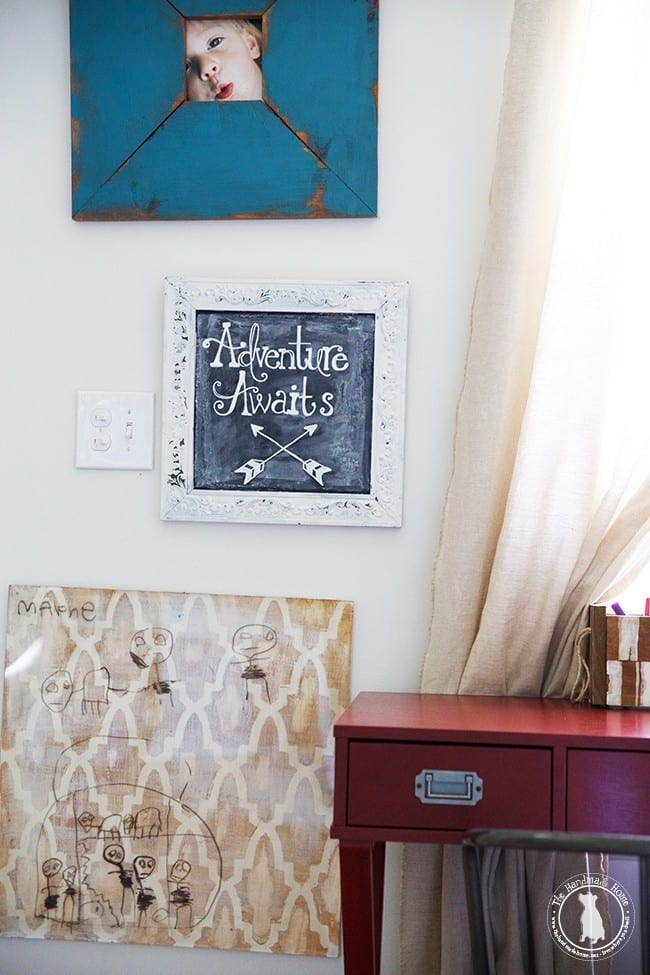
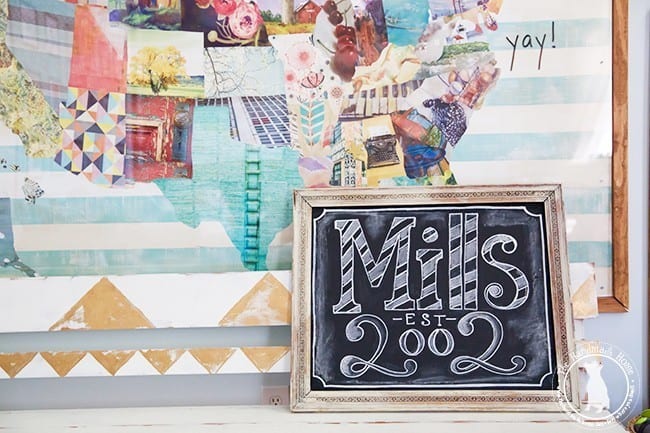
They’re the perfect little interchangeable-on-a-whim accessory for your home.
We’ve used them consistently over the years, just a few boards switched out for a fresh change… and we’ve absolutely loved doing it. So today, no matter how un-fantastical we feel about our little chalkboard creations, we thought it was worth sharing a few of our favorite tips and tricks for fun chalkboard art.
It’s something anyone can do, it’s free, fresh, and inspiring. So without further ado, here’s a few of our fave takeaways from creating over the years.
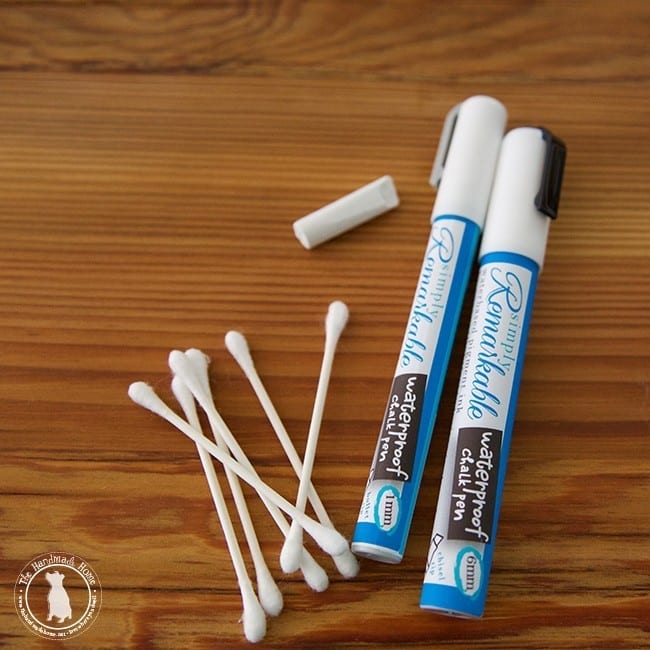
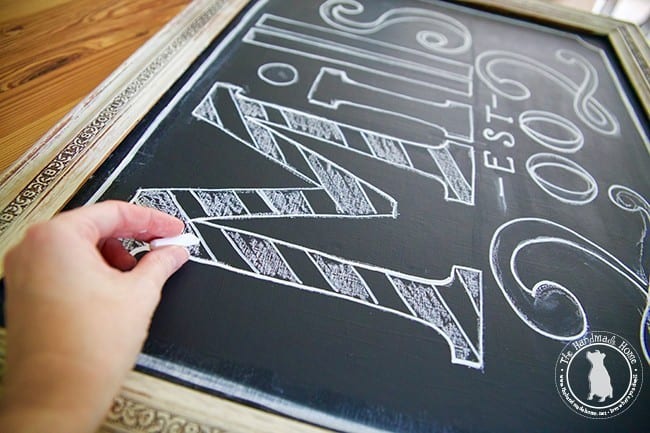
1. It’s all about the tools:
• Your secret weapon: Pens like this (in 1mm + 6mm) – will give you the best contrast on those boards
• Chalk – for shading – because sometimes you want the shading, and sometimes ya don’t. But it’s fun to have a variety of tools.
• Q-tips • Paper towels • Water – because it’s just as much about what you’re taking off, as what you’re putting on. This will help you define those edges and keep it looking fresh. If you make a mistake… no biggie. But more on that below.

2. Be aware of what you’re buying.
We’ve seen this happen all too often, and we’re not sure why, but there are too many individuals out there that are selling “chalkboards” that aren’t really made with chalkboard paint. It’s a flat black paint, and you won’t get your best results with that… nor will the chalk stick.
There’s really no point to it, beyond the chalk markers. So we recommend buying in person, to make sure. It should feel like a real chalkboard when you run your hand over it. If you receive one that isn’t “real” just give it a coat in actual chalkboard paint.
Make sure you have an actual chalkboard that you’re working with, because that can make all the difference in creating your authentic art.
3. Condition your chalkboard.
It helps to condition your chalkboard before you get started. It’ll get rid of those permanent marks other art can leave behind, if you don’t. Just turn your chalk sideways, and go to town. Wipe it clean and create your art. I’m sure there’s something more technical about it, but it’s how we roll.
4. Have a plan
Don’t be afraid to use a straight edge if you want straight lines. And chalk to plan it out, before you begin. I think we all tend to be dismissive because it’s a chalkboard and that seems silly. But if you wanna rock it, have a plan.
I learned it helps to get over myself and know what you want your art to look like when it’s finished. Spatial consideration and hiearchy can go along way. Right along with actually knowing what you want to write. It doesn’t just magically come because you’re writing on a chalkboard. Though there are those people out there like those professional peeps they hire for stores… they’re basically my heroes in the art-on-a-whim department, those little magical elves that create cool stuff. But I’m pretty sure they plan it out, first.
Plan it lightly with your composition, correcting mistakes before they’re made. It helps to have a plan.
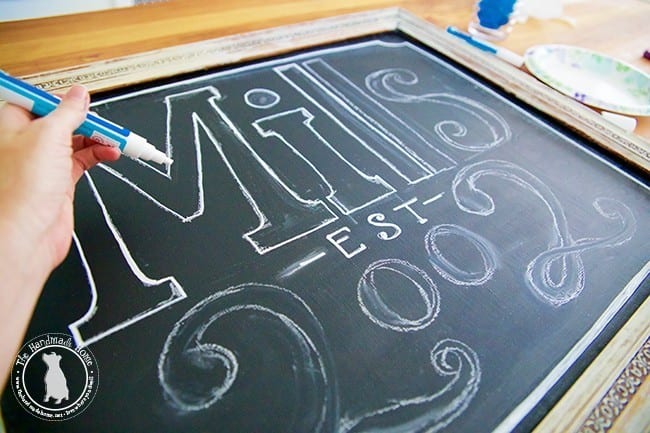
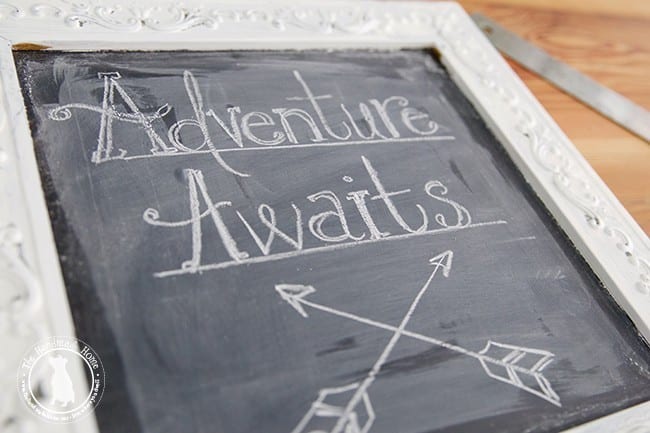
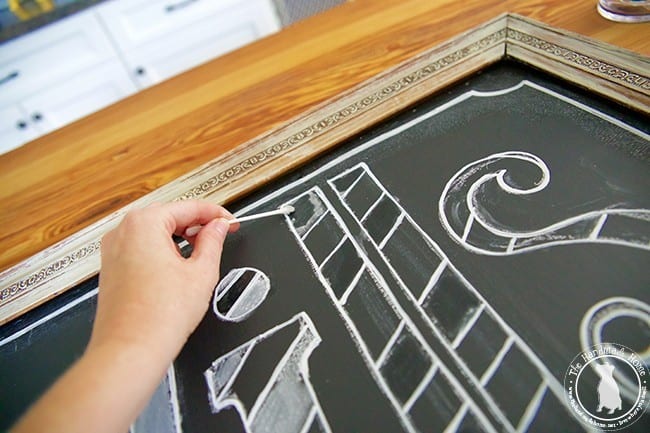
5. Fill it in
With that fun marker – all the brighter points you want to hit. It’s what really makes those chalkboards pop. Not all of ours have them, but since we’ve started using them, we’re kind of addicted.
6. Shade it
With your chalk. It helps to bring in more dimension and real interest. Whether it’s just the background, or a fun contrasting shade to mix in with it all, depending on your design it makes for that great chalkboard feel.
7. Mistakes are okay
Don’t be afraid to mess it up. It’s just a chalkboard, after all.
This is where your water, Q-tips and paper towels come in handy. The Q-tips can help define and fix those tiny blunders, while the paper towels can help you when you’re ready to curse yourself and start all over again. ;} It happens. But you know what they say about practice…
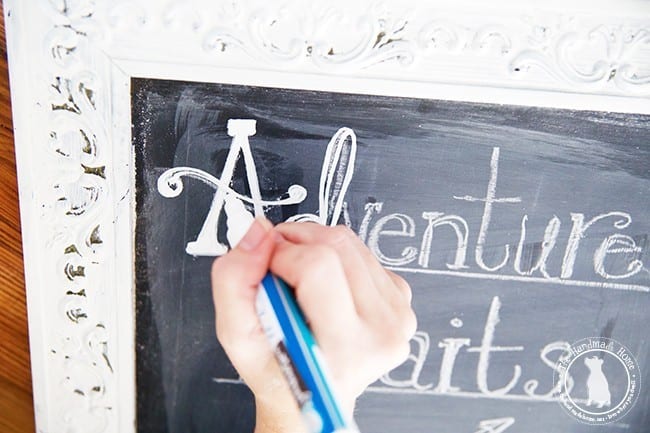
8. Create as only you can
Your handwriting is what makes your creations unique. Don’t stress if it’s not perfect, or what you pictured. It will be adorable, especially the more comfortable you become with creating!
And if that still doesn’t work for you…
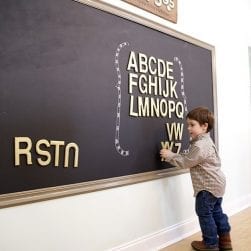
9. Cheat
See Emerson’s birthday party board, above. Sometimes, it’s also totally okay to score an old school projector and go to town with a pre-created font. Those make pretty creative little art pieces, too. And it can be fun to m ix it up with various fonts.
There’s tons of inspiration to be garnered out there with chalkboard art. And the possibilities are kind of endless.
We hope this helps you get started with some of your own sweet creations in your home. As always, we’d love to hear your advice for creating your own – we know we didn’t cover it all. What are some of your fave tips?

Have an inspired day!

I’ve tried those chalk markers and they don’t seem to come off…what do you clean your board with before the next art piece? Water? Maybe it’s b/c I was using the markers over chalk paint and not a true chalk board? Help!
Hey Julie – great question! I have found that it’s different for every single thing – markers + chalkboards. Sometimes, I use a clorox wipe and that works. Sometimes it won’t come off. I keep chalkboard paint on hand for those times when the chalkboard needs a little touching up – it’s my cheater’s trick for a “clean slate” – that probably isn’t much help but it’s what I use! ;}
I’m not sure I could ever create the look you do, however, I now know the correct tools and approach. I’m going to give it a try! Thanks.
Very Cute Party Ideas!! I was excited to share! I just wanted to let you know when I tried pinning images kept coming up as invalid.
Hey Jennifer! Thanks so much – we’ll look into it, but it’s working fine for us. Maybe it’s your browser? Please let us know if it happens again. Thank you for stopping by!