
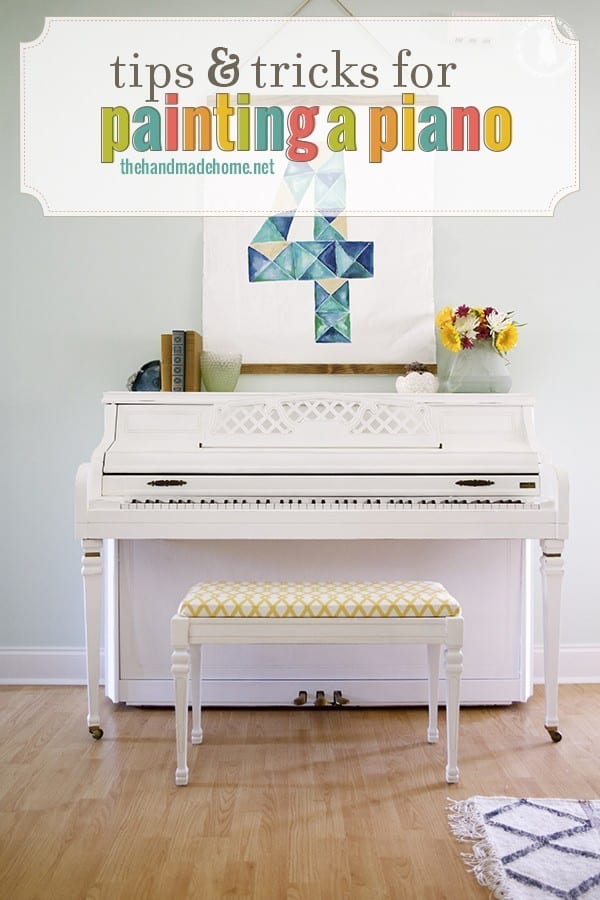
tips and tricks for painting a piano
Remember this Living Room Reveal a few weeks ago?
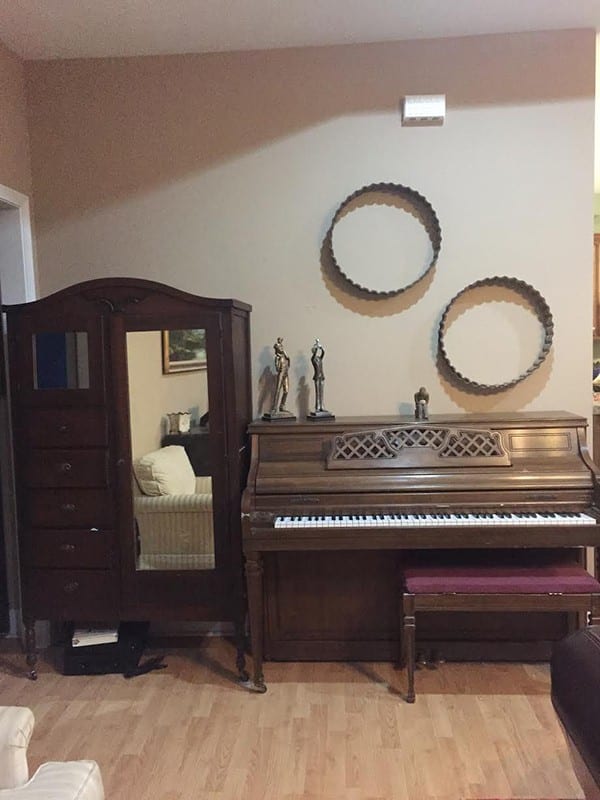
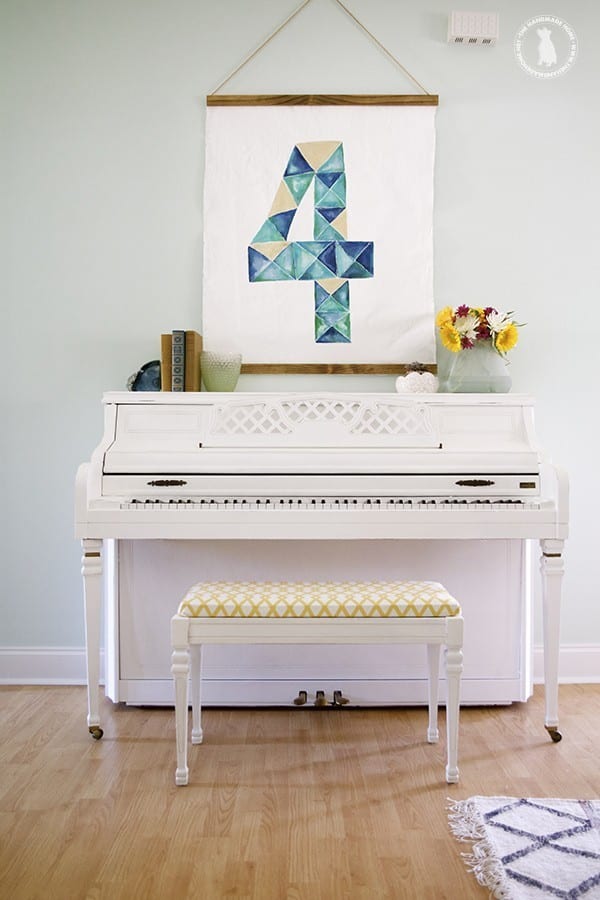
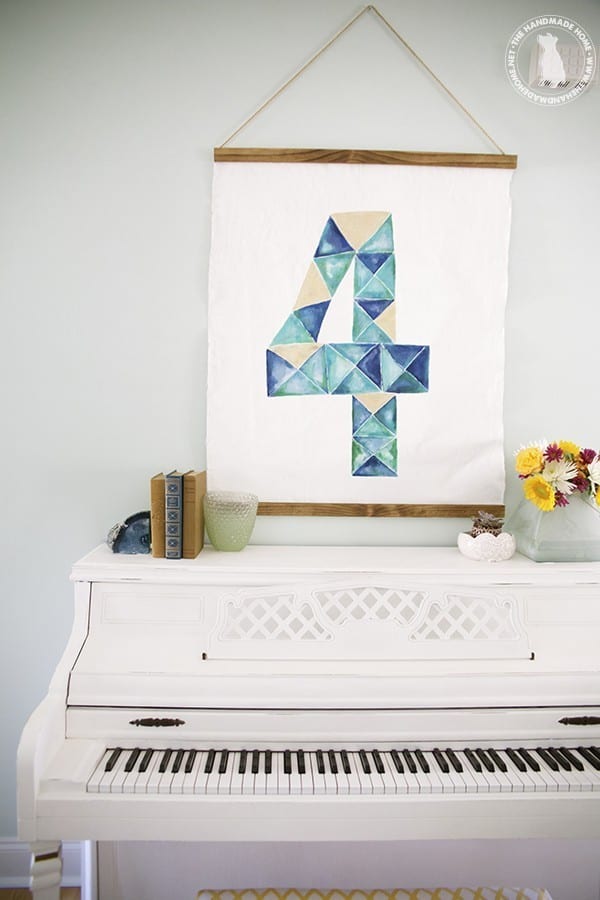
Ginger and James are still loving their painted piano, and some of you wrote in wanting to know a few specifics on how it was painted.
Unfortunately, I don’t have any in-the-meantime pics, as we were at their house refinishing it, and in a rush to put the space together, forgot my camera for those shots. I know. My bloggysenses totally failed me. But today I thought I would share a few of the details and some tips + tricks for painting a piano of your own.
This was really a great little project… so much fun that I fully intend to pick up a piano off of craigslist as soon as space allows. Emerson has long piano fingers, and I don’t plan on letting those go to waste. Isn’t that all it takes? {Insert sarcasm here} I have freakishly long finger toes so she gets it honestly. We must strike while the iron is hot in the musical inspiration variety department. The boys too as far as we’re concerned. Nashville here we come! Yay for traveling family bands. I’ll play the washboard.
I may actually learn myself. Wouldn’t that be funny amazing? Brace yourselves for the merciless uploading of chopsticks to insta any day now. Good times.
There are a bazillion and one different approaches to this, but for this project, we used Chalk Paint. If you’ve been reading for a while, you probably know in the past we’ve been less than enthralled because we’re definitely latex people. But this was a great option for literally no sanding, rolling the piano out into the middle of their living room, and refinishing it all in one fail swoop {plus a couple more passes}.
Everyone’s experience will be different, but we loved the result and thought we’d share.

So here’s a few of our fave tips and tricks for painting a piano:
1. Brace yourselves.
Yes, this is my first tip. A few of you guys wanted to know how much work it was, and it is not a project for the faint of heart. But as you can see, it yields results that are totally worth it in the end. So just be ready to give yourself a little time, grace and patience. If I were begin realistic, this is a project that with this approach, that takes the better part of two days. If you go into it knowing it’s a good bit of elbow grease but well worth the work, you’ll have a successful project. You can do it!
2. Prep it.
For this project we used Chalk Paint in pure white. But before we began, we wiped it down with damp cloths, sure to get all the little dingy crevices. When we were ready, we moved it to a drop cloth, and taped the areas we didn’t wish to paint. This was mainly to protect the keyboard. I forgot to bring plastic to their home {winning} so we used some plastic ziploc bags and tape to cover that keyboard. It was a happy accident that made a perfect fit. We also took off the sheet music holder thingy {Yes, I am brilliantly technical with my words} so that both sides and underneath could be painted as well. The cushion for the seat was also removed so we could paint the seat. Of course the beauty of Chalk Paint is that you need no primer. The paint serves that purpose itself, so be prepared to do a few coats – more on that below.
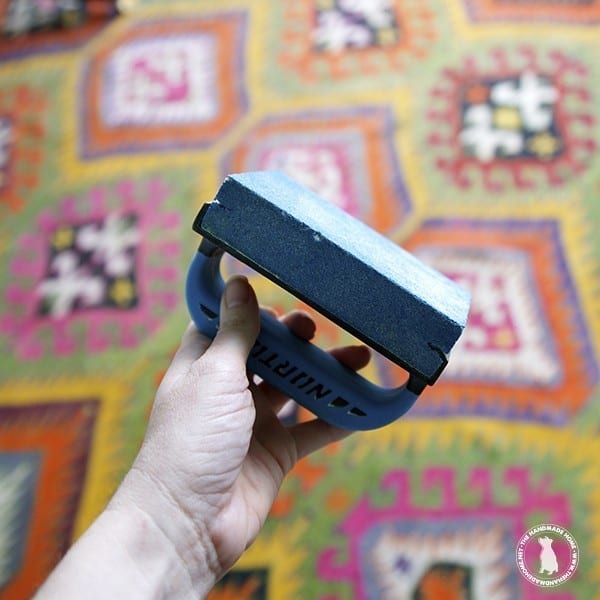
3. Use a variety of brushes.
We used a standard brush for a lot of the painting, but then for areas we didn’t wish to cover, we used smaller craft brushes. I literally grabbed a handful from the local craft store, and used them for those places like the metal handles on the front that were impossible to tape, and the brass sections I couldn’t get to with tape. If you mess up, simply follow up with a wet rag and clean up your mistakes. Another thing we love = the easy clean up. Ya just can’t beat it for big jobs like this.
4. Let it dry well in between each coat.
With an old piece like this, some of the stain started to bleed in between each coat. I had a small panic attack, and then realized I wasn’t giving it enough time to dry in between each little session. It needed plenty of time to seal in that stain. If that starts to happen, don’t worry. Just give it a few hours to dry… and try again. Honestly, I would probably give it at least 3 hours in between each coat to ensure drying time, maybe more depending on your climate and the weather. Just take your time and be patient because eventually the stain will be killed.
Die old laminate gross fake stain finish. Die.
5. How many coats?
Again, depending on the piano and the color paint you use, along with drying time in between each coat, expect between 3-4 coats. Slow and steady wins the race, y’all. Yehaw!
6. Sand it.
I didn’t bother with sanding until the end, with areas where you could see brush strokes or anything that got a little goopy. But I went back with an extra fine {220 grit} sand paper and smoothed it out in some areas.
When I was happy with the over all look after touching up in some areas {clean it up before you go back with the paint} I distressed in areas on the very edges to add age and interest. It went from scary 70’s brown to delightful cottage addition with a sweet little finish.
Then I wiped it down to clean it off before sealing it with the wax.
Ps. hand selfies are awkward. Usually I have the whole raptor approach, but today I was going for a mutant-with-talons variety.
7. Seal it.
With the wax, I simply took an old cloth and working in small areas, rubbed it on and then buffed it off, until the chalky finish became a nice sheen. It helped seal on that paint. For what it’s worth, I think it takes around 30 days for paint to officially cure, but of course I don’t wait that long because I’m impatient like that.
Just be super careful after a few days, and be sure to use felt with placing anything on top.
Keeping it real: I kind of think touch-ups are inevitable any time you paint something. The beauty of chalk paint is that it easily touches up and is a low maintenance, low fume option for refinishing any old piece. We were super happy with the great finish.
As always, let us know if you have any questions and we’ll be more than happy to answer! There’s more than one way to paint a piano, and everyone’s situation will be different. But we were thrilled with the great transformation!
Have an inspired day!
My husband saw this and said, “You should paint our piano.” I am amazed. I’ve thought about it over the years, and I have used chalk paint for other projects. So, I’m seriously considering it. Thanks for your thoughts on the project.
This is just perfection! And it helps that you make me laugh constantly. I just may have to try this! Thank you as always for sharing your tips!
I’ve been waiting for this. Fantastic
Love the results! SO I gotta know…did you DIY the chalk paint or splurge on a premade brand? Ive tried both but been disappointed with the …chalkiness of it. I prefer a super smooth almost slick finish. So i have stuck with the tried and true prime, sand, latex, seal with lots of sanding in between! But Chalk paint sure does sound appealing! It sounds so easy!! If you made your paint, what recipe did you use?
What did you use to clean the piano keys?
How did you go about painting the keyboard cover? I recently acquired my grandmother-in-law’s beautiful piano and I REALLY don’t want to mess it up when I paint it. Any tips/trick would be greatly appreciated!
Hi Natalie, this project is a little older, but if i recall correctly, we just covered it with frogtape + plastic, and then used a smaller brush to reduce the risk of dripping. Also see this project here where we painted another one with a shot of the actual keyboard part and how we covered it – hope that helps! https://www.thehandmadehome.net/easy-peasy-guide-painting-piano-kilz/