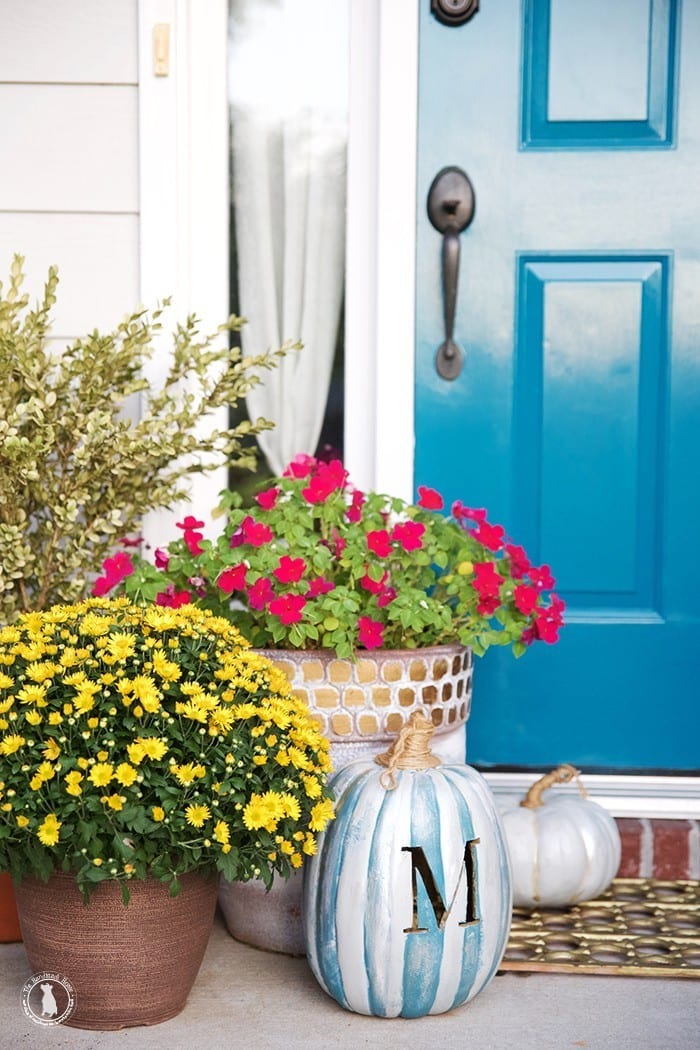
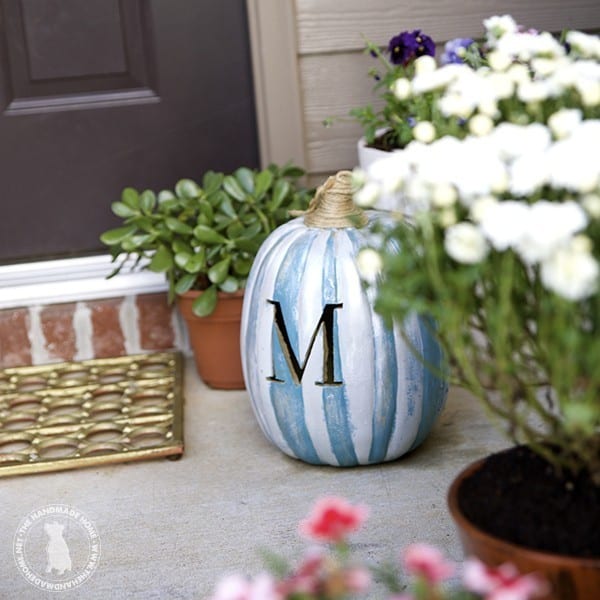
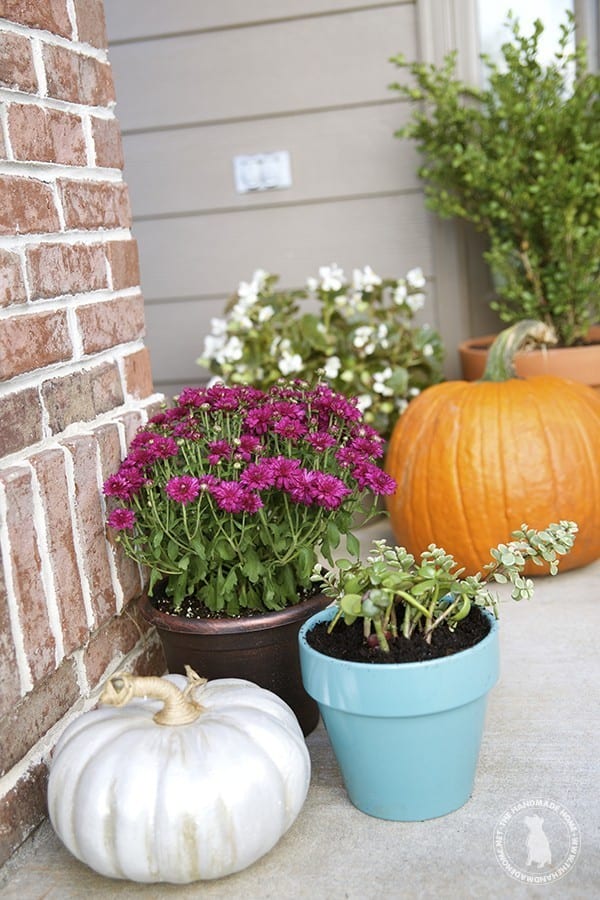
In the past, breaking out the pumpkins and mums were like a rite of passage and fun for the front door. It’s all fun and games until I kill said mums, {I mean, tell me I’m not the only one? Every. Year.} but that’s a moot point. We were never sure what to use, or where to get great, stylish one-of-a -kind wreaths for our door.
 This post was originally written last year, but we thought we’d share it again since old content is buried a little too often, and these are well, classic. ;} And bonus: You can get a glimpse of what our door looked like before we refreshed it last spring!
Because let’s be honest… it will probably still look like this by Christmas… {cue dead mums and all} so we may as well deck it out in style while we can.
A few of our favorite wreaths for fall:
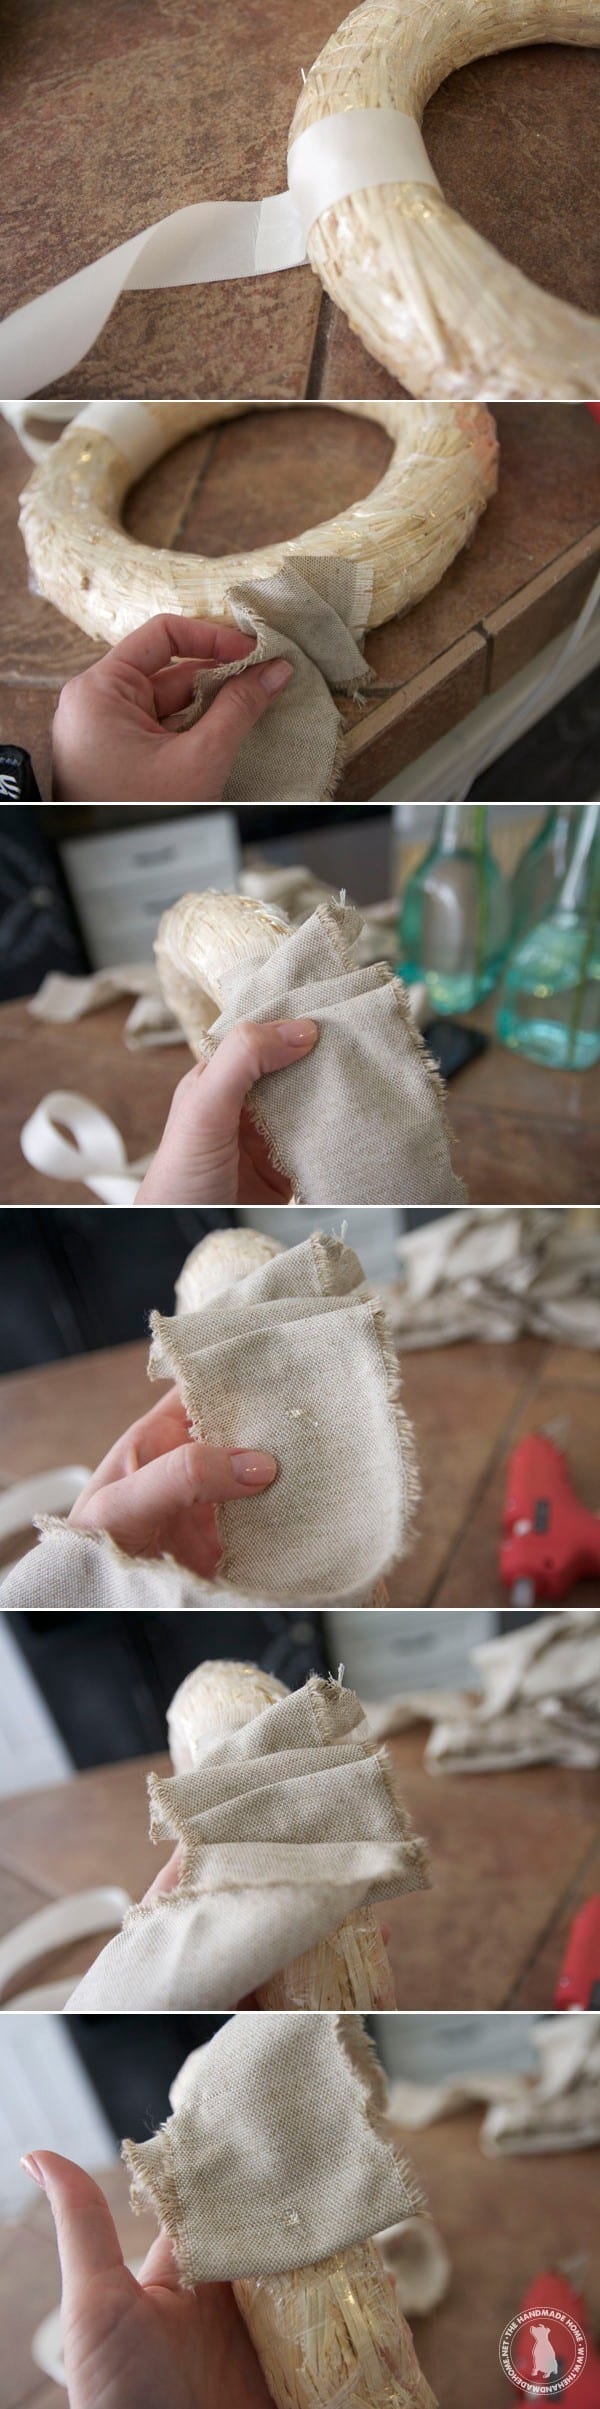
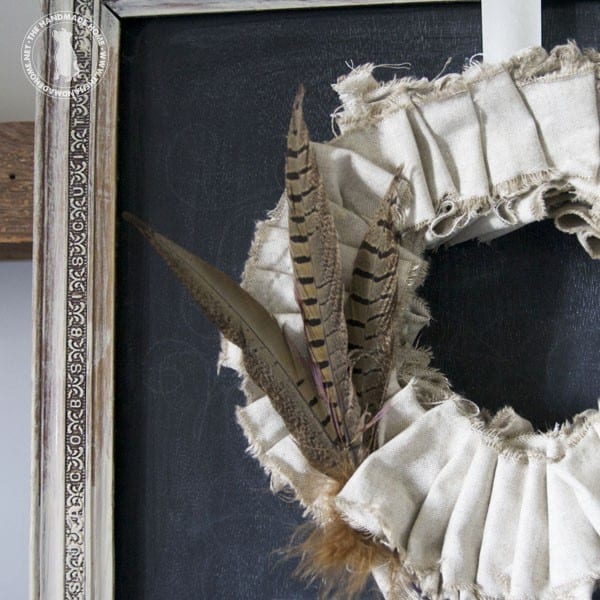
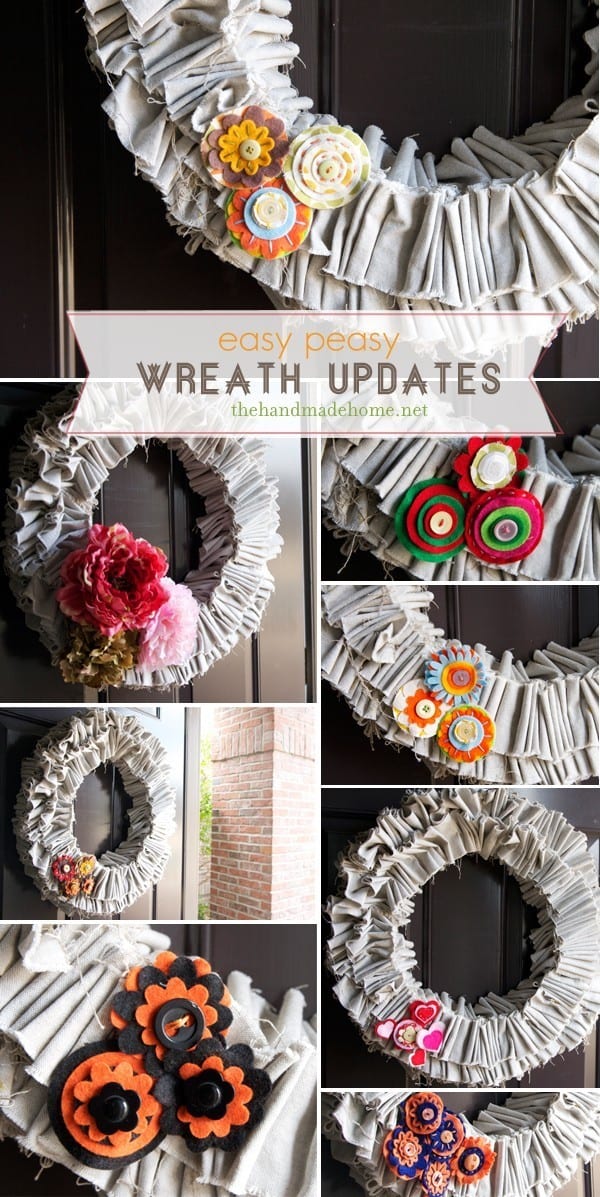
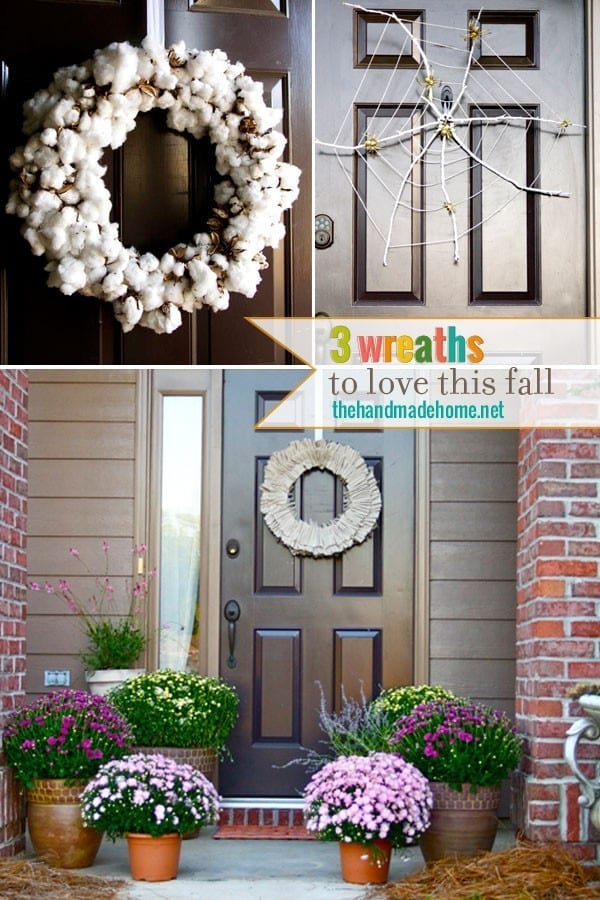
First up: the ruffle wreath. Also known as old faithful around our home, we’ve used this wreath for years. This one in particular has probably greeted visitors on and off for four years, now. We just seem to come back to it time after time. We’ll give it a break for a while, and then bring it back. It’s the never-gets-old-wreath.

What you’ll need:
• A few fabric scraps {how much you will need depends on how large your wreath is, how wide your scraps are, and how big your ruffles will be, but no more than half a yard} This one was made from some fabric no longer available in our old link, but burlap, linen or any basic cotton will be just fine.
• One of those plastic wrapped hay wreaths from your local craft store.
• Ribbon for hanging {we just put hot glue on the top of the doorway} + a hot glue gun.
Simply decide on the width of your fabric and after using a slight pre-cut to start it for you, tear it into strips. {The raggedy edge just lends to a fun look.} I went ahead and positioned the ribbon for hanging, and then started positioning the fabric. Starting on the side, crinkle your fabric, eyeballing it as you go, and secure with glue.
If working on the wreath in sections, do the outside, then work your way to the inside. Save your front to hide those edges. Basically just play with it as you go. {One word of advice: watch your fingers. And the metal on your glue gun, because they are inherently evil and will scald your fabric + leave brown spots. Boooo.}
It’s perfect for switching out simple embellishments as the seasons come and go, or leave it simple + plain. There are so many ruffles, that you can secure different things in hidden spots with hot glue, and even fold more fabric over it to cover when you wish to remove it.
I’ve even layered fabrics + felt in the past, covering them with various project ideas. {Check out the link here for tips on these little felt embellishments.}
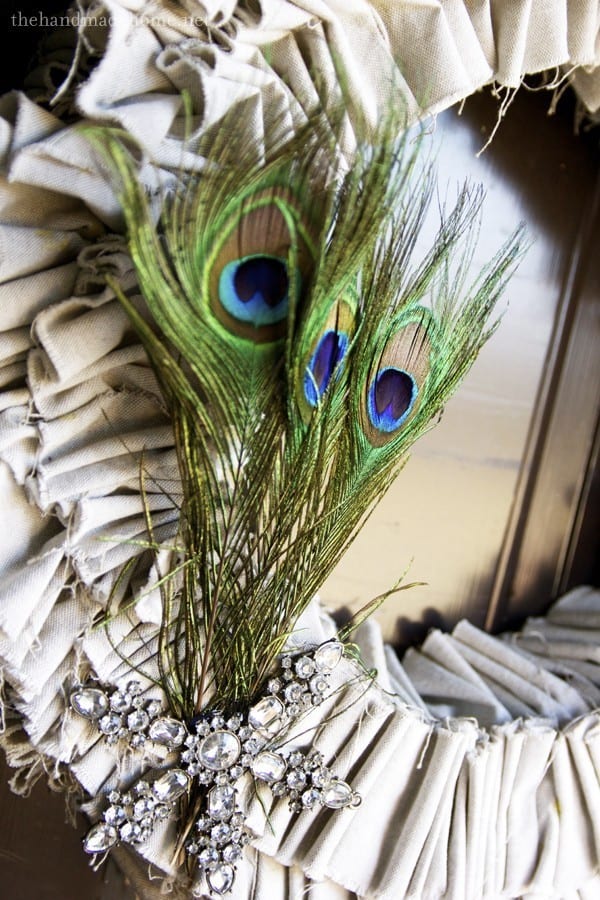
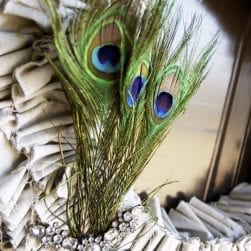
Last year, Christmas called for half an old broken ornament and peacock feathers. Roll with it.
This year, per the kids’ request for more ‘spooky’ things in our home, {I’ve officially lost my mind when I purchased that talking skull from Target} I picked up two giant google eyes in the dollar spot {because, duh. Who doesn’t want two giant google eyes?} and embellished with two pieces of card stock for some giant teeth. Don’t laugh. It was per request. When Halloween is over, we’ll give it another look with some fun feathers or leaves for November. Tada! An easy, low maintenance, fun wreath.
This one looks like those weird muppet things with a bit of an underbite problem.

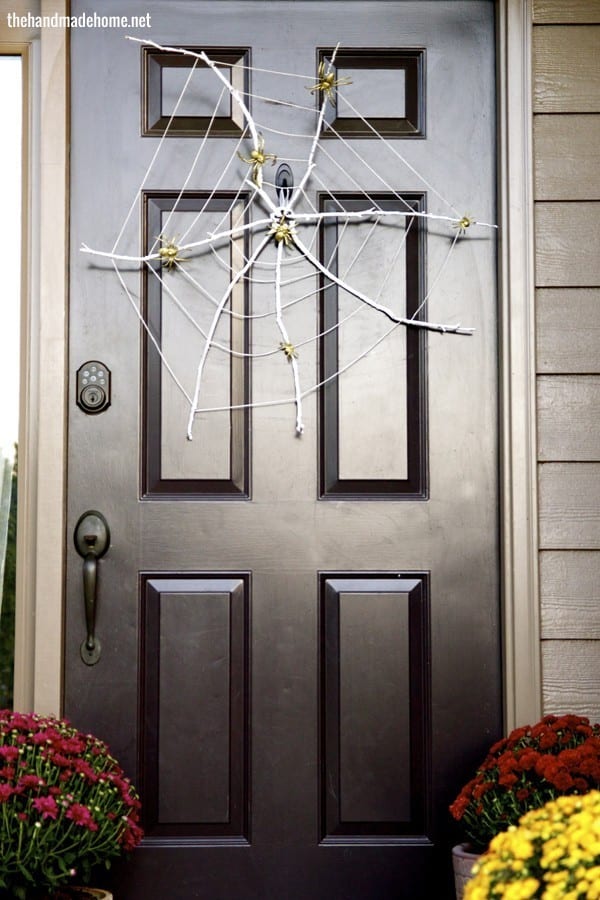
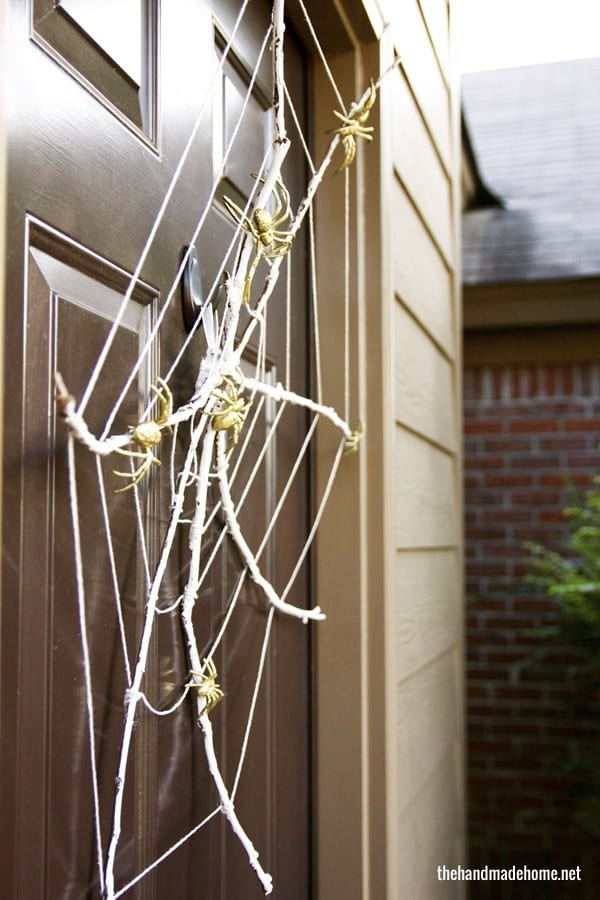
 Next: The creepy crawly wreath.
Perfect for all things Halloween festivities and even any of you who may have just wrapped up Charlotte’s Web in the reading department with littles, it’s a fun wreath with lots of possibilities.
What you’ll need:
• Twigs {choose some that aren’t too crazily shaped and fairly straight – our kids picked some from the back yard}
• Twine or yarn
• Spiders of any kind, {we spray painted them gold so they weren’t quite so creepy}
• Something for your center – ours was the center of an old tape roll {anything from a ribbon roll or circular – even part of a toilet paper roll cut to a thin sliver would also work. Anything not too thick will work best}
• Wood glue + hot glue gun
• White spray paint
Place your center face down, and taking your selected twigs, place them on top in the design you wish to use. We had seven total. We secured each one with a combination of wood + hot glue. The hot glue was for immediate placement while the wood glue dried.
When the glue is dry, flip it over and give it a fresh coat of white paint.
Once dry, we took some white twine, and until the wreath felt “full” {This was five rows for us} we wrapped the twine around each twig once until a row was created. Then we cut it free, and started on the next. On the back of each one, to make sure it stayed in place, we gave it a small dab of hot glue. Since this will be outdoors, we figured this would help it stay in place a little better.
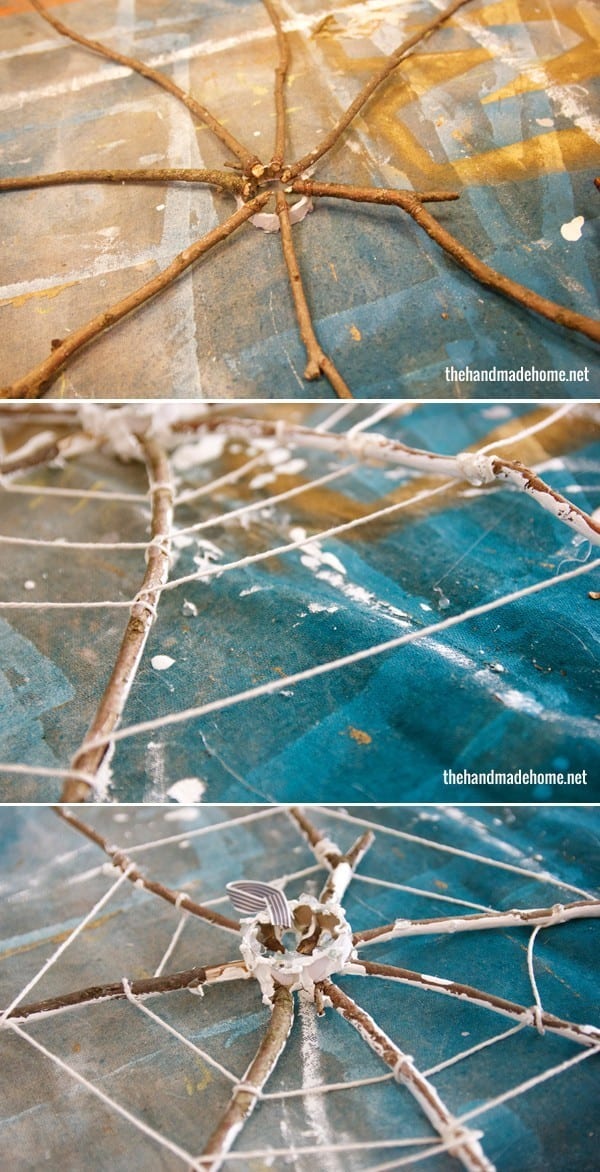
Also on the back, I took a small piece of ribbon in the center, looped and glued it. It sits nicely on an outdoor hook on your door.
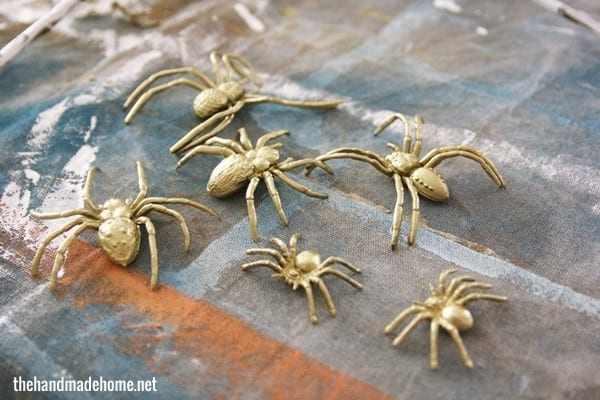
Now for the fun part: Add all your little creepy crawlies! Tada!
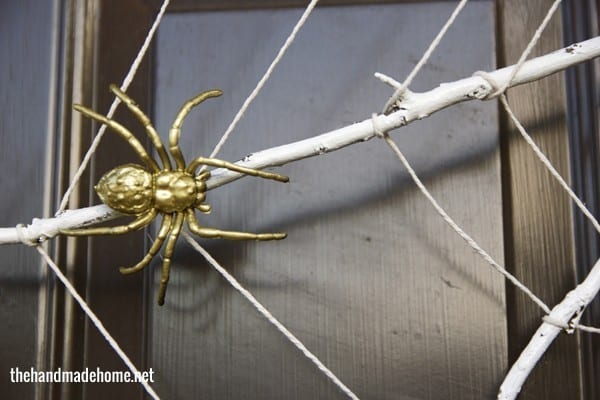
It’s a super fun wreath for all things “spooky.” You know… without being too spooky.
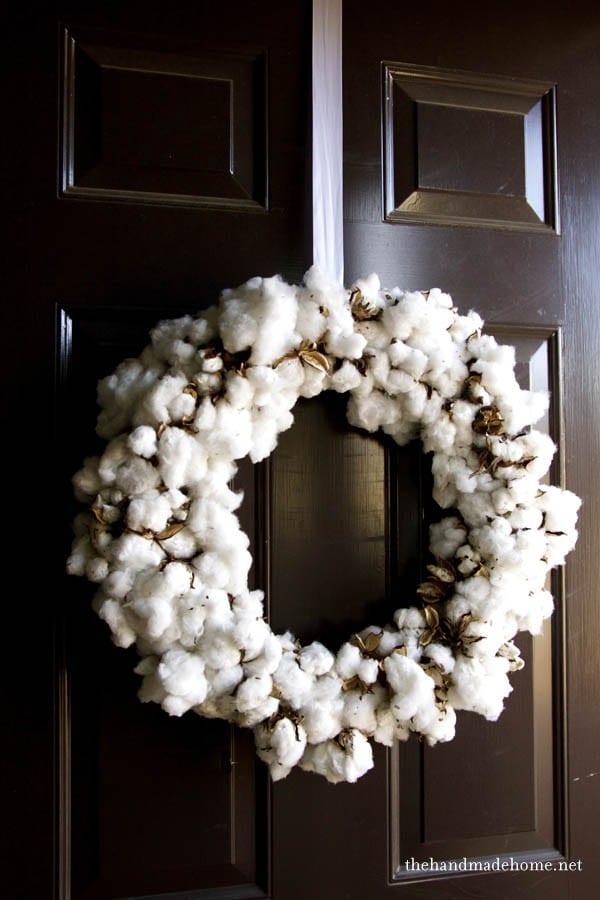
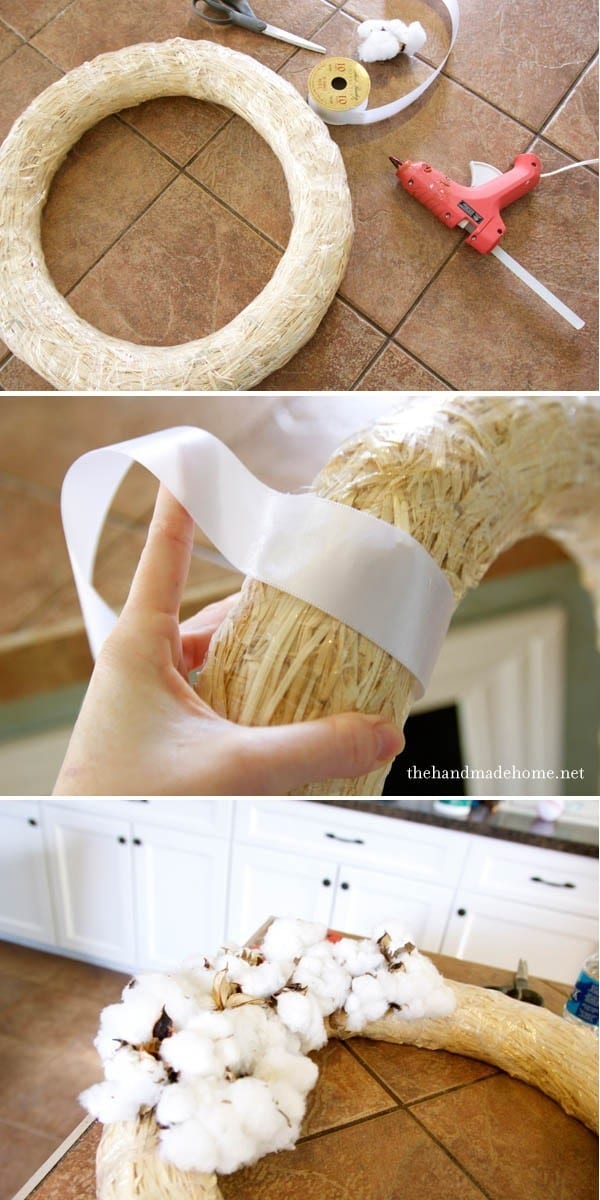
And last but not least: the High Cotton Wreath
If you’re a long time reader, you probably know we simply love all things cotton. It’s a great year round kind of wreath that works in any space you can think of, for a little southern spunk.
What you’ll need:
• Cotton – we found some recently at our local craft store {but it cost a pretty penny} so we recommend farmer’s markets, and the simple art of asking around. We actually had a farmer friend send us some after asking about it on Facebook. You never know what you’ll find through social media!
• One of those plastic wrapped hay wreaths from your local craft store.
• Ribbon for hanging {we just put hot glue on the top of the doorway} + a hot glue gun.
First things first, attach your ribbon. Then simply cut all stalks to the bud, and glue it on. Just like the ruffle wreath above, we recommend working on the outside + inside first, and the front last to hide any unsightly edges. Tada! You have yourself a fabulous fluffy wreath of your own. A great wreath for all seasons, if you ask us!
So there you have it! Three wreaths just perfect for celebrating all things Fall. We hope this gives you a little bit of simple inspiration for your home and the festive times ahead!
Have you guys tried any of these before? We’d love to hear! Have an inspired day!


I love these wreaths guys! Thank you for the inspiration!
I have a wreath-related question: our house has double front doors painted black that I love, but I have a hard time decorating them because there are 2 of them. They are solid doors–no cool windows or side lights or transoms, so they are a big block of black on the front of our house, so I want to break that up a bit. My problem comes in how big to go on wreaths or other decor, the standard size wreaths look too big & the whole thing looks busy, but smaller ones seem cheap & dinky. I’ve thought of trying a more vertical decoration, but I’m not sure what. Any advice, suggestions, or pointers would be most welcome!
These are so great! I love your ruffle wreath!
Oh, I would love a cotton wreath and wish I could find an inexpensive source. Your other wreaths are so creative as well!
Really love these ideas! I might have to try the high cotton wreath this year. As a newbie wreath-maker, I love how simple each of these ideas are!
Caylie | https://soulpaletteblog.wordpress.com/
I love how unique all your ideas are. The versatility of the ruffle wreath is my favorite!