Hello lovelies!
We’re back today with a fun little how-to for one of our fave elements in Emmy’s big gal room. Because sometimes, it’s the little things that can make a big impact. ;} (And with all these projects we’re about to share, we thought we would start small.)
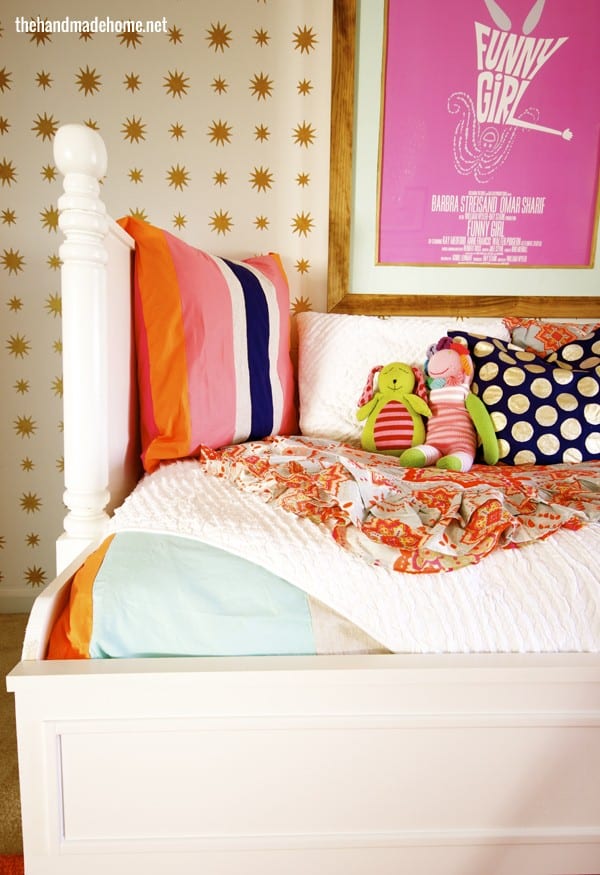
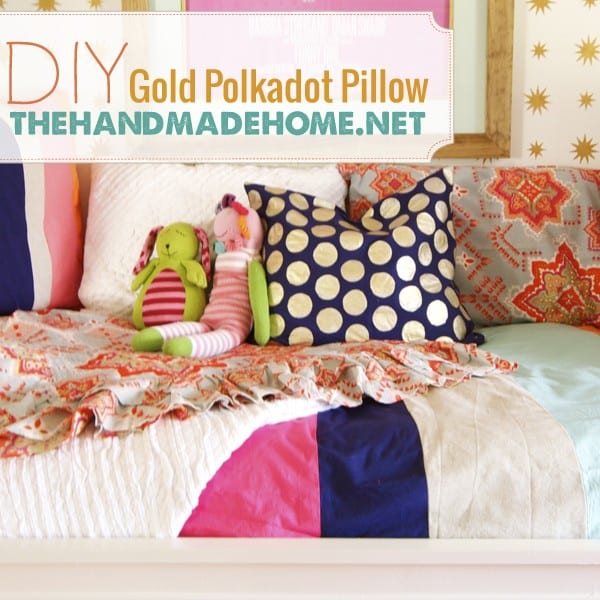 This fun little pillow was a simple piece. It added a focal point amidst some fun patterns with it’s high contrast and a touch of gold sparkle for her bed. It was a simple afternoon project, and today I thought I’d share our little how-to with all of you!
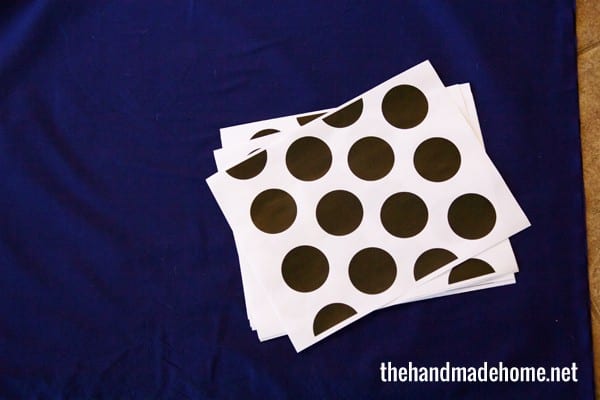 I started out with Michael Miller’s Broadcloth in Navy, and two pieces of this fabric cut to the size I wanted my pillow to be, for the front + back.
Remember this tragedy? Wash. Your. Fabric.
Note: If you’ve never sewn a pillow before, you may want to give it a test run before you try… but always allow at least a 1/2 inch seam allowance on all your fabrics you plan to work with. This gives you enough space to work on each side with that sewing machine.
I designed a polkadot pattern in illustrator, and printed out multiple copies of it on 8 x 10 paper. You can get this very same pattern on our freebies page. {Just look for polkadot pattern.}
 I laid each piece on my fabric just like I would a stencil, so I made sure I had the right size.
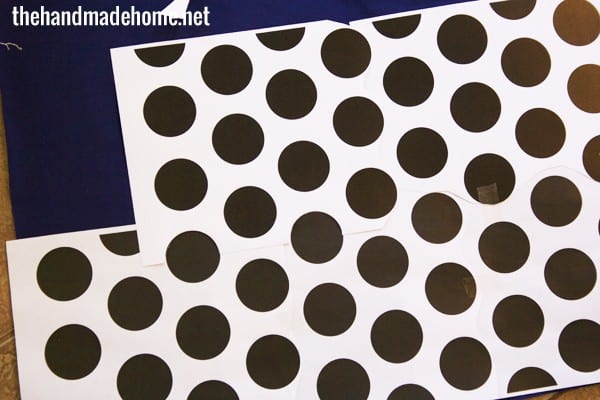
Starting on one side of my fabric, and working my way out: If you look closely, you can see where I took a pair of scissors and simply adjusted the paper as I went, layering the pieces so I could see where one dot ended and the other began. Tada! I had a consistent pattern.
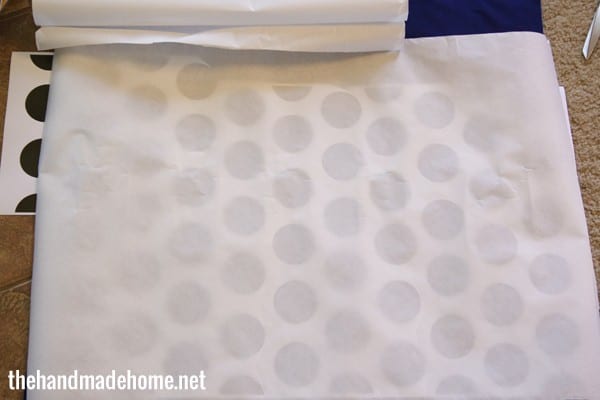 Next, I rolled out the freezer paper, glossy side down. I made sure it covered my main area, and then used smaller pieces to finish up where I was missing any dots.
If you’ve never used freezer paper before for “poor man’s screen printing” you’re missing out. It’s one of my favorite little processes. You can see where we used them in the past here, here, here… we’ve done quite a few but this should give you a good idea. ;} If you have kids… it’s a must-do in our book. ;} The possibilities with this little trick under your sleeve are kinda endless.
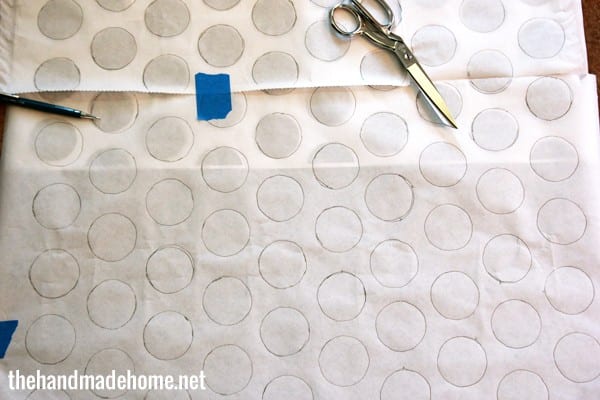
I carefully traced each circle, keeping the paper flat as I went. As you can see, there were a few mess-ups, which are inevitable. I simply marked those “inaccurate curves” with a little x, so I could tell where to cut, later.
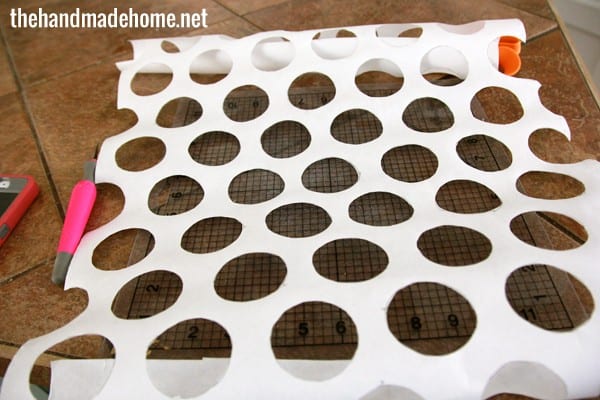 Using a self-healing matt and my X-Acto knife, I removed the freezer paper from it’s polkadot guide, and cut all the circles out. Remember, this is by hand. It doesn’t have to be perfect, and it won’t be. Just be as careful as possible while you cut.
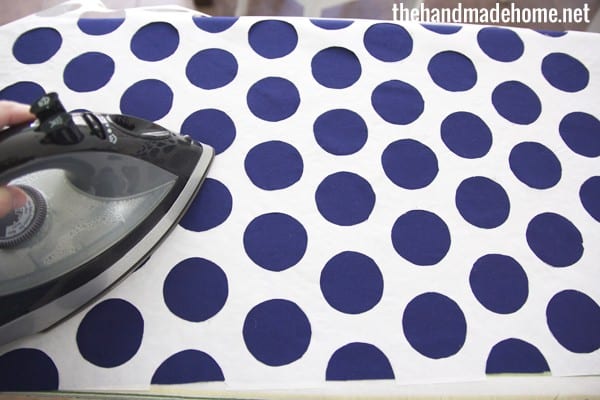 Once they were all cut, I laid them back down, glossy side first and ironed the polkadots on to my fabric.
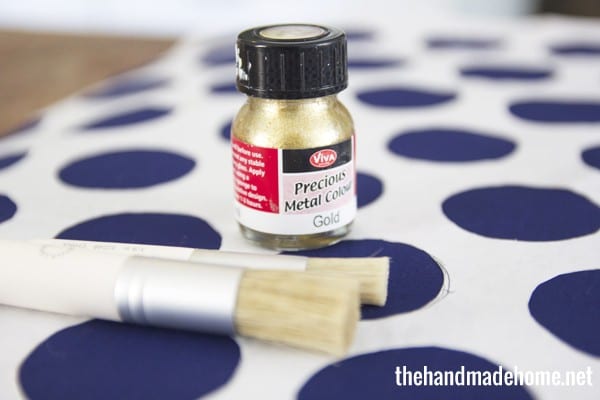 This might be my favorite, most versatile gold paint to date. I have other faves for other uses, but this has been a little gem in my crafting world. I recently used it for our clay tags and it’s just a great little dependable go-to. My fancy shmancy stencil brushes were leftovers from another project as well, but really, any brush will do.
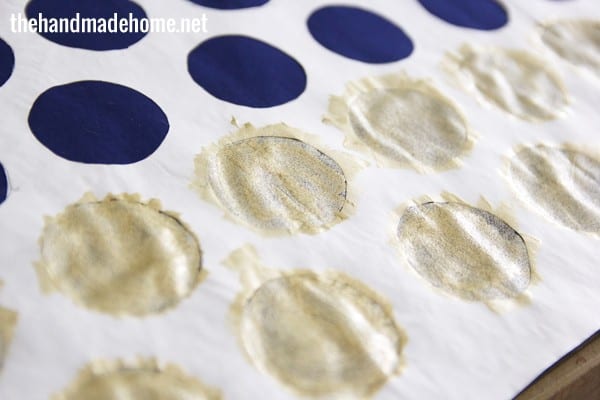 After shaking my paint well, I began filling in each polkadot from the edges, in. The key here is to brush away from your edges, not towards them. At first it went on silvery, but I was able to fill it in completely with a second coat for that pretty golden sparkle.
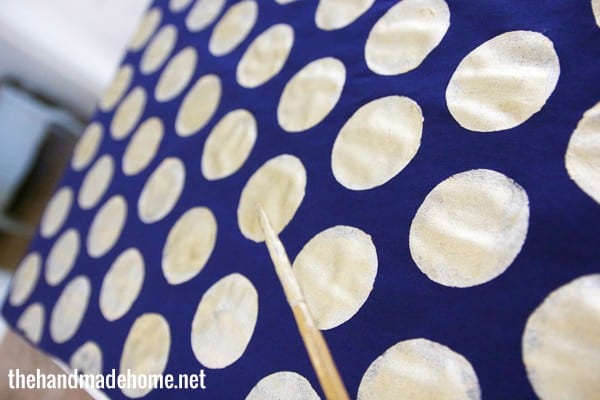 I waited until it was dry, pulled it up and tada! golden polkadots. Notice how my edges aren’t perfect? I just went back with a smaller brush + a steady hand, and lightly touched up each edge that was really noticeable.
I then took the fabric, turned the wrong sides in, pinned the edges, and sewed it into a pillow.
Simple. As. That.
And oh so fun.
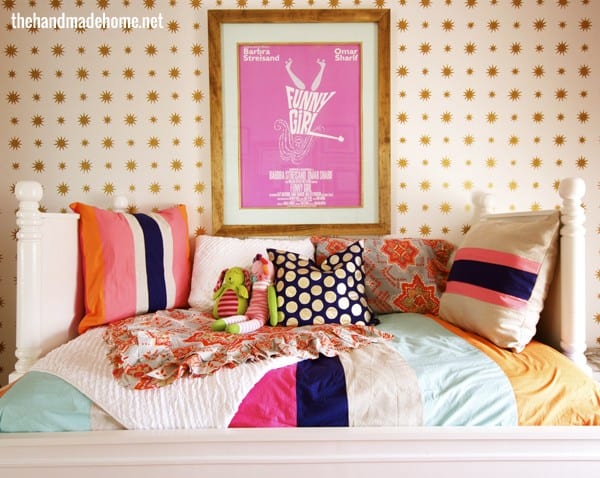 There we have it. A fun, metallic, polkadot pillow.
Have an inspired day, friends! And as always, let us know if you try it or have any questions!

I am in a polka dot phase and I LOVE this pillow! Great tutorial!
Genius! I love it and you’ve inspired me to try making my own! Thanks Ashley!
Love polka dots! This is such a great addition to a really cool space, love it 🙂
xo, Tanya
twelveOeight
Wow! I love this idea…and the freezer paper. So many ideas are now popping through my mind!
I currently have a major gold crush, so naturally I LOVE this pillow! 🙂
That’s brilliant! In every way. Thanks.
I’ve had 3 random pillows just sitting in the corner for about 4 months…now I know exactly what to do with them. So glad I didn’t donate them! Great tutorial – thanks 🙂
I love this so so much! Will definitely be doing for any future bebe rooms! <3
Quick question about the pillow…Can you machine wash it or will the paint go all chippy and start peeling off? Also, is freezer paper different than wax paper? Where do you usually get yours from? Michaels?
I haven’t tested the pillow by washing it yet. It’s supposed to be a good multi surface paint, but I probably won’t be throwing mine in the wash. I don’t usually just throw things in the wash that have been painted, unless it’s a shirt. I will spot clean. Freezer paper can be purchased at most grocery stores and at Walmart. I hope that helps!
Supercute pillow!
This is adorable and I love the room. Thanks for the tutorial…after Christmas project!
I just found your website and I have to say I love it. I am not a stay at home mom but I always love learning new things. My daughter loved polkadots and that is what attracted me to this post. THanks for sharing.