
easy bathroom art
The never-ending story that is our #beercanmoldpocalypse14 bathroom has been slow, and {kinda} steady. We’ve experienced a few big delays in the form of game changers, and will be able to share some of those with you soon. In the meantime, I was itching to create a little art for this space. Because once upon a time, the corner looked like this.
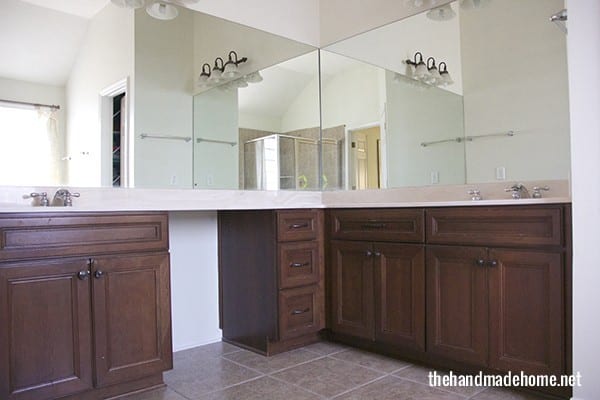
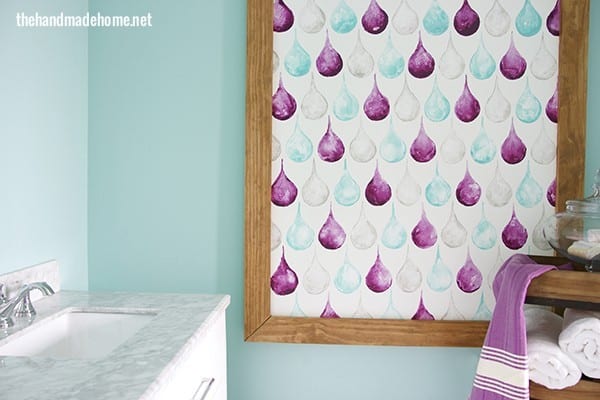
And even though all I want to do is take an everloving bath, we’ve come a long way, baby. Catch the sneak peek of our fantastic vanity? We couldn’t be more thrilled about such a nice, fresh change.
We were looking for art that was a little fun, and one-of-a-kind abstract for the space. So we decided to cook up a little something just for us.

We took a piece of MDF. Ours was large and in charge at 43 x 50 and painted it white.
{Go for a matte finish: You’ll see more on this below, but do not use paint of a glossy finish. I didn’t really think that through, and we used what we had sitting around the house. Once I had the raindrops drawn, I realized that duh… acrylics wouldn’t work on top. The surface needed to be prepped. So I went back and filled in each raindrop with white acrylic (white acrylic paint is always of a thicker, sturdier opacity + medium) and once that dried, I was able to go back and paint on top. If you still have issues, just fill in with white and your fingers, and you’ll be fine}
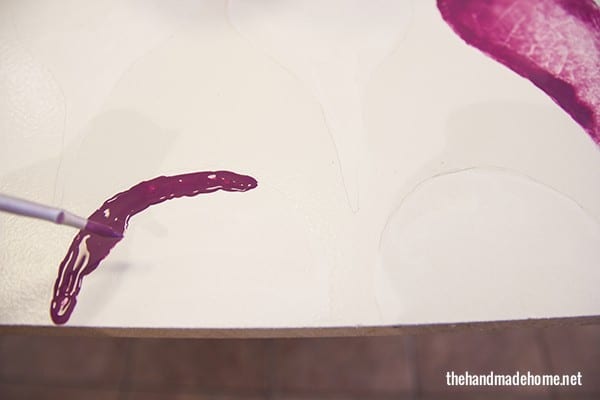
So we created a pattern, and printed it on a transparency. {Raindrops.} We made sure it was level, and traced each raindrop. {This part really didn’t take long}
Then choosing three colors (or as many as you like), and our pattern, we went in with some acyclic paints and filled each little raindrop in.
Breaking it down, here’s how we did it:
Take your brush {A smaller fine tipped one works nicely} and carefully fill in one edge with paint.
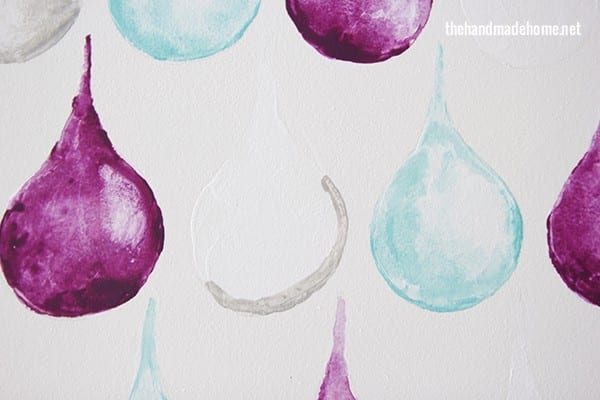
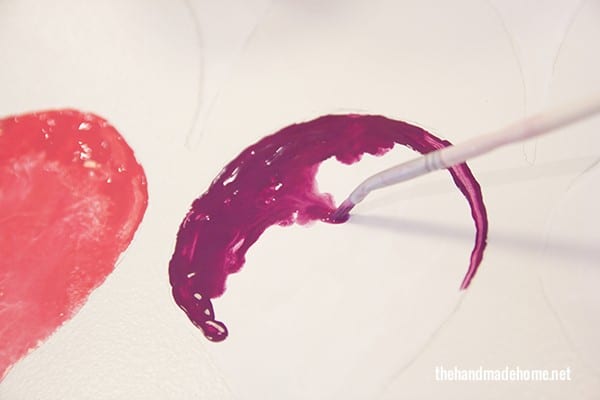
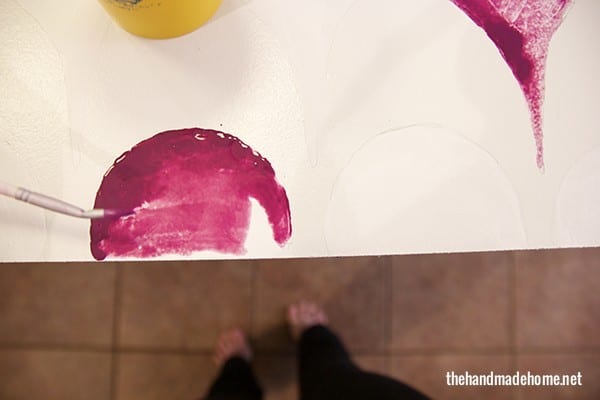
Then with the water, slowly blend it in to the other edges and middle.
We even went back on some, and subtracted a little paint while it was still wet, with a paper towel for more contrast.
When they’re all done, it has a really fun, unique, hand-printed feel.
Tada! You have some crazy mad skillz in the form of gargantuan raindrops, yo.
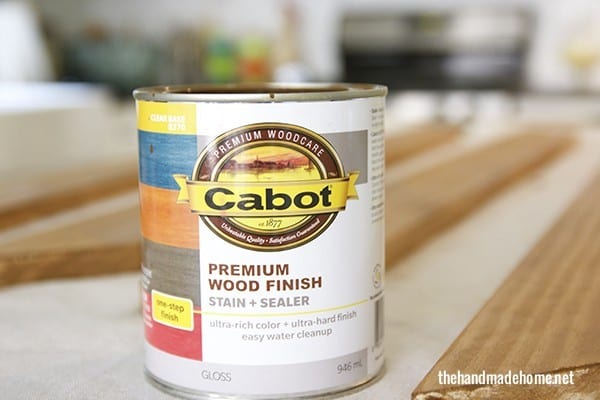
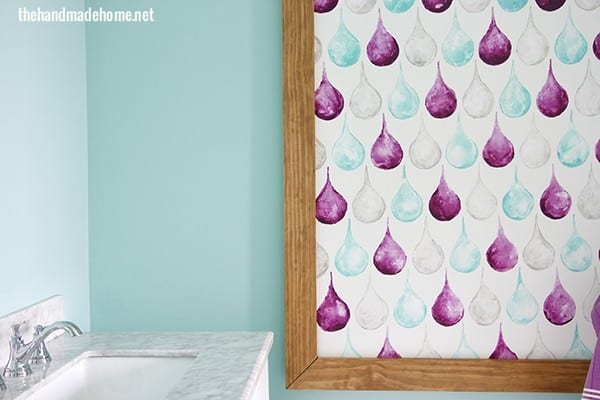
For our frame, we simply went back and cut some 1 x 4’s to size, and at 45 degree angles. After they were cut, we stained them with our trusty Cabot finish, in Cinnamon.
We barely overlapped the MDF, by gluing them in place to the edges. The final finished size was 45 x 52.


{You can read a little more in detail about how to make those kinds of frames in these posts and (a whole lotta) more ideas in our book, here.}
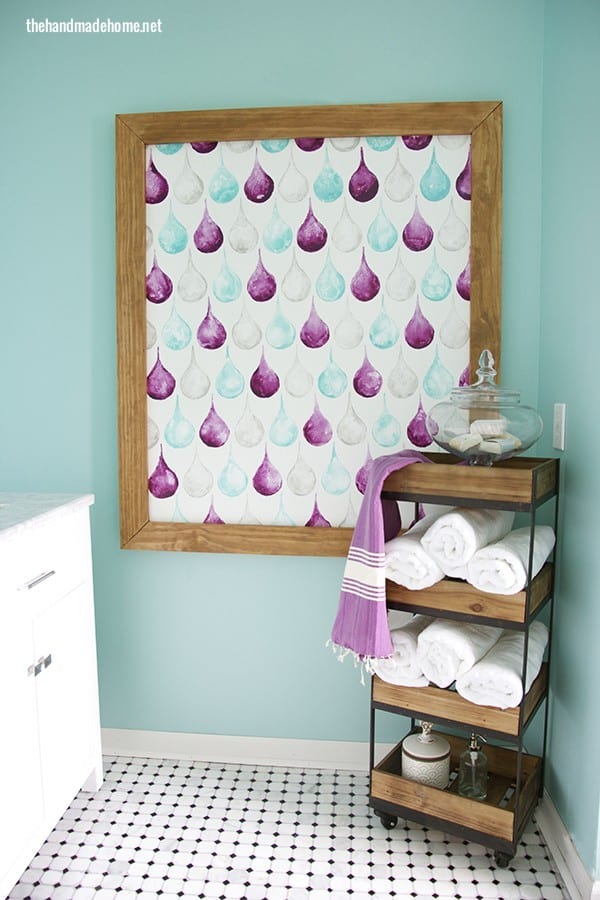
Tada! Huge art for the bathroom.
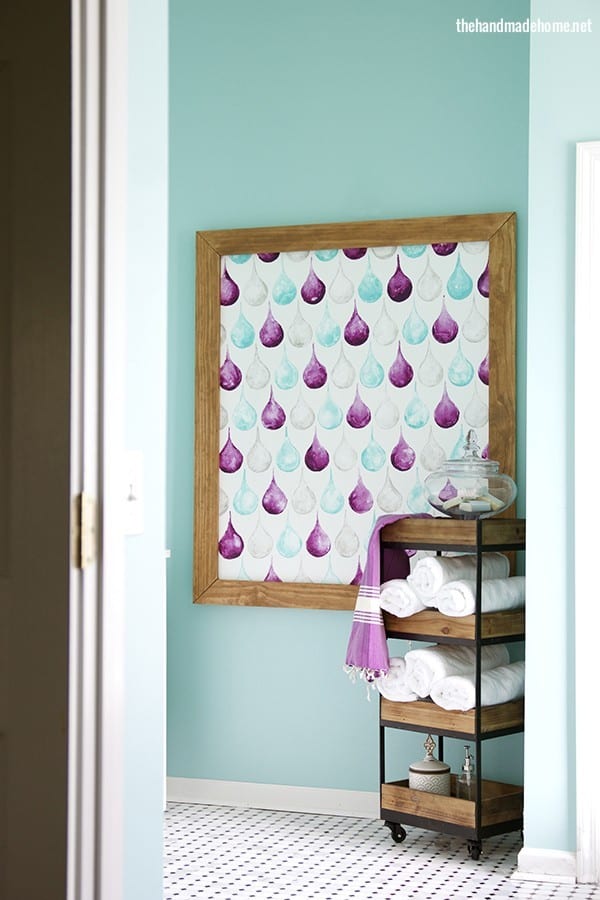
We love the way the organic texture contrasts with the pattern!
Let us know if you try it or have any questions! As always, have an inspired day!

Beautiful, as always! And what a teaser…cannot wait to see the completed room! As I bet you are! ~Kim
Lovely! What a fun idea!
Your art always wows me. I can not wait to see that space. I know you guys are so ready!
Such a cute idea! Since I do photography, I would use photographs of raindrop/dewdrop covered plants and flowers and maybe even waterfalls. With my photo program, I can alter them to look like watercolors, alter color so caan make them in different colors, etc. It is fun!
You had me at purple. Such a one of a kind idea! 😀
What a beautiful piece of art! Looks like something I can tackle this summer!
Beautiful!! What color did you use for the walls?
I’d like to know the wall color as well, such a lovely shade of blue. 🙂
That is so cool! You always come up with the prettiest projects!
That is stunning!! Thanks for sharing such an easy tutorial too….I just might try my own 🙂
WOW! How cute is the water drops picture…thanks for such clear directions :o)