
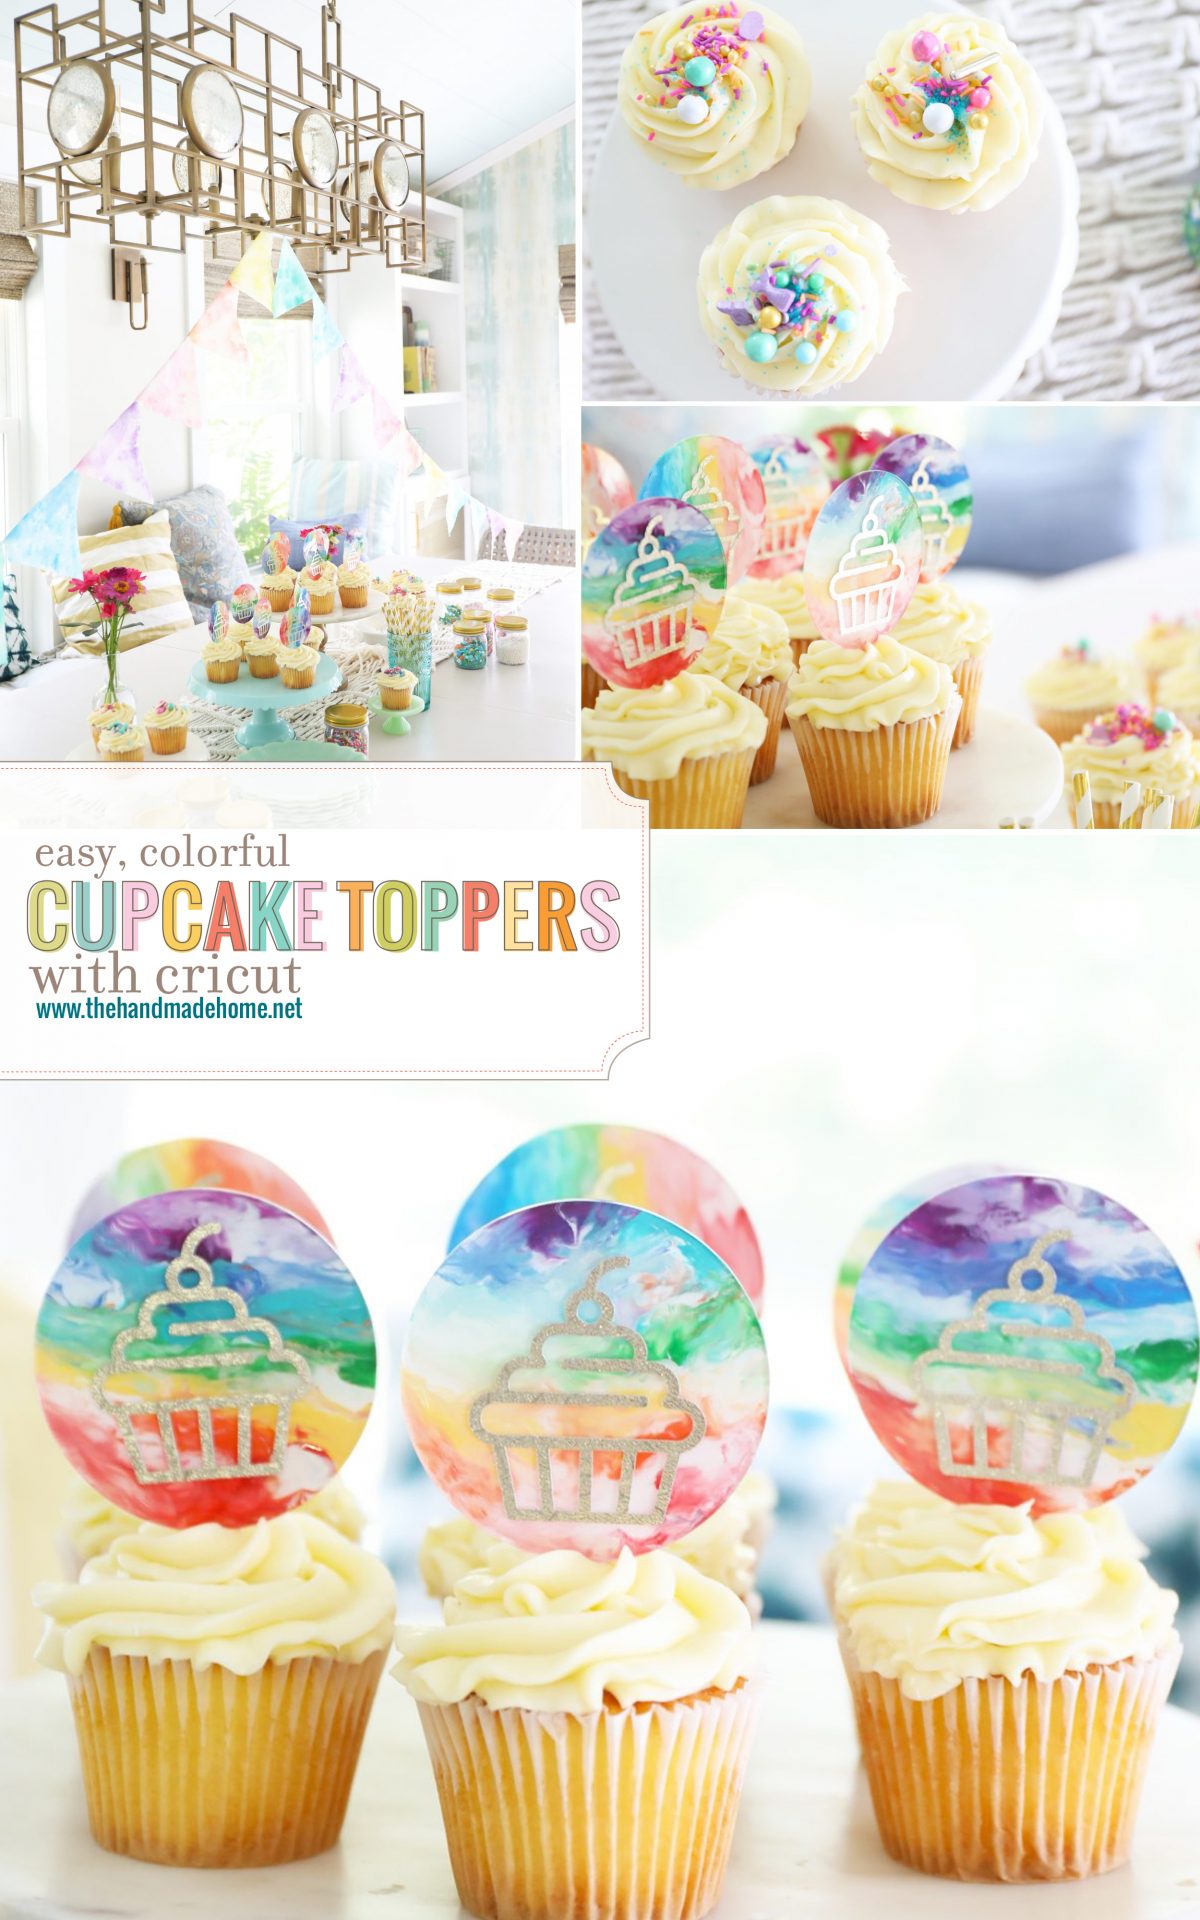
colorful cupcake toppers with cricut
When you create frequently, for various reasons, there’s something so fun about opening up your world with a good handy machine and all things crafting ability. So when Cricut contacted us about making something fresh and fun with their Cricut Explore Air, we were totally ready to dive in!
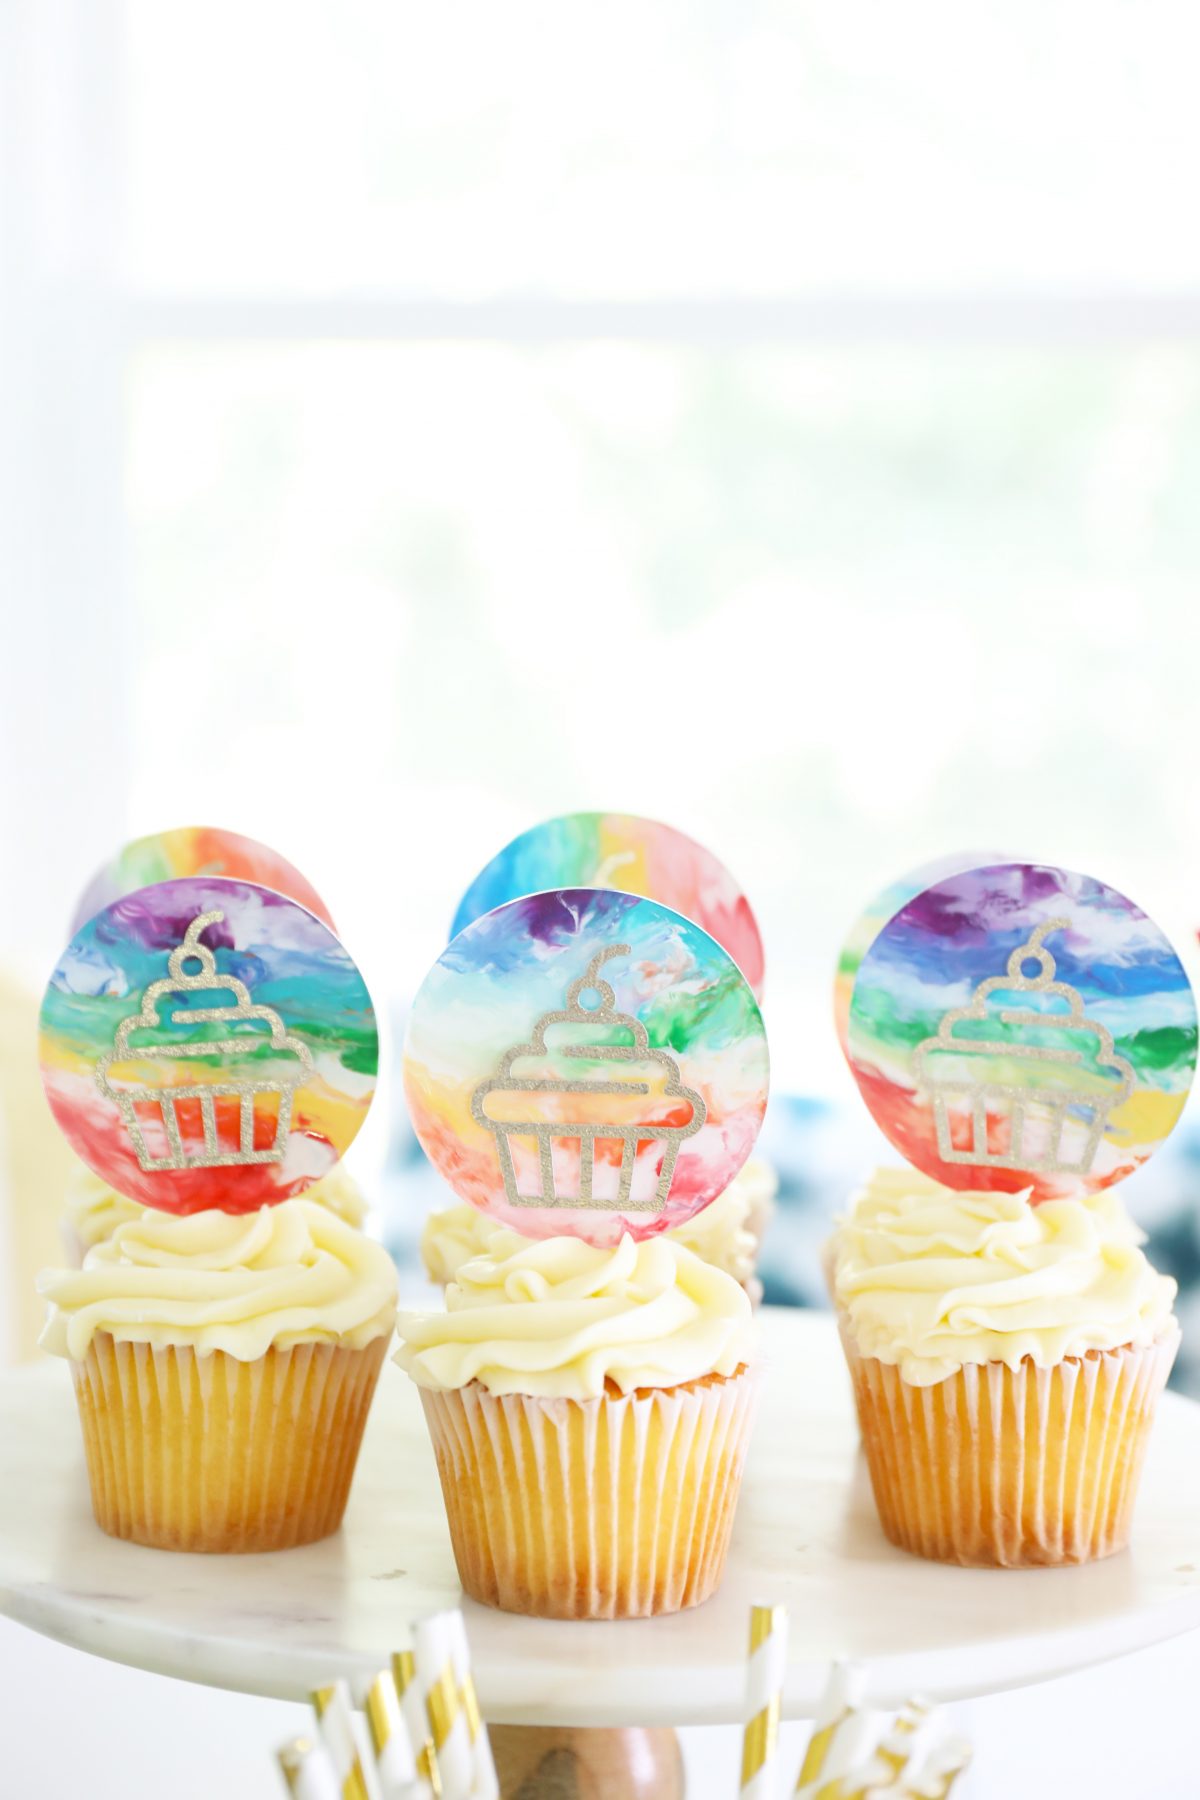
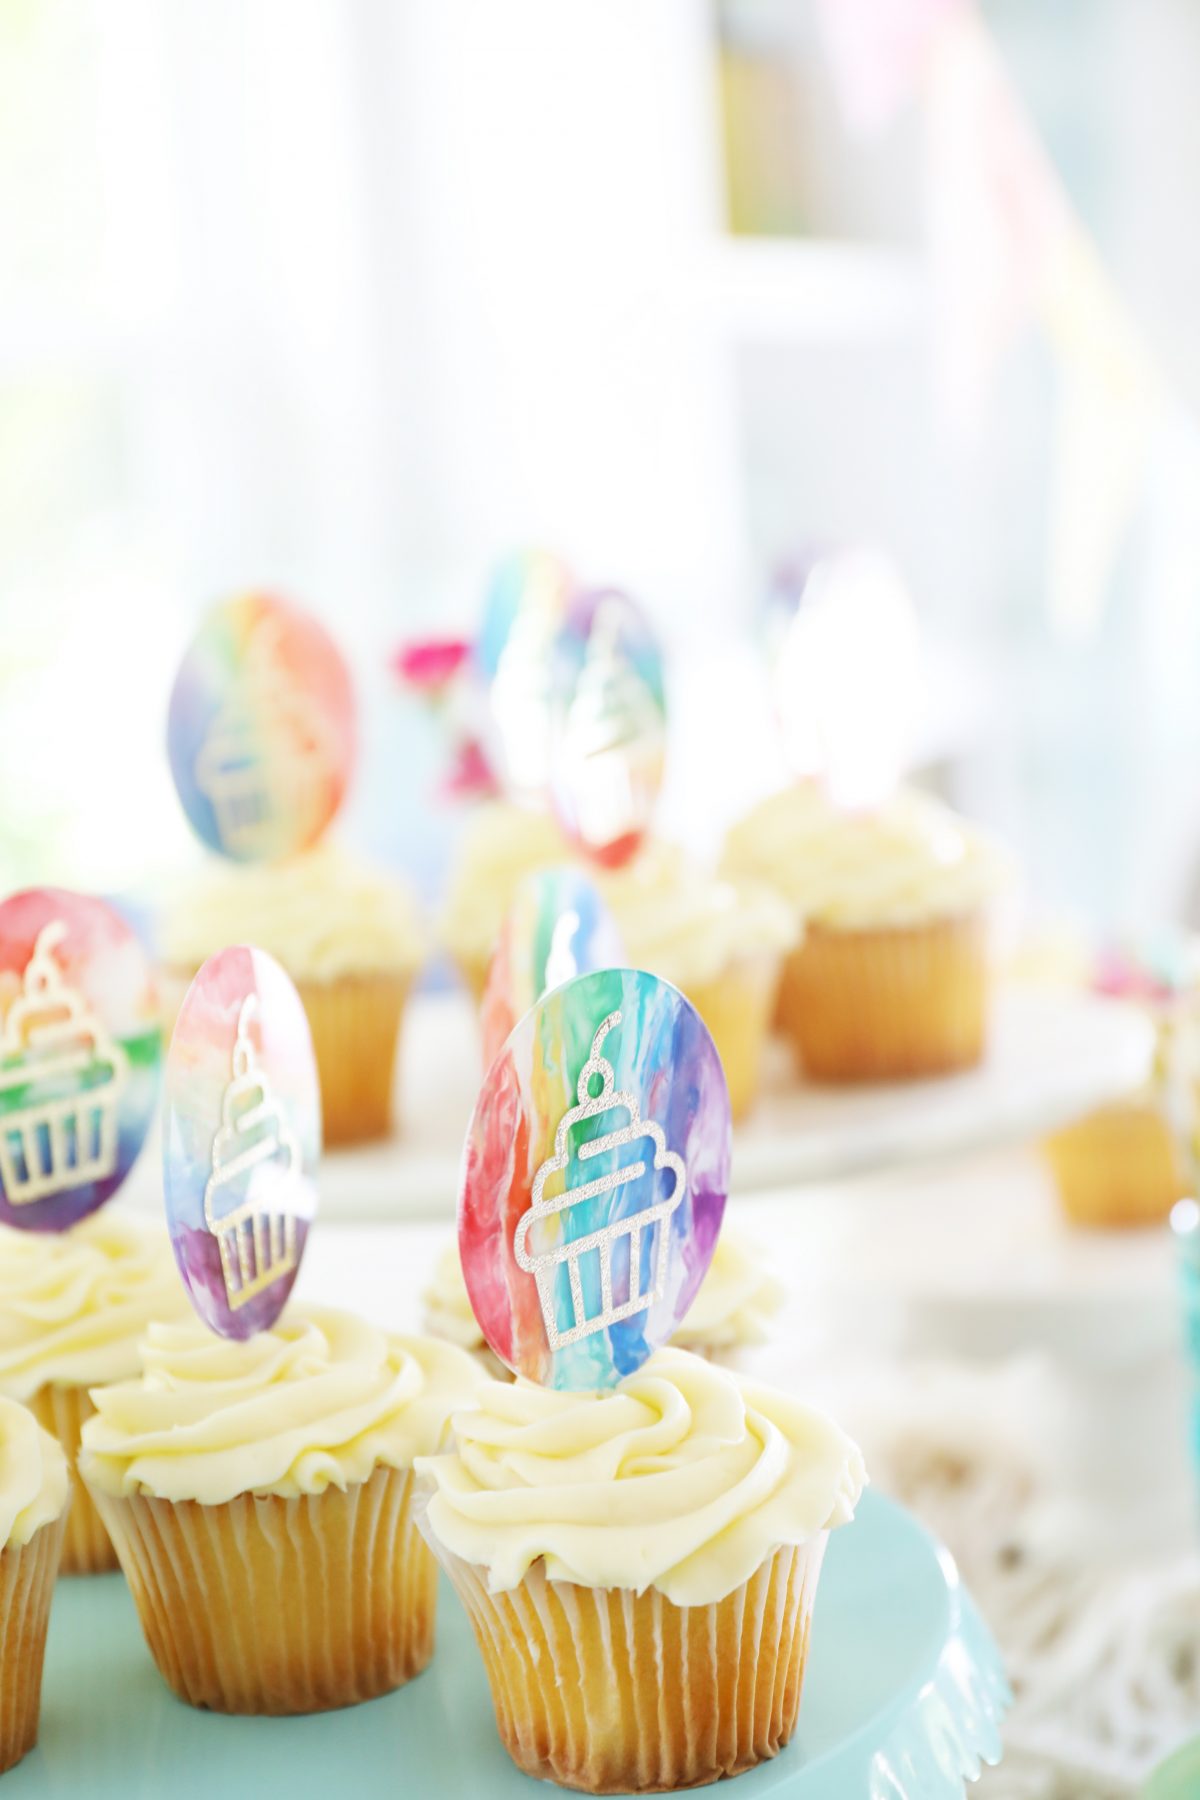
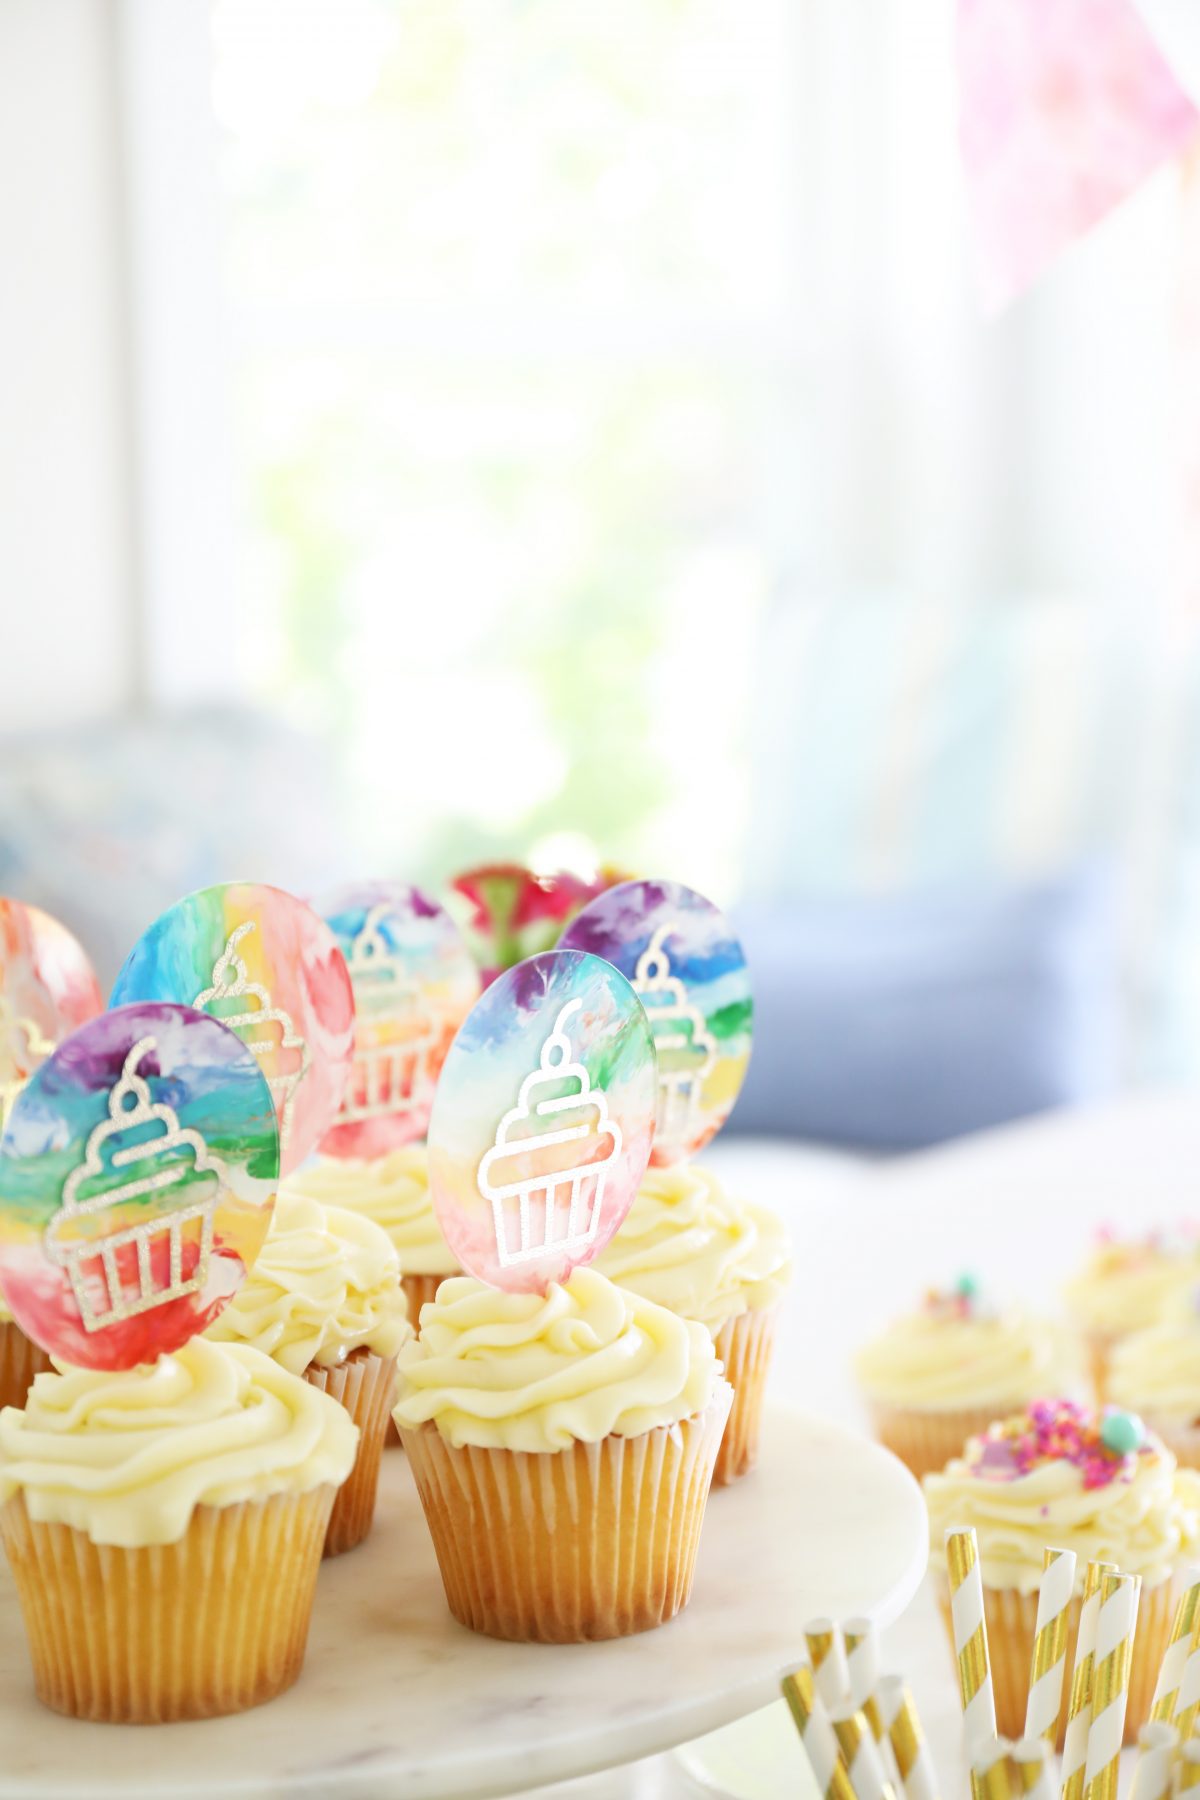
It’s birthday season at the Mills’ house right now, so of course, we went with a few simple cupcake toppers!
I’ve wanted to do something with a Cricut for a while, but I was always afraid I wouldn’t have time to learn something new. We’ve got a lot going on and a lot of plates in the air, so I was hesitant to make the commitment.
But this project was so simple and satisfying, I’m kind of obsessed. We cooked these up with the kiddos, and it made such a fun project, they’re a little excited about all the possibilities and what we might make next.
We’ve already started a list. And in the meantime, these were delicious.
want to make these cute little cupcake holders? Here’s what you’ll need:
• A Cricut Maker
• Access to a computer
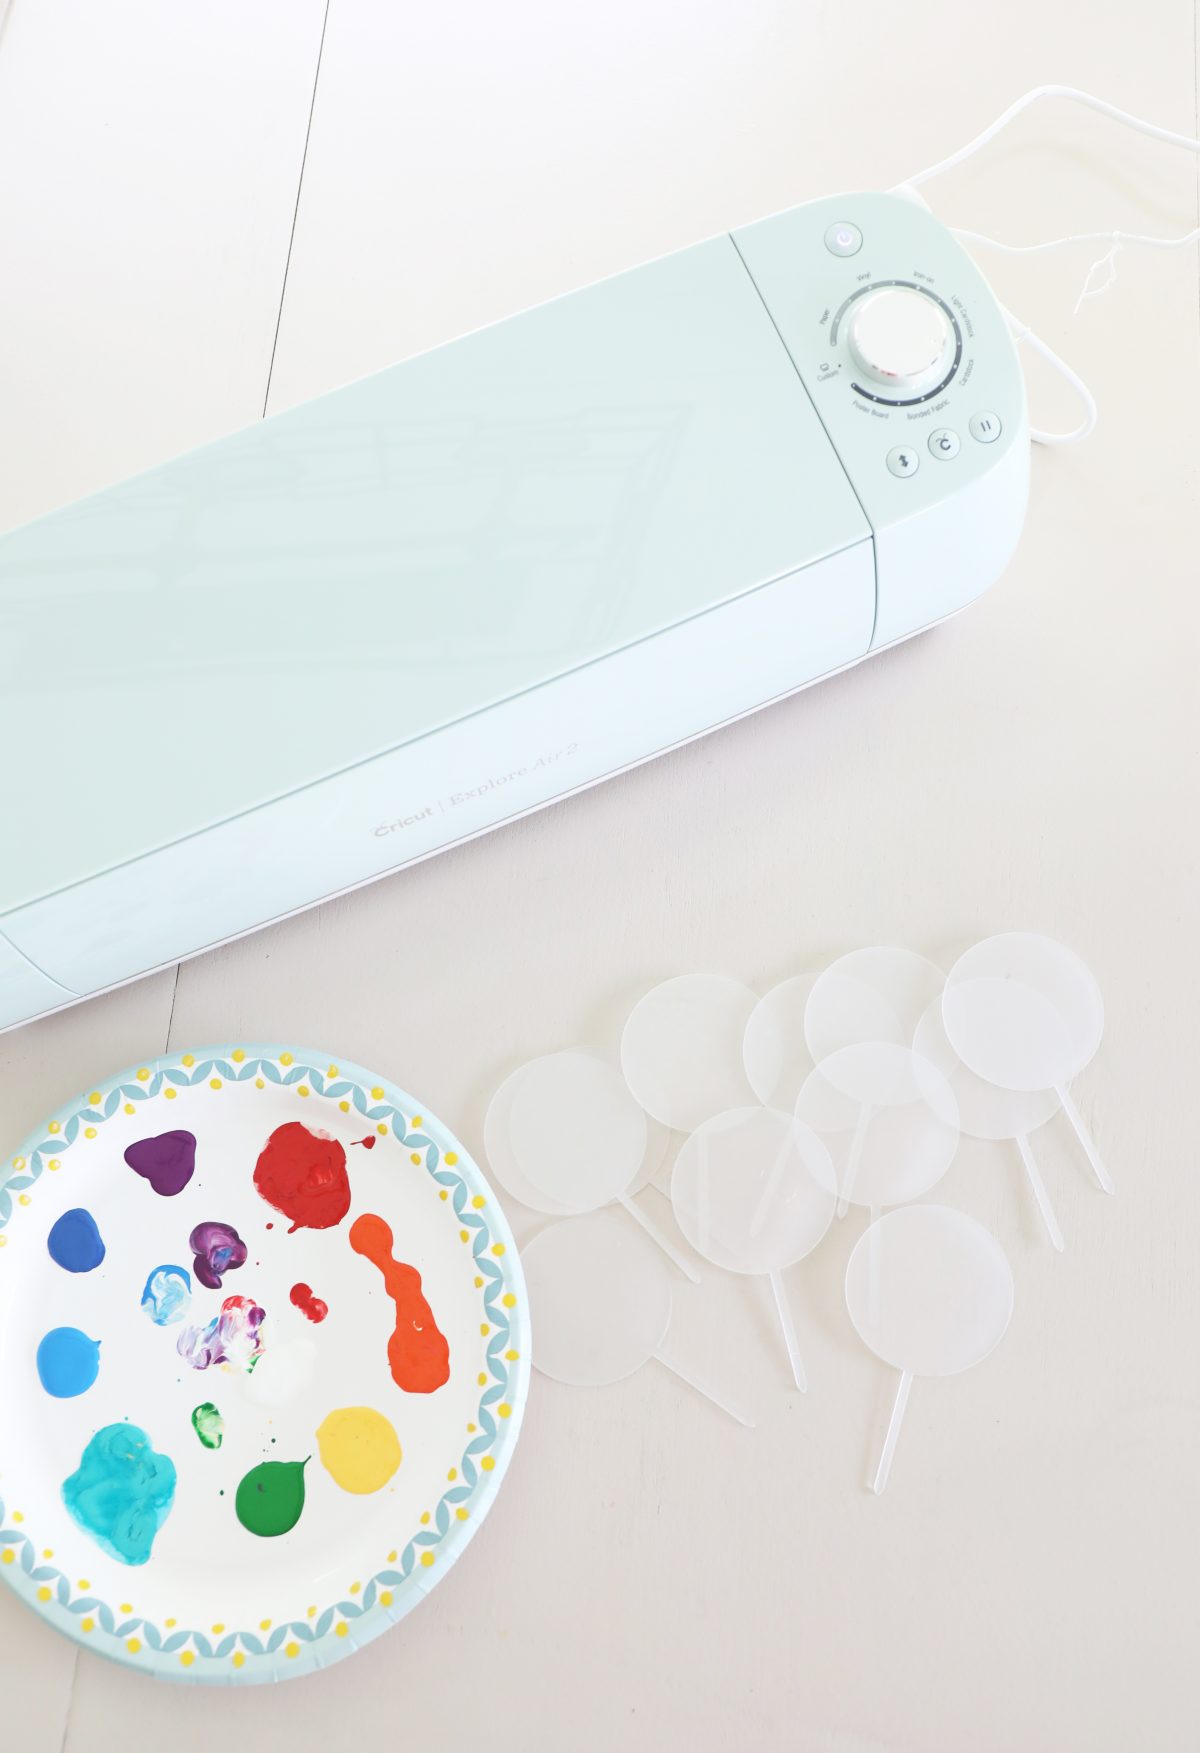
• Standard acrylic cupcake toppers – we scored these here
• Assorted acrylic paints
• Vinyl of any color
• Transfer tape
• Portable trimmer + basic tool set
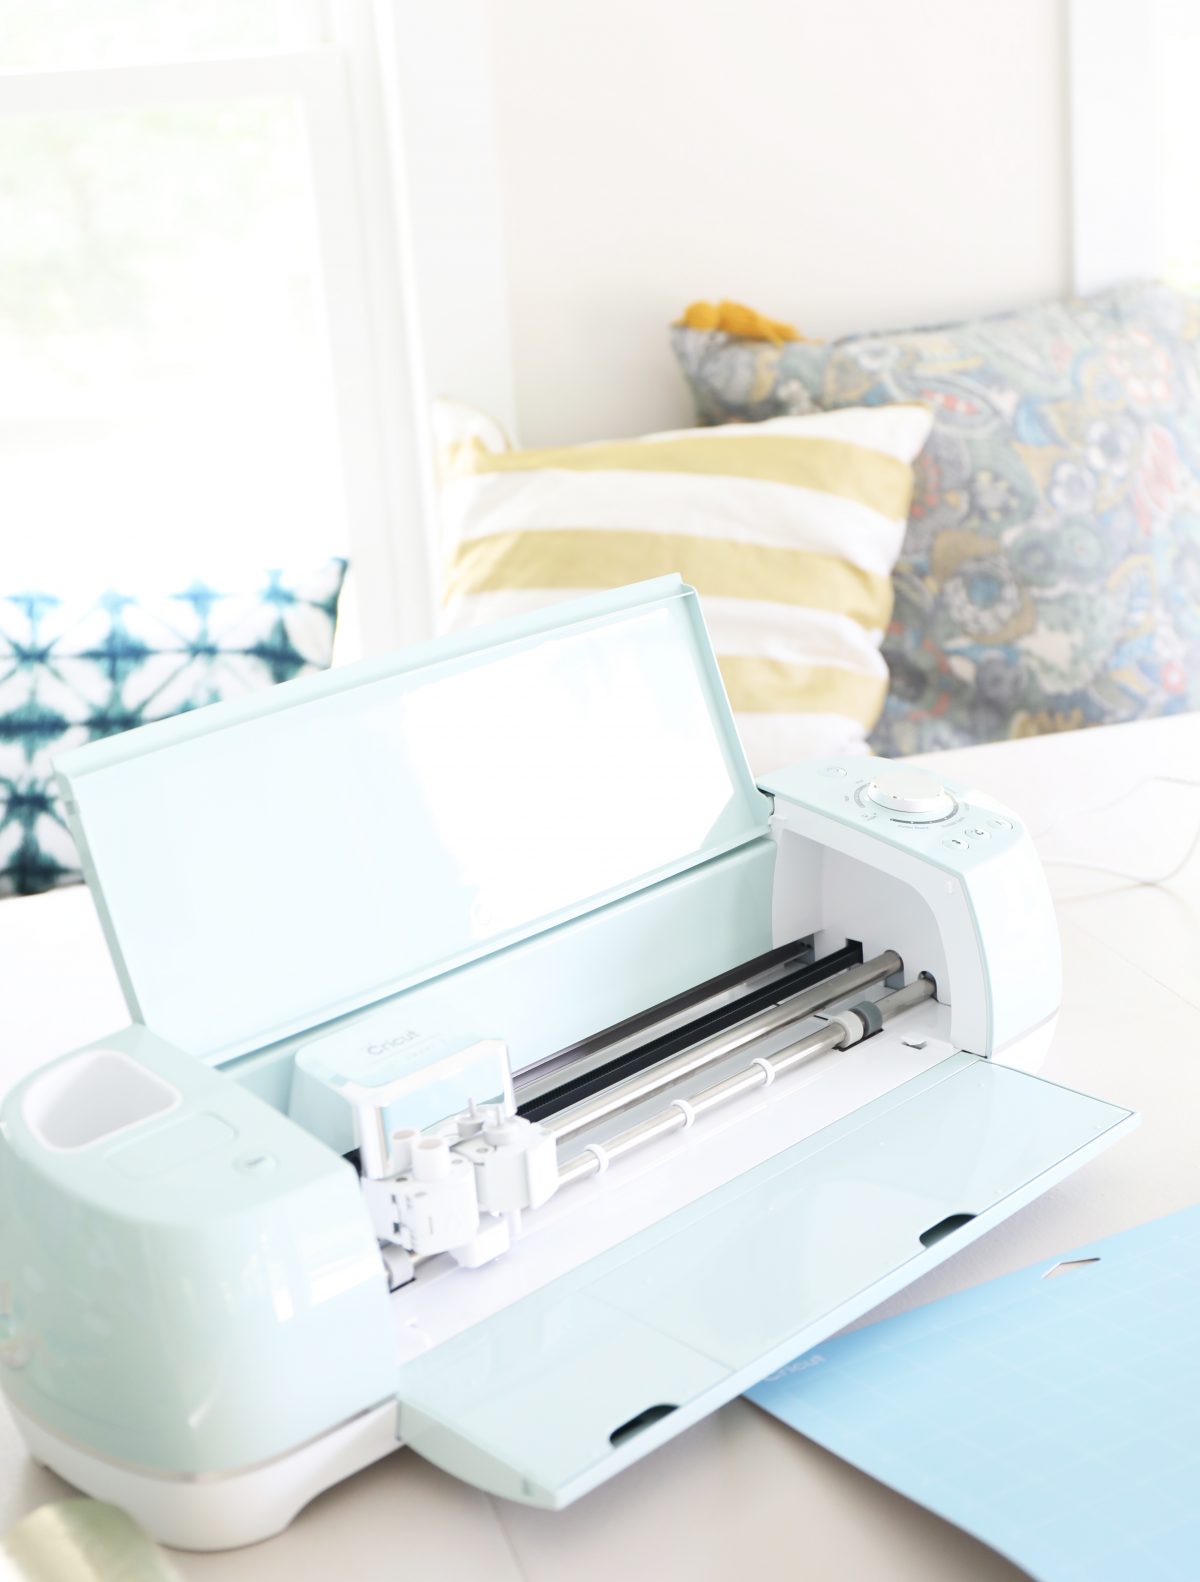
Get everything set up with your Cricut, so that you can begin the process online while your paints dry. What we love about this is the never-ending library where you can access all their designs, for free. The designer in me can’t wait to try out some of my own, but this was great for the first time around.
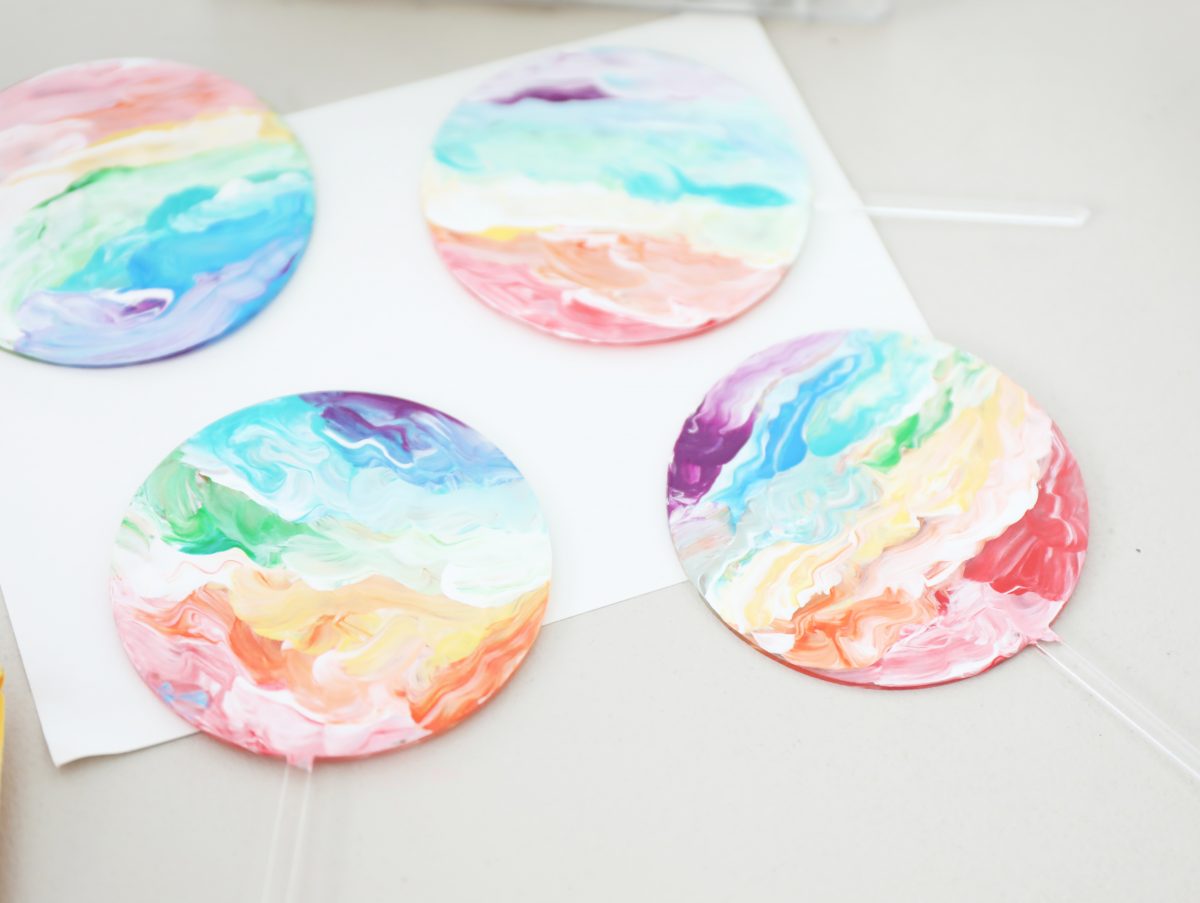
Next, grab all your cupcake toppers, and place the paint you’d like to use on a palette.
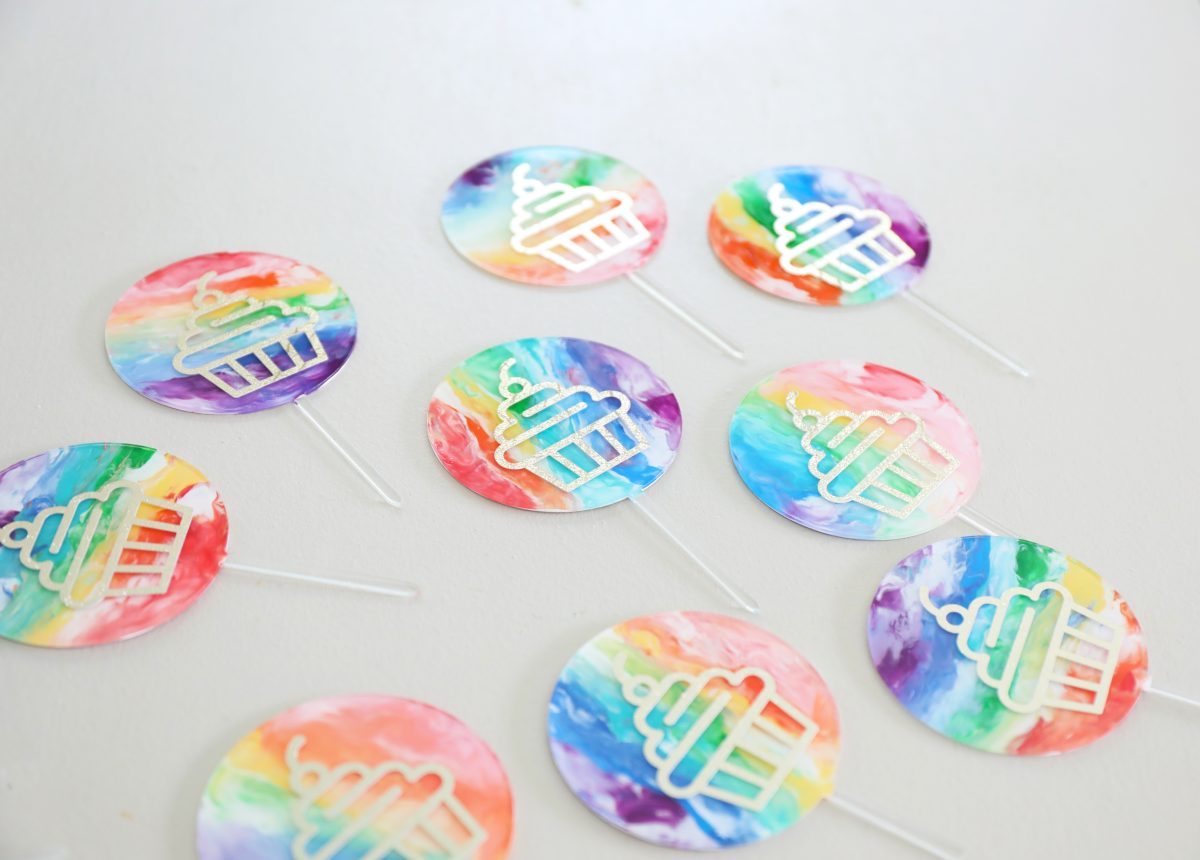
I did mine in rainbow order so they’d be easy to paint on as we went.
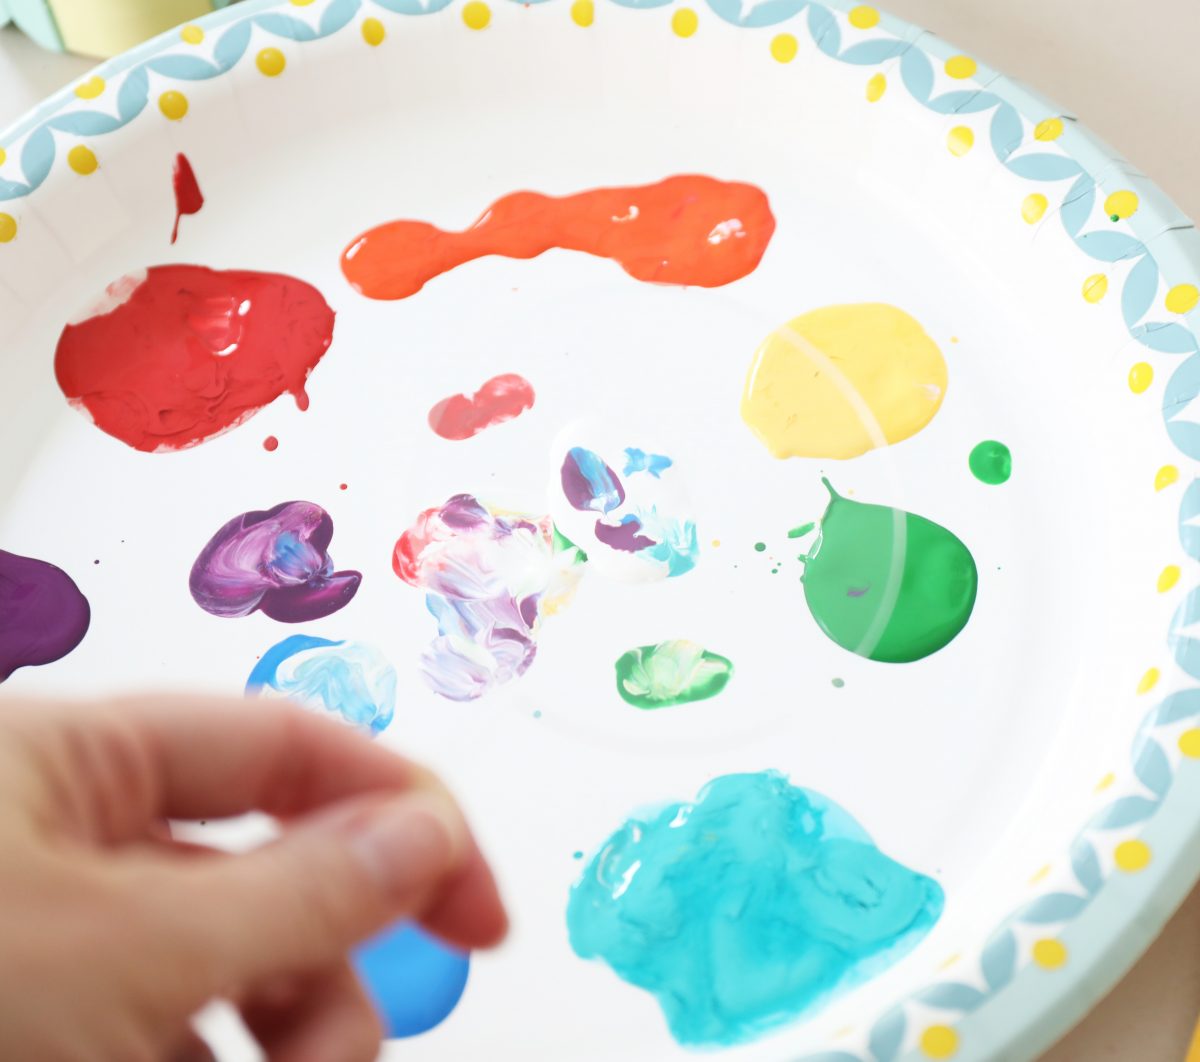
I used one as a sample/learning curve since I wasn’t accustomed to painting on acrylic, but simply take your fingers and paint one side.
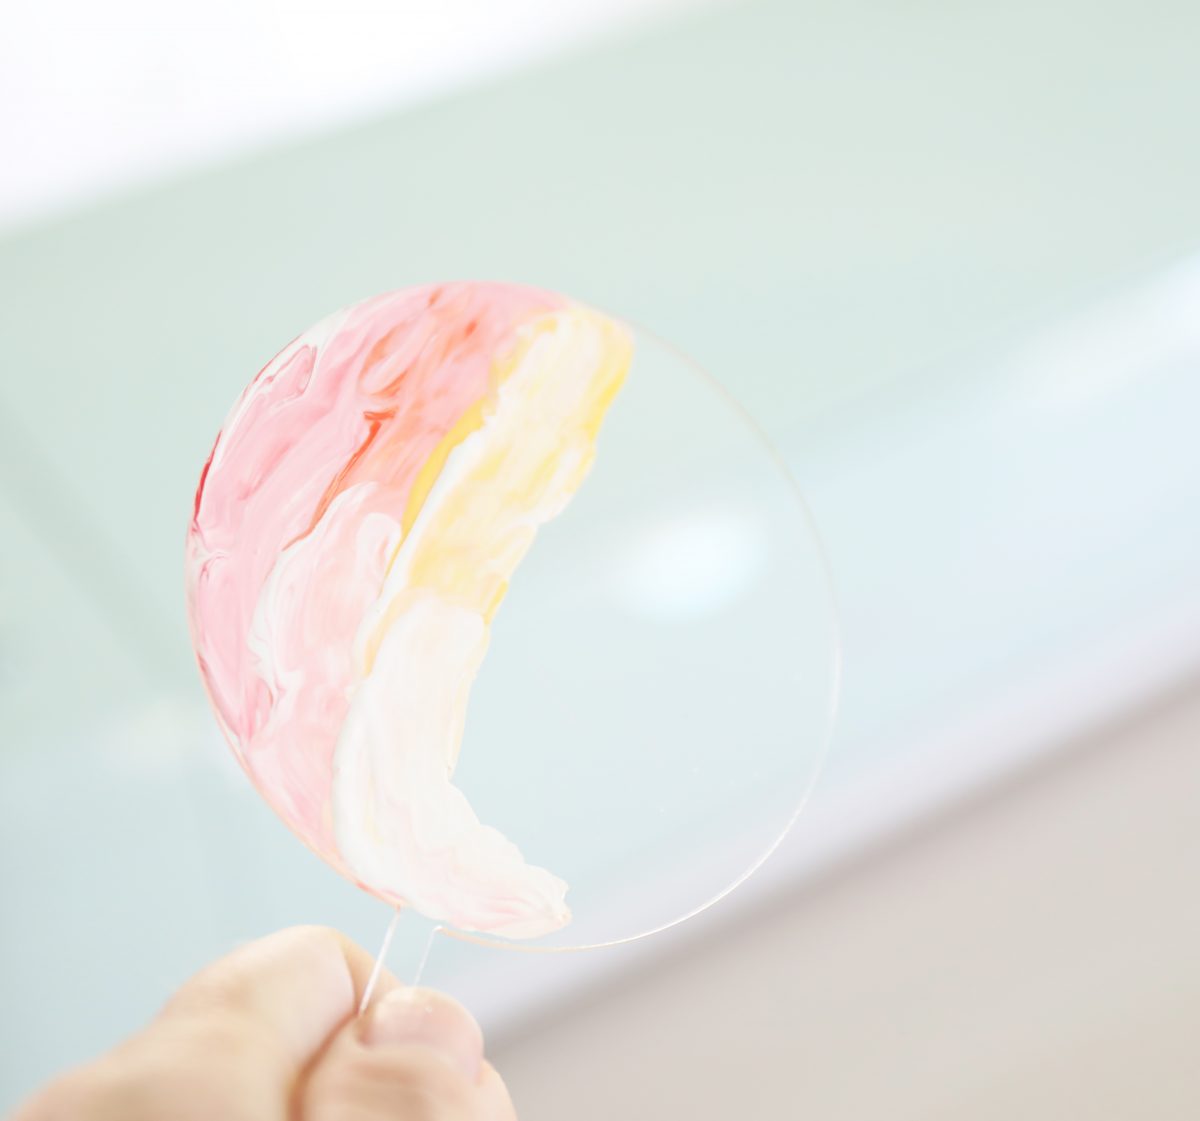
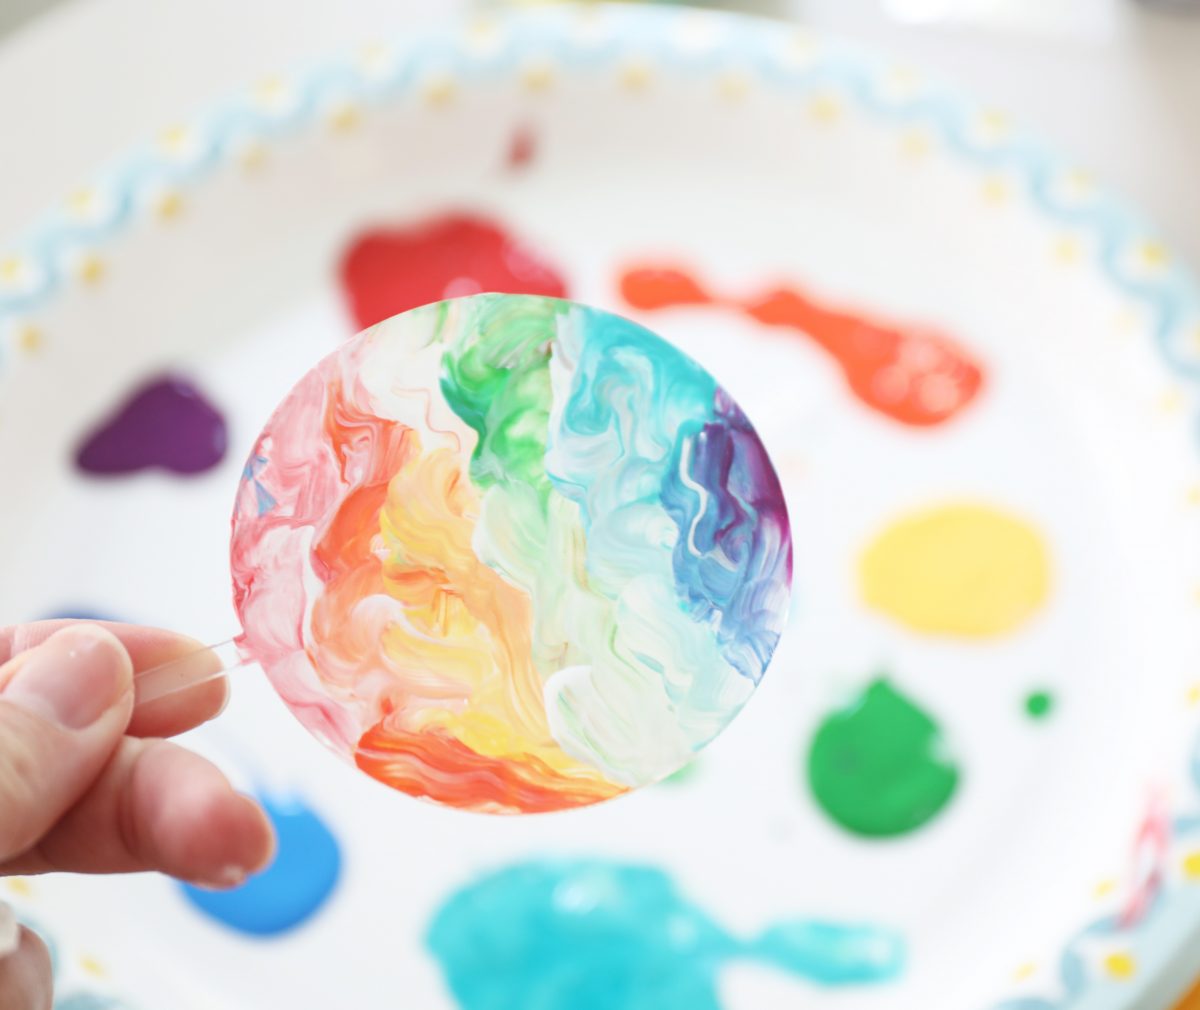
Starting with ROYGBIV, I would dip my finger in a little white with each color for that marbleized look, and work my way around the circle.
Remember, just keep it to one side. I even flipped my order around a few times on different circles, left to right, top to bottom, so that when displayed together, the colors had a lot of variance in order.
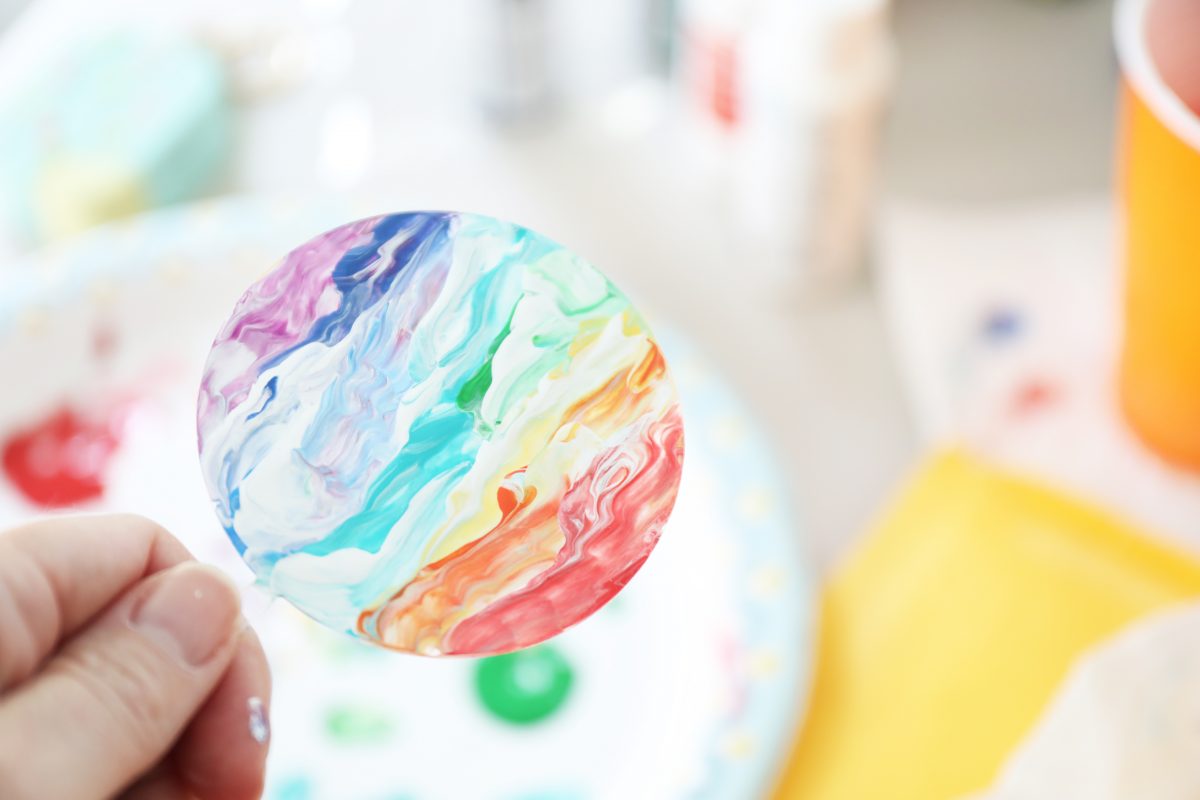
I absolutely love the way they turned out!
PS, since I didn’t want any transparency with these, I coated each layer with white on the back when the initial colors were dry. This way the colors were even bolder once on top of the cupcakes. If you’d like both sides swirly, skip this step.
When that was dry, I was ready to begin with our Cricut and vinyl.
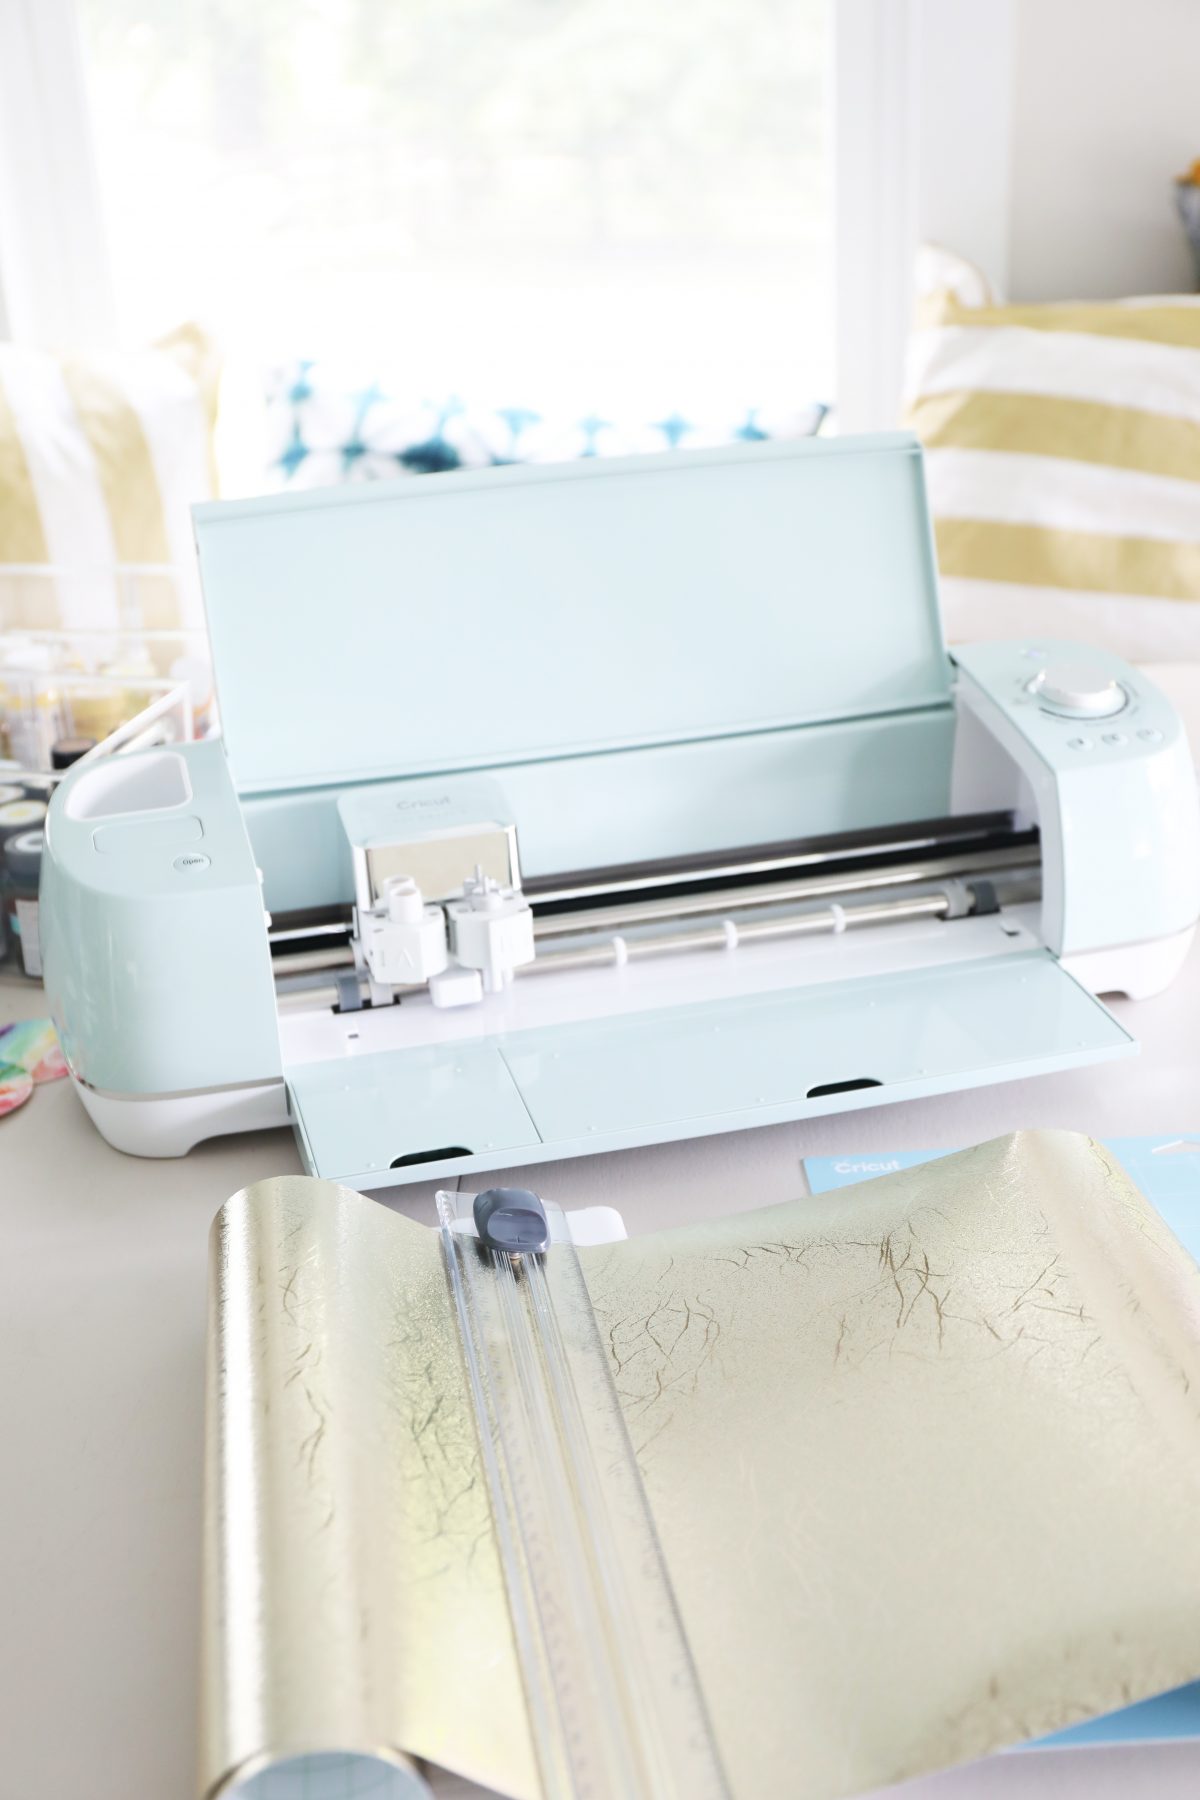
We measured beforehand, and placed all the cupcakes in the file, making sure that the shapes worked with the cupcake toppers, and weren’t too large. (The program allows you to enter one measurement and it will automatically adjust the other for you so that it stays proportional.) Since we knew how large the surface of the cutting area would be, we simply trimmed up the vinyl, with the portable cutter for a quick, easy size to work with.

Then removing the protective plastic covering, we carefully placed the vinyl on top. We love the no-slip grip and the fact that you can send something through the machine to be cut.
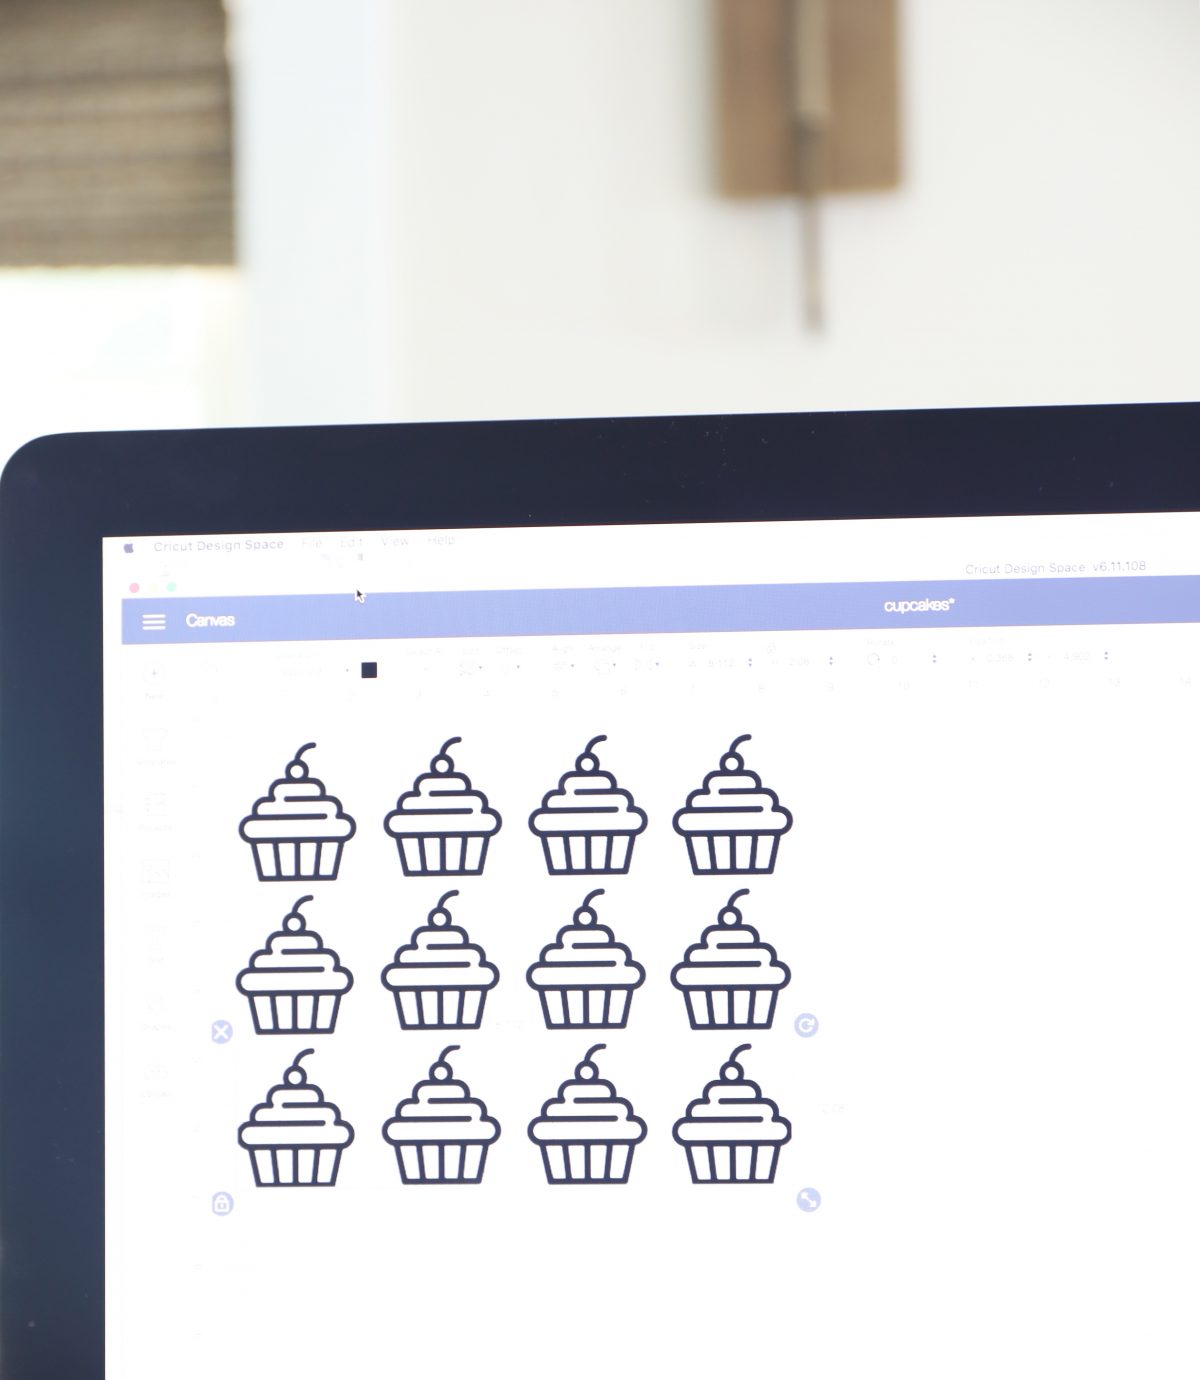
From there, we pushed the button to load, and begin.
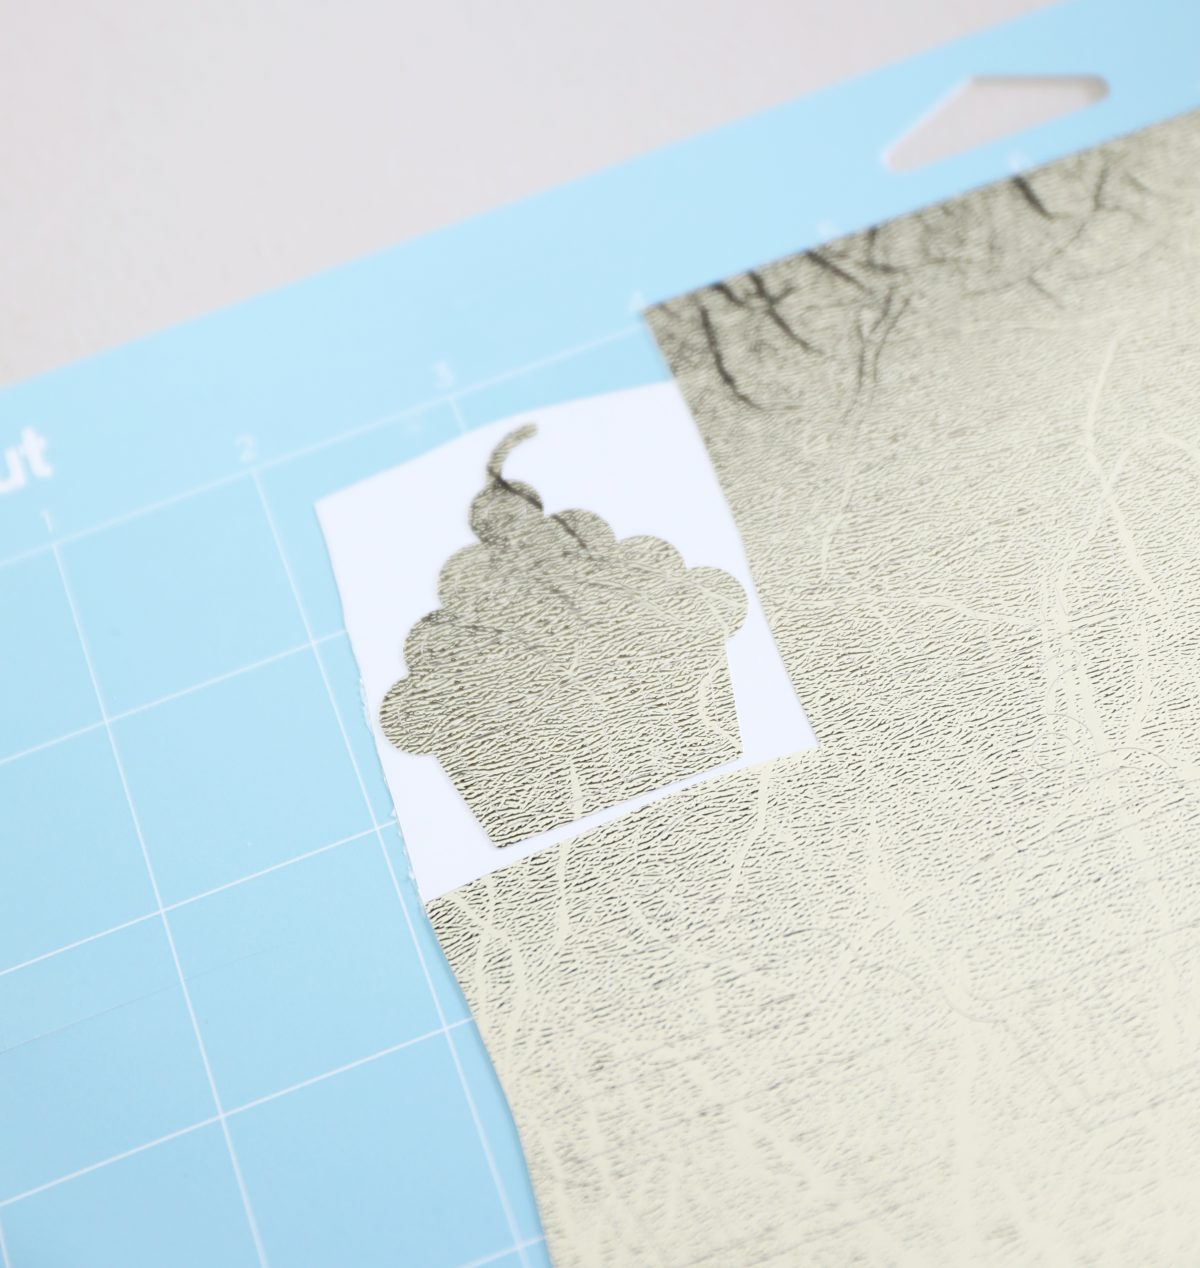
Once they were cut, this is where the tools came in handy to remove the extra vinyl around each shape.
I cut a little with my knife to free each piece, and then removed each extra piece of vinyl.
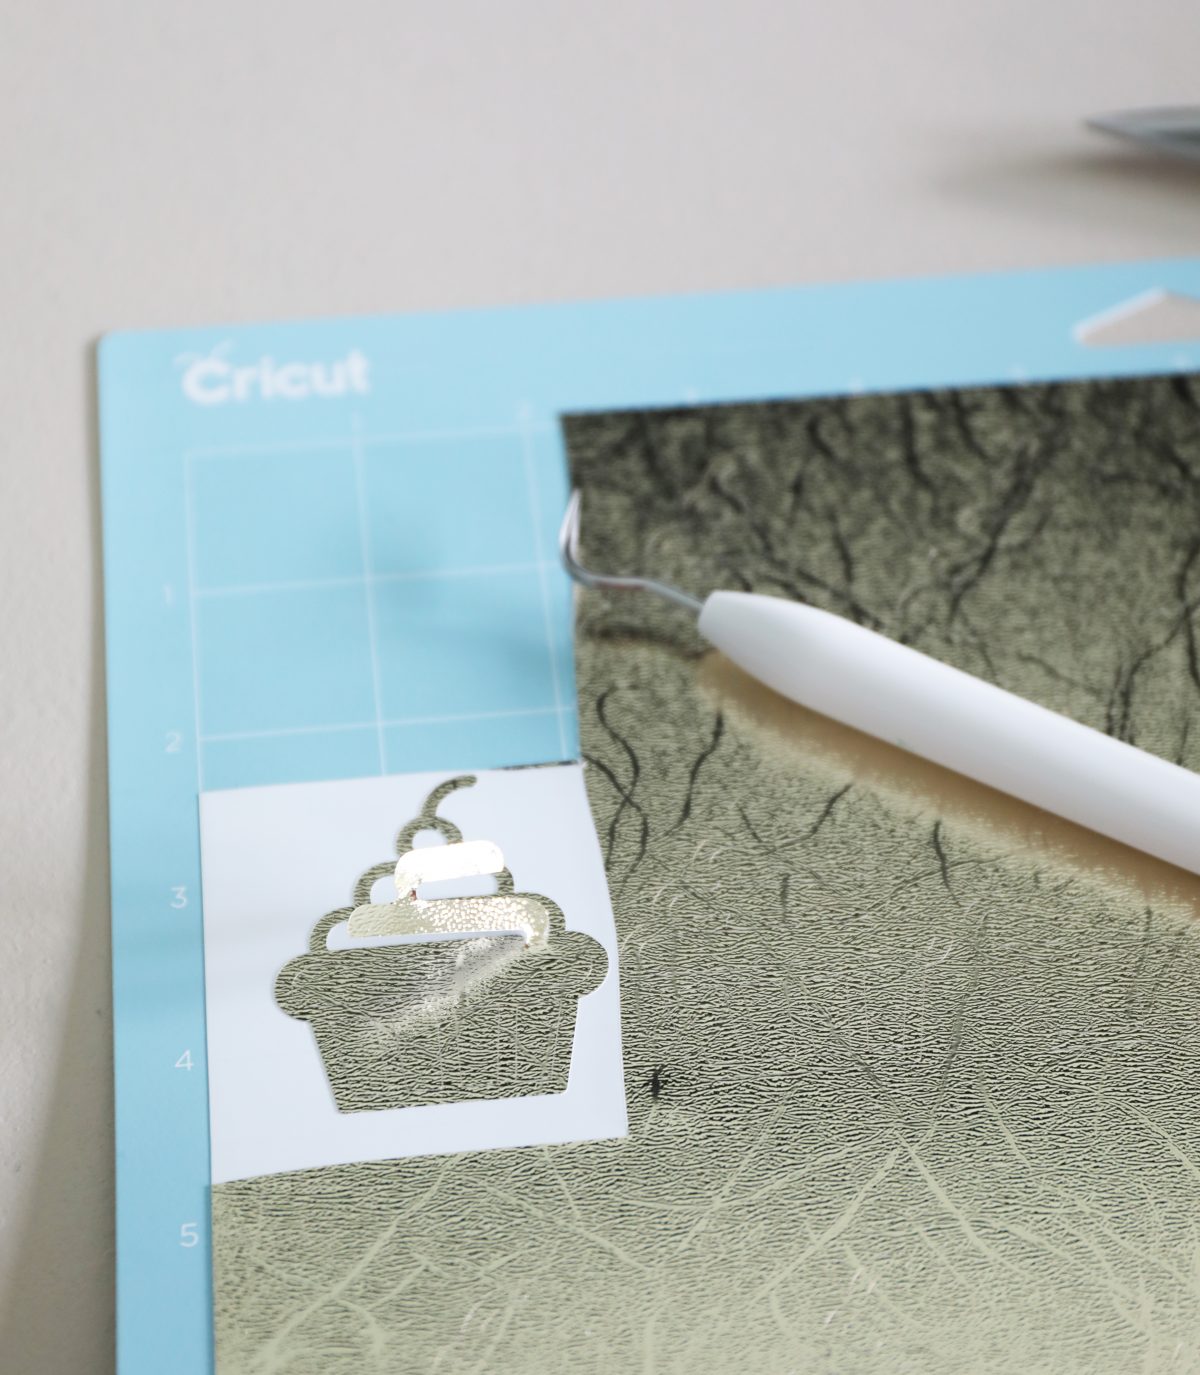
Just be careful of the edges, but they should lift right up.
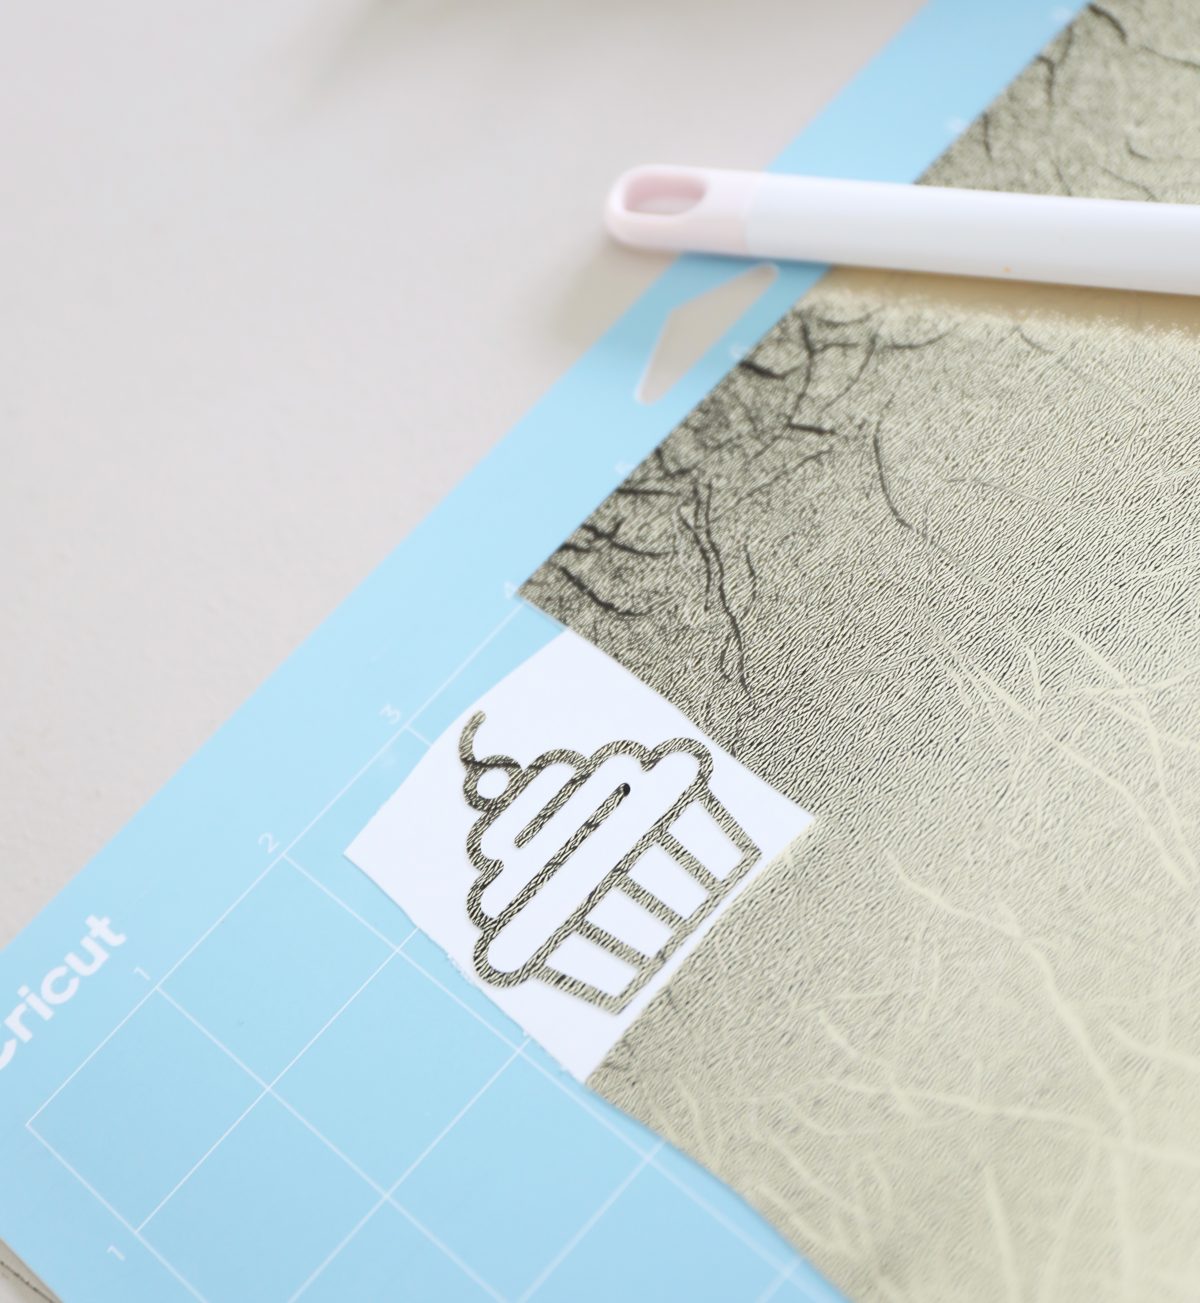
Now that your shape is ready, you’re also ready for transfer tape. This little miracle worker keeps everything in place as it should be, especially with more complicated designs.
![]()
I placed the tape on top of the design…
![]()
Flipped it over, and gently removed the paper on top.
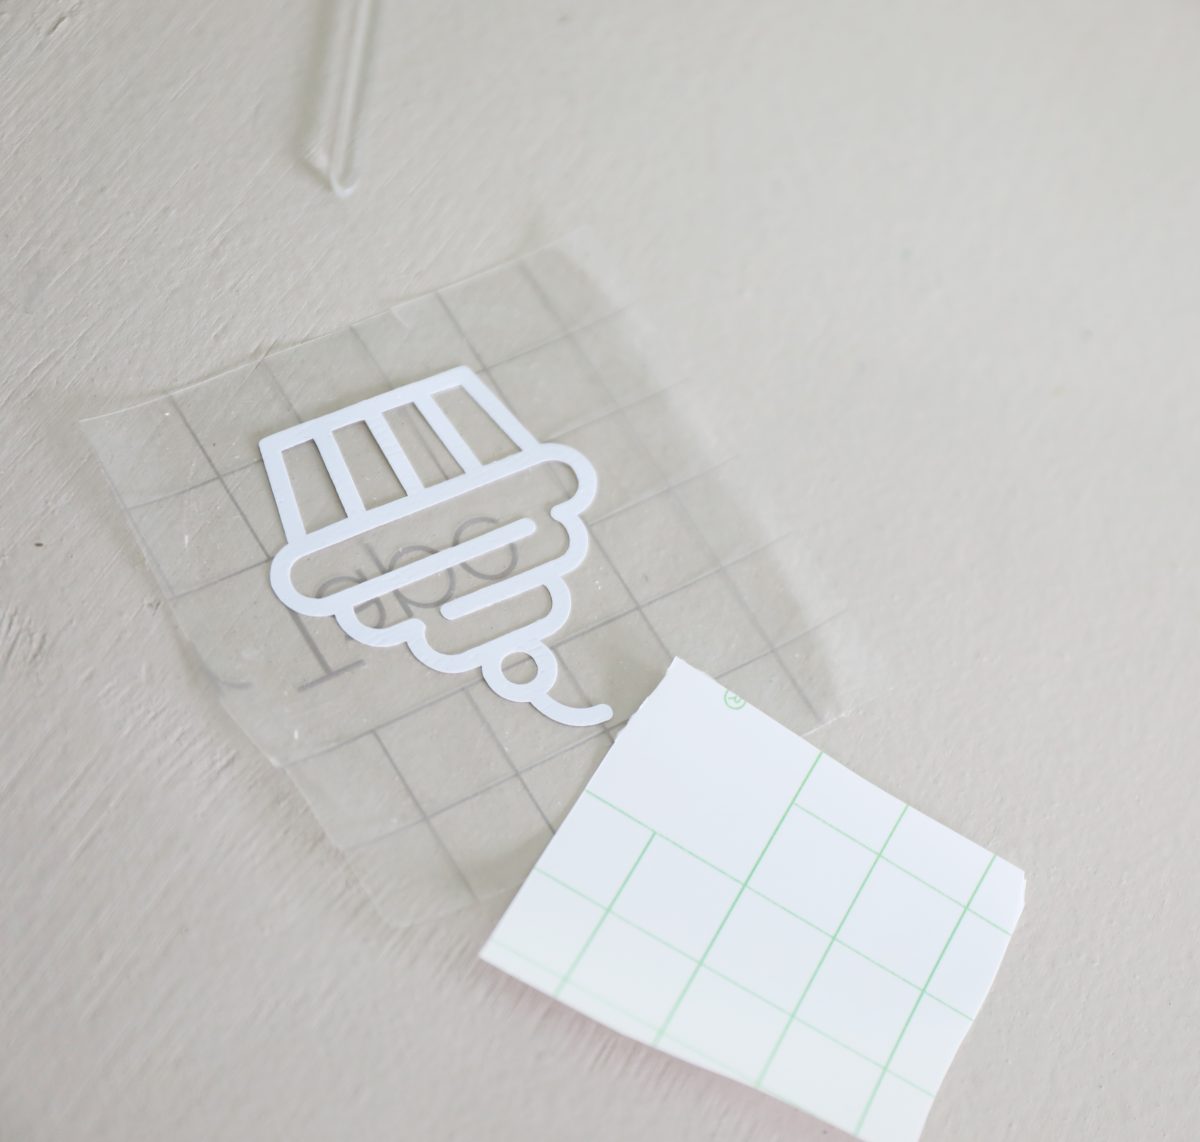
Then my shape was ready to transfer to the cupcake topper itself.
![]()
Once dry, I flipped the cupcake topper over to the acrylic side and laid the transfer tape down on top.
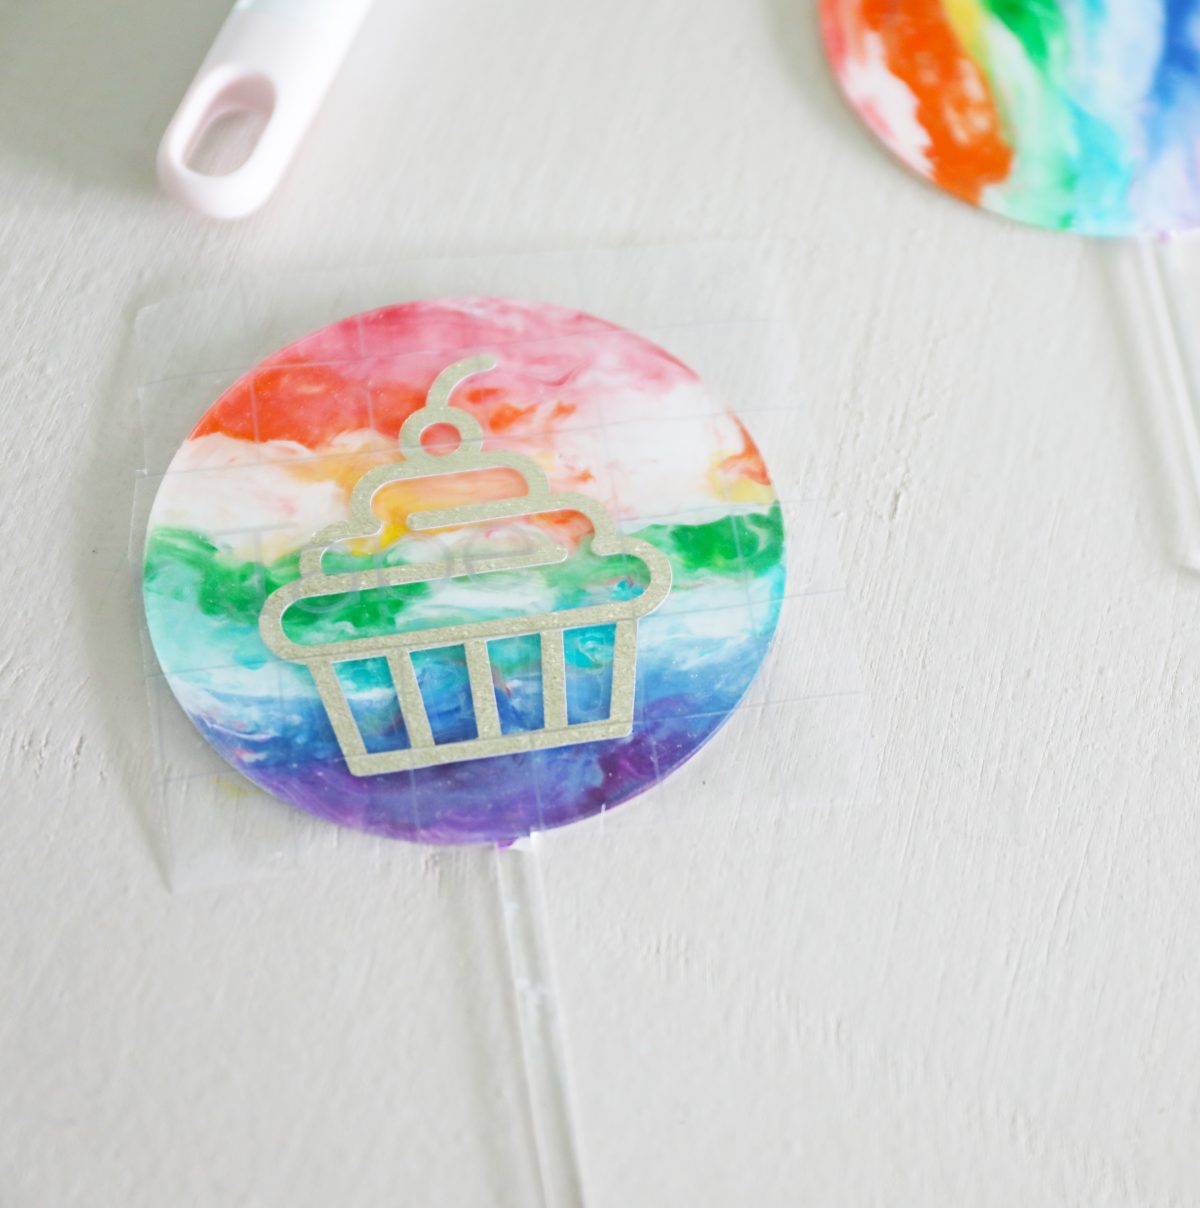
Pressing it down just a little, I then pulled back the tape and the topper was ready to go!
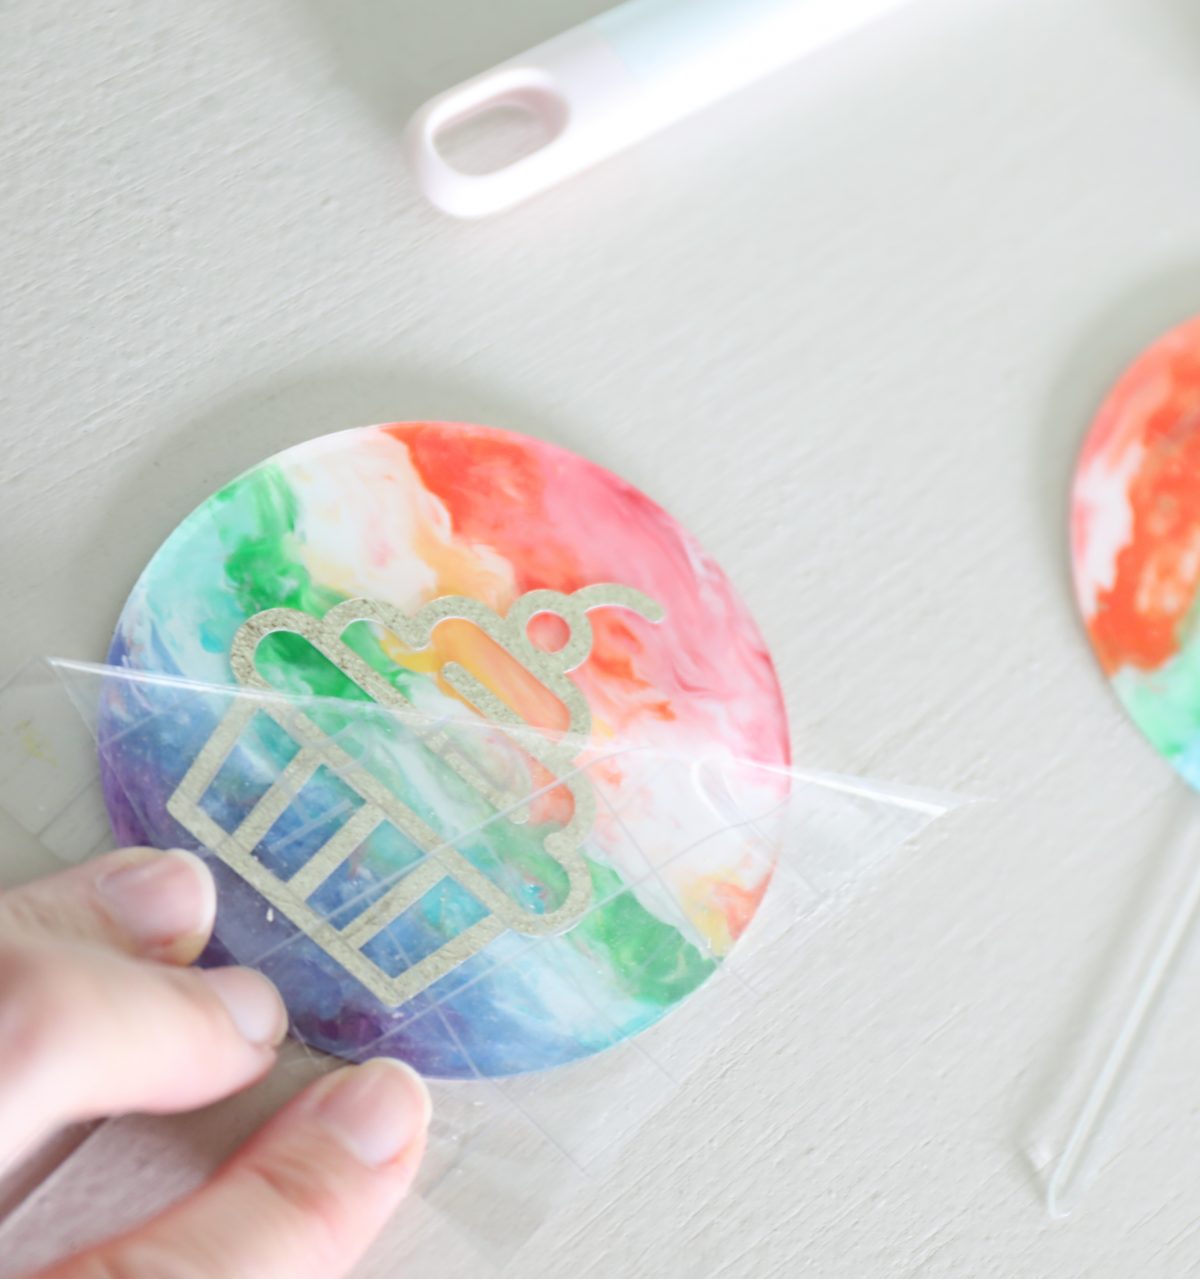
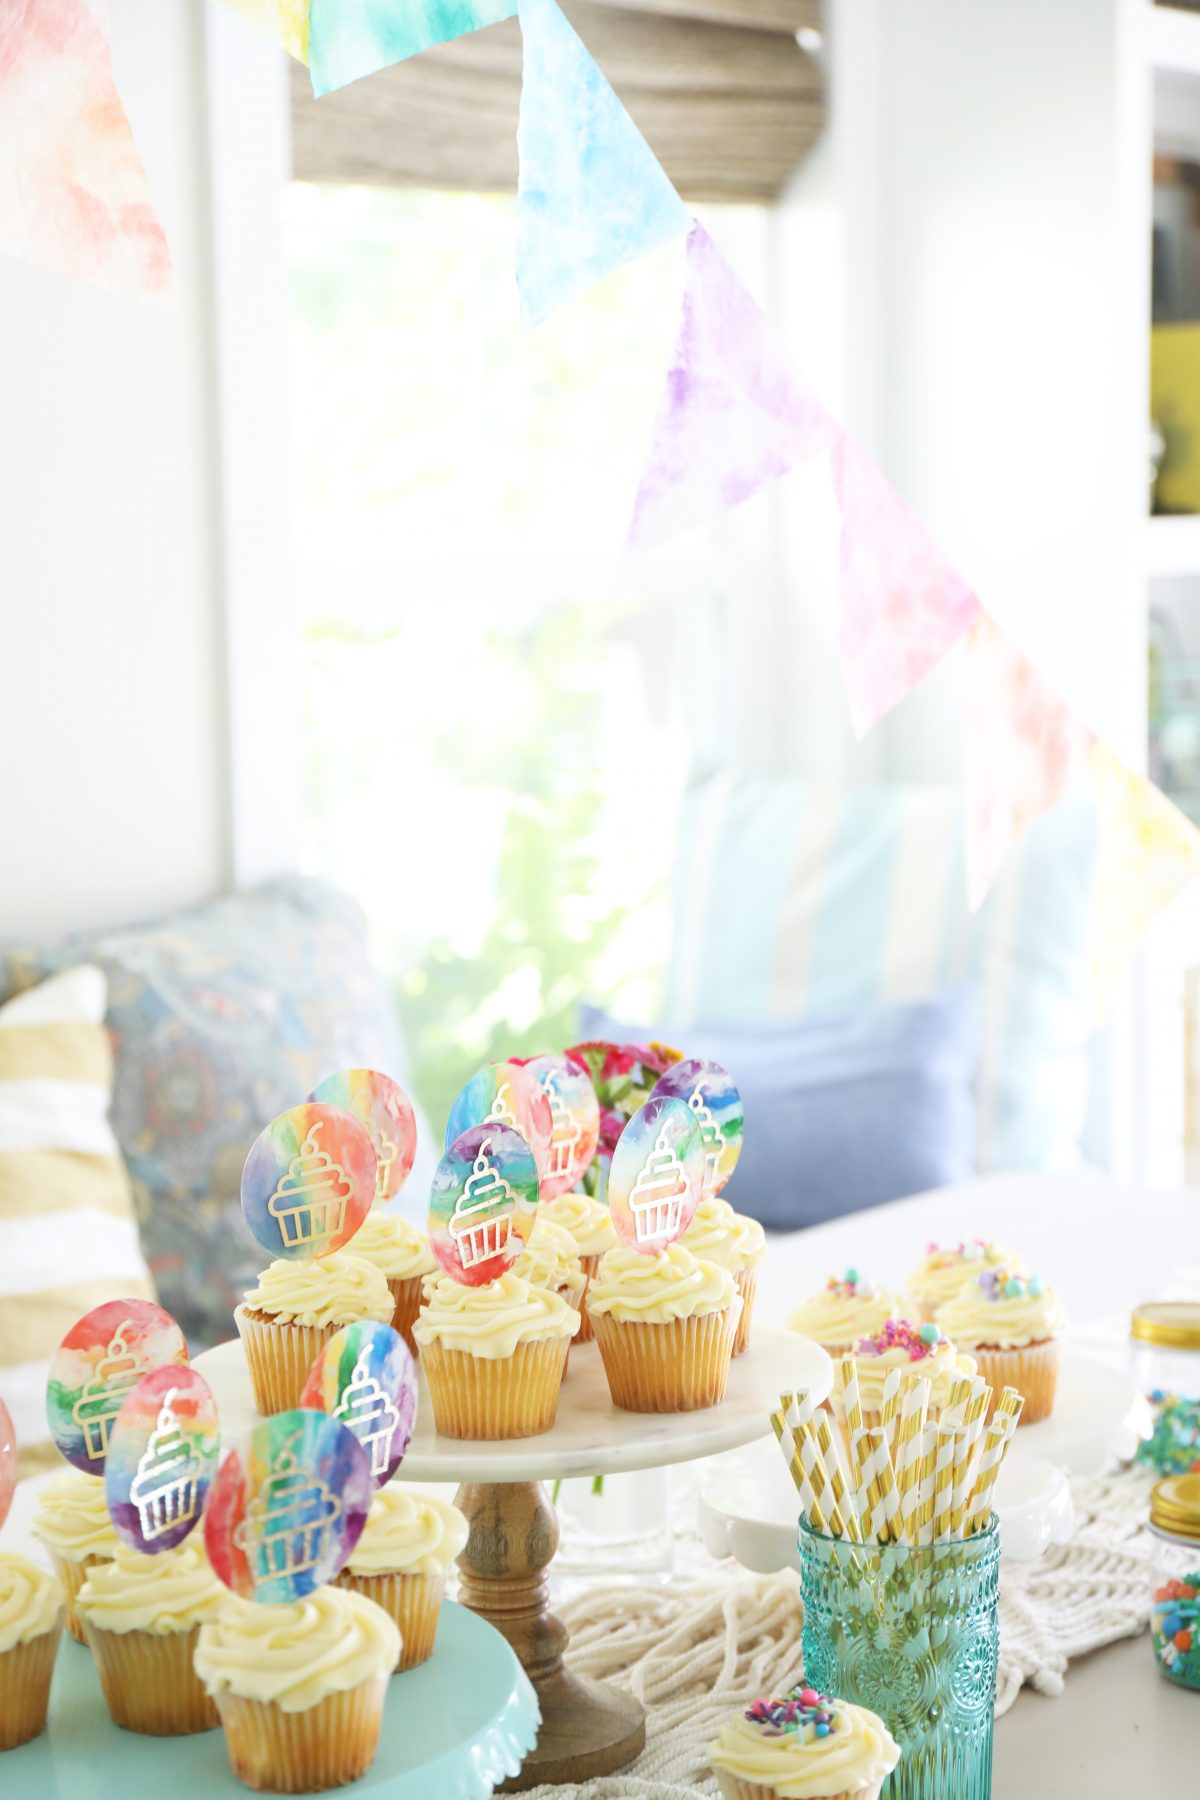
Tada!
Custom cupcake toppers {or cake toppers} or really anything else. It was so satisfying and fun!
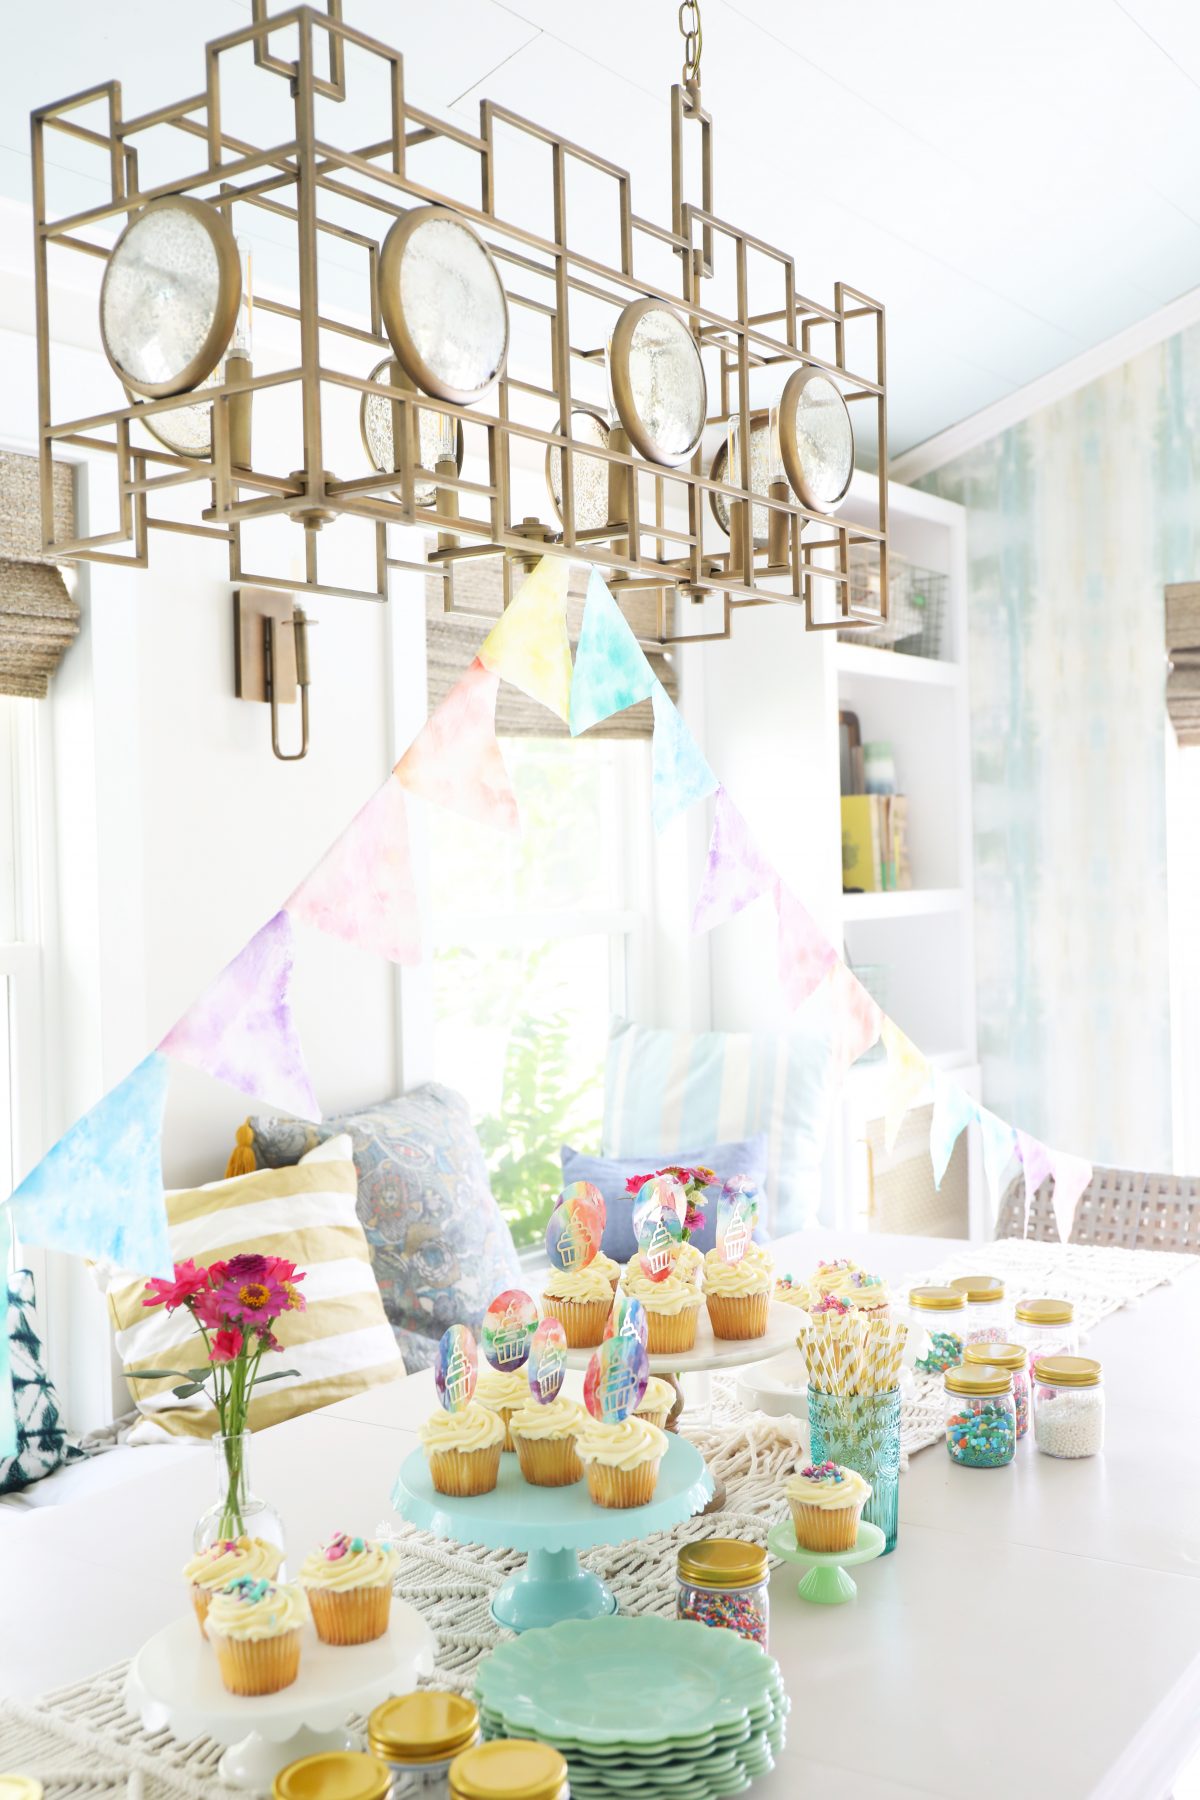
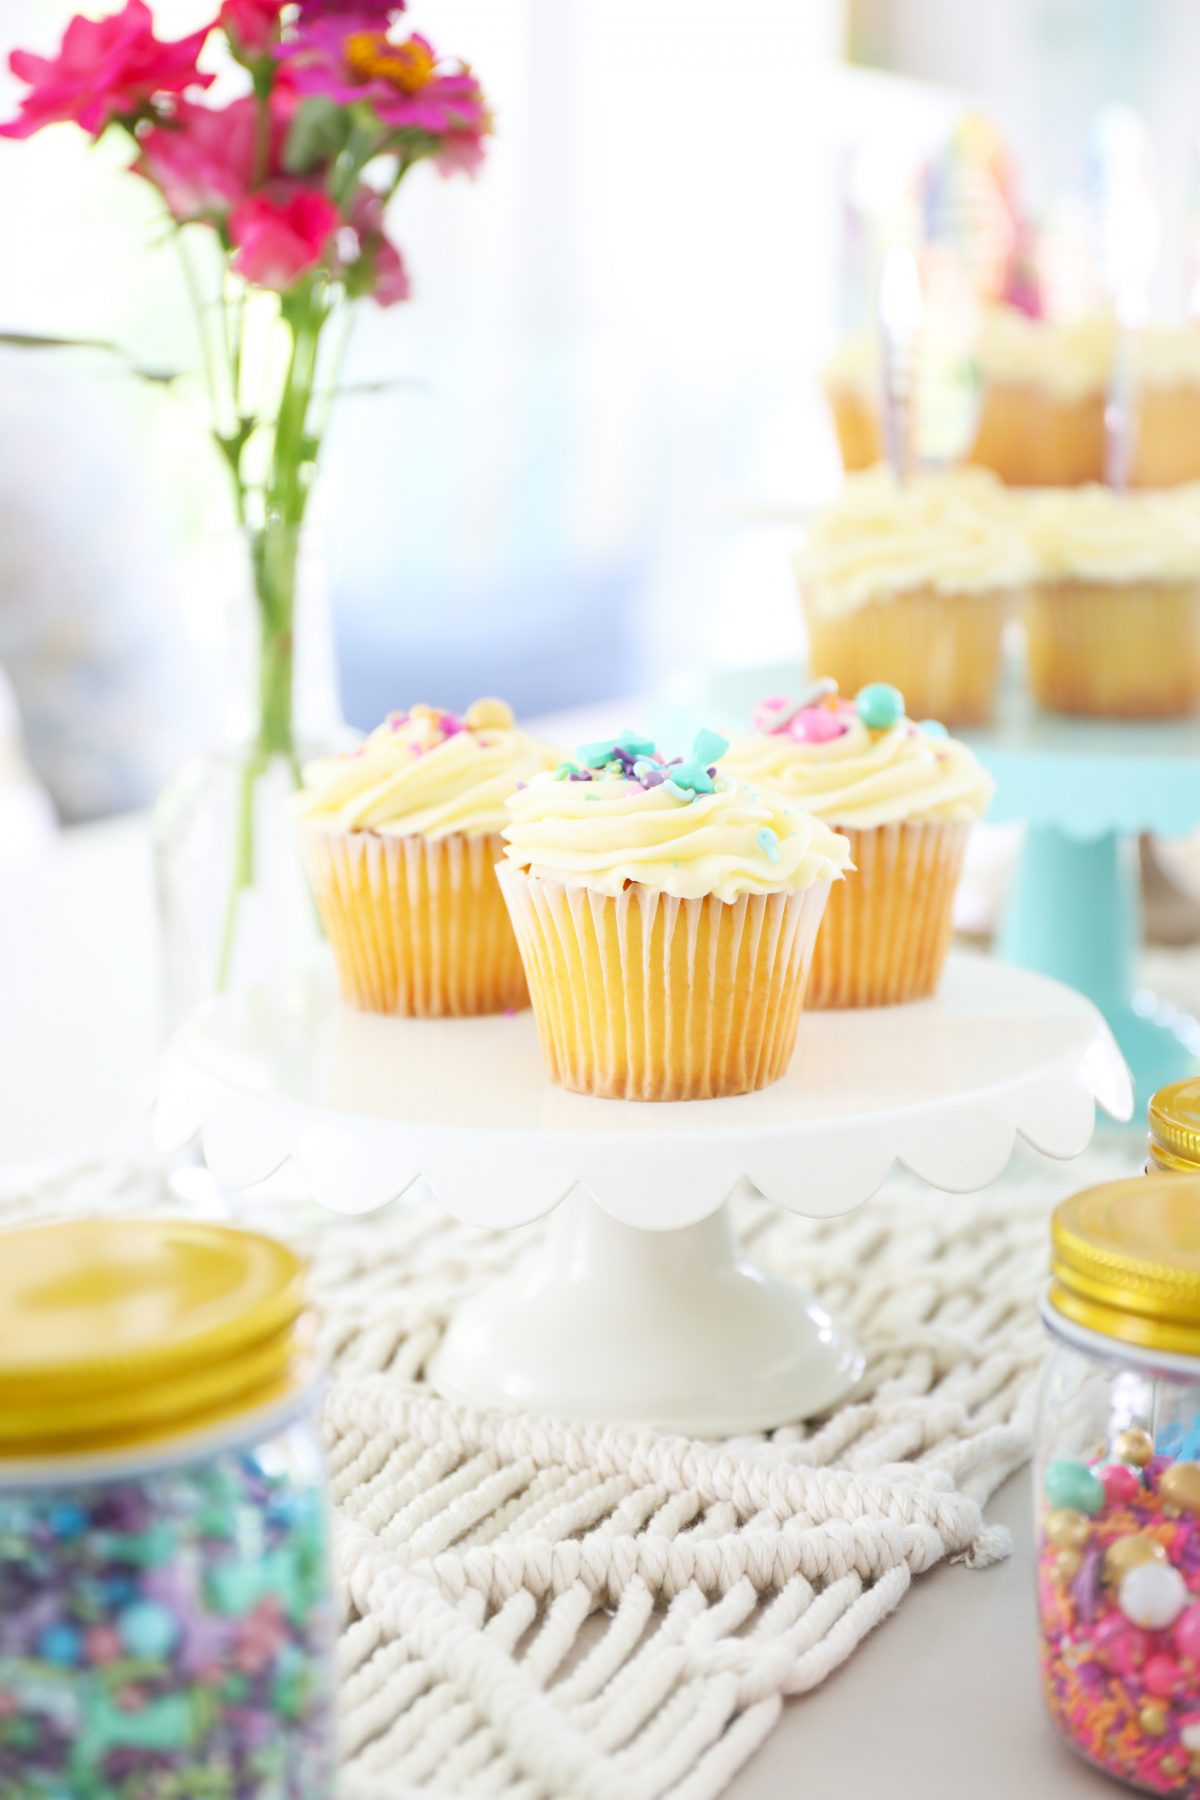
So then we were ready for our cupcake party!
They worked perfectly in each one, and I love the pop of color.
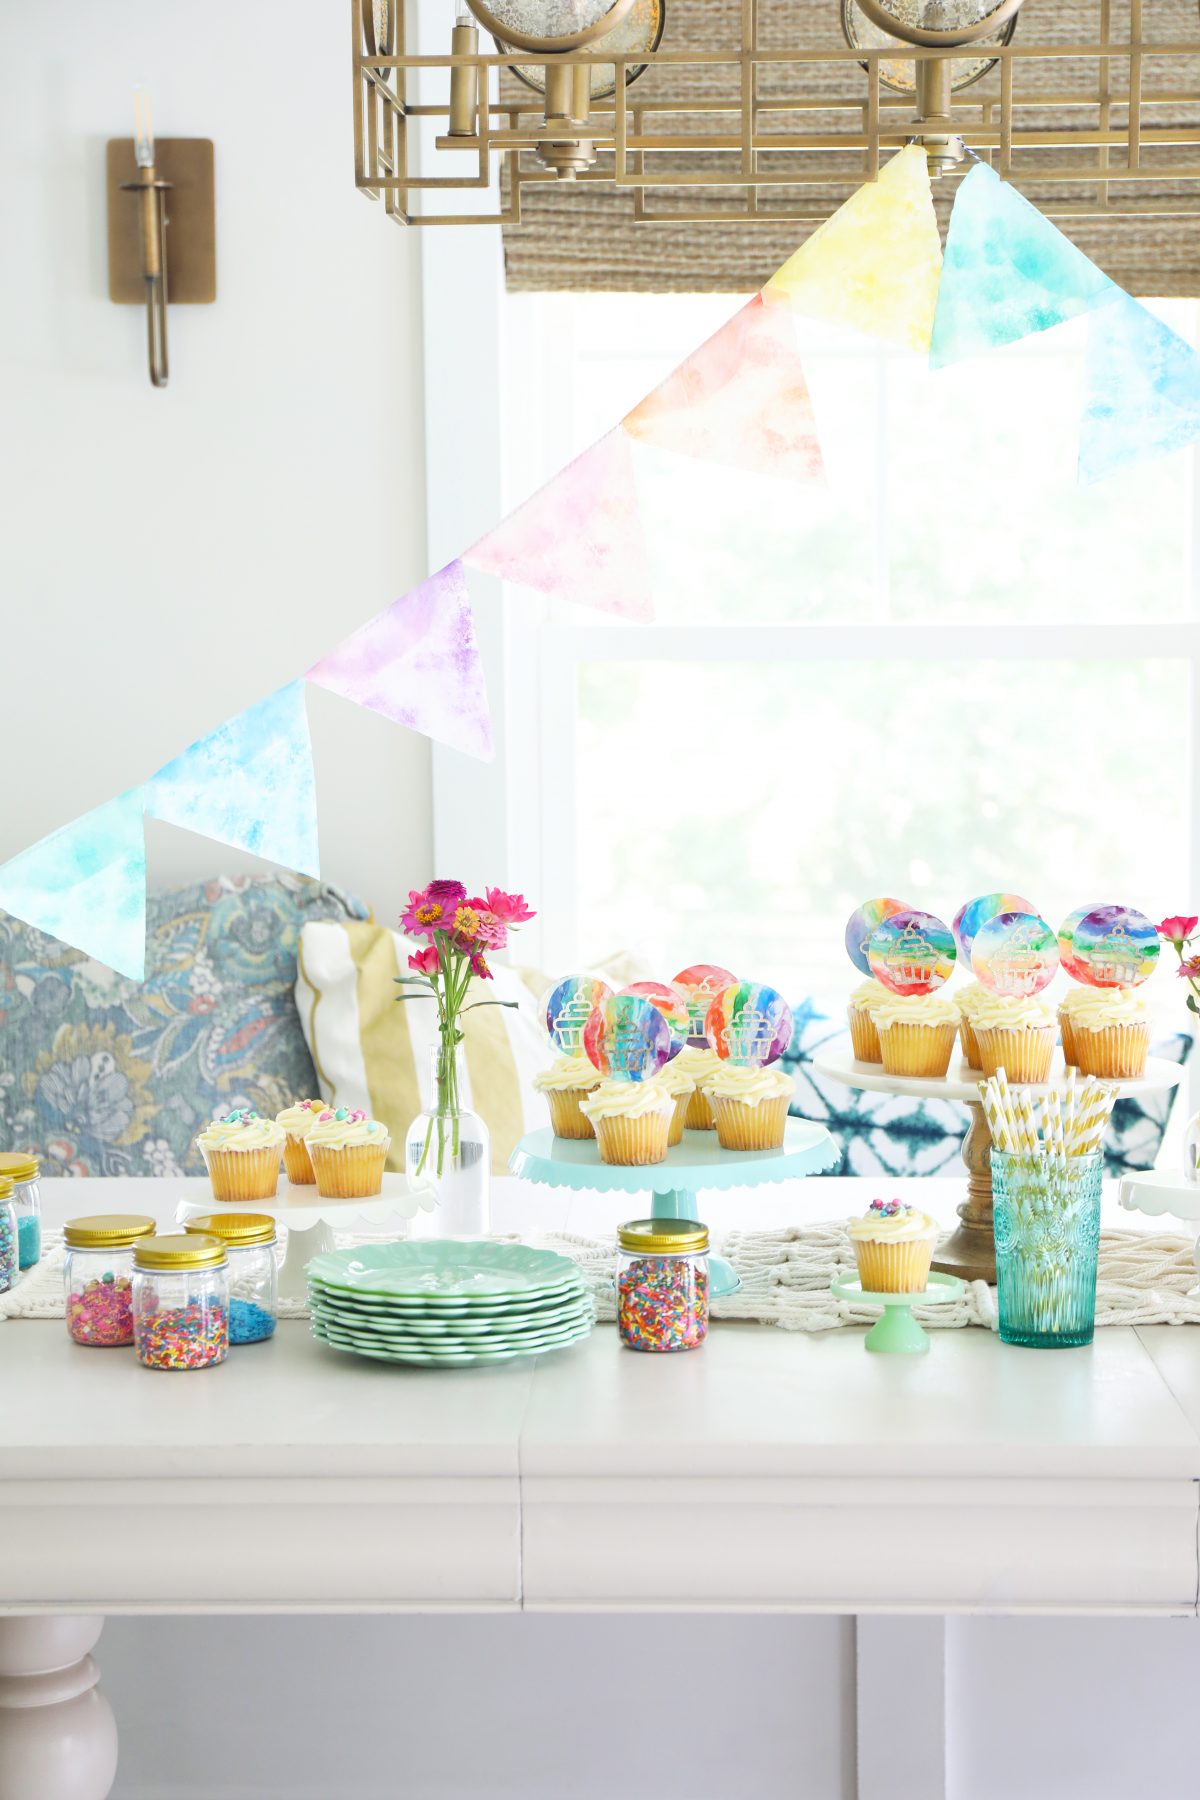
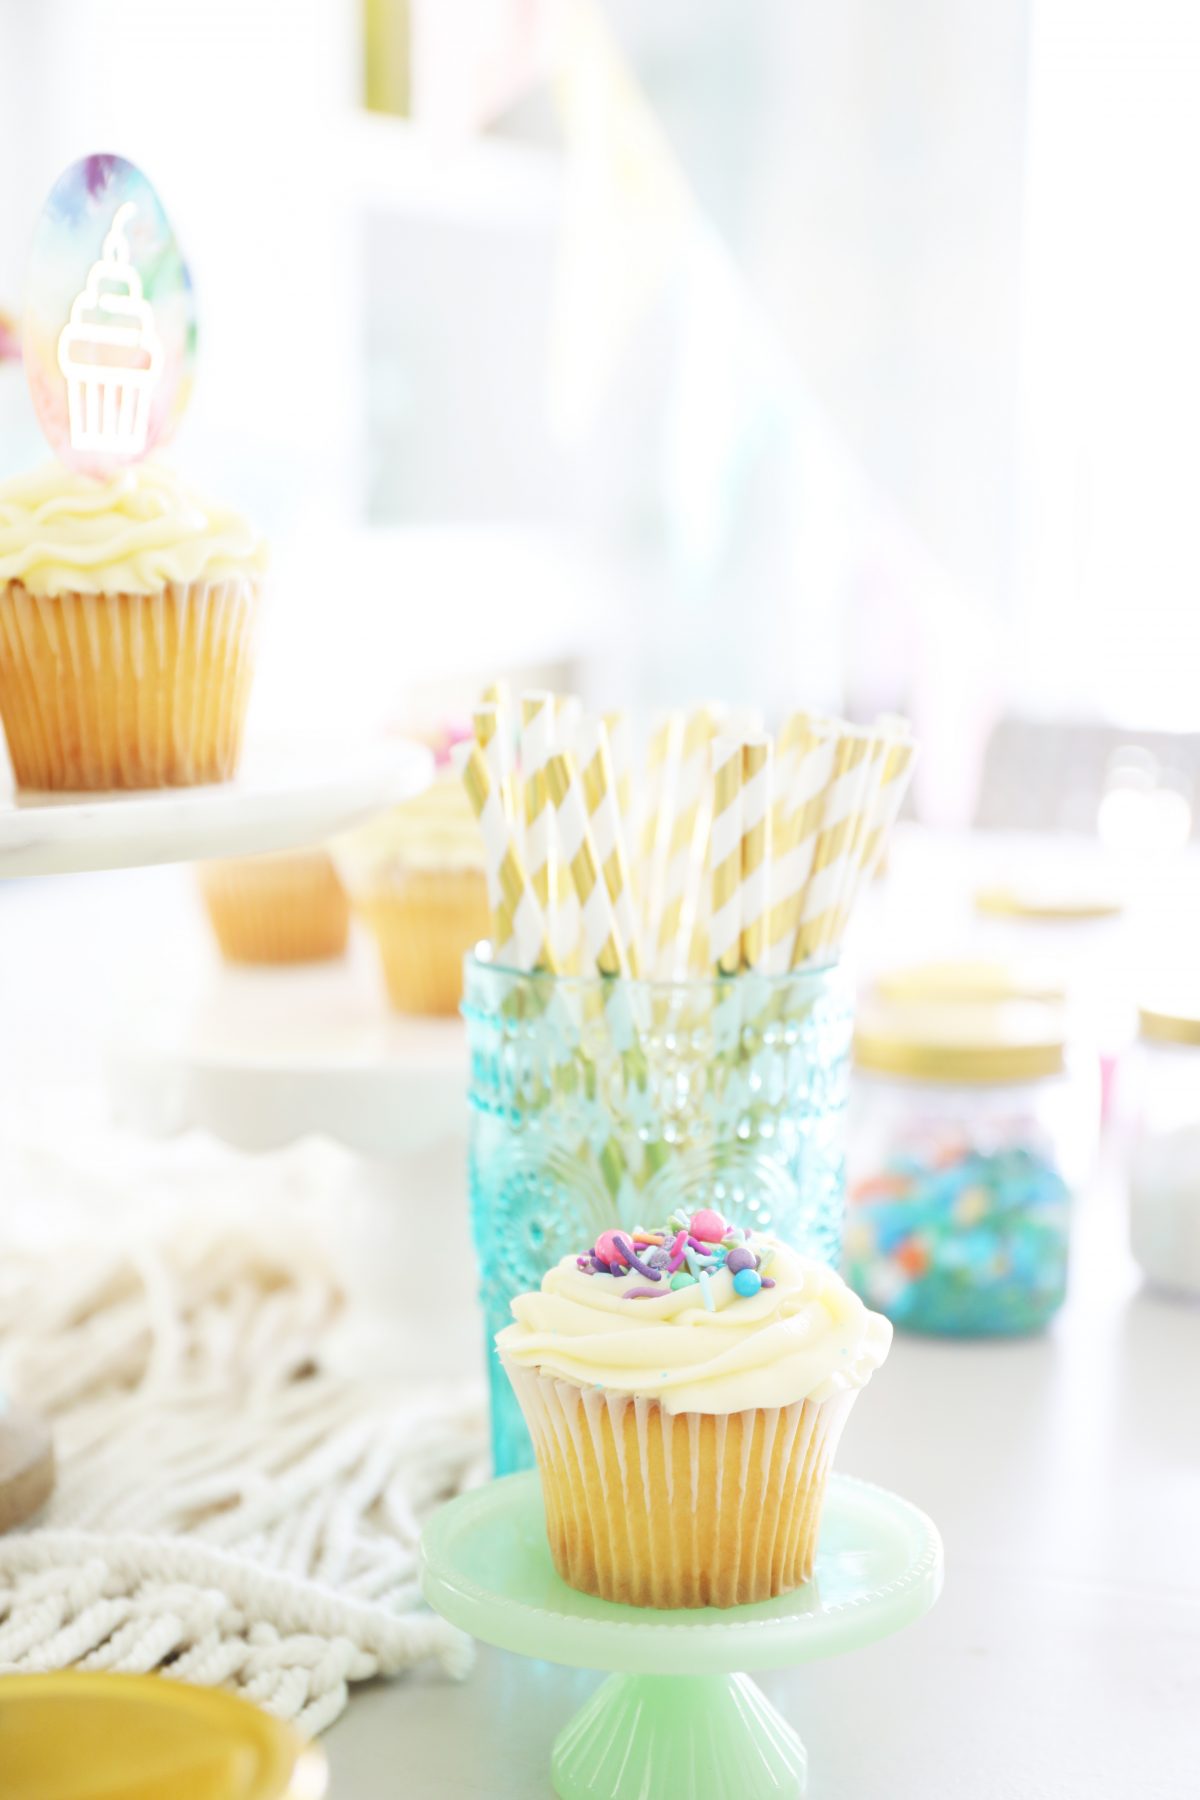
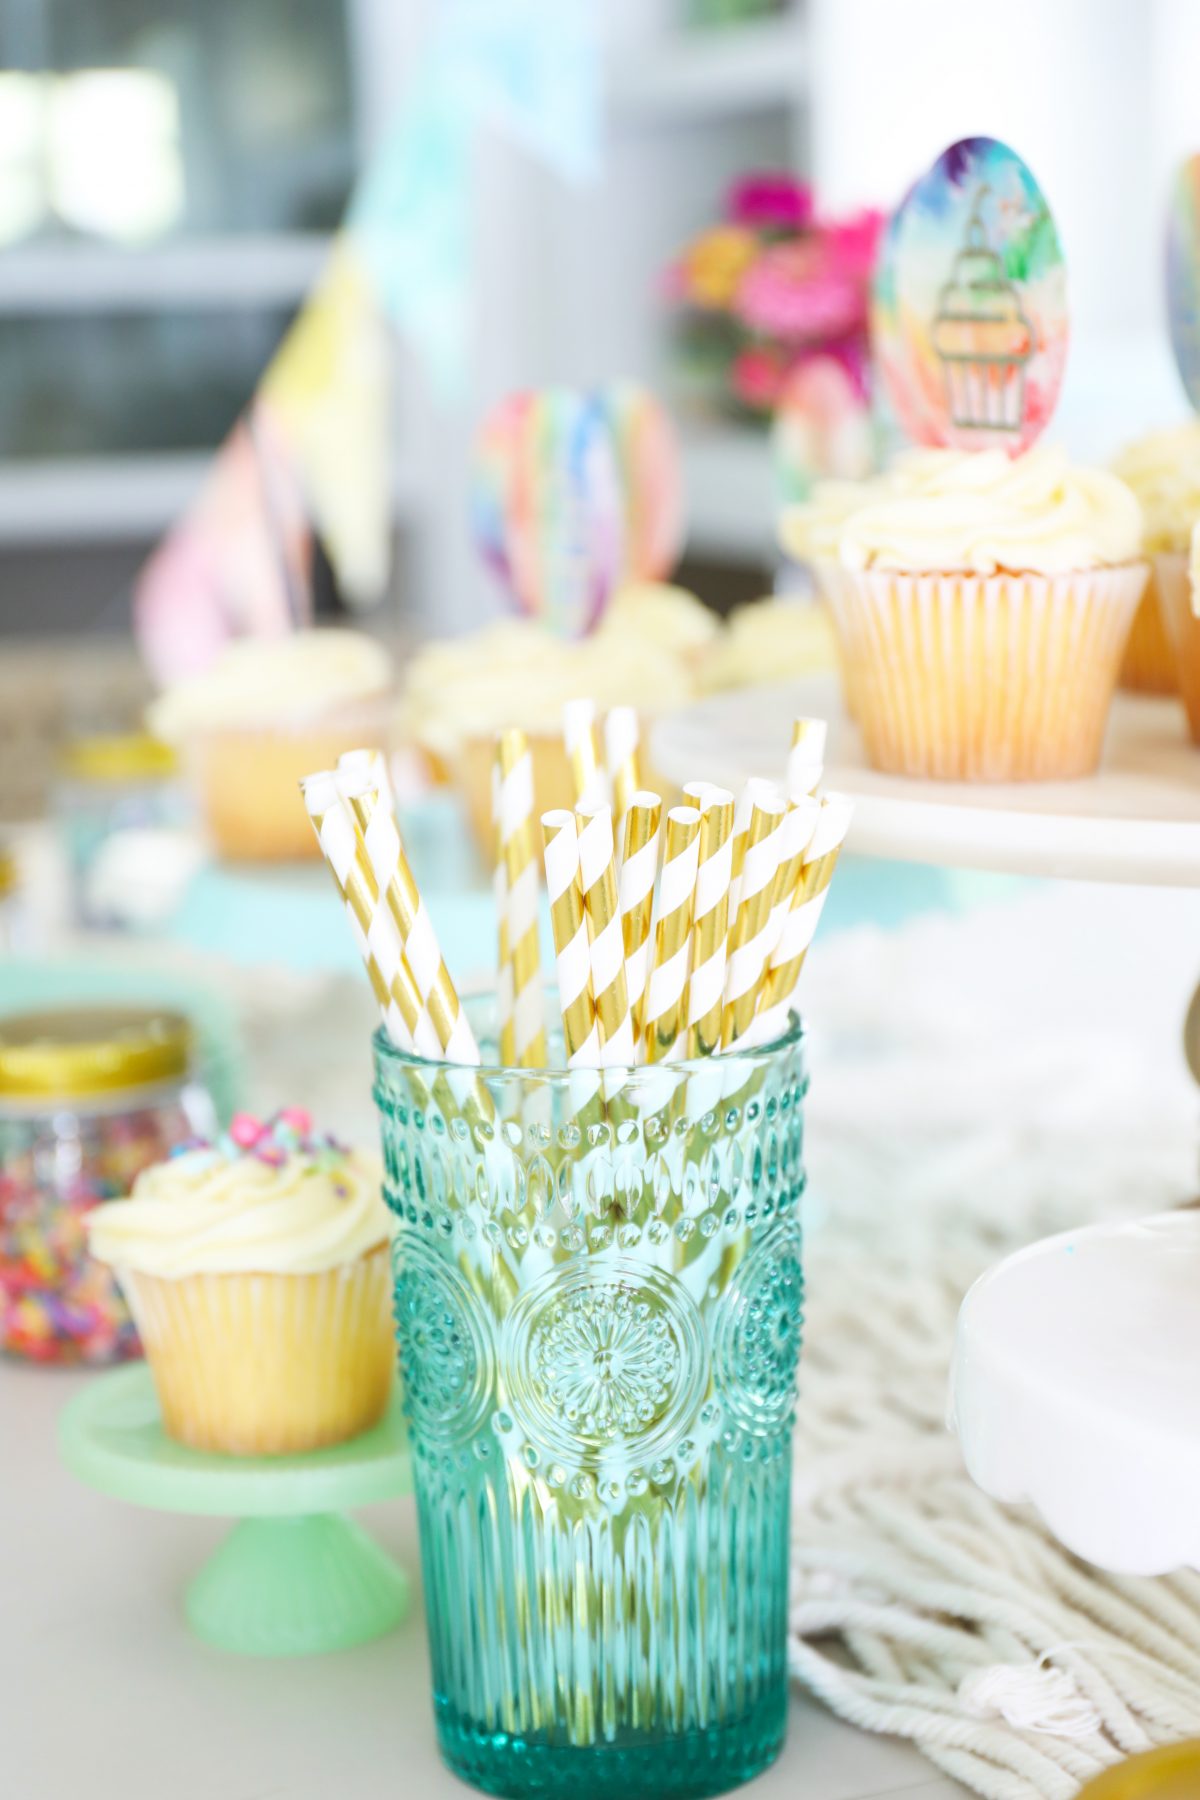
Here for all this yummy sweet goodness! Who doesn’t want a cupcake bar?
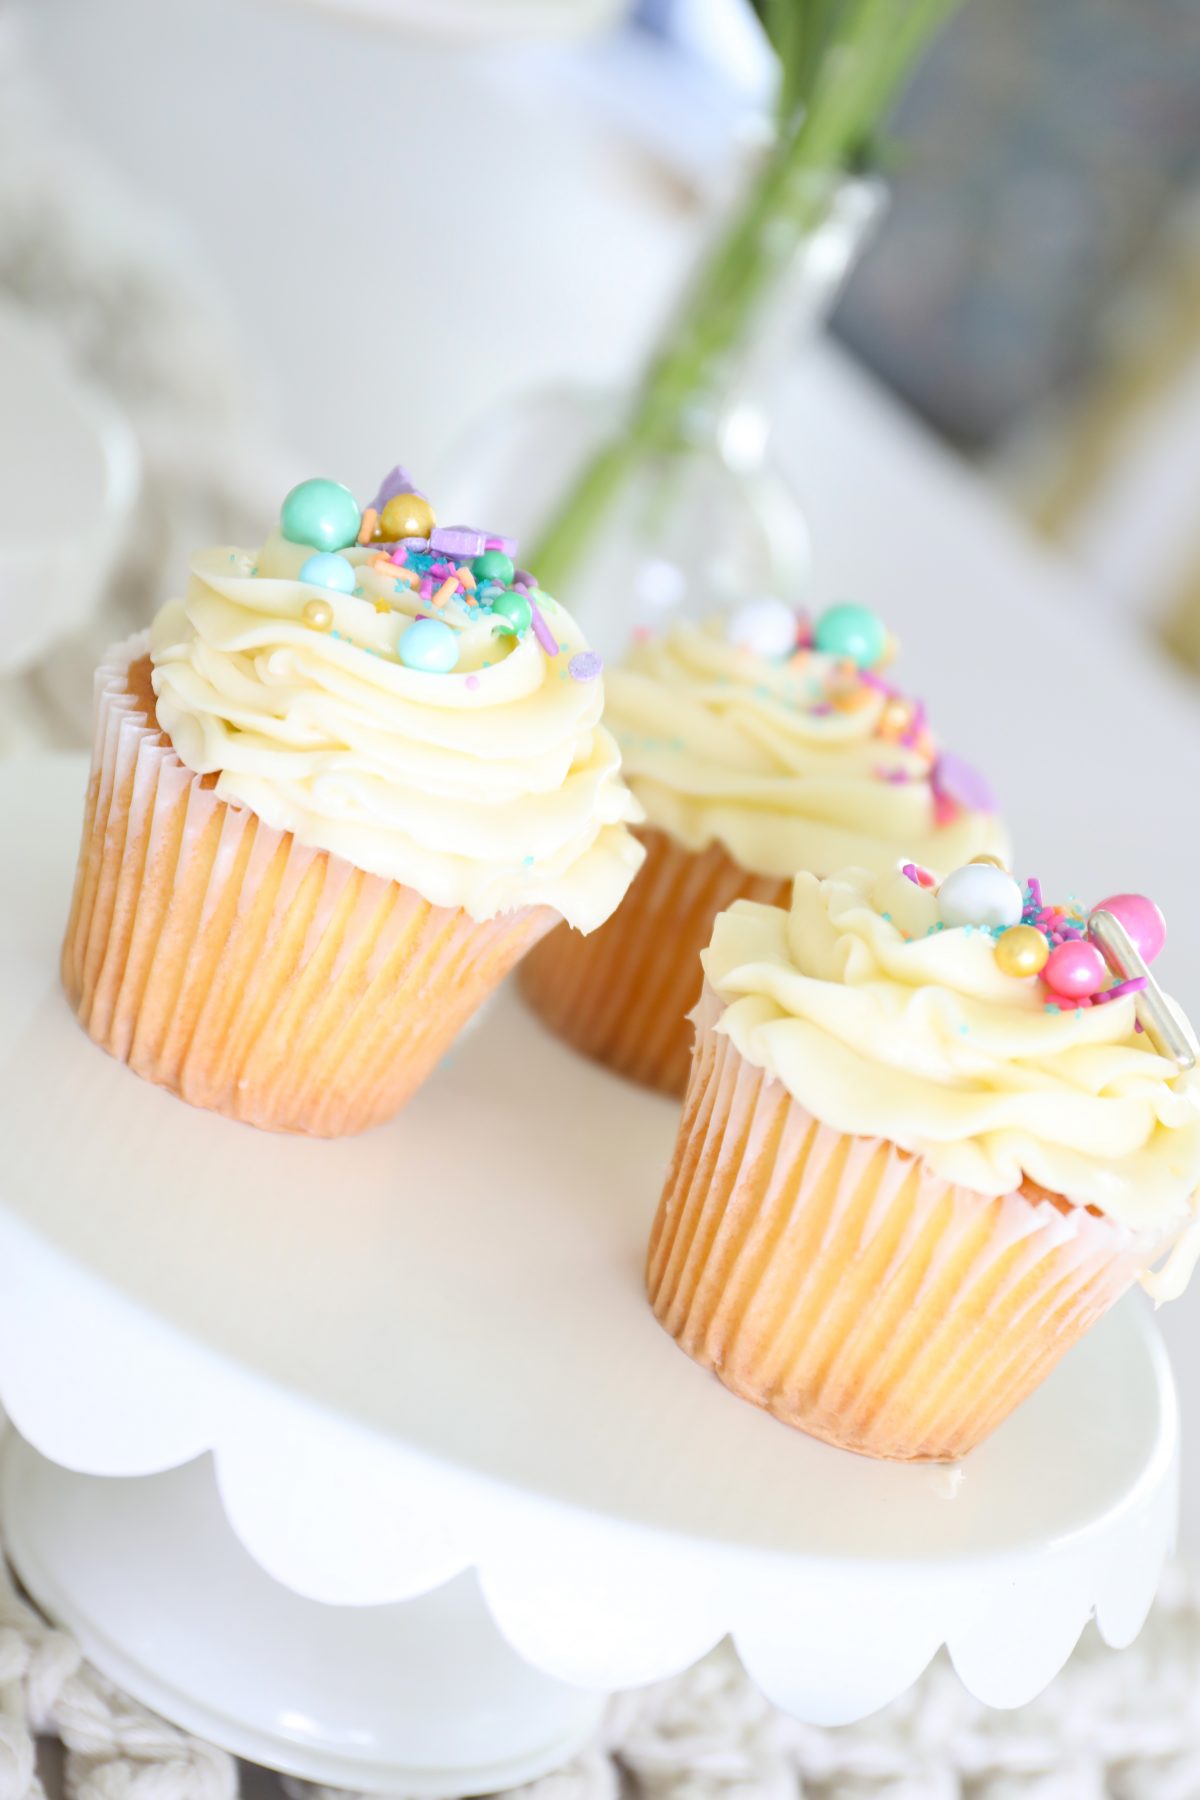
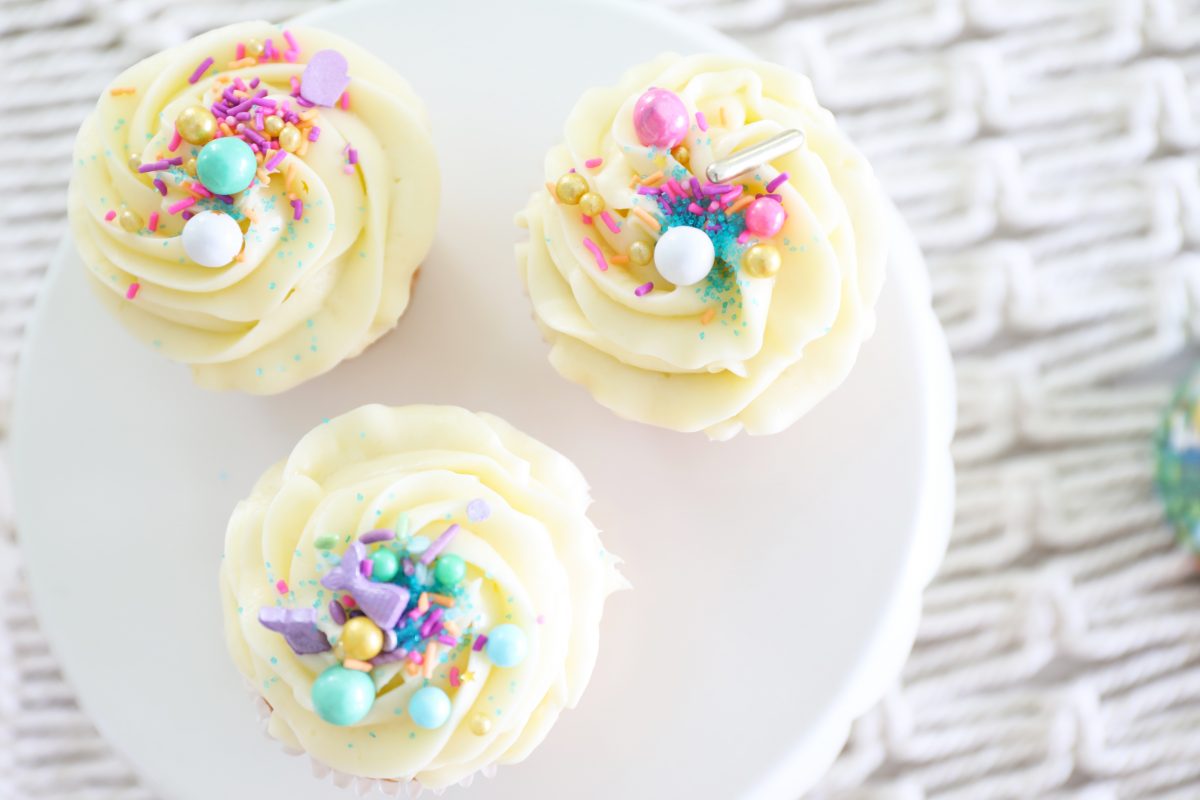
We threw in sprinkles for decorating fun, and everyone had a sweet little blast.
As always, we’re here for the color.
Thanks so much for tuning in today. If you have any questions, please let us know… and have a blast shopping the super fun Cricut Maker here!

Happy creating!
 {We partnered with and are sponsored by Cricut for this post. For more info on our branded content please visit our disclosure page.}
One Comment