
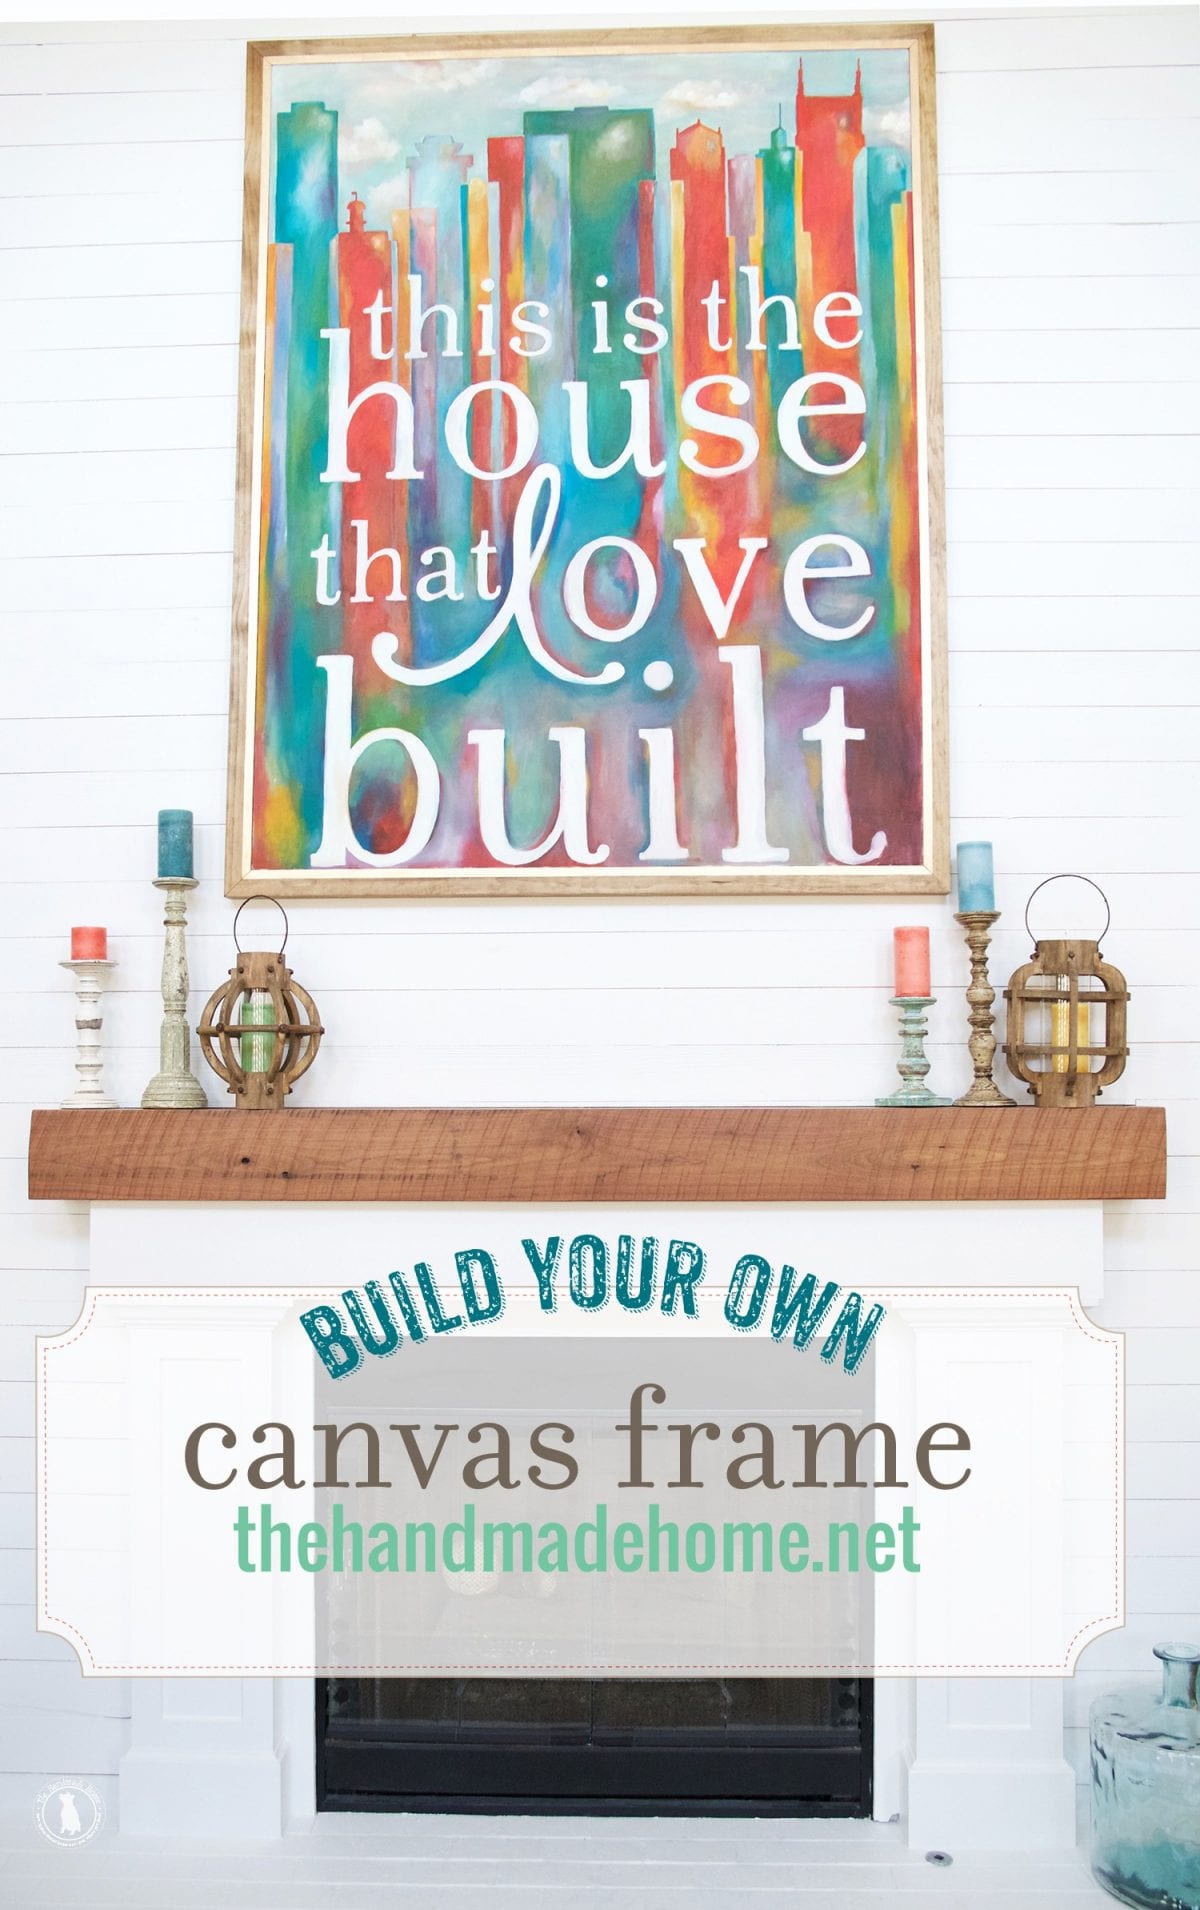
build a frame for your canvas
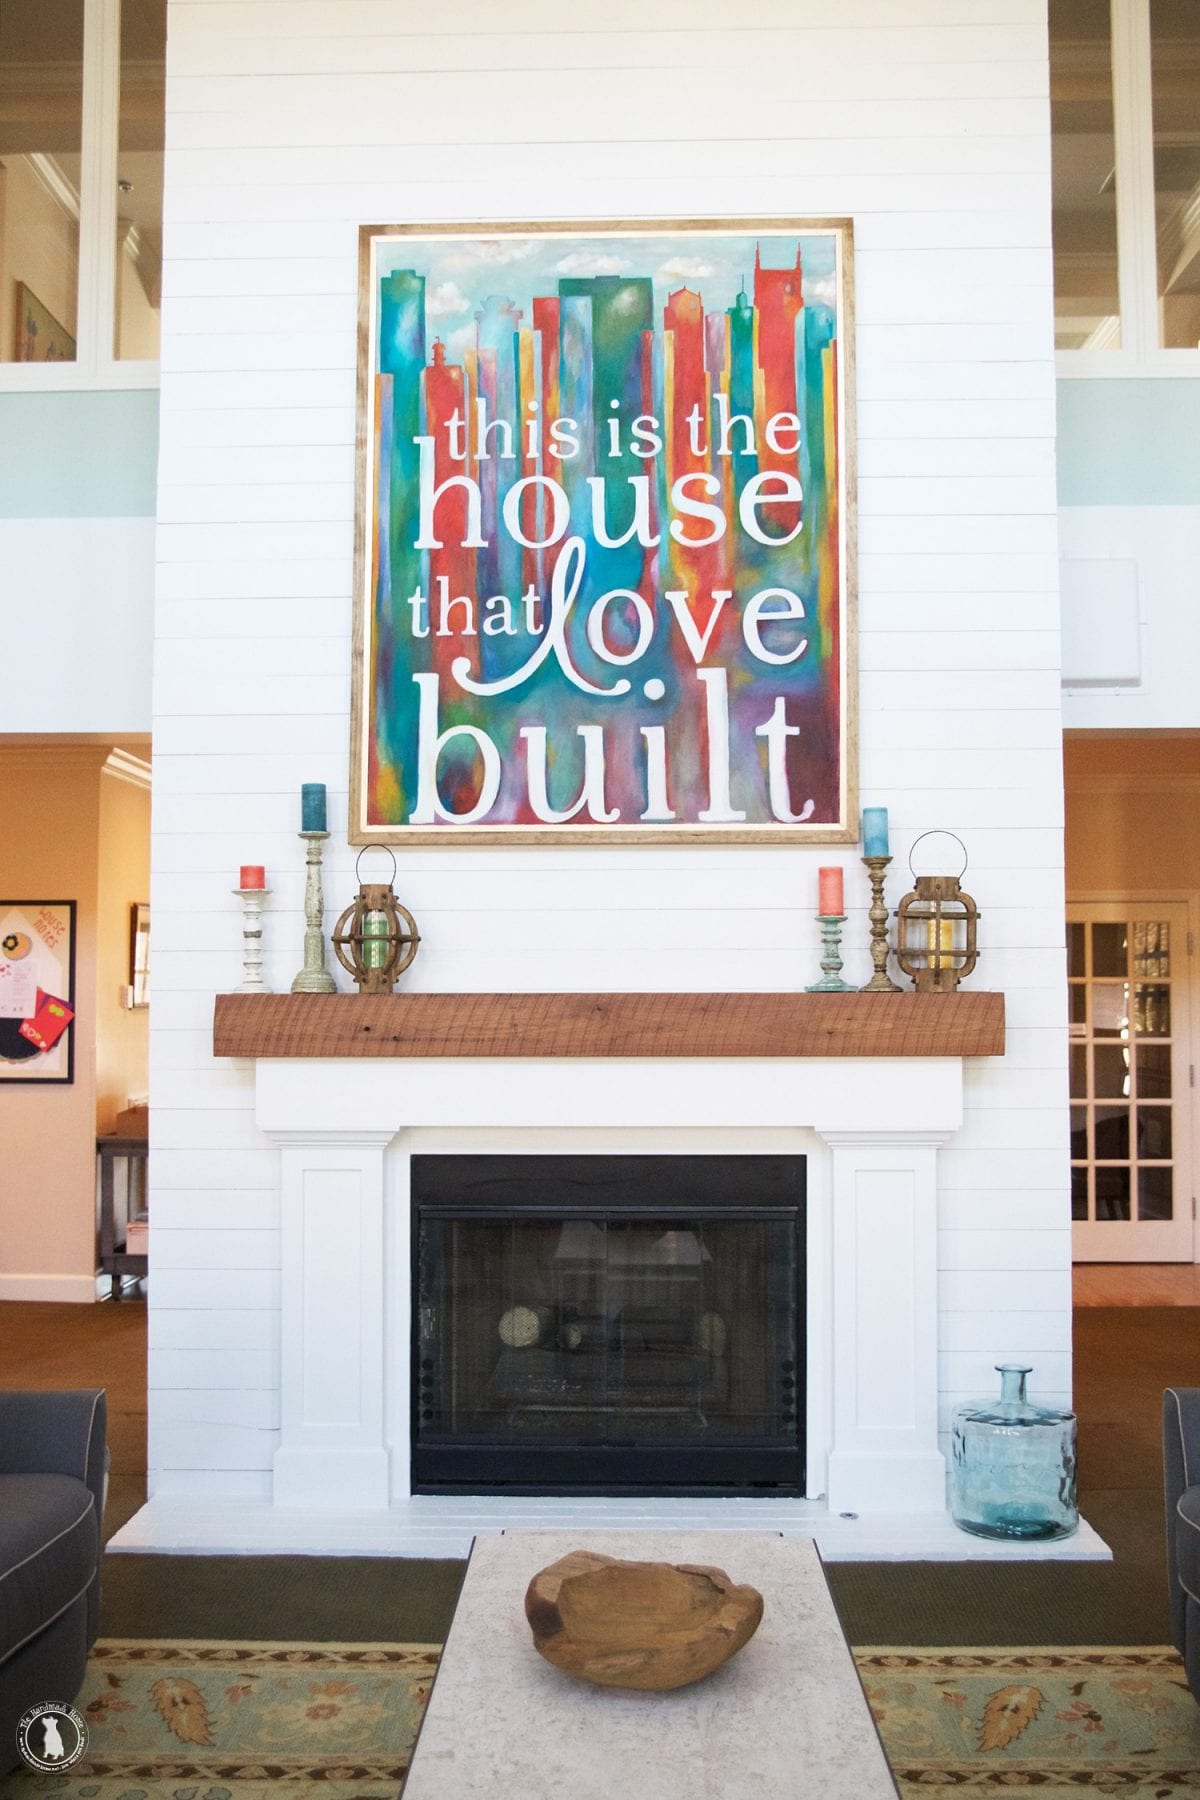
Remember that fun reveal at the Ronald McDonald House with La-Z-Boy a little over a month ago? We had an absolute blast putting it together, and apparently we had projects for dayyyyssss… because we forgot to share one with you.


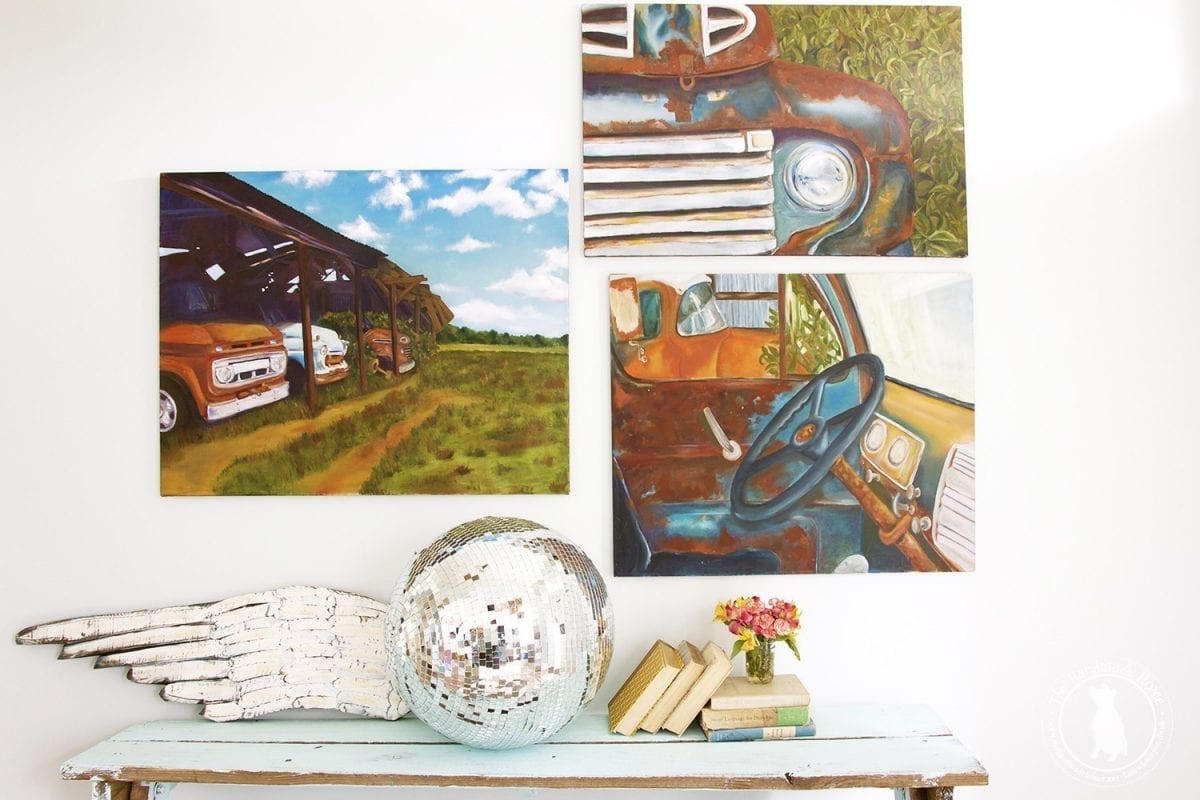
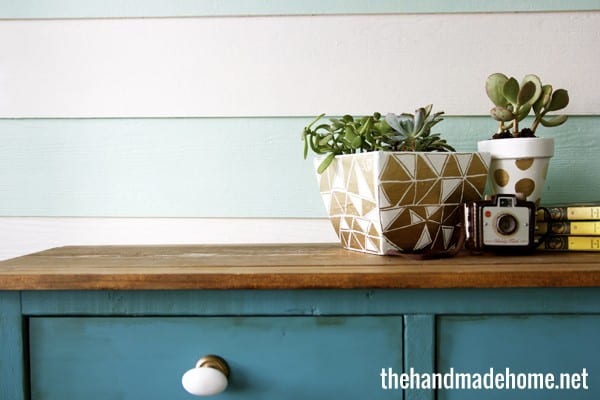
A few weeks ago, we shared a little post on stretching your own canvas. It’s a great way to save big around your home, especially on custom pieces that you create. It’s a lost art of sorts, and we love creating our own around our home.
We stretched a canvas and put it all together, and then realized we never showed you how to build the frame around it. This is a great, affordable solution for all those pieces around your home, and they kind of kick up your art a notch, without putting you out a ton.
Also, if you order a canvas piece from us, this would be an easy, great way to frame it. So without any more ado, here’s a simple how to.
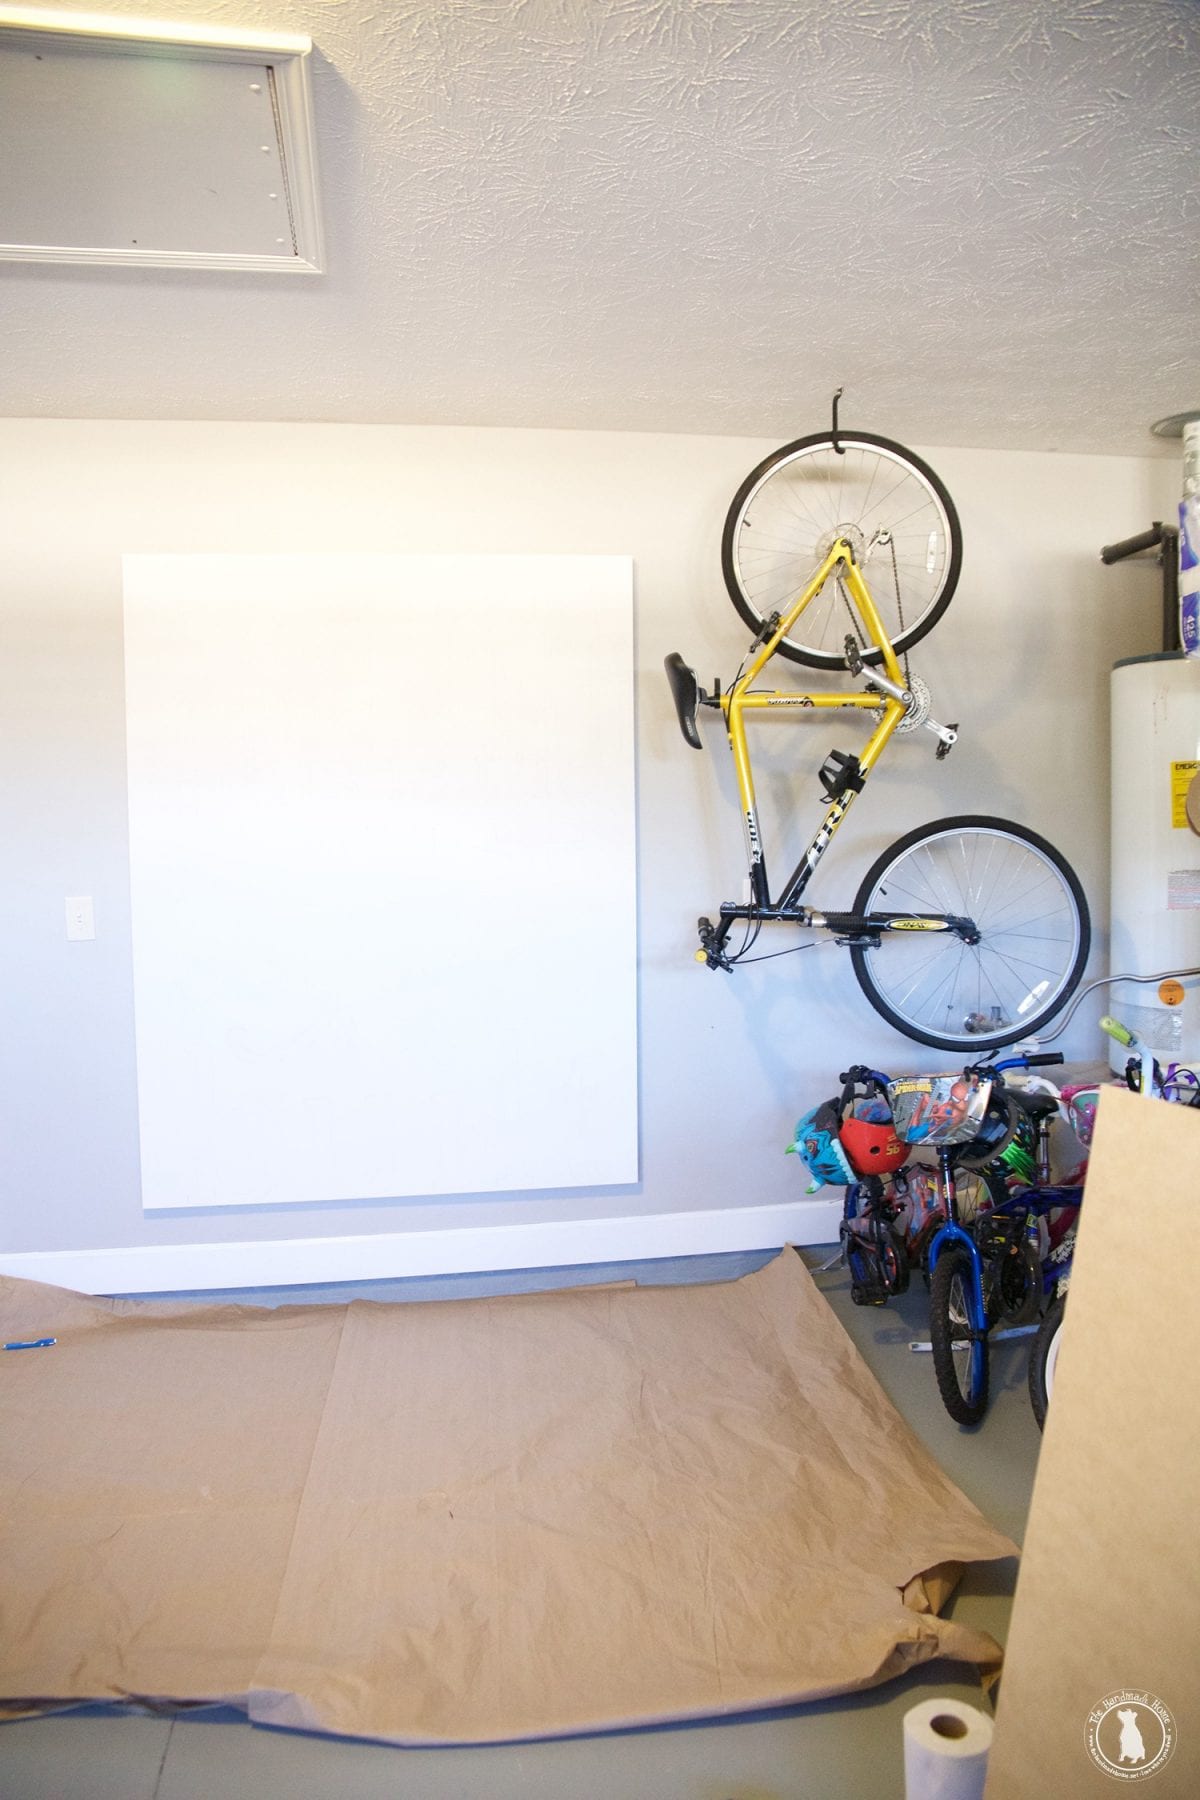
Like our fancy studio? Ya gotta go what ya gotta do. We were on a deadline to have this massive piece finished by installation… and the hilarious part was that it kept being interrupted by house showings. So people would come in to see our garage and we’d be all, yeah… we’re working on this project…
So once our painting was completely finished, we were ready to frame it up. {If you’re working with oils, of course give it about a week to dry completely.}

You could always do a simpler version of this, but we liked the double layer, to fancy it up a bit in the final display for the house.
Here’s what you’ll need:
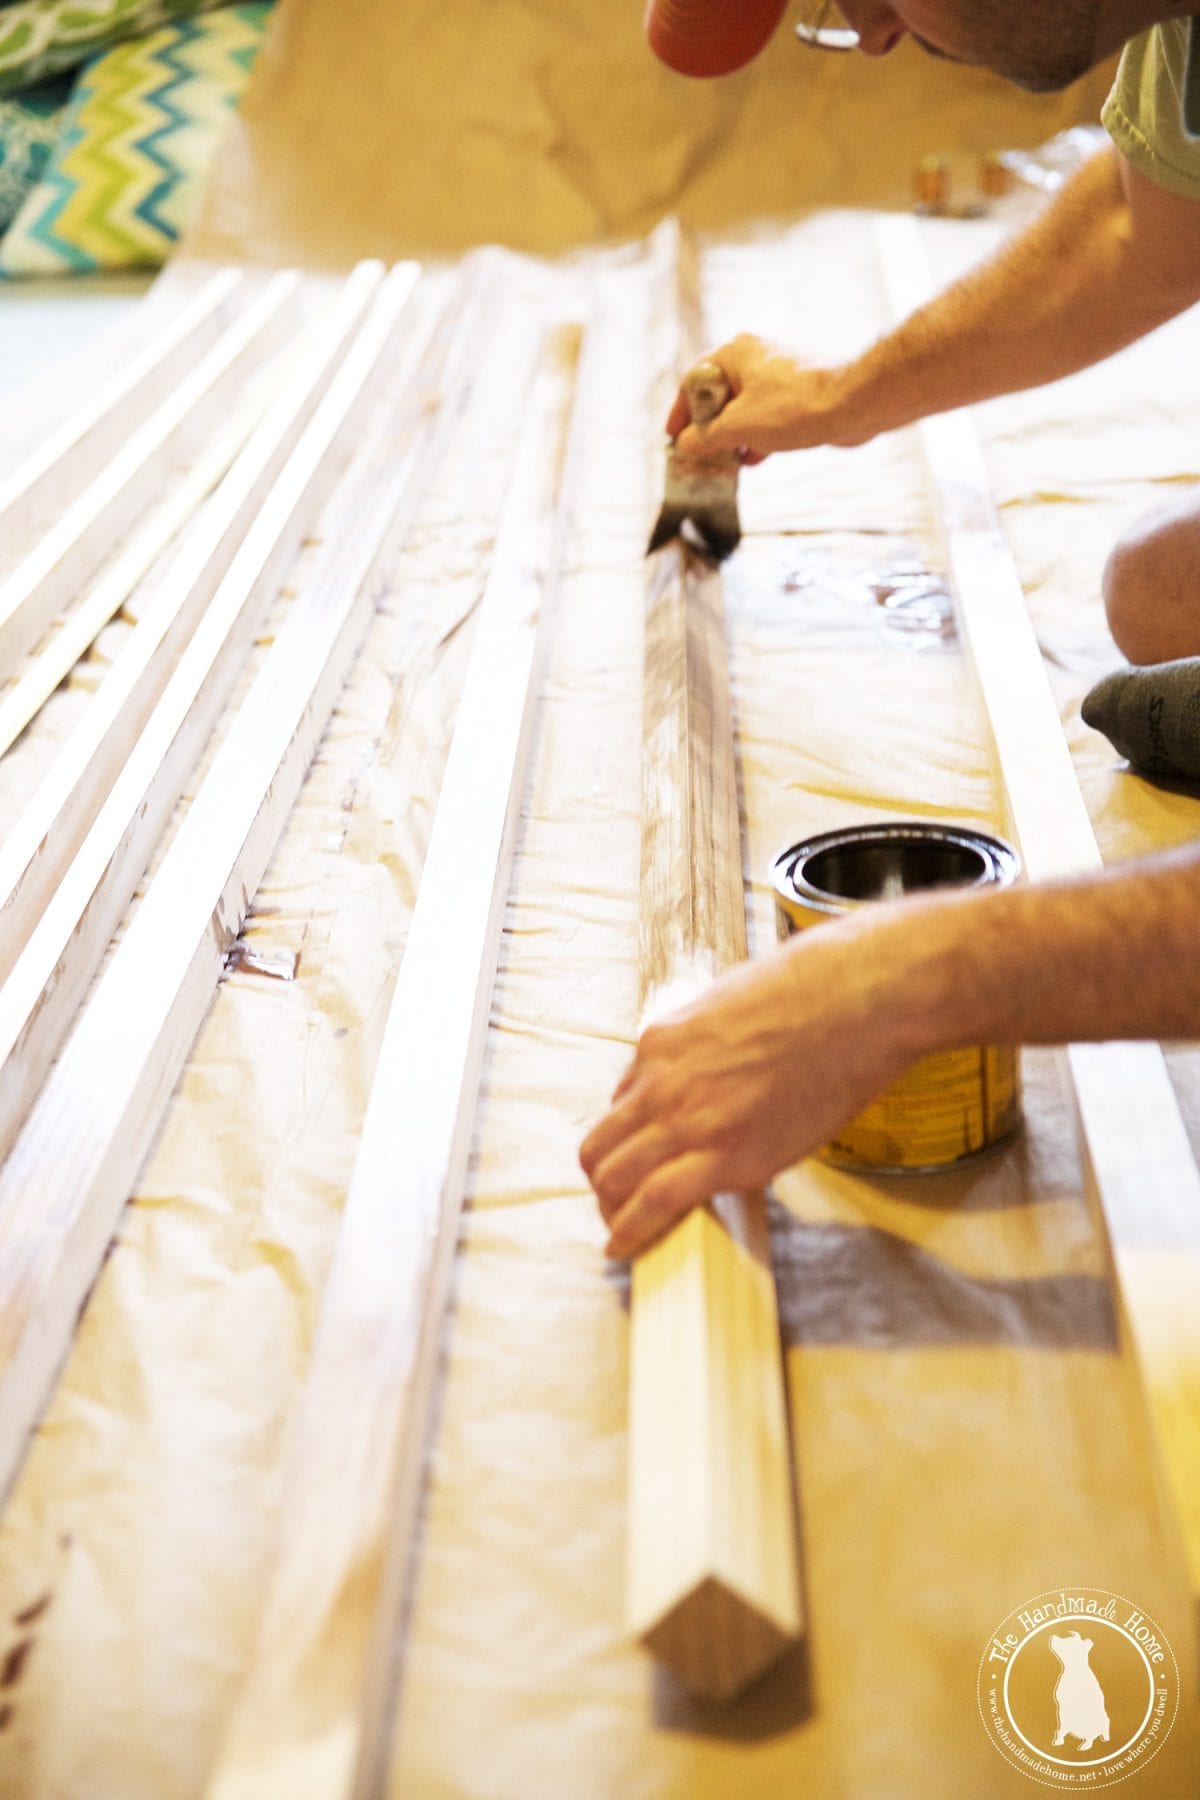
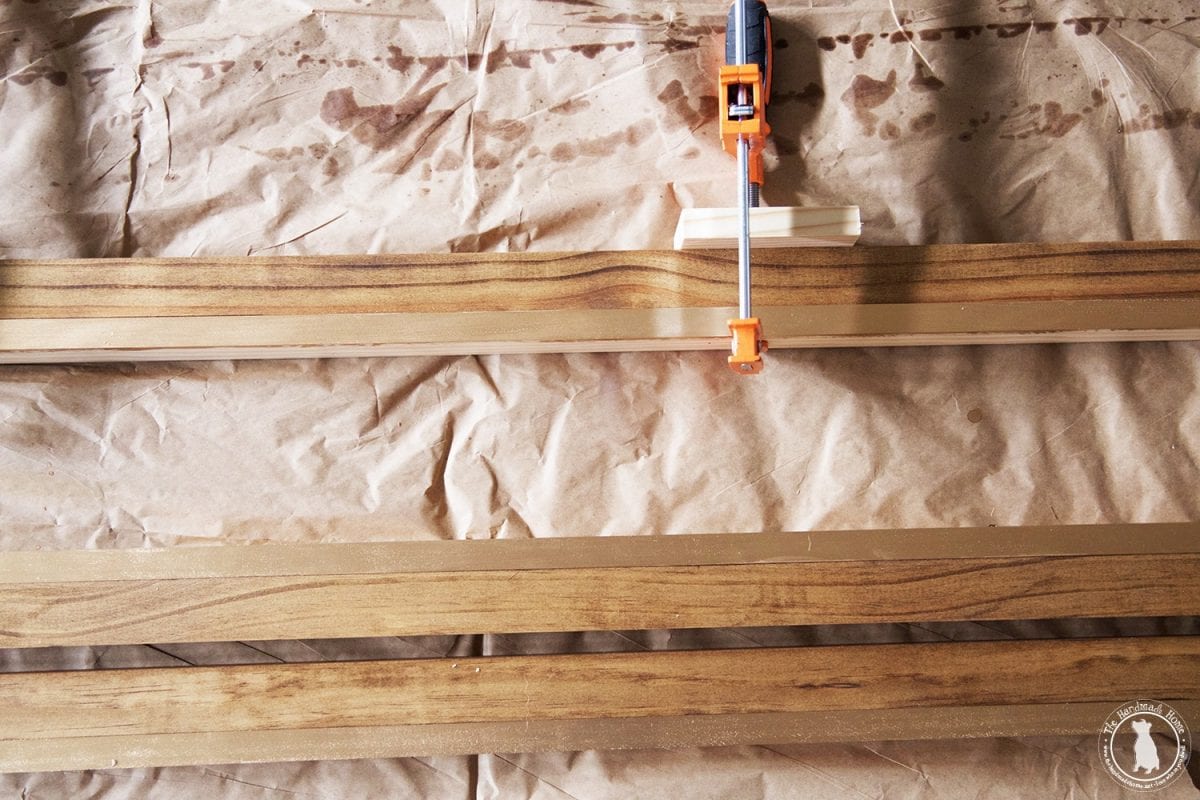
4 pieces of 2 x 2’s and 4 pieces of 1 x 2’s (we use premium pine). The length of these will depend on the size of your frame. To figure that, simply measure the length and width of your canvas. You’ll also need to double the width of the board and add that to the measurement. For the 1 x 2 piece, add in an extra 1 1/2 and for the 2 x 2 add in an extra 4 1/2 inches. (Just roll with me and it’ll make more sense in a minute.) So for a 6 foot x 5 foot frame I would need at least (2) 62 inch and (2) 74 inch 1 x 2’s.
We like simple, so we purchased (2) 6ft 1 x 2’s and 2 x 2’s and (2) 6ft 1 x 2’s and 2 x 2’s.
To begin, we stained and painted the pieces, because it is easier to do before you join them.
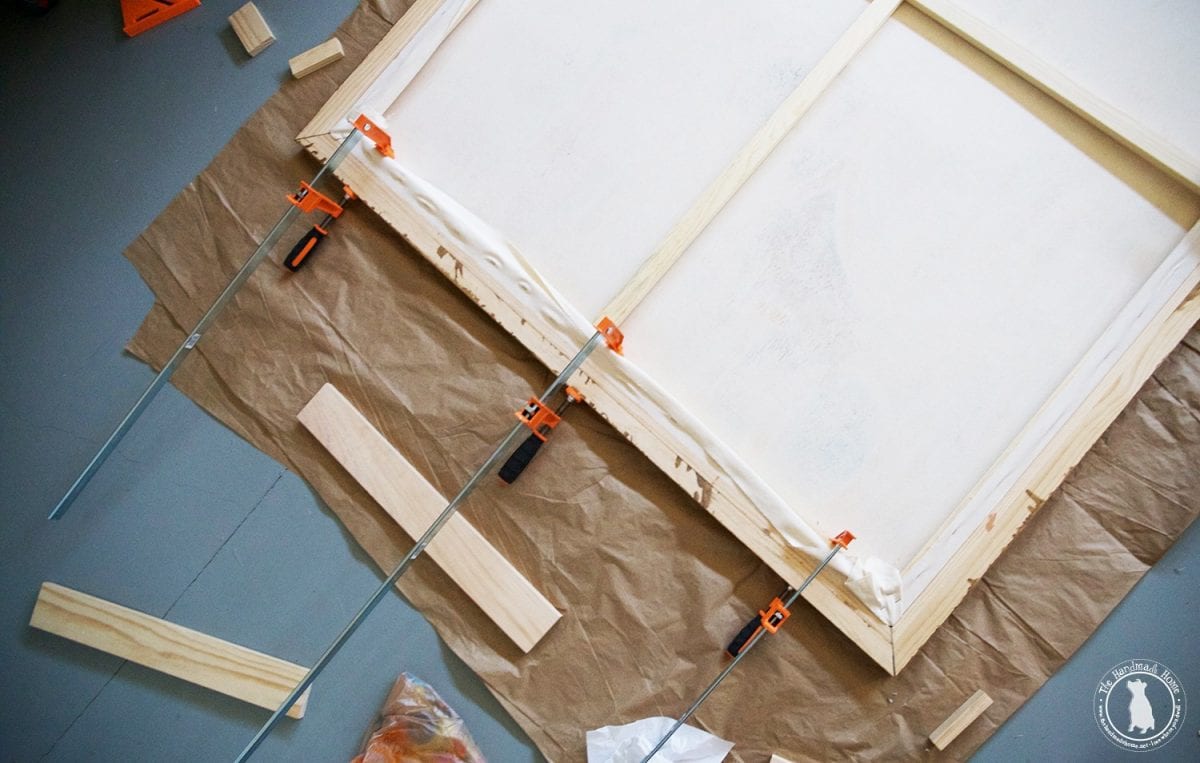
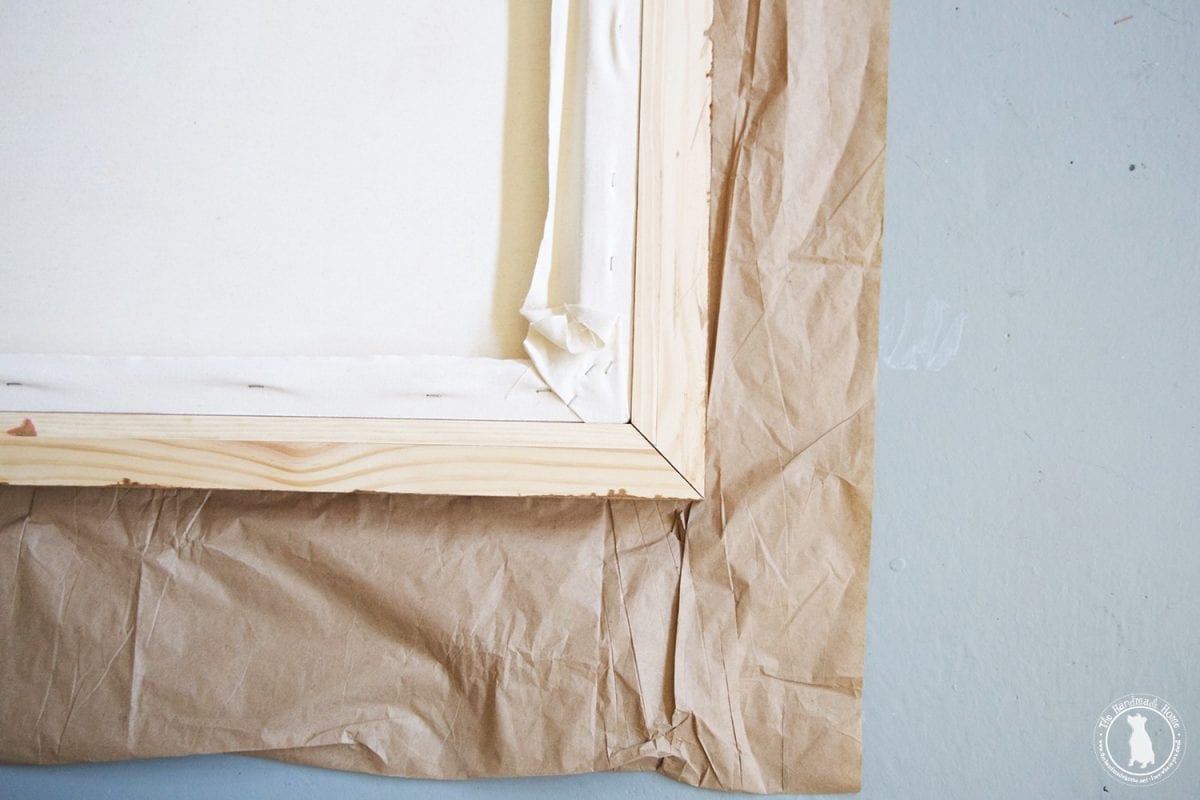
Once they were dry, we spread a little wood glue on one edge of a piece and clamped two pieces together. Leaving the clamps for the recommended time period. Once they were dry we made a simple miter cut on each end according to the size of our canvas.
Once we made sure they fit together on the canvas like we wanted, we once again spread wood glue on the edge that would touch the canvas and simply clamped it. (side note: we find it easier to clamp all pieces into place, then unclamp one piece glue it, re clamp it and continue moving around the canvas. This helps ensure that each pieces is glued exactly where it needs to be.
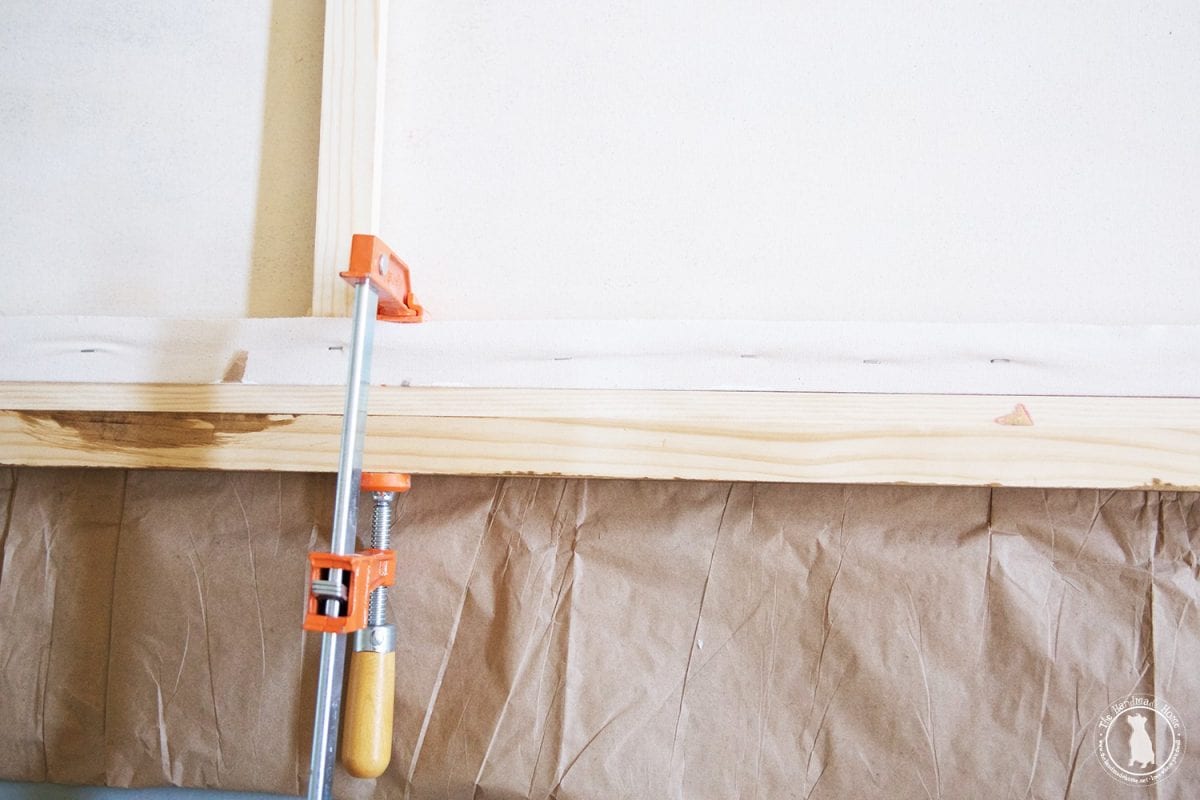
Make sure to clamp the piece in several places to ensure a snug fit.
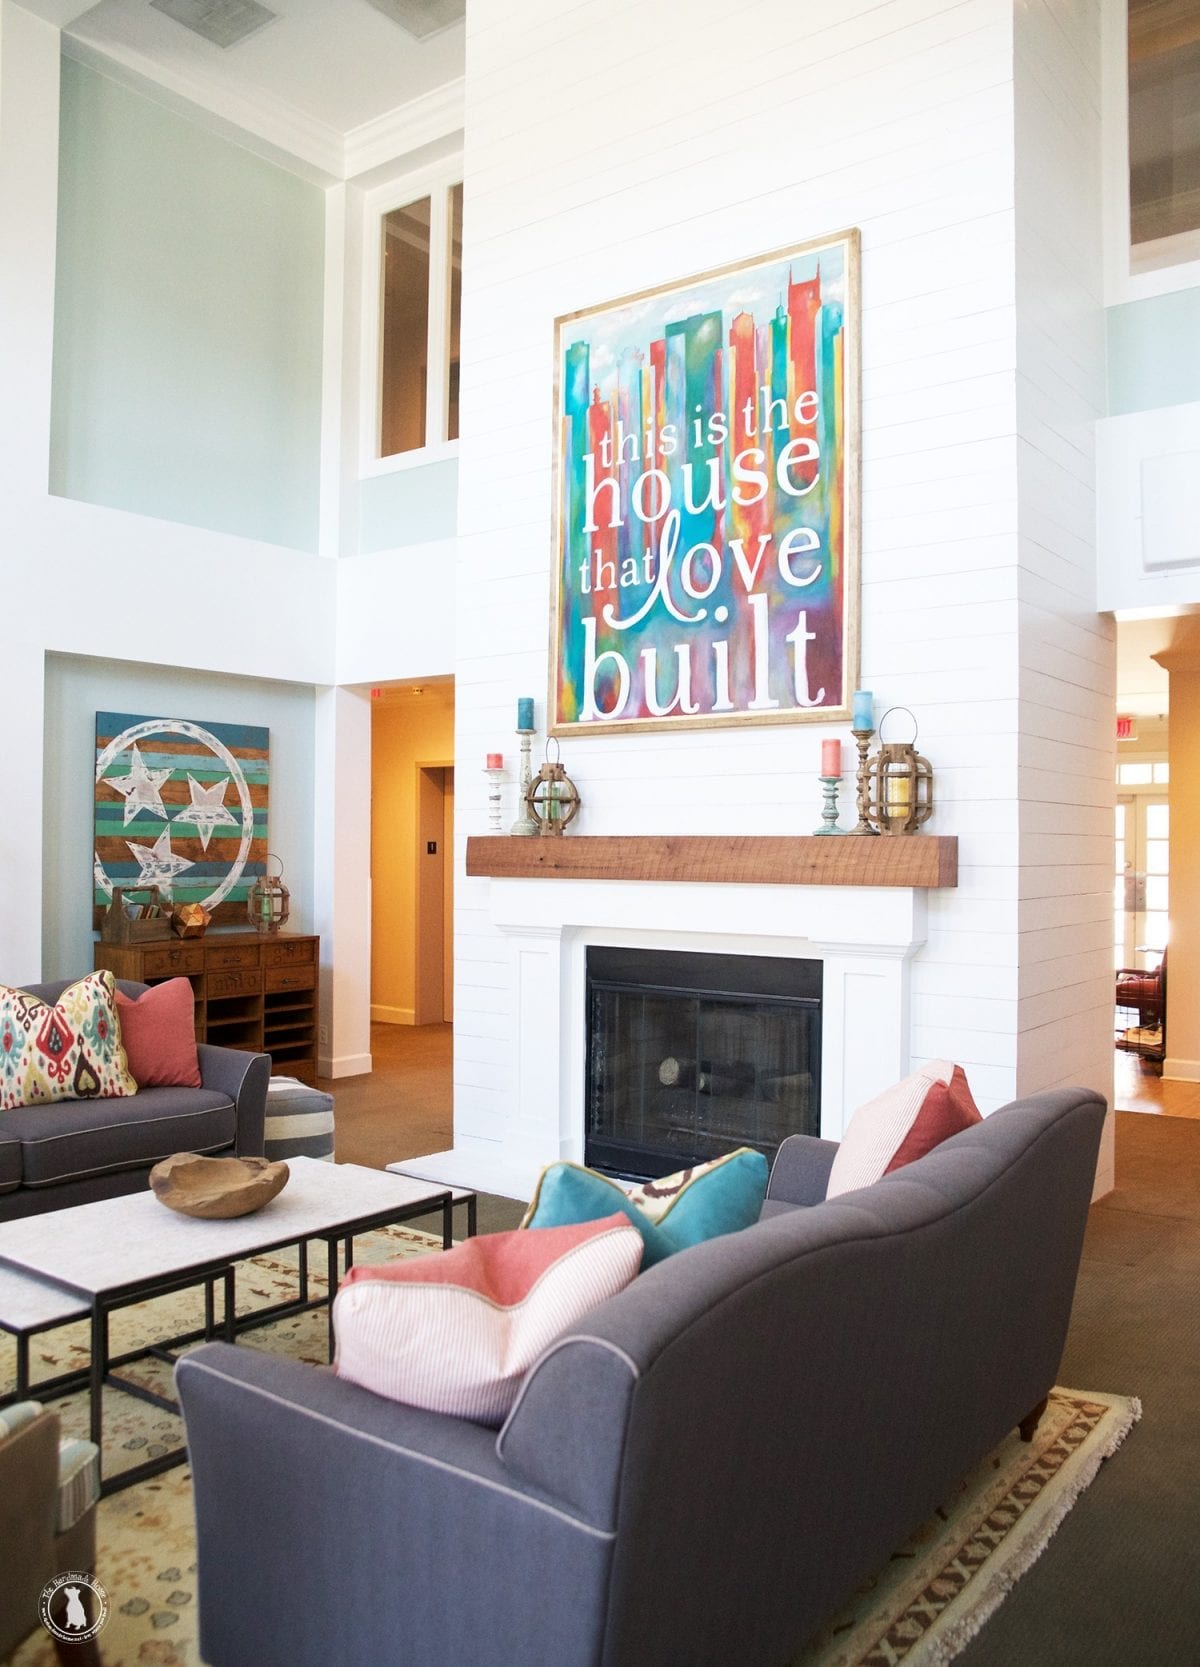
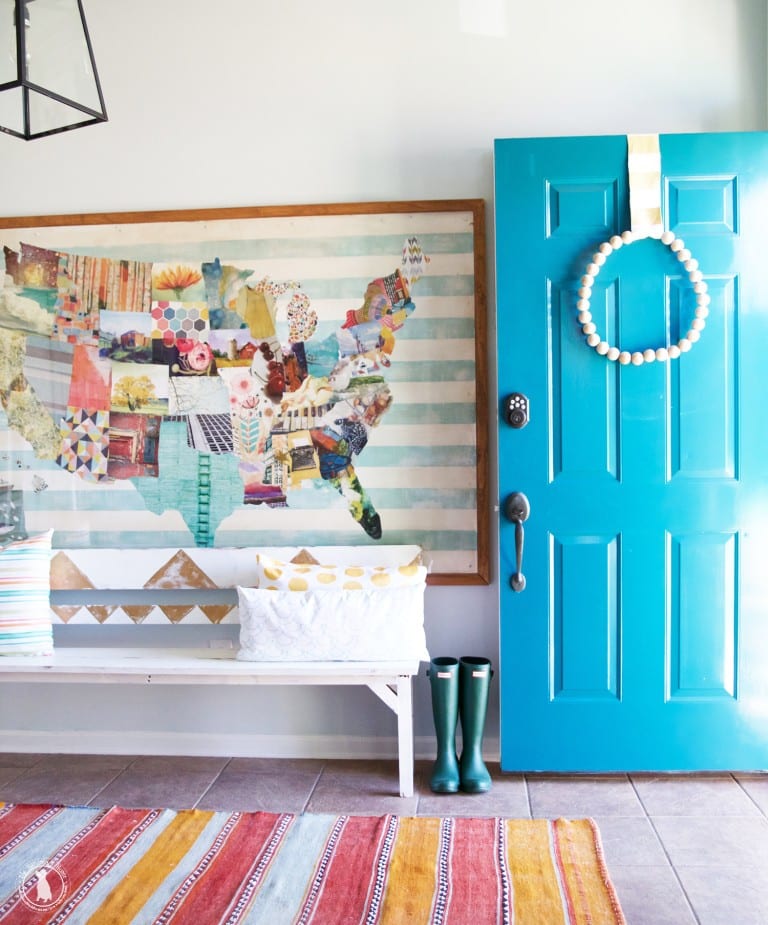
Hanging a piece like this is fairly simply. We took a 1 x 3 scrap, and screwed it into the wall at 2 1/4 inches lower than we wanted the top of the frame. Then simply rested the painting on the 1 x3.
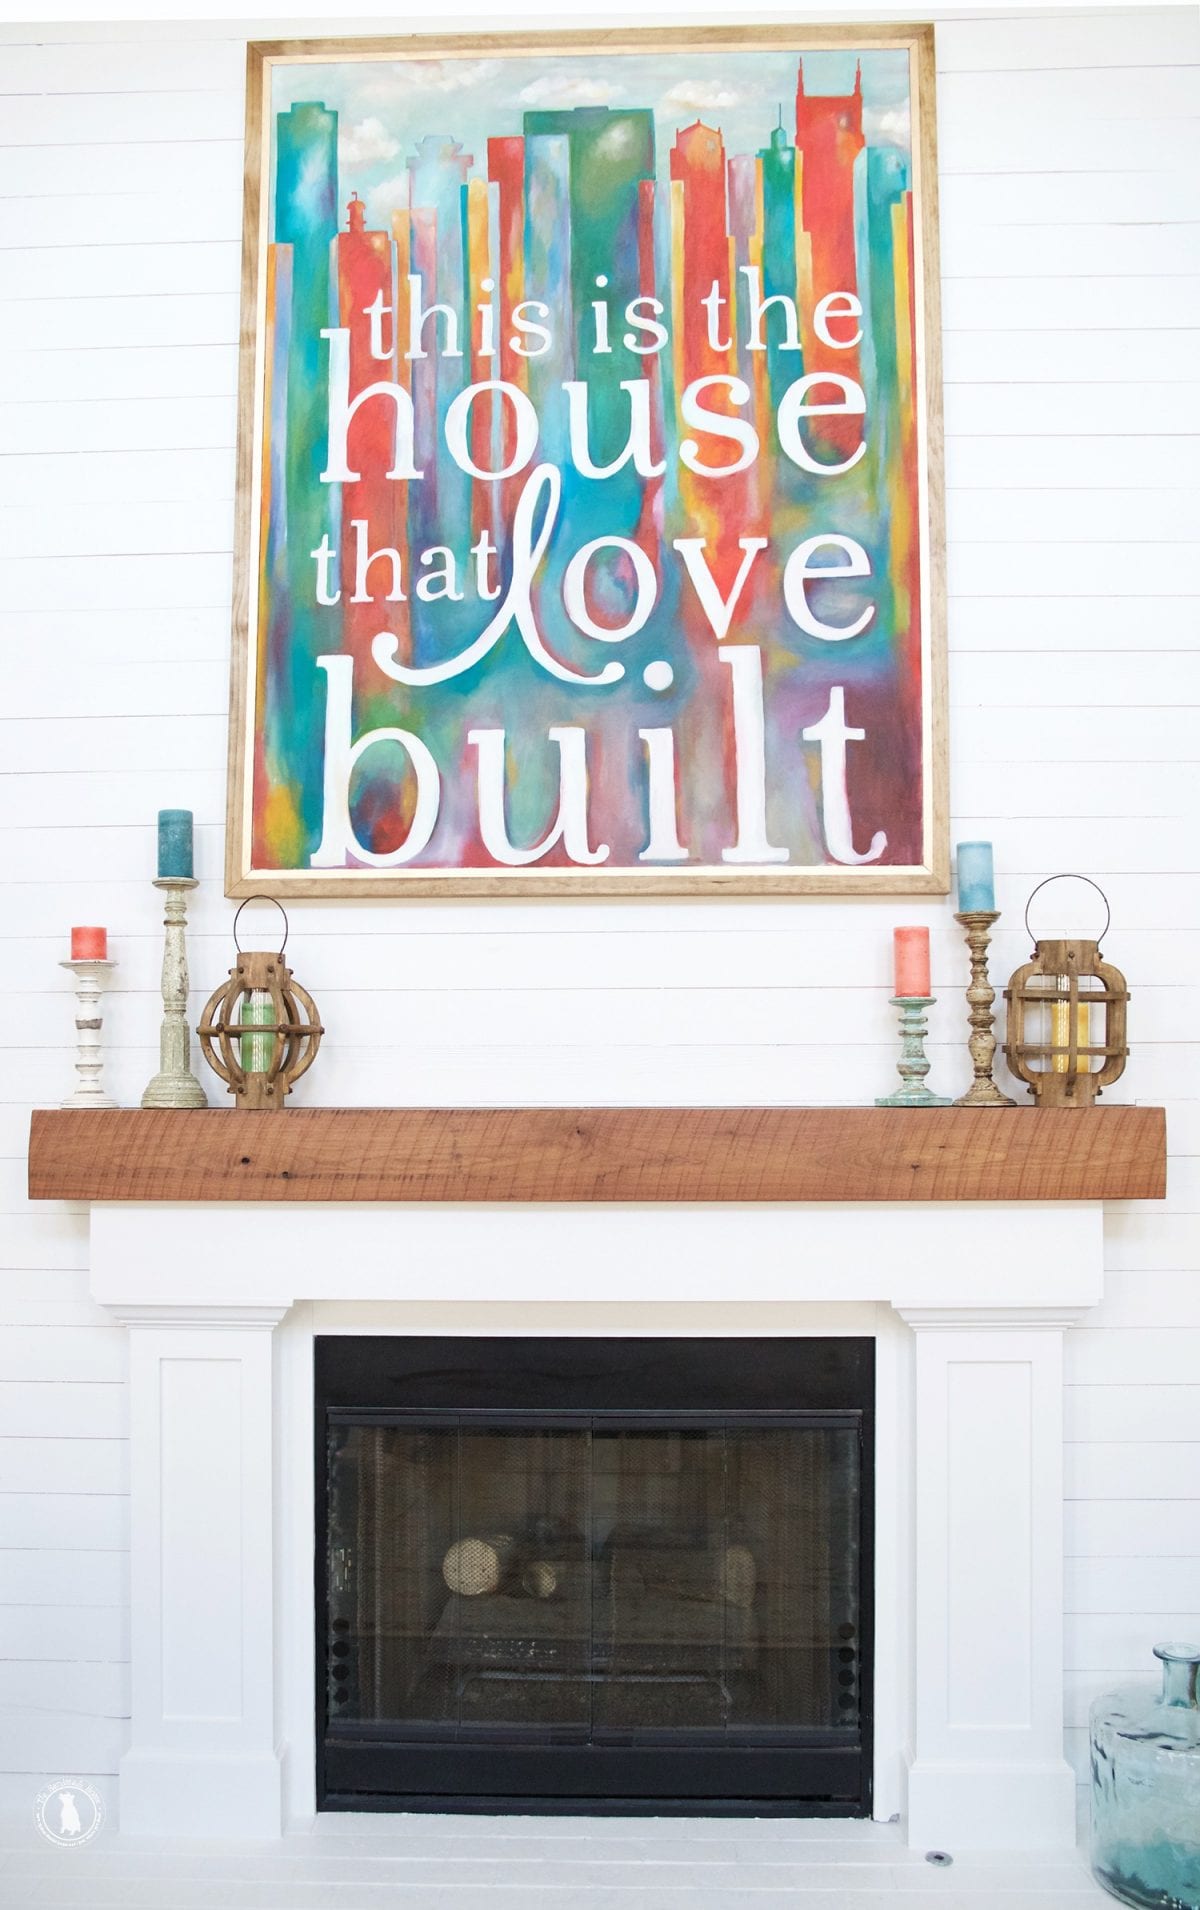
We absolutely loved the final product. Such a great finishing touch for the space.
As always, let us know if you have any questions. And if you try it… we’d love to hear!
Have an inspired day!

I have loved your series with The Ronald McDonald house and LaZBoy. It has been fun to watch it all come together. I hope there are more fun little series in the works and I’ve gotta believe with the new house there will be. And I’ve got to go check out some of this furniture at The local store. If I just show them the post do you think they can help me?
Awe thank you so much Debbie! There will be! And yes, they absolutely can help you if you show them photos. I have specifics with numbers in our sources one, too if that helps. https://www.thehandmadehome.net/2016/02/la-z-boy-and-the-ronald-mcdonald-house-sources/ Thank you so much for your sweet words!