
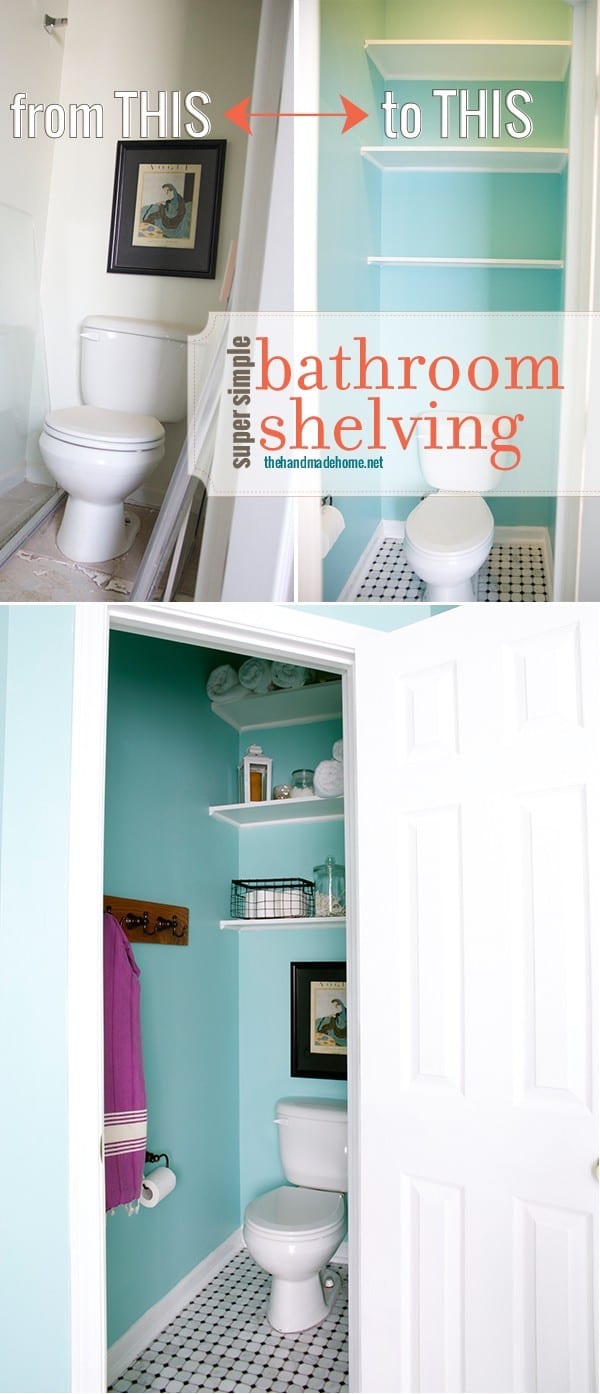
simple bathroom shelving
Today, we’re back with a little more bathroom talk.
 Well, to be exact, potty talk. But not the kind of potty talk that your 4 year old uses in public to completely embarrass you as you promptly exclaim, “Where in the world did you hear that!?” Cue a clueless look on your face whilst simultaneously and profusely apologizing to everyone around you…
 Knowing all along it was from you.
That may or may not have just happened to us recently. Fun times.

But I digress.
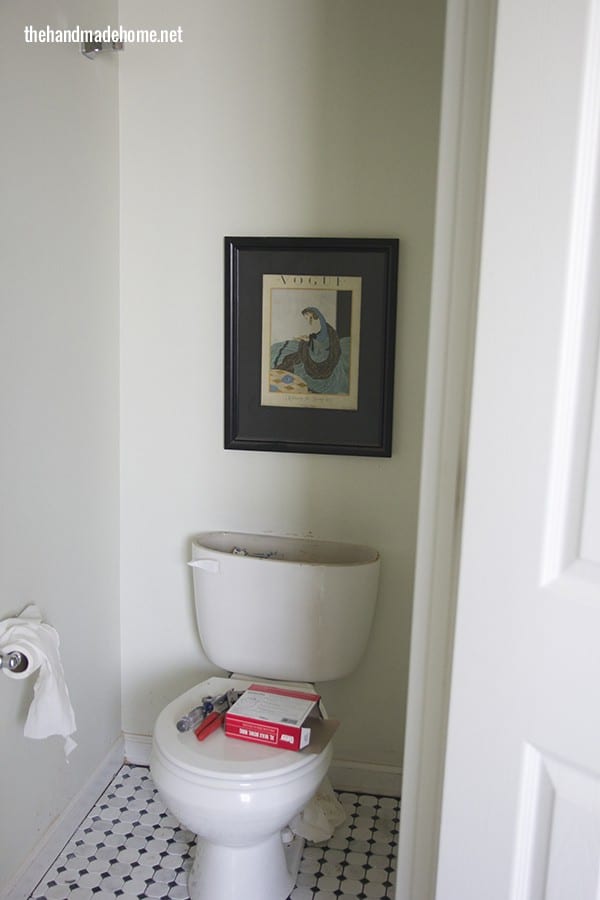
Something we have noticed over time, is that one of the most unused spaces in a home is the area right above the toilet. For years, we displayed a little art there, but really… how interesting is art in the loo? You can’t even look at it, really. So it’s kind of a bummer.
It was all this wasted space, just waiting to be used for great storage.
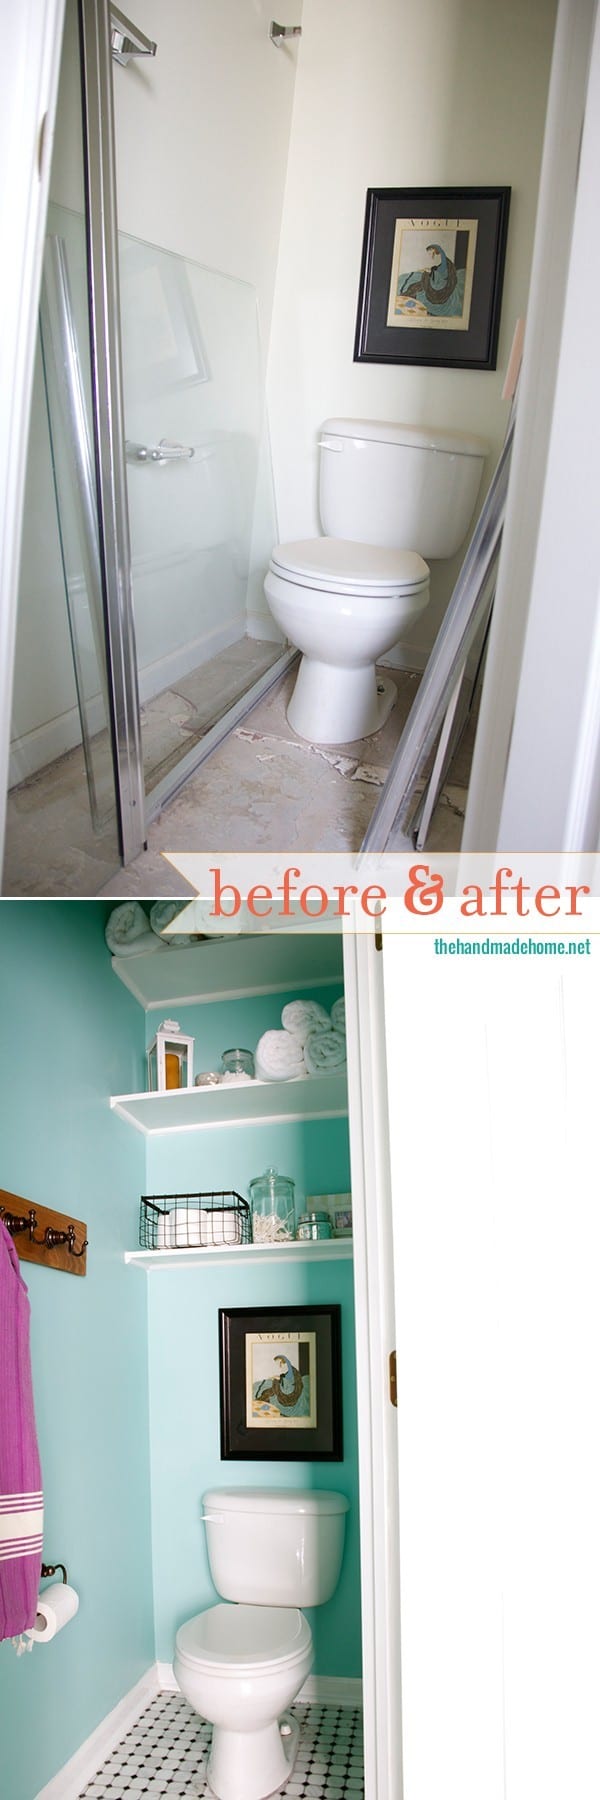
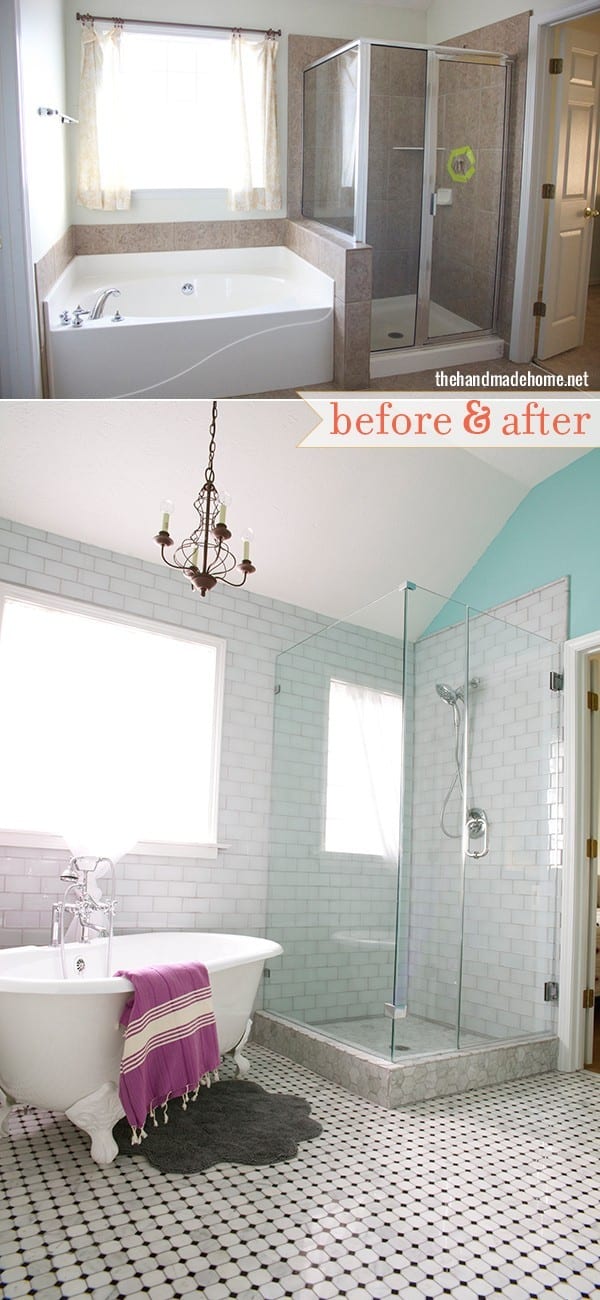
So during this major bath overhaul we figured we should do something with the space in the baño. We decided to add some shelving, and it’s been a major game changer.
This is a super simple upgrade with just a few supplies.
What you will need. • 1/2 inch MDF board. • quarter round • paintable caulk • finish nails or a finish nailer. • laser level • wood glue • skill saw
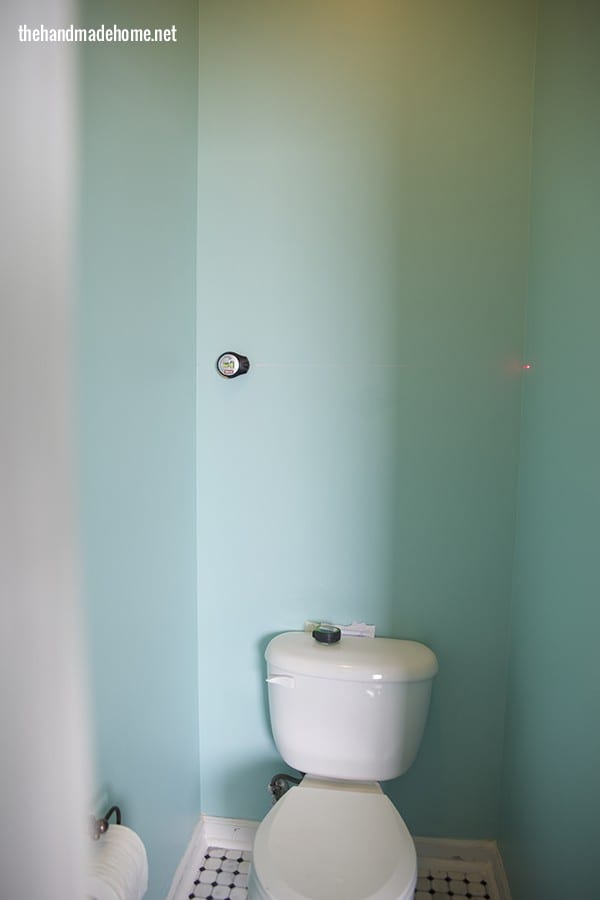
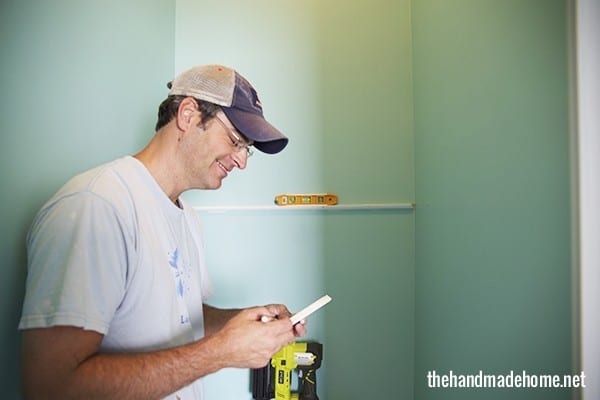
You will need to start by measuring the width of your back wall above the toilet. Then, measure up to the height you want your first shelf to be. Next, take a laser level and use it to mark off your wall where the shelf will go.
Take the length of your wall and cut some quarter round to size. You will want to make sure to cut each end at a 45 degree angle. To do this properly, you’ll want one flat end facing up, and one facing the wall. The long end of your cut will be on the outside top edge.
You will also want to cut a piece for each side wall. However, the end facing the wall will be the only one cut at a 45 degree angle, and the other end will be a straight cut. (The length of this piece will be determined by the depth of your shelves and may be different for each shelf.)
You’ll want to spread wood glue on the flat side that faces your wall and place it on the line you marked on your wall. Use a small level to double check that you are level, either with your other hand, or getting a friend to help. Use your finish nailer to nail some 2 inch nails into the wall. This will keep the piece in place until the wood glue dries. Repeat this process with the sides.
{Cue awkward photo where my head is apparently shrunken and I’m super excited about the trim. Thanks, Ash.}
You will then measure up to your next shelf and repeat the same process above.
Taking the length and depth measurements for your shelf, you will cut a piece of MDF to this size using a skill saw. (The depth of each shelf may be different. We choose to have our first one be smaller than our other two, so we didn’t hit our heads with the comings and goings.}
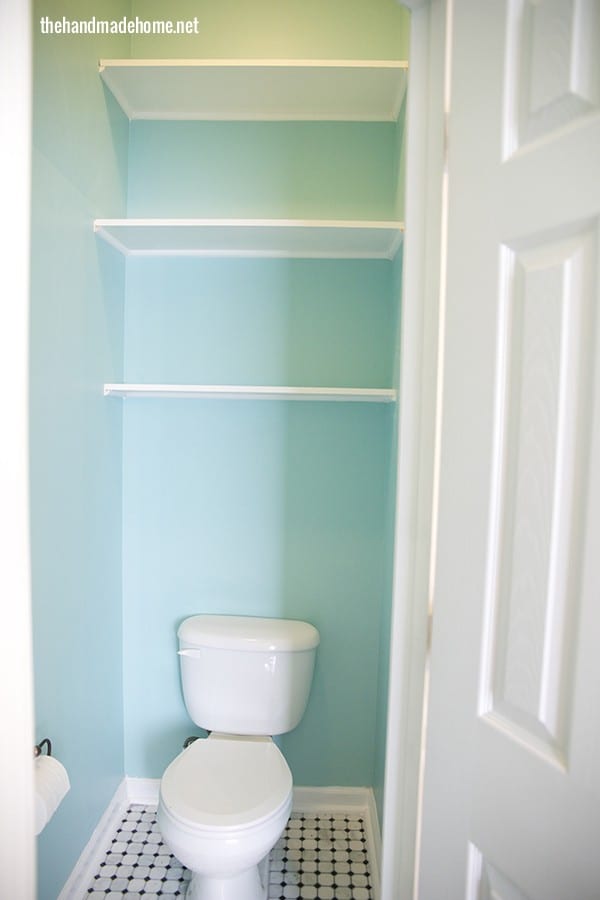
Run a bead of wood glue on the top flat portion of the quarter round and then place the MDF down. Next, shoot a couple of 1 inch finish nails through the top with your finish nailer to draw the MDF tight into the quarter round. Be sure you aim it in such a way, that it angles through the quarter round toward the wall.
Repeat this process for each shelf.
Once the glue has dried, come back with your paintable caulk and fill in the gaps on top, underneath the quarter round and in between the quarter round and the MDF. This will not only give it a more finished look, but add a tiny bit more support. (You may need to do this two or three times.)
Helpful hint: The easiest way to spread caulk is to run a bead, then come back with your finger to smooth it, and then wipe it down with a sponge.
Once the caulk has dried, you are free to touch it up with a little paint for blending. (We recommend painting all your quarter round and MDF before putting it up for the easiest and best results.)
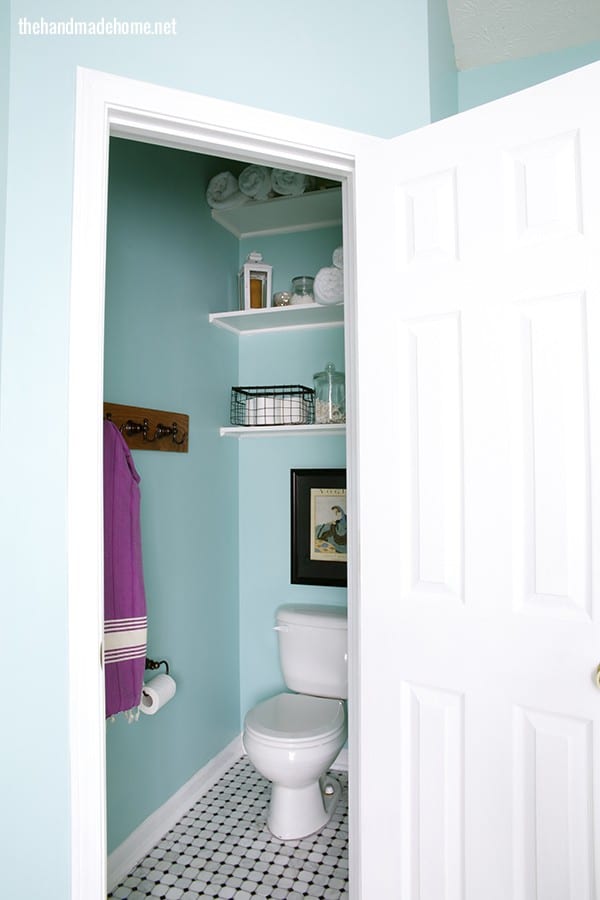
As a side note, these shelves aren’t designed to hold a small child or your workout weights, but they are just perfect for small household items and towels. They’ve been a game changer in our little potty world!
Always remember to be mindful of the weight you place on them, or you might get a not-so-fun surprise while on the loo.
As always, be sure to let us know if you try it or have any questions… and be sure to check out the rest of our bathroom series here!
Have an inspired day!
Not only did I put shelves above the toilet, I put one shelf above the bathroom door. You don’t even notice it, but it gives me valuable storage space!
Fantastic! Thanks for this easy project- I’d never thought of that before. What a great use of space.