
modern spring wreath
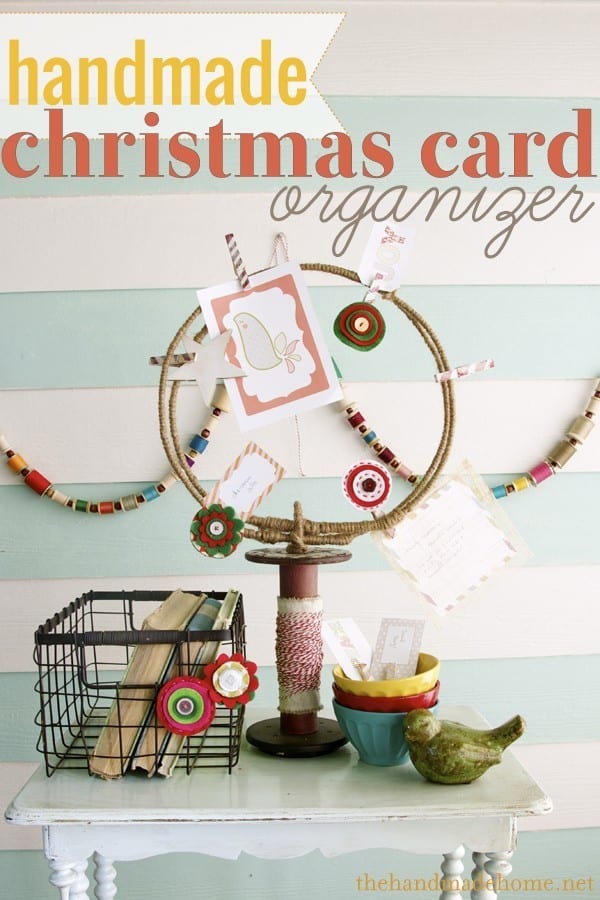
Remember this fun little monogram project we did a few weeks ago?

We’ve been on a kick of sorts with wooden materials, and decided to use even more to cook up a simple project around the home.

So we made a simple little modern spring wreath for our door. At first, it was so simple I wasn’t even sure if I liked it. But the more it sat, the more we realized we’d just had a gargantuan wreath before… so our eyes were adjusting to the simplicity. And we decided it was the perfect fit.
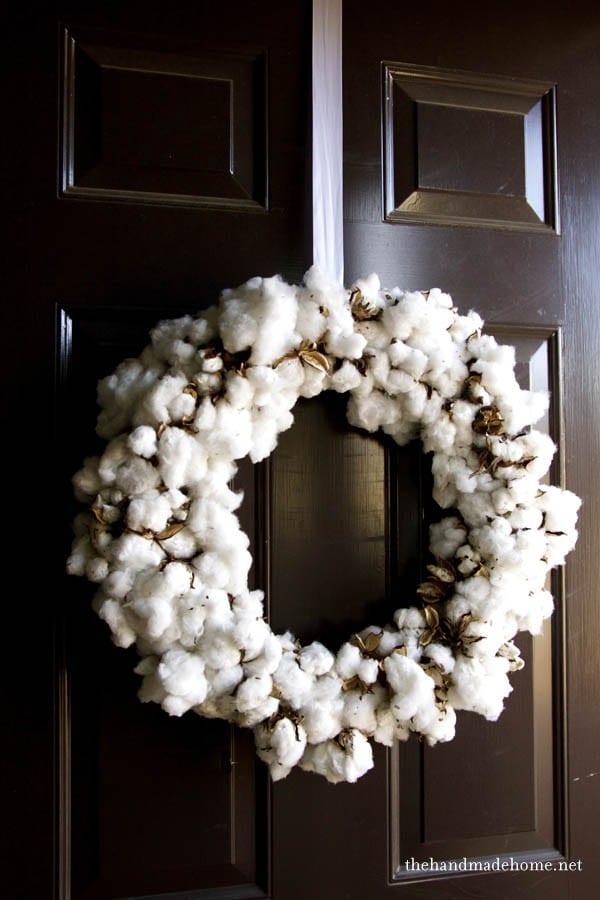
I have this issue with wreaths. Forever. I’ll be the old lady you find at the obscure church craft fair, making wreaths for people. I love them. It’s this weird addiction, and I love trying new versions on a whim every now and then. There’s something about a fun wreath that welcomes others… feels friendly. Like the universal sign for “come on in, y’all”.

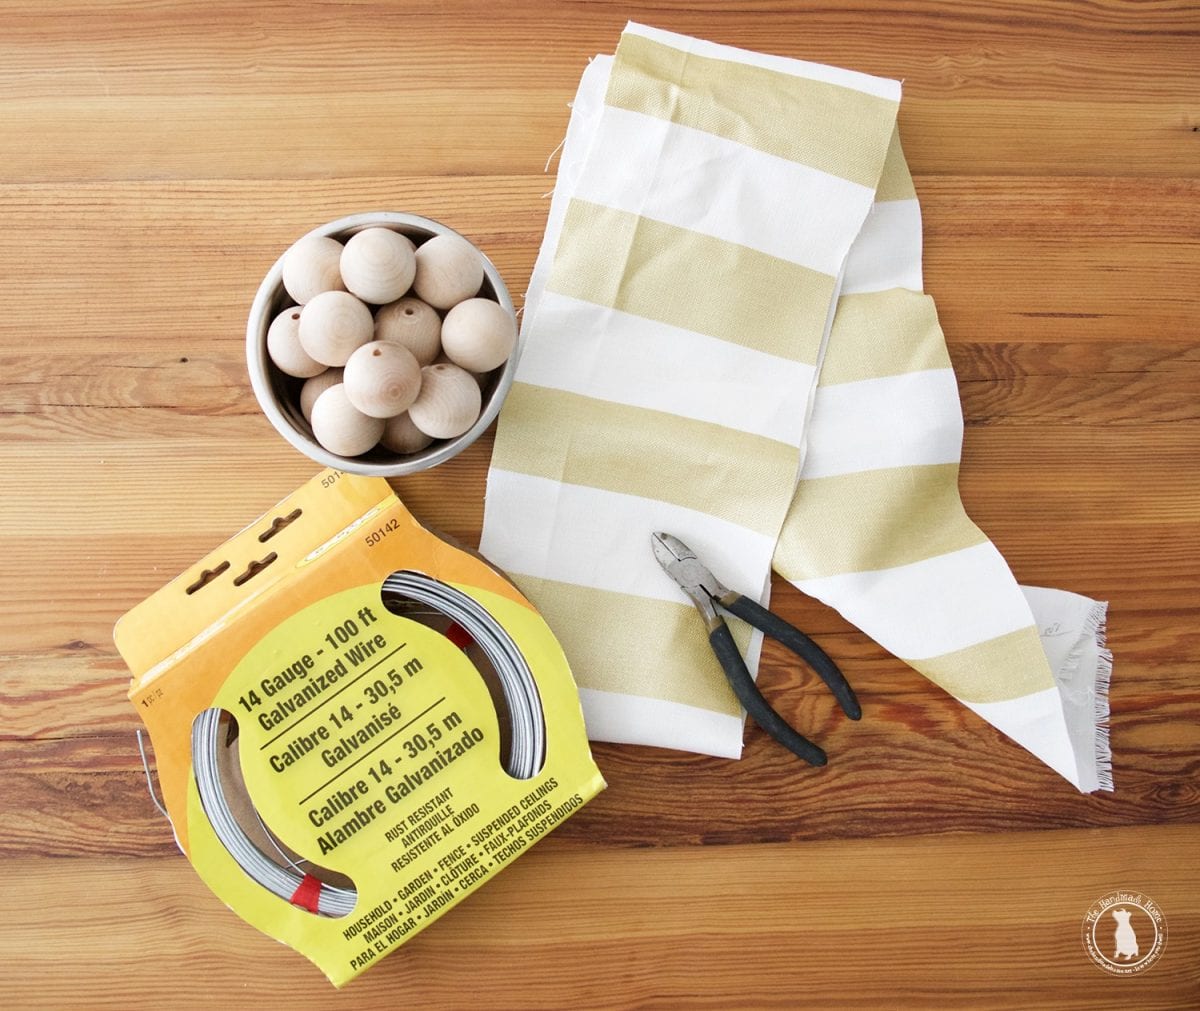
So… here’s what you’ll need:
• Wooden Balls {1.5 inch} We ordered some wooden balls in bulk from this online store – order generously
• Drill + drill bit with width of choice we used a 1/4 inch bit
• Glue {We used a hot glue gun}
• 14 Gauge galvanized wire from your local home improvement store
• Wire cutters
• ribbon or fabric strip for hanging wreath
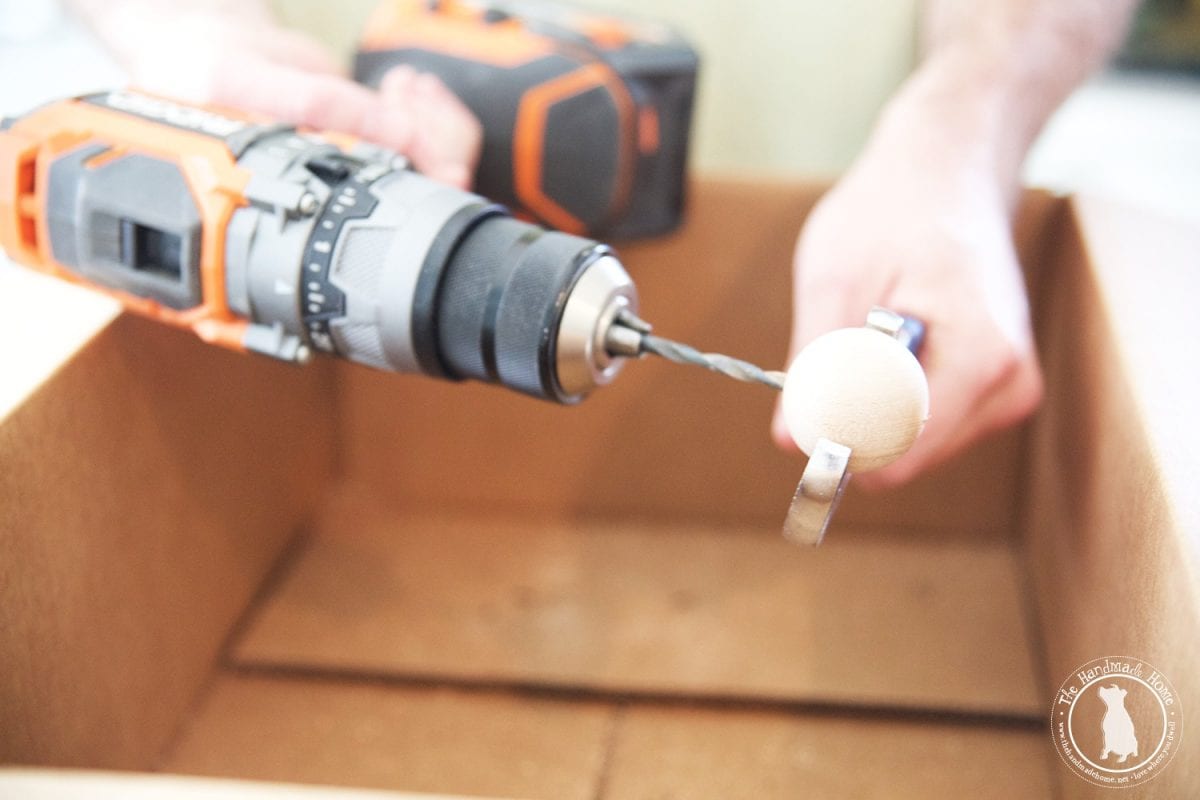
So to drill your holes into the balls…
When you’re ready to start, break out your drill, and carefully put a hole in each wooden ball. It’s a good idea to drill the hole slightly bigger than your dowel or wire. For instance we used a 3/16 inch dowel so we drilled the hole with a 1/4 inch drill bit. You might also find it easier to drill a pilot hole first, then drill the bigger hole. This allows for the bigger shavings to have a way to escape and gives you a little more control over the hole.
Also make sure to watch the level on the drill to ensure you are drilling straight through the ball. If you drill the smaller hole first and the hole is slightly off, you can adjust it with the larger drill bit. One more benefit to the pilot hole.
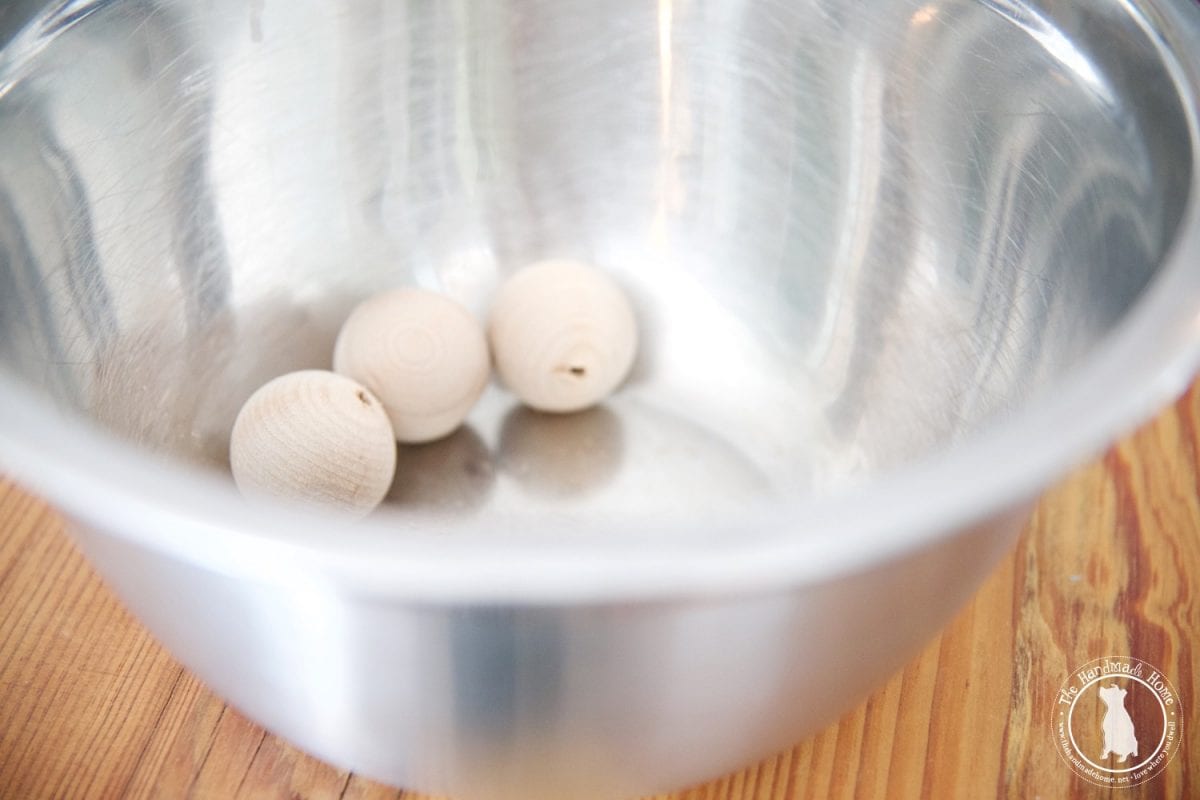
We collected ours in a little bowl so it wouldn’t roll away.
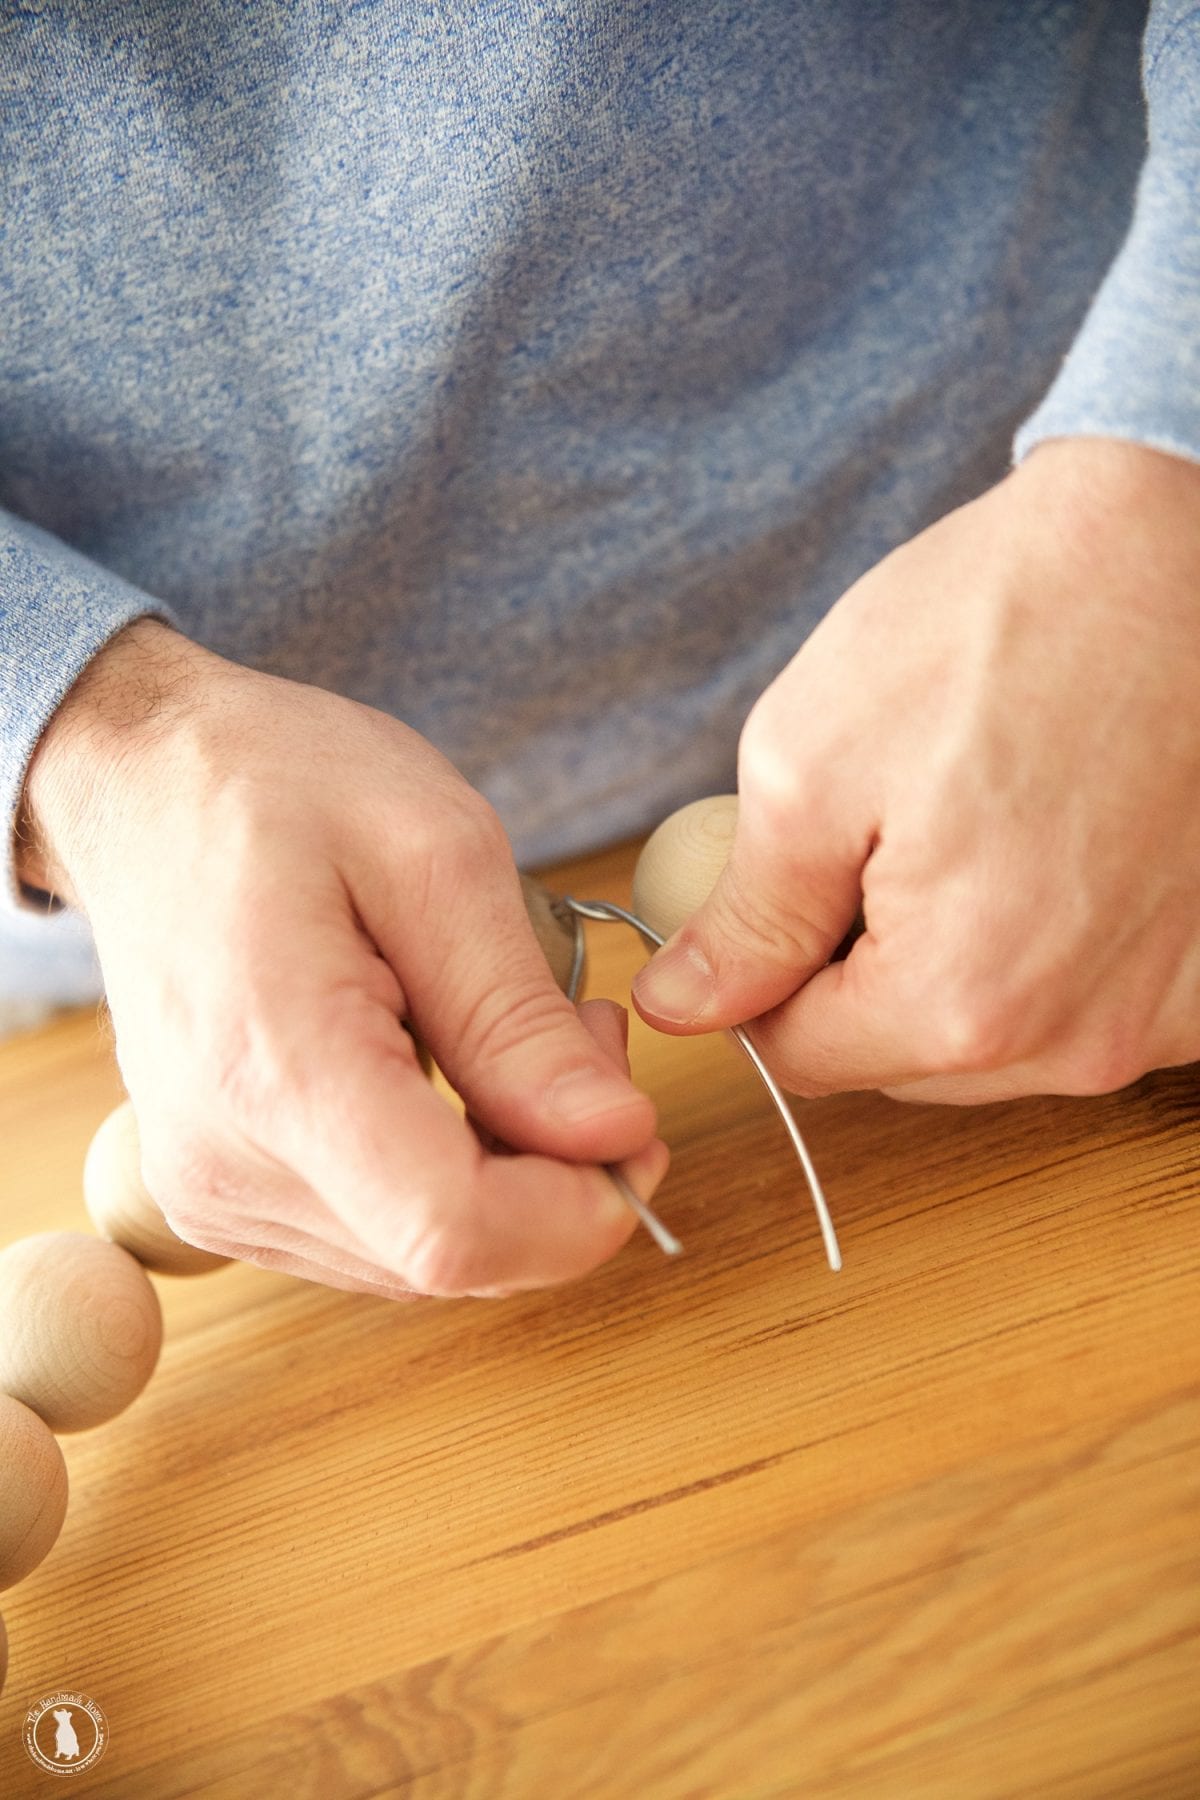
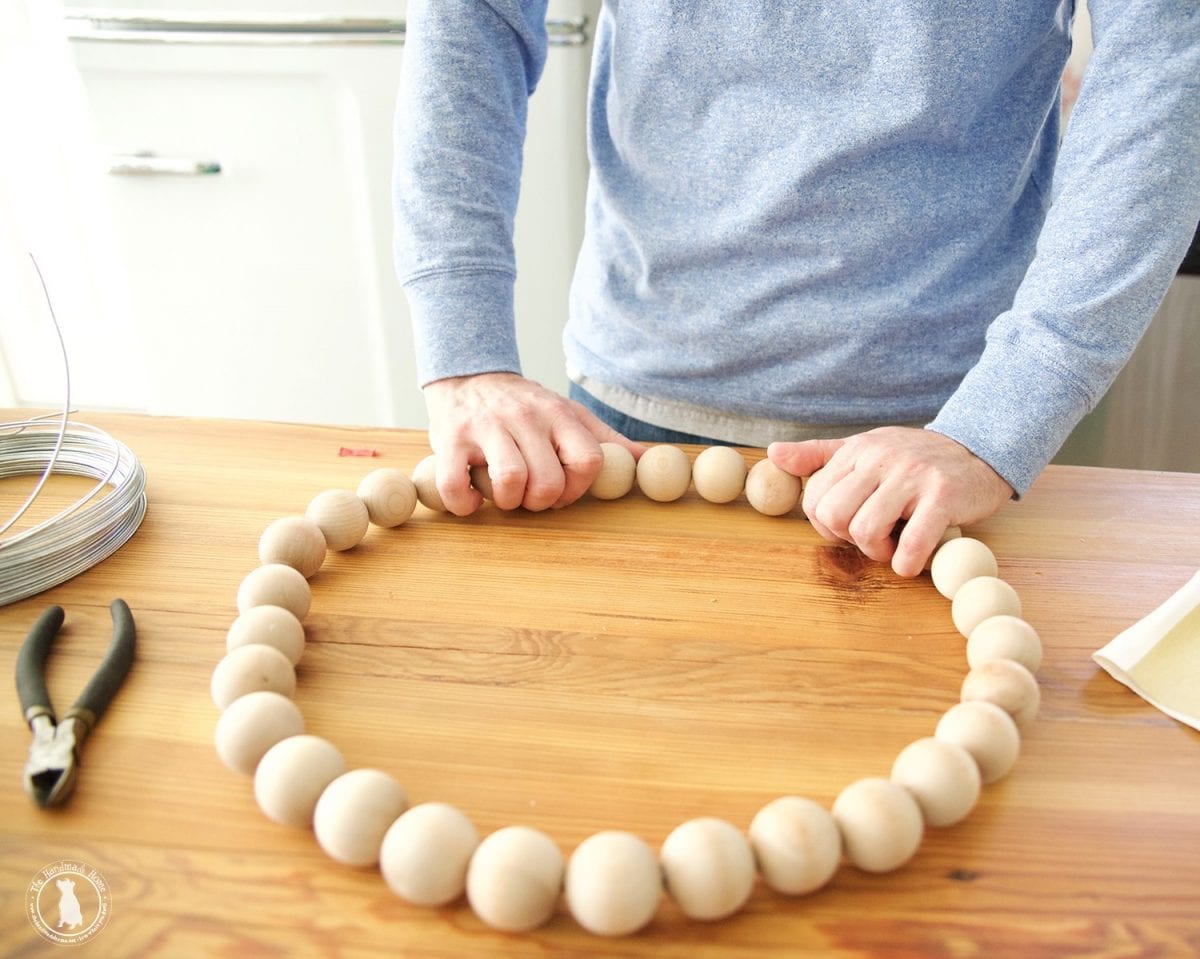
When you’re ready, eyeball the size of the wreath you’ll want, and give it a little extra for room on the end. Start stringing your new “beads”.

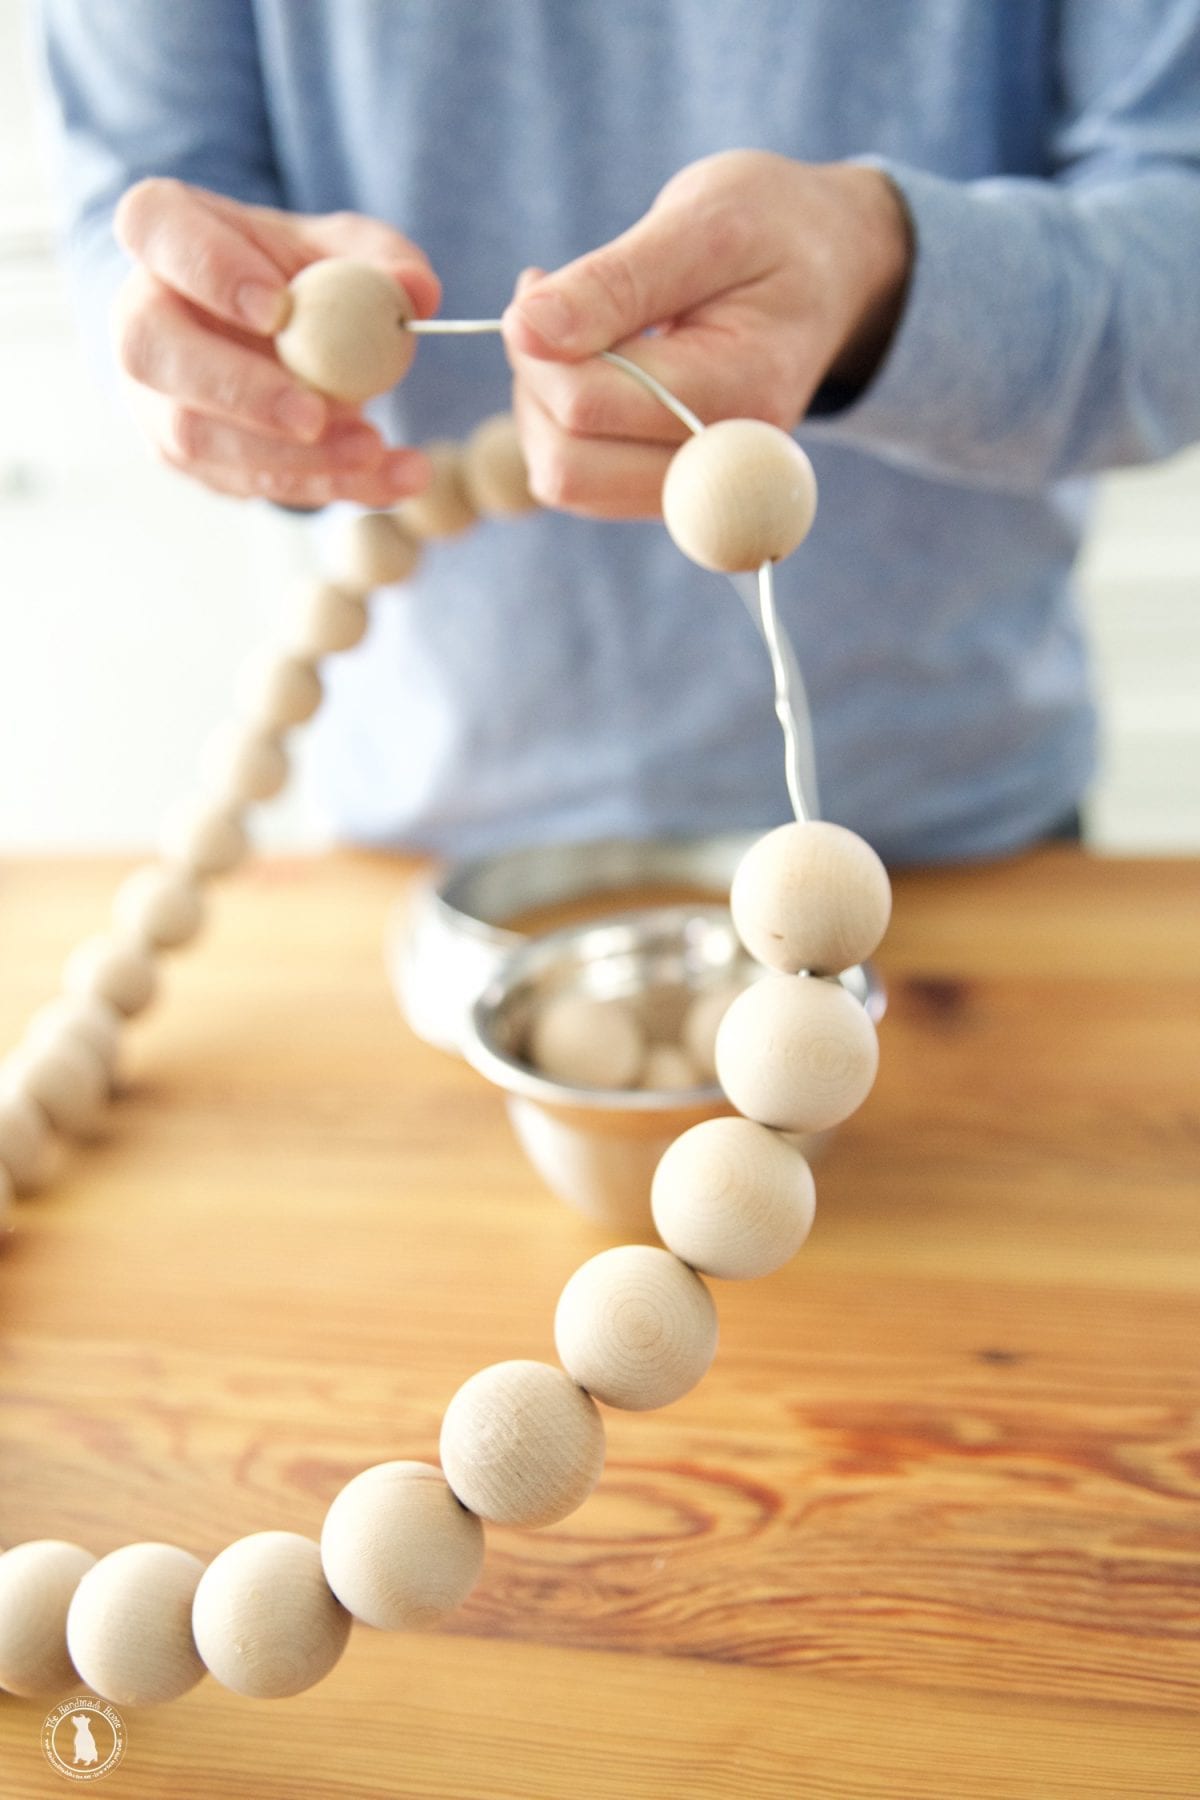
When you’re happy with the amount, tie off your cord, and snip the ends with the wire cutter. {If you have an extra set of hands, that smaller piece will probably fly, so if may be good to secure it.}
Tada! Your wreath is ready.
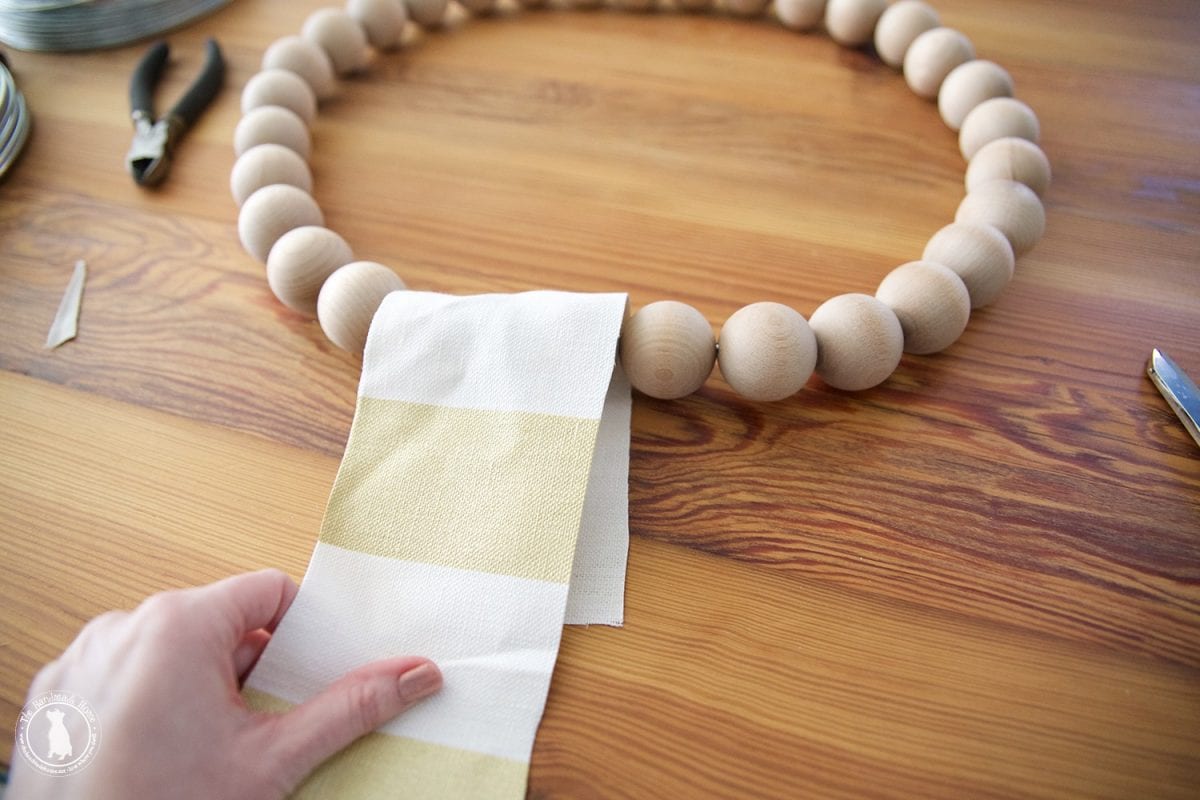
And when you’re ready to hang it… take your ribbon or fabric strip {we narrowed our fabric strip down with some scissors} and loop it through the wreath. Doubling back around, glue it on one side, to secure it to the back so that it holds the wreath.
Take the rest of the fabric, and glue it on top of the door {no one will see a little dab of glue at the top if this makes you nervous – we’ve hung our wreaths like this for years.}
And there you have it. A simple little modern spring wreath that took about thirty minutes to make.
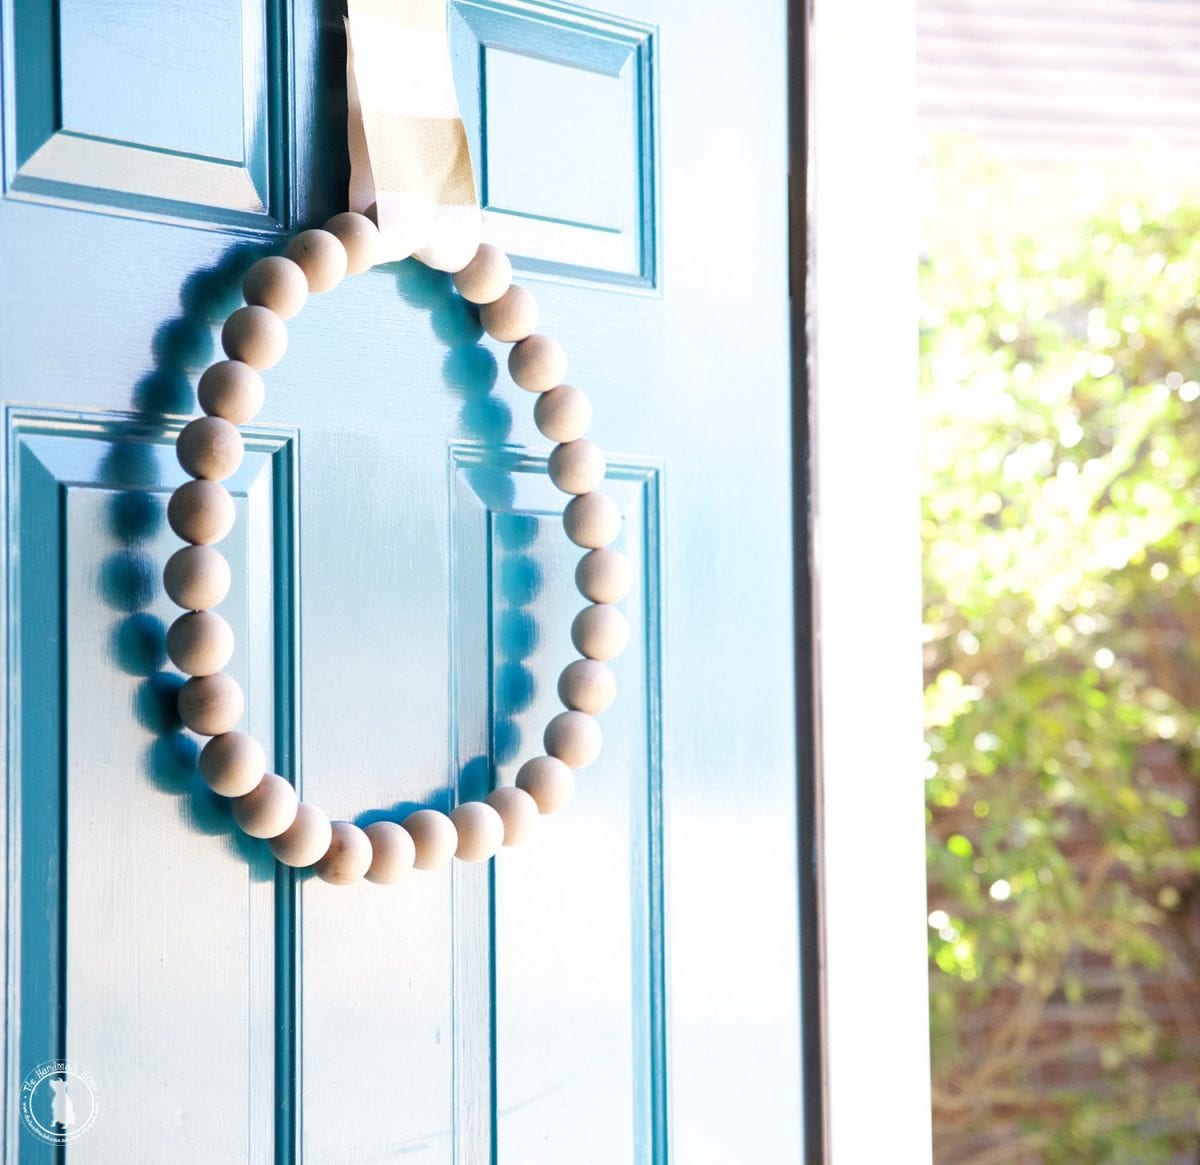
Just a fun little unexpected way to freshen up your door with a modern touch.

Happy crafting, and as always, let us know if you try it!
Looking for more wreath ideas? Be sure to check out our round up in the archives, here for more fresh ideas.
Have an inspired day!


I really love your wreaths! I will definetely will make one this spring!