
how to make an outdoor toy box
The heat of summer is starting to give way to the cool Fall air, which is one of our favorite times of year. Football, Halloween, leaves turning and roasting marshmallows over the fire… The things a good fall is made of.
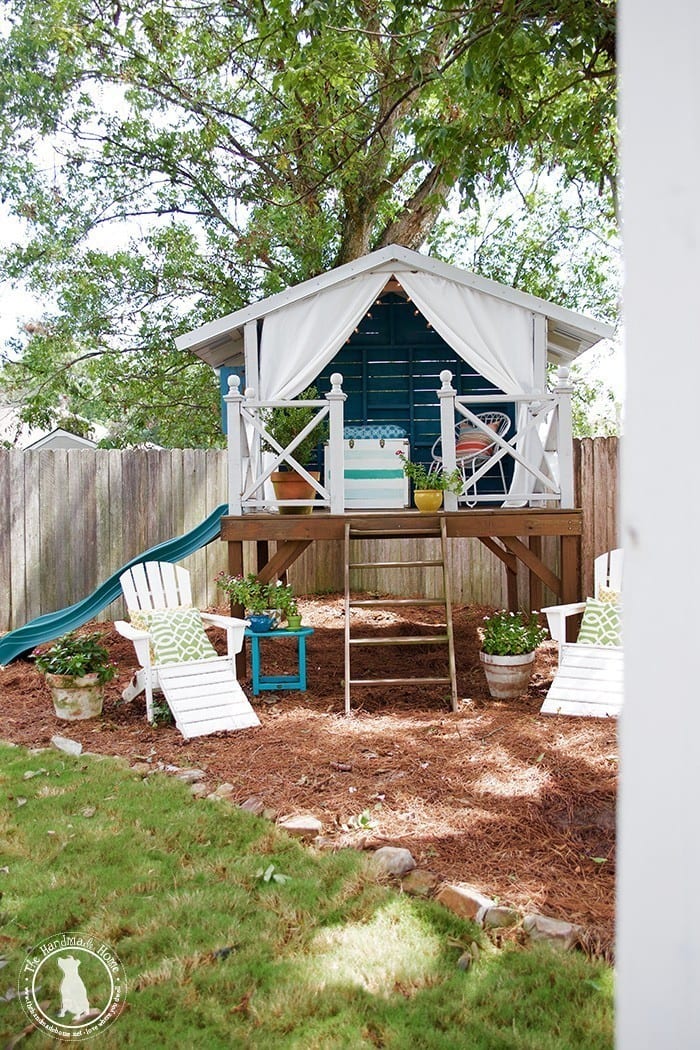
Another major bonus is the kids can play outside more than 10 minutes without fear of complete heat exhaustion. This of course, is since here in South Alabama, we live a mere five seconds away from the surface of the sun. True story.
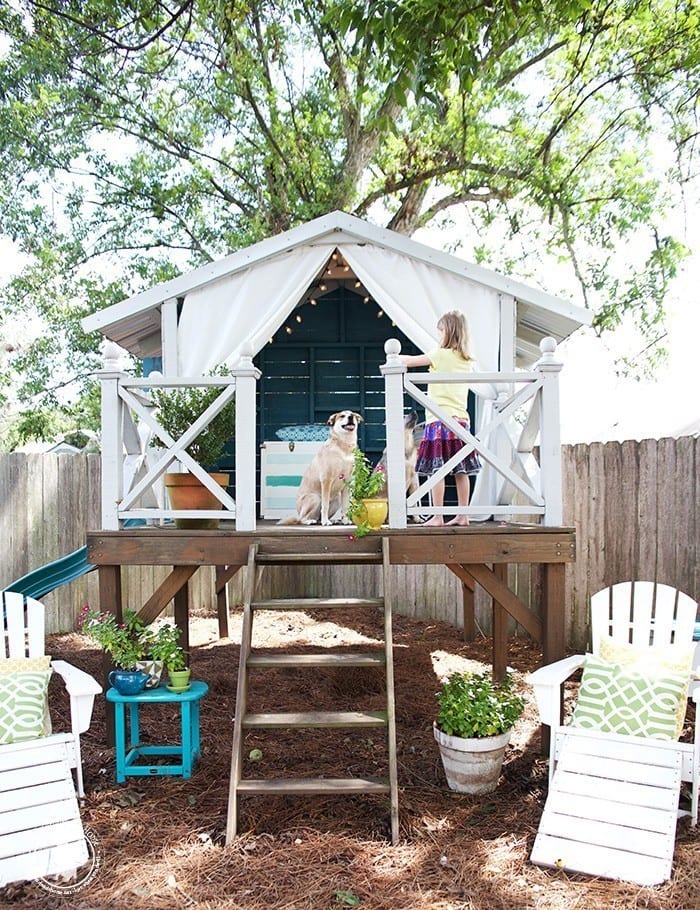
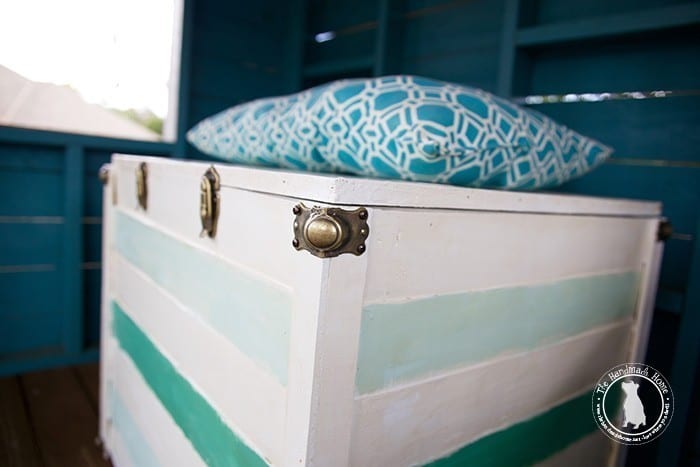
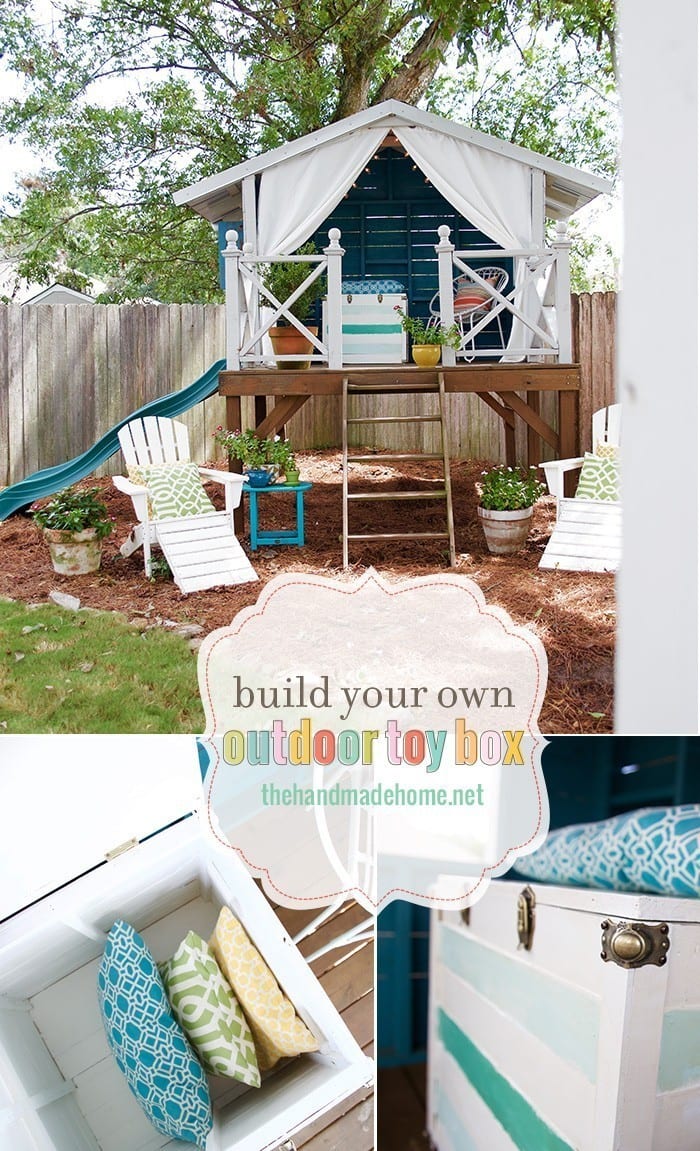
To help them stay a little more organized our sanity, we built them a crate for their outside toys. An outdoor toy box, if you will.
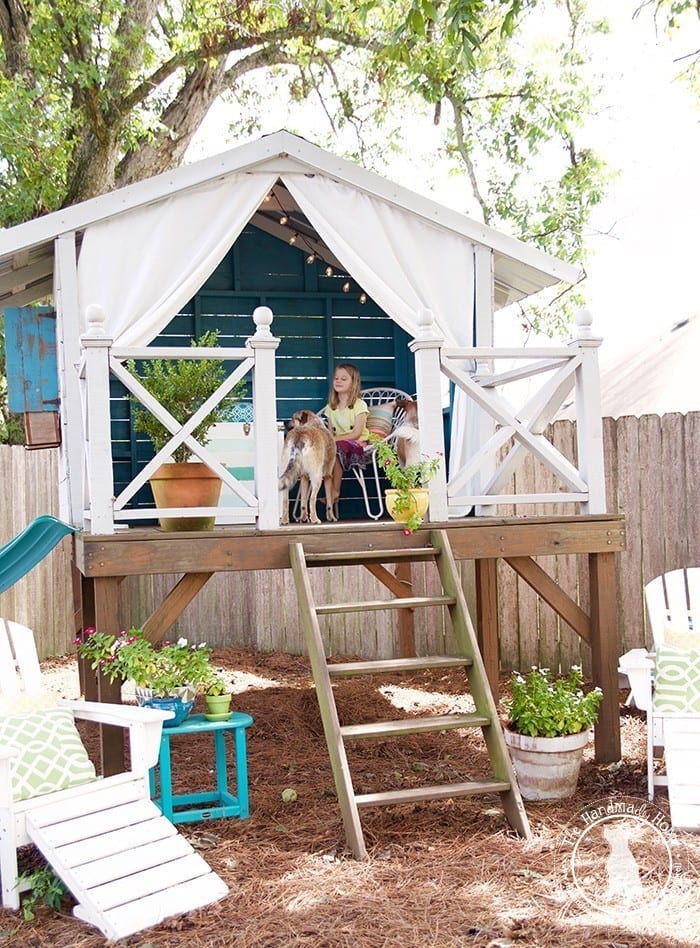
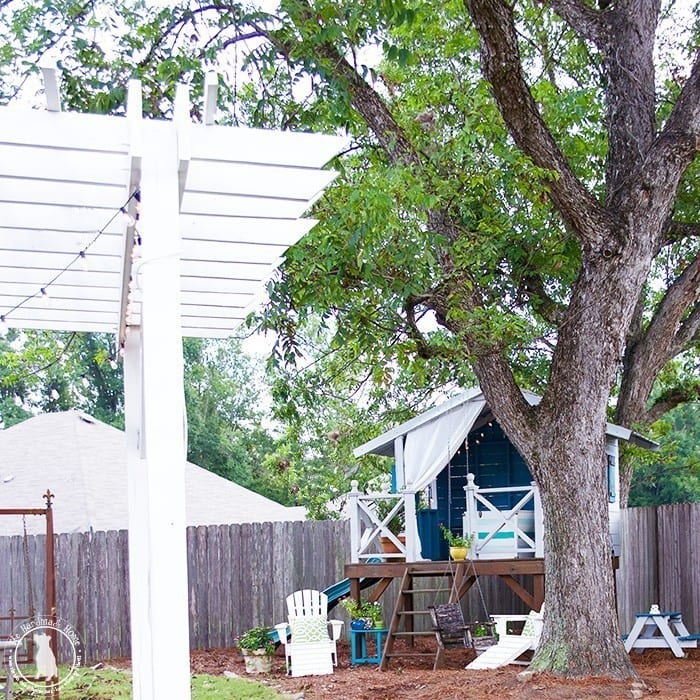
It’s a great little addition to the Handmade Hideaway.
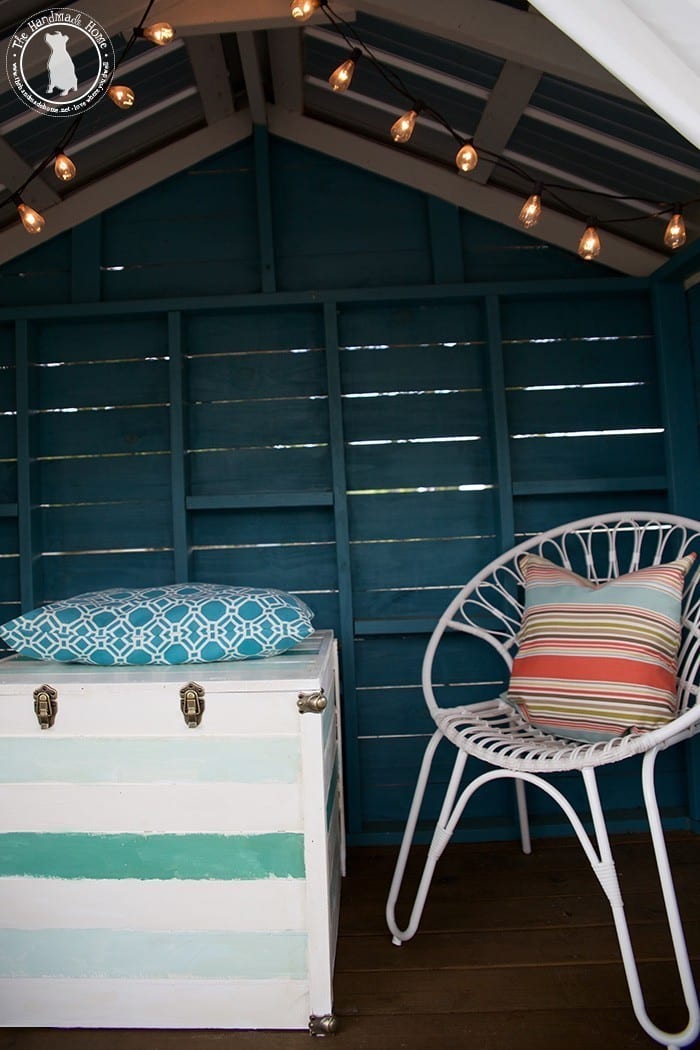
But a crate this big can get heavy and expensive very quickly, so we looked for ways to cut our cost and weight.
We accomplished this by using 1 x 4 x 14 furring strip boards. These run about $3.40 a board where we live. We then split the wood down the middle using a RYOBI table saw to give us 28 feet of board, which works out to about 12 cents a foot.
You will have some waste because if knots or other imperfections, but well worth the waste to conserve on weight and price.
 We used 11 1 x 6 x 14 furring strip boards, wood glue, finish nails and hardware to finish it off.
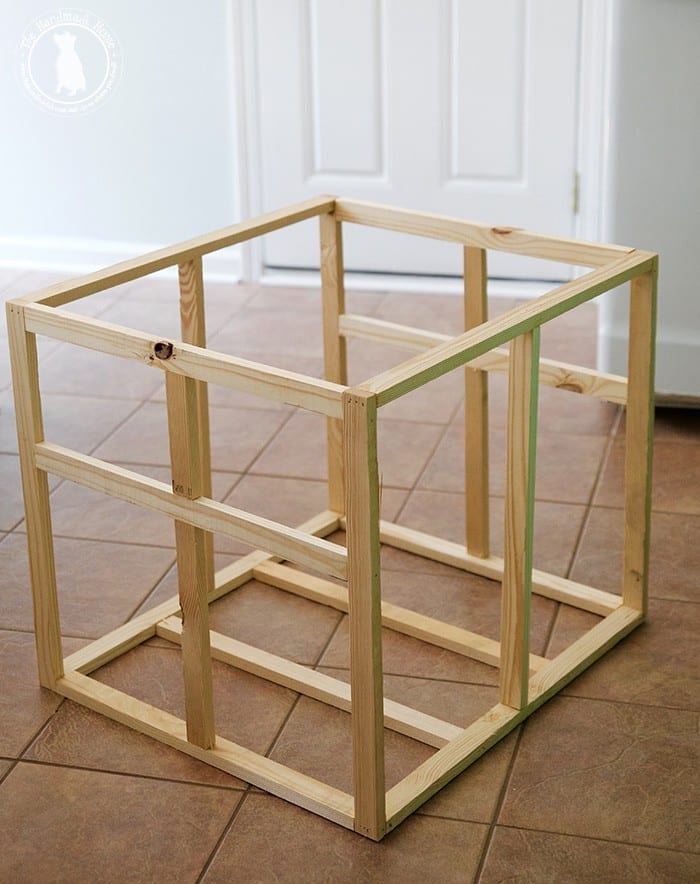
To start, you’ll want to build the interior frame. We split our 1 x 4’s down to 1 3/4 inches wide, then cut the following lengths using our RYOBI miter saw:
• (6) 24 inch pieces for the uncut vertical pieces
• (4) 27 1/2 inch pieces for the top and bottom length pieces
• (8) 23 inch for the width pieces
• (2) 14 inch pieces for the bottom vertical piece that will join to a width piece
• (2) 6 1/4 inch pieces that will be the top vertical piece joining two width pieces.
We find it easiest to build the bottom first, by simply joining (2) 27 1/2 inch pieces to (2) 23 inch pieces.
Just center the 23 inch pieces on the 27 1/2 inch pieces.
We used a little wood glue and a finish nailer to hold them together. Then on all four corners, glue and nail in the vertical 24 inch pieces. Next, simply attach the rest of your 23 inch pieces and your remaining 27 1/2 inch piece.
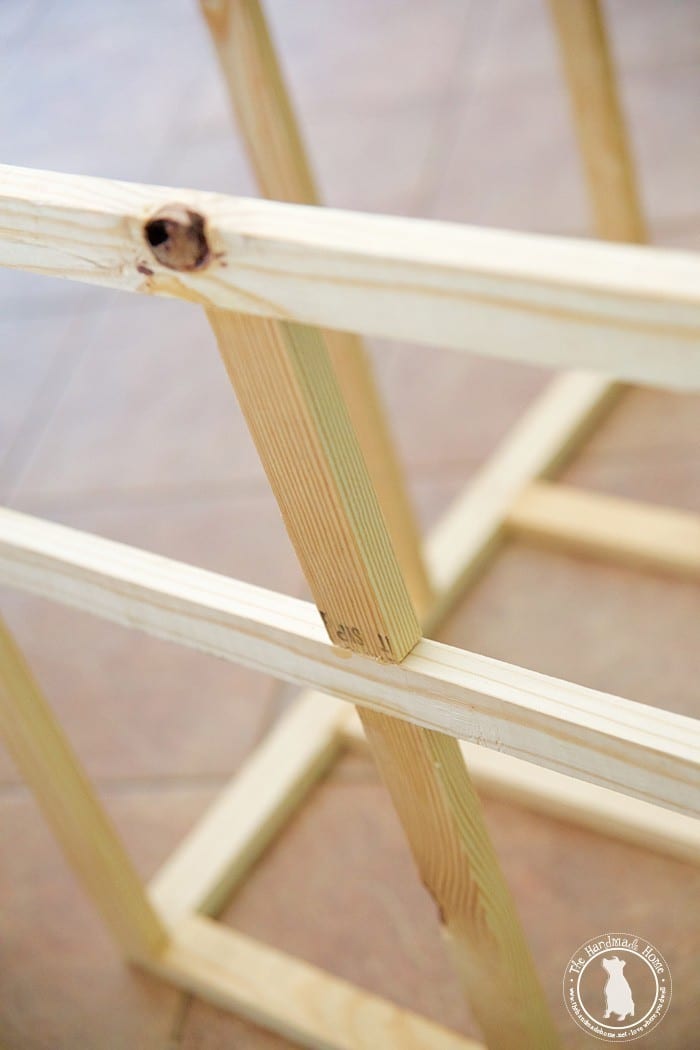 We added in a cross support on both ends in case we wanted to add handles at some point.
This would give us enough wood to drill into. This is where we would use the 14 and 6 1/4 inch piece, and we just glued these in place.
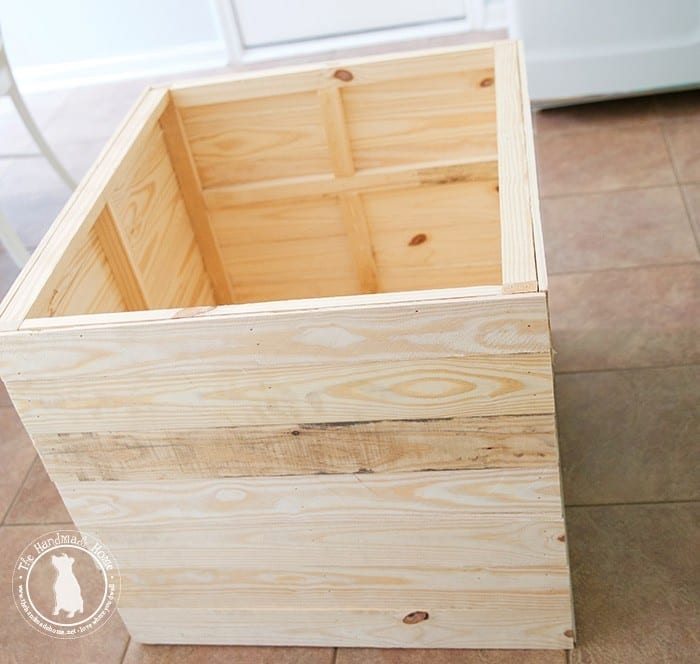
Next, we split the 1 x 4’s down the middle and turned them into thin planks.
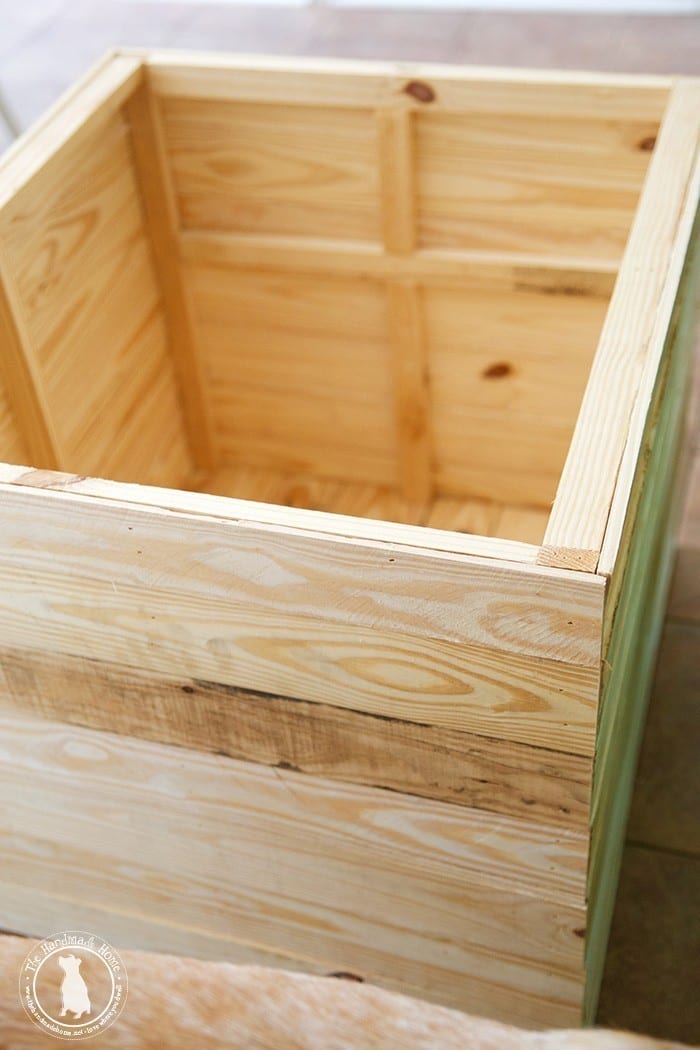
We cut them to length and simply glued and nailed them in place.
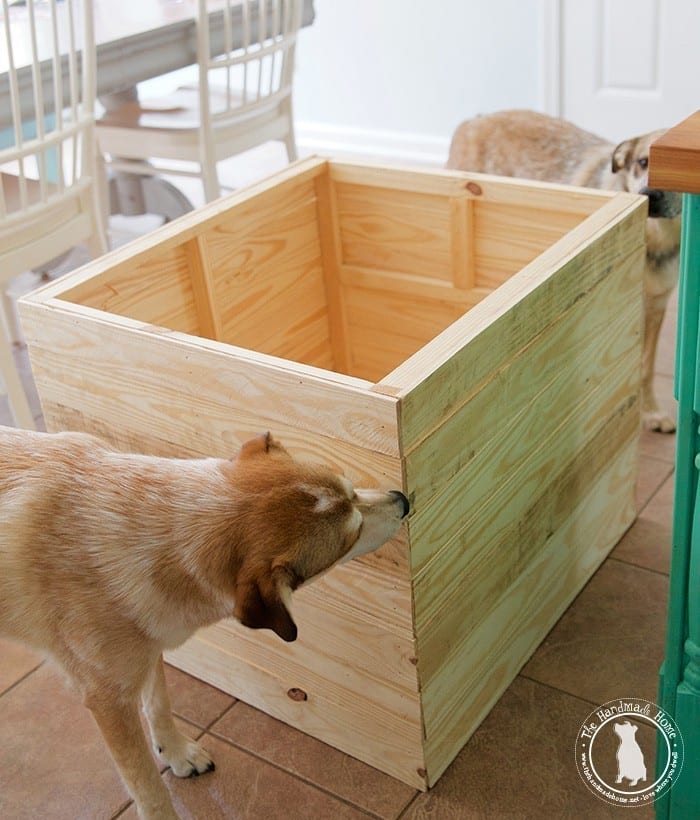
{Rigby and Fitz approved!}
So we built a top by simply cutting (8) 29 inch pieces (we ripped one to a smaller size on the table saw so it would fit.) Then we used some more of our 1 3/4 pieces to build a frame around the outside of the 29 inch pieces, by simply gluing and nailing them.
We also added some strips on the corners to give it a little more finished look by simply splitting the 1 x 4 in two, then splitting the thickness of it, cutting it to length on the miter saw. Then gluing and nailing it on.
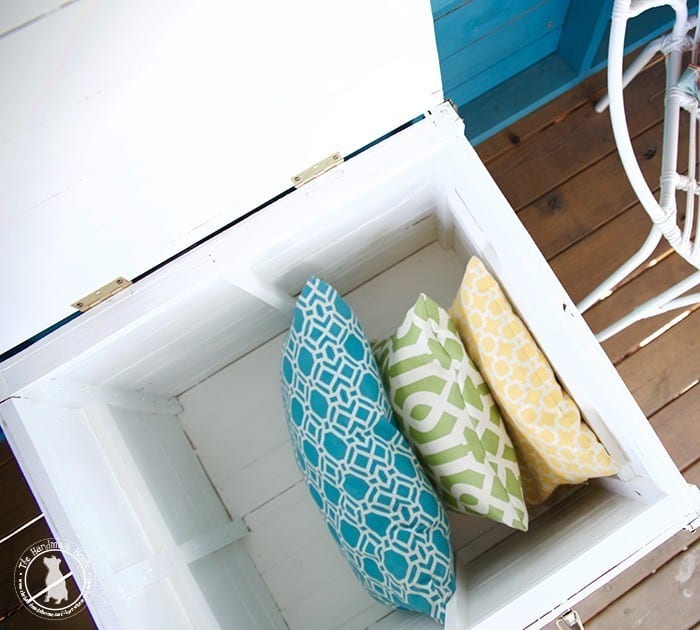
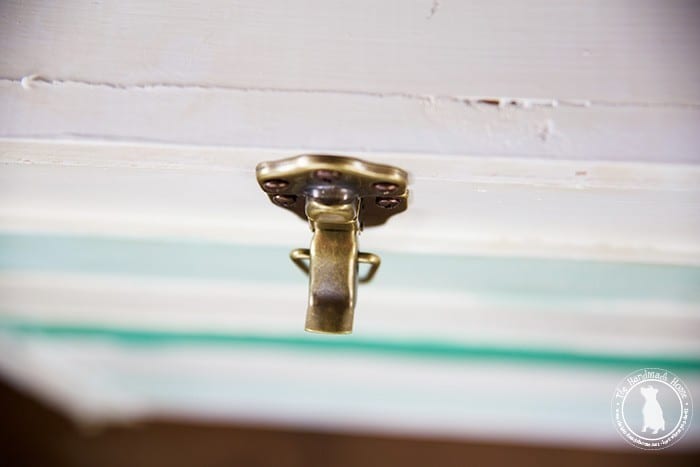
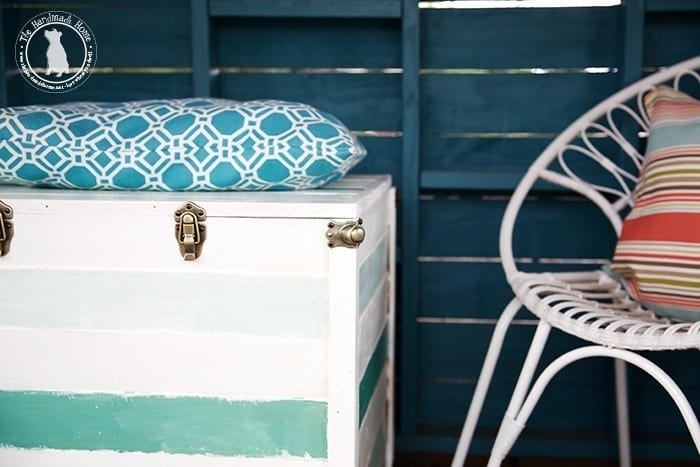
We topped it off with some aged brass hardware (this and this) a little paint and the crate was done.
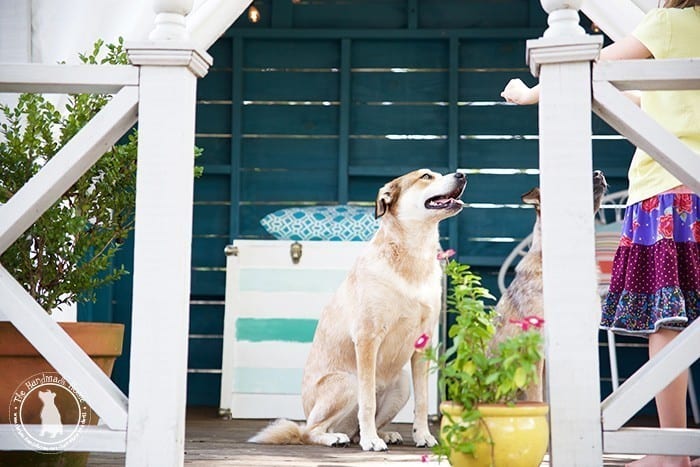
The pups even enjoy it, or should we say Emerson, for their special training sessions. She calls it her puppy school.
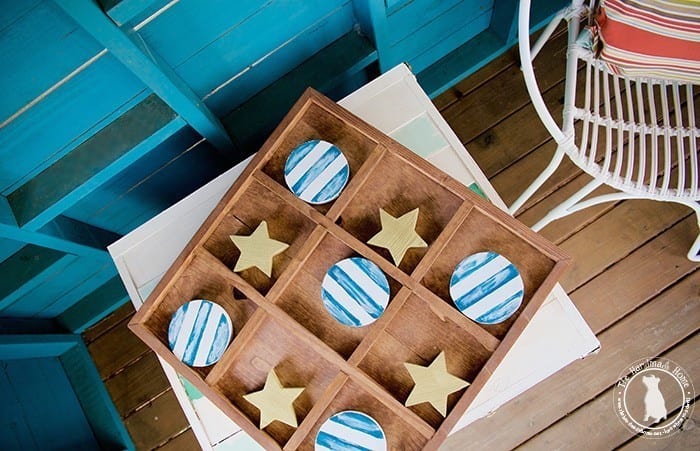
It’s a great little storage unit and even doubles as a great table top.
It’s definitely kid and pup approved, and when we’re not using it in the hideaway, we can easily relocated it to the garage.
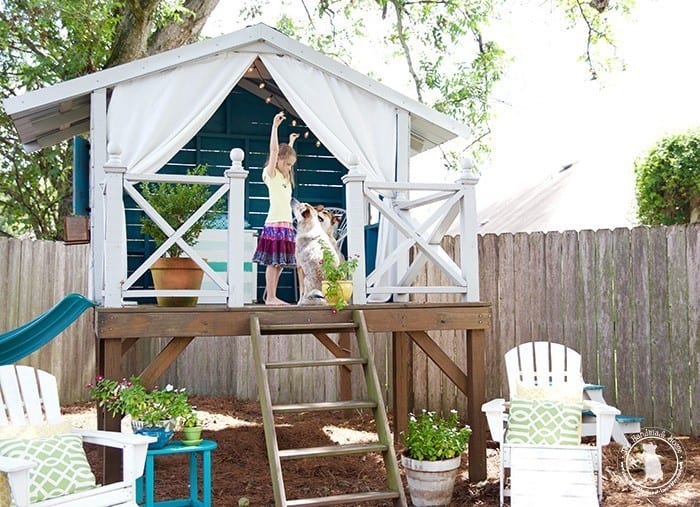
It’s one of those fun additions for the back yard, that doesn’t look like giant tupperware. Read: You don’t want to hide it when people come over.
As always, let us know if you try it.
Have an inspired day!

SO cute!! I love it! I could totally see this being like a fun window seat type thing too with storage. Also, the colors are perfect!
This project popped up on my feed, I clicked over to the site and fell in love with everything. Then I made the mistake of showing my wife your site…now I have weekend projects from here till 2020. Thanks for the inspiration, not so much thanks for the wife’s new enthusiasm.
Are there plans for the playhouse featured in this article?
Hi! you can find everything you’d need, here. Hope that helps!