
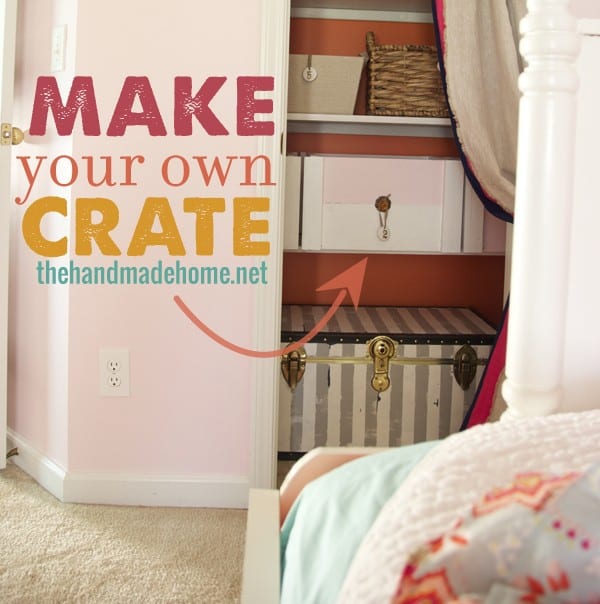
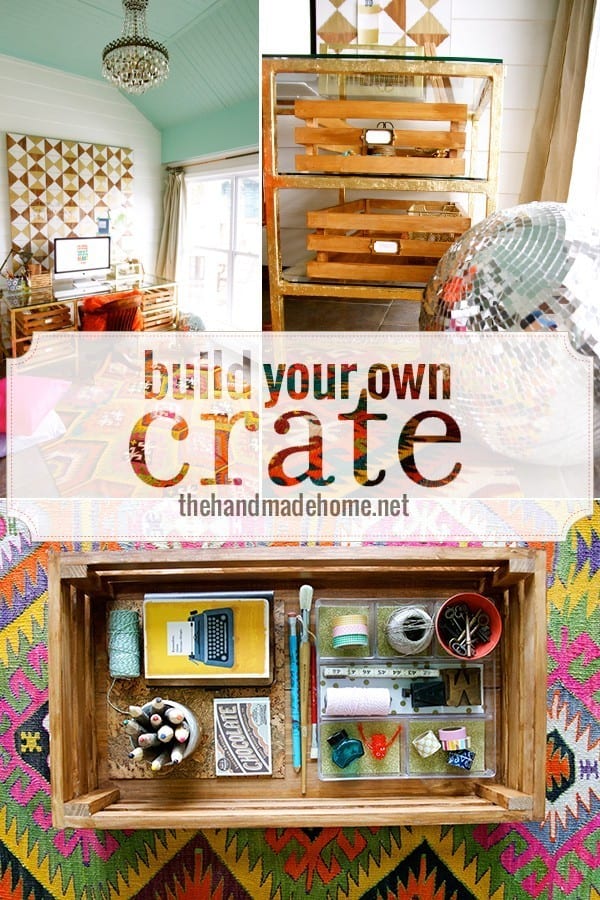
build your own crate
So remember that time we had great intentions of sharing a how to for the crates in our studio, and never did? Good times.
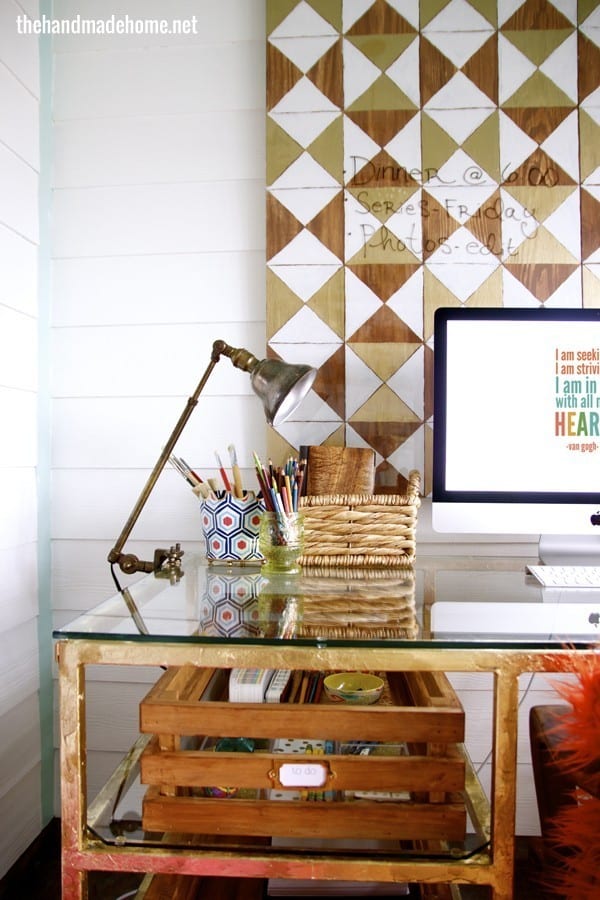
We’ve really loved this desk, and the great storage it offers with “pull out drawers” that were custom built to fit just right.
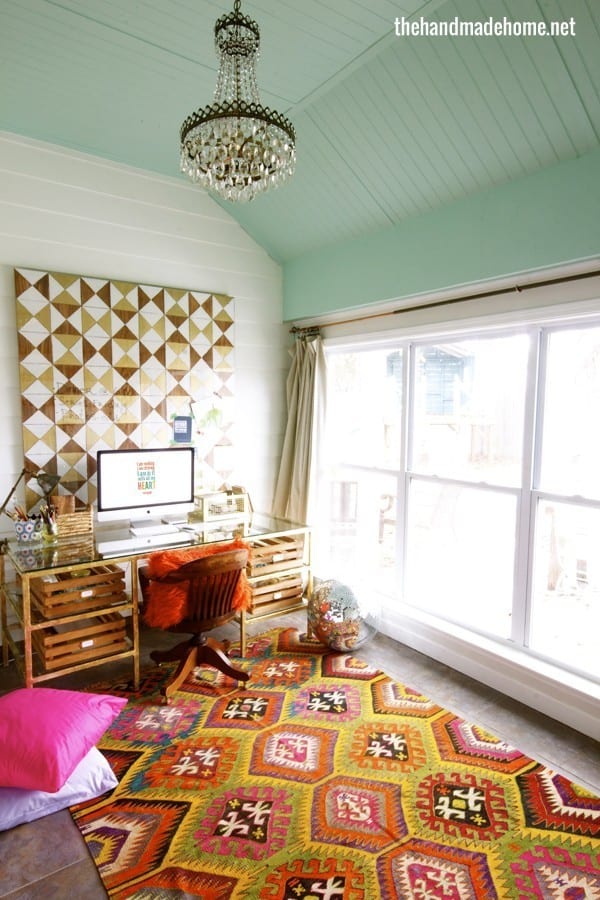
It’s been a great little organizer for us, and when a sweet reader sent in a question about them but we couldn’t quite recall where we put that post, we realized we needed to share.
 The best thing about these crates is that you can build them to any size you want, so no more searching endlessly for a pricey piece to fit that exact space you want. Just change up your measurements a little in the instructions below and you’ll have the perfect fit. Yay!
So without further ramblings, how to build your own crate:
Here are the supplies we used: • (2) 1 x 8 x 8 • wood glue • finish nails • clamp
The size of our crate is 16 (w) 29 (l) x 6 1/2 (h). Just adjust the size to fit your space.
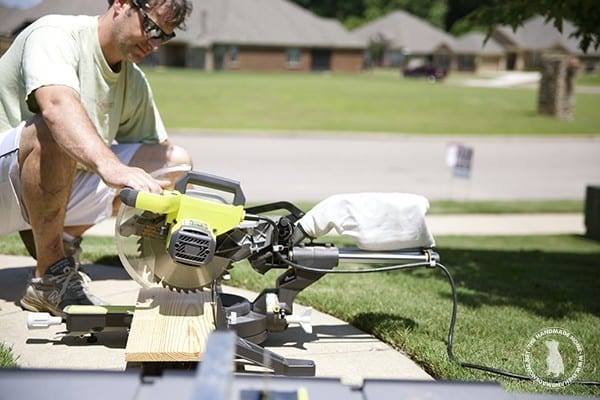
We used our RYOBI miter saw to cut (2)29 inch pieces from our 1 x 8 to be the base of our crate.
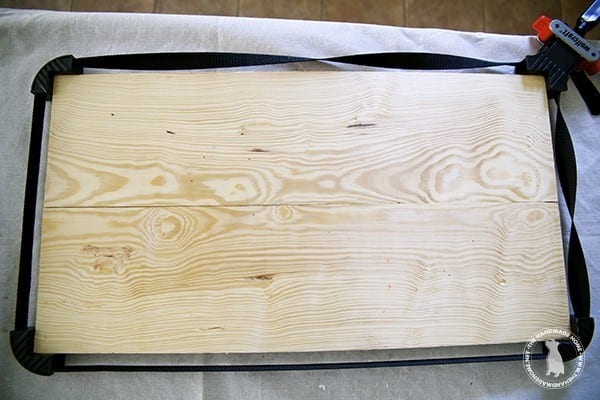 We glued them together using the most amazing clamp ever. If you don’t have one of these, stop what you are doing and buy one now! The are amazing for projects and so much lighter than the traditional clamps.
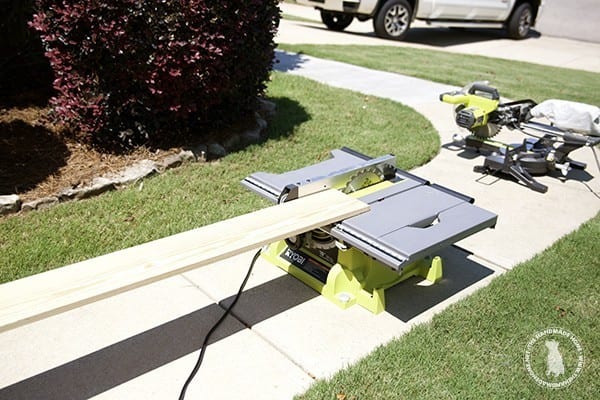 While the glue was drying, we milled down our 1 x 8’s to a 1 1/2 inch thickness using our RYOBI table saw. I mill my own wood simply because it’s cheaper, however if you have no interest in cutting down your own wood, you can simply buy some 1 x 2’s.
So instead of purchasing (2) 1 x 8 pieces of wood, you would buy (1) 1 x 8 x 8 and (3) 1 x 2 x 8.
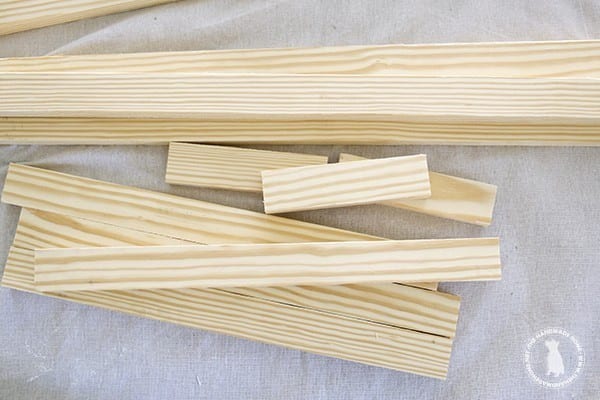
Once the wood was milled, we used the RYOBI miter saw to cut the rest of our pieces. We cut (6) 29 inch pieces, (6) 16 inch pieces and (4) 5 3/4 inch pieces.
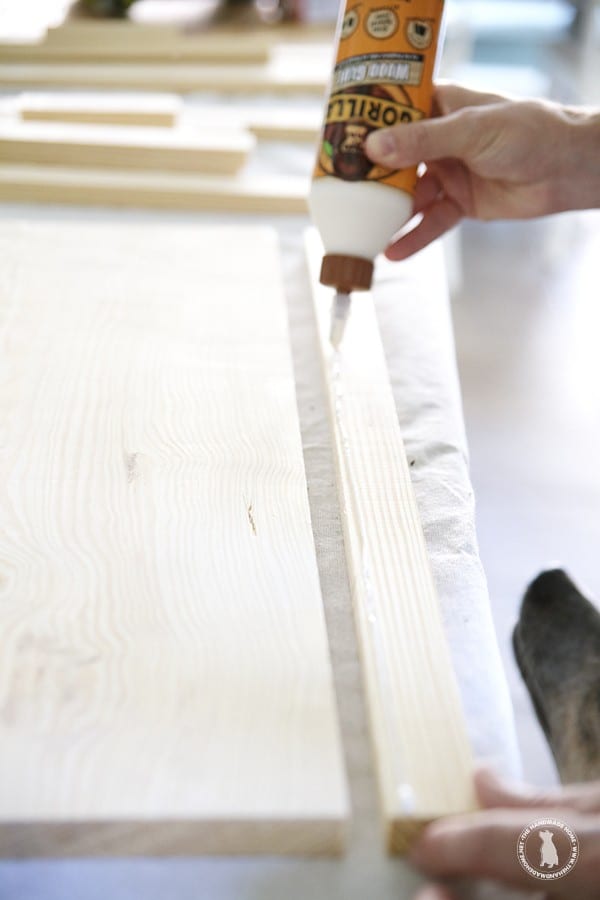
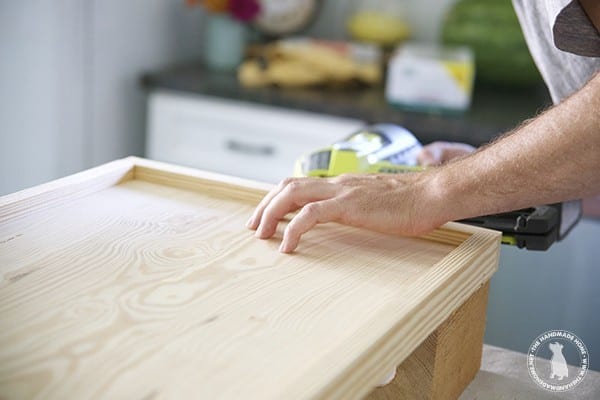
Then we simply began gluing. We started with one of the 29 inch pieces.
Place glue on the bottom portion {one third} of the piece, and press it against the base of the crate so that it’s flush to the surface you are working on. (All this of course, is done after the base has dried from being glued.)
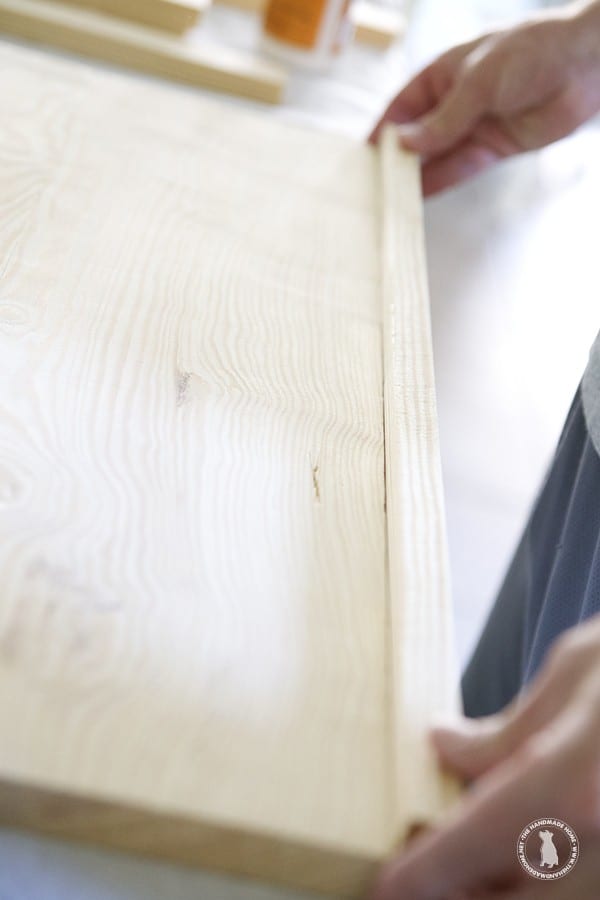 Then we tacked it with our RYOBI 18ga nailer.
We placed 6 nails along the wood.
We then repeated these steps on each side until we had the base framed up.
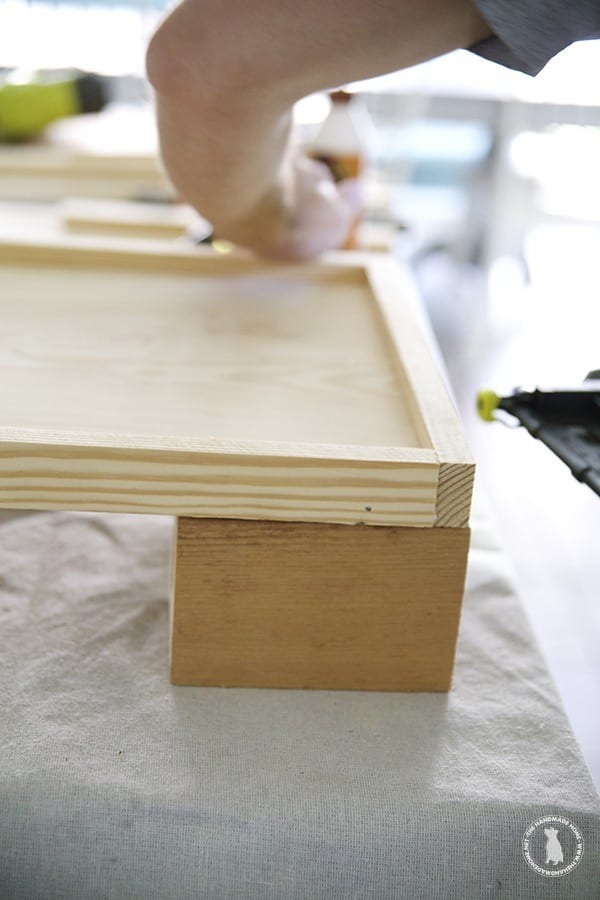
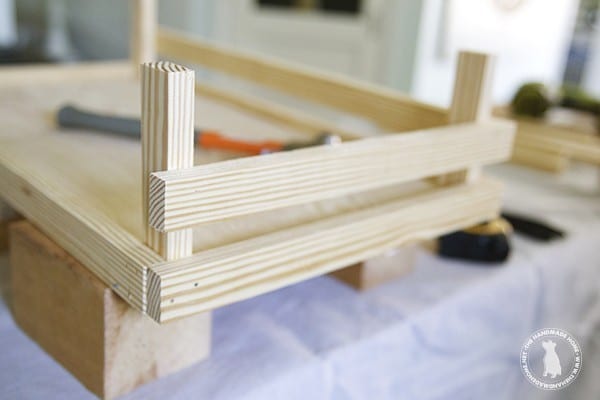
To attach our rail supports, we spread some glue in the corners.
Make sure to get any surface that will contact the supports.

Then place the 5 3/4 inch piece of wood in the corner and nail it in.
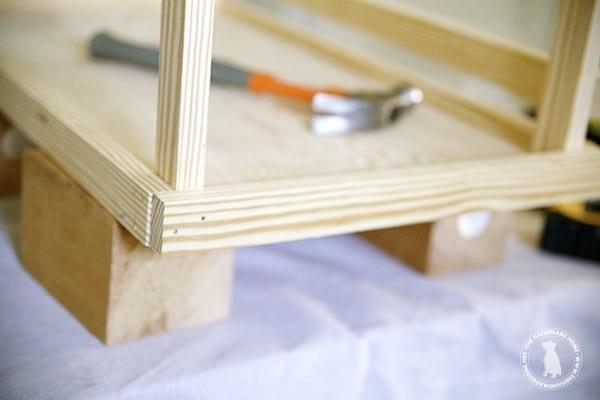
Next we mark up from the base plate 1 1/2 inches on the outside of each support.
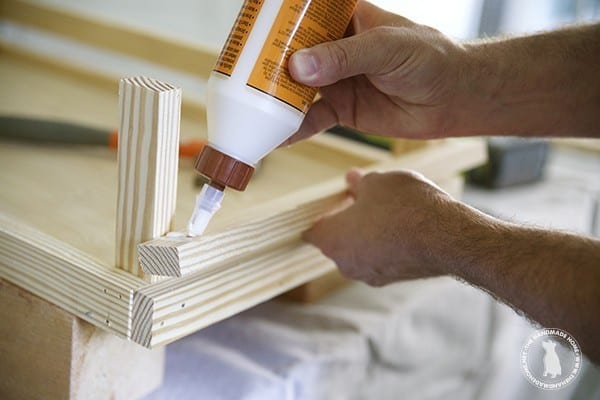
Spread some glue where the rails would touch the supports.
Line it up and nailed it into place.
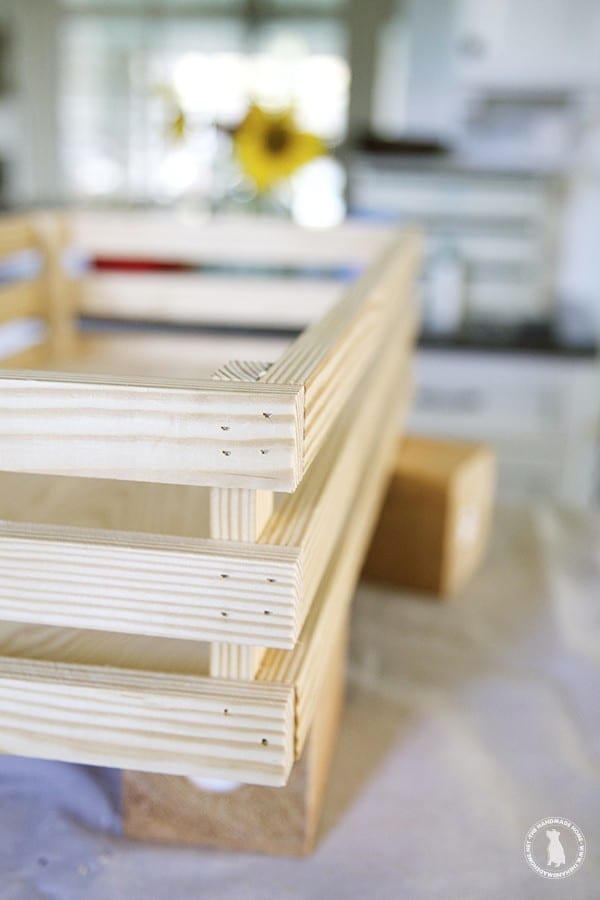 Repeat this step all the way around, making sure that each edge is lining up. For the top rail, simply make it flush with the top of the support all the way around.
Before using, allow them to dry 24-48 hours to give the glue time to cure.
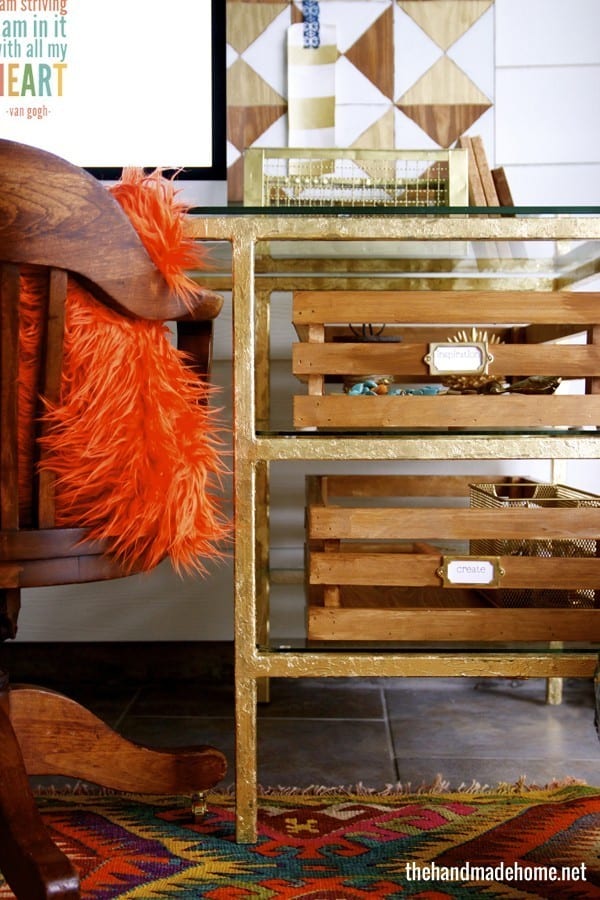
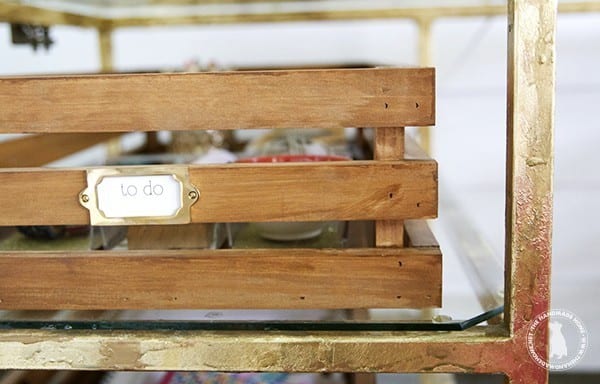
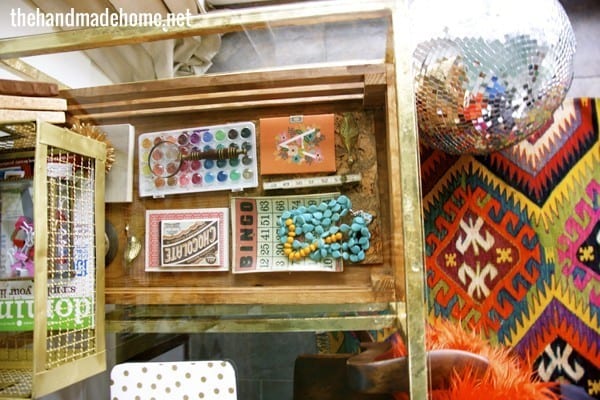
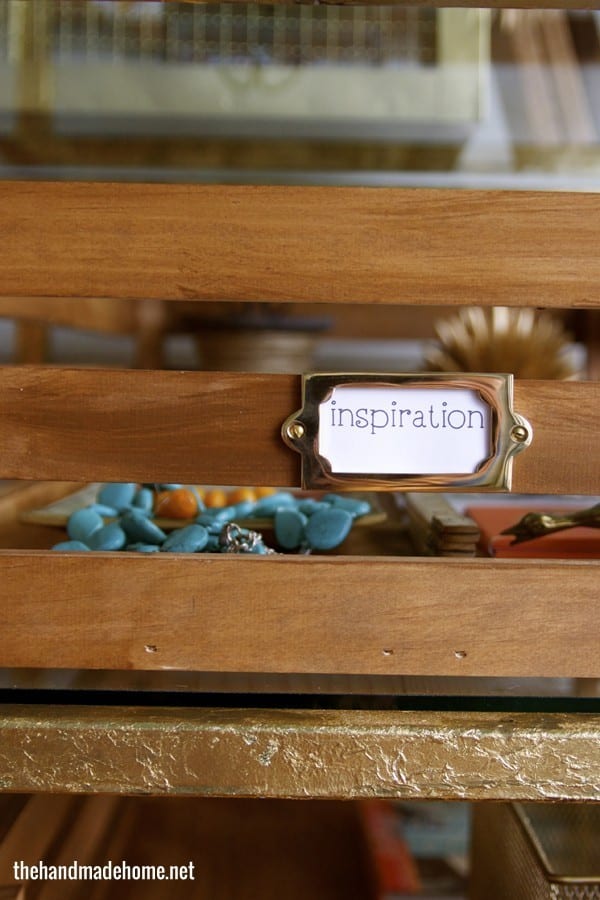
We topped them off with Cabot’s stain in Cinnamon + these fun brass plates for a touch of character.
And we put big felt self-stick pads on the bottom, so they slide in and out on top of the glass easily.
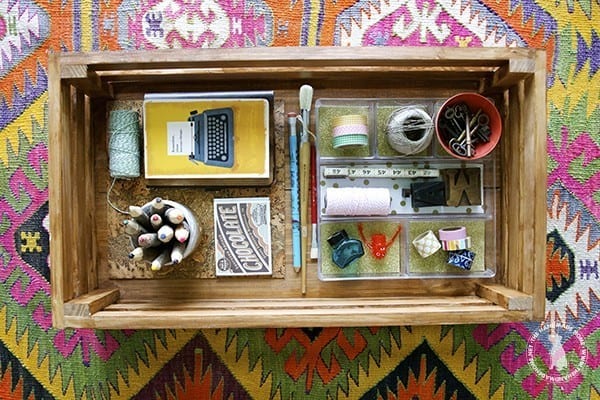
Tada! Your very own little organizer in any size you want, with a lot of character for a fraction of the price!
Check out more of our sources for our home studio, here +
more how-tos for crates, here + here

As always, let us know if you try it or have any questions!
Have an inspired day!


These are so great! I love the brass tags and how you custom fit them for your desk. Thanks for sharing!
This is such a good idea! So funny that you guys forgot to share but so worth it for us. Thank you!
Perfect! I spent all weekend looking for crates and not a single one would work. Now to convince my dad to build these.