We shared this post a few years ago, and since we still see so many fun handmade hideaways happening, thought it would be smart to share again! It’s the season to build all the things. Happy building, friends!
_______________
We’re thrilled to be back today with another installment in our video series: Coffee talk + The Ultimate Treehouse Guide!
With spring on the cusp, we thought it would be good to dive into one of our favorite creations ever. People tend to start building this time of year, and we think it’s great to help organize ideas for anyone who may want to take it on! So we’re answering a few frequently asked questions about both versions. Here you’ll also find all the information you could possibly need to build your own, with all of our round ups for how to’s, and sweet reader features, below.
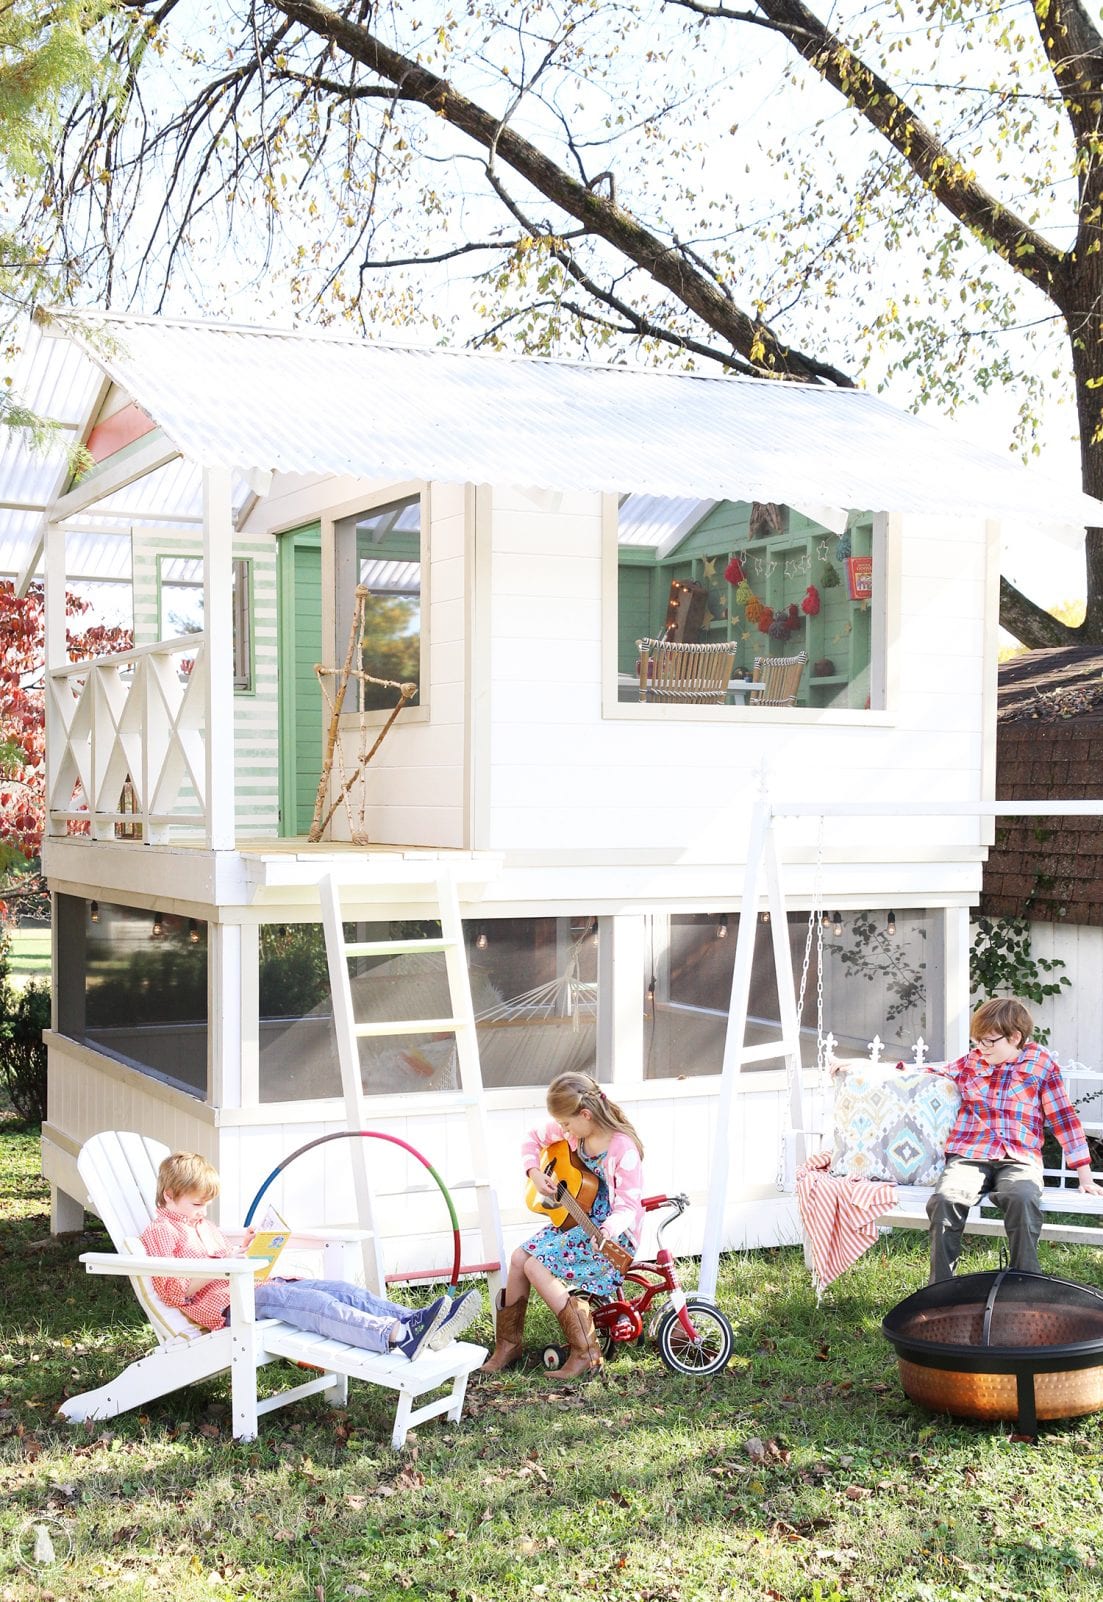
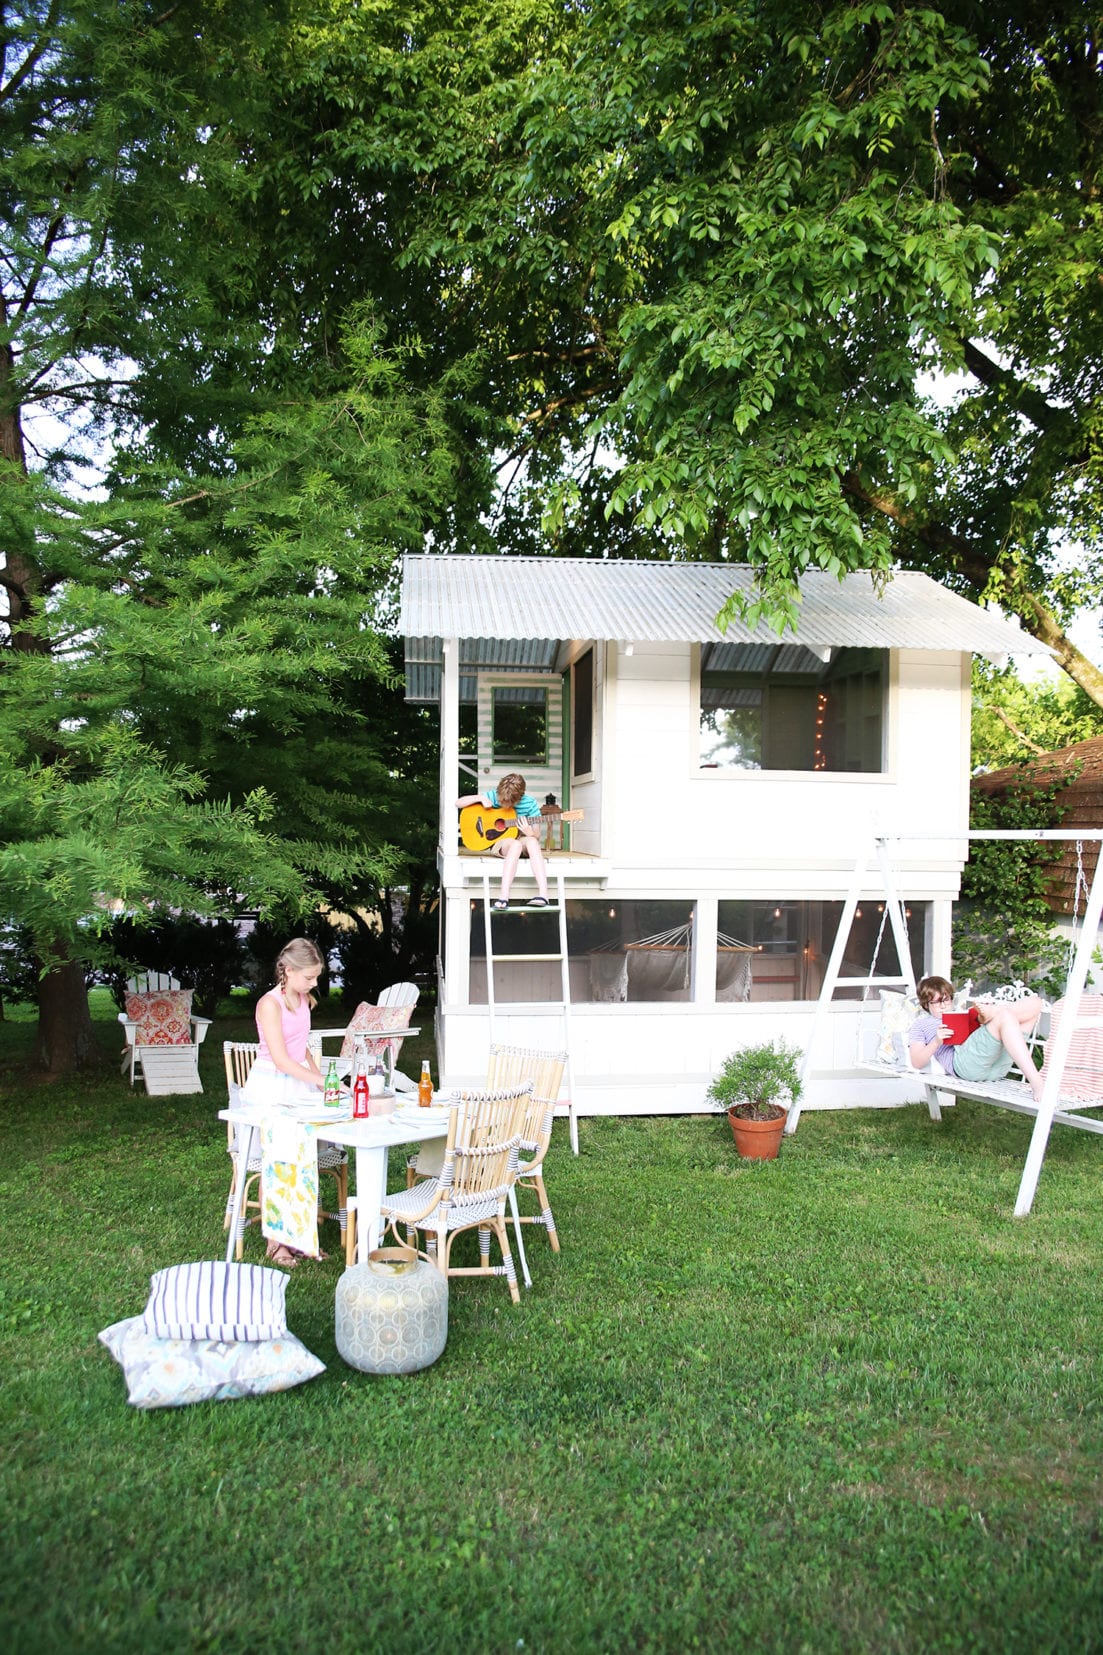
The ultimate treehouse guide! AKA the ultimate handmade hideaway guide.
So without further ado, coffee talk + the handmade hideaway!
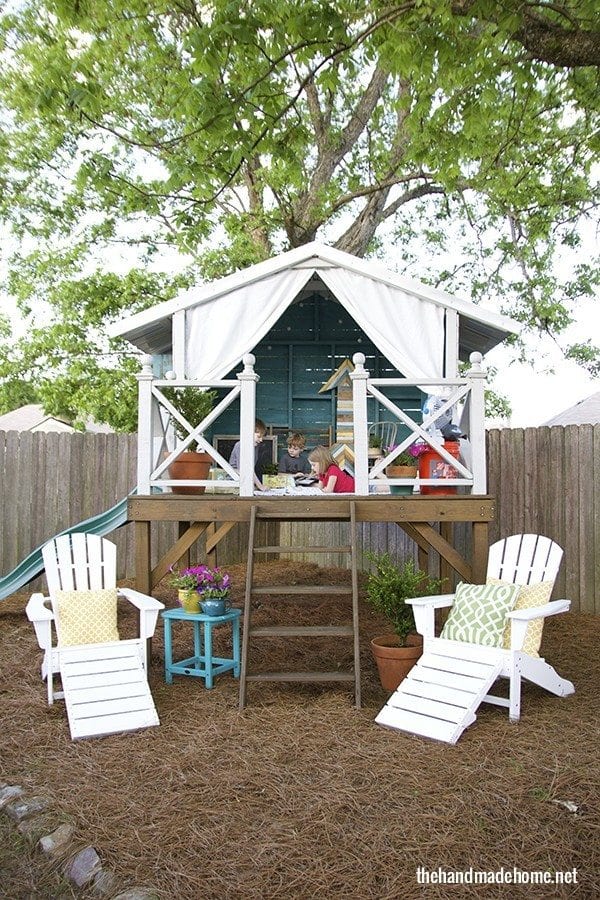
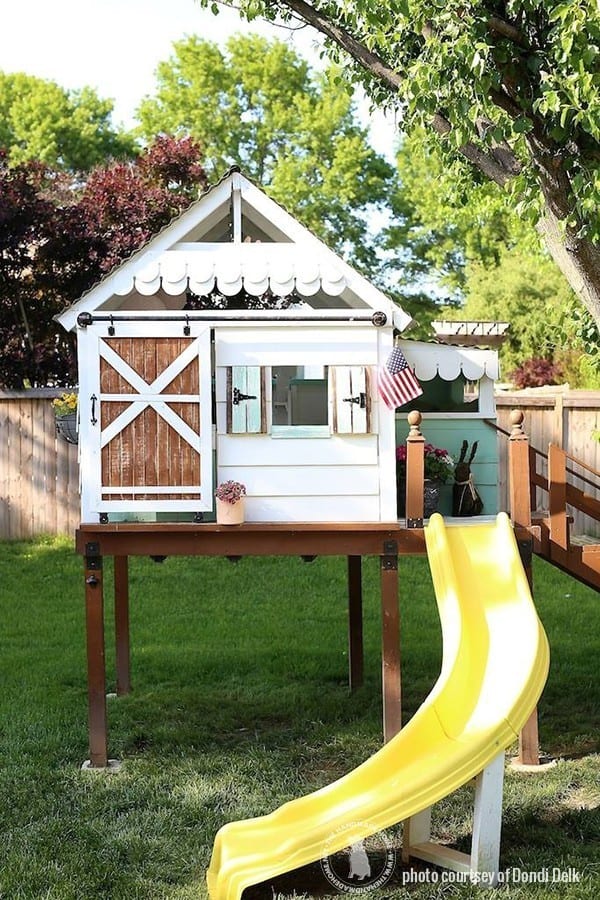
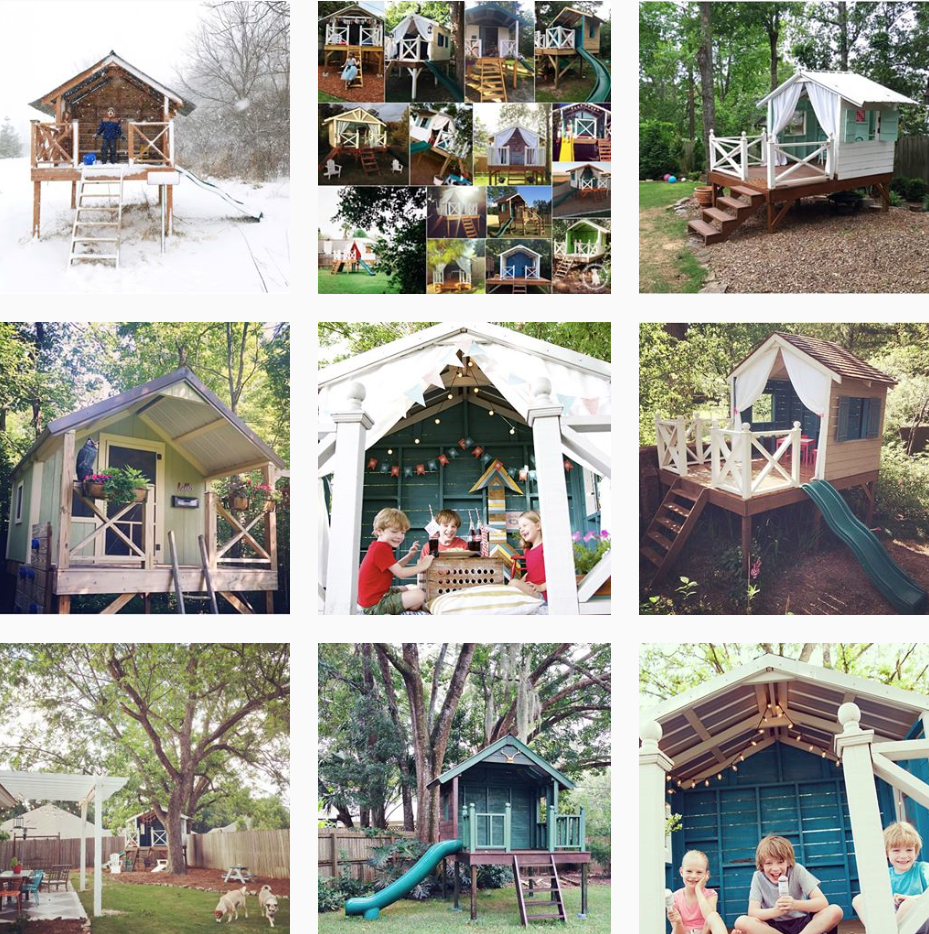
How to build a handmade hideaway:
So you can find all the how-tos to our first version, here.

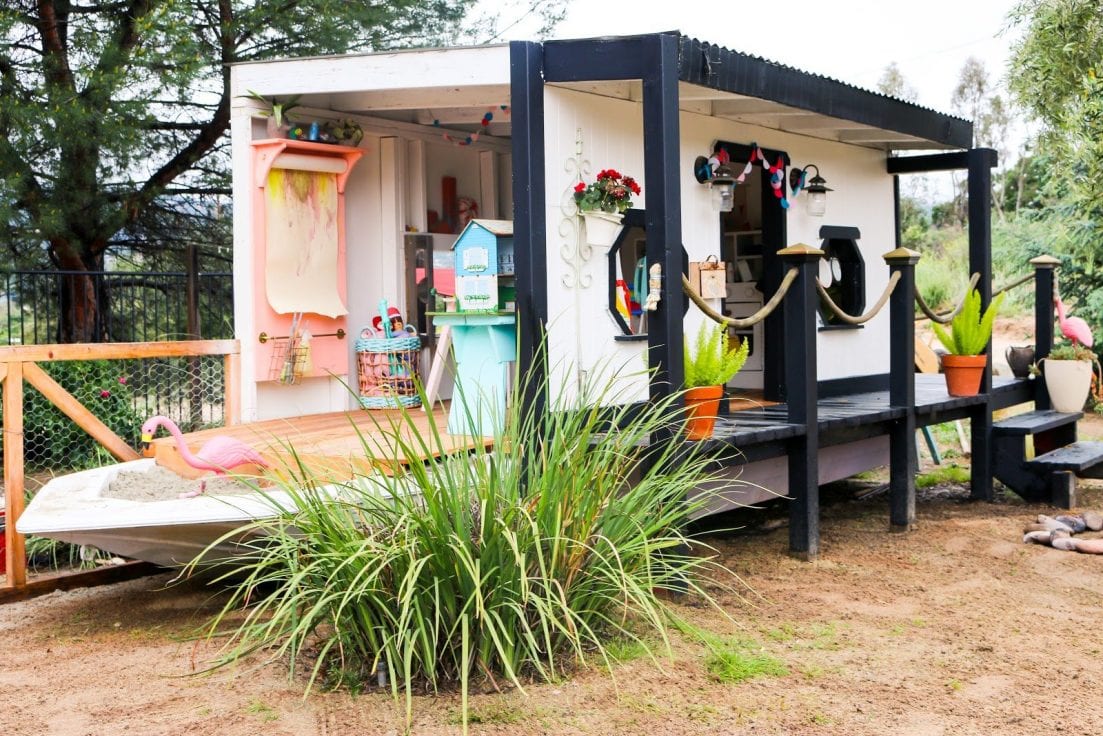
How to build a handmade hideaway 2:
And the handmade hideaway 2, here!
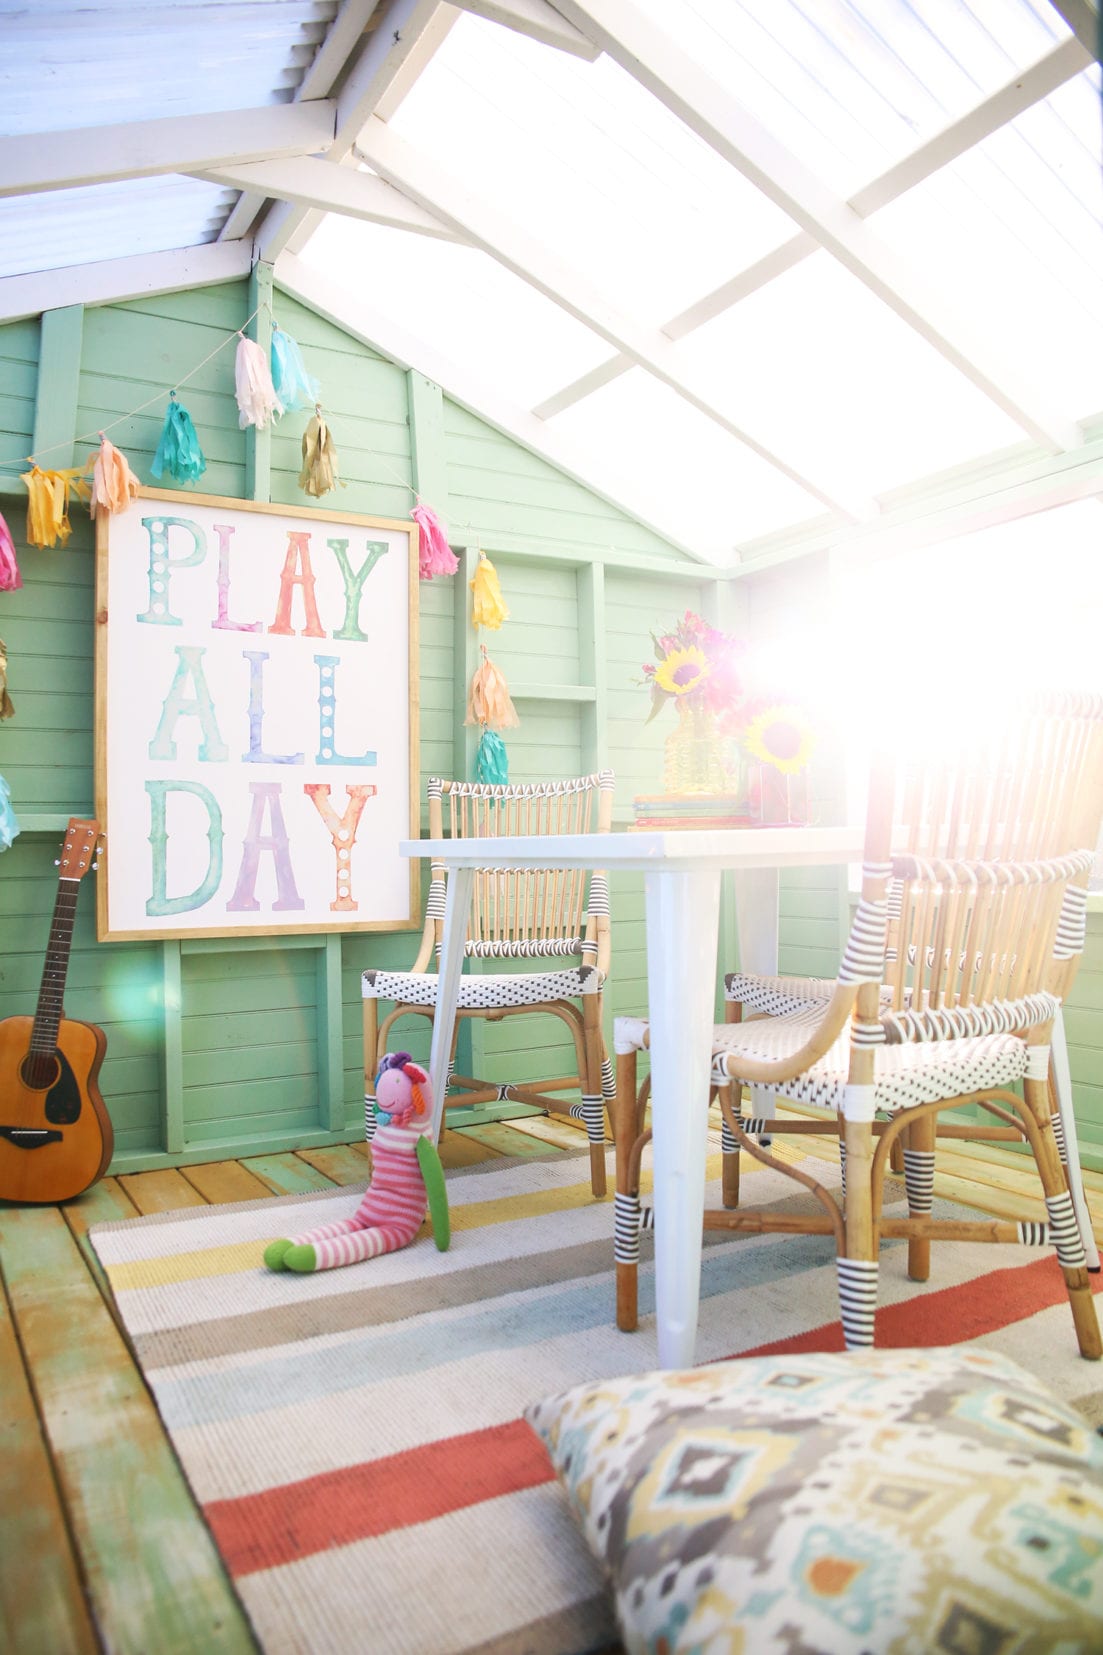
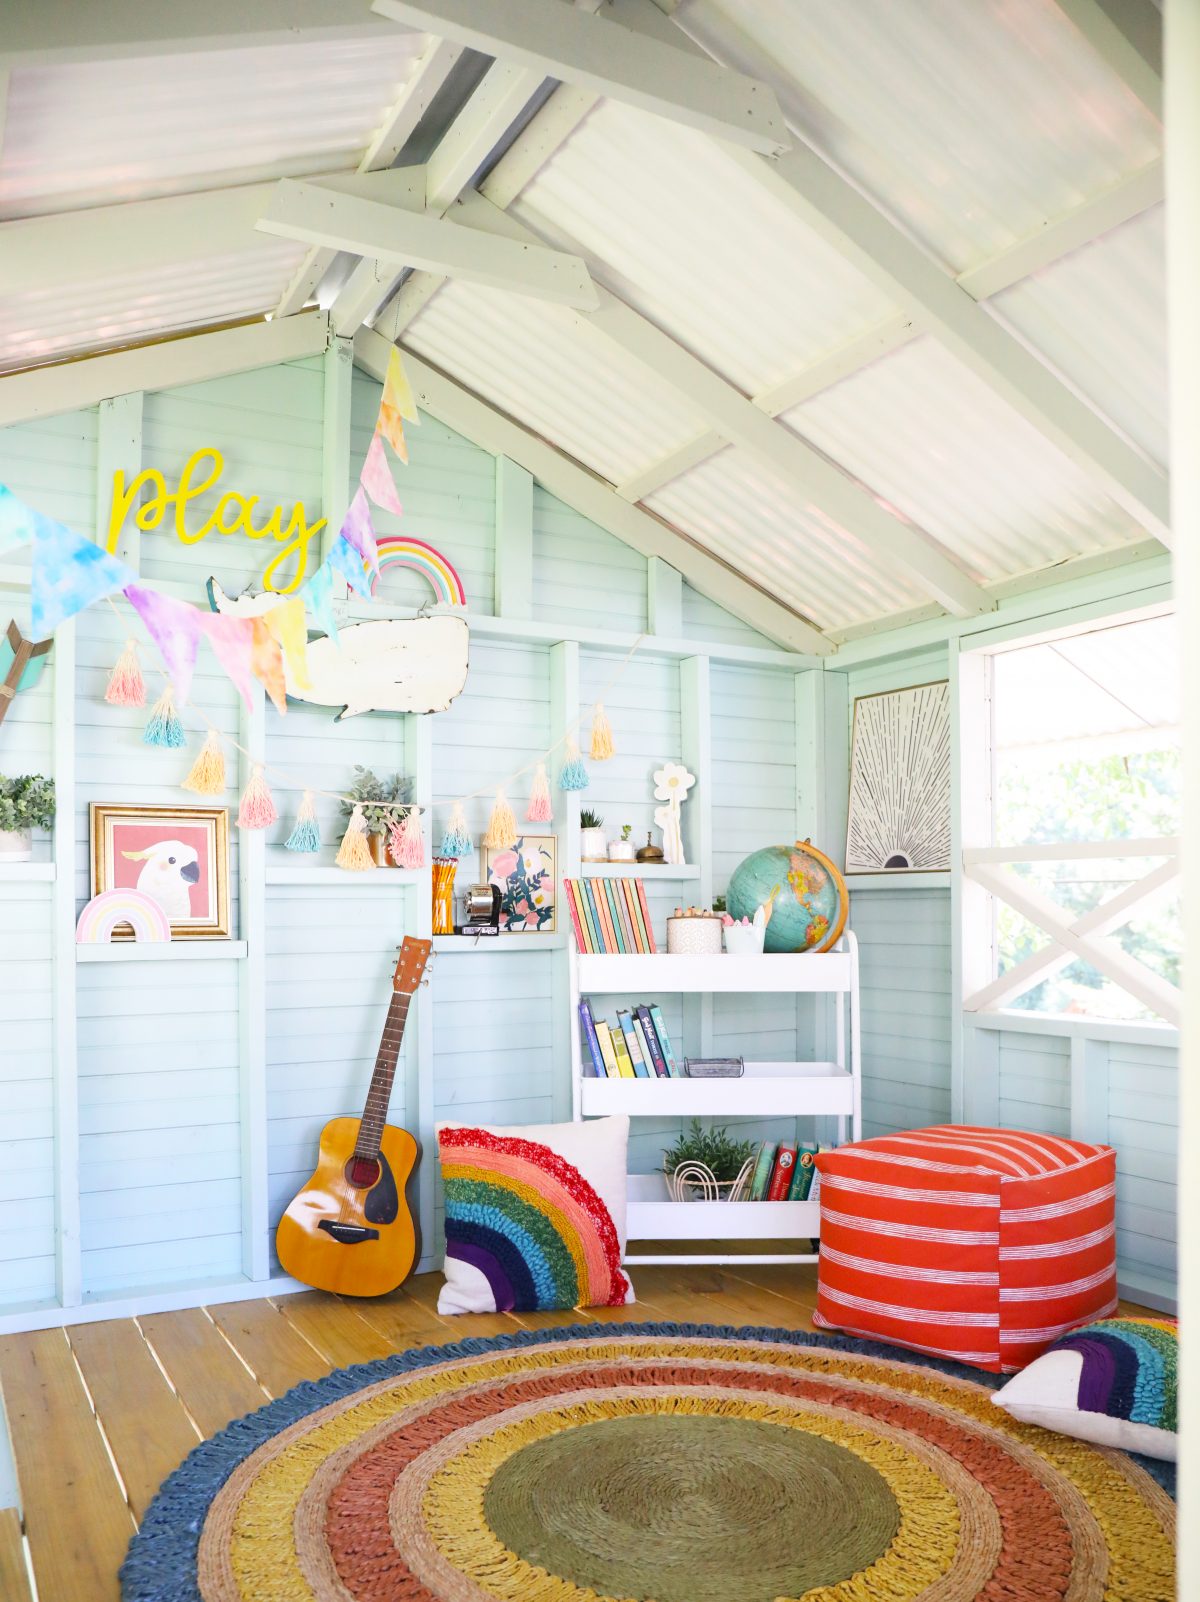
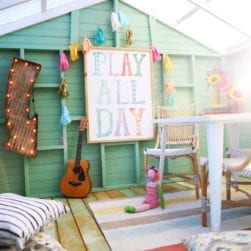
Shop the space: Looking for accessories?
{Pssst… you can shop the space here! }
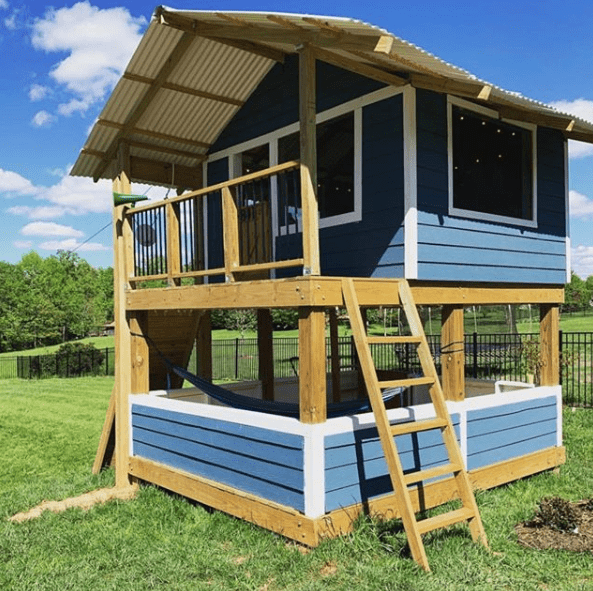
Reader features on our site with more inspiration on our site:
More reader features on our site, here + here + here!
Don’t miss the boat version or cottage editions, either!
Be sure to check out all the amazing reader creations, on instagram here:
#handmadehideaway + #handmadehideaway2
We can’t wait to see YOURS with the hashtag!
If you have any additional questions, be sure to leave them here in the comments.
We’d love to hear from you!
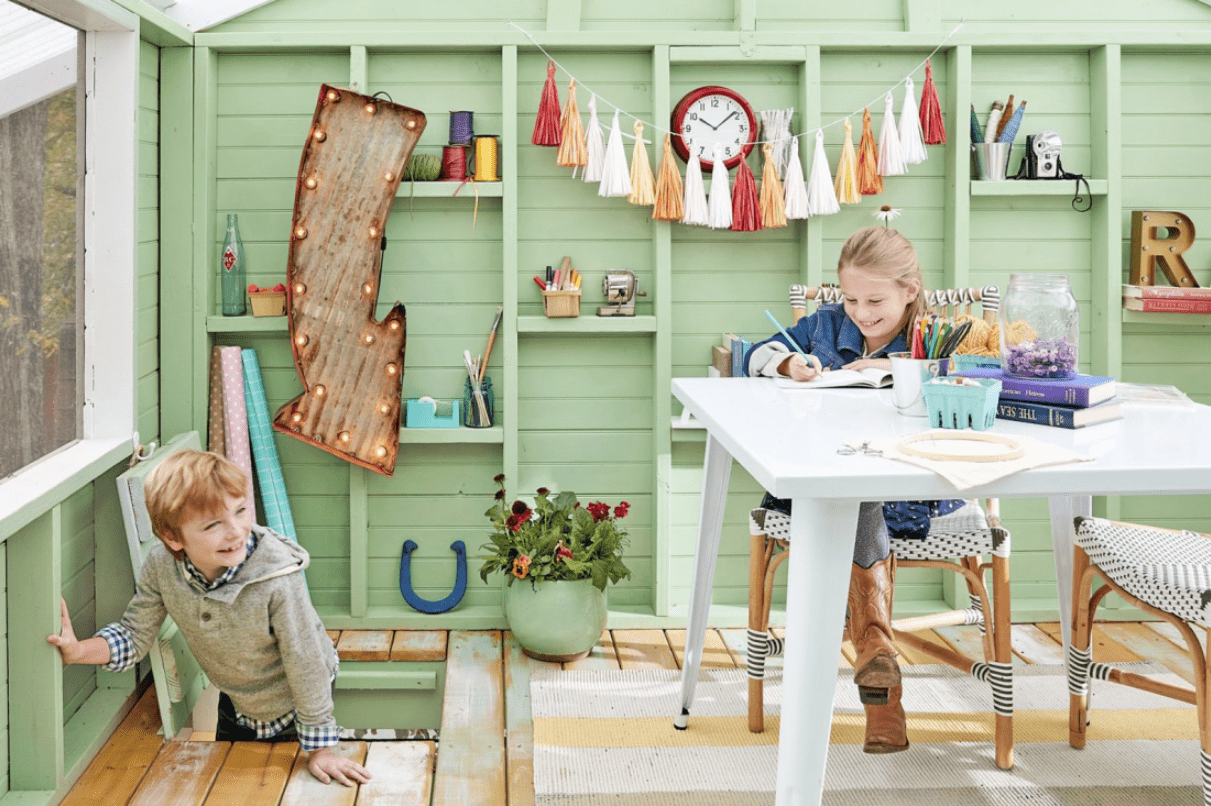
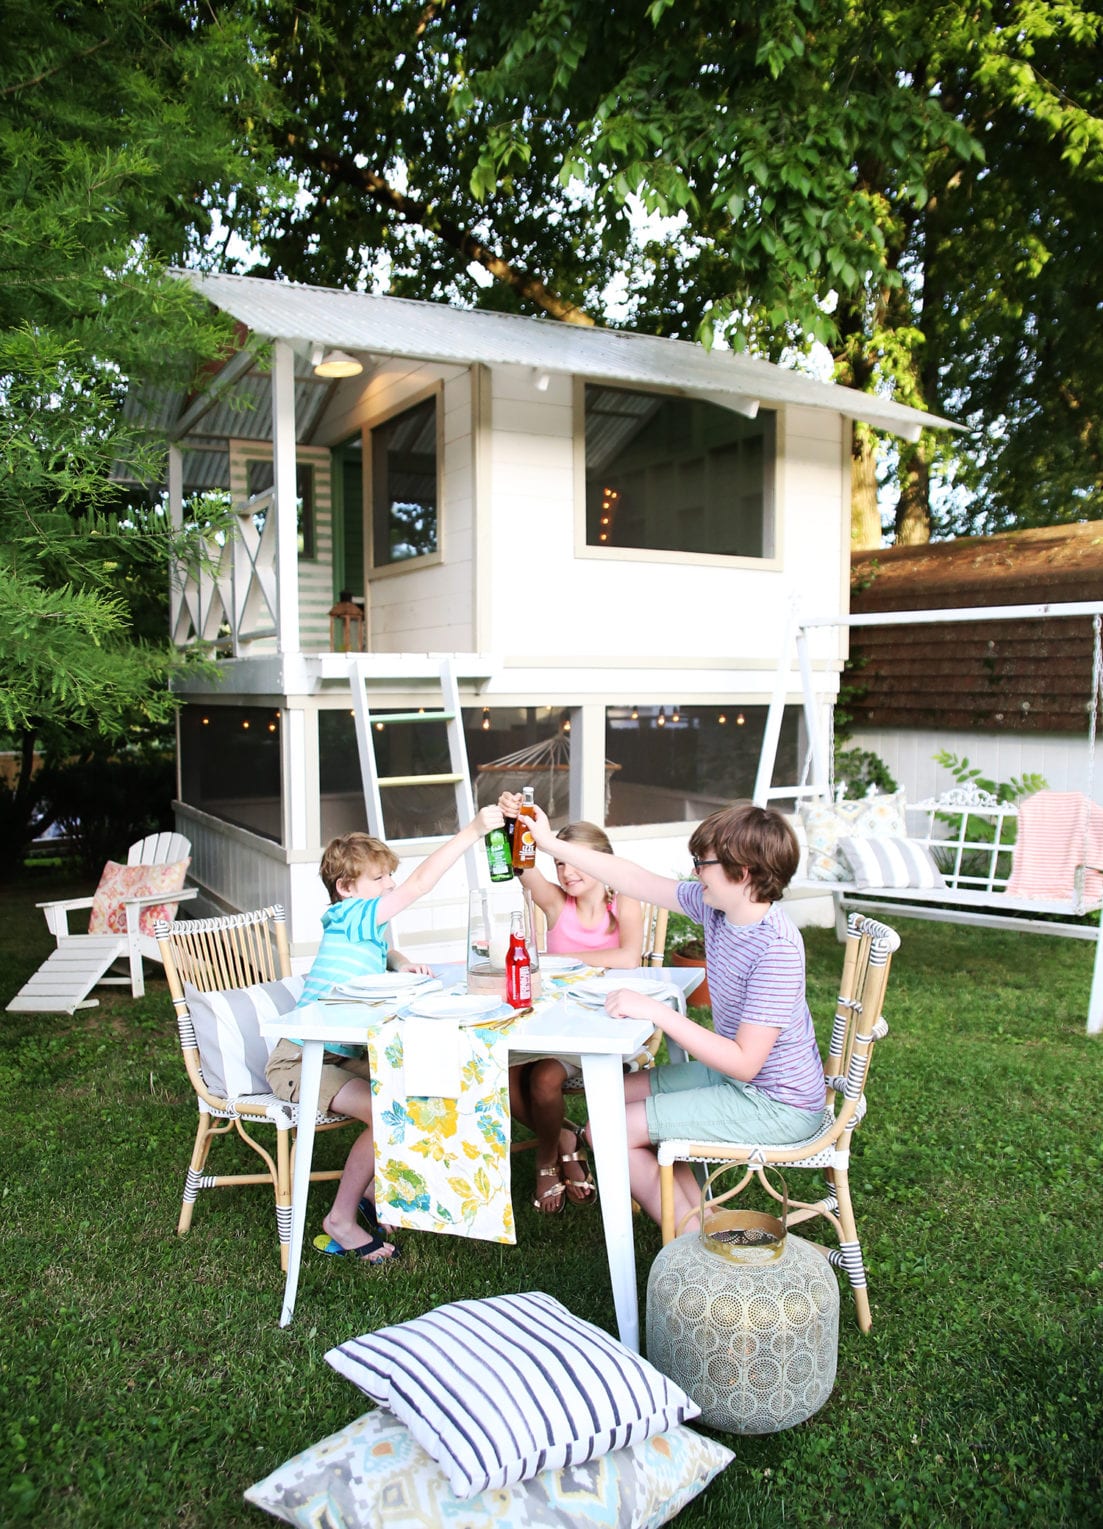
photo via Brian Woodcock, country living magazine
We look forward to hearing from you + hope to help in any way that we can!

Check out this fabulous tour of a client space, here!
Have an inspired day!


Loved this post so much I even remembered to Pin it! Looking forward to reading more of your blog!
Love these hideaways. I need one but, it gets way to hot here in summer. Unless we got an air conditioner in one. lol Thanks for sharing at the Inspiration Spotlight party. Pinned & sharing.
I saw the post about electricity to the hideaway, by using the inverter. I love this idea! I understand the extension cord hooks into the inverter, but how did you connect each light source into the extension cord, particularly the outside light above the door?
Also, are the top windows screened in as well? And is there a link on the site to actual plans vs the how-to step by steps?
Hi, not the tutorials are the only thing we have posted online.
We hardwired the outside light into the circuit, probably not something everyone can do, but easily doable. You can also find lights that plug in as well.
Beautiful. I no longer have small kids, but my son when he was little, he loved his treehouse/swing set. I am sure your little ones are loving their fabulous treehouse
Your writing seems to be totally an inspiring one. Thank You!!
This design is perfect for our backyard! I can’t wait to start. I was reading through some of the comments on your other pages and wonder what the consensus is for securing the hideaway a bit more but avoiding the permanence of a concrete footing? Would concrete blocks work? Or have you seen other suggestions?
Hey, I don’t think concrete blocks would offer much. You could always pour footers and then use a galvanized base to attach it. That would be the best thing but still wouldn’t offer as much security as sinking the post in concrete. I hope that helps.