
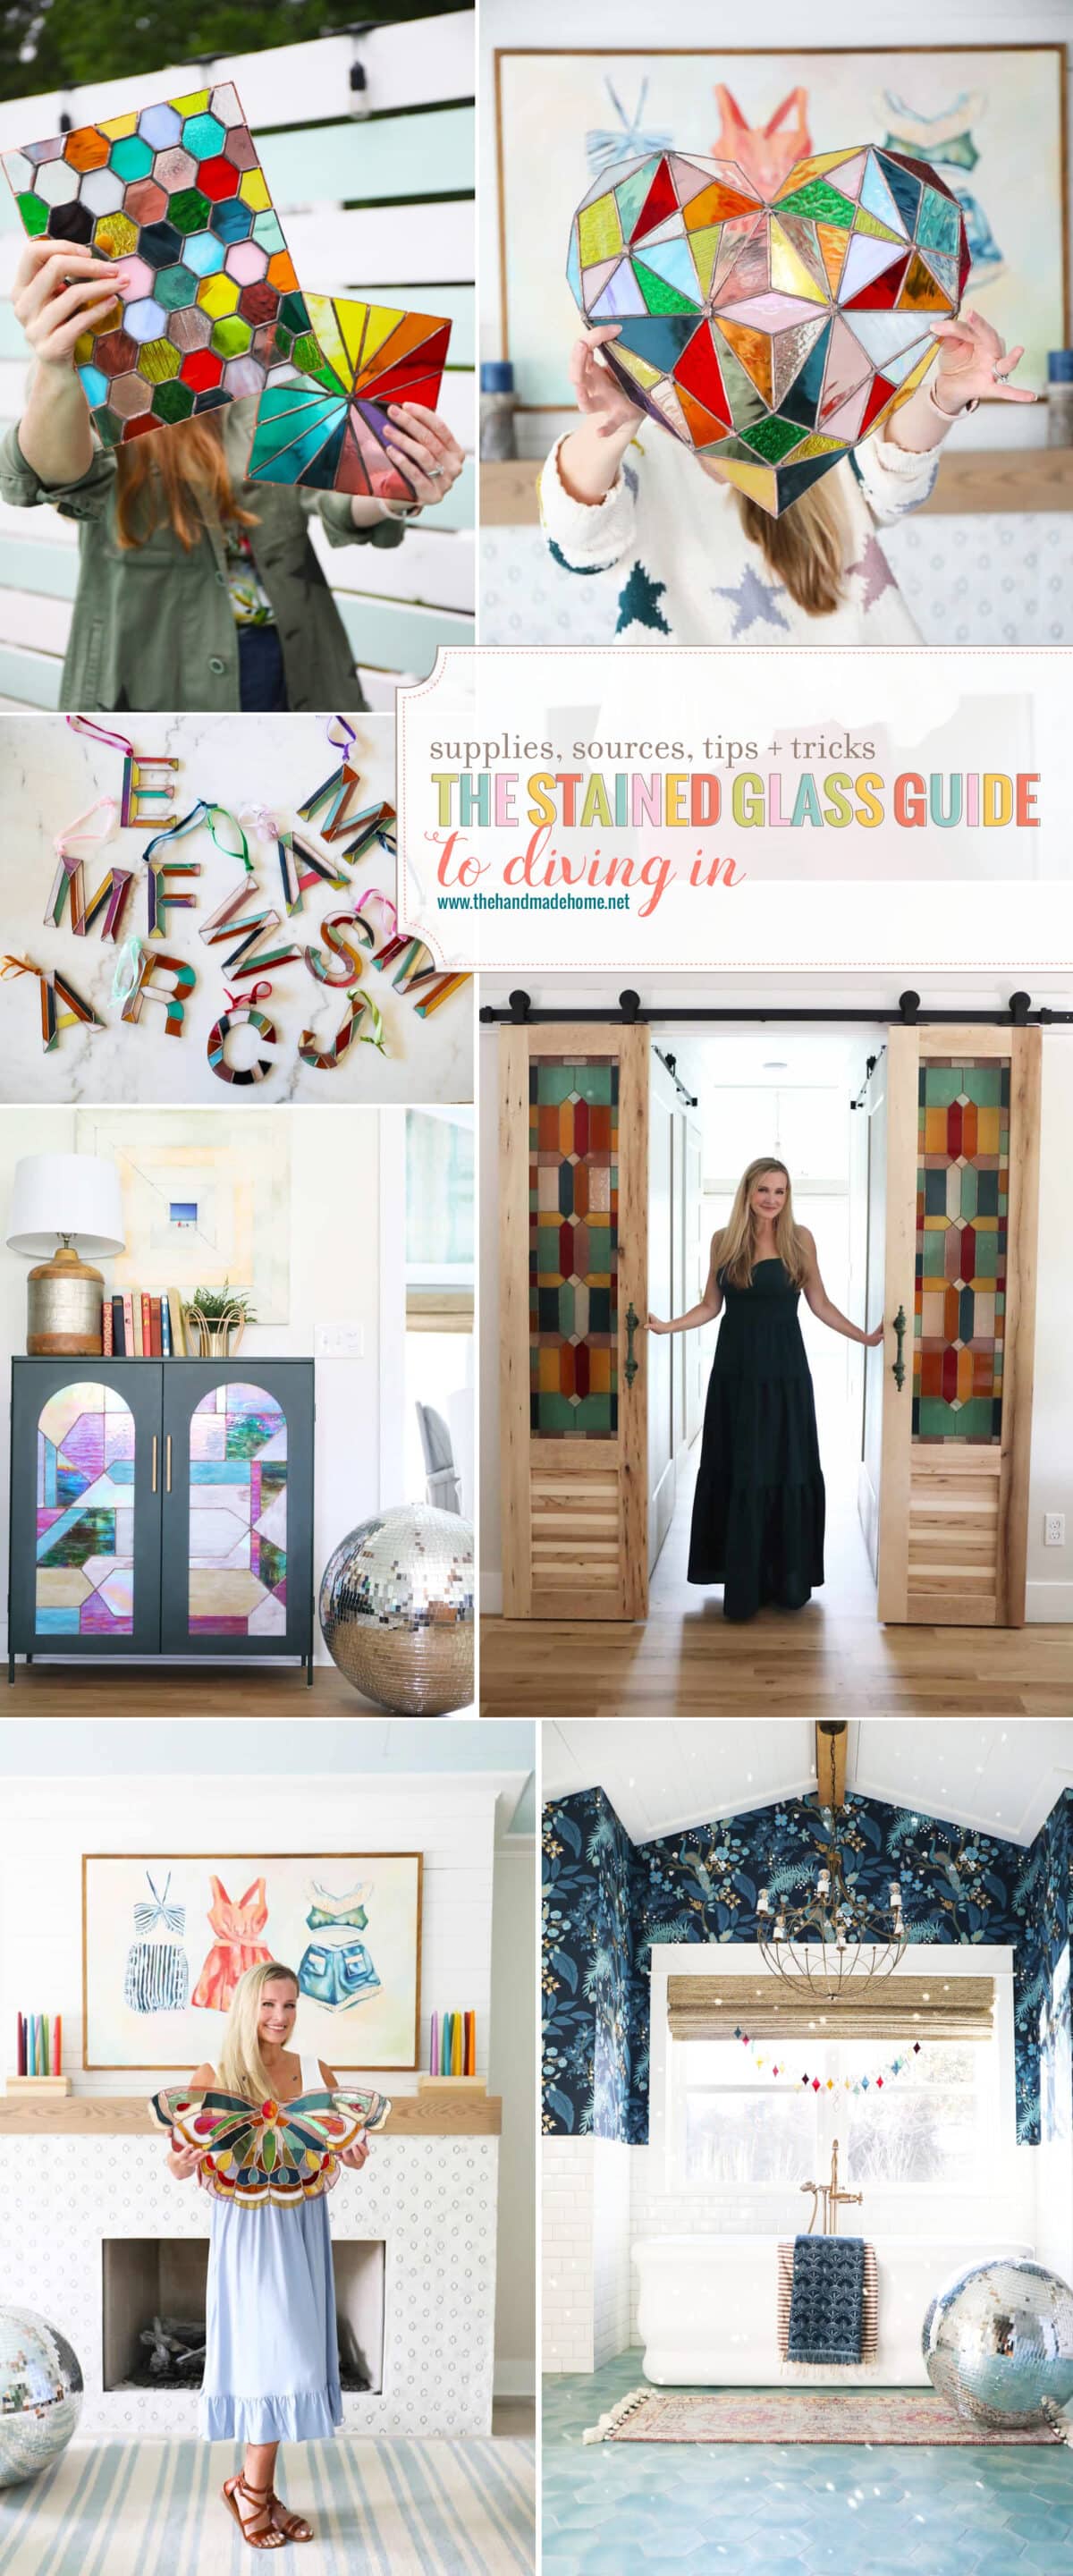
the stained glass guide {to diving in}
Always wanted to take up stained glass? I published this a while back, and thought it was the perfect time to share it here again! We’ve gotten a lot of questions lately about all things stained glass. While it has been an unusually insane year for us between work and kiddo schedules, I do hope to dive back in soon. In the meantime, I thought I’d leave all of this right here, so that you have a great guide: The Stained Glass Guide To Diving In!
Let me start by saying this: I took up stained glass with a friend two years ago and absolutely fell in love. If you live locally, {anywhere near Nashville/Franklin} please do not pass go and do not collect 200 dollars. Spend your funds on the best teacher around, Mrs. Bonnie at The Glass Onion Studio in Franklin. She taught me everything I know, and I love the idea of getting hands-on with something new. She is a patient, sweet guide. So, sign up yesterday if you are local to the area.

If you’re not local, I’m sharing a little round-up of my best posts so that you have them all in one place for easy reference.
1. The Stained Glass Guide: Supplies
Let’s begin at the beginning, shall we? If you’re truly interested, it’s good to investigate. Get a guesstimate on costs, and shop around, doing a little homework before you dive in completely. I guess that’s why I recommend taking a local class first, to ensure that you are ready to make the investment. It is an investment, but you can slowly start collecting supplies and shopping around if you take your time. I took Bonnie’s local class and fell in love, then slowly started adding essential tools so I could take it on at home. For argument’s sake, we’ll say you are already in love and dive in.
Here I’ve listed all the supplies needed to take it up on your own. Do a little shopping around based on my list, but this should be a pretty comprehensive guide. I would say that the initial cost is up front, but each project can be costly depending on the glass. I’ll be blunt: Stained Glass is not a cheap hobby. It pays to slowly build your inventory. It is well worth the investment, and it is worth shopping around to figure out what you want.
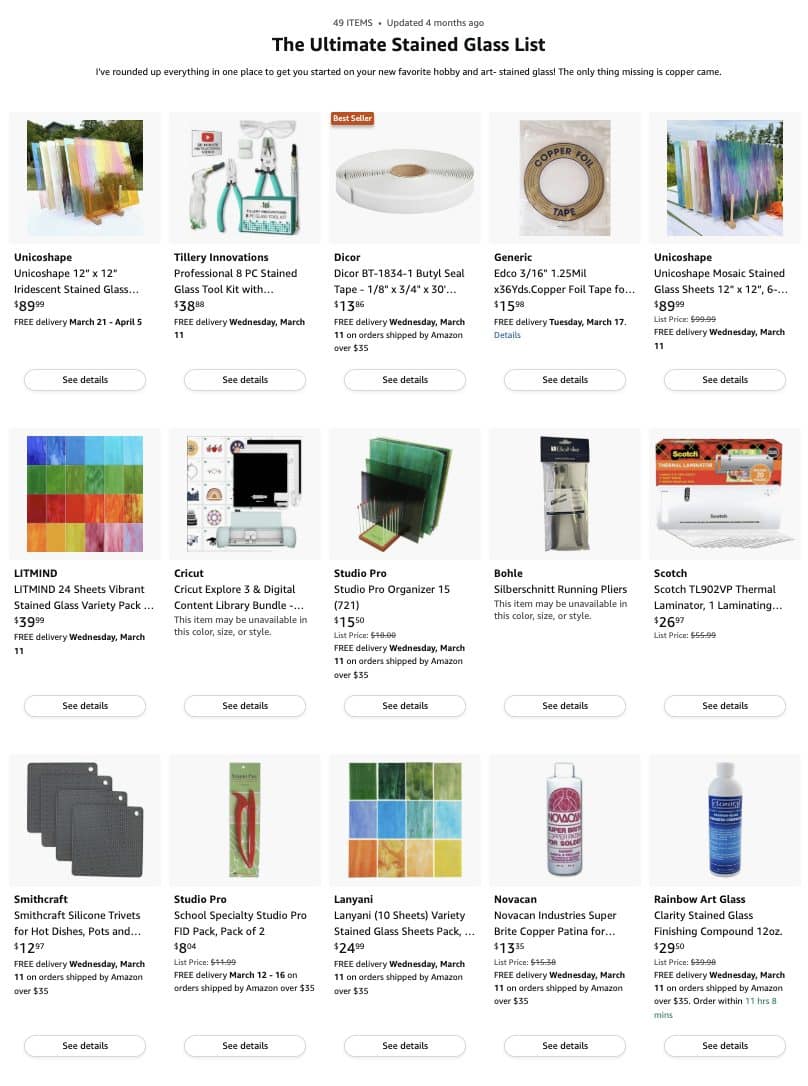
Pssst… we literally have everything here in Amazon minus the copper came! Be sure to check it out.

2. The Stained Glass Guide: Additional Resources
See our entire series here, in one complete place. But here are more resources.
I would also recommend joining some Facebook groups because those have been the places where I’ve discovered some of the best additions to my own practice, as well as great problem-solving techniques amongst fellow artisans. Here are a few resources that I love:
• Stained Glass Tips + Techniques
• Stained Glass Beginners
• Stained Glass: Work Smarter Not Harder
• Patterns – a great space for inspiration, sources + more.
• Cricut + Stained glass – I explain this in the post below, but this is a great resource for Cricut users.
• There are also some great Reddit feeds out there.
And… since we’re on the topic of resources and inspiration, check out 15 stained-glass artists to follow now! When you’re new, it’s just smart to observe and glean wherever you can. Basically, I’d look at stained glass feeds all day if I could… {much to my family’s chagrin.}
3. The Stained Glass Guide: The Basics of Stained Glass
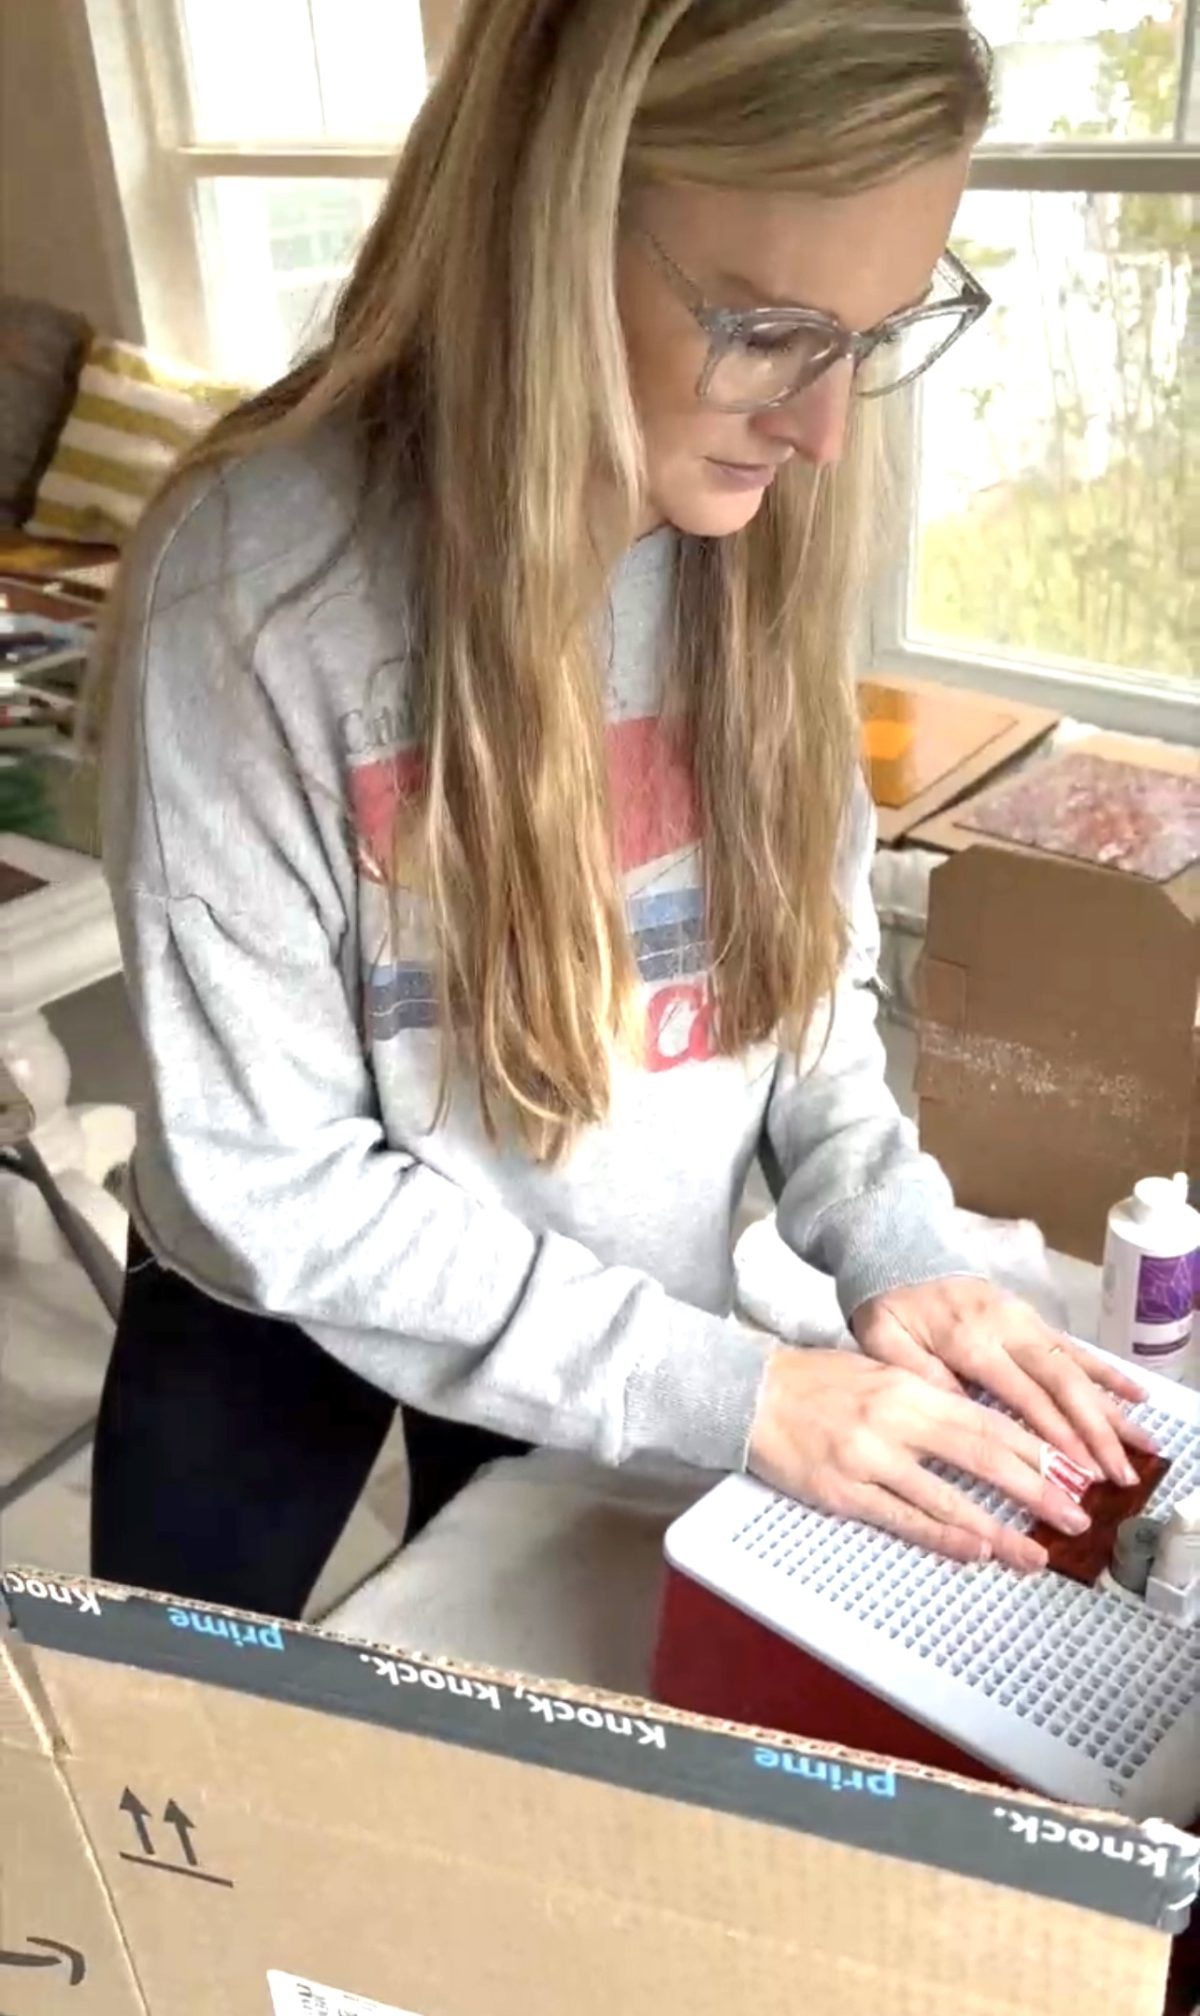
This is a post where I outline the entire process, share some great sources, and just really dive into the basics. This should give you a good idea, from tips and tricks to implementation and taking it all on. Planning, cutting, grinding, and foiling… we’ve got it all here.
This is a great post to refer back to as a technical guide when I share the patterns I’ve cooked up.
So, with those two major posts and points out of the way, I’d say it’s really all about doing your homework and then just diving in. The learning curve is huge, and the process is really fun. I think I’m ready to learn about the next version when I can dedicate some time to it, and working with lead came.
You can dive in with some of my more basic patterns below.
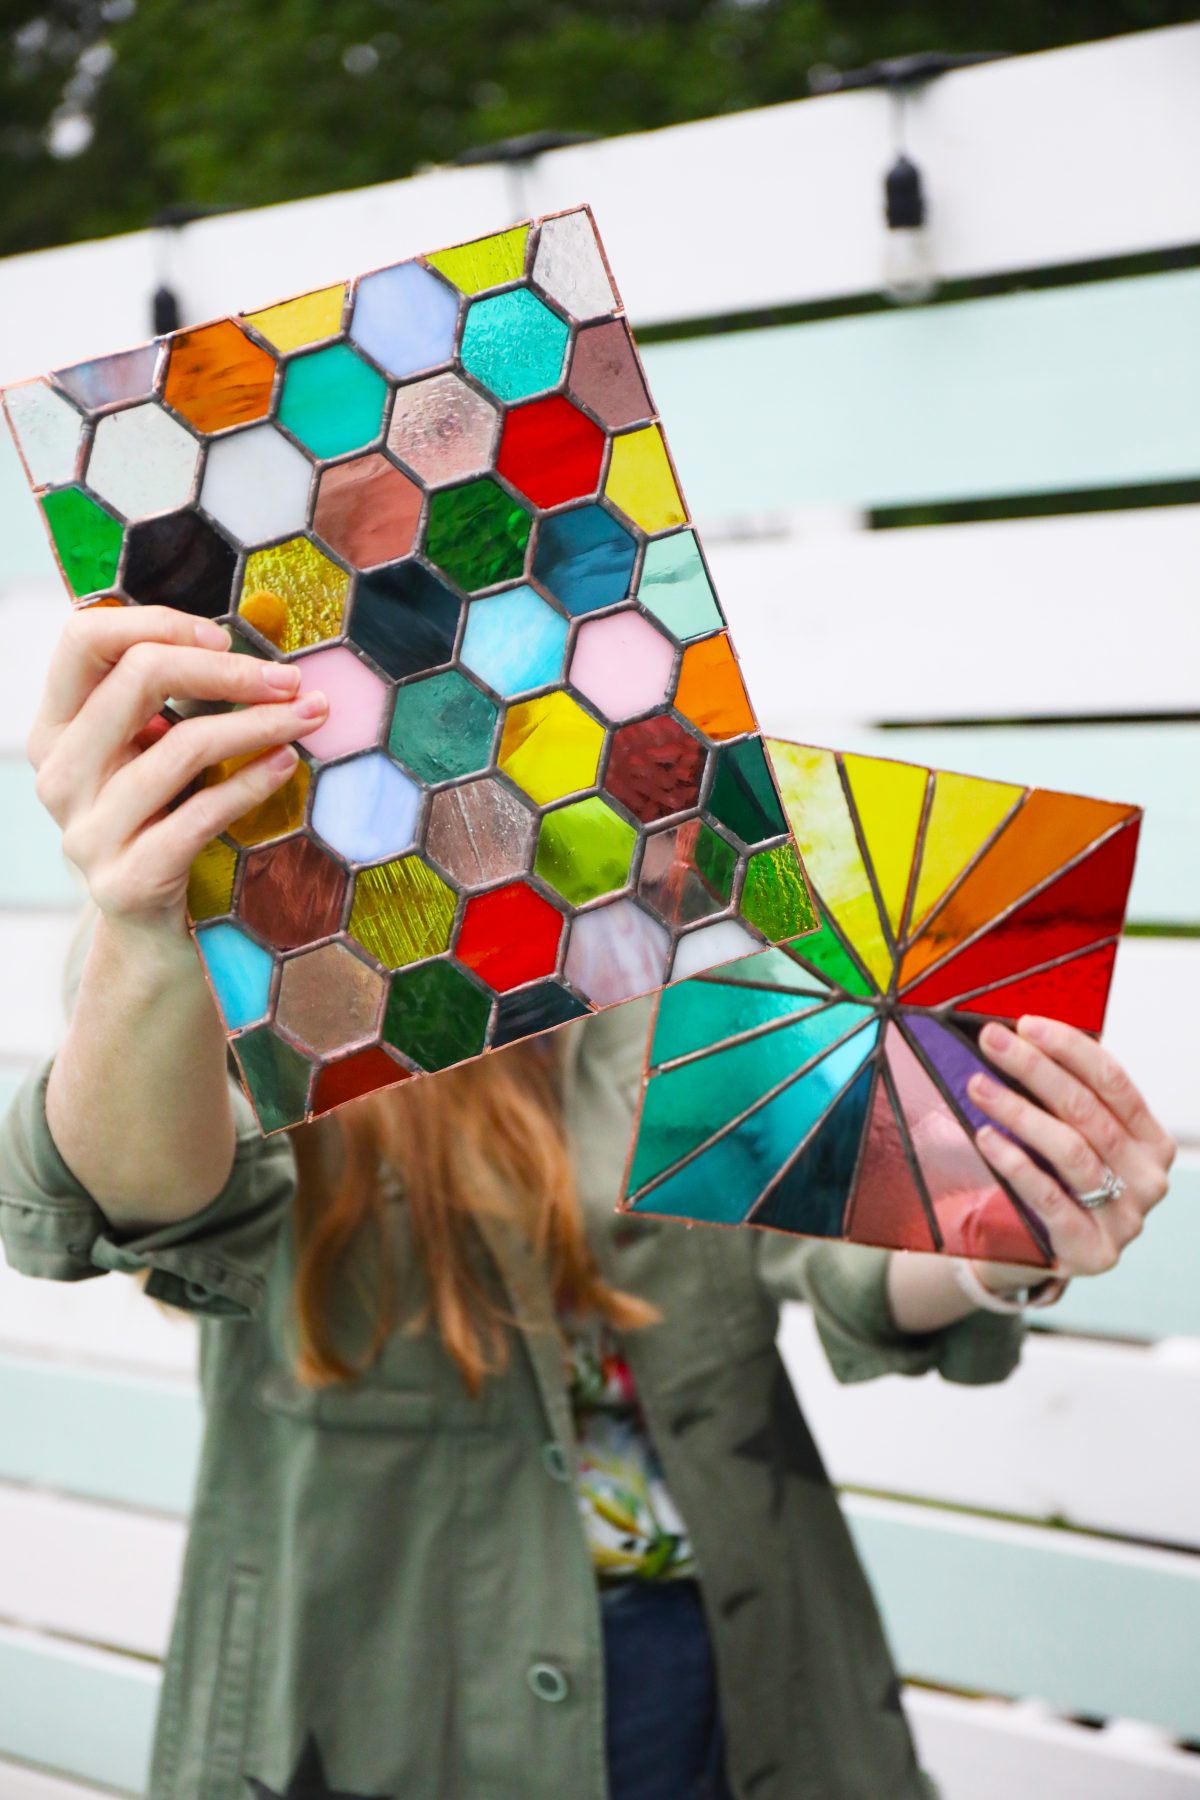
4. The Stained Glass Guide: Easy Patterns to Start
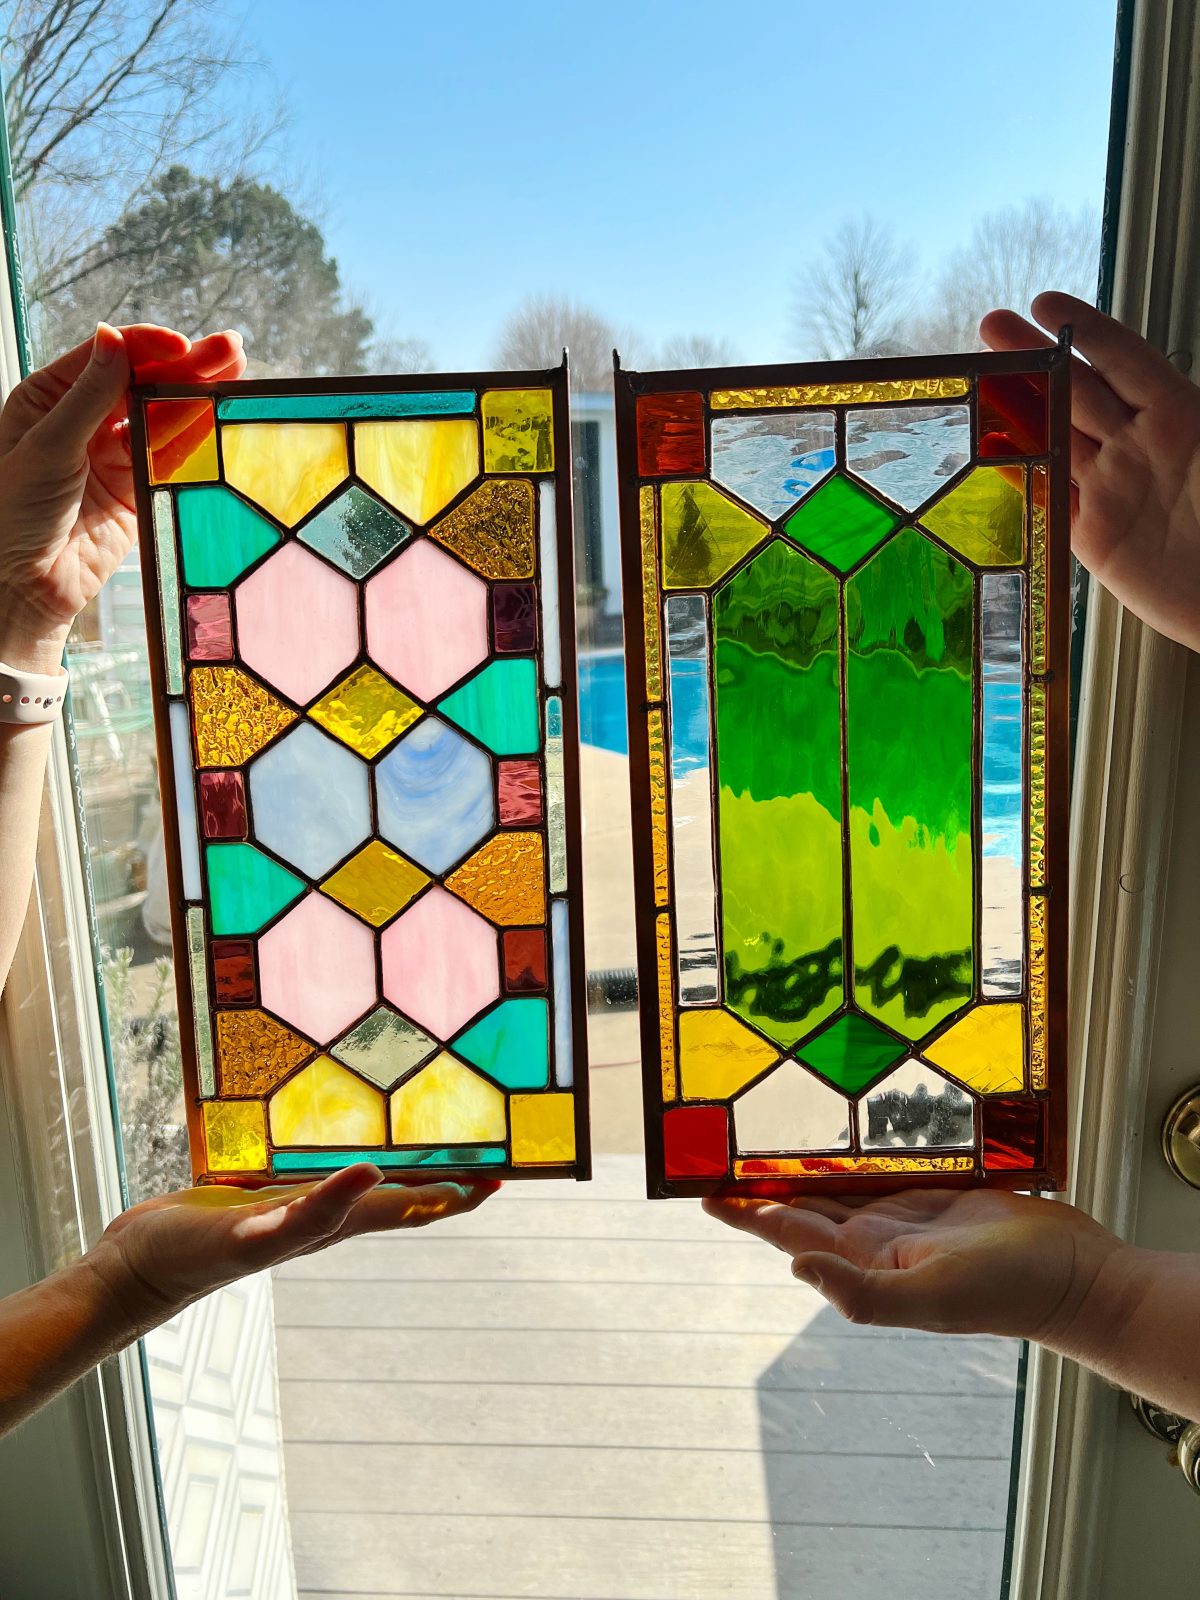
So, want to dive in with a basic pattern? These are two fairly repetitive ones with simple shapes. I think when trying it for the first time, it is all about getting used to the process. It helps to have something to practice with.
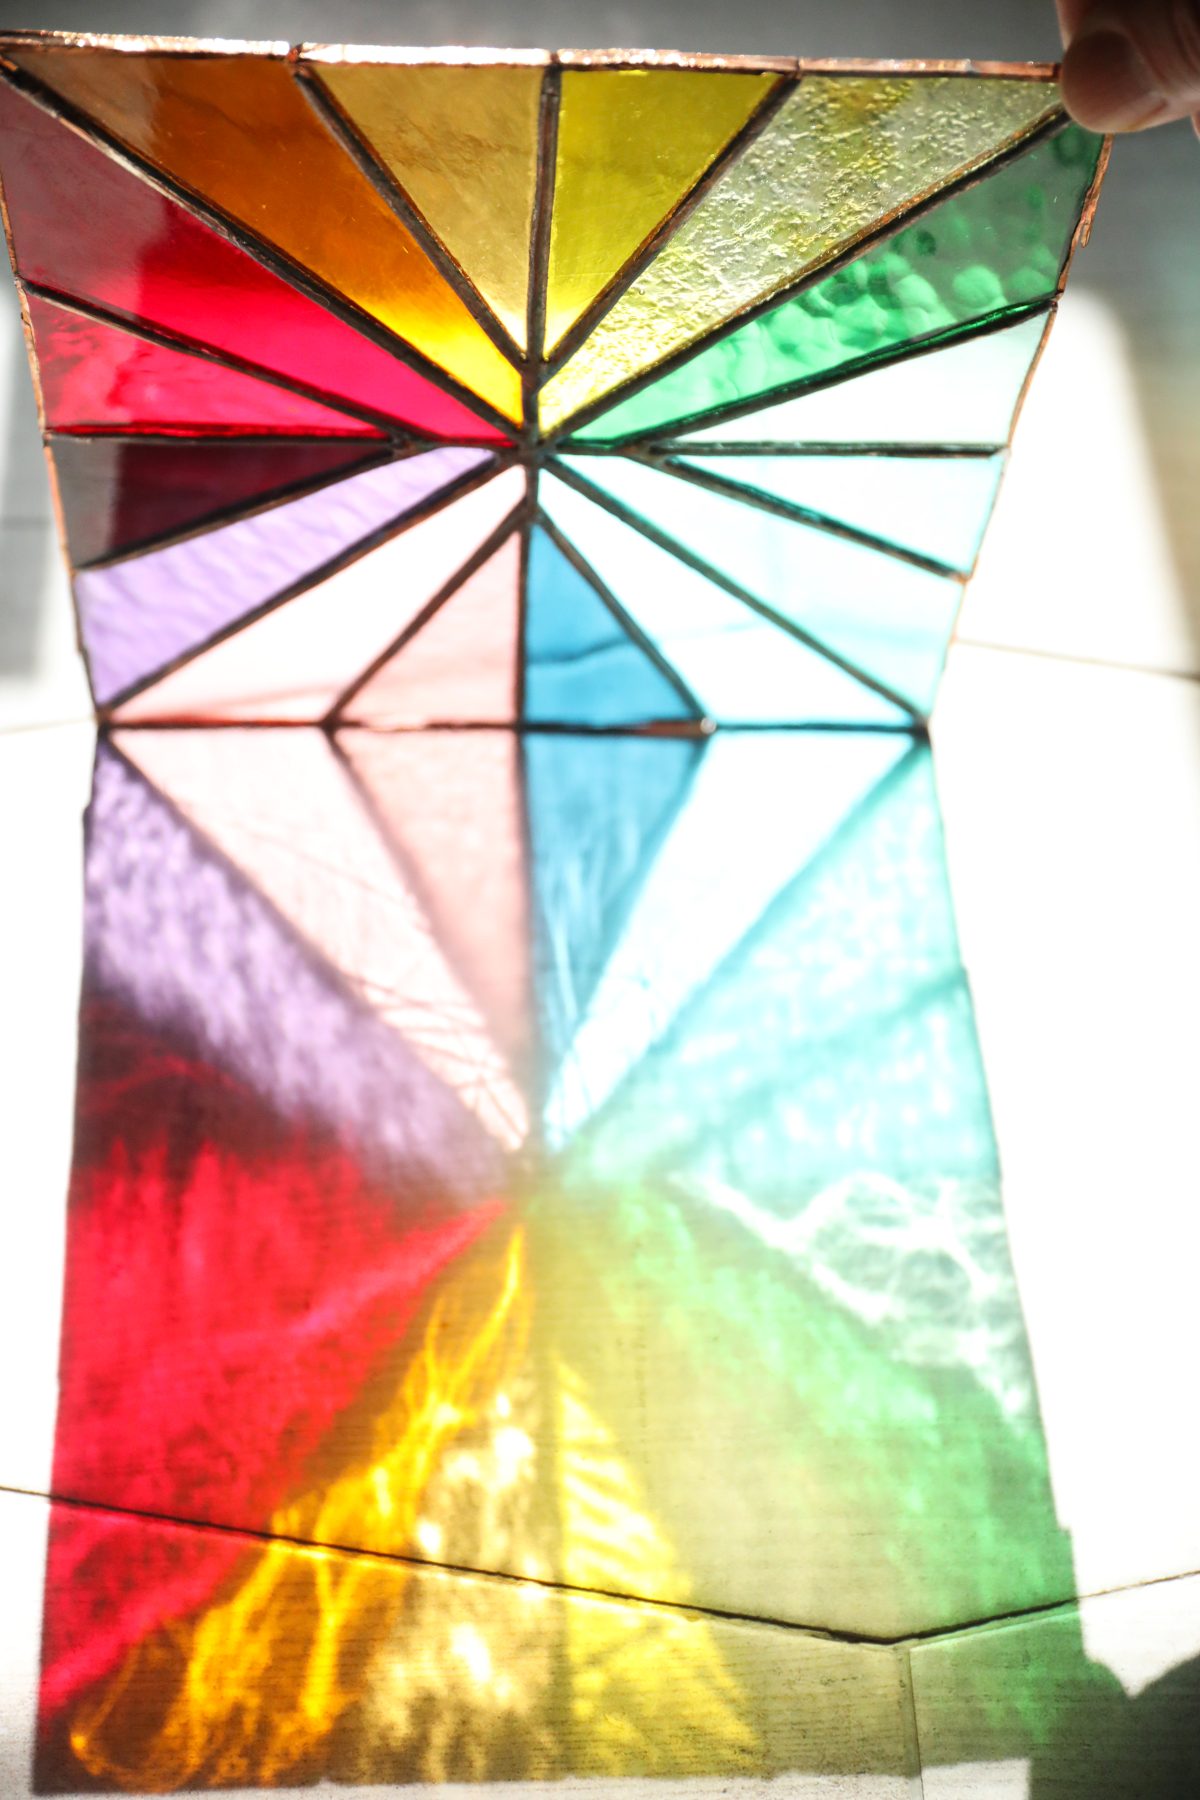
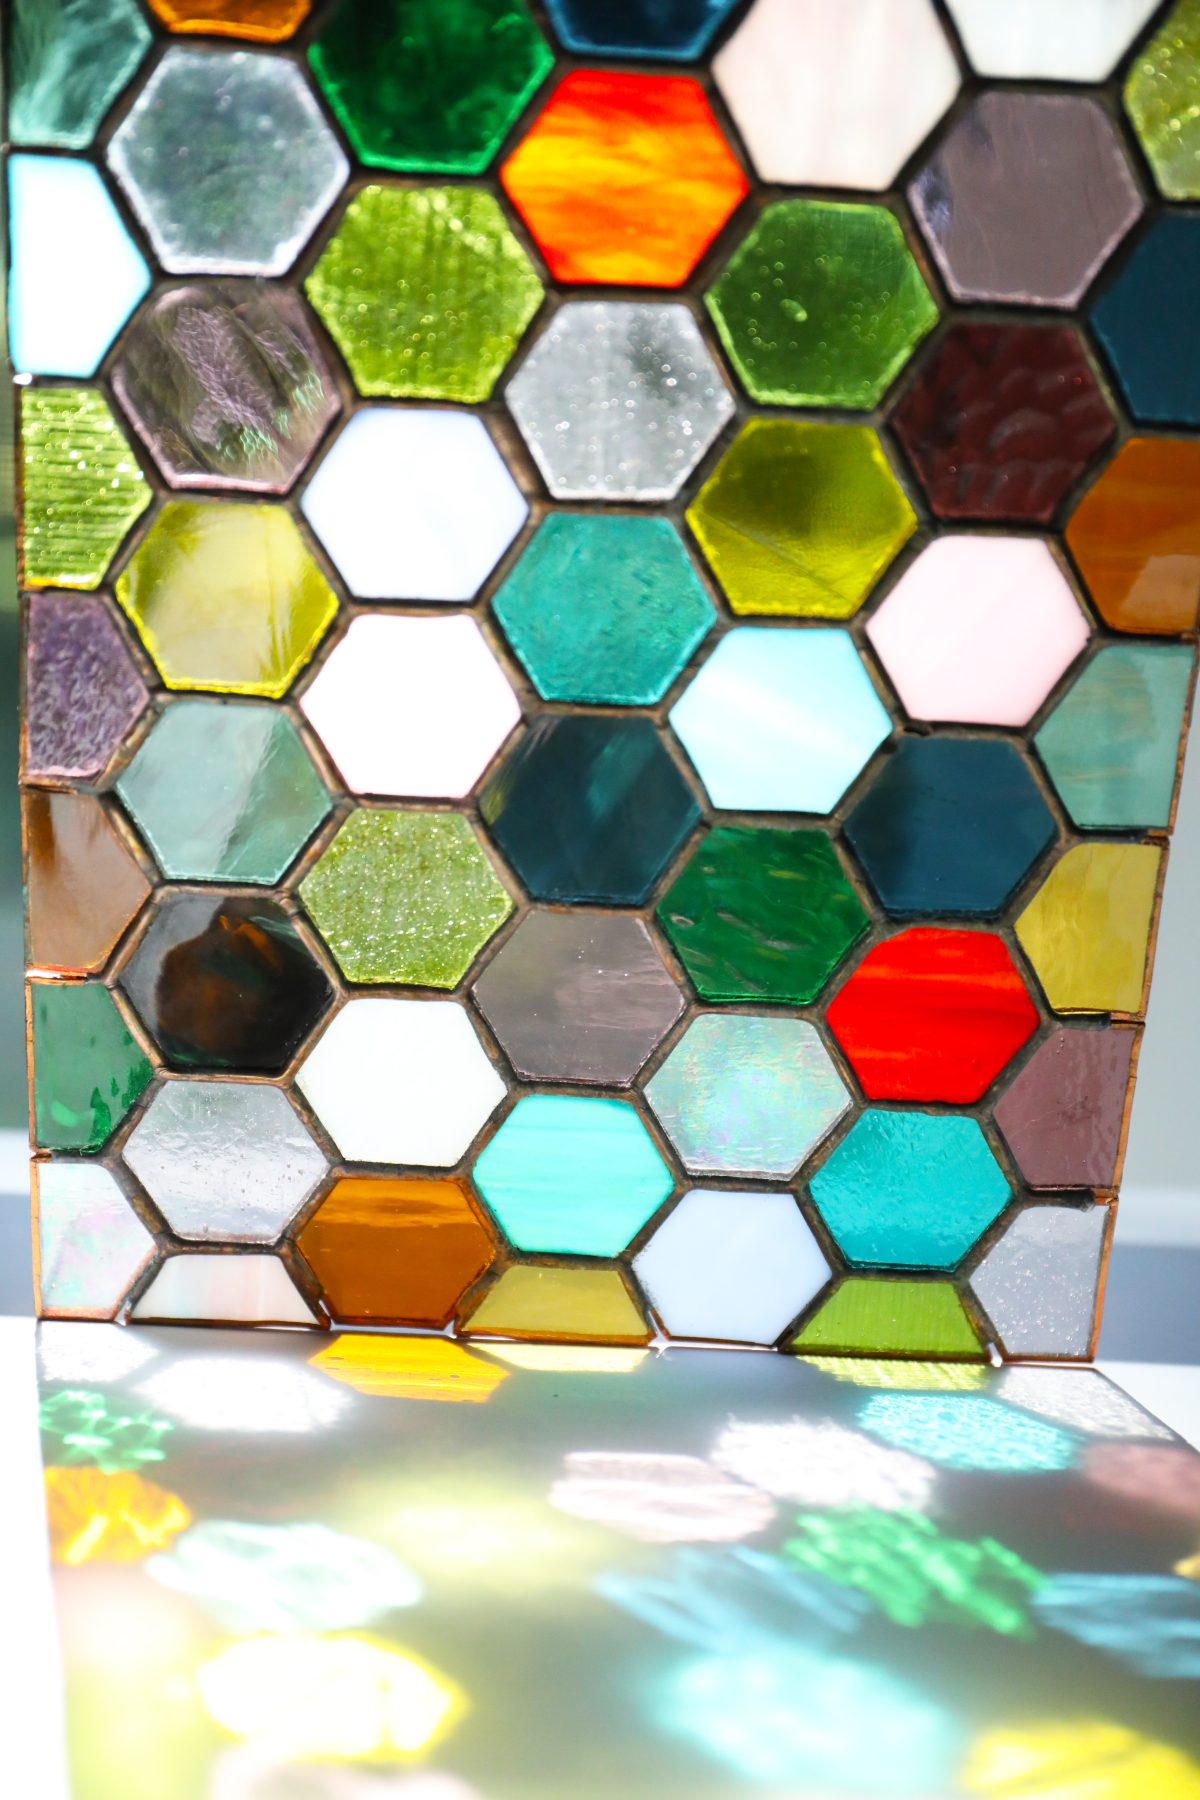
1. Basic Patterns: This pinwheel pattern is more basic, and the honeycomb is probably a little more tedious. You can always adjust it and make it a smidge larger. Again, just follow the basic outline in each post and refer back to the post above. You’ve got this – and happy creating!
5. The Stained Glass Guide: More to Try
So, from there, and from the new skills you pick up on that giant learning curve, we’d recommend trying these as well!
• Star Ornaments: These stained glass star ornaments {and sun catchers!} work for any time of year, if you ask us.
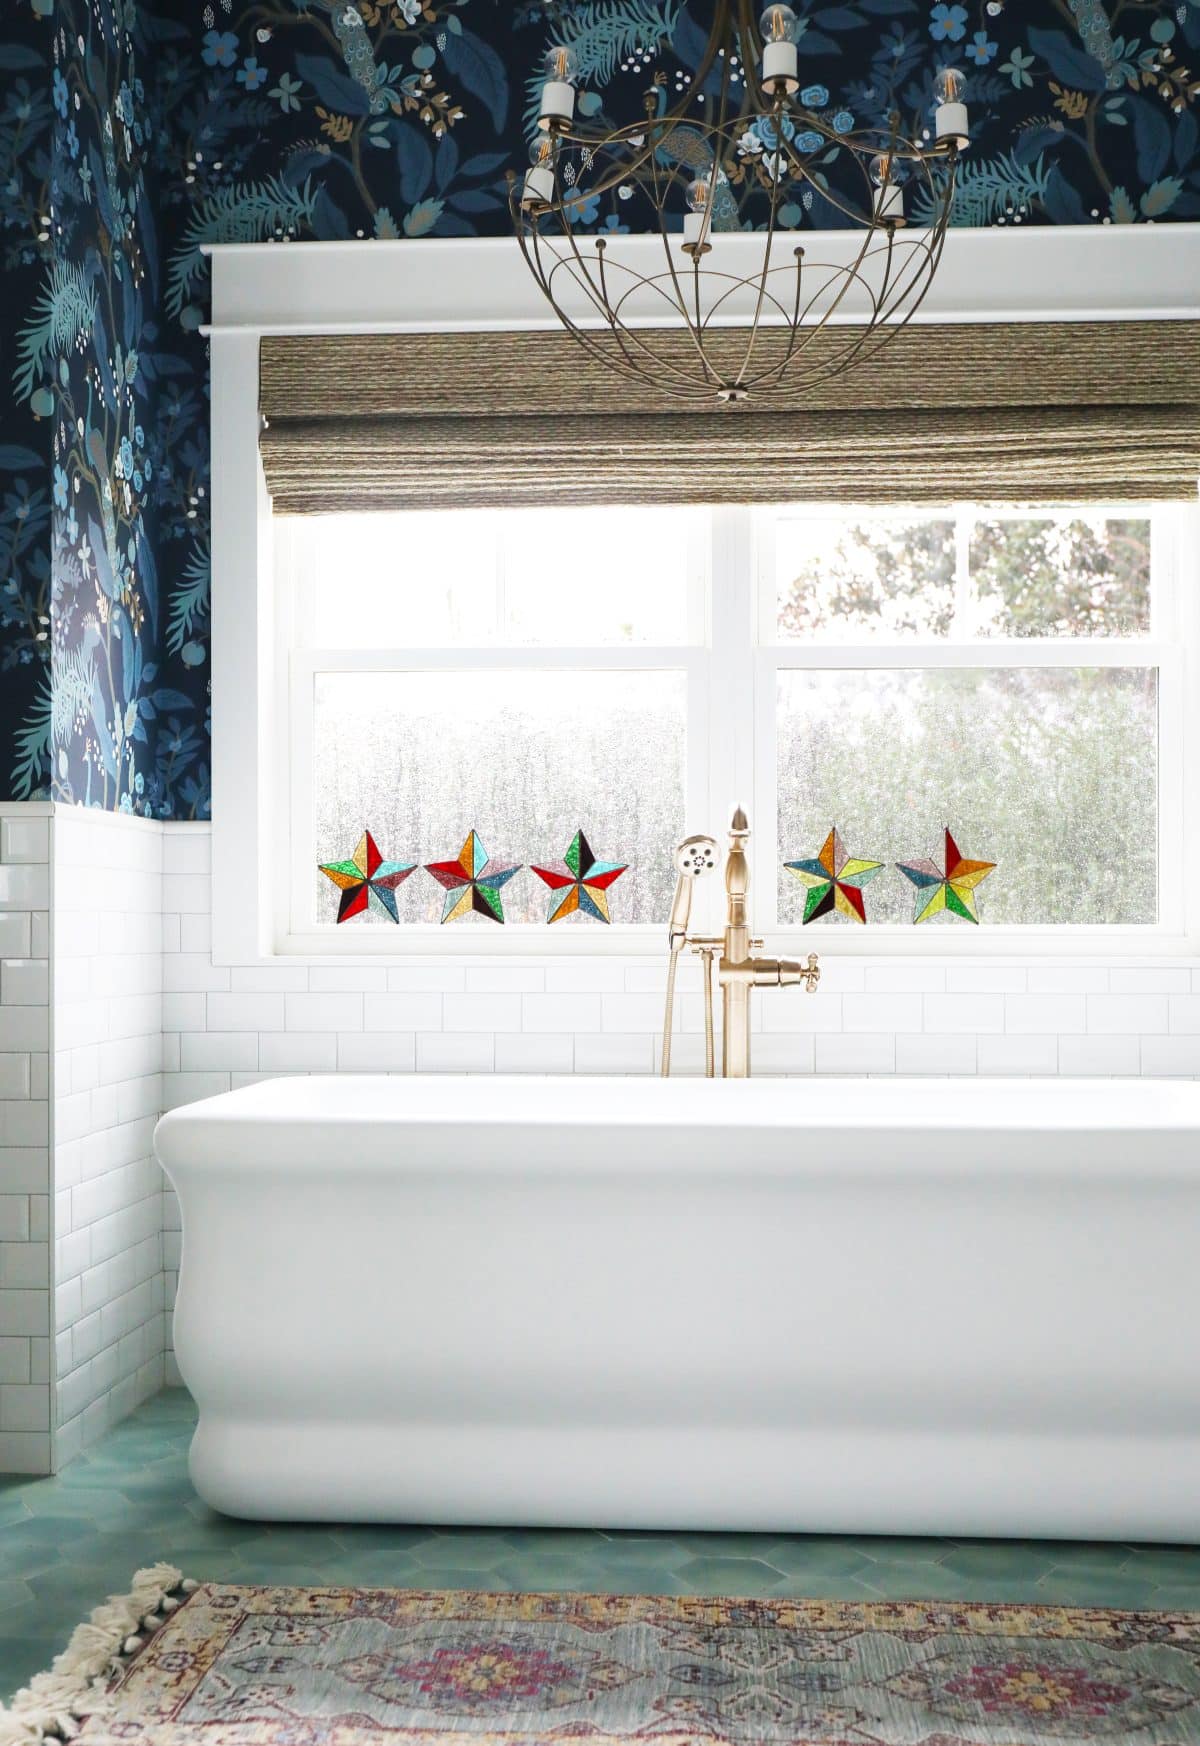
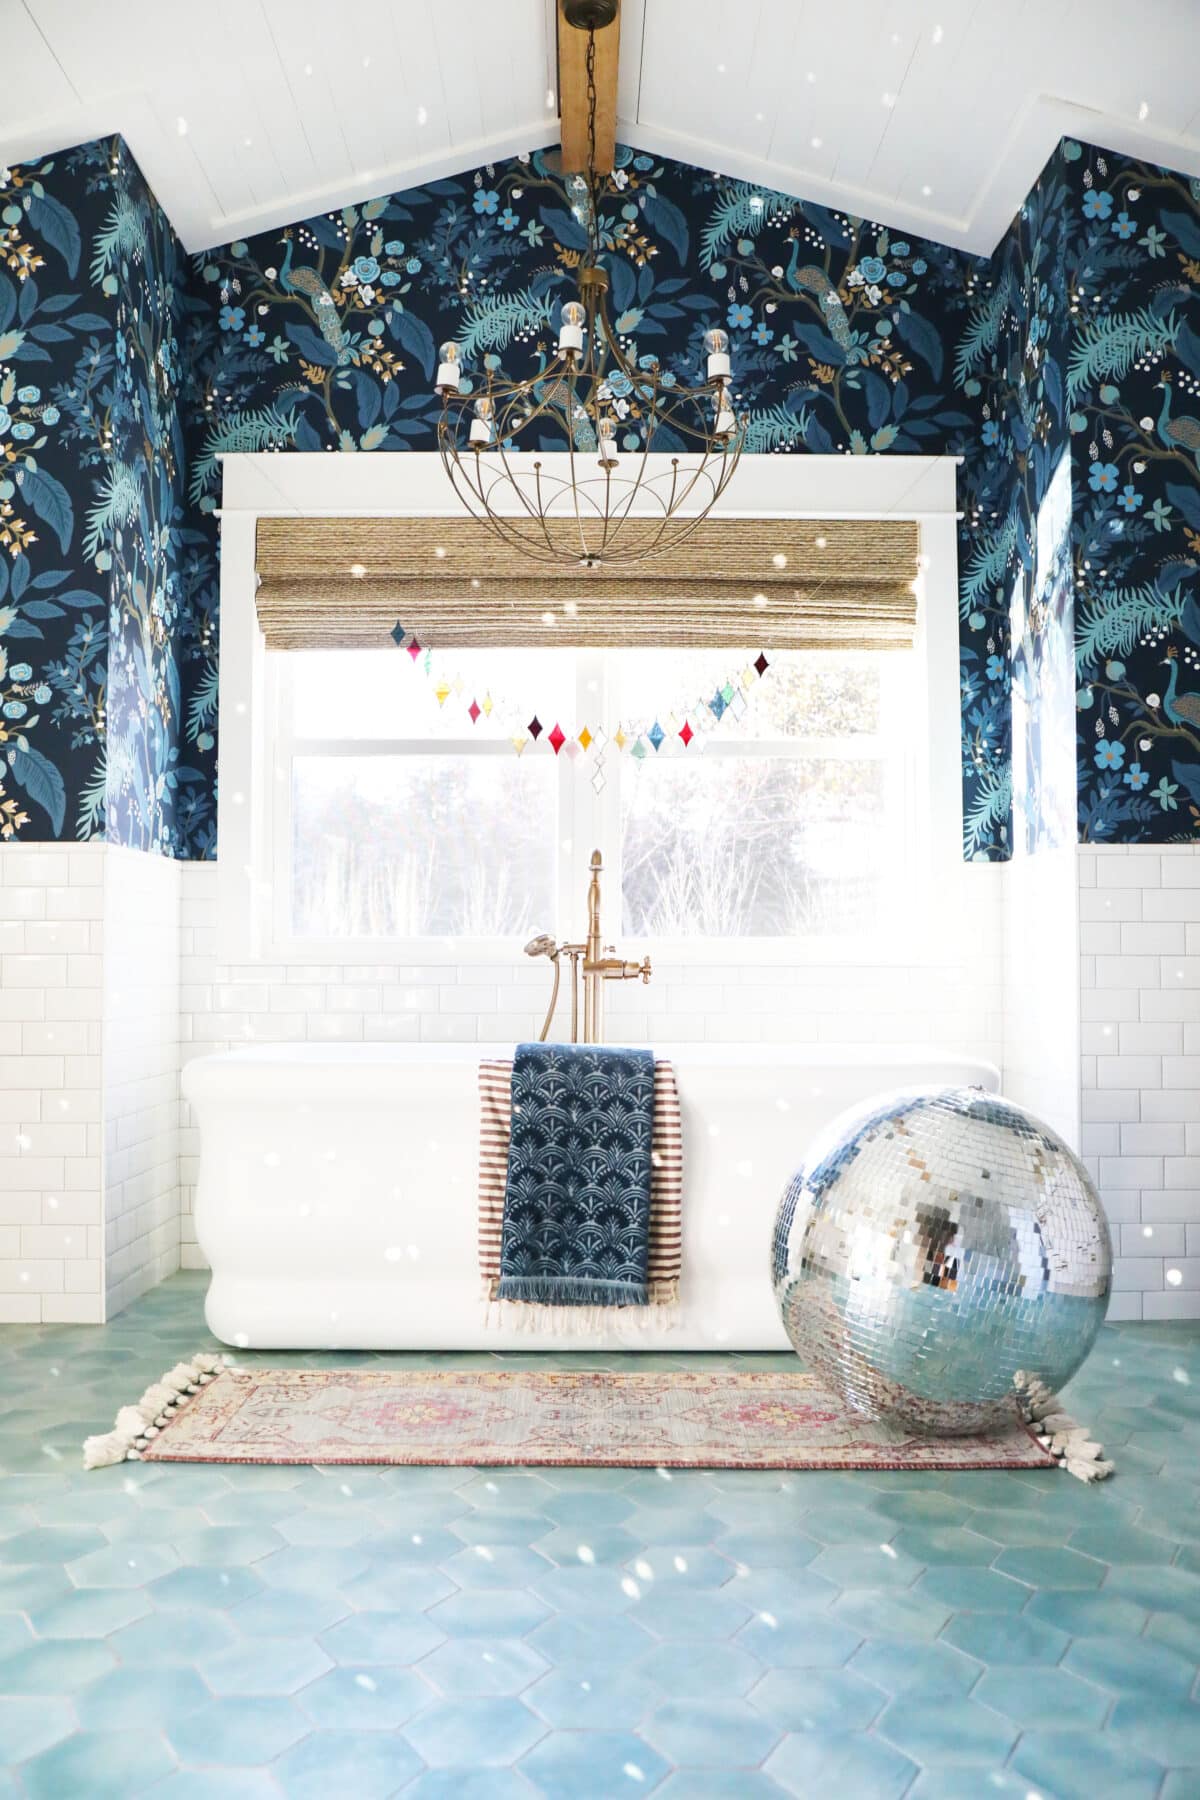
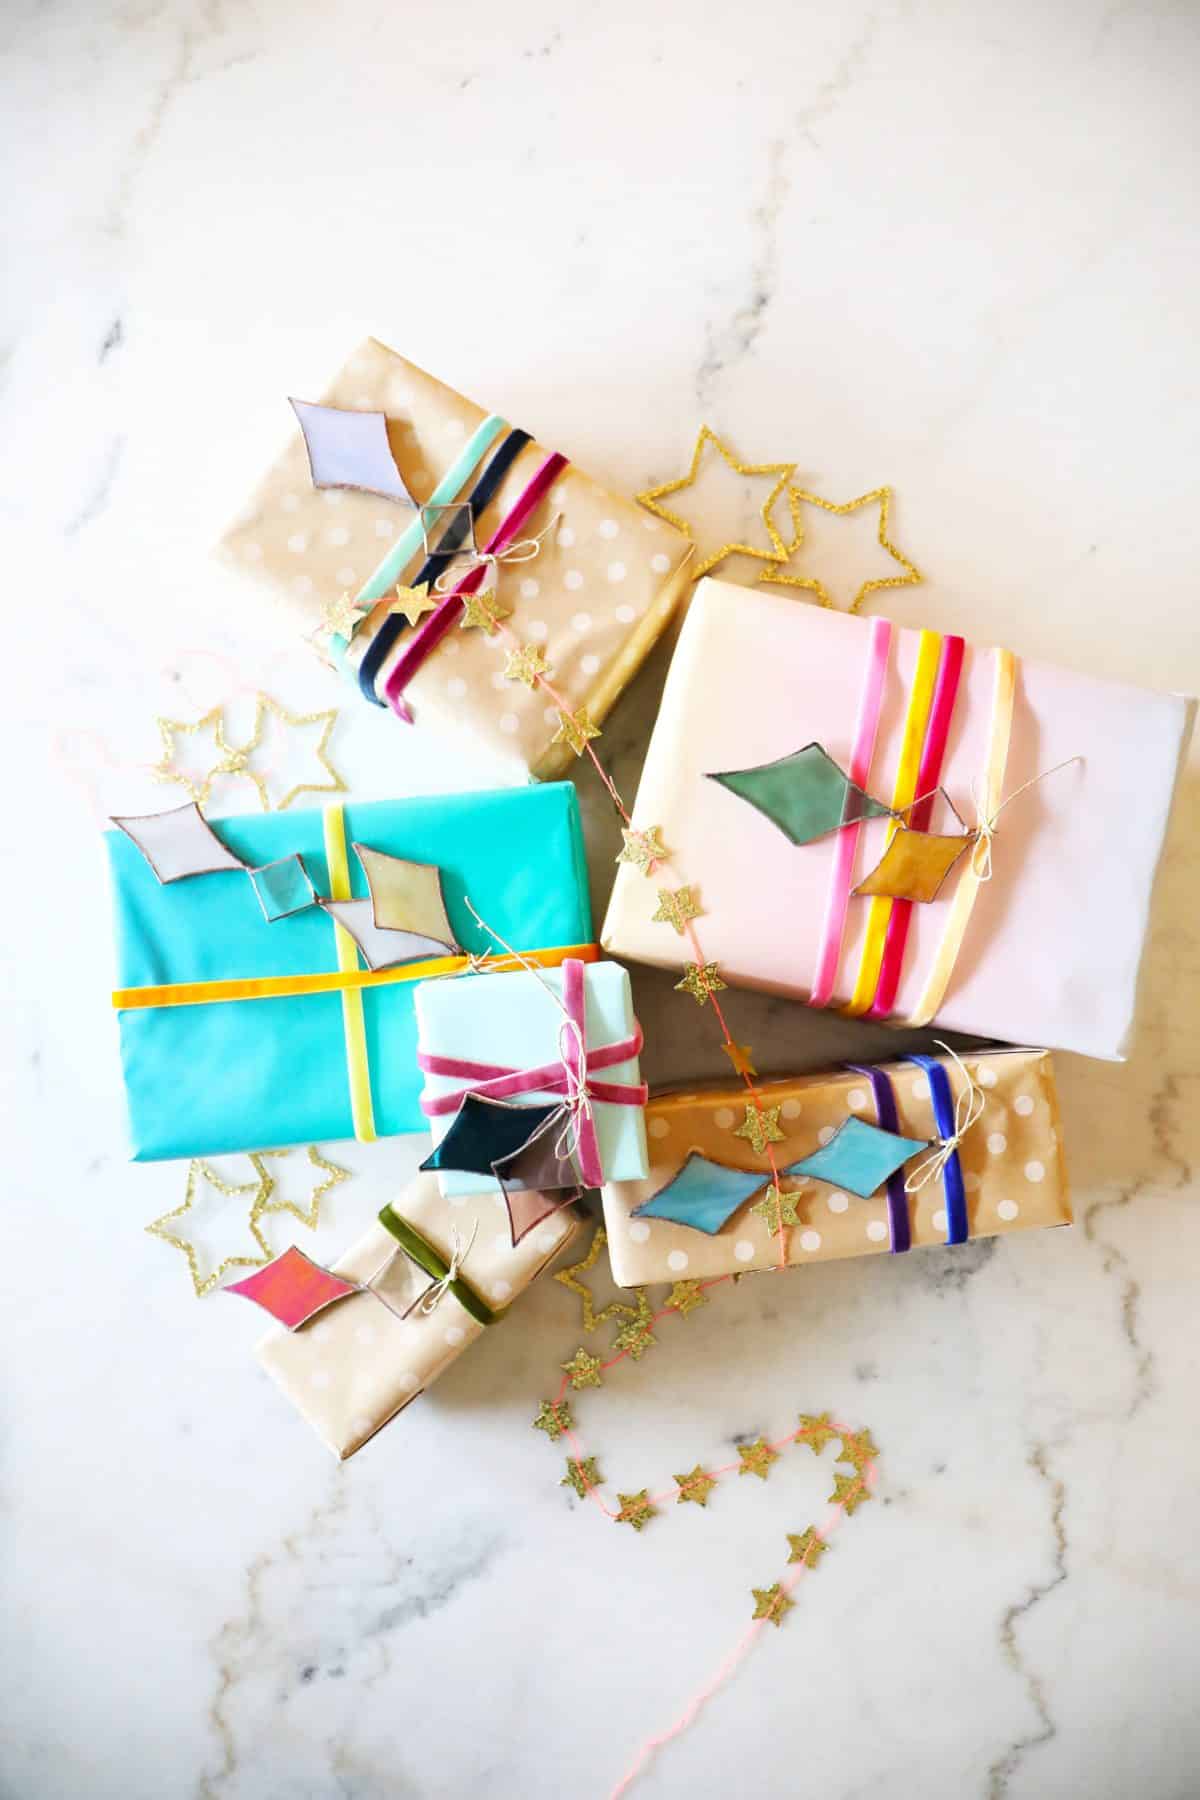
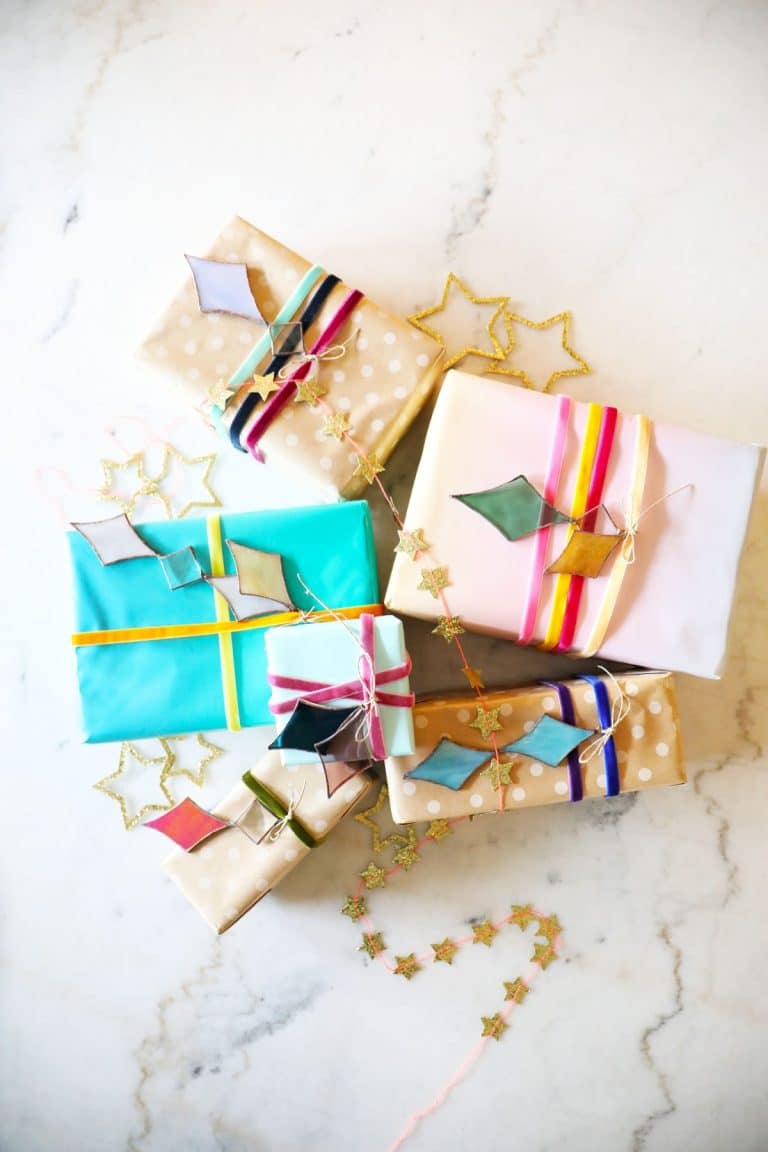
• Stained glass sun catchers and gift toppers: are also great beginner projects. As you can see above, we repurposed them in our bath for a little happy window sparkle.
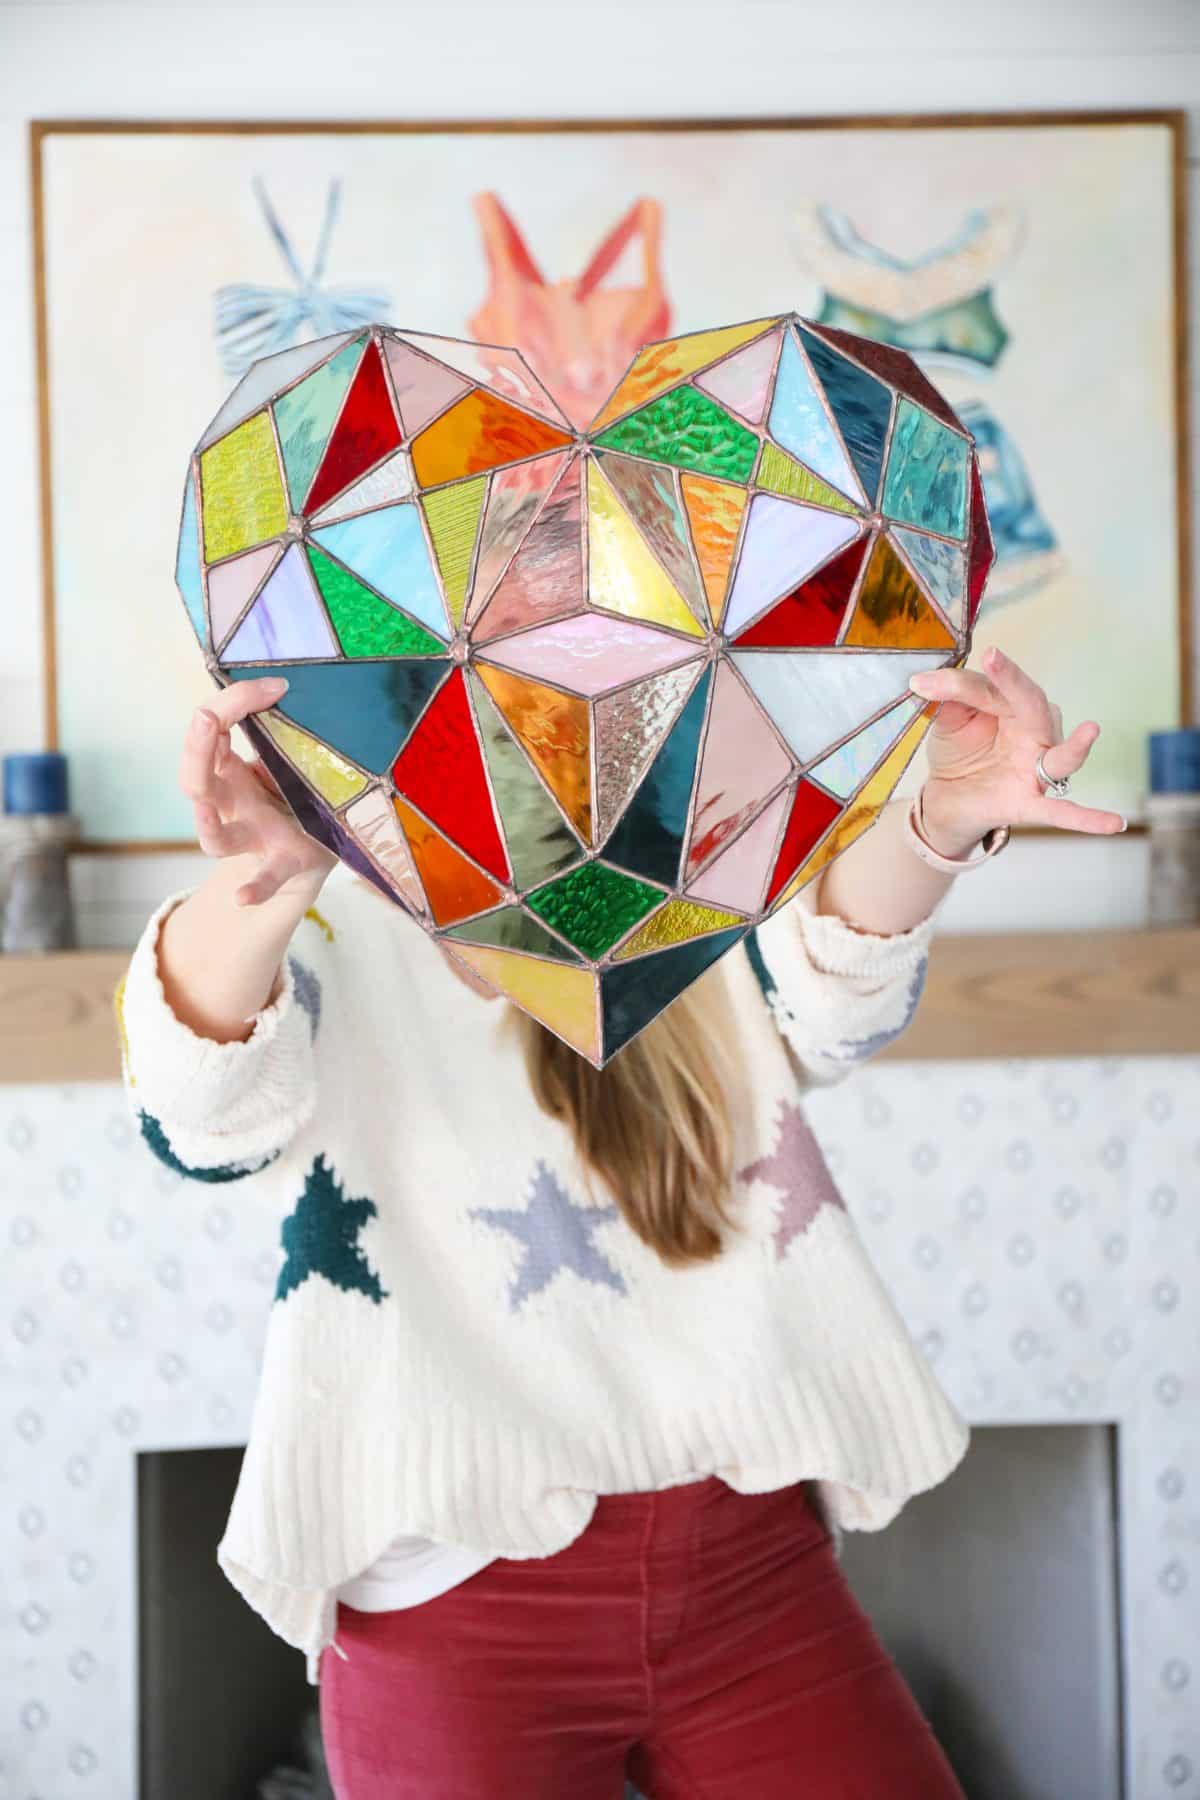
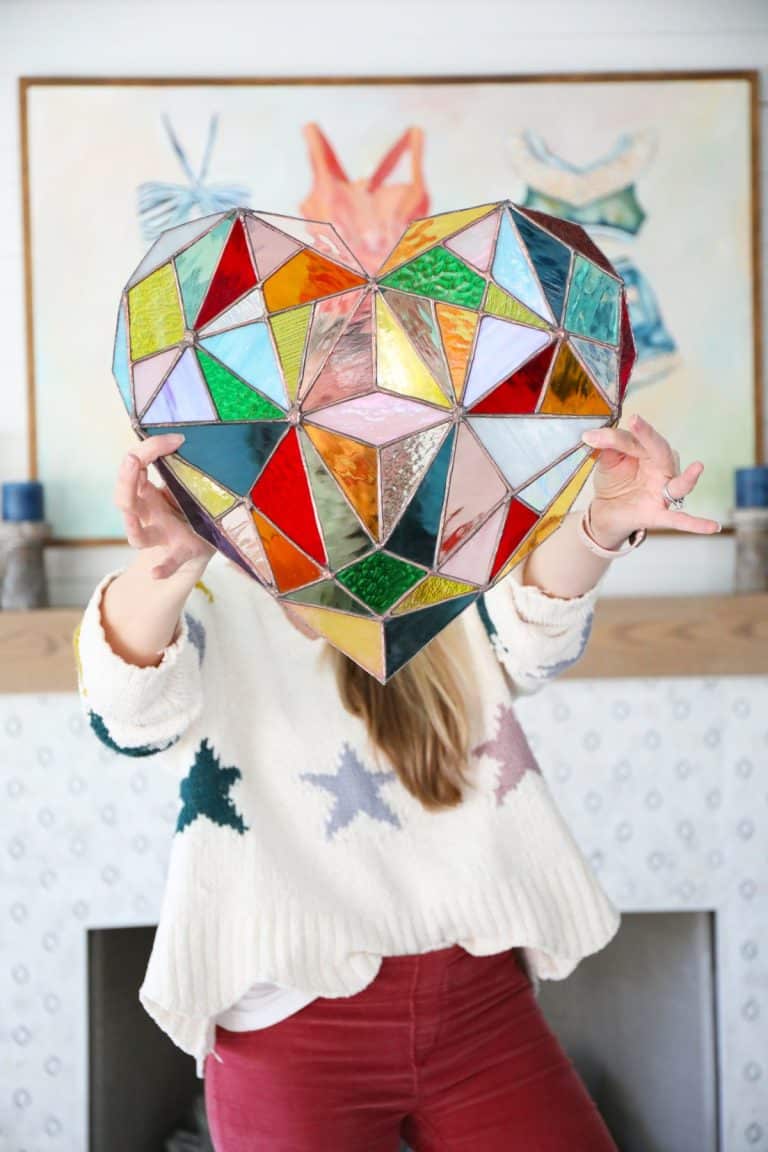
• Heart Pattern: This stained glass heart pattern is the perfect stash buster for all those little pieces you’ll inevitably leave behind – it’s probably one of my favorites.
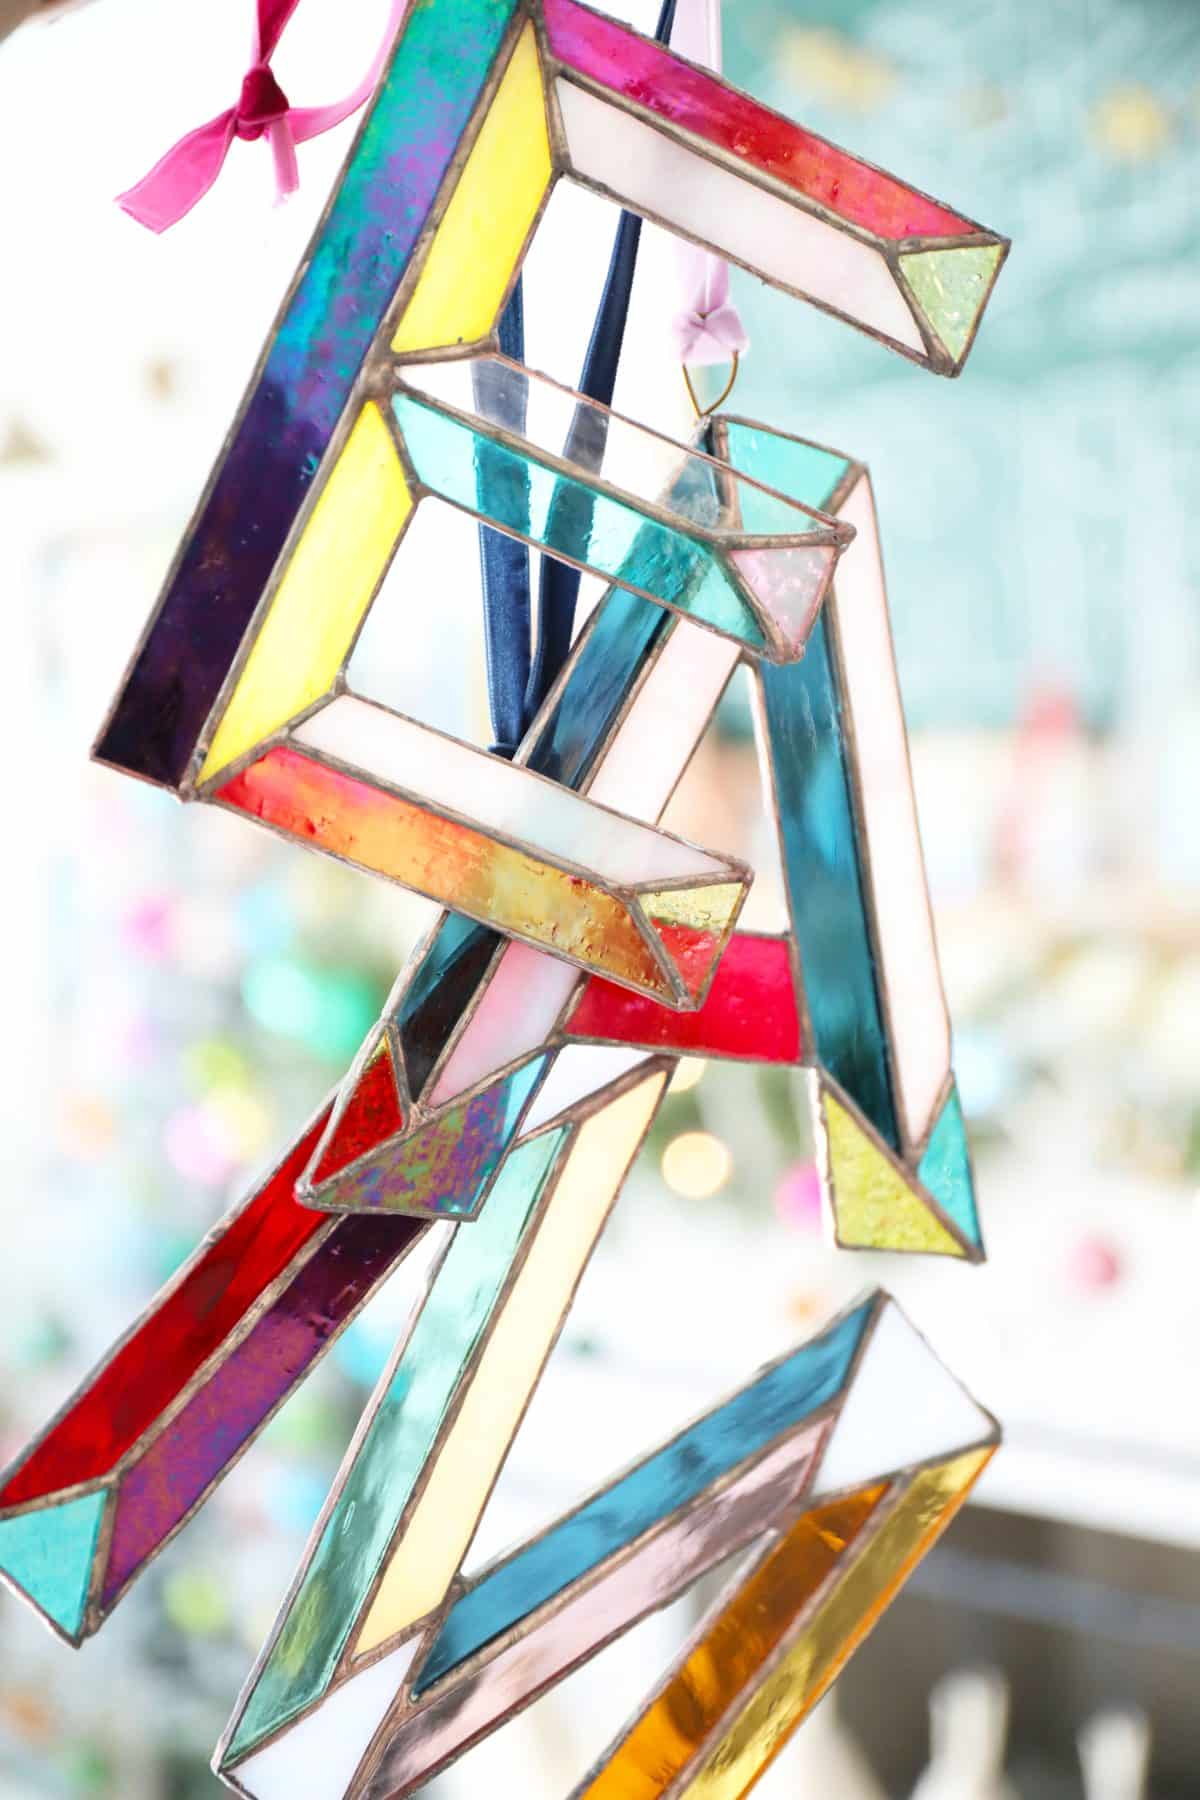
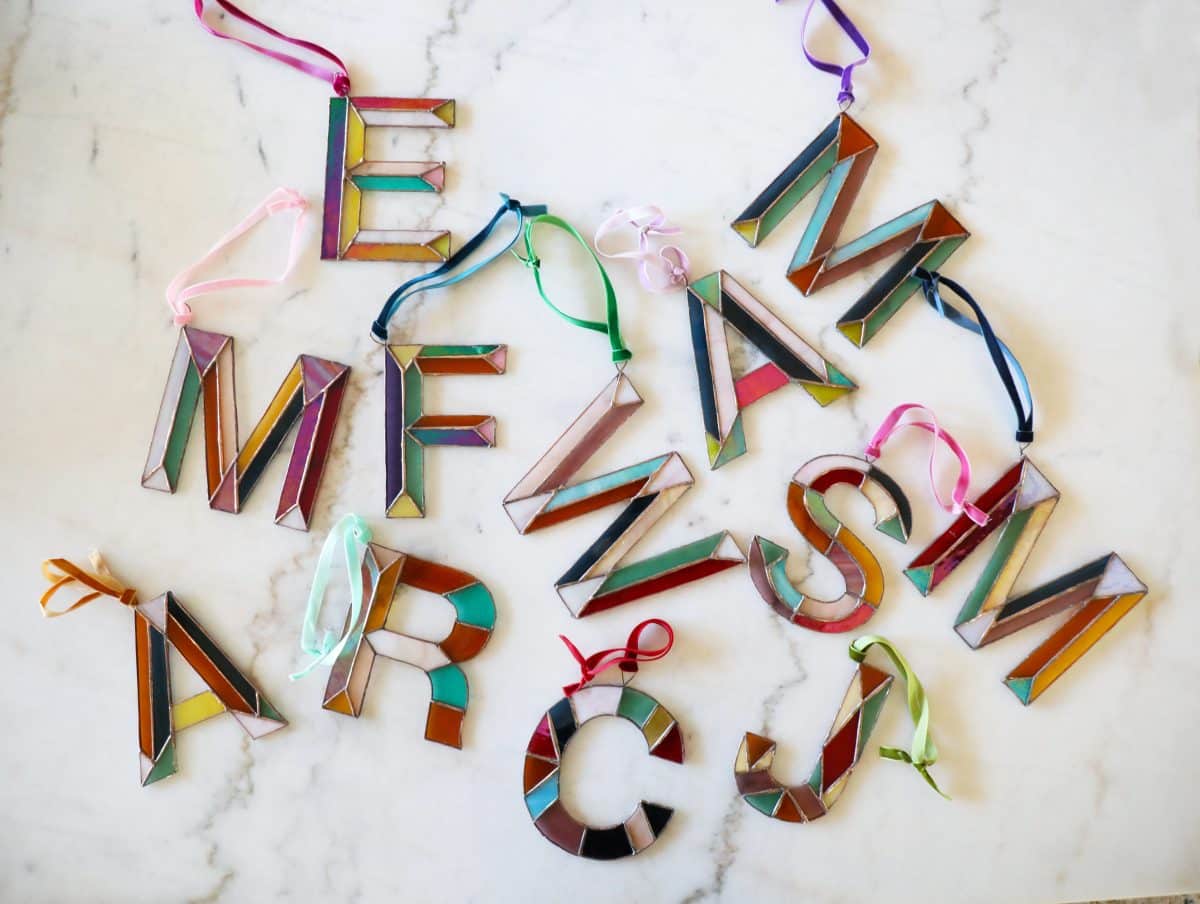
• Stained Glass Monograms: These monograms make the best gifts. These patterns are free for each letter! Use them at Christmas AND year-round.
• Outside the box: Bookends I made these for my daughter this fall – they’re so fun.

• Holidaisical: Because it’s never too early to plan for all things holidays – a little more advanced. These can really be altered with color for any time of year. Check out our angels here {a sweet gift idea!}


• And our trees, here. {Maybe my favorite one to date.}

6. The Stained Glass Guide: Larger Scale
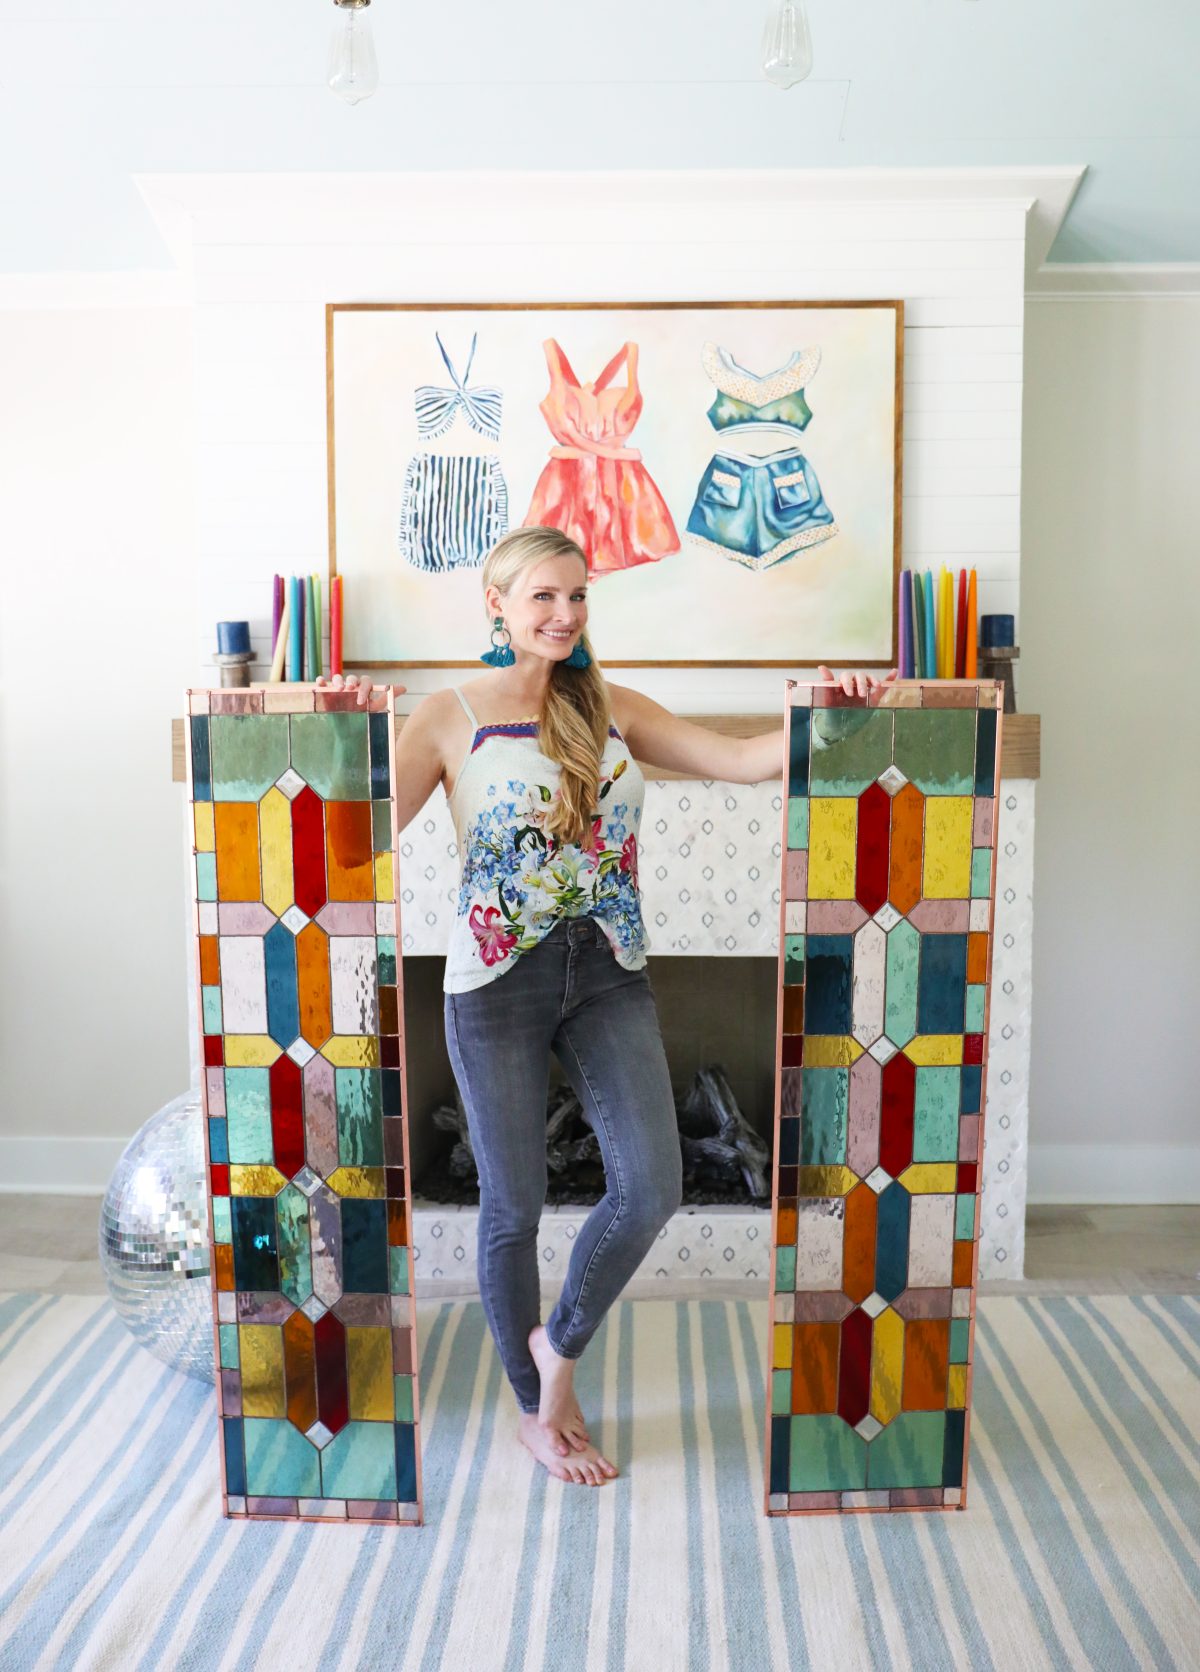
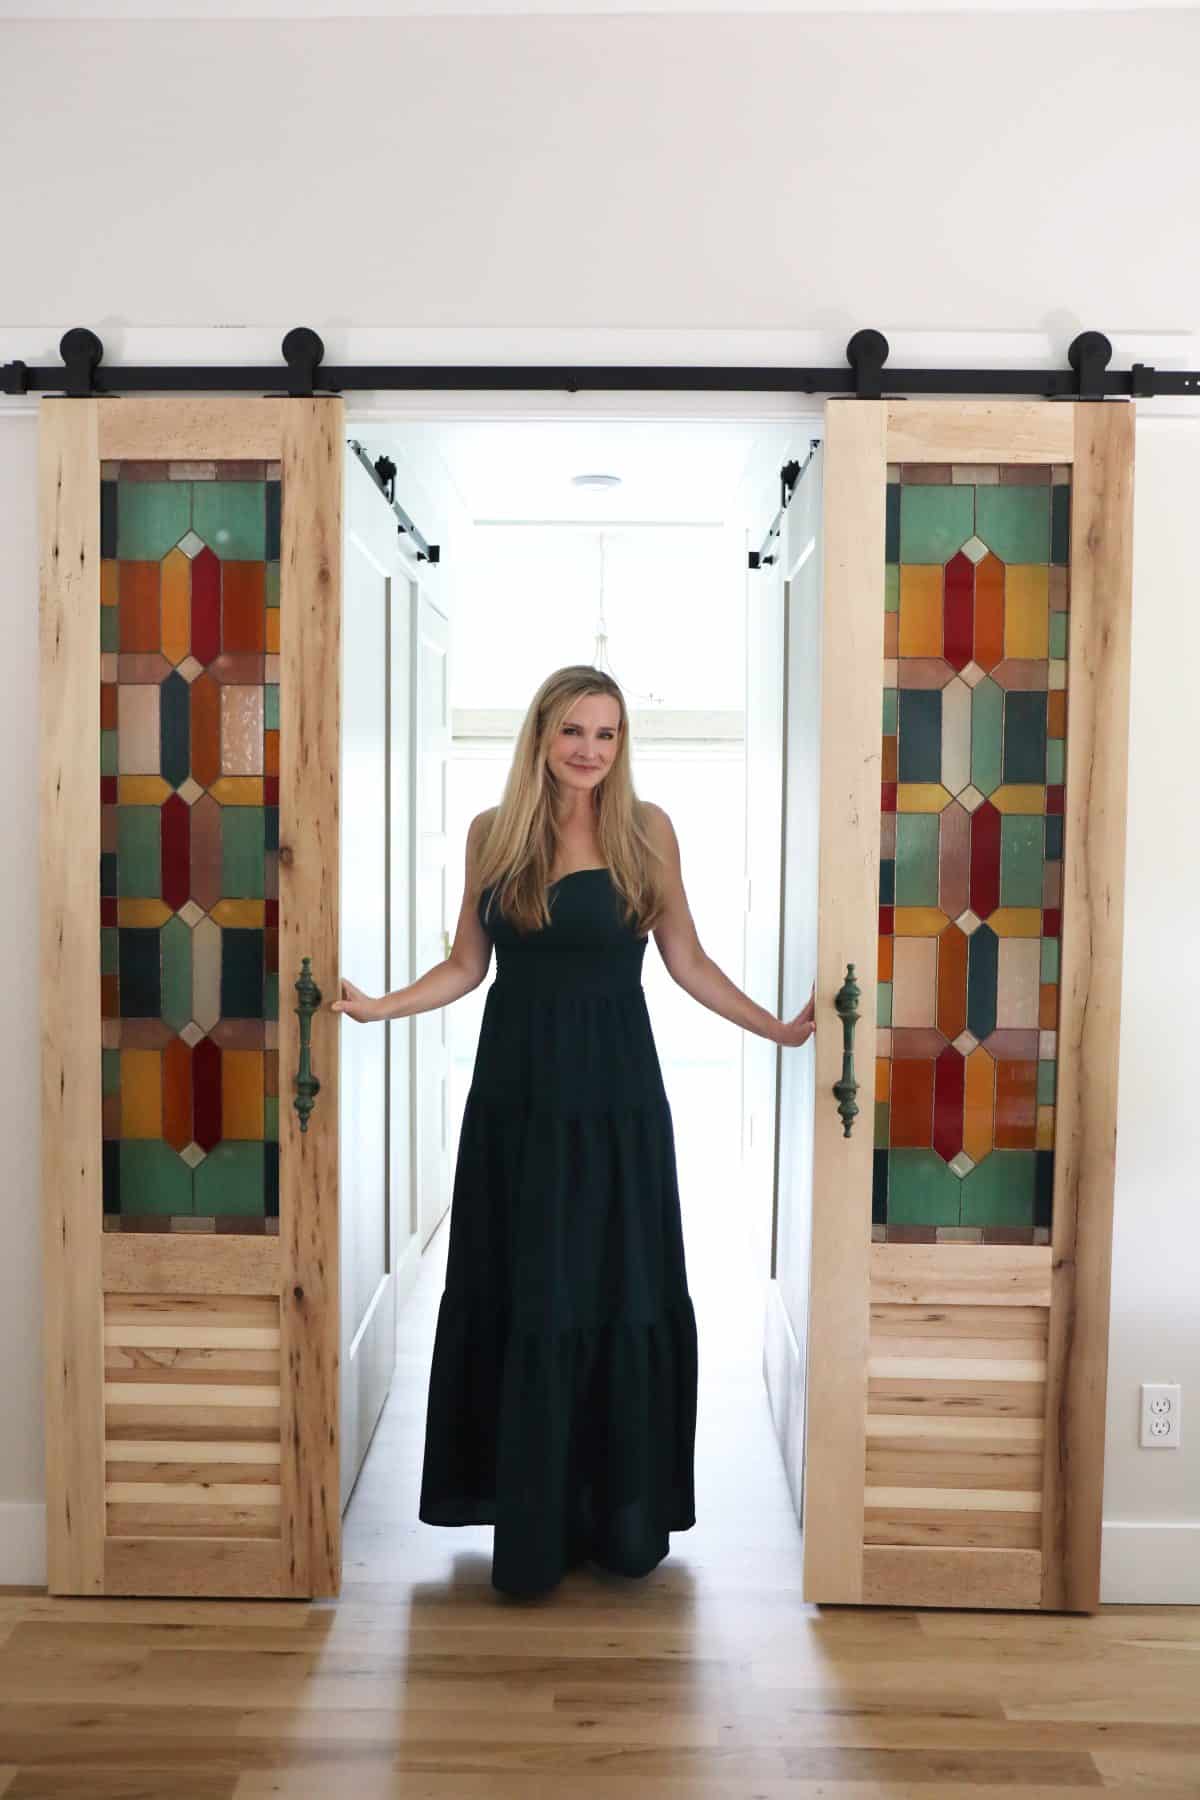
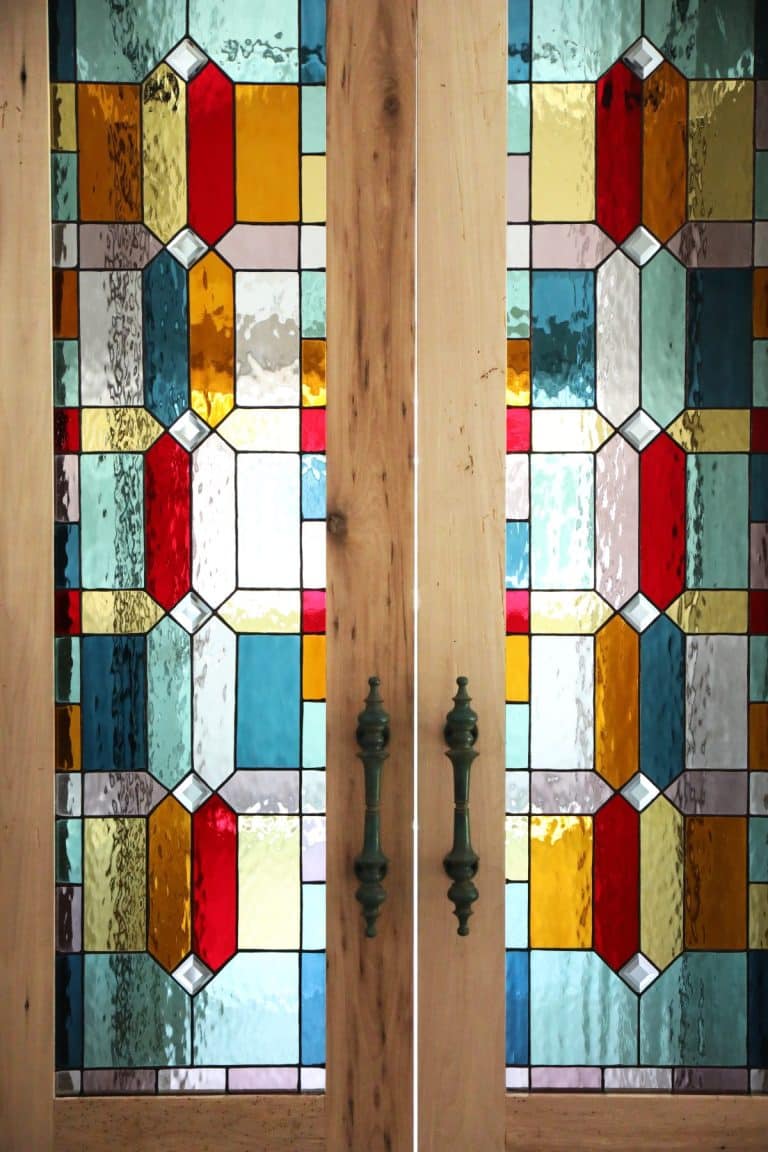
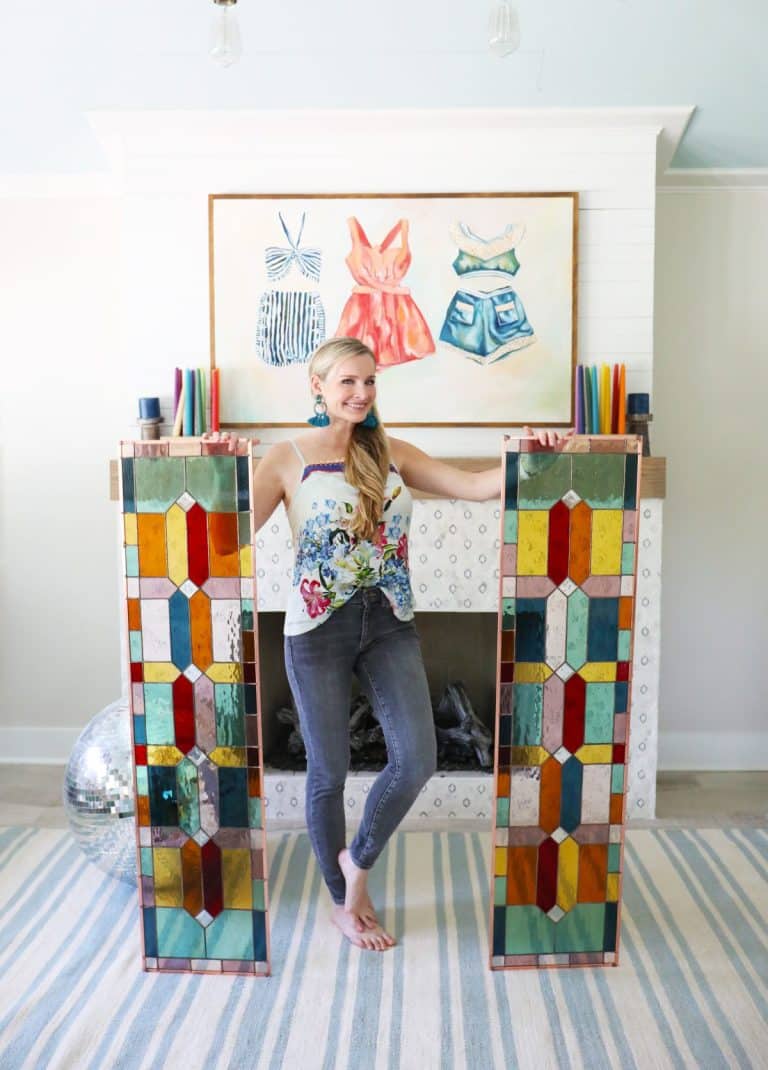
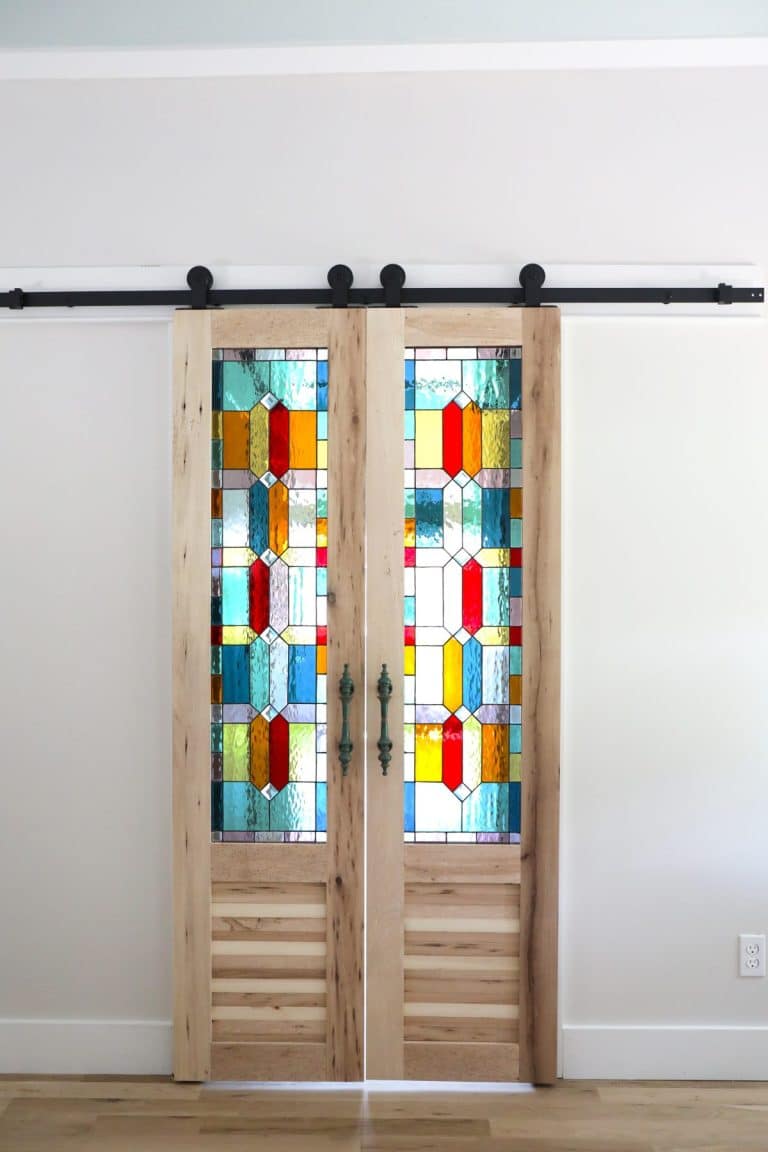
Going a little out of order because I tend to lose my mind like that, I’d tackled the smaller two projects above {honeycomb + pinwheel} when I was ready to take on something larger scale. I designed + made these windows {check out the pattern here!} To go in the doors leading into our primary bath as we built our addition. I had so much fun making these, and with the help of a friend, Jamin was able to build the doors to match. Be sure to check out all the details here. It really is fun to see where your imagination can take you with new skills.
7. The Stained Glass Guide: Saw Recommended
As you grow in your skills, you’ll realize you’re more willing to splurge on more of those fun supplies. I’d recommend a saw for these cuts, and I explain it in the posts. Again, be sure to check out our entire list here + I go more into detail here.
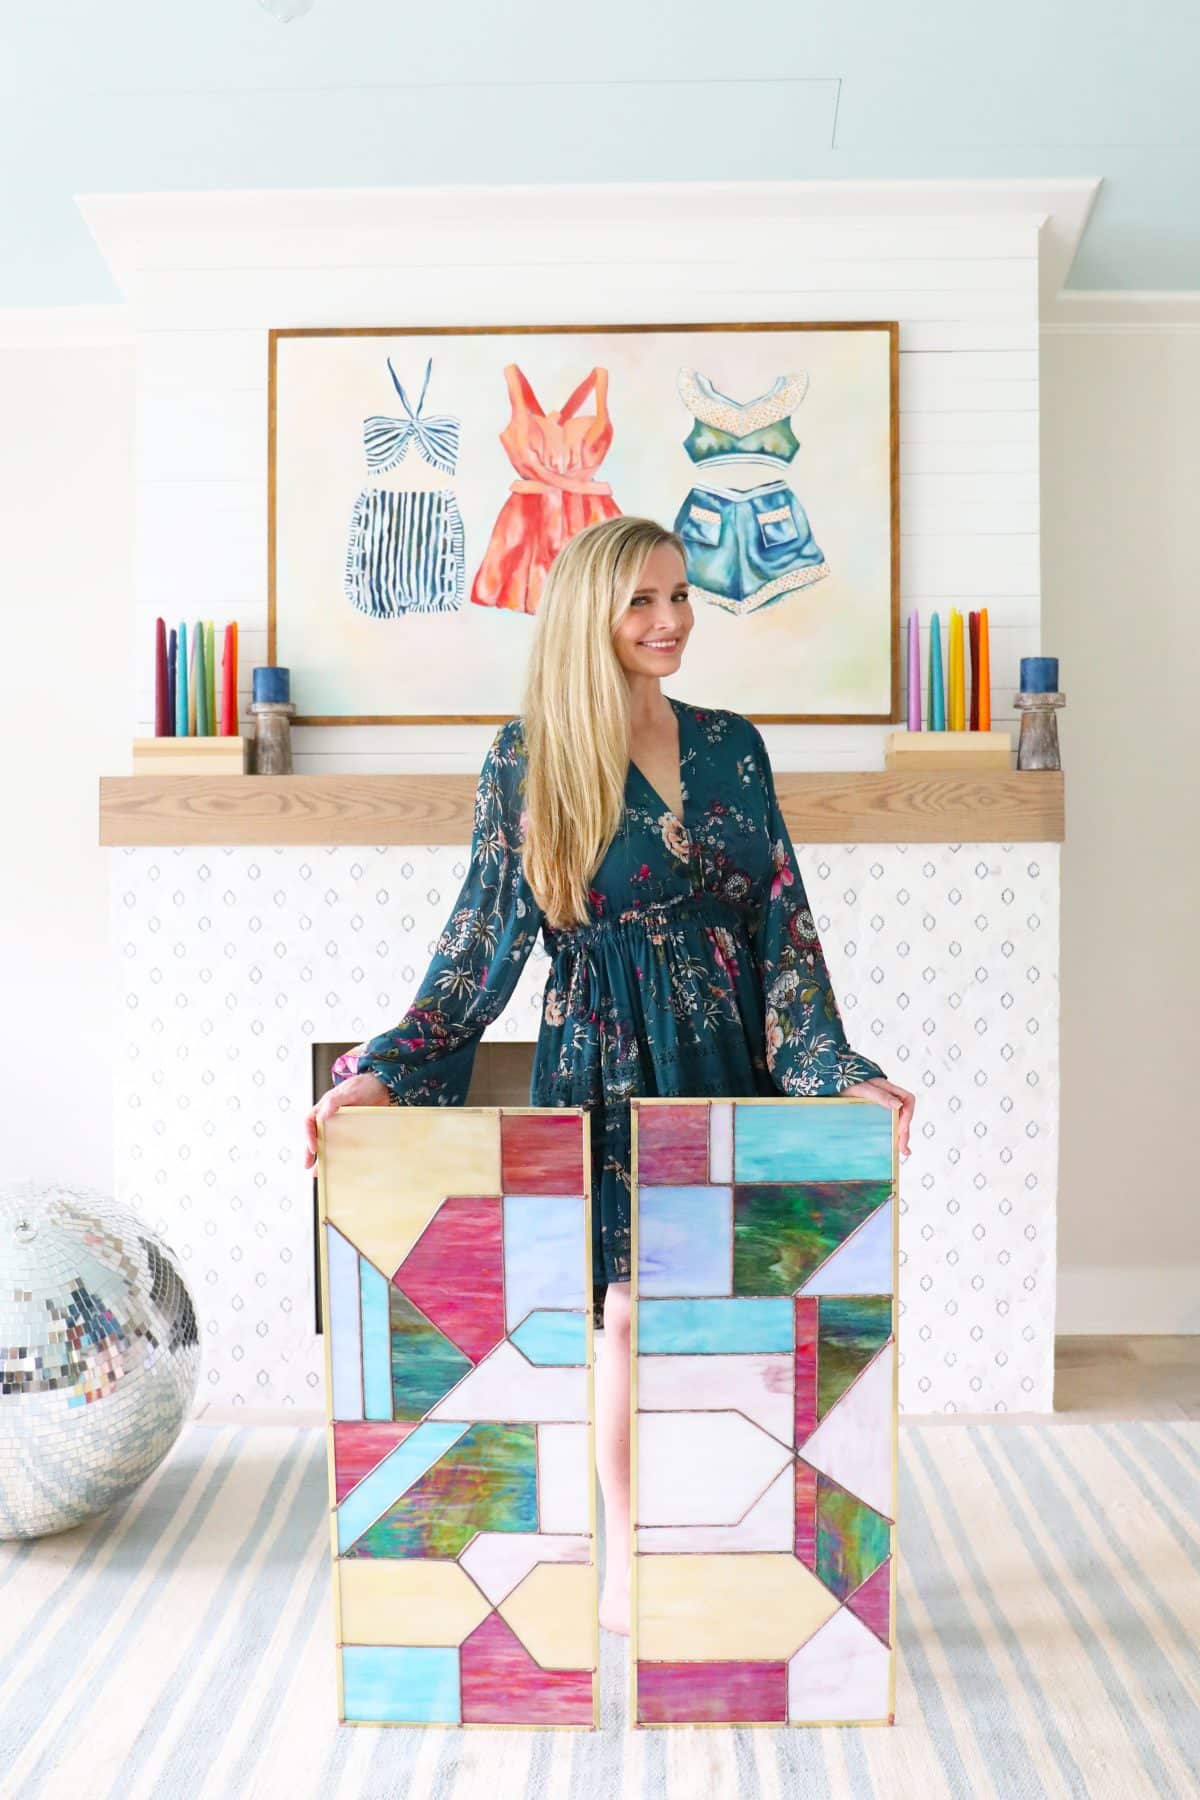
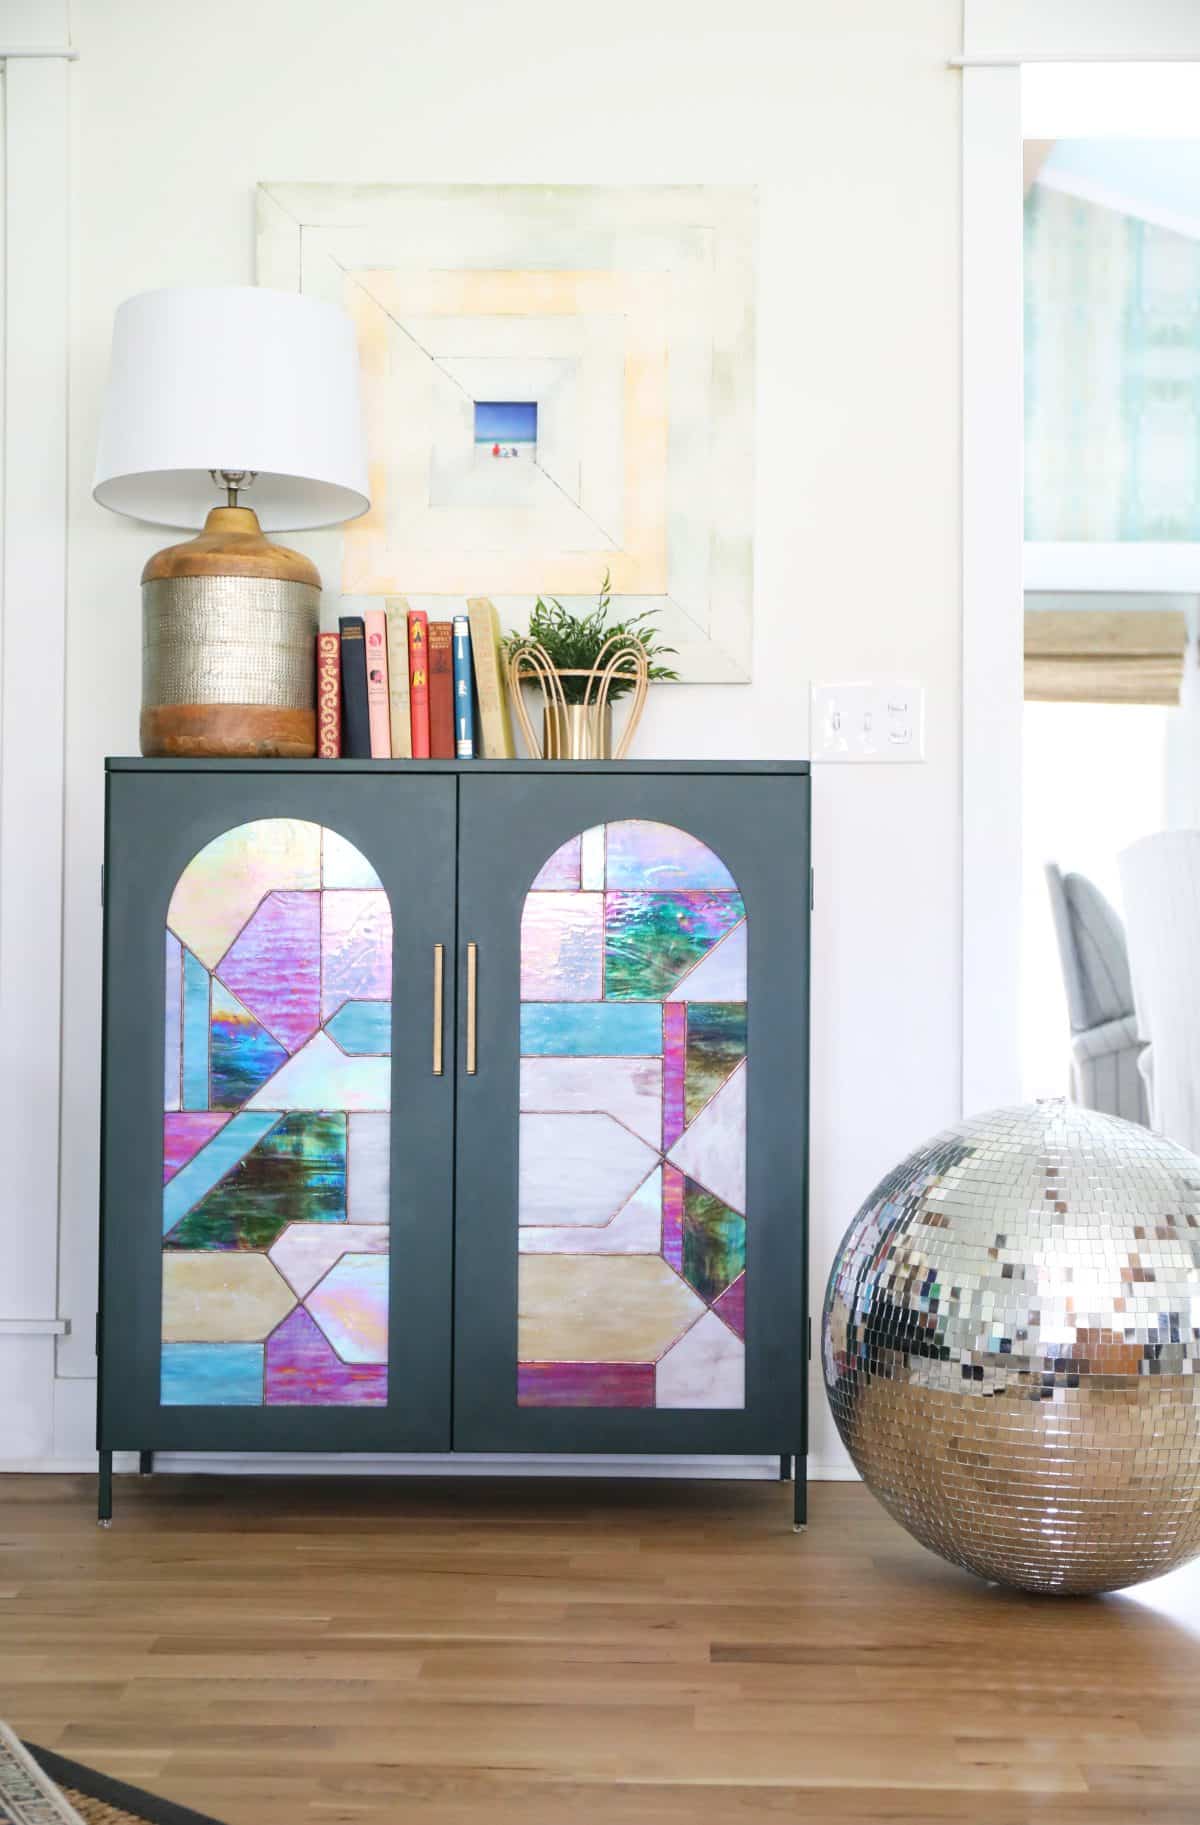
• Cabinet Doors: We took a cabinet from drab to fab {yes, I did just write that} by adding a little unique personality. But I loved tackling this modern take on all things glass for a different look. See our handmade cabinet glass doors here. Storage for the win!
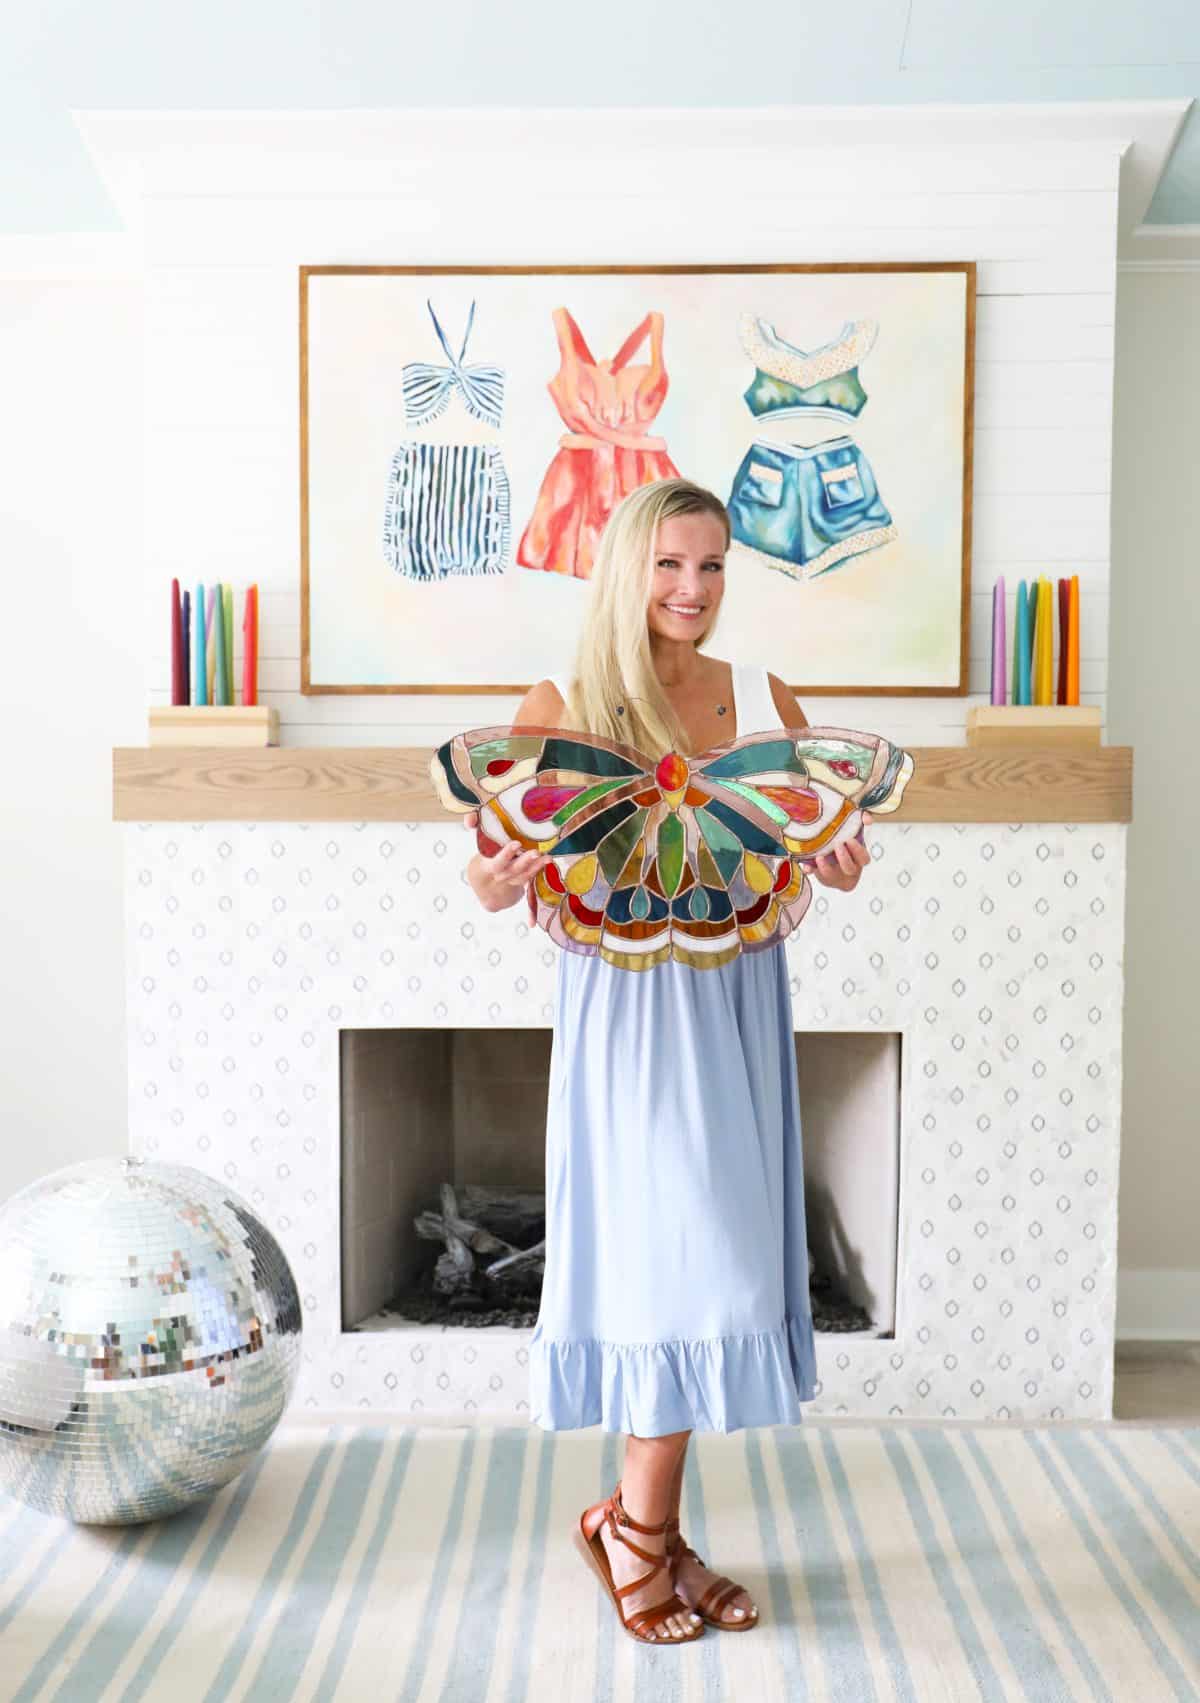
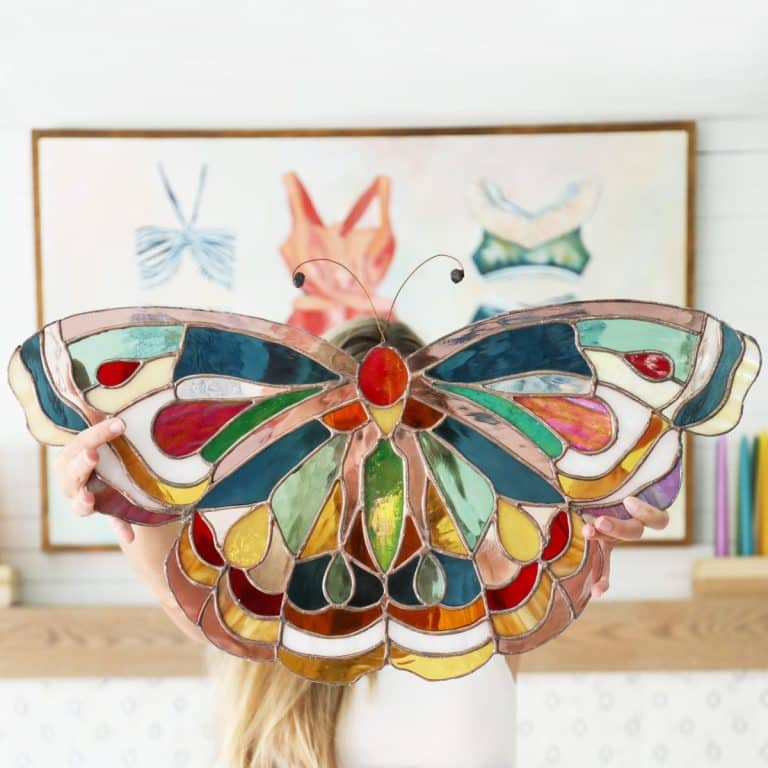
• Butterfly – This pattern sits in my office window, and I love the colors when they play on our basement floor. Check out the full how-to here, another fave for sure.
Have you taken up stained glass or tried any of these projects? We’d love to hear! And… We’ve got more coming your way when I have a moment, with some more fun ideas up my sleeve. So stay tuned, as always. Have an inspired day! See our entire series here.
Stained glass is definitely divine. It is no wonder all medieval churches are full of stained-glass windows.
So true! It’s so beautiful to look at.