I had so much fun putting together our Christmas Mantel this year, but my favorite part? These stained glass monograms. And TWO stained glass projects in one week? Yes, indeed. Just in time for gift giving!
I’ve wanted to tackle this project for over a year now; I just had work, real life, and other projects kind of get in the way. I’d already designed similar letters with these projects here + here, but I thought they might translate beautifully to stained glass.
My first piece was a testament to trying out your patterns because I realized some designs translate differently to stained glass. This meant some of the sharper angles had to be eliminated, and the sizing had to be just right. But I do love the way they turned out.
We are a bit stained glass content-heavy this week because of my computer crash incident. But I am thrilled to have them up if you have a little downtime after the holidays or you want to make them for gifts and more! They work all year long because we always need colorful fun.
But this year, I made some for the family, our dogs, and even Christmas Gifts for one-of-a-kind, lovely gifts.
I love the way they would look curated on a bookshelf, hanging in a window,
And, of course, they’re dazzling on a tree. Why do I want one dedicated to the entire alphabet now?
It’s truly addictive. And another great way to get rid of those glass scraps!
Ahhh, so satisfying.
Want to make some of your own? Here’s what you’ll need:
But first, a history
{You’ll want to refer back to some of these if you’re getting your toes wet in the world of stained glass. I recommend familiarizing yourself with the entire process so that you know what I’m talking about below. This post will only be actually an outline form, while the in-depth process can be found below. I’ve covered them thoroughly in the past, so I’ll cover them briefly in this post. Links needed are below} :
• Check out all the supplies I listed + a little take on getting started here.
• We covered the basics of stained glass, here.
It’s pretty in-depth, with good videos referenced, so be sure to check it out.
More projects: Be sure to check out our entire section on stained glass, with full-on patterns, details, + more.
What you’ll need:
• Monogram templates:
A / B / C / D / E / F/ G / H / I / J / K / L / M / N / O / P / Q / R / S / T / U / V / W / X / Y / Z
• Check out all the supplies + a little take on getting started here.
I am linking to this because this is an authentic stained glass project. It helps to have the intended supplies, and I’m pretty thorough with everything here.
• When I list the steps, be sure to check out the basics of stained glass, here.
This is complete with videos and more to help get you started.
Before we start, please review all safety points here. This article perfectly covers everything to consider when it comes to your safety and stained glass.
• Select the glass that you’ll want from this project. I have a plethora left over from that massive door project, so you may recognize many of the colors.
• Print and laminate your pattern. I printed mine out on the computer at home and laminated it over to protect it. Then, I tacked it down to a piece of drywall so that I could work from there.
• Tracing – There are three ways to trace your pattern. You can see more of that process in detail here.
1. Transparency film + sharpie + glue stick – Lay your transparency over your shape, trace + cut. Then you can lay it over your glass and repeat to achieve the same shape.
2. You can also just lay your glass on top of the pattern, trace, and cut.
3. I loaded the same pattern into my Cricut and cut it on vinyl for this project. It’s a smaller size project, so this worked perfectly.
• upload the pattern to your Cricut program and cut it out on vinyl. Make sure it’s the same as the printed version if you adjust the size in any way. I would not recommend adjusting these letter sizes. {Only go bigger. My smaller prototypes were failures.}
• Then it cuts the template for you. Remove the vinyl and stick it on the glass. Use this as your guide to cut.
• While I think the vinyl process is more straightforward, it’s almost like one extra step in the beginning to omit the middle step. So either way, it’s a wash and depends on which is easiest for you. If you’re familiar with Cricut, I recommend starting here with a simple pattern. It will give you a little more confidence in using it all.
Over time, I have enjoyed the Cricut method with smaller projects and the glass/trace method with larger ones.
• Cutting + Grinding – Again, I definitely outlined it in more detail here.
Whichever you choose, ensure you get that shape as tight as possible. Cut and grind it down, fitting each shape into place. When grinding, use protective eyewear, and I’d recommend a mask, too.
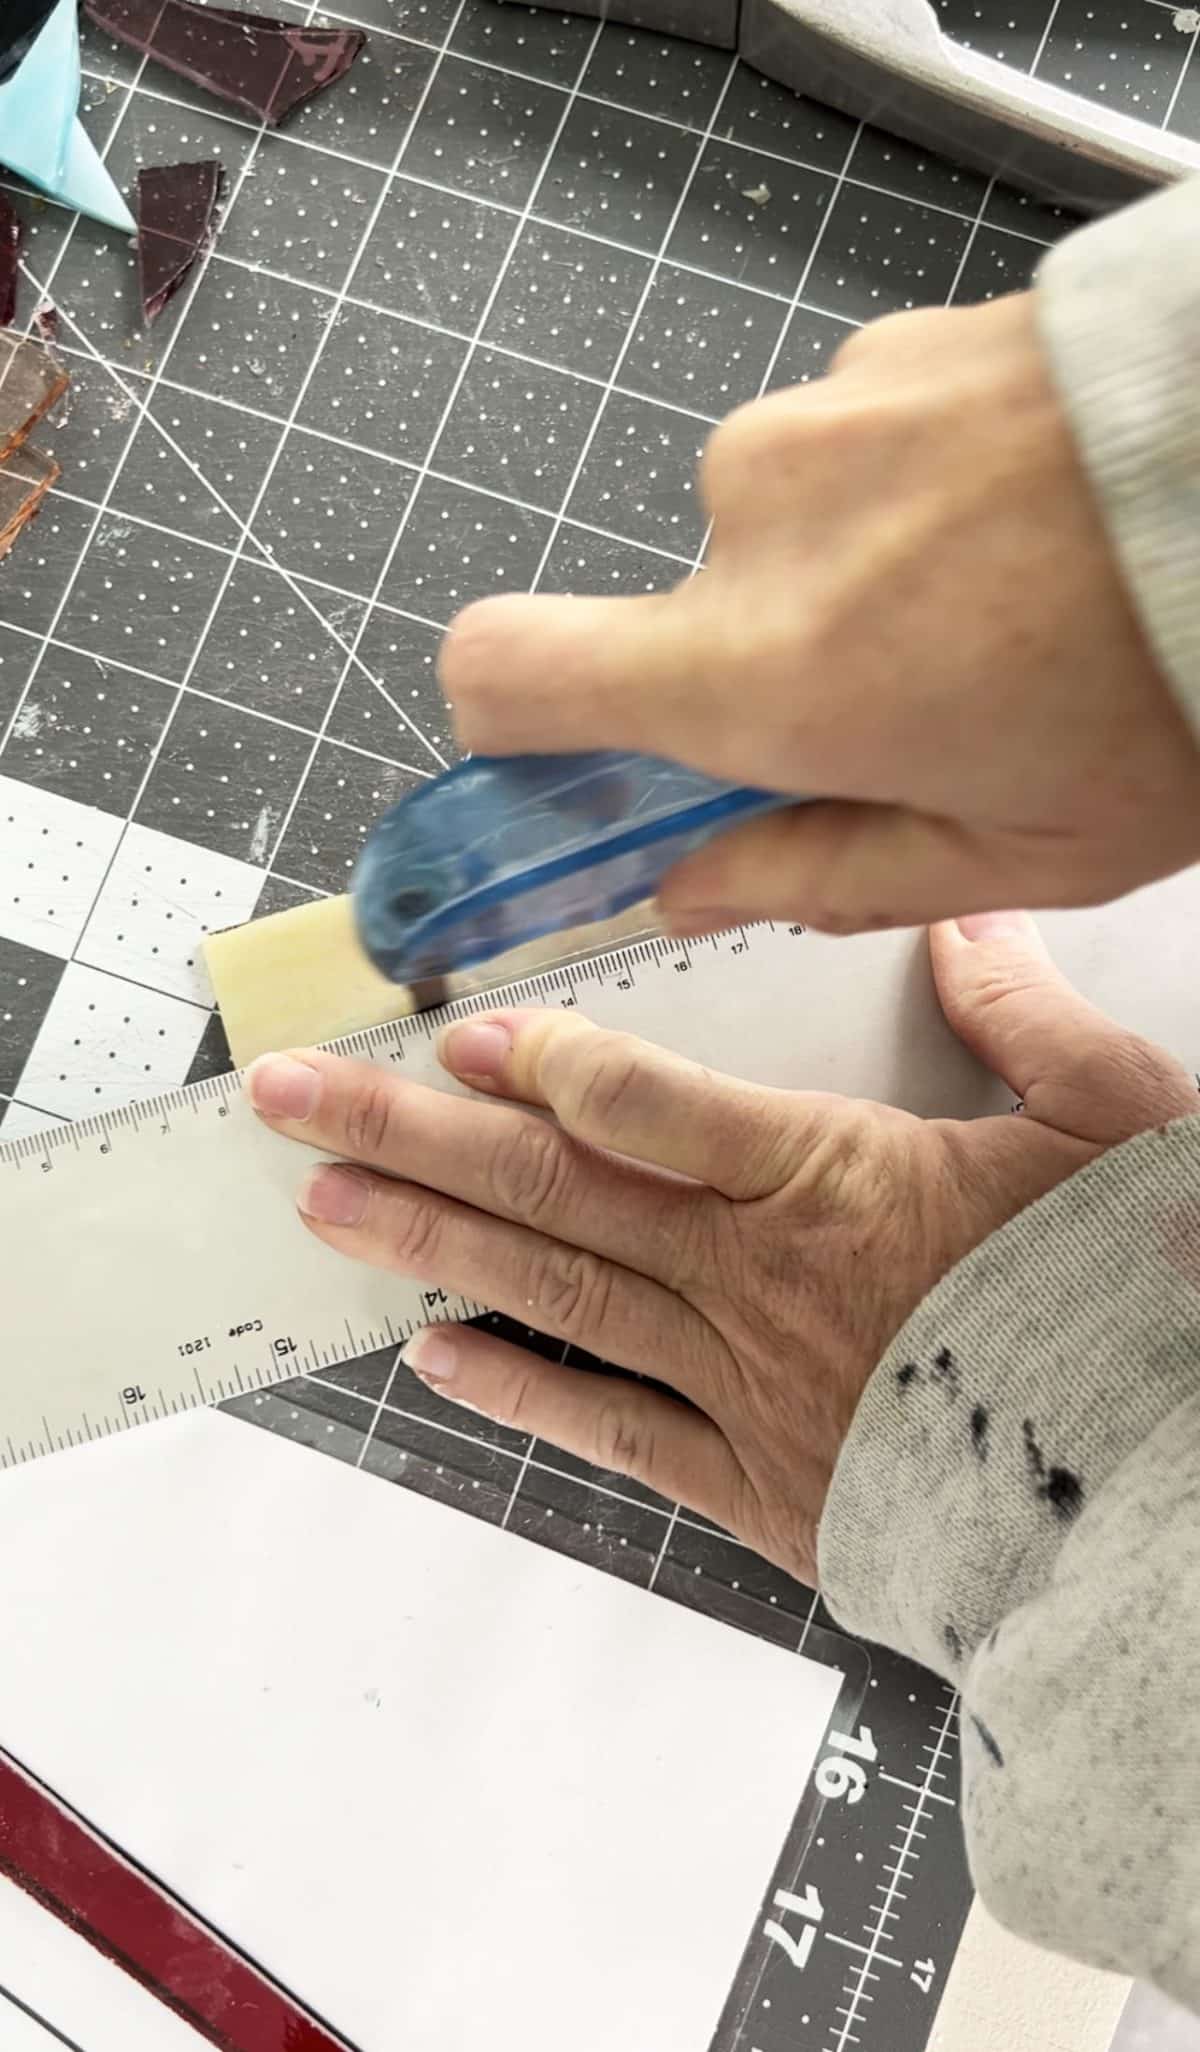
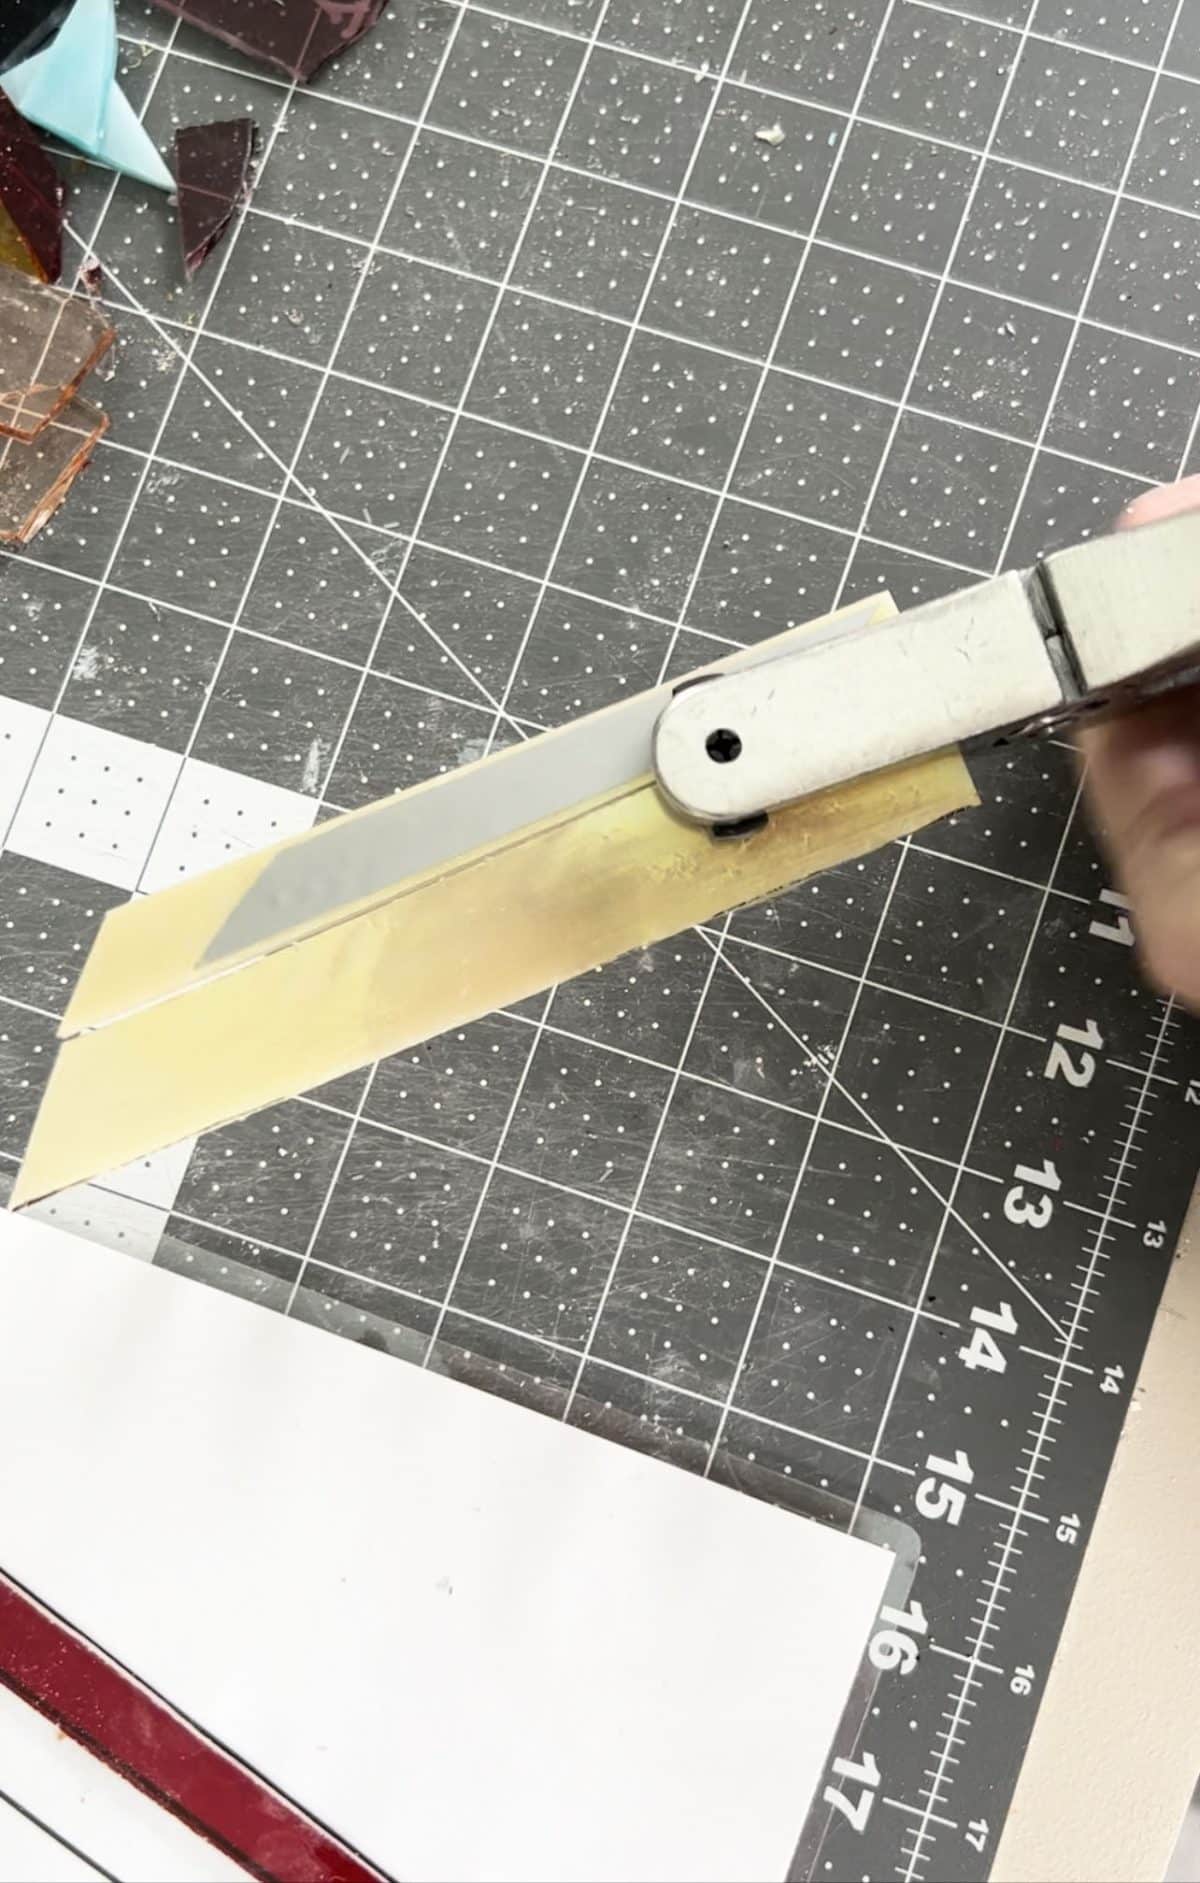
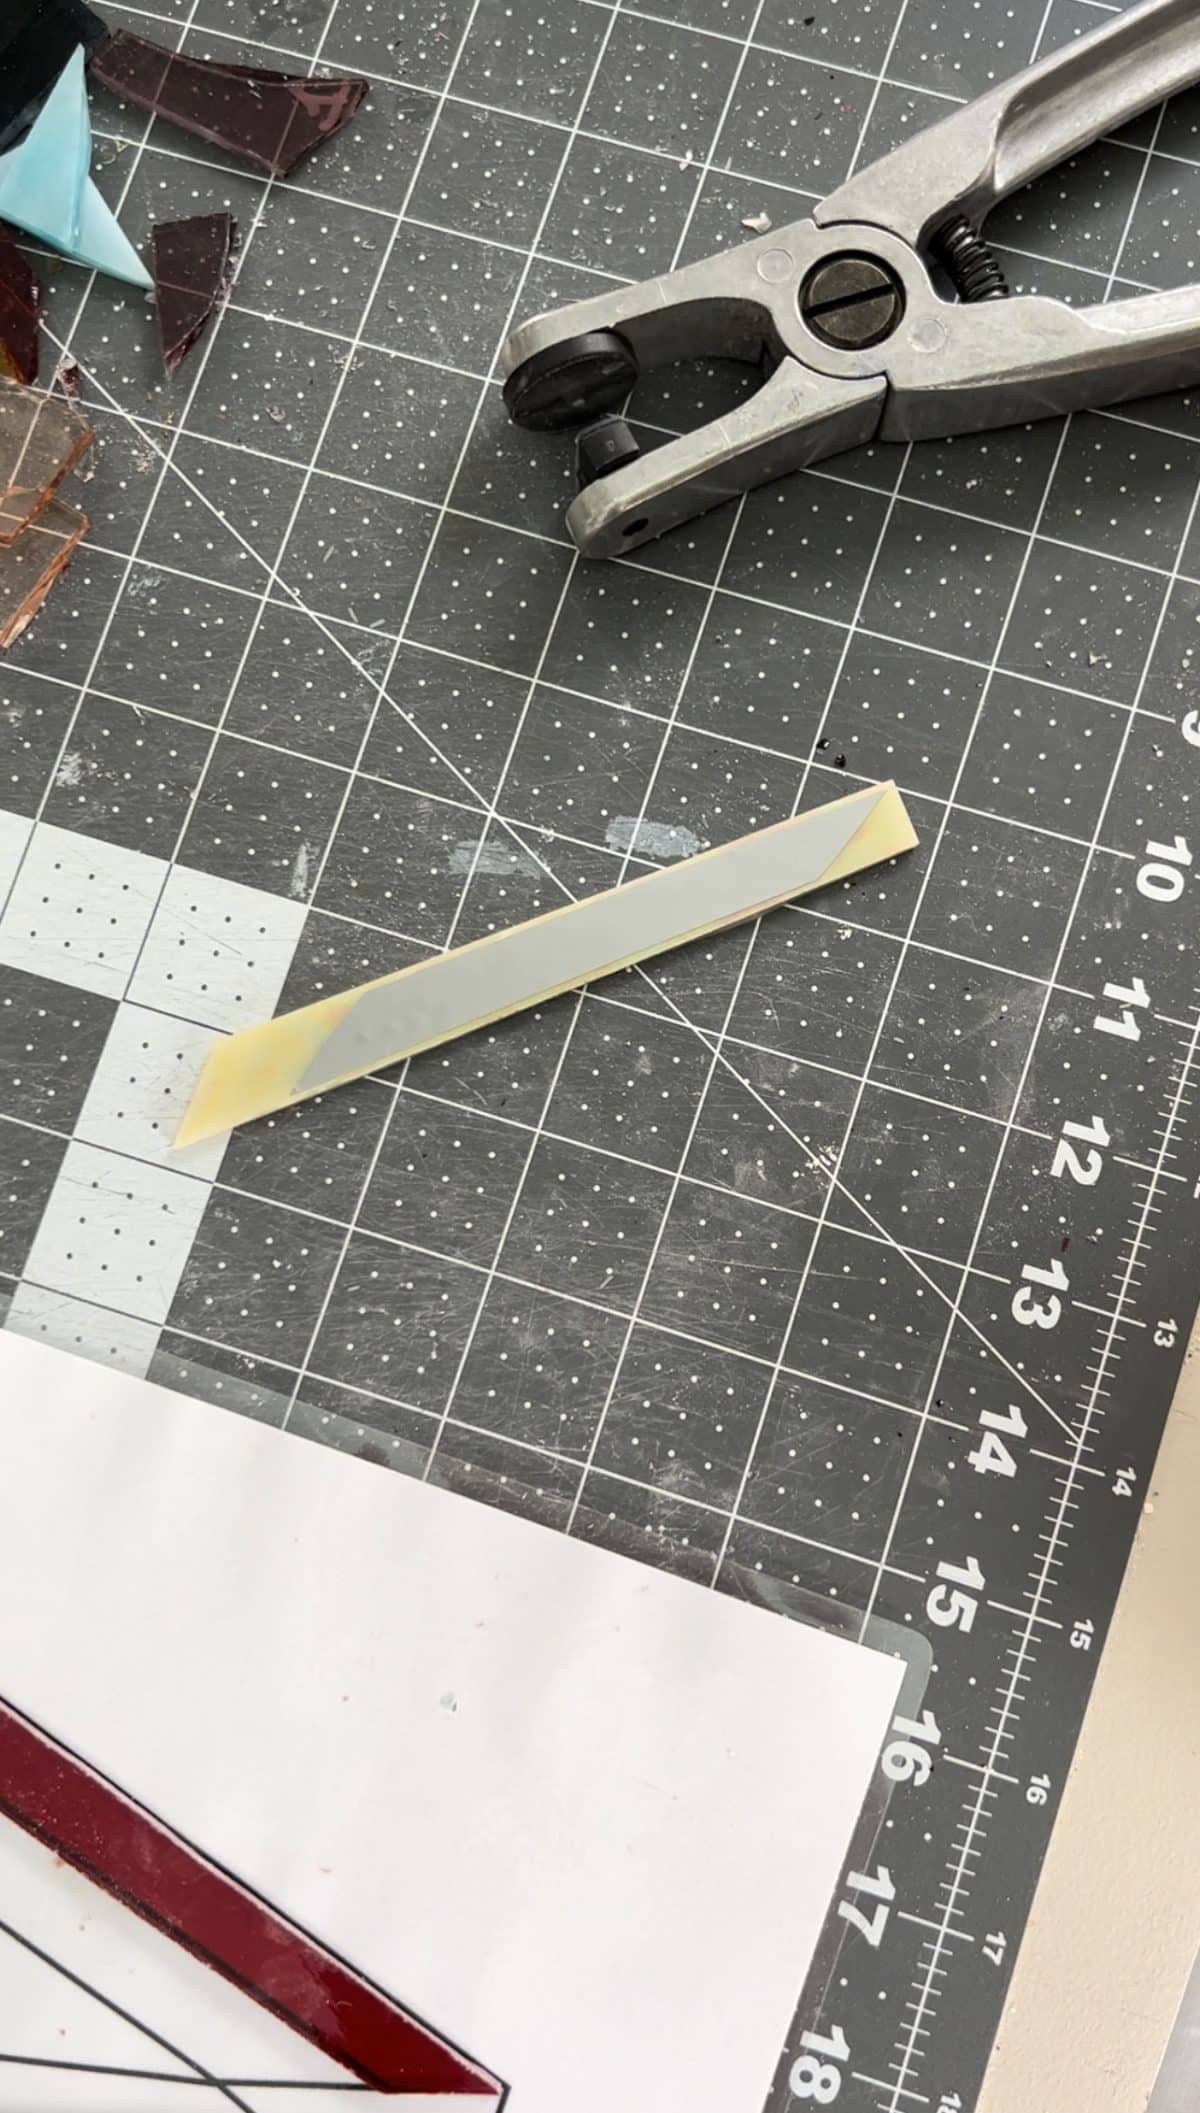
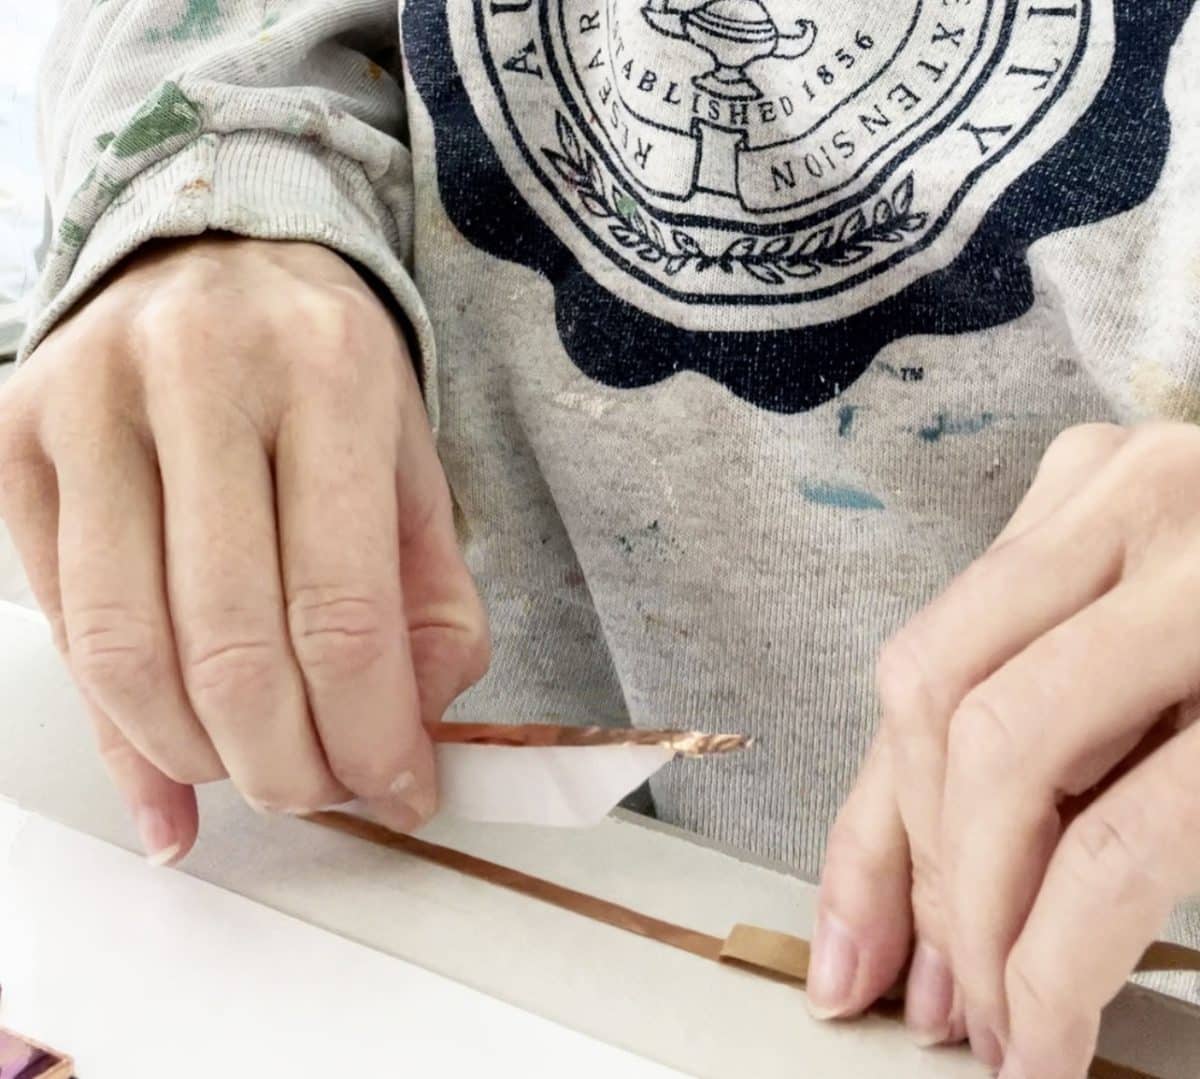
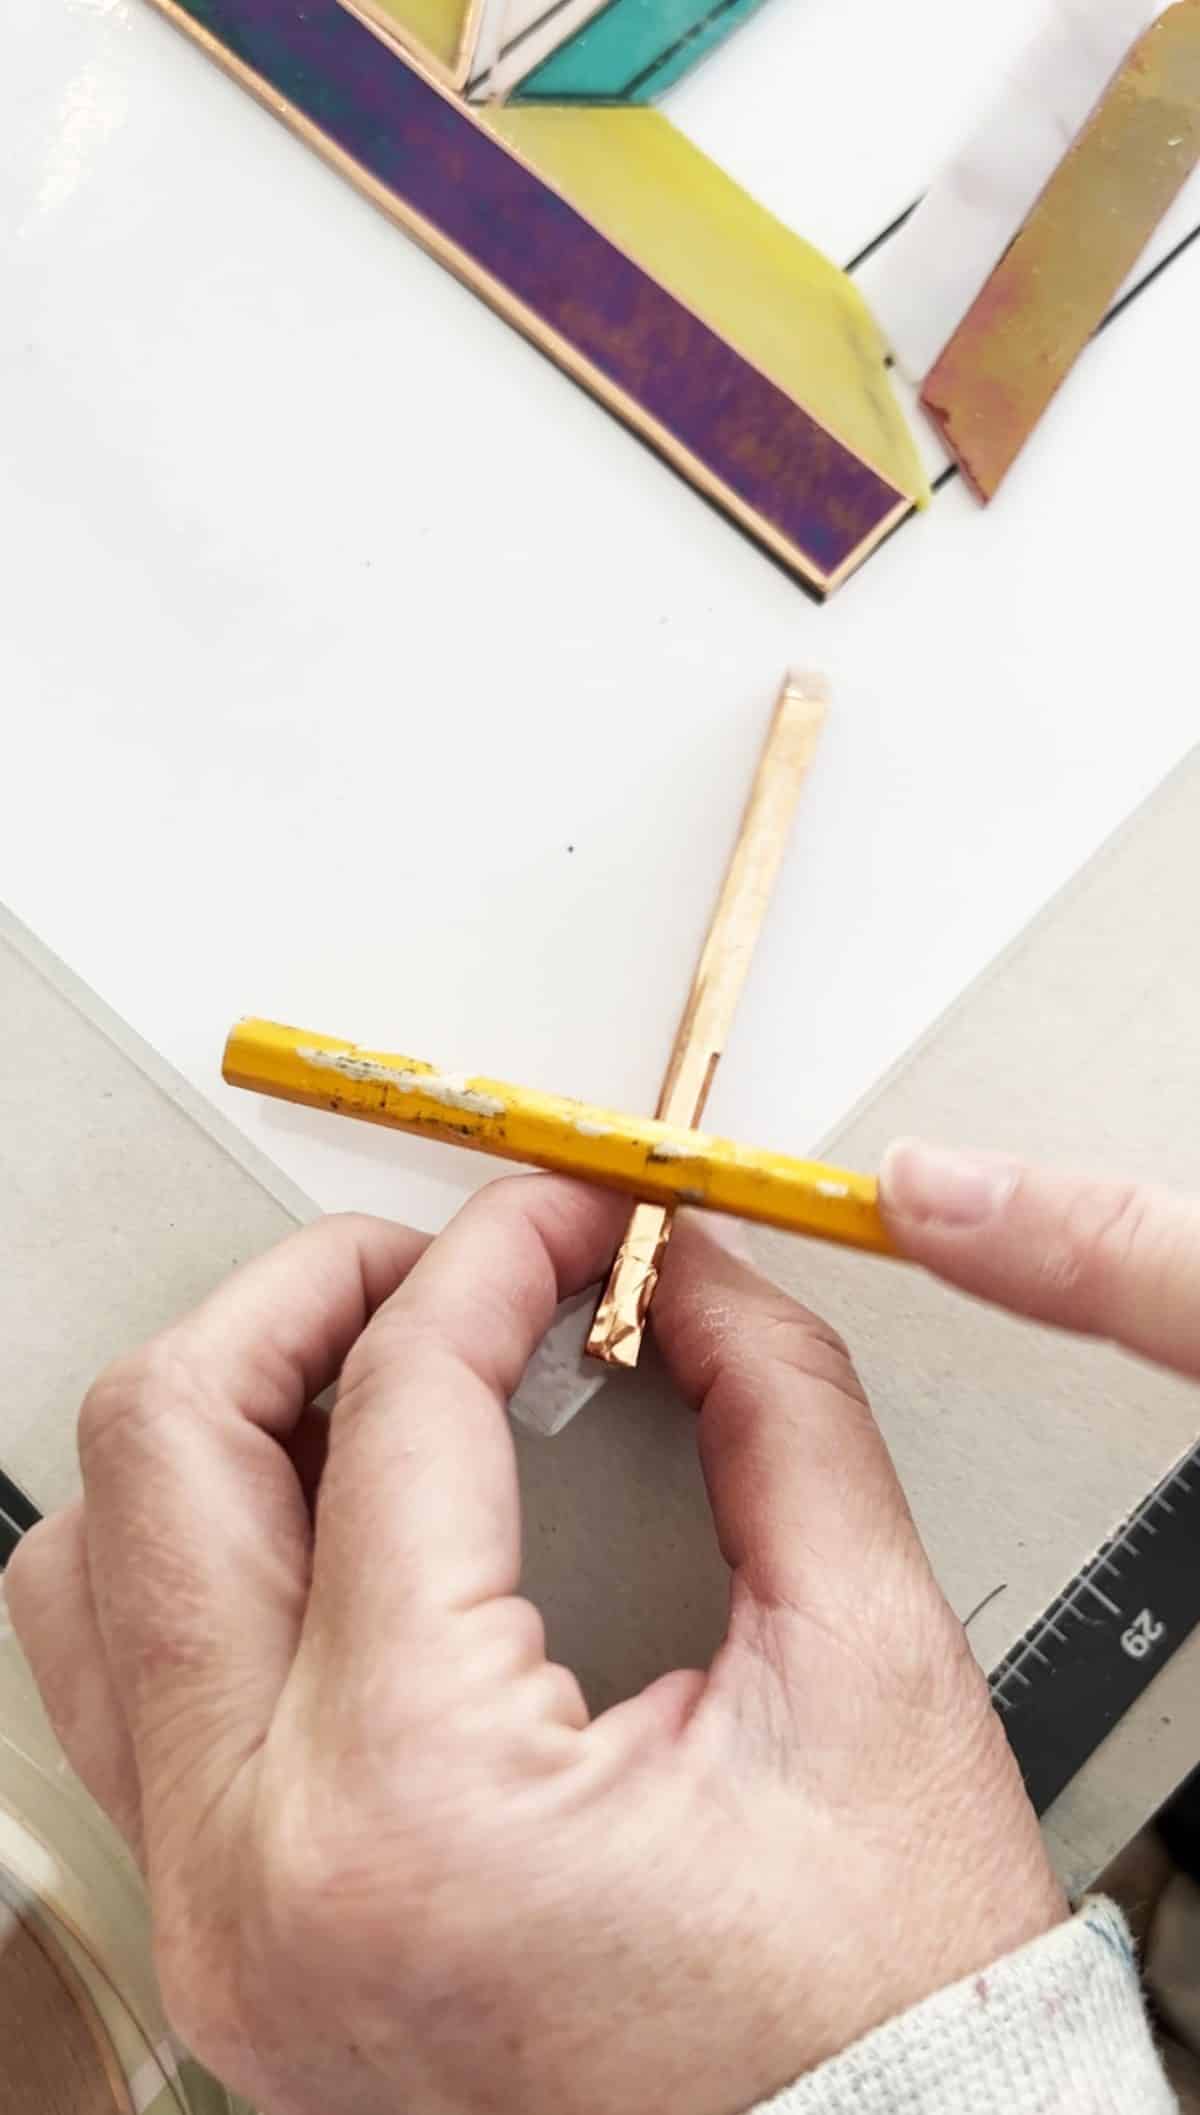
Here are a few photos taken from a video I made via Instagram for a sneak peek of the project. I’m breaking down the cutting process, but it’s even more thorough in the link above.
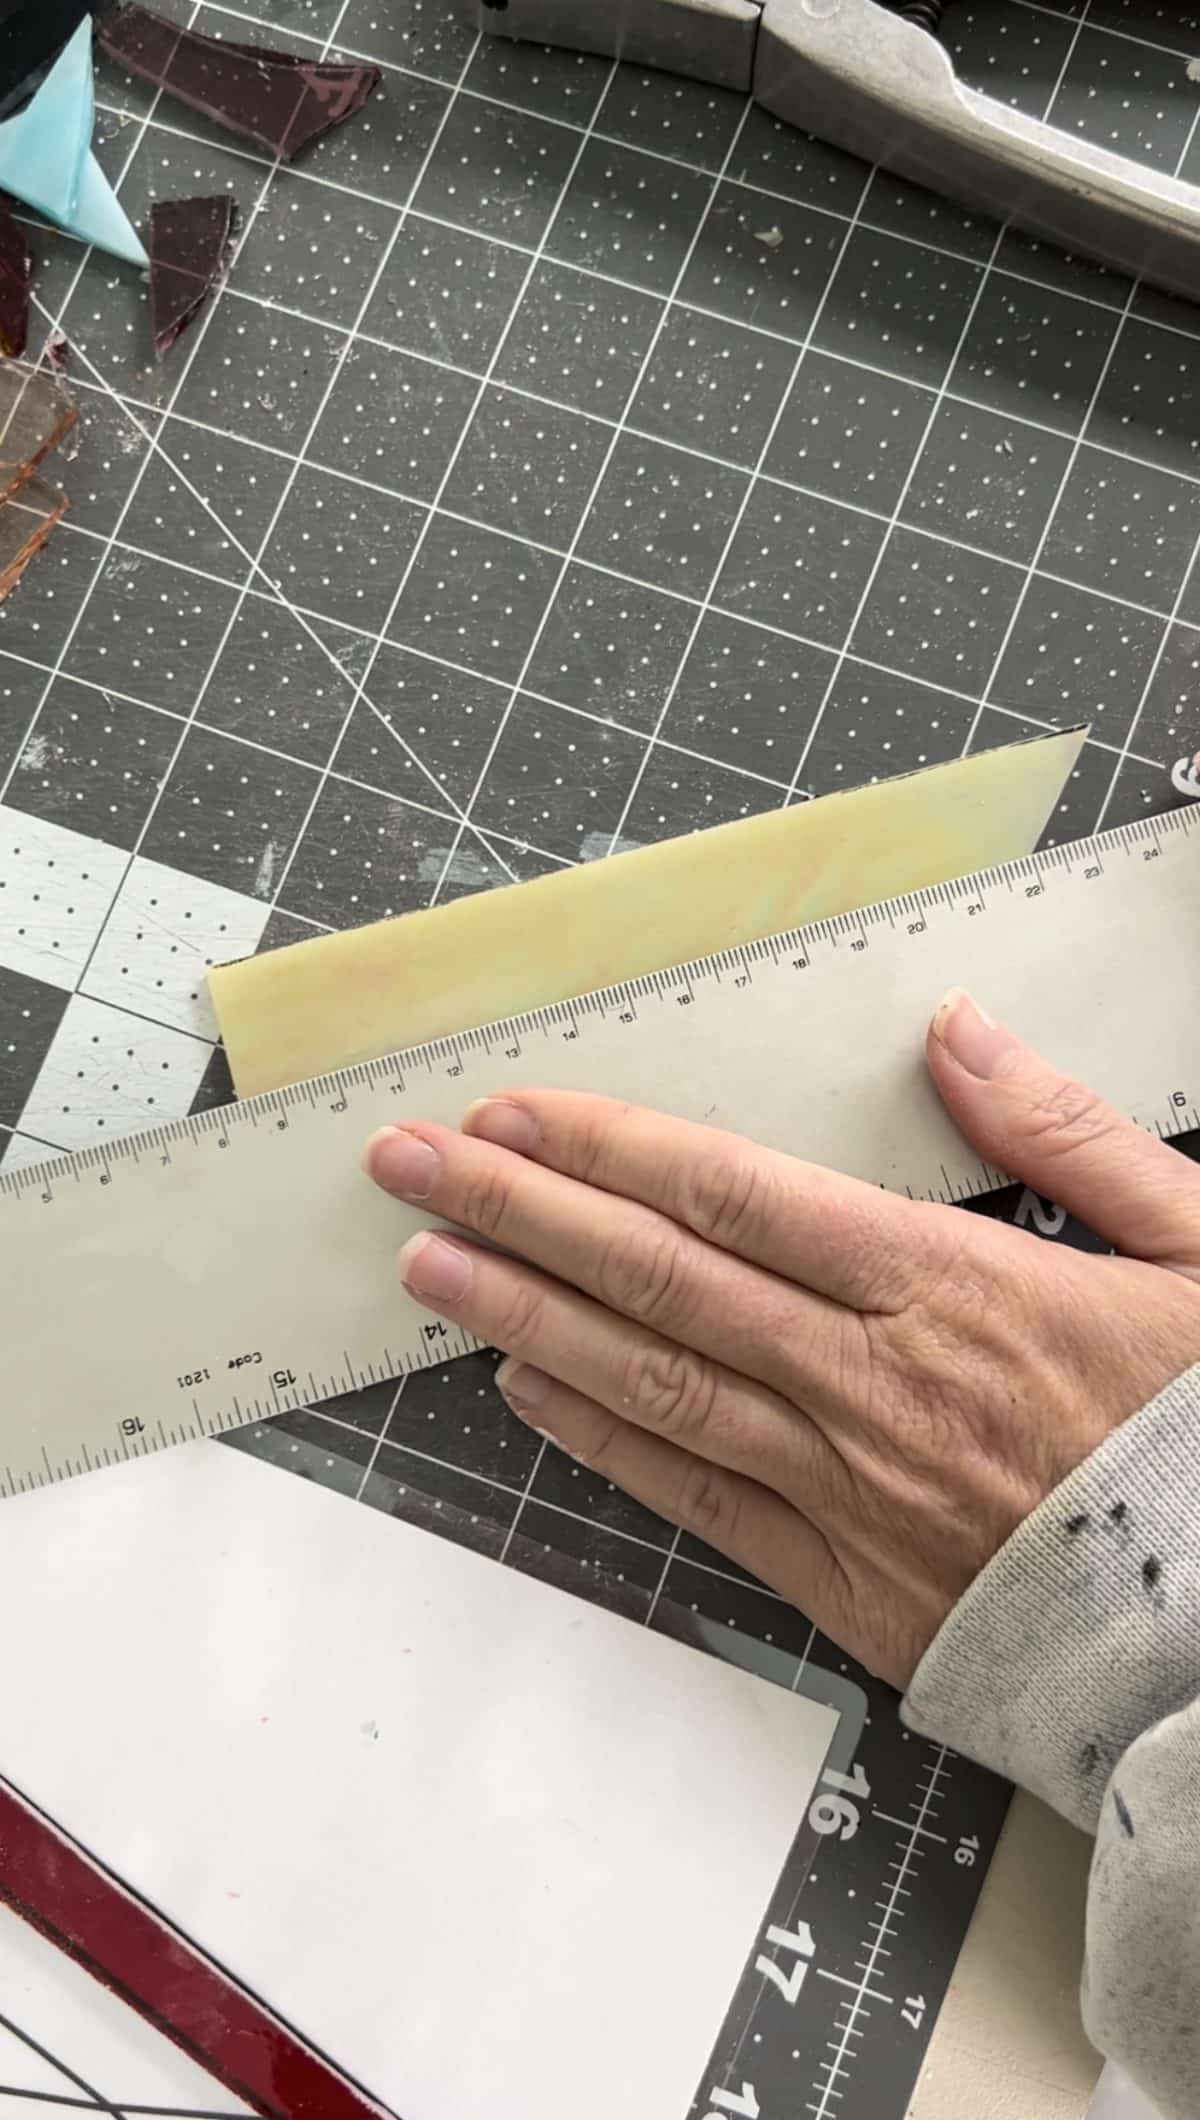
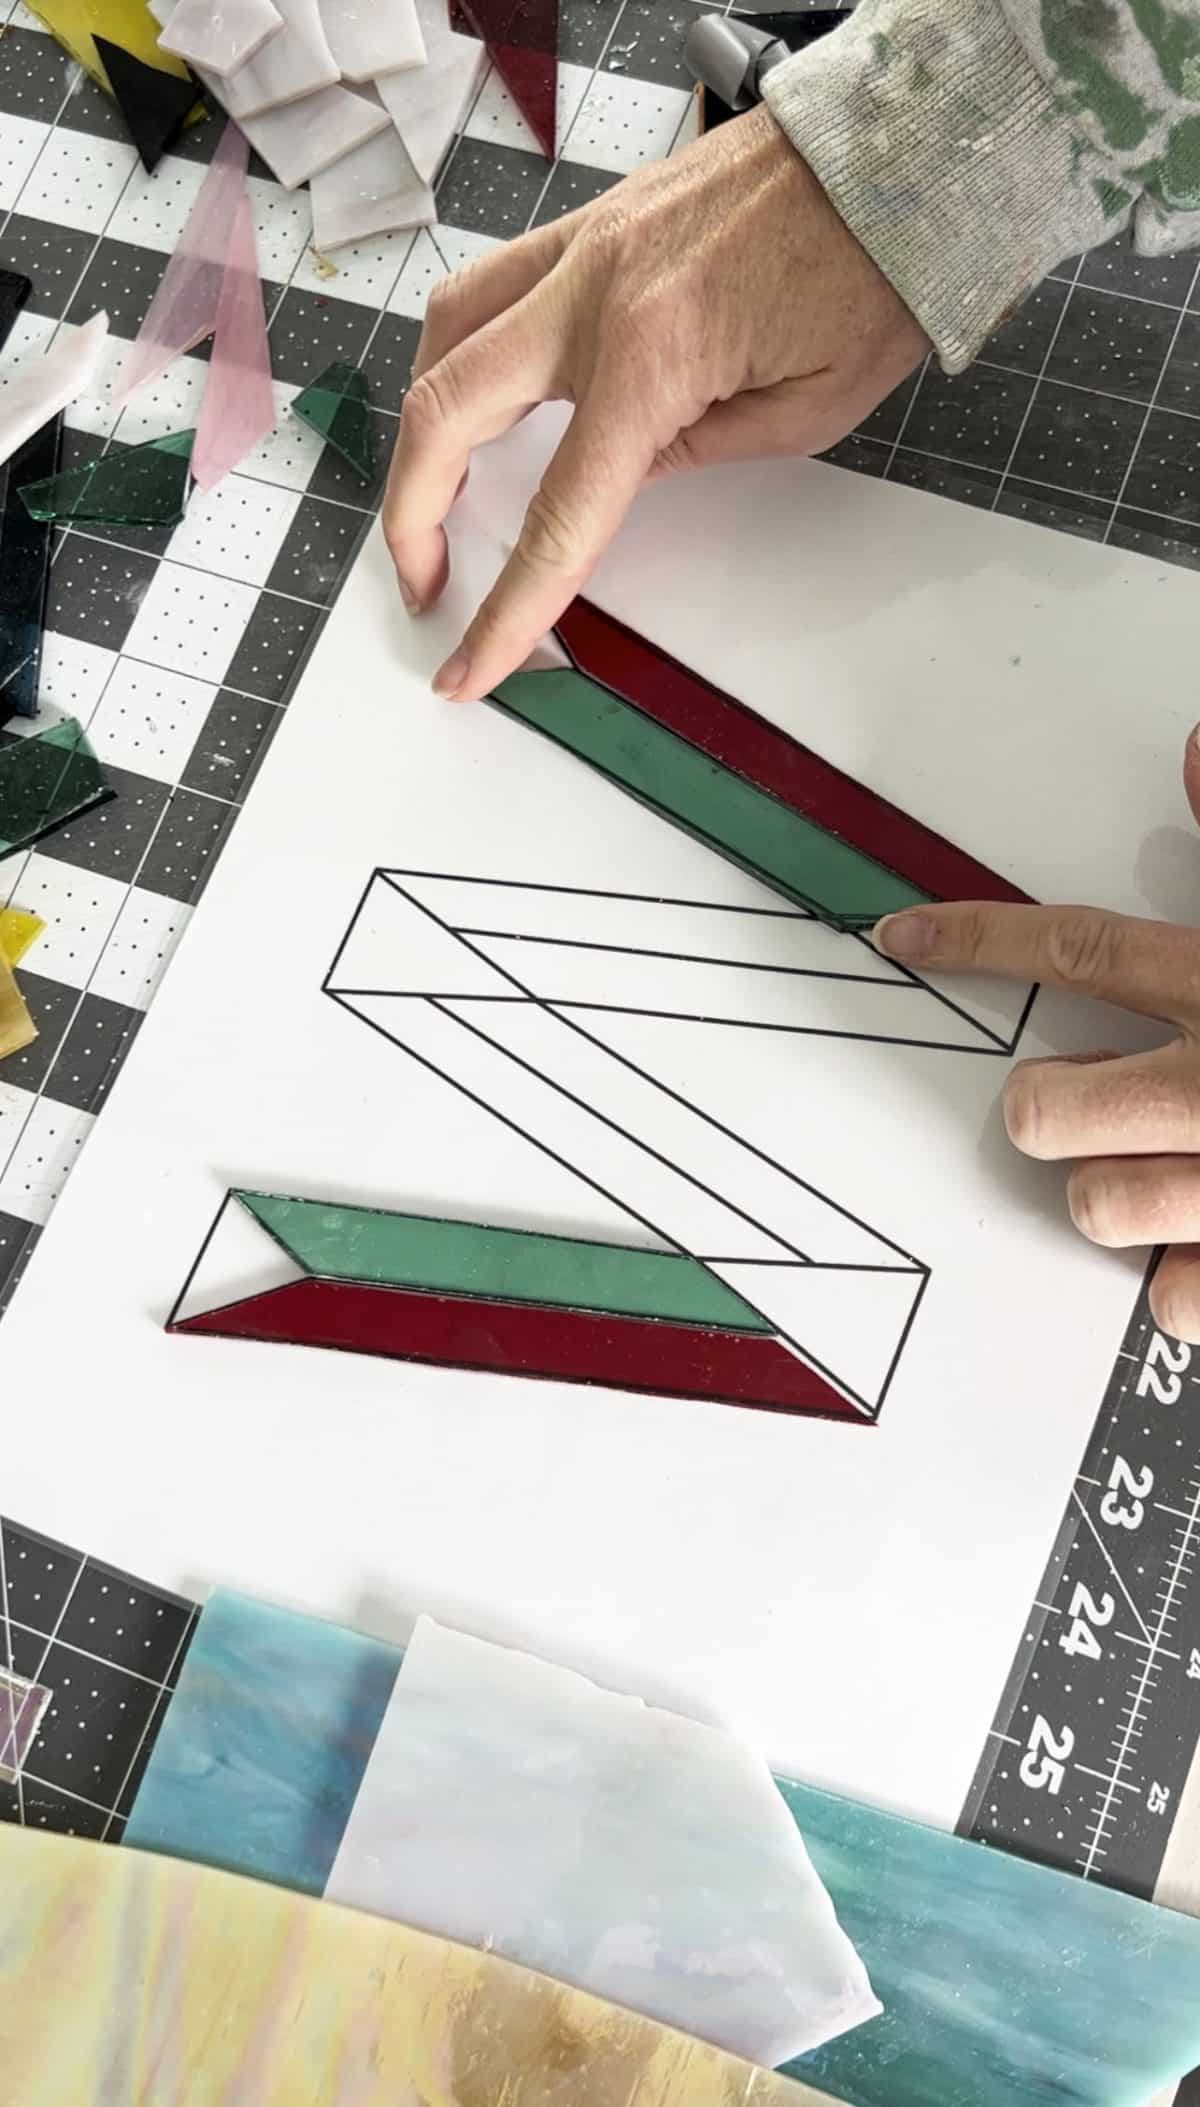
You can take your cut piece + lay it down on the side you want facing out. {Or trace via the transparency method above.}
Lay your ruler down, and using your glass cutter, press down and cut. I always move the cutter away from my body and allow the pressure to help complete the cut.
Then lift the glass, align your running pliers to the line on the pliers + your line in the glass, and squeeze gently.
It should be a satisfying, clean break. Repeat these steps until you have a complete shape.
Then you’re ready to grind. I usually recommend labeling your pieces as you go, but these are such smaller designs that it was easy to keep up with the pieces.
Grind each piece down and lay it out on top of your design as you work. As you’re ready, remove your vinyl to see how each piece fits.
If it’s off a little, you can mark it with a sharpie and work with it to get that fit right. It will be challenging but get it as closely as possible. If you have a few fudges, that’s okay too. Just try again. This isn’t even my end game with the W, as I changed the design halfway through. I wasn’t happy with the colors. That happens sometimes, too.
This S was almost the death of me, as the curvier letters will be. I used the saw a few times to help grind it down faster. But it was oh so satisfying when I was finished.
• Foiling + Burnishing
Once all your pieces are fitting oh so perfectly {It’s okay if they’re not perfect, especially if this is your first time}, it’s time to foil and burnish. Since this is more of a free pattern, I tacked down the pieces as I went to make sure it will be a secure fit.
Again, you can find all of that outlined as thoroughly as possible, here.
But when you’re finished, your letters should look a little something like this.
It’s not perfect at all. But it has the seams as tight as possible and is ready to go with the next step!
• Soldering
Here’s a quick shot from the video I created to show you how it should look as you go.
I’ve outlined it all here.
{Please follow all safety precautions from open windows to ventilation systems here.}
Since I did multiple monograms at once, this is a glimpse of what my “studio” looked like while I worked on each one. And because the tacks were so intense with all the little angles, I hit them with ruby fluid where I could and then removed the tacks once secured to do the other sections.
Getting around those tacks was a little tricky, so if you get enough on there to secure the shape, you can remove the tacks and make each letter look better.
When you’re finito, your first side should look like this. Probably better than mine. I smoothed the solder out a little better with my iron {give your glass time to rest and cool} before moving on to the next step. Then I flipped it over {usually, I would clean in between, but these are so small, I moved that step below} and soldered the edges and backside, too.
Always check the temperature of your glass often. It only takes a moment for smaller sizes like this to overheat and crack.
• Just a note on seepage: If you have a few little gaps, you may have areas where seepage of the Solder came through. I have yet to have a piece where I haven’t seen just a little on the other side, peeking through those cracks. I am getting better with each piece, though. Don’t freak. It’s usually easy to manipulate your soldering iron to cover it up and then move it back into place as you go.
• A note on splatters: Don’t panic if the soldering gets on your glass. It dries and flecks right off. Just make sure you are aware that the second side {because you’re sealing the air into gaps?} tends to splatter a little. Thus, the use of gloves for which you will be grateful. I already mentioned this above, and clearly, I can’t emphasize it enough.
• Loop it
I used some basic 18 gauge copper wire and a wire cutter to loop, shape, and wrap it around. Since these require hanging loops, I applied those next. Take your wire and loop it around into a U. Then twist until it makes a secure shape.
Cover it in ruby fluid and rub some solder with your soldering iron.
Tip: I may have mentioned this in the past, but with smaller pieces, these trivets are amazing. They’re heat resistant so they prevent splashing, and catch all the little pieces of that pricey solder before it’s lost for good. You can touch it with your iron and heat it enough to use on your pieces. A great way to recycle that stuff with these smaller pieces.
Using wire cutters, trim it up, and you’re ready to attach. Depending on the letter, I added these to the back, sometimes at an angle and some straight up and down.
Here’s another shot of the trivet and how I collected the solder as I worked, which was great for smaller pieces.
This is the perfect moment to go ahead and polish + wax that first side of your glass just so that it gives the glass a moment to cool down, and you can get all that flux + excess solder off.
• Clean it up {see more detail here}
Breaking it down, the order goes like this for each side:
1. Flux + Solder {You’ve already done this}
2. Kwik Clean {rub it on and clean the glass/solder
3. Clarity – It’s a stained glass finishing compound {it really makes everything shine – technically it is wax – oh so satisfying}
Flip it over, and you’re ready to do the second side.
Once it’s all cleaned up, you’re ready to add your patina.
• Patina
• Then you’ll break out your Super Brite {finishes in black, copper + just leaving it silver} – I do find that the patina covers a multitude of sins.
• I use a combo of Q-tips + paper towels to rub it on, including all sides. Remember that magic coloring book you had as a kid that had the clear marker, and when you drew on top, it made things change colors? This is that, for adults.
Clean + polish again: Kwik Clean + Clarity again. Just rub until it shines.
• Flip {carefully} + repeat the exact steps above from that first side. These final steps {soldering + patina + cleaning} can take a full day with a large window on both sides. I’m sure I’ll speed up over time, but know it takes some time to finish. If you’re doing multiple letters, this can take a minute, too.
You, my friend, have created a beautiful monogram. I am obsessed with these.
I then added some velvet ribbon to each one for that extra touch.
Aren’t these fabulous? I especially loved them with our mantel this year. Check out all the details here.
These photos don’t do them justice! This little project took a while because I took on so many at once a-la the gifting season. But there’s a definite learning curve, and it was so rewarding in the end.


As always, let us know if you try them. We’d love to hear.
Have an inspired day!








Those stained glass monograms look beautiful. Stained glass is an ancient technique used in every medieval church in Europe.
Such a great way to use the small pieces of glass. They are beautiful. Thank you for showing this video.
Thank you so much, Frain! Happy creating! ;}
I love these so much! I am a beginner stained glass artist and I’ve heard people say not to do hinge joints because the piece will eventually fold or come apart along the hinge. Have you noticed that happening at all with these over time?
Hey Teresa! Not at all. The pieces are small enough that they do not pose an issue. The notion of hinge points sent me into a frenzy at first because I think people know just enough to be dangerous and freak everyone out. ;} You have to have a piece of considerable size for it to pose an issue, and even then framing helps with various shapes. These have been just fine. I hope that helps!