
stained glass: getting started
In case ya missed it, stained glass is my new passion. I say that first sentence laced heavily with sarcasm because anyone who knows me in real life… and on here… probably knows that I just won’t shut up about it.
Over the winter, I was lucky to take an amazing class with the Glass Onion here in the Nashville area. So let me start by saying if you have a chance to take an in-person class to learn more about the process of stained glass, DO IT. Nothing can replace that. I’ve received quite a few questions lately about all things stained glass, and I thought it might be fun to share a few of my ideas here as I create. {Hasn’t this site always been about that topic?} I can share my journey as I learn to create more.
I thought if you’ve always wanted to learn but maybe don’t have access to a stained glass class IRL, you could follow along and try it out for yourselves, too.
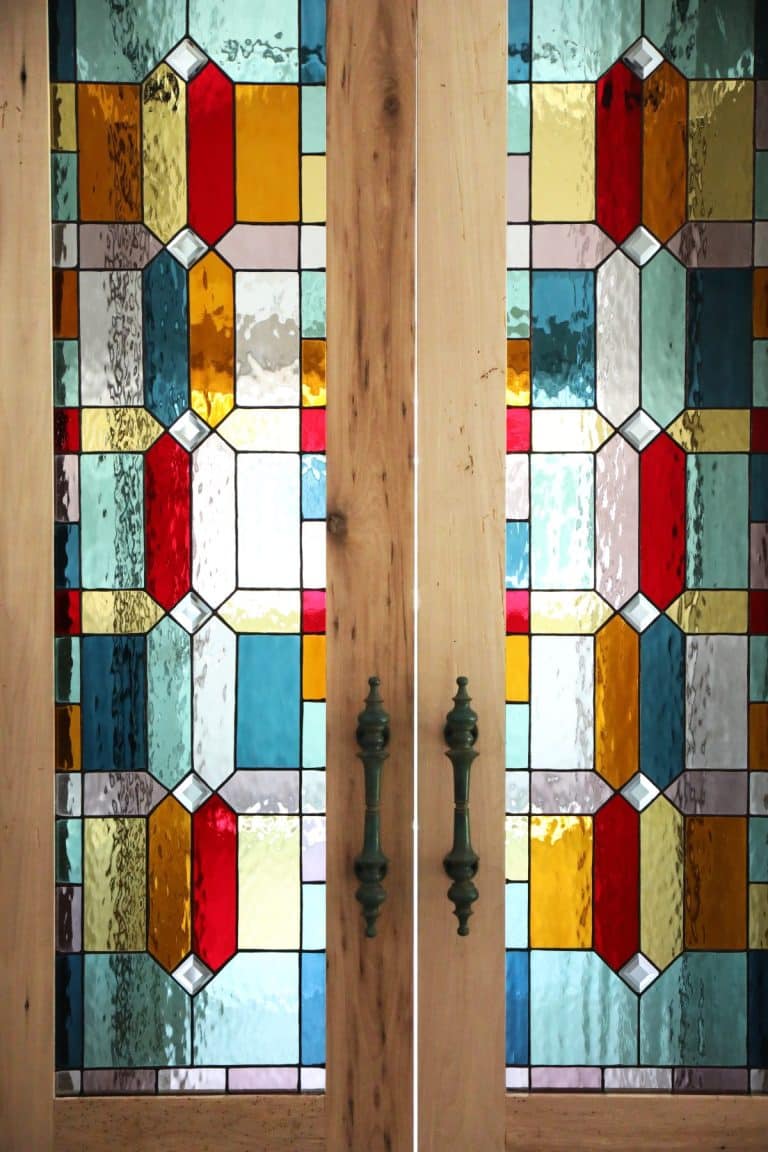
So I thought the best place to start would be at the beginning, with all things supplies. What exactly do you need to get started? Since we have some basic projects coming your way {along with those gigantic doors I decided to create which are currently taking me forever because day jobs and planked ceilings… and because I changed my mind about one of the colors} the most logical place would be what you’ll actually need for a great project.
Never fear, I’ve rounded up a few supplies here, along with my takes on the product. Hopefully this is a nice place to get started so that you can take a look into the world of stained glass, and the investment of time and funds it may take.
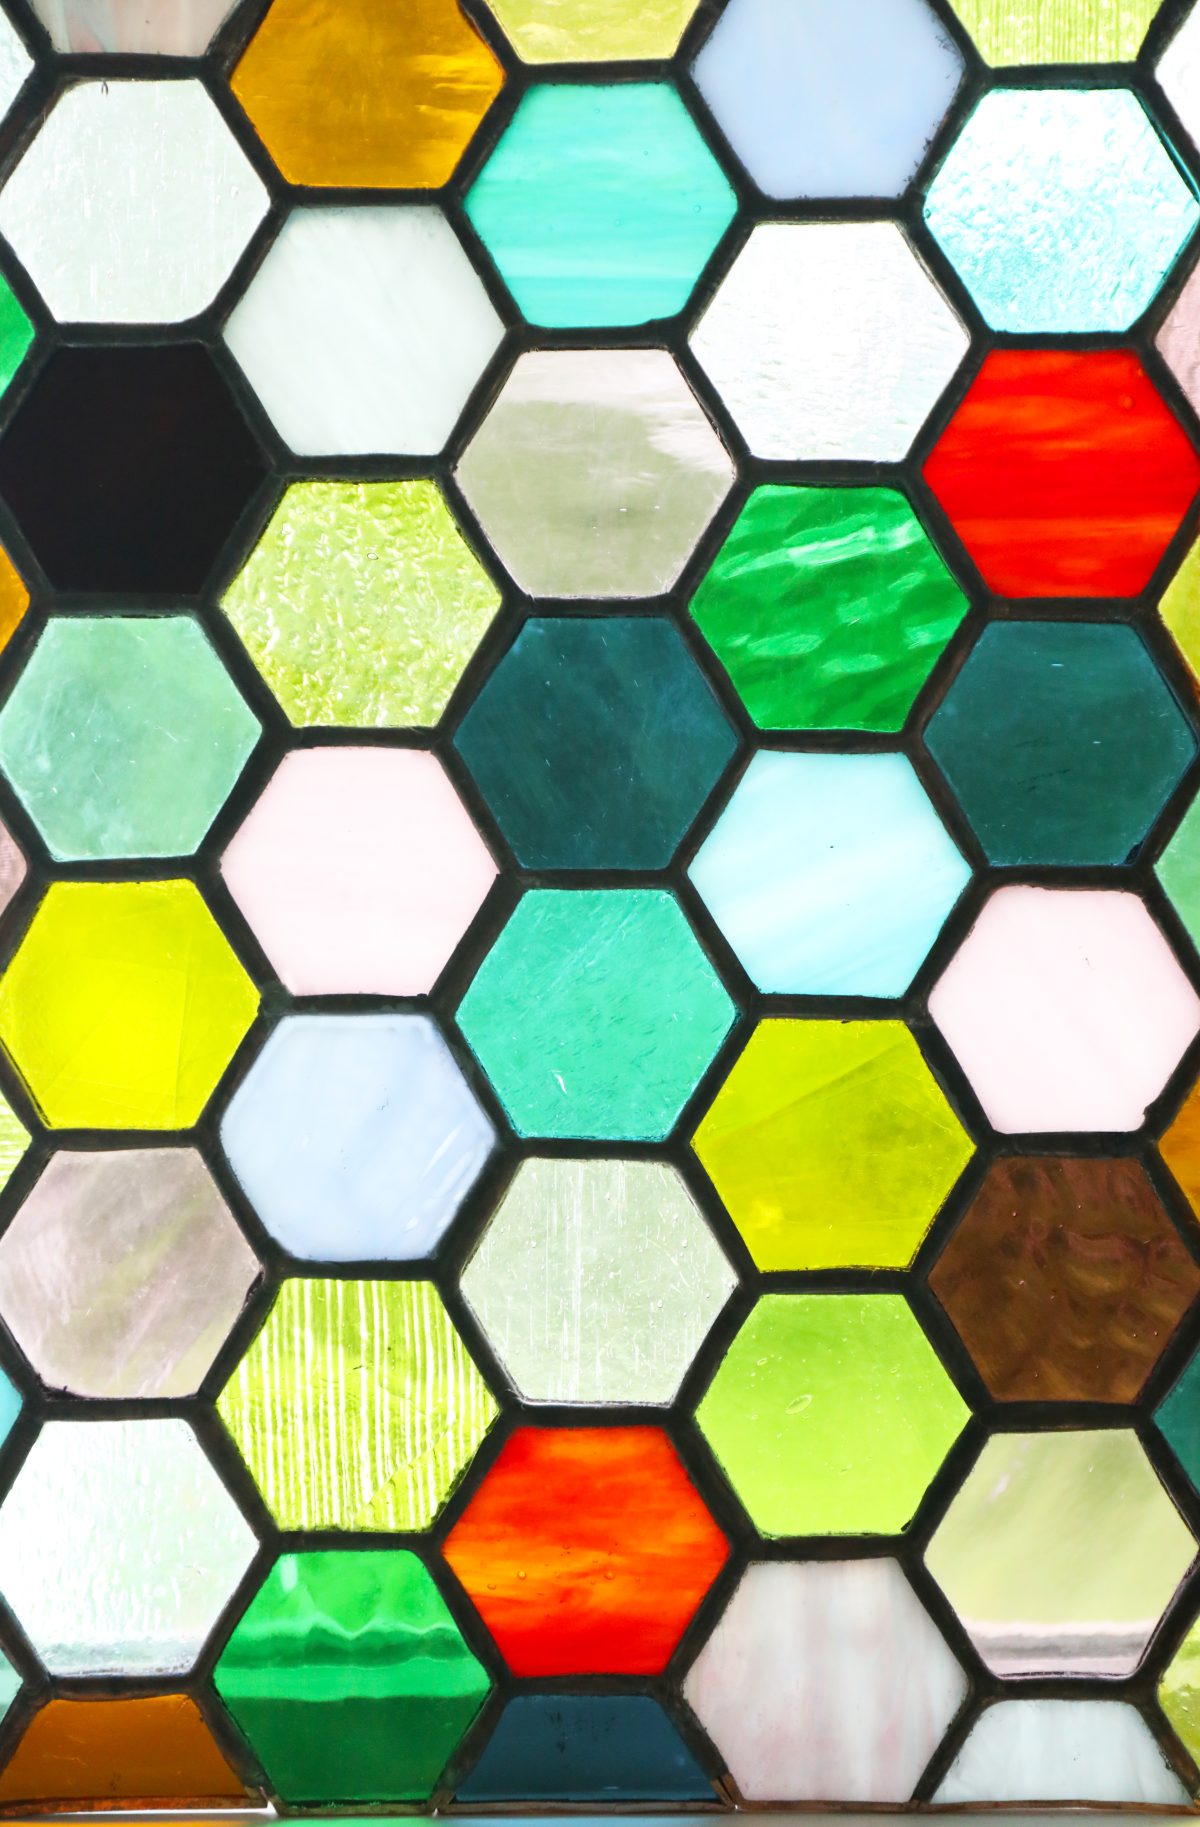
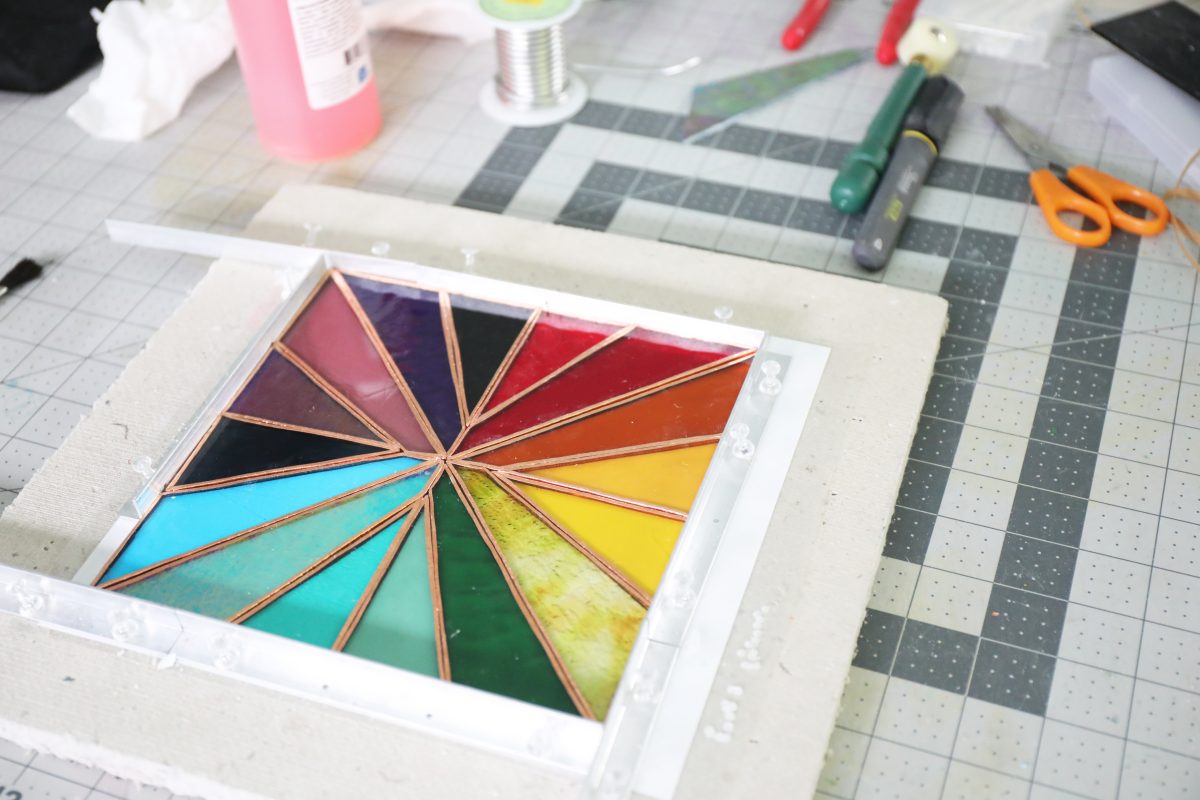
The process of stained glass doesn’t involve actually staining or painting the glass. The process can be broken down into some basic steps, which I’ll cover in the future. It basically involves cutting and fitting the glass into a pre-determined template, and then soldering the glass together. There are no limits to your fun, colorful designs. Note that there are different processes, and this is just one of them.
The start up cost is probably in the medium to high range when it comes to hobbies. I’m no stranger to oil painting, and I thought that was pretty pricey. Fortunately, you may have some of the supplies already in your home. There are some key elements you’ll definitely need, and some that are considered a luxury. And as my {wise} instructor Bonnie said, “the most expensive investment you’ll make, will be your glass.”
She wasn’t kidding.
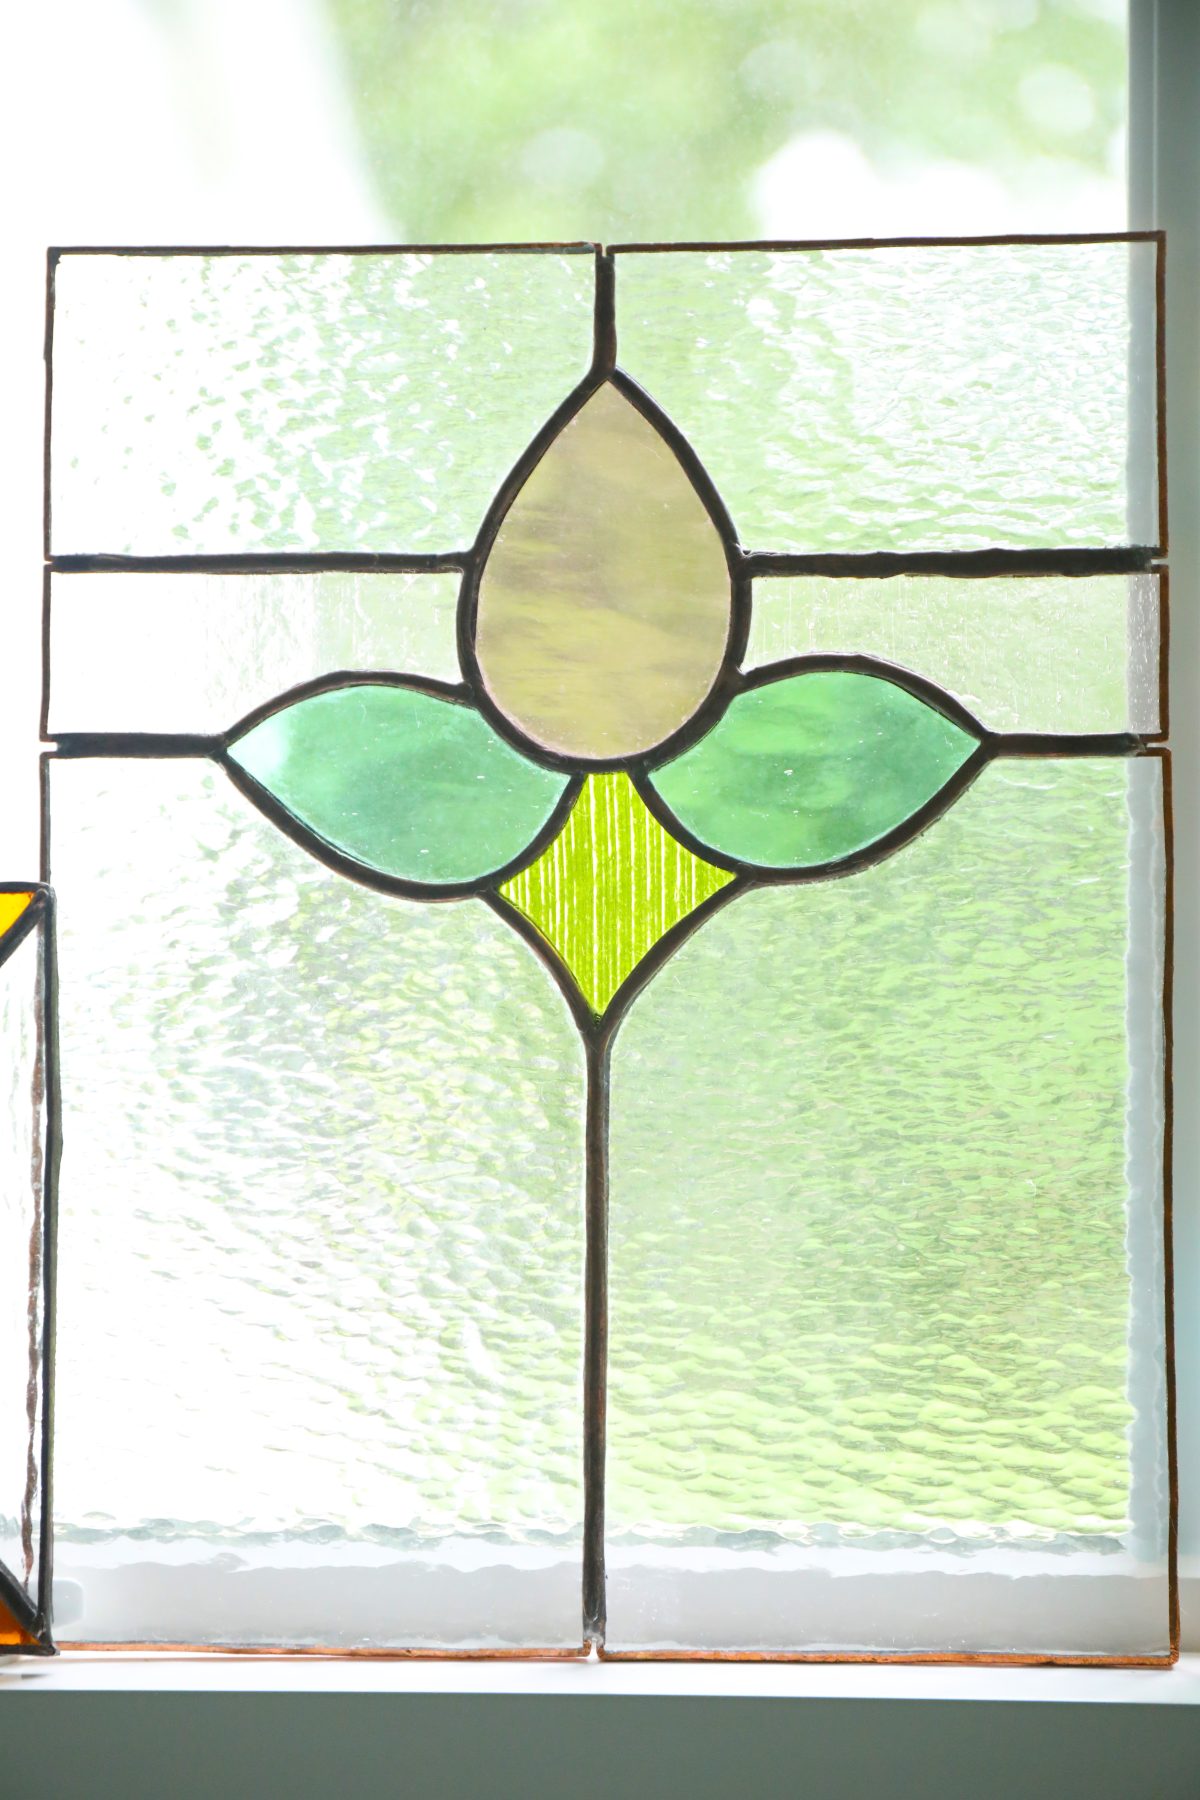
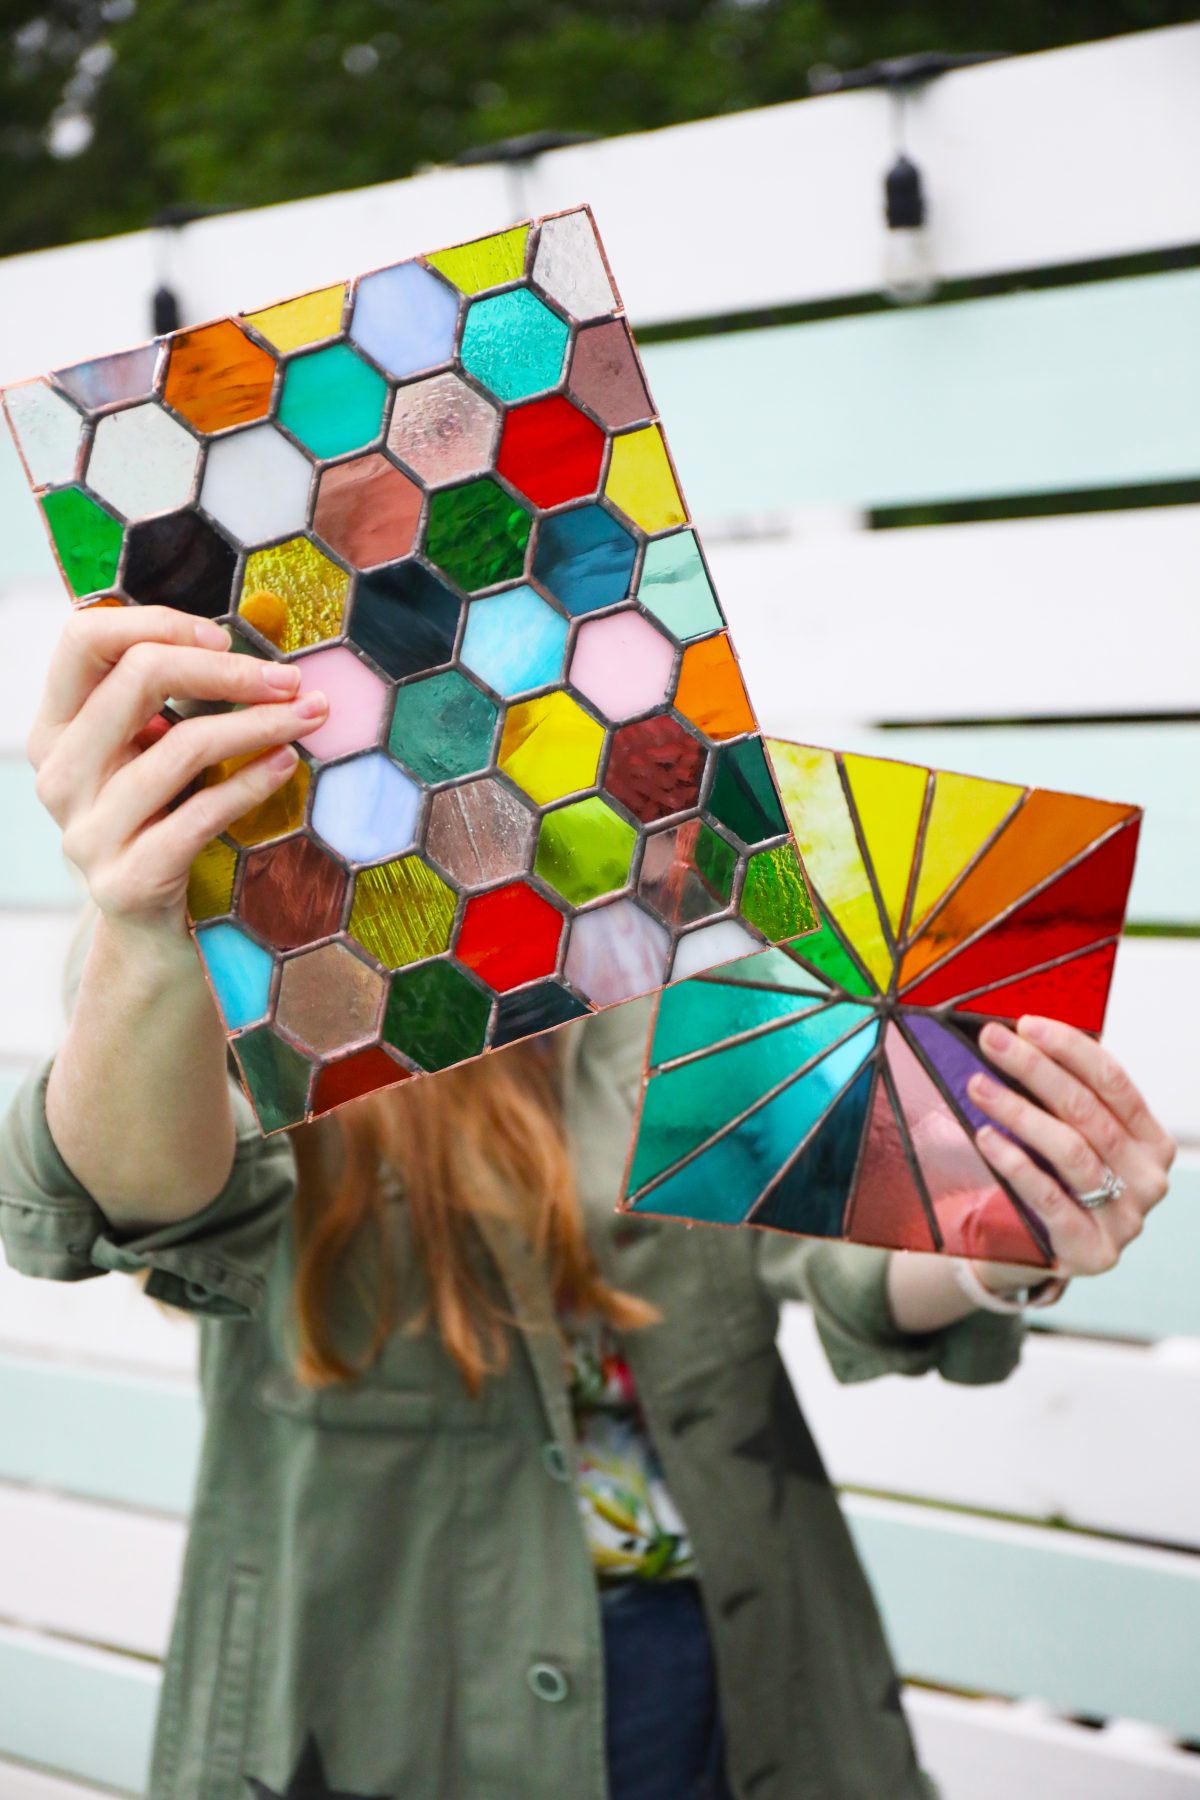
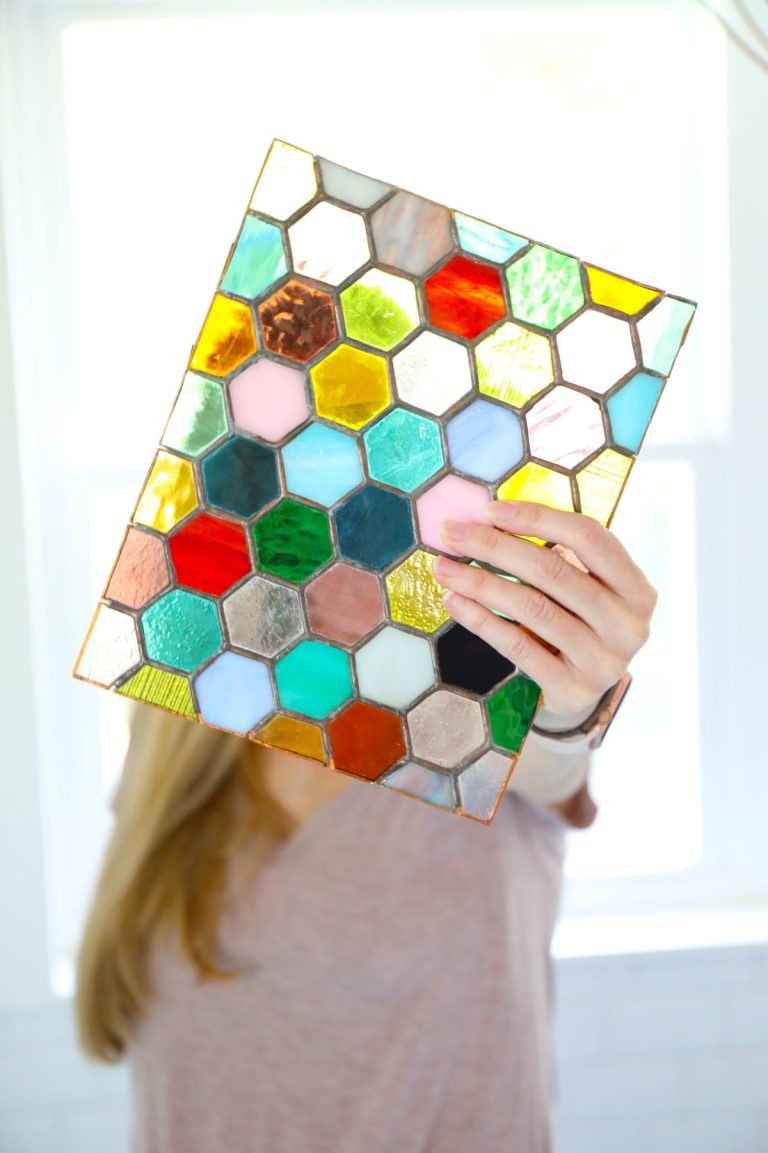
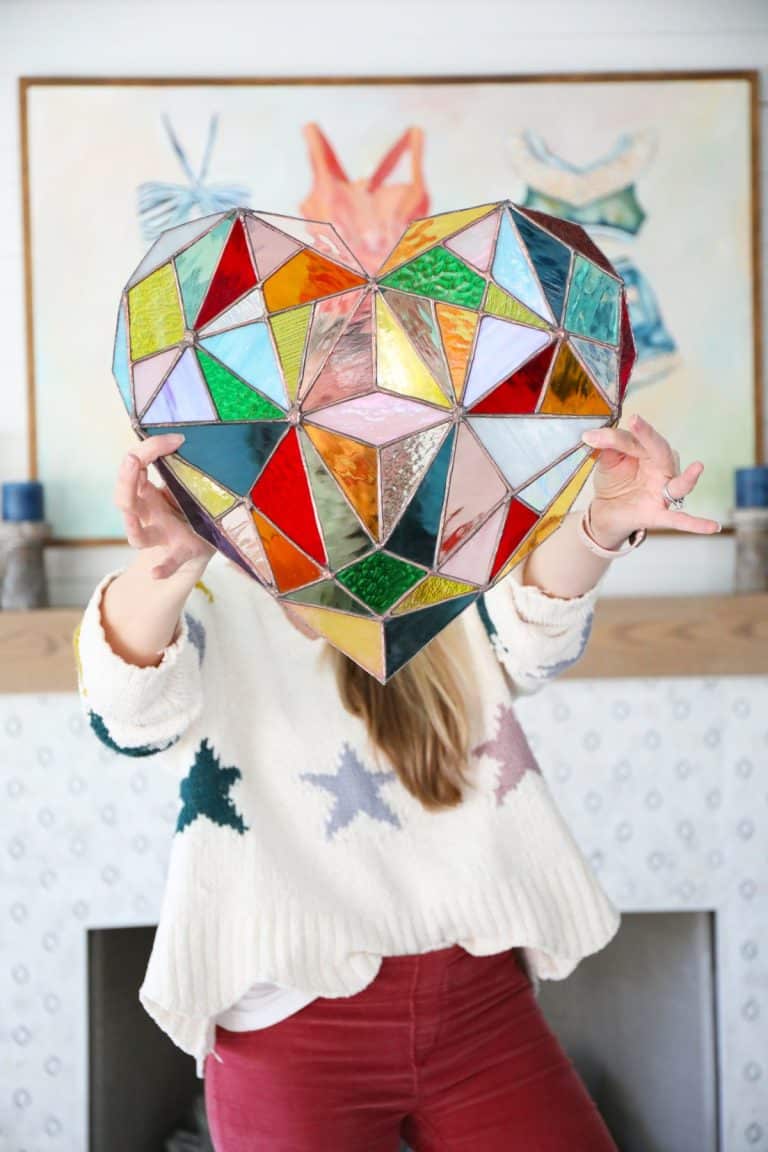
These pieces are some recent ones I’ve taken on for practice, still waiting to be framed.
There are ways around it, with careful pricing online, and dutiful searching locally. So I thought it would be best to get started here, and give you guys plenty of time to scope it out, if you’re interested in following along here, with us.
Before we start, please review all safety points here. I think this article covers it perfectly on all things to consider when it comes to your safety and stained glass.
Space to work.
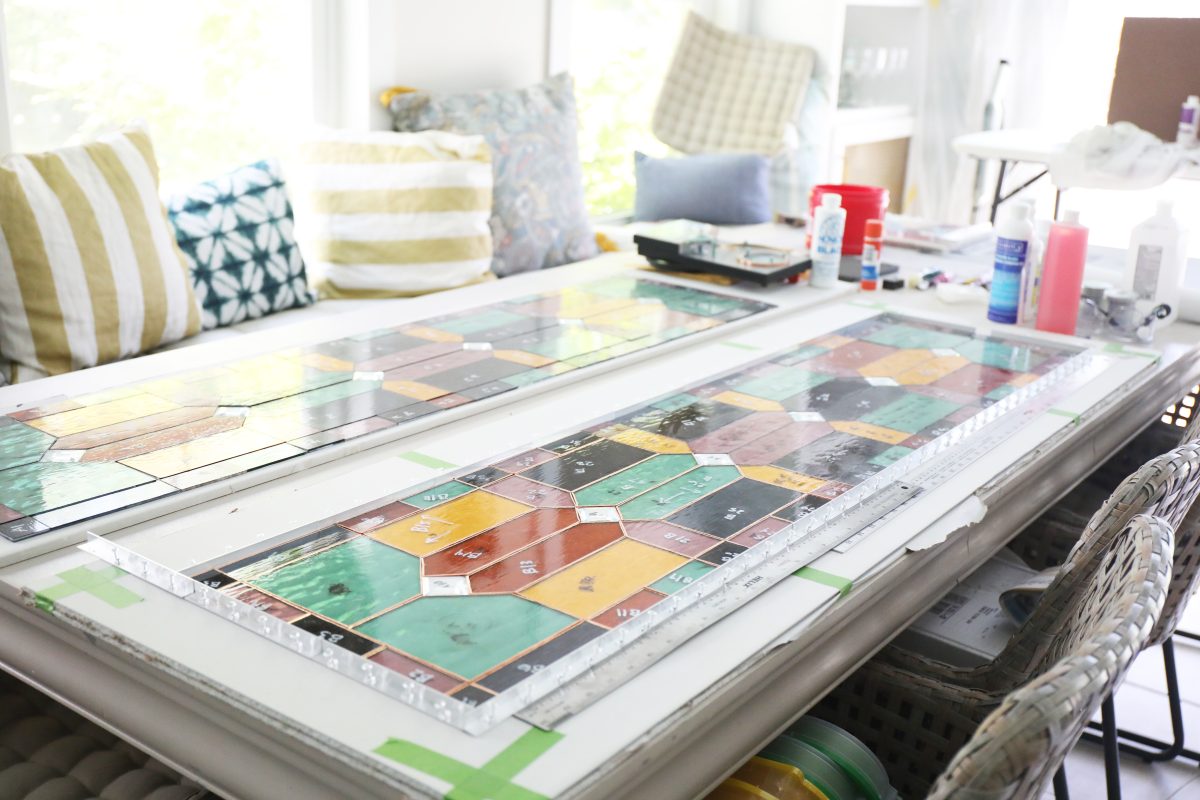
{Our pool room is a now a combo of stained glass and oil painting studio for me} which is just a sturdy table and definitely a small vacuum cleaner to get all those random shards. I also read that you’ll want a climate controlled space, because cold glass doesn’t cut well. Maybe a heating pad to warm it up in the winter months, if not.
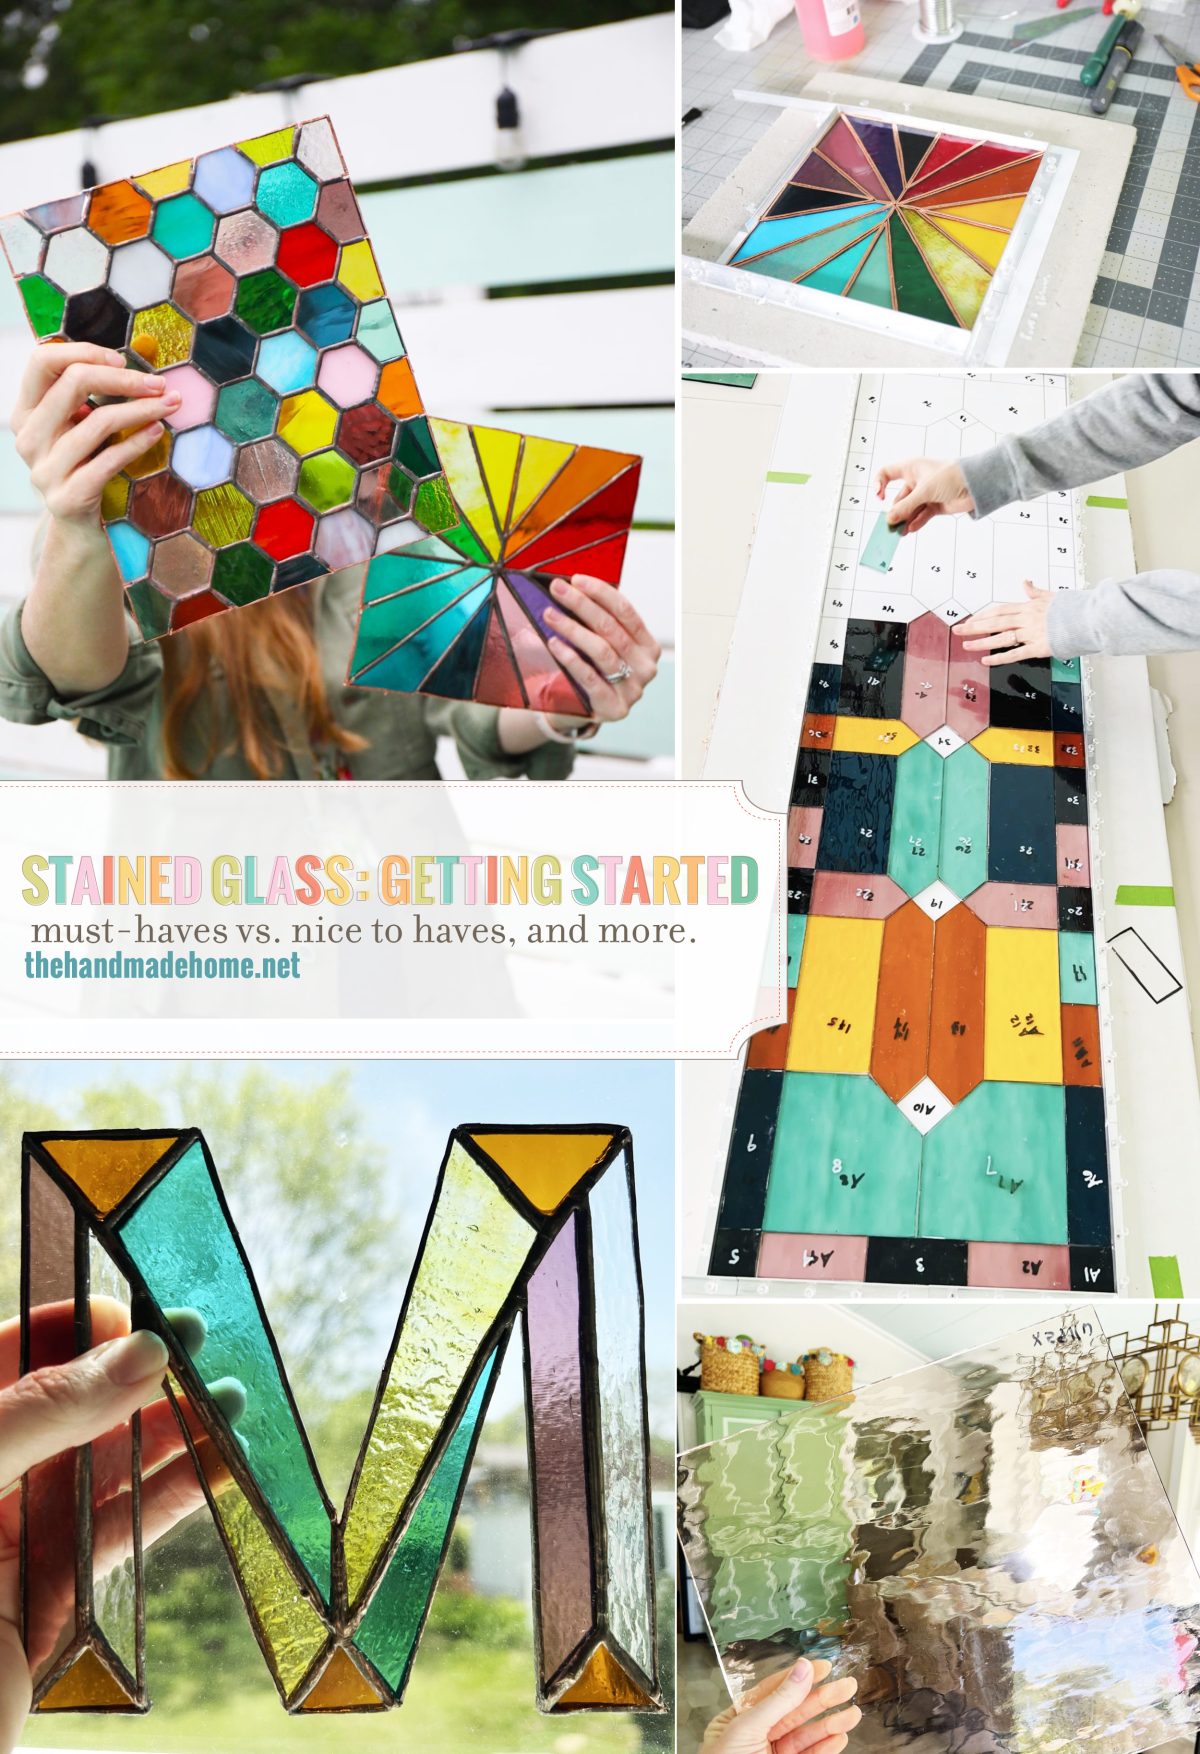
Here are a few supplies, along with my take on each one: I put it in list form to keep it simple, so the graphic below is just for reference and not complete. The list is. I also divided it into must haves vs. nice to haves. Here we go!

Must-haves:
• Transparency Sheets – here
• Scissors – here
• X-acto knife + blades – here + here
• Glue Stick + Sharpie – here + here
• Rubbing Alcohol + Paper towels {here and here}
• Patterns of choice – I’ll be providing free ones too. – See the entire series so far, here.
• Ruler – here
• Large self-healing cutting mat {Trust me, you’ll be glad you have it.}
• Bandaids The cuts aren’t bad. You’ll just be glad to have some bandaids nearby.
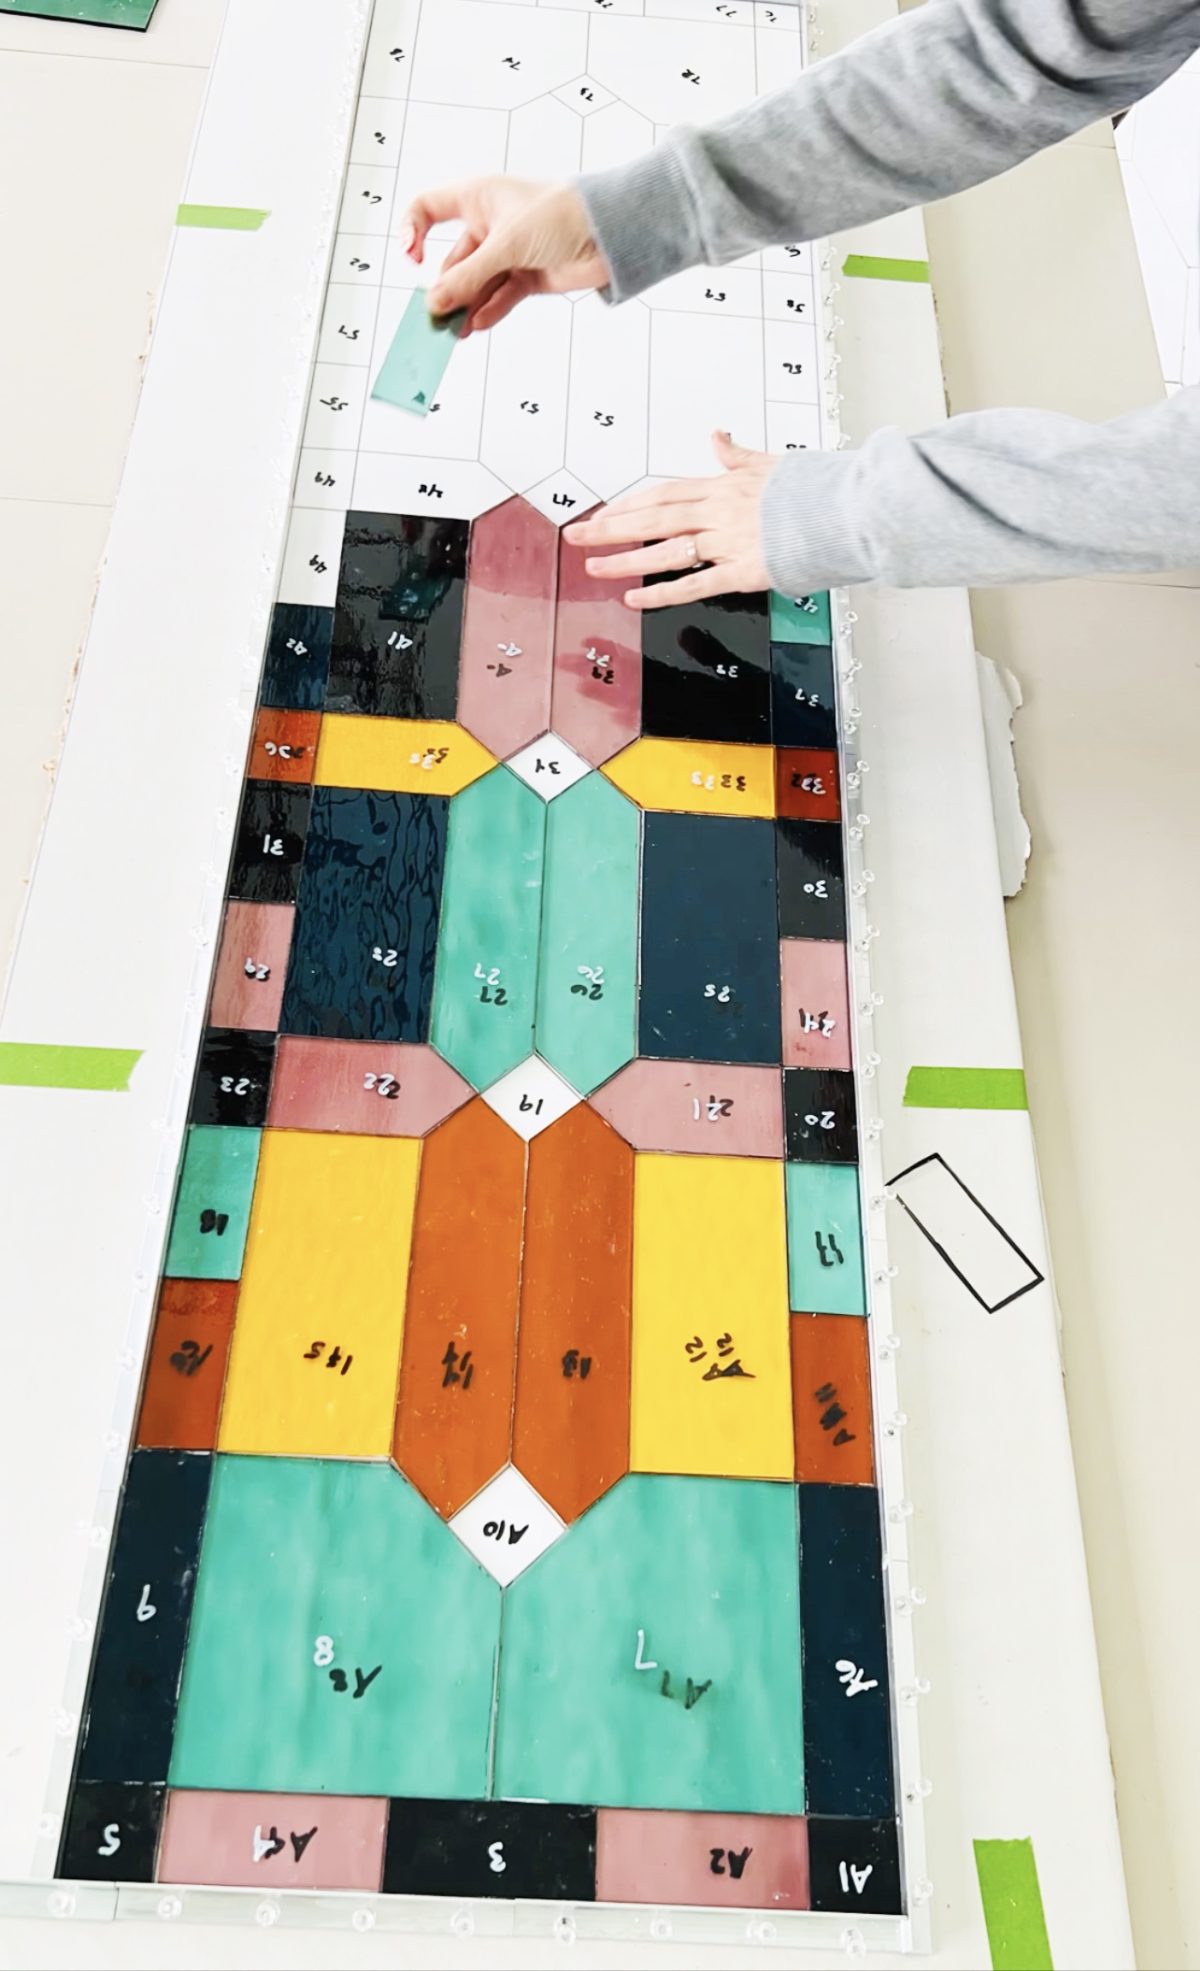
• Workable surface A surface to work on: I use drywall slabs {as instructed by my teacher} for an affordable surface – it protects the table underneath and you’ll want to use it to hold your piece in place. These also work well for smaller projects.
• Layout block system for stained glass. 6 inch. Order as many as you’ll need, especially for larger pieces.
• Glass Running Pliers + Grozer Pliers + Grip Oil Feed Glass Cutter Kit. You can purchase all three of these in a pack, here. But so far a game changer has been the toyo cutter.
• Glass Cutting Oil. This goes in your glass cutter – it helps with the glass
• Right angle or T-Square + Small Hammer. You’ll use this with your layout system to make sure your framed design is square {here + here}
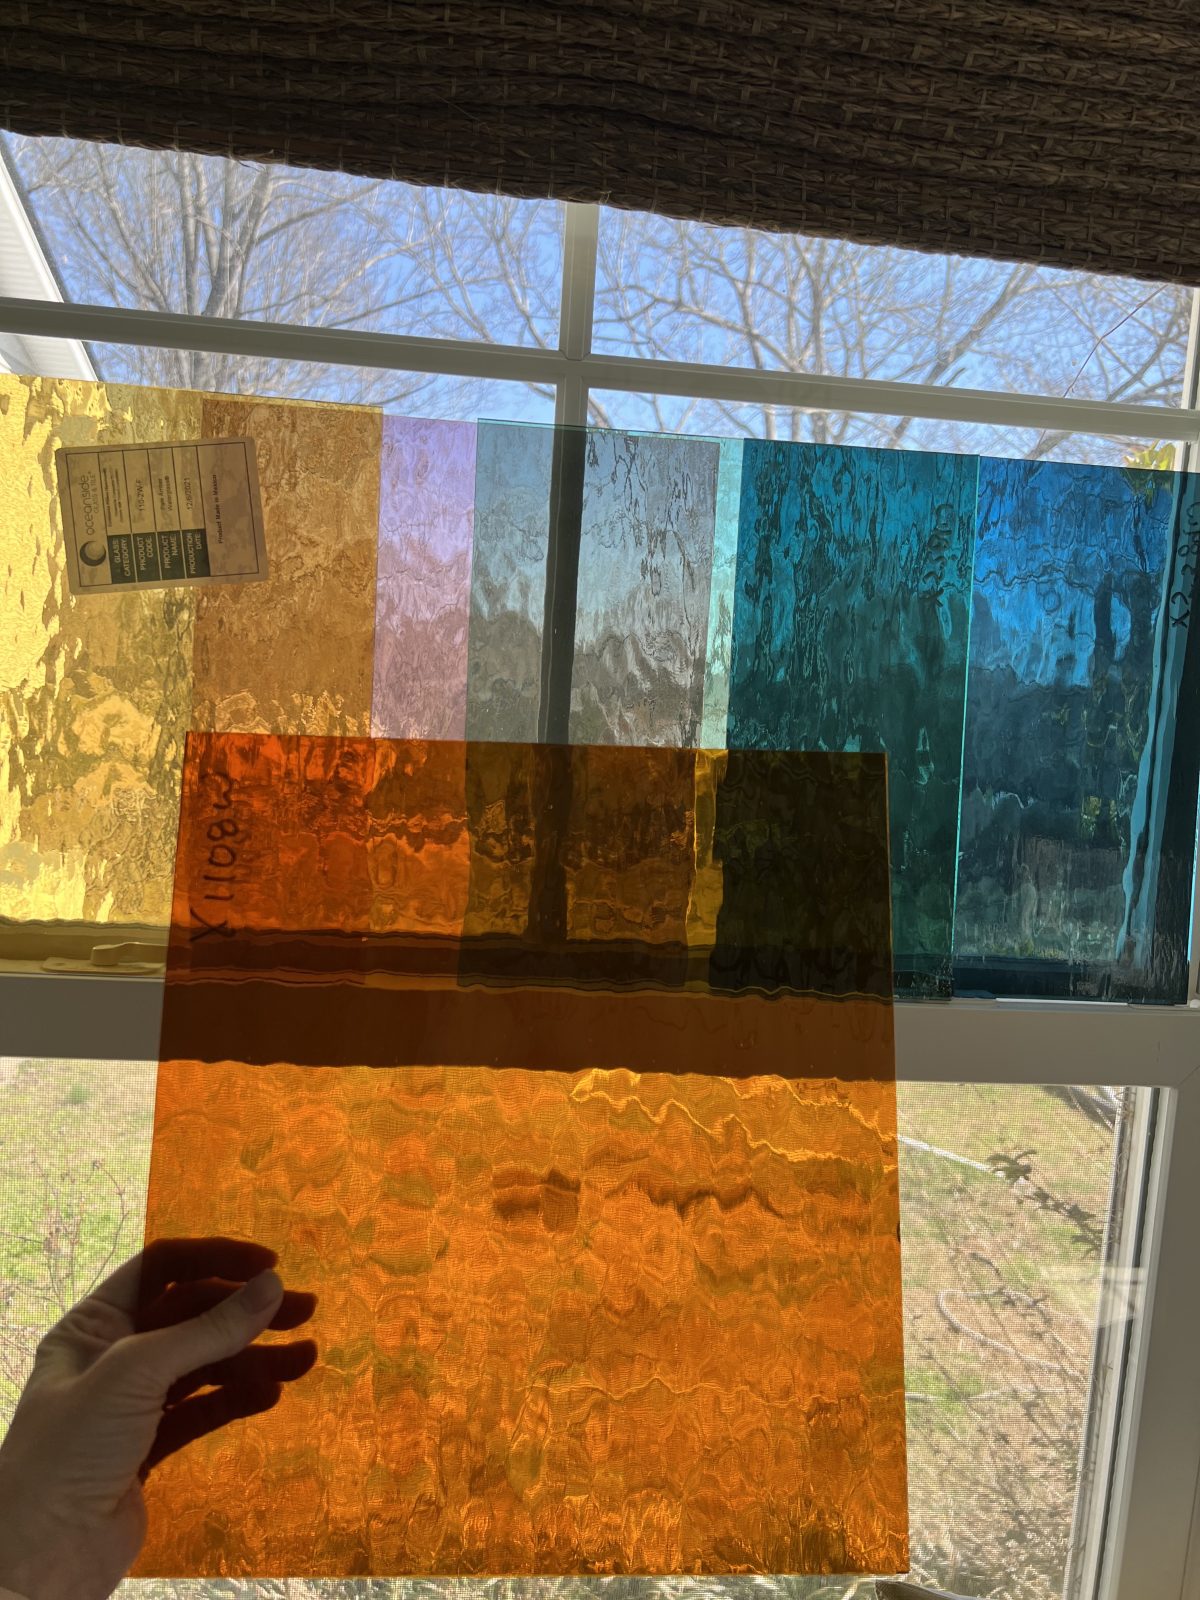
• Foil. I prefer this one for now. Make sure the both sides are copper 7/32 is the most versatile. I found prices better locally.
• Foil Burnisher. Here.
• Pencil. It helps with burnishing.
• Grinder. I’ll upgrade to an inland later, but this is the brand that was recommended to me. I grabbed one at Hobby Lobby because I was so excited to get started. I’d also recommend piecing together some type of splash shield for behind it. I have a makeshift one from cardboard.
• Grinder Bits. Check to make sure that your extra bits correlate with your grinder. I made that mistake once. You’ll want to adjust and then replace every few projects to keep it fresh.
• Grinder Coolant. Helps keep your grinder bit moving + prevents seizing.
• Safety Goggles. Maybe these are over the top and safety glasses will do, but when grinding, I don’t mess around. It’s a simple measure I can take to protect my eyes.
• Hakko Soldering Iron. It’s a great piece for what you’ll need. My instructor recommended wearing a mask when working with this. She wasn’t wrong. You’ll also want to add this.
• Solder – 60/40 – this is what bonds the glass together.
• Solder Smoke Absorber – always use in a well-ventilated area but this also helps.
• Chemicals to finish it all off:
• Rags + q-tips
• Clarity Stained Glass Finishing Compound
• Ruby fluid Flux
• Kwik Clean
• Novacan Super Brite Copper Patina {available in other finishes, too. Pick your own color of choice!}
• Copper Came. 3/8″ Adj U Copper Came – 6 Ft Piece – This is what you will frame your piece with when finished.
• Saw. Access to a saw for your frame
• Fid pack. This will help you get your came over your finished piece
Nice-To-Haves: {Not included in the board}
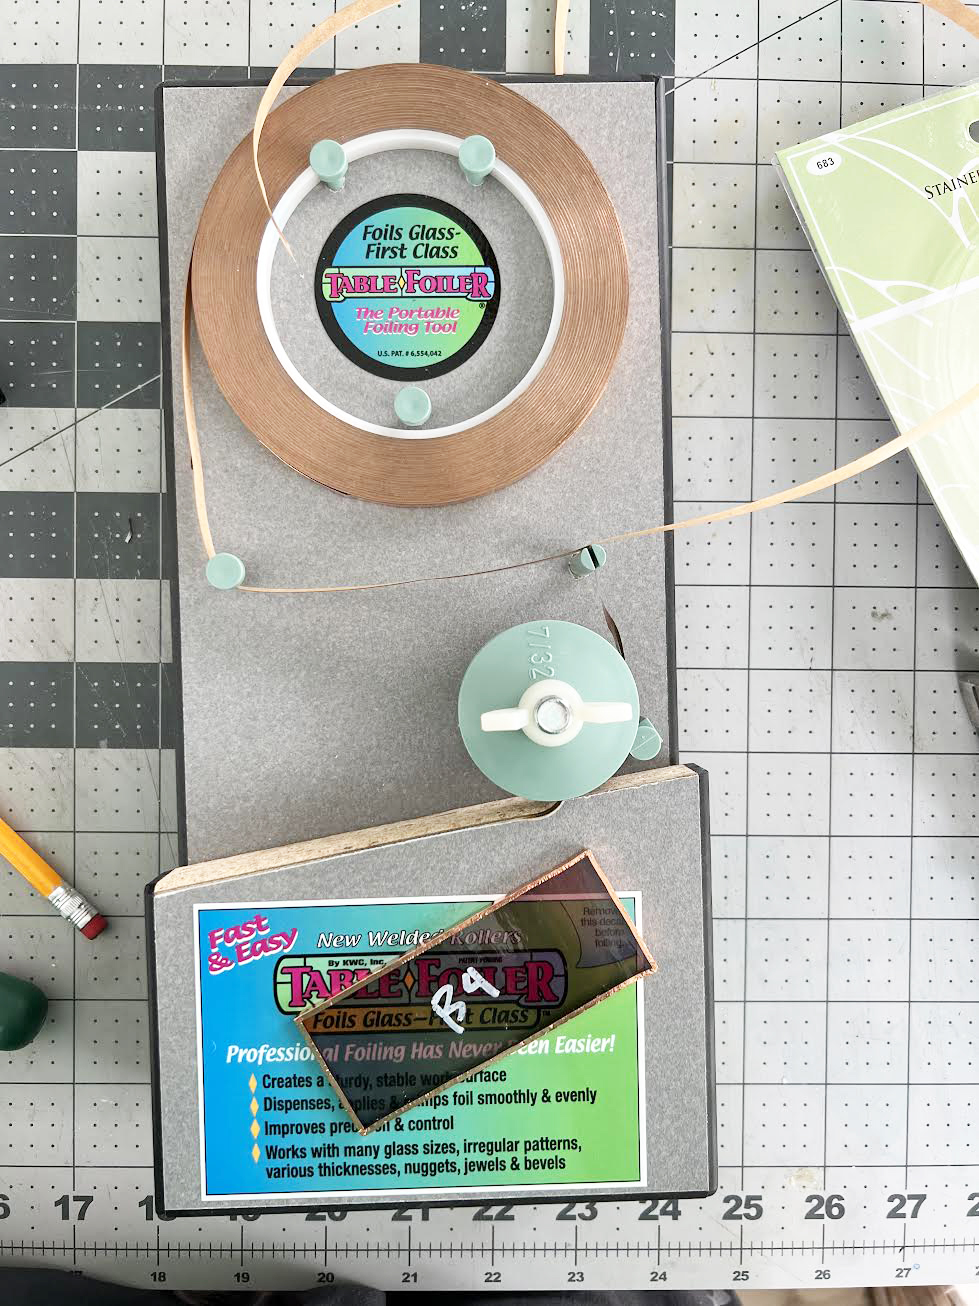
Table foiler. I would actually put this in must haves, because GAME CHANGER. Foiling can make you go a little cross-eyed, and you can definitely do stained glass without this. It just cuts your time in half. And actually makes foiling kinda fun.
Silicone Trivets. These trivets Can actually catch the extra solder while you work so it can be reused again.
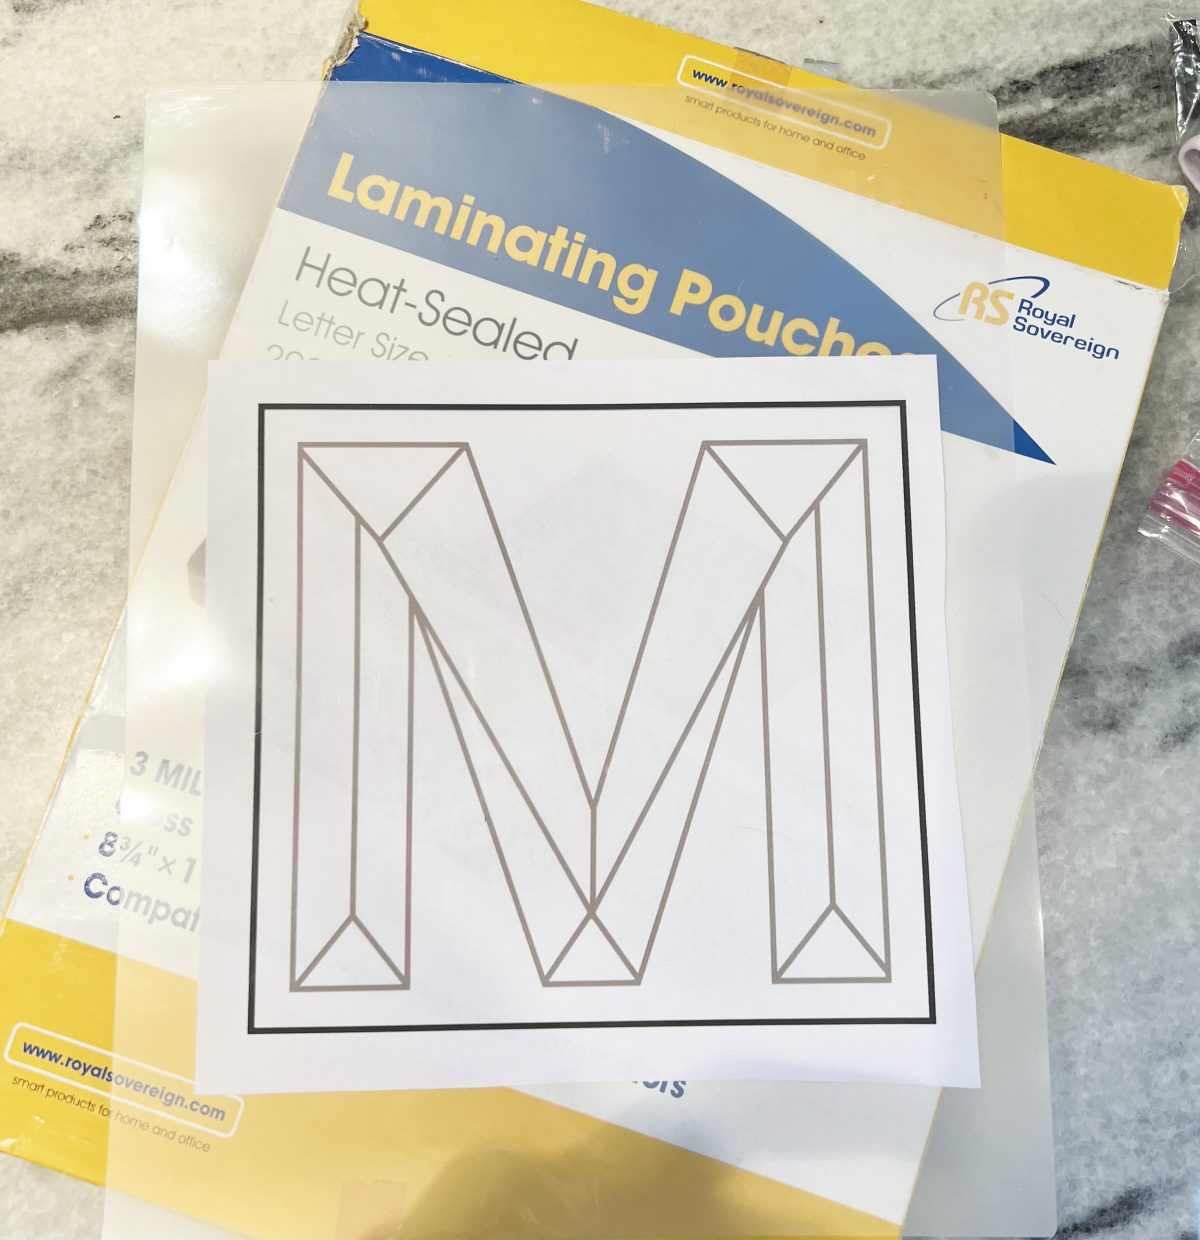
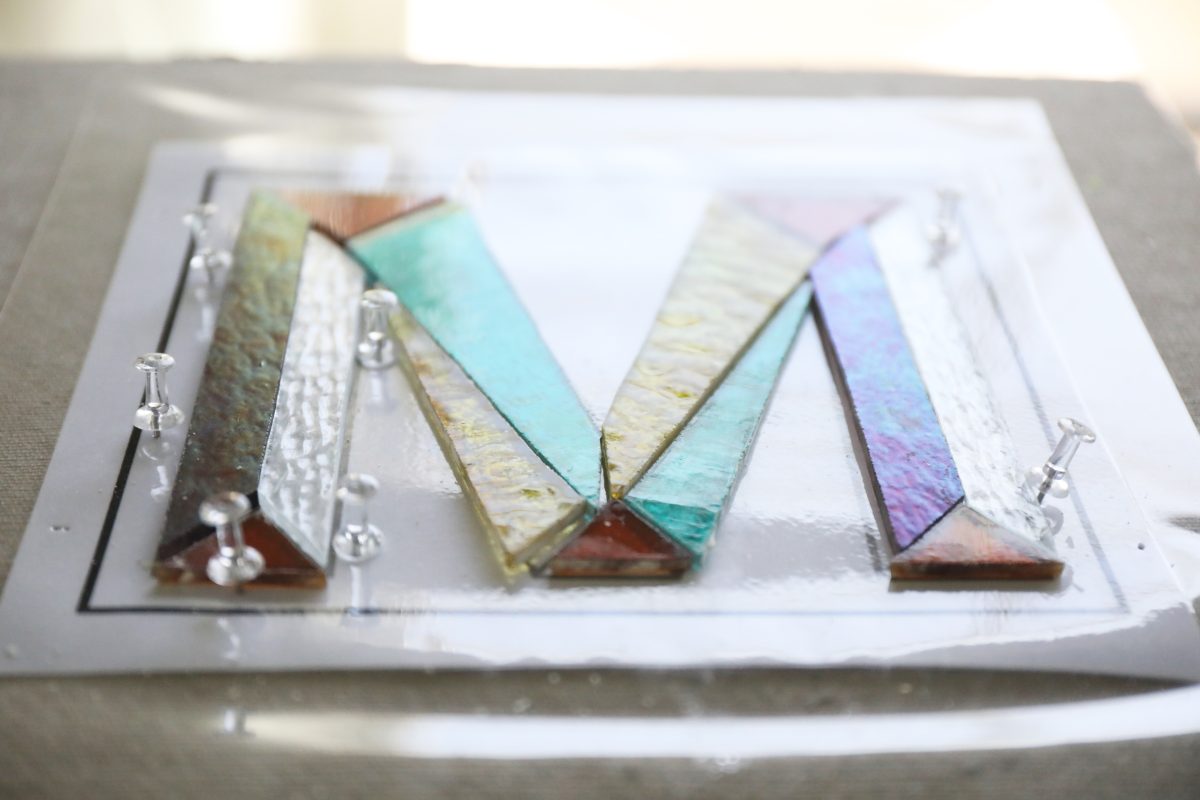
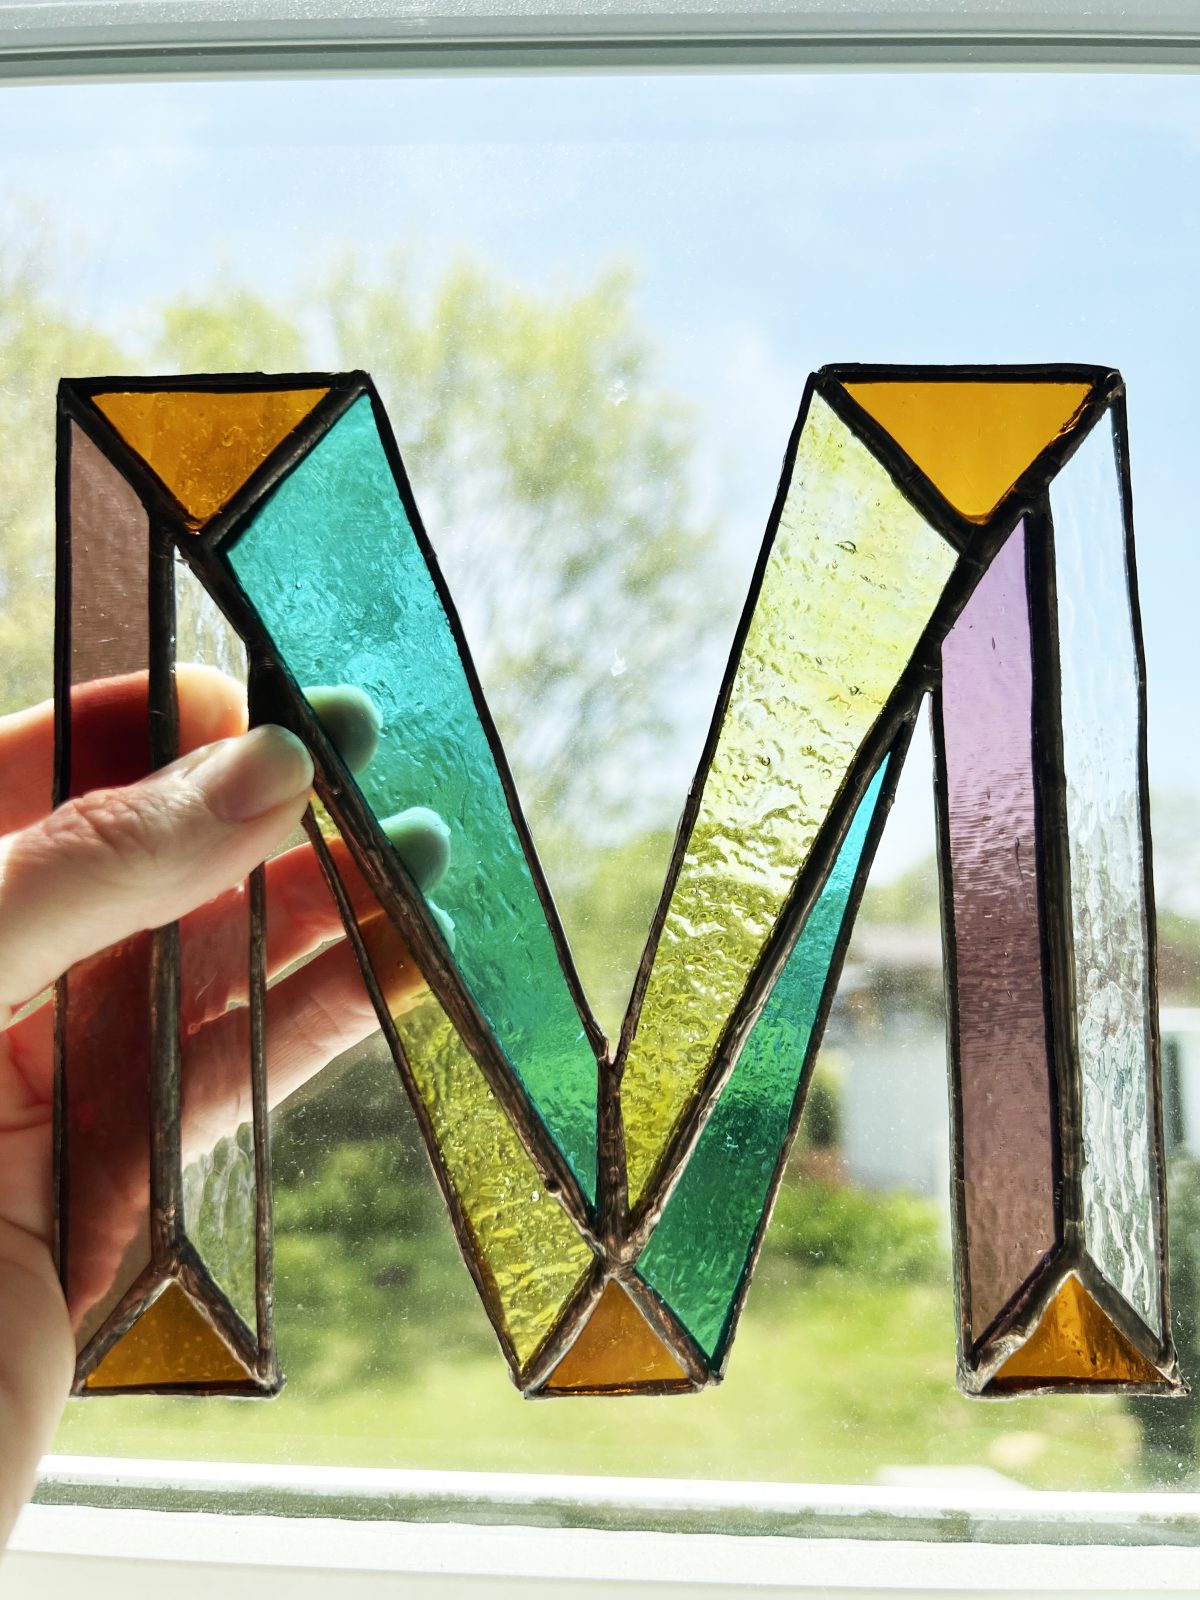
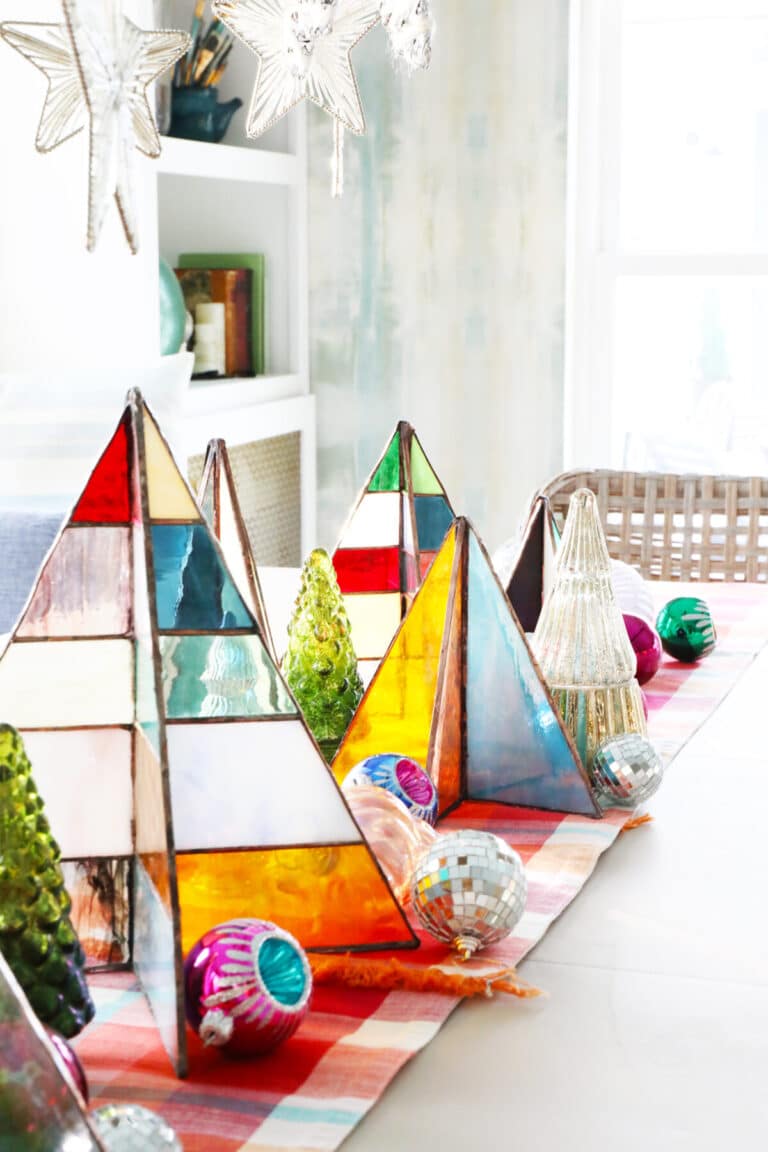
definitely still fine tuning this one – but I’m working on monogram templates!
Small laminator. I have one leftover from our homeschooling days, but the local Fed Ex will also work too, especially for those really large pieces I know you’ll be tackling in the future. + Laminating pouches.
Note: You can also cover your template in a piece of transparency if it’s small enough.
Saw. I was ready to take my stained glass game up a notch, so after doing a little research, I decided this was the best saw for me. It’s not something that you use all the time, and it really helps cut down on all that grinding time when you do need it. I use it for really difficult angles and it’s just my new favorite toy.
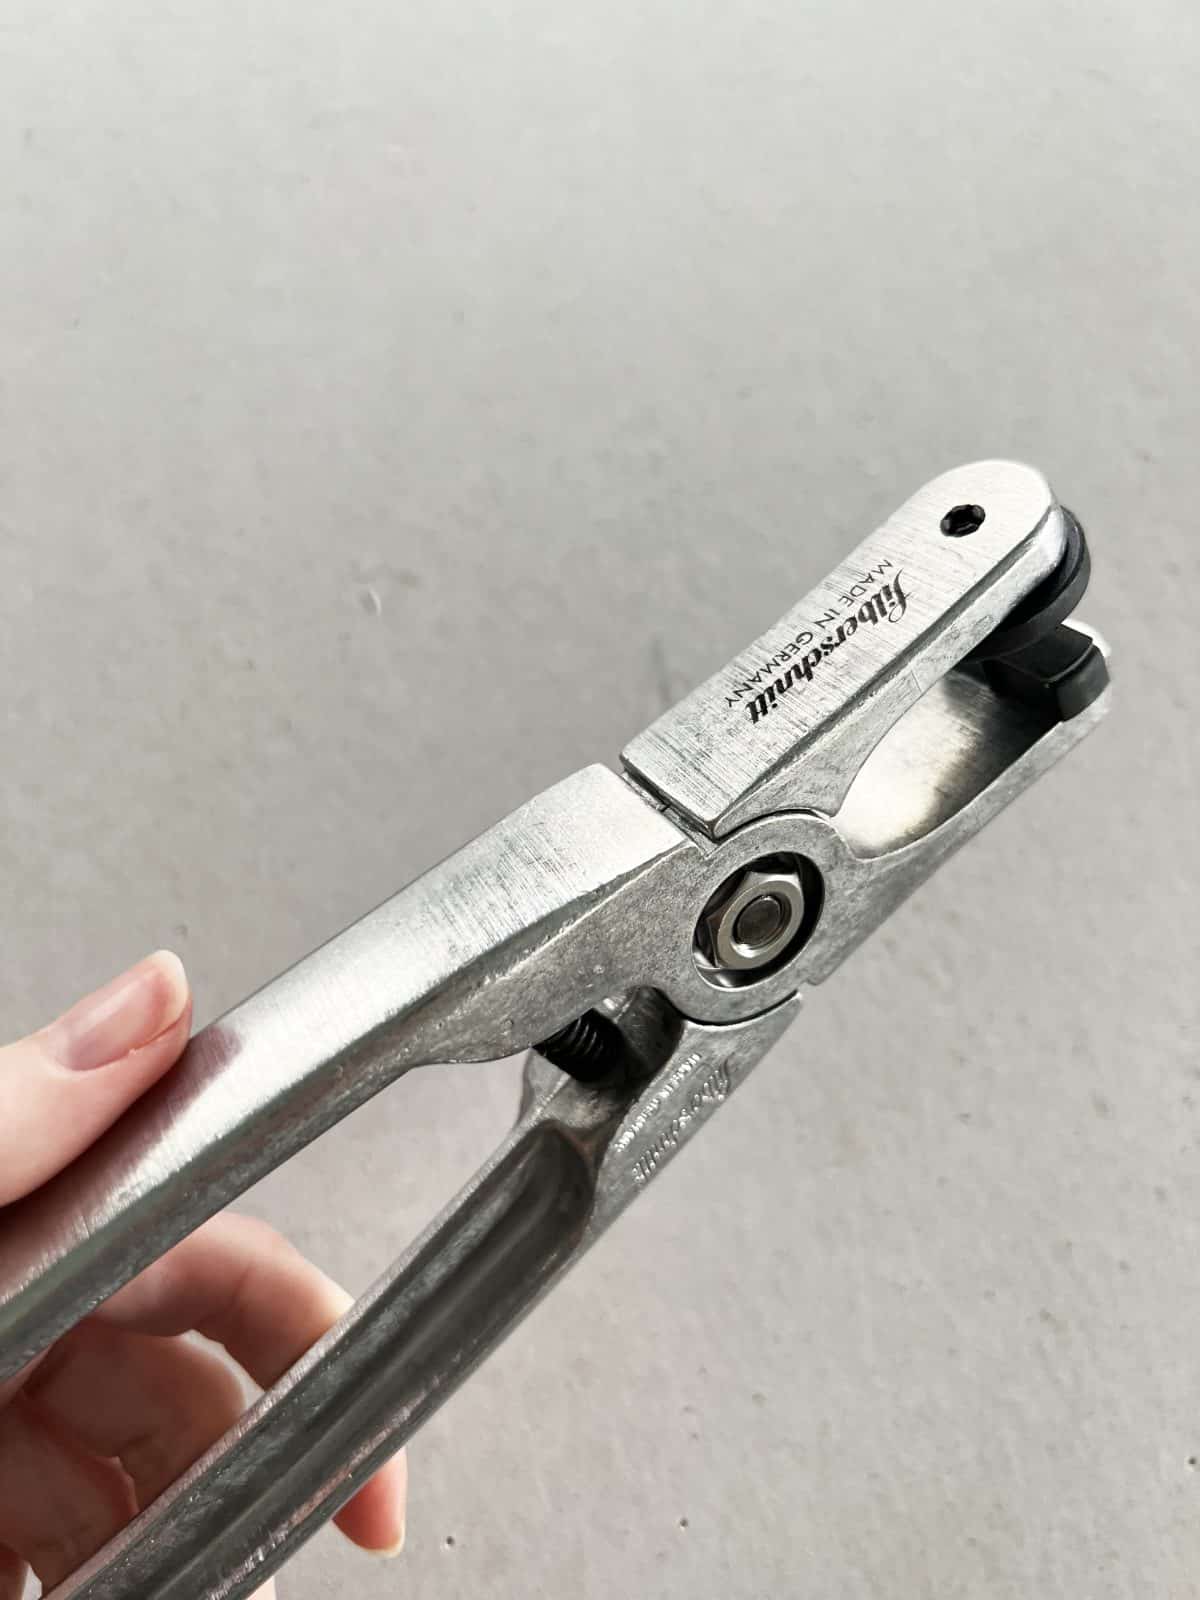
Silberschnitt Running Pliers—I frequent a lot of Facebook groups for all things stained glass, and these are basically the Luxury version of all things running pliers. They’re lightweight, easy to use, and really handy at those awkward angles. If you’re thinking of leveling up, definitely check out these pliers.
And for more…
Glass organizer. Something to hold your glass. – there are a ton of options
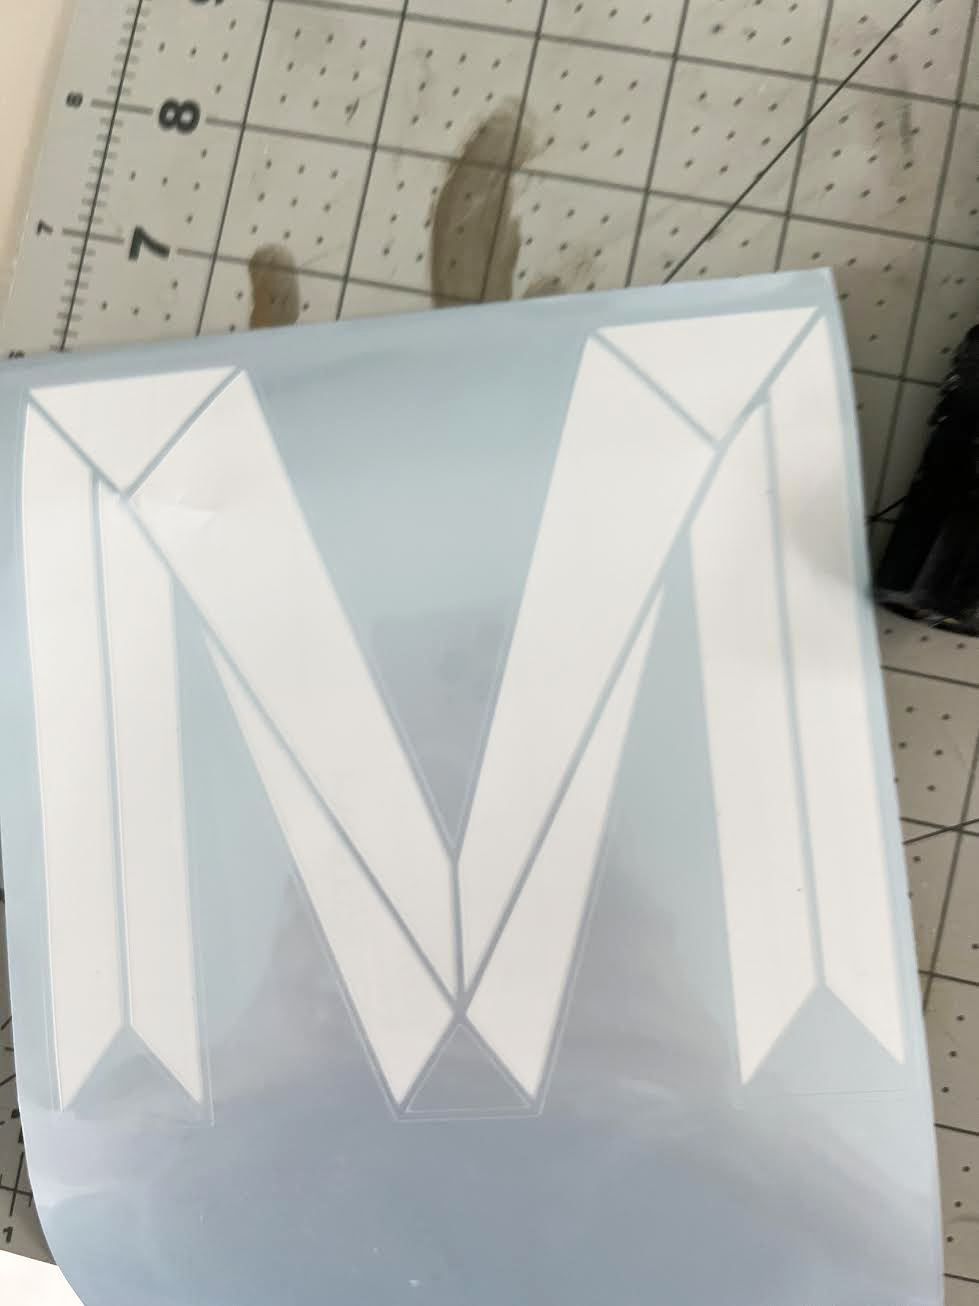
Cricut. A cricut is also helpful with templates, in case you were wondering where on earth this one comes in. But definitely not necessary. More of a luxury. I’ll be honest… taking on all of this at once is a lot, so just hold that idea for now, if you don’t own one. If you DO already own one, it’s a game changer for tracing and cutting those templates.
Stay tuned, because that will probably be a topic I cover all on my own, if you’re interested. Note: this only works with smaller templates in the cutting mat size {12 x 12} realm.
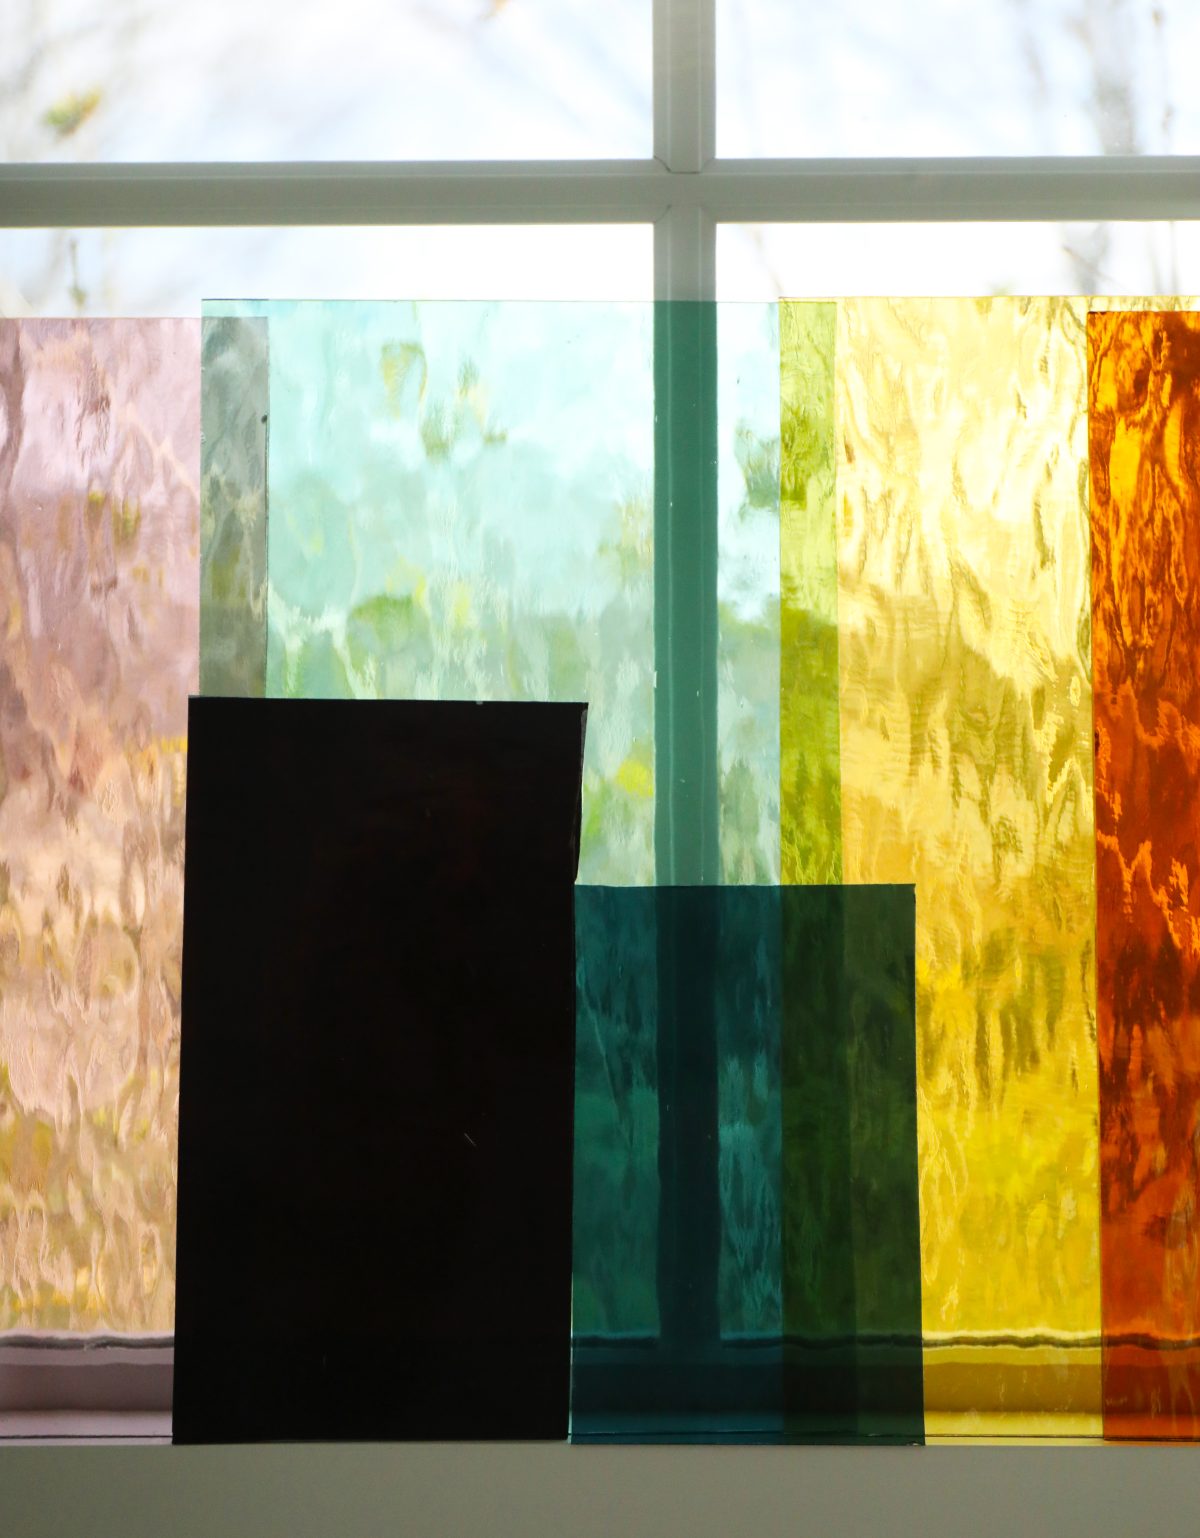
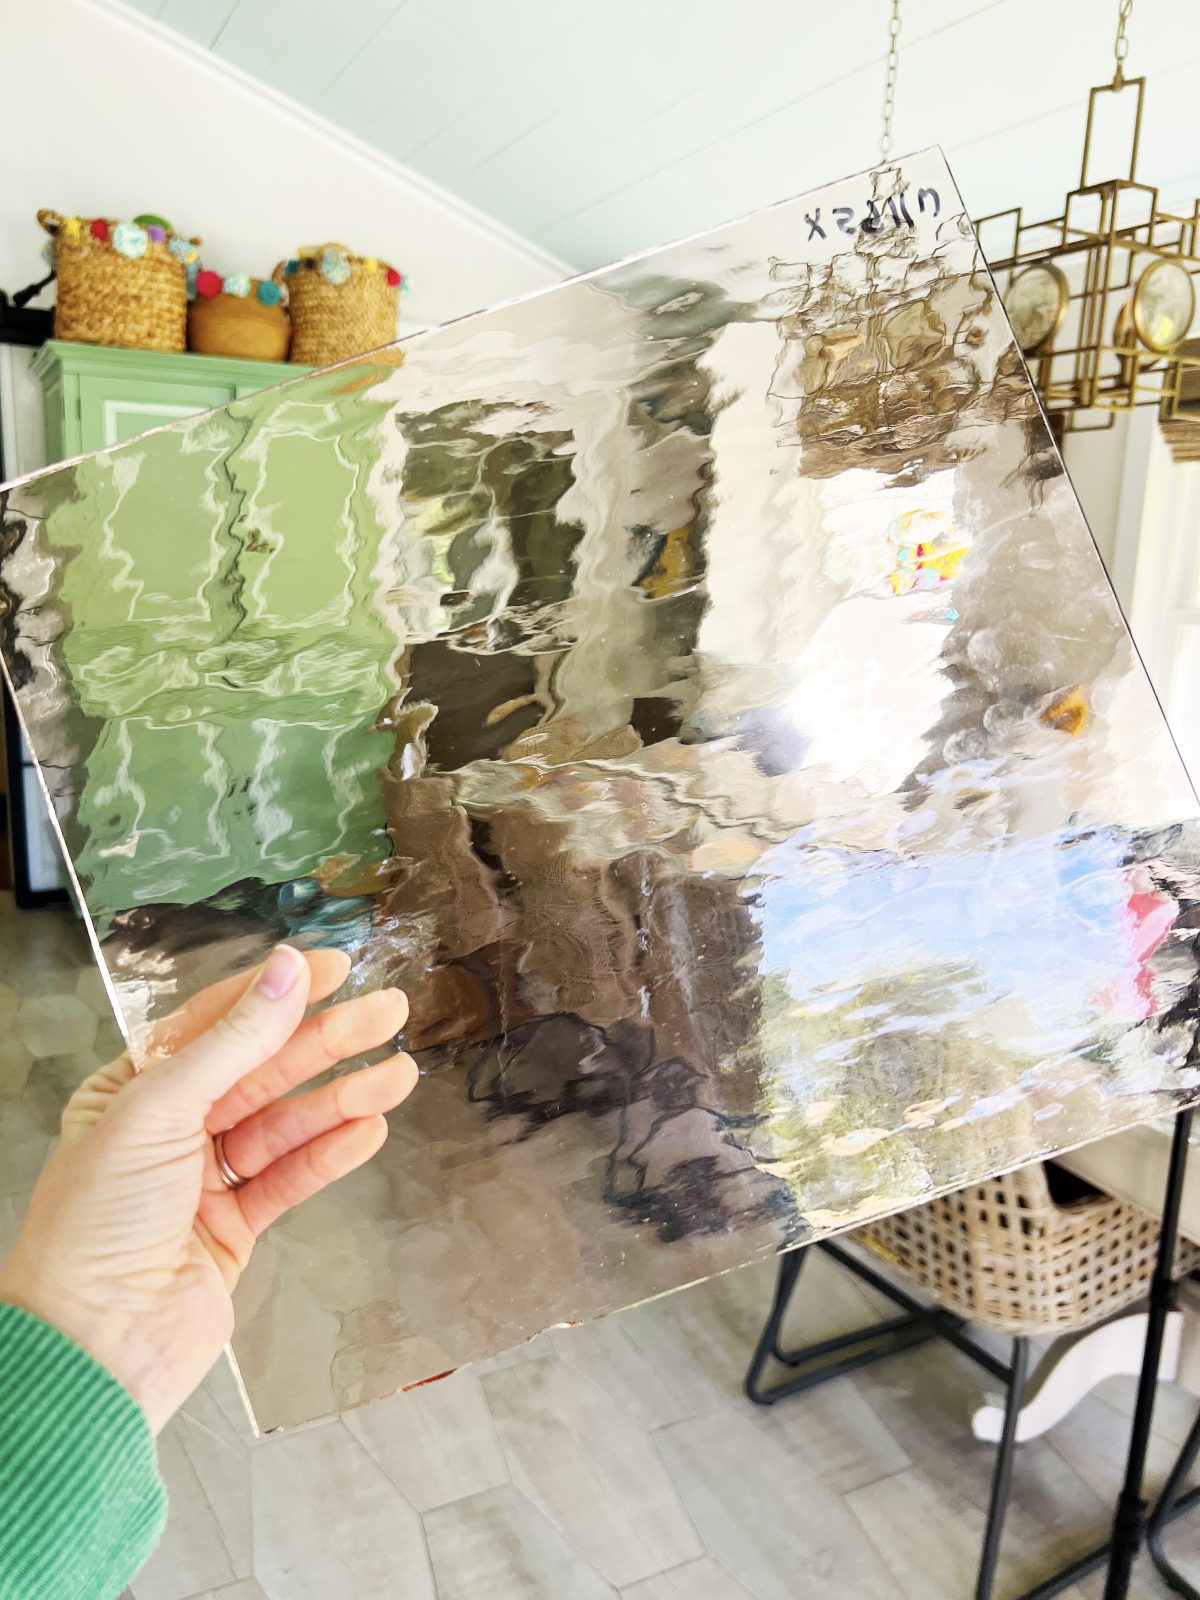
Glass sources: Glass is pricey. I’d look everywhere. My instructor recommended Delphi Glass, and I have been nothing but thrilled with them so far, especially for my large door project I’m currently working on. Some good practice glass can be found locally at Hobby Lobby, but I’ve also found some nice scrap pieces on Etsy. I’d also recommend searching Facebook Marketplace, which I do regularly. You never know when someone locally is going to pitch their late loved ones collection, or they never took it up like they thought it would, and they just want to see it go to a good home. I’m still waiting for my glass windfall.
I also intermittently find good sources on amazon – here are a few: {1/2/3/4}

_______
I hope this helps give you guys an idea of where to start. In the future, I’ll be sharing a few how-tos for some simple ideas, as well as patterns that I come up with here, on my own. If you have any questions in the meantime, I’ll do my best to answer… but I hope to see you here, creating with me!
Do me a favor, and let me know what you’d like to know or see covered? I’d love to hear.
Have an inspired day!

I took a class and made three pieces from pre-existing patterns many years ago. I’ve been thinking I should take it back up again. I’d love to see show how to create your own patterns.
Hey! thanks so much for letting me know! I think I will cover some of that in our next basics post with breaking down the steps. ;}
I just texted my mom to see if she would teach me how to do all the stained glass once she retires this summer. She has all the equipment and a ton of glass leftover from a class she took.
Thank you for the inspiration and another excuse to learn something from my mom!
SCORE! Send pics! That’s amazing! Have so much fun. We’ll be covering some of the basics here, too, so I’d love to hear how it’s going for you!
Very informative. I have always wanted to learn stained glass.i thrifted some glass 2 yrs. Ago .I have new windows and have a perfect spot by the front door. I was afraid sounds to costly.could you possibly give me an almost for tools to get started?
Hey! I think you definitely need most of the must haves I listed, but you could also shop bundle deals and starter kits at places like amazon to give you an idea on if you like it or not. Hope that helps!
This was cool! Love it! Will try it out this weekend definitely! Thanks for sharing.
Wow found your page from a Google search and totally ecstatic that I found it!! You are so incredibly informative and helpful in starting out and even my mom who is seasoned in stained glass art is scouring and learning from your posts!! I randomly decided to do an old ceiling light housing from broken glass to new stained glass light fixture for the outside entry way of my mom’s garden. Instead of just throwing out an oldie, I wanted to make something different and unique!
Okay well sorry for the huge book chapter-like comment.
Thanks again for your posts and great eloquence and attention to details. Along with your helpful hints and suggestions to improve your time, stress, and budget haha.
Brandon, your comment made my day! I am so thrilled this is useful to someone! I want to see your projects when you’re finished – please send them my way! This is my new favorite hobby but unfortunately so time consuming I can only dive in as I have time. Happy creating!
Try Stained Glass Unlimited for those local to the Dallas Fort Worth area. We don’t do online sells but have a good selection of glass, tools and supplies to pick from.
yes
I’ve always wanted to do some stained glass pieces. About a month ago my family’s little country church was destroyed by a tornado. It was 200 years old. I picked up a lot of small pieces before I found the larger pieces still in tact and in great condition. I want to do some pieces for my family members and a few of the church members out of some of it. I am going to visit Amazon tonight to get my tools lined up. Can’t wait to get started and soak up all the knowledge I can from you!
I am so sorry about your loss but I am thrilled to see what you do!!!
I have run into an issue with the glass. When I took it outside to hose the dirt and mud off, small white spots appeared when the water hit it. I cannot get it off. I’ve tried vinegar, baking soda and even paint thinner. These spots were not there, or not visible until I hit it with the cold water out of the hose? Do you have any ideas, suggestions?
Hey! I am so sorry I do not have more of an experience with this kind of thing, but do check out this site here. I googled and it’s the first thing that popped up: something about lead in old glass? But this says it comes off easily so this must be different? Was it a quick temperature change?
Yes it was warm outside and the water from the hose was cold. I’m going to check out the site you recommend and see what I can find. Thanks for your help!
This was cool! Love it! Will try it out this weekend definitely! Thanks for sharing.
I’ve just taken my first stained glass class and I’m excited to try it on my own! Do you have any graves you recommend?
Hey Ashley! So excited for you! I am sorry but I do not think I know what you mean by “graves” as it pertains to glass? I am probably misunderstanding. Please let me know and I can hopefully point you in the right direction. ;} Happy creating!
Thanks for the information
Glad I stumbled upon your article. I took a class about a year or so back at an adult education program and made my own pattern out of one of my photographs. I still need to frame and clean it (life got in the way) but I am planning to set up a place I can make more pieces at my home. I think framing and finding a corner to make a workshop out of, is the hardest part.
You are aboslutely right! Those are the hardest parts! I can’t wait to see what you do!
Thank you so much for your post. I did luck into some glass and a grinder and have made a couple of mosaics with glass. My old craftsman house has always called out to me for a stained glass window in the bathroom. Thank you for re-inspiring me!
Oh my goodness Candi! Comments like this make my day. Please send along some photos of your creations when you’re up to it! I would love to see.
This is what I want to do in pur 1930s house! I would love to see your finished project
I have ALWAYS wanted to learn this! Thank you for this website and the articles. I can’t wait to dig into your website! I hope ypu have a tutorial on how to do this. Im so excited :).
Thank you so much, Angie! i can’t wait to see what you do! Please send your projects my way!
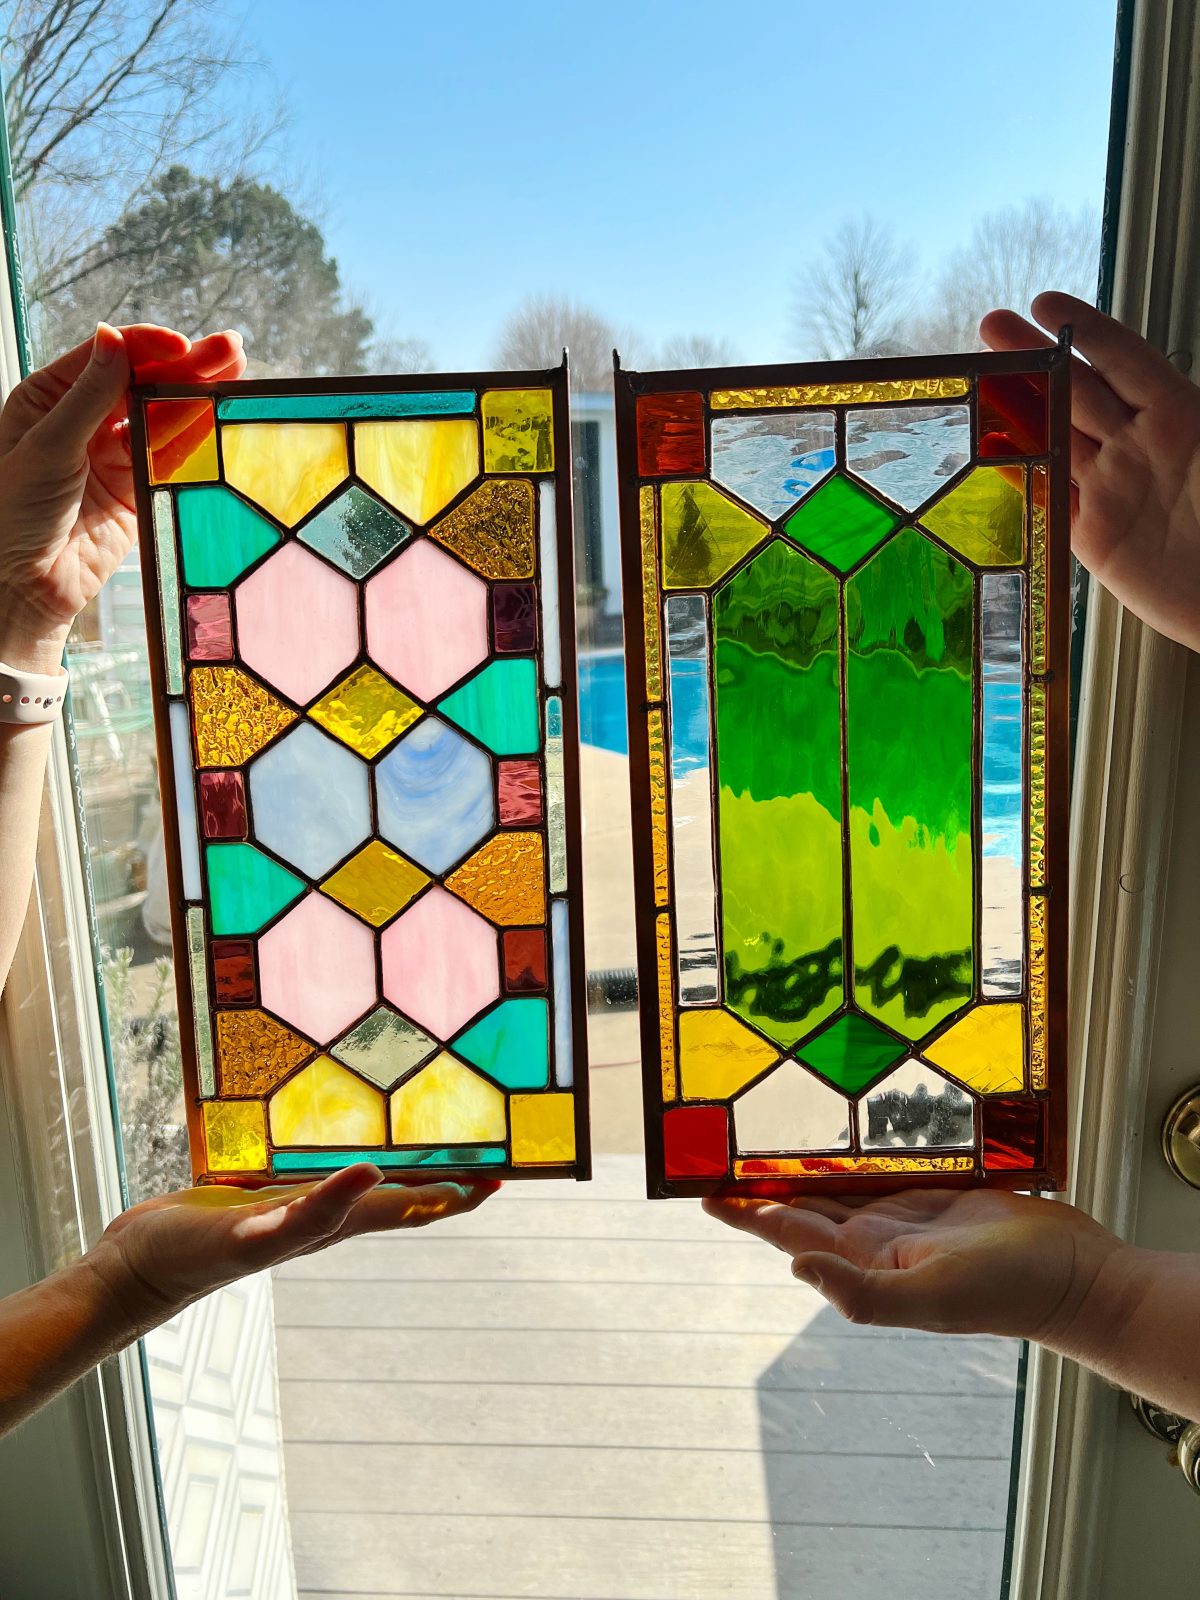
Hi there, I found your website while searching for stained glass supplies. I love your posts! They are so helpful to a beginner like me. Your glass work is beautiful and thank you for sharing your patterns too. I really loved the two windows you and your friend made in the class you took – beautiful color choices. Would you be able to share those patterns please or direct me to where I could purchase them? Many thanks for all your advice in your posts.
Hi Ruth! For some reason, my apologies, because I am just now seeing this message. The patterns for the glass are here + all my series can be found here. This season has been crazy for us, so again, I am sorry I did not see it sooner.
Thanks for sharing! Do you have any suggestions on doing stained glass on an 1820’s farmhouse? I have tiny windows surrounding the front door I’d love to do in a stained glass. Any tips would help!! Thanks
Jessica
Hey! Are the windows the outside and exposed? I would suggest another technique if so! Can you send a pic?
Hey! What jump rings do you use?
Hey! I don’t know why my comments are just coming through, so my apologies for JUST now replying. I’ve just grabbed some copper ones up at Amazon in the past. They help the solder bond. I hope this is helpful!
do you make pieces for others? And do you ship? I would like to have a small item made. It would have to be 2.25 x19.5. Please email me. Thank you Flo Bjorke
its good