
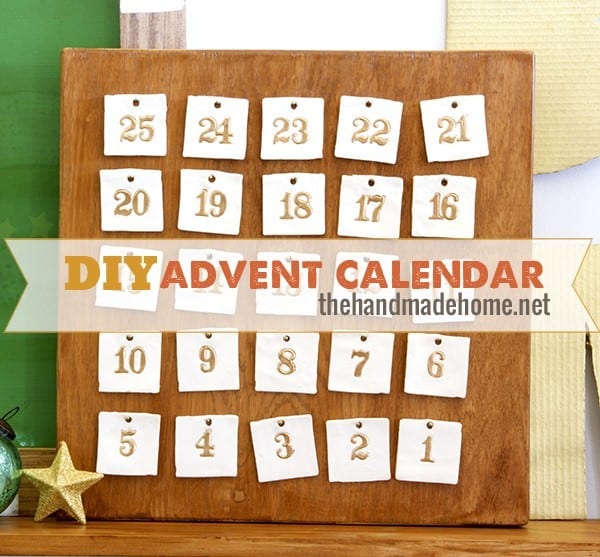
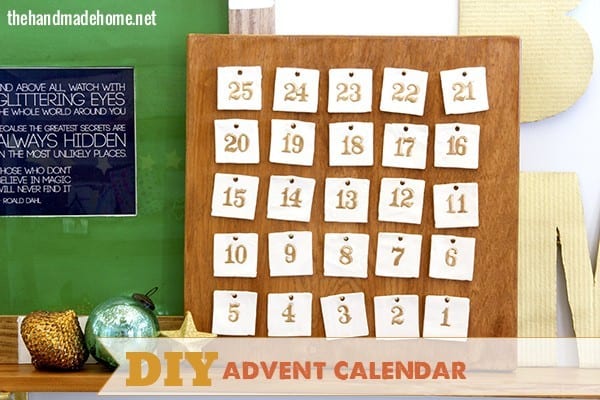
diy advent calendar
Hey guys! The holidays are oh so near, and today we’re back to share something simple we came up with to celebrate. We’re a little true-to-form with our Turkey-Day-first convictions, but since you guys might have a few days off and want to try it (and since we threw all caution to the wind with our posts last week and were total Christmas rebellion cheaters) we thought we’d go ahead and share. ;}.
If you’re anything like us, your children are super stoked about it all. In fact, they’re so super stoked, that they ask you constantly how many more days until…
But forget the kids. Maybe you’re just stoked about it.
Maybe Christmas was on full display starting in September, and it stressed me out a little. Sometimes, I’m the first guy. With a healthy dose of full-on Christmas angst in the form of a fetal position in the glittery store corner.
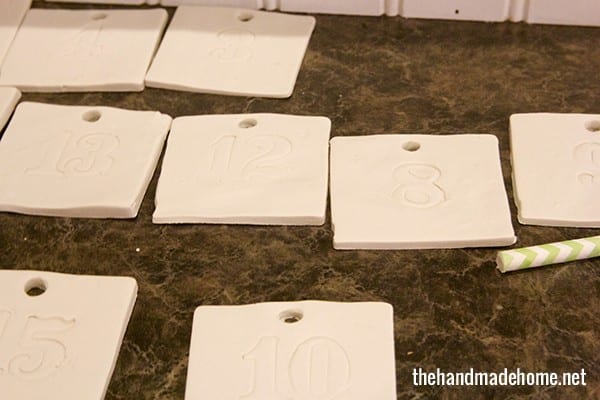
So here’s what we did – just like our post last week – Taking some baking clay (we like this kind the best) and some small fondant cutters (check your baking aisle) and cut out each shape of your choice.
Side note: Remember that time I called it a fondue cutter? And you were either A. Not noticing because you’ve had the same week I had B. You skimmed the post because I’m kinda intolerable and you hate my guts for posting something about wrapping paper so for the love of all things holy early (see what fun you missed out on?!) or C. Laughing at me behind the computer screen? Good times. All of the above. Because I wouldn’t blame you and totally just caught that. It’s been a loooooooong few weeks. ;}

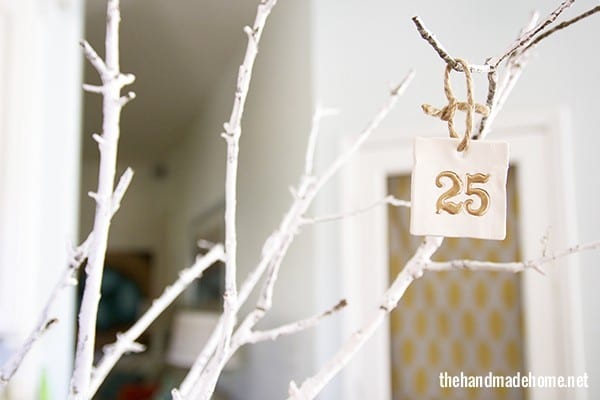
Digression noted: After cutting each piece, we left the imprint of a number: 1-25. And made a small hole at the top with a straw. We scored these little metal numbers on the scrapbooking aisle of our craft store (see this post here) but you can use stamps, cardboard letters… just about anything to leave an imprint.
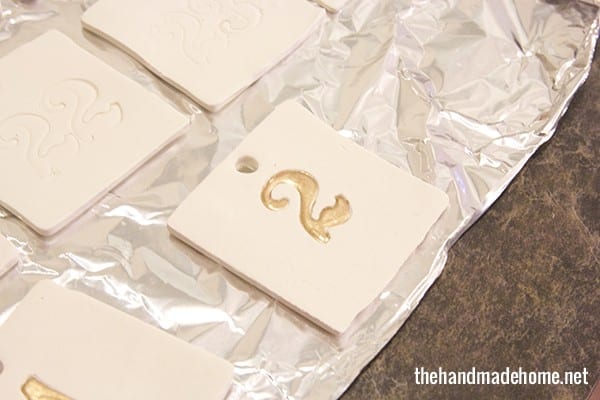
Once they were baked (make sure they’re lying flat!) use gold paint to fill in your numbers.
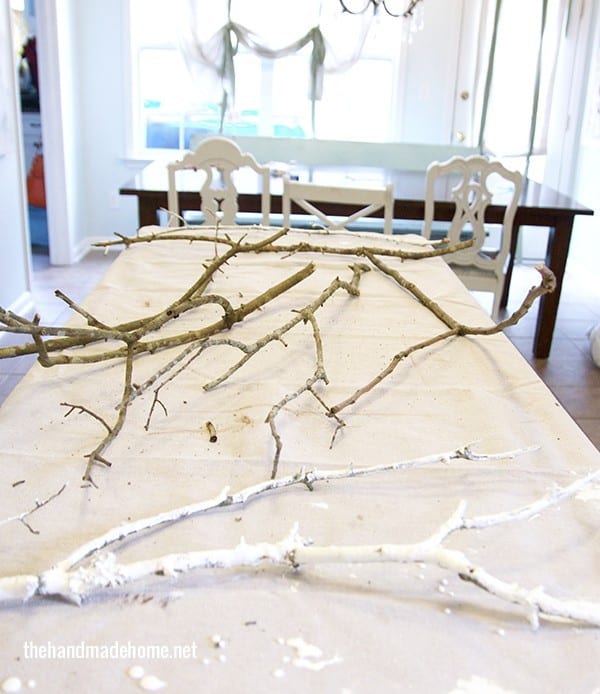
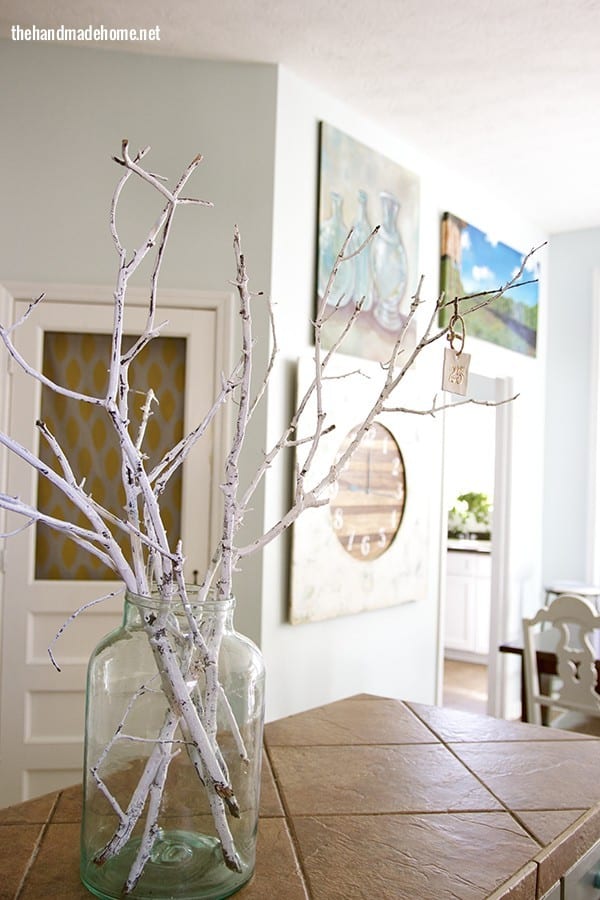
In the meantime, we gathered some branches with fun shapes from our yard. And painted them white.
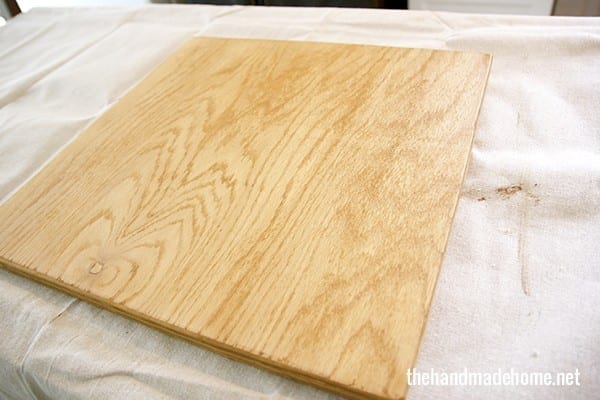
We took a 17 1/2 (squared) piece of oak plywood, and sanded it down on the corners, then stained it with two coats of Cabot. Remember that you can have your local hardware guys cut it for you, if you don’t have a saw. This could also be used with a great old frame to display those tags.
Then we eyeballed it, and lying it down with little brass nails, we made a hanging spot for each one. When we propped them up, they went a bit haywire because it’s a bit impossible to make it perfect with clay. But that’s part of the charming, off-kilter handmade look. Roll with it. Thanks.
And from 25 to 1, the days can now count down.
Remove a tag, and stick it on a branch or on your tree. (We just strung some twine through the hole).
Tada! A great little activity with your kids, putting your own spin on it however you wish. Now they know exactly how many more sleeps. In other news, our kids now think Christmas is much closer than it actually is.
I guess we deserve it.

Side note: Emerson was having a bit of a meltdown regarding her skinny jeans. It was a girly moment, and I was trying to talk her down off the I-don’t-want-to-wear-these-and-I-hate-my-life-because-everything-is-simultaneously-craptastic cliff of childhood.
My eyes didn’t even see this. But the camera did because I was snapping away. She’d mid-pouty-laugh and the boys are…

Classic. You gotta love them. And this one is frame-worthy-fun. Fondue cutters and biting children! It’s The Handmade Home unfiltered!
Yay.
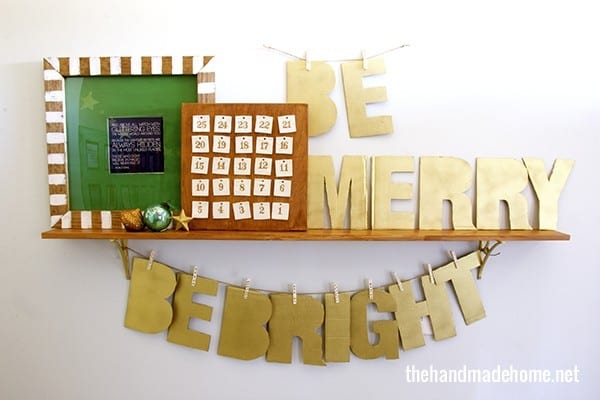
So here we are! A fun way to document the holidays.
Have an inspired day, y’all!


Fondue cutters…ha! When I read that last week I just assumed that was some cool fondue accessory I had never heard of – although I couldn’t imagine what kind of special cutter you’d need for fondue! You’re hilarious. I love that you called yourself out on that!
I may or may not have cocked my head sideways in confusion a bit when I read about “fondue cutters.” I just thought you were fancier than I could imagine and were using something I’d never heard of, though, not that you were crazy 😉
I LOOOOOOVE this advent calendar idea, by the way. Totally doing it! I have a massive stash of sculpey clay (I sell little handformed stars in my Etsy shop), so I’m all over this one. Thanks for the inspiration!
Thanks for the shout out, friend! Love this project…we do an advent tree, too! So much fun for the little ones. 🙂
xo,
shaunna
I really want to try making something with clay! You all have the cutest ideas. 🙂 What kind of gold paint did you use? Regular craft?
Hey girl! We used liquid gold leaf paint that you can find at any craft store. Also, if you click on the post (above) about our number tags from this summer, there’s another gold paint there that we really love as well. ;} I hope that helps! Thanks so much!
lol! just catching up on your posts and noticed the GEM of a pic of your boys! bahahaha! I love it. You should share Handmade Home unfiltered more often! orrrrr maybe not. some things must just be kept private. 😉
thanks for the tutorial!!