
diy art case with waverly fabrics
:: This post was brought to you in partnership with Waverly Inspirations and its parent company, Iconix. While we were paid for our expertise all opinions and ideas are 100% ours. Please read our full disclosure pertaining to partnerships here ::
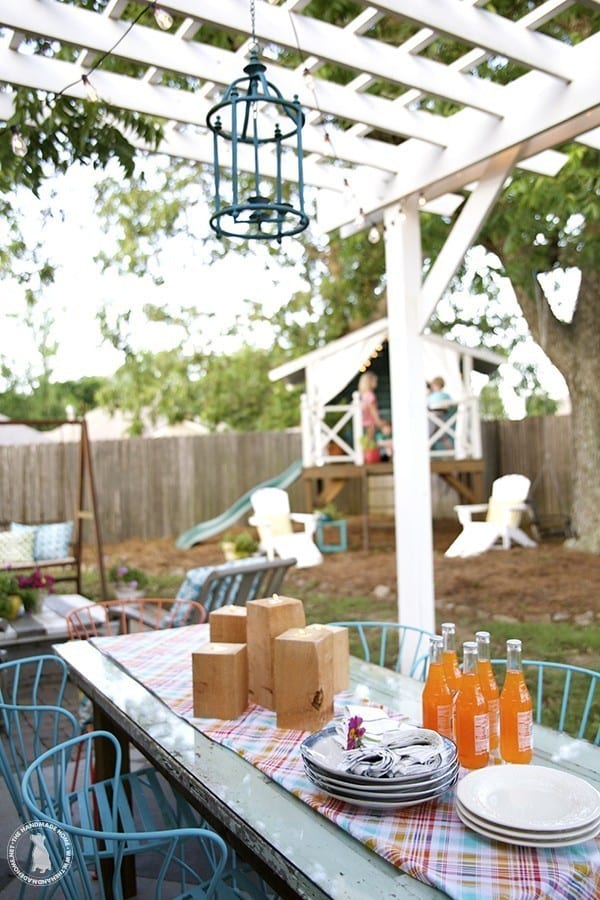
Remember our patchwork table runner we created last month from the Waverly Inspirations challenge?
It was so fun to share a little how to for some fun alfresco summer dining along with ideas for a fun, colorful table. We were thrilled to join the Waverly Inspirations challenge where every month, they send us some of their amazingly gorgeous fabrics and supplies in a box. The challenge? create something from that box with a theme in mind. And this month’s theme? Back to school!
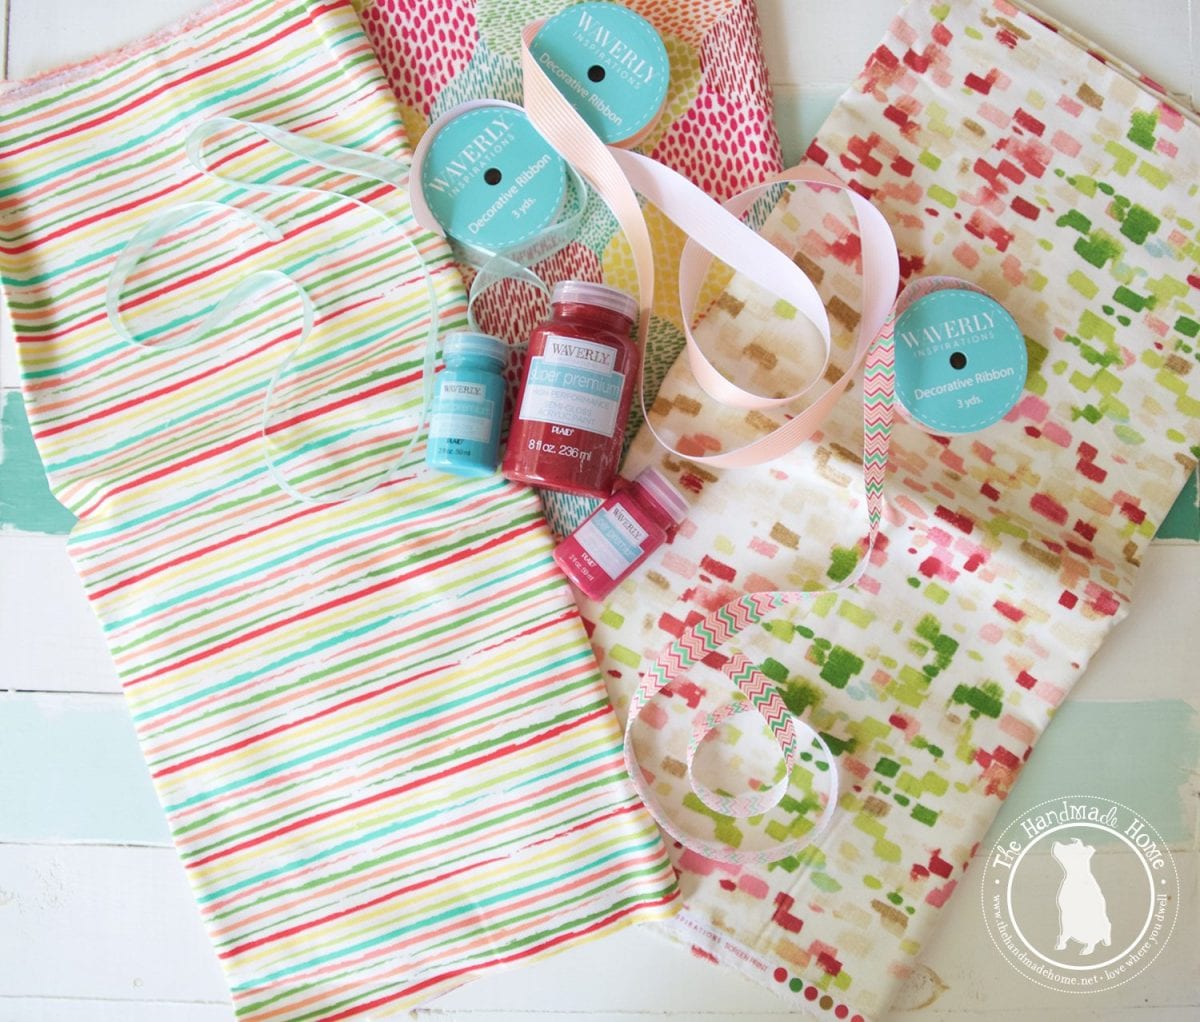
So here’s what was in the box…
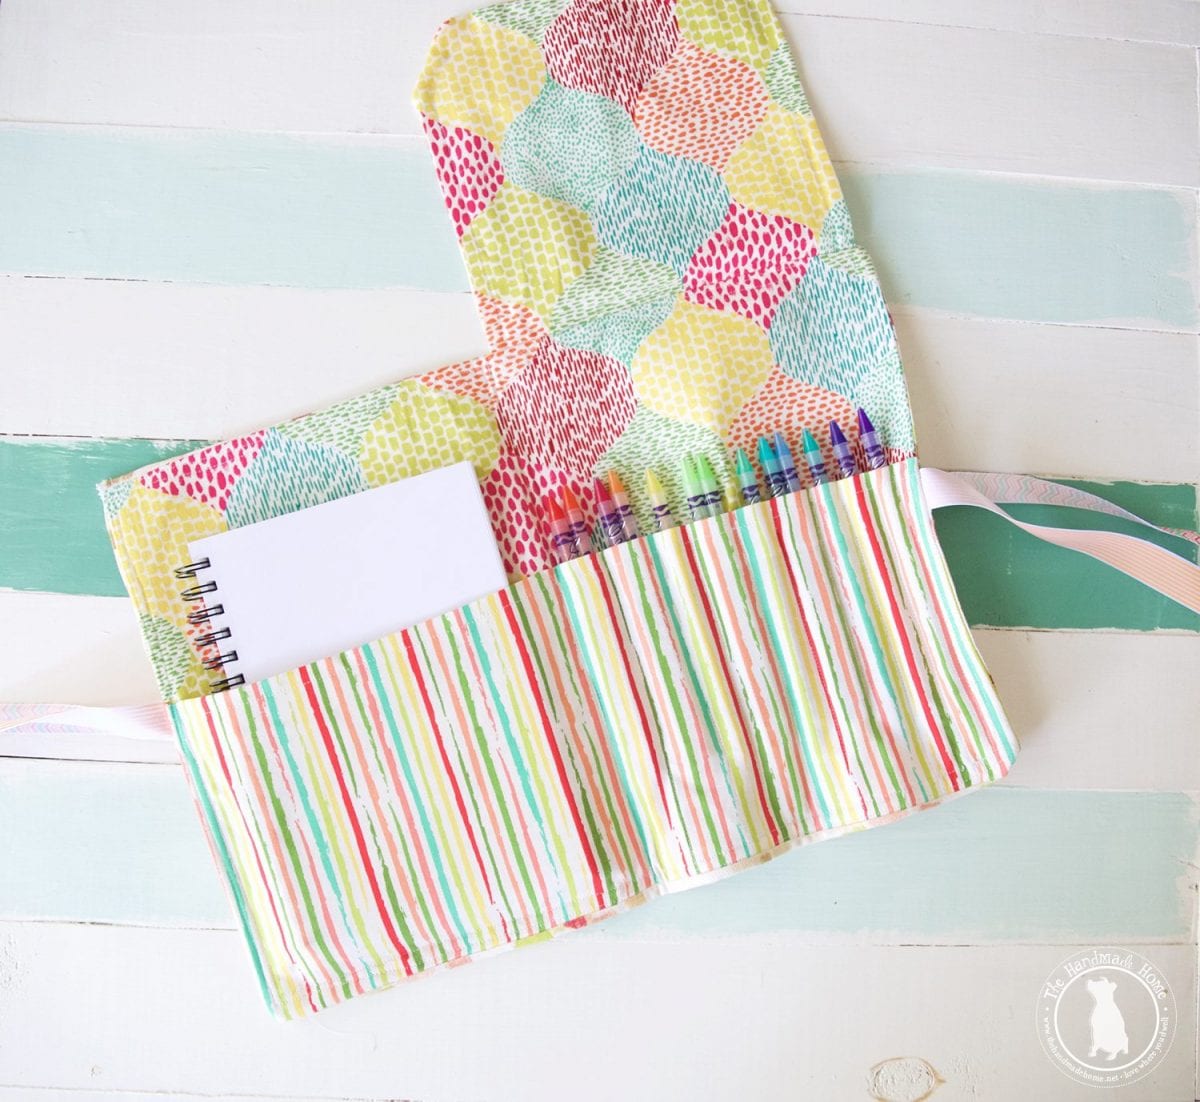
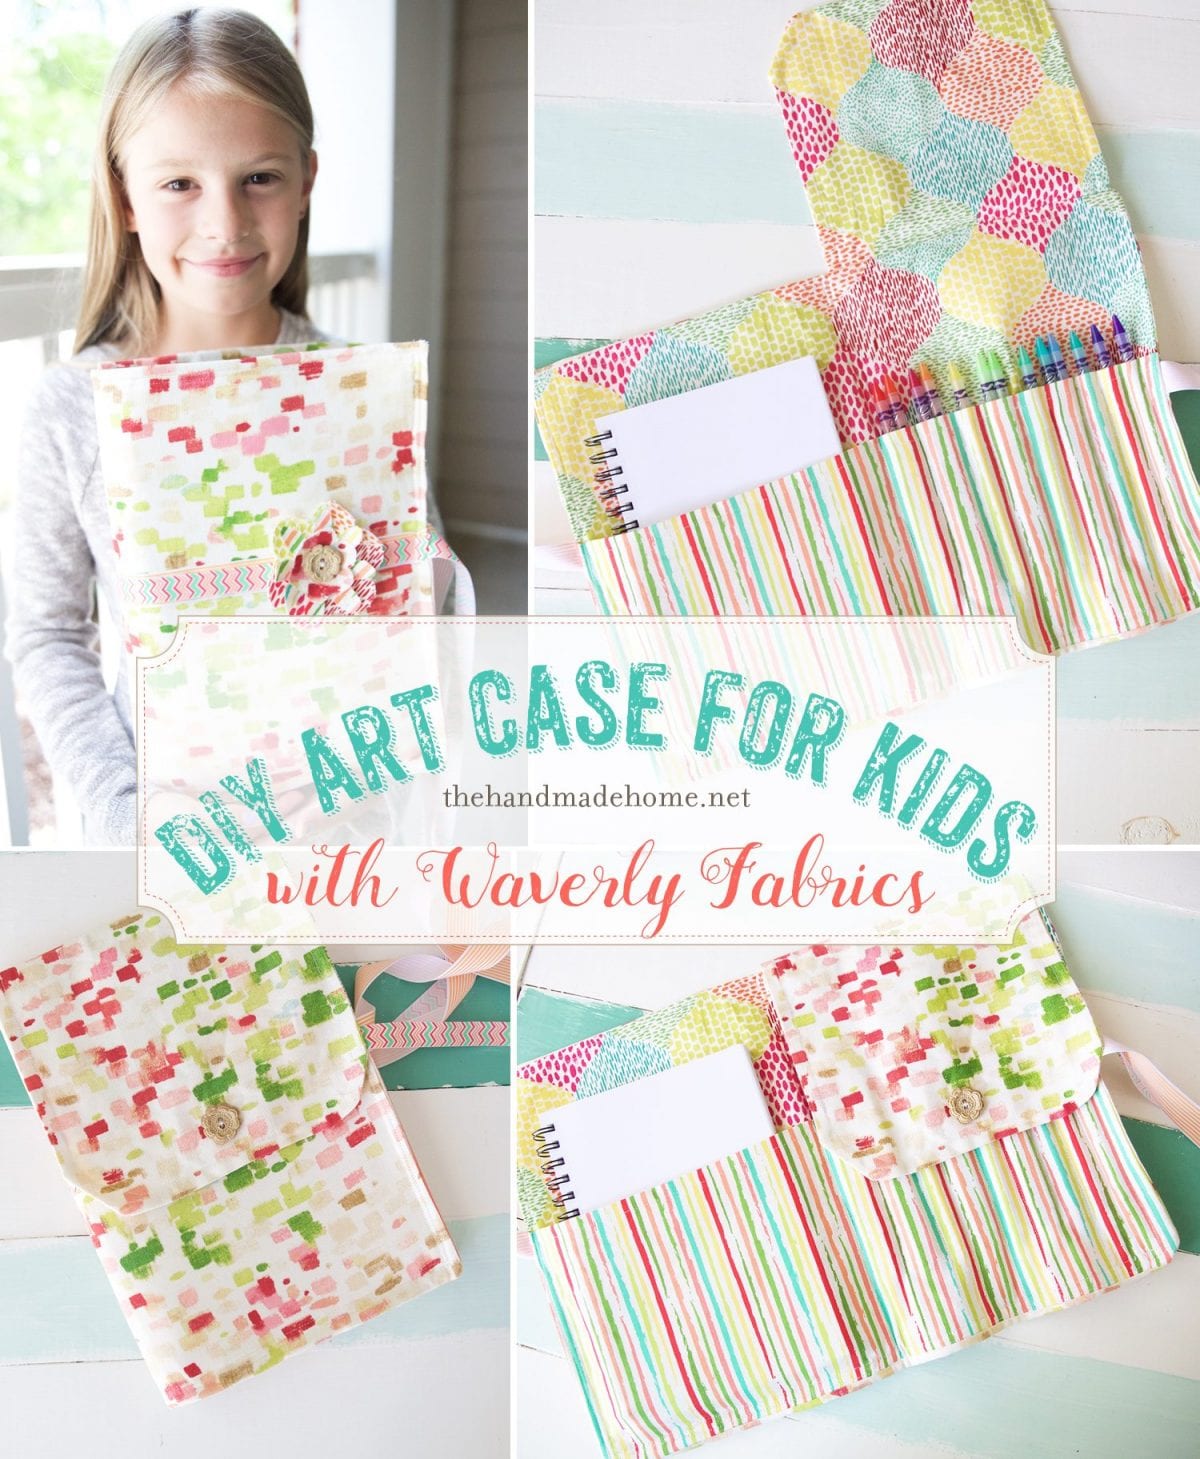
And what we decided to make: A DIY art case!
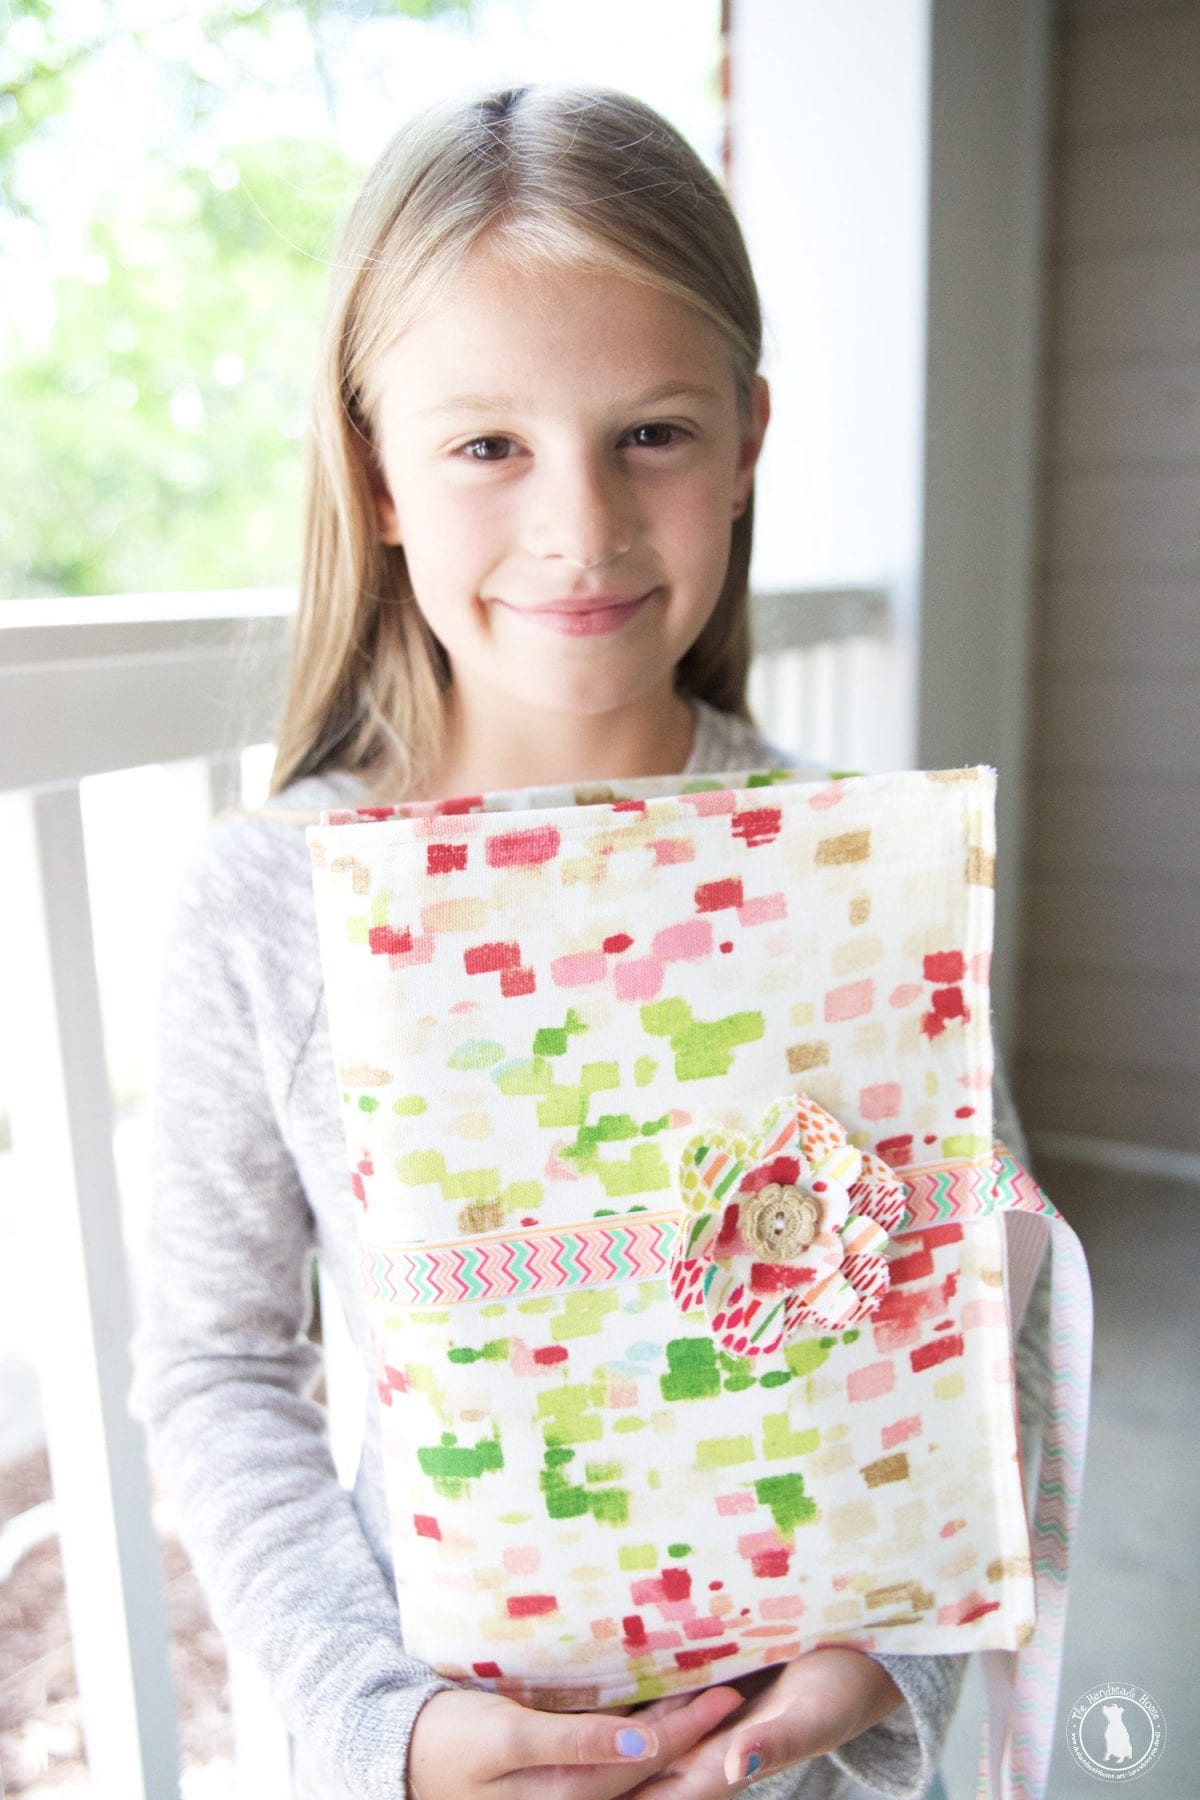
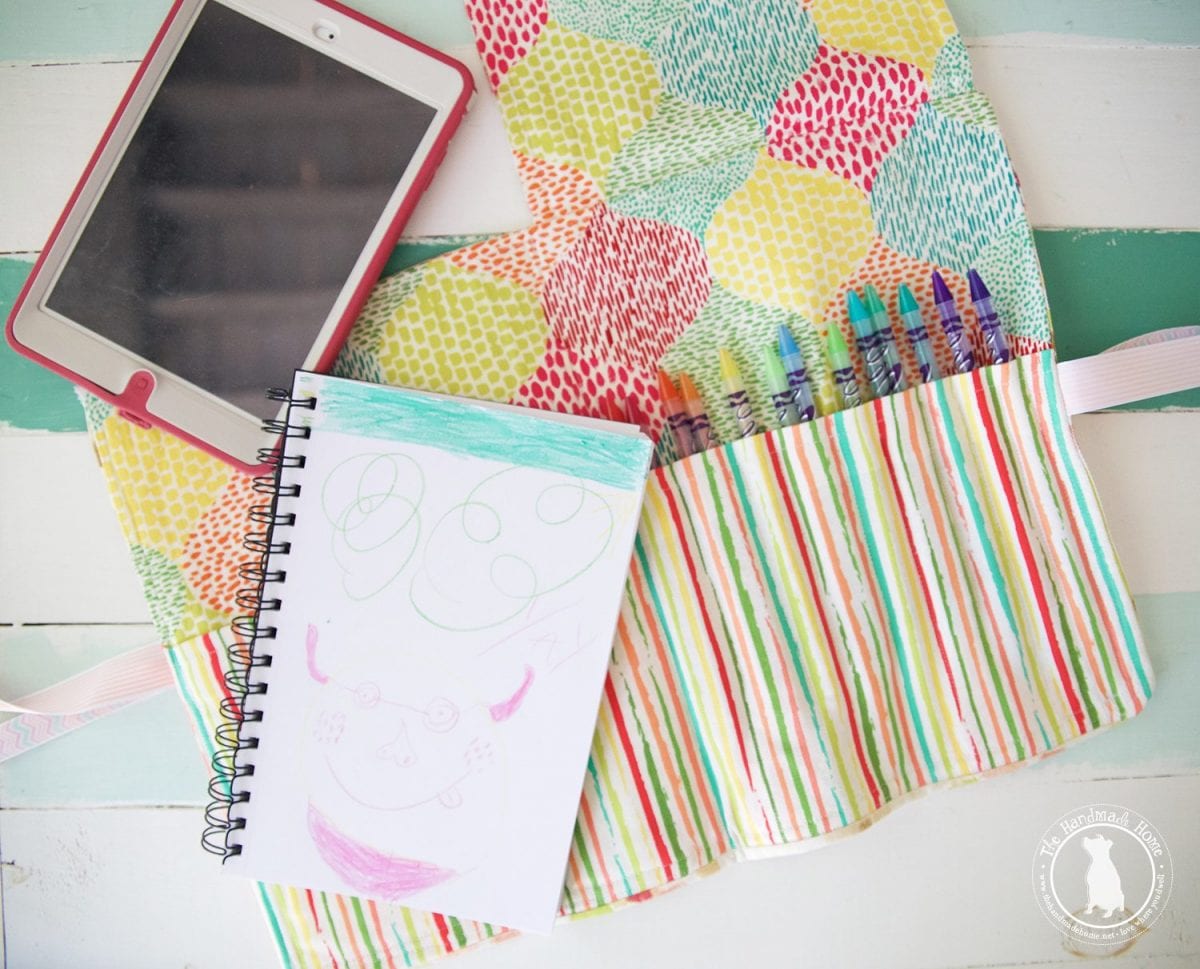
We love this fun case, that has a lot of color and possibilities for an easy way to carry art, journals and even iPads on the go. Most of the time, we’re doing a little bit of everything. So this little carrier is right up the kiddos’ alley.
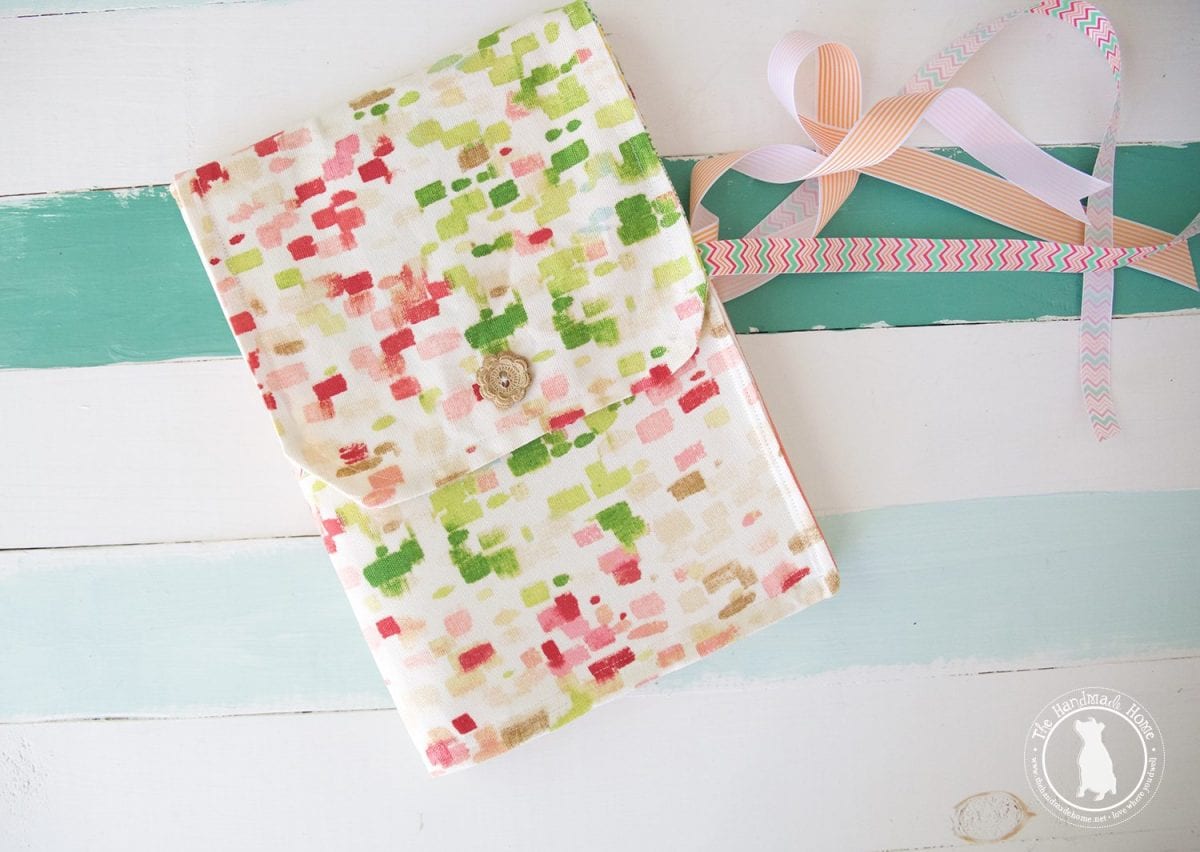
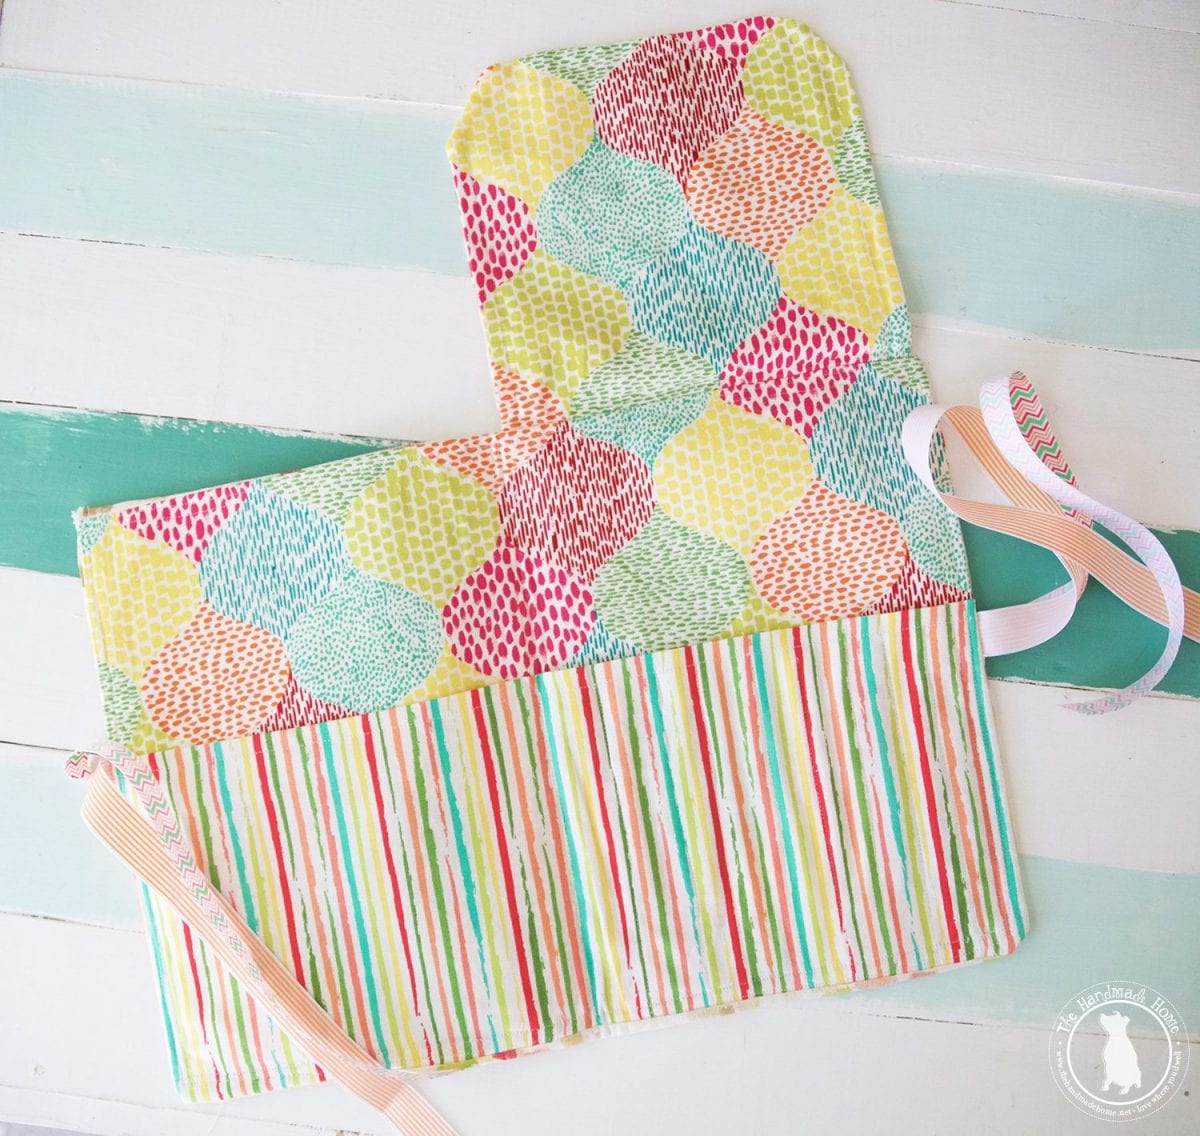
It has a flap that you can use on the inside, or outside…
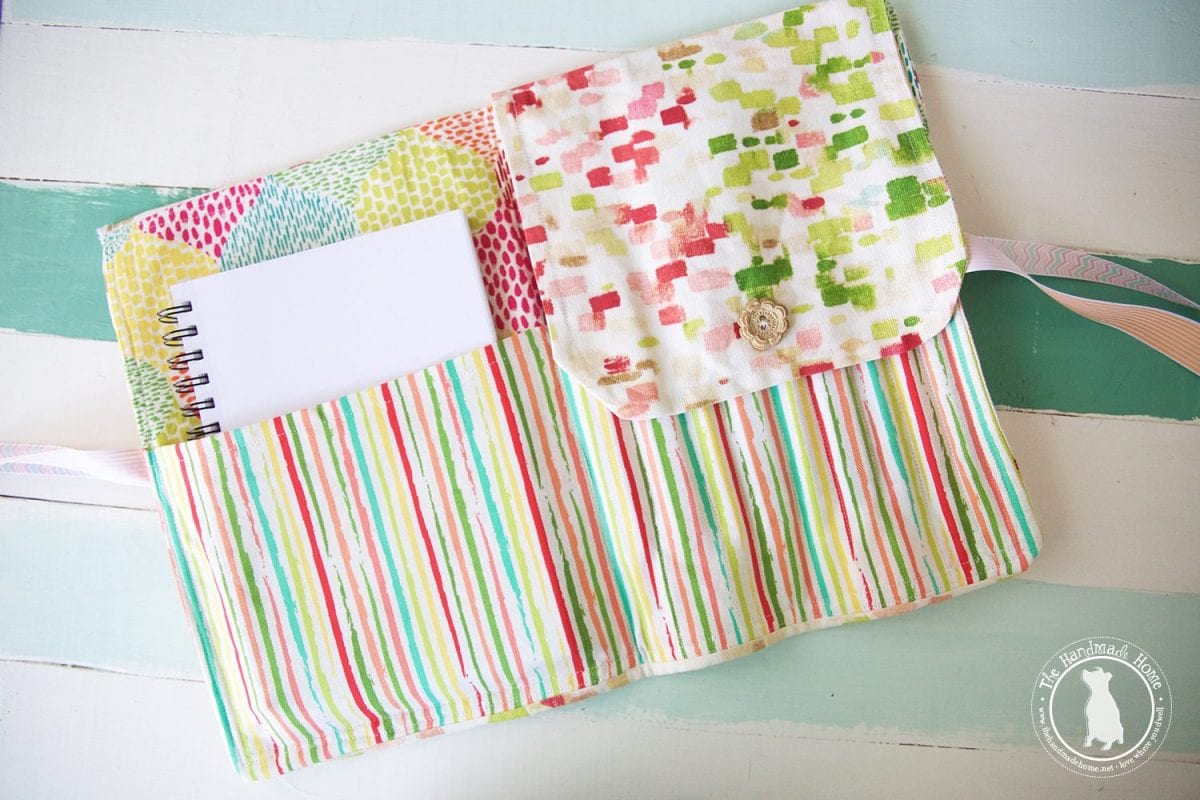
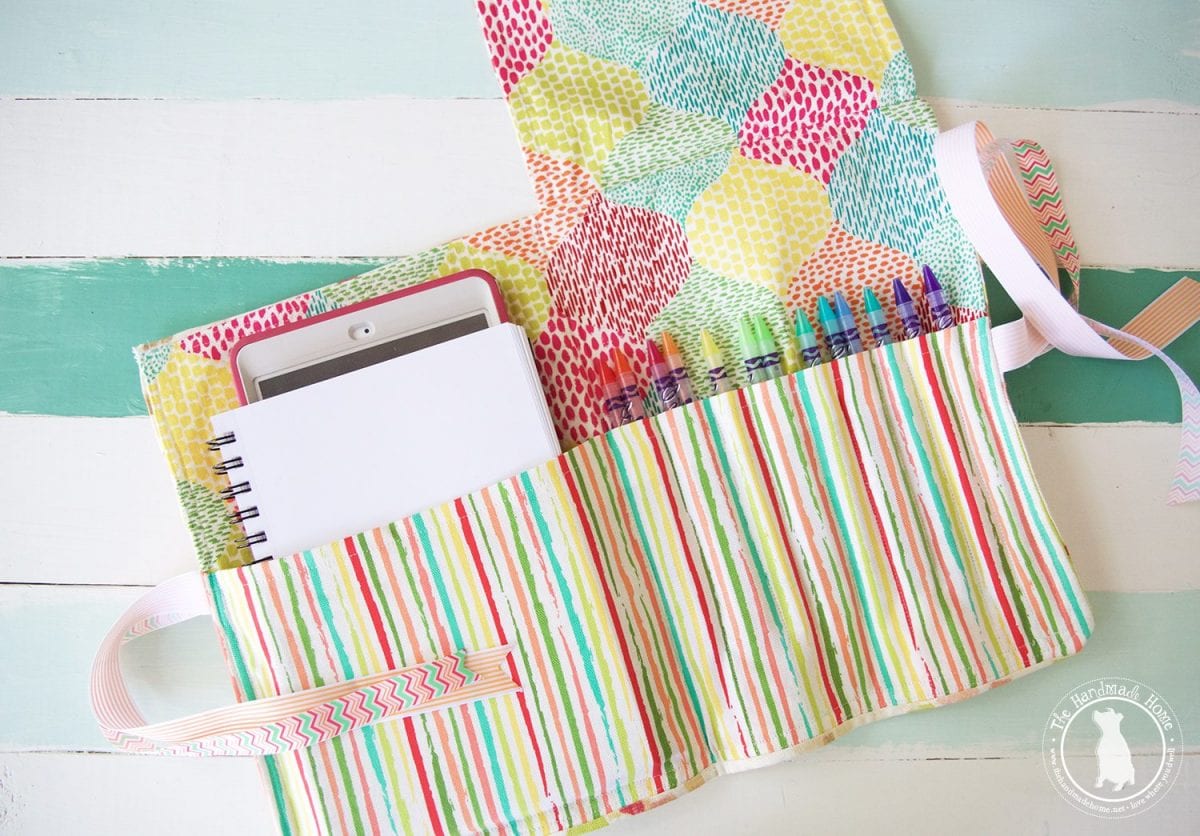
And great storage for all things art and creativity on the go.
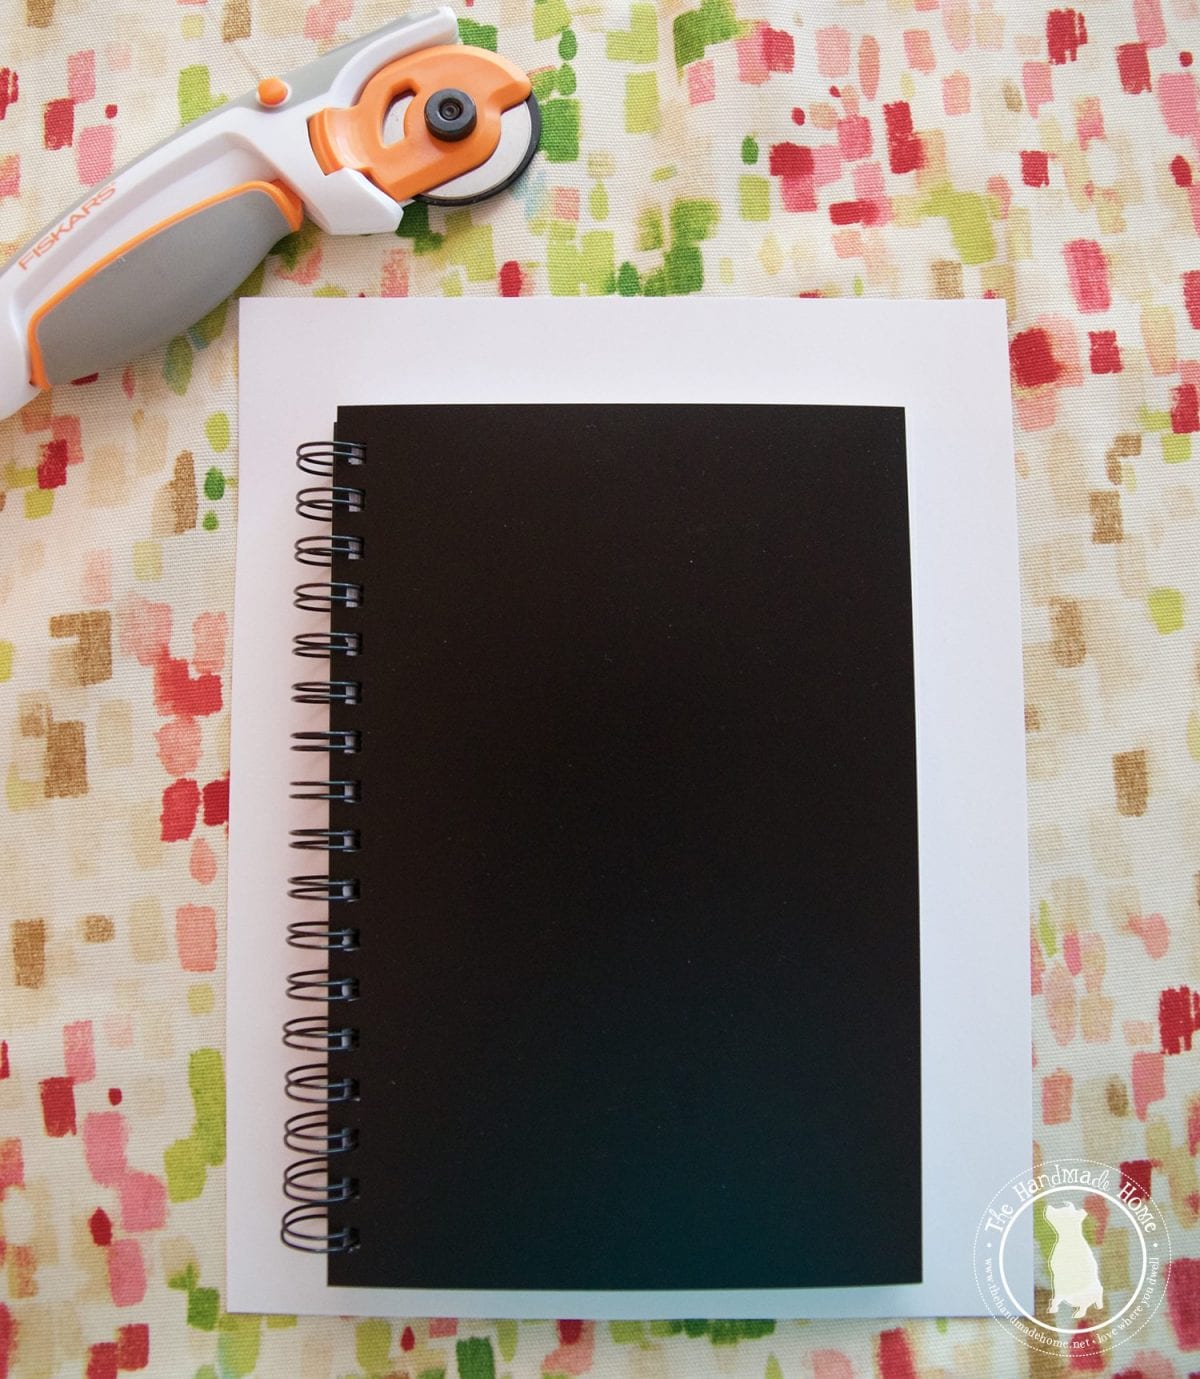
So here’s how we did it: It all started with paper.
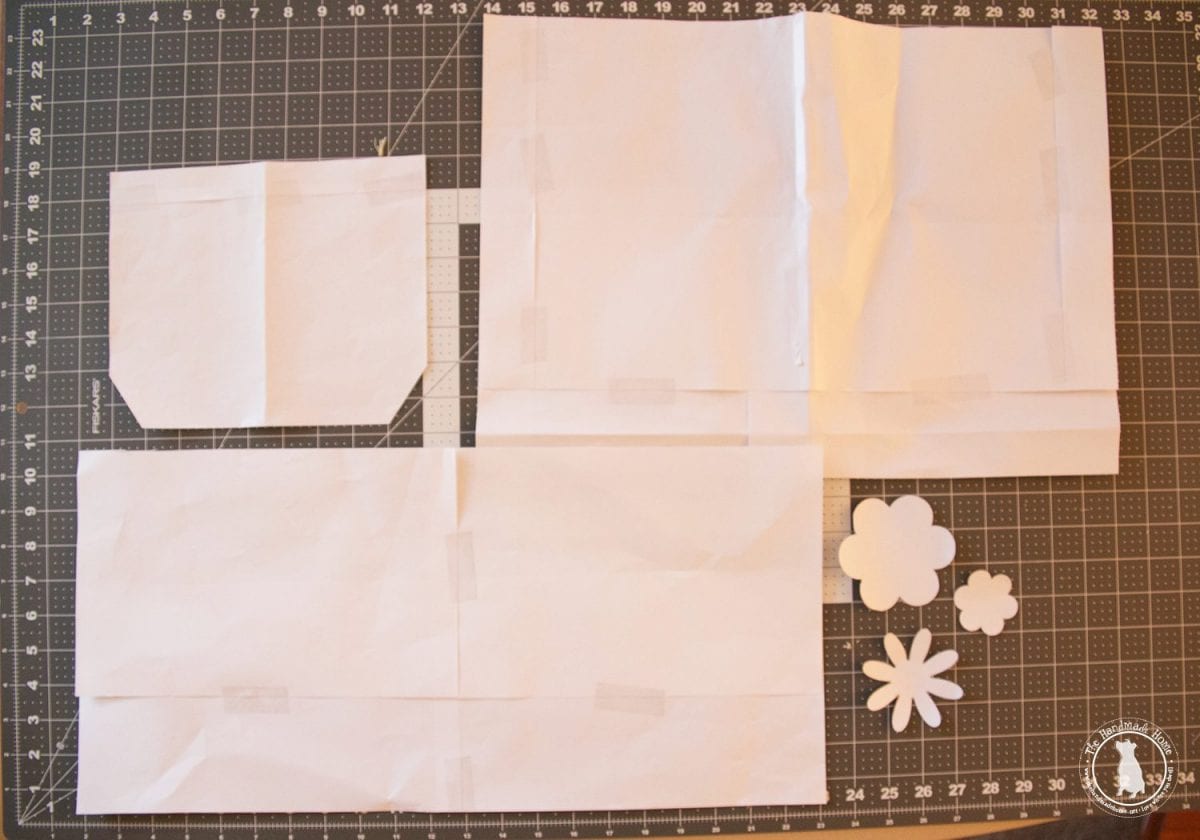
I knew I had an idea as to what I wanted the basic look and function to be, but didn’t have an actual pattern to follow. So I simply cut paper, until I was sure I had enough room for a generous amount of seam allowance for all the parts and pieced it together from there. My paper looks rougher than yours will be, because I kept adding and taking away as I went to make sure I had it just right. This way I could ensure they all worked together cohesively. I’ll be honest, I’m no seamstress and I’m pretty much used to pillows and curtains and simple things like that. So this was a fun way to stretch my brain muscles with all things working parts and math.
Because math.
The final size {folded} of the art and pencil case is 17.5″ x 12.25″. Obviously you can change your measurements according to your needs. This one generously holds her iPad, and a nice sized chunky sketchbook. Along with any additional art supplies she wants to throw in.
So if you’d like to make it, here’s the sizes for the template: {These include seam allowances}
• Main body : 18.75″ x 13.5″
• Pocket: 21″ x 10.25″
• Inner flap: 9.25″ {top} x 5.25″ {sides} x 3.5″ {length of angle} x 7″ {bottom}
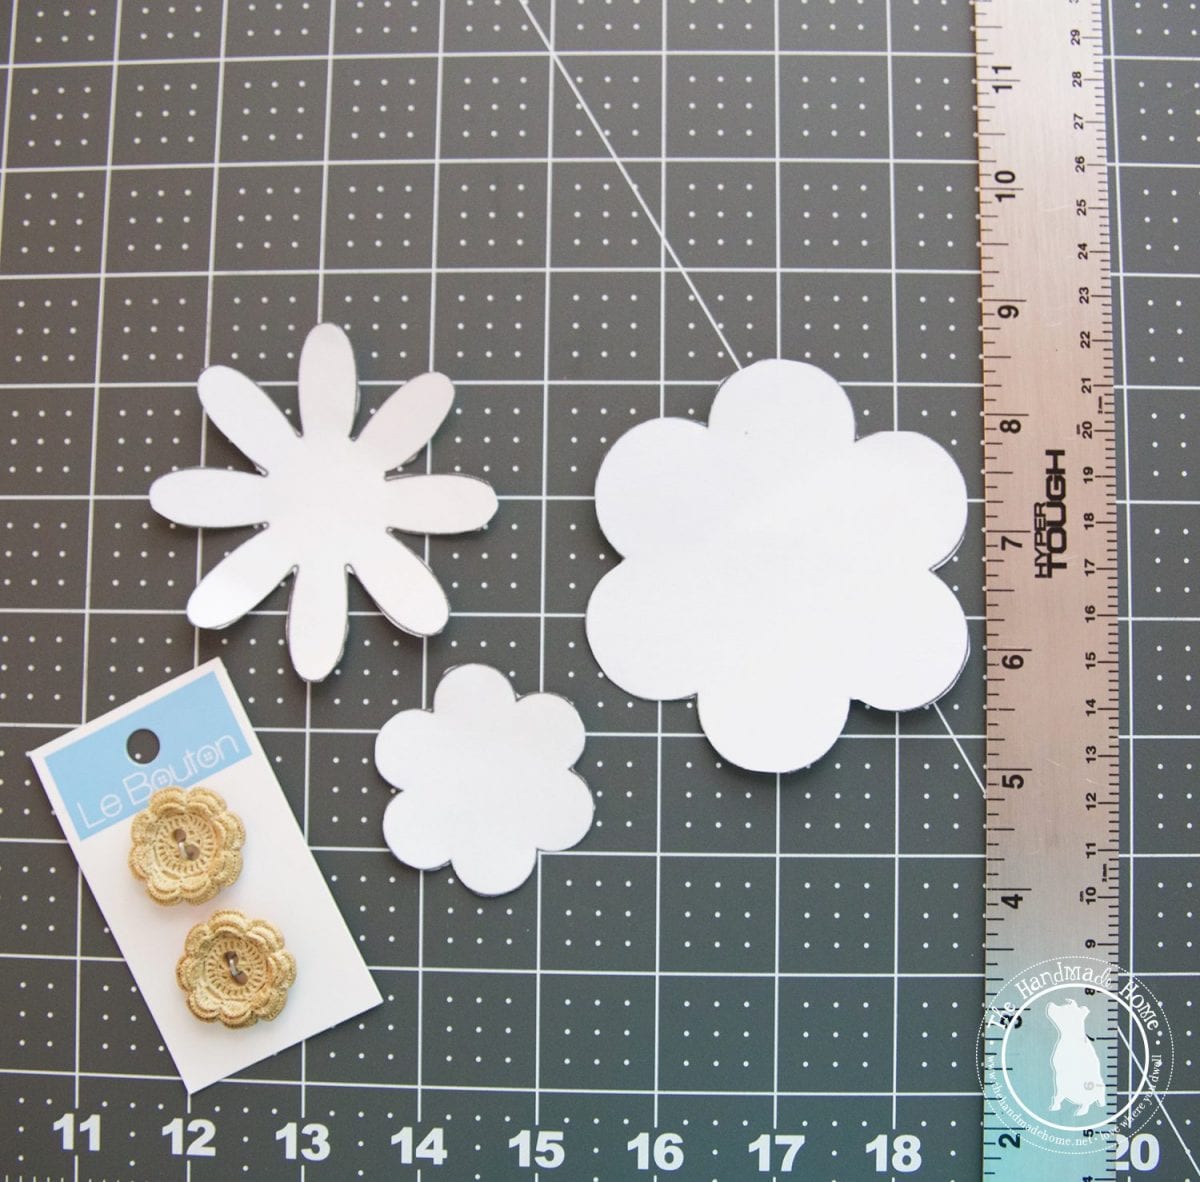
• Flower shapes {If you like – I grabbed them and printed them out from here}
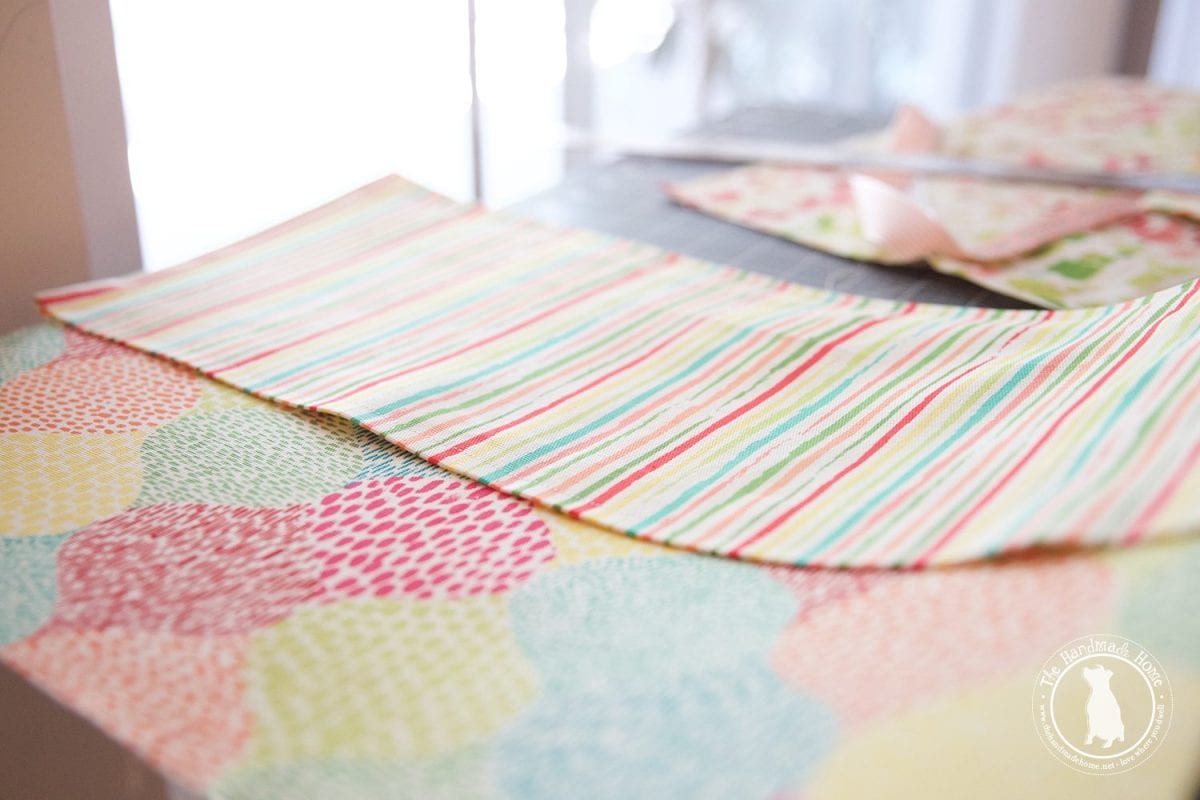
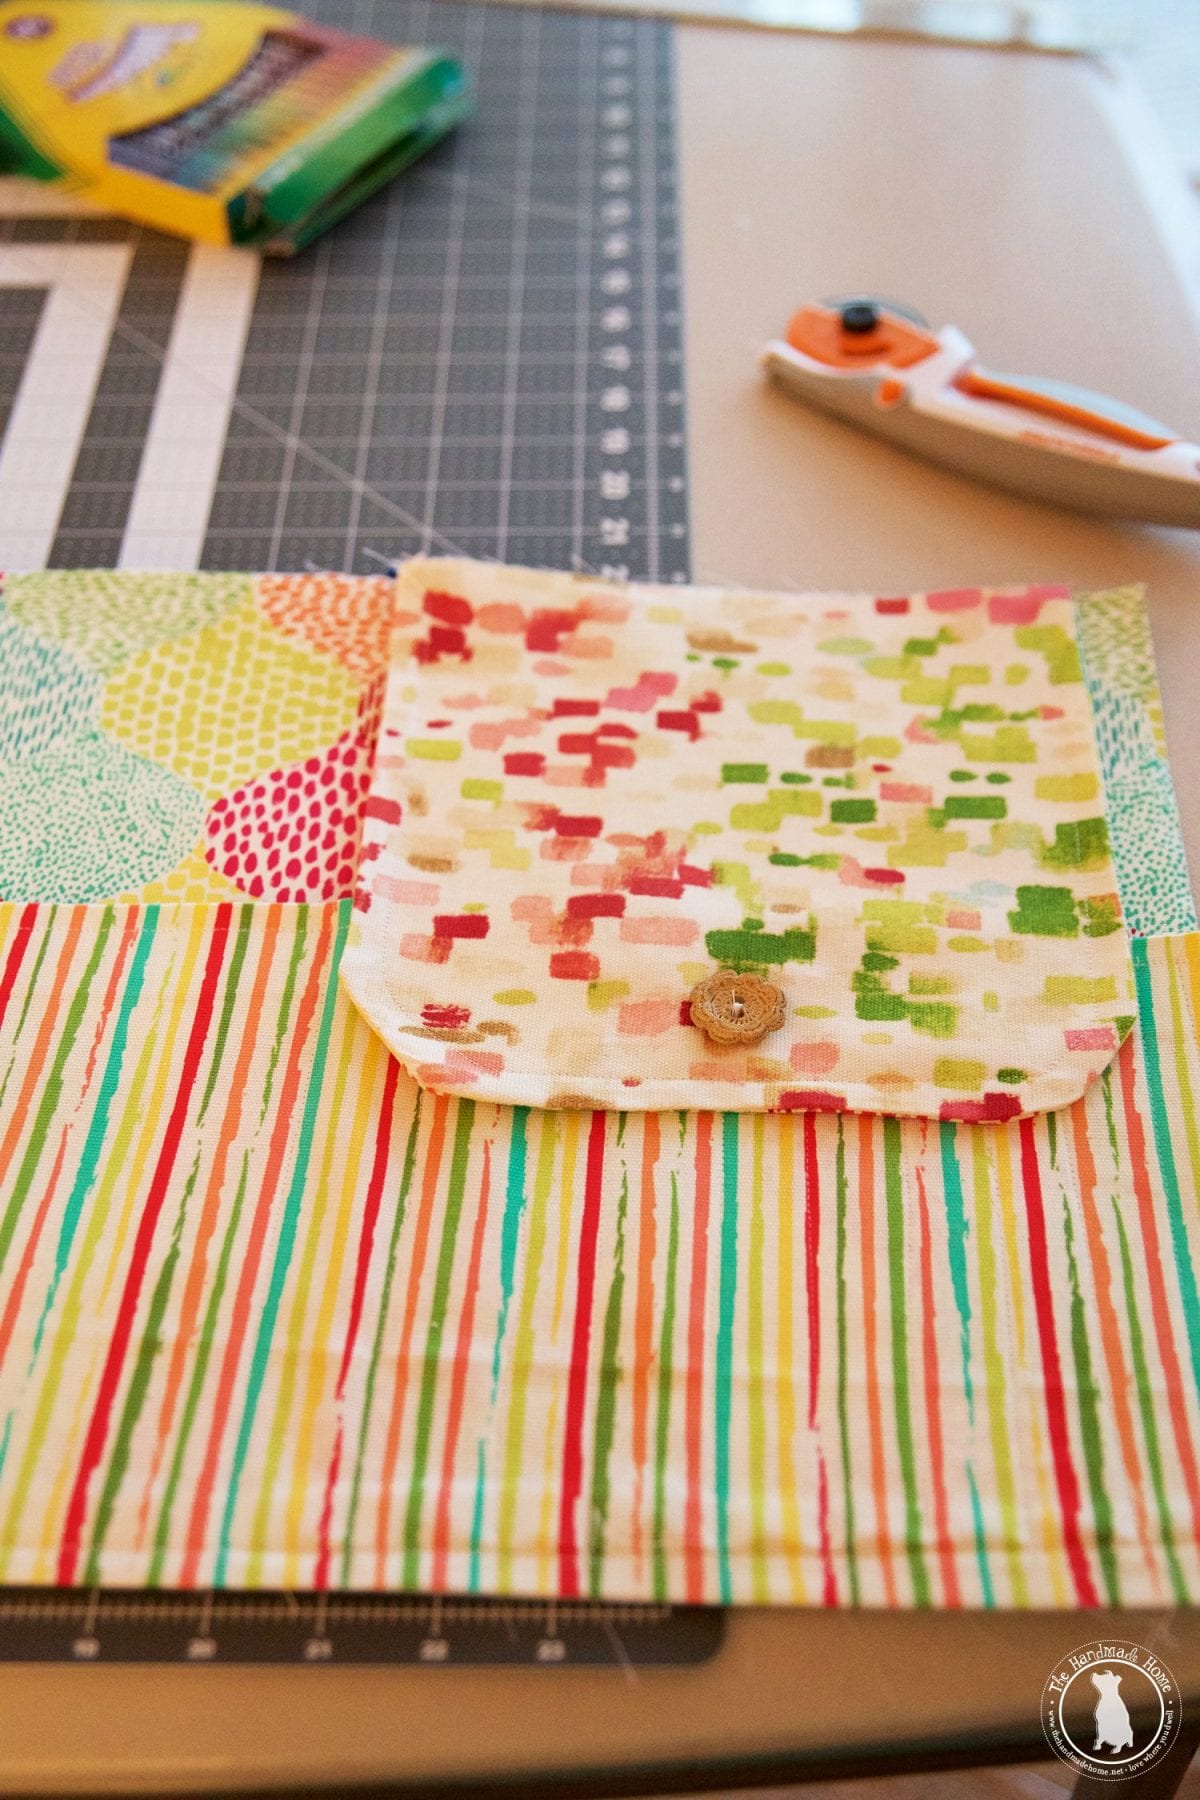
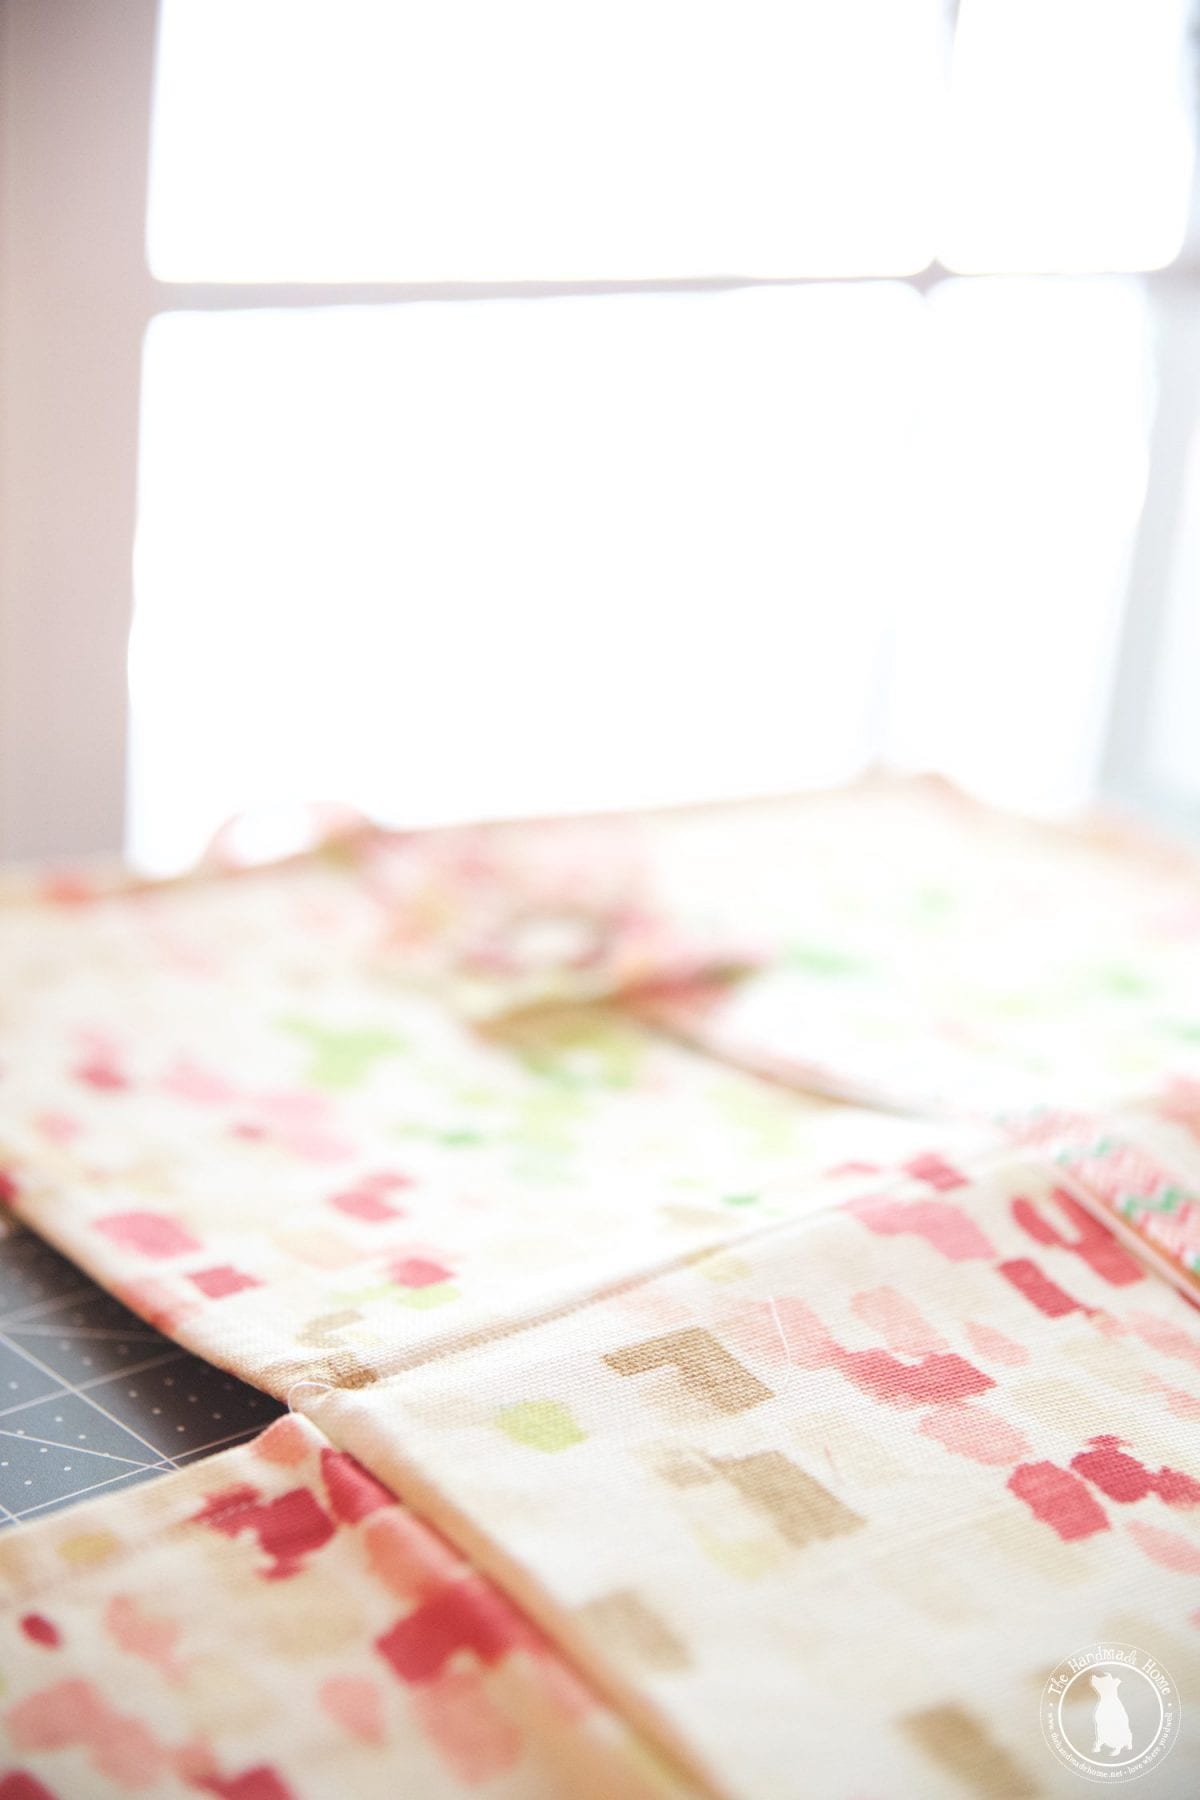
Next, cut the fabric.
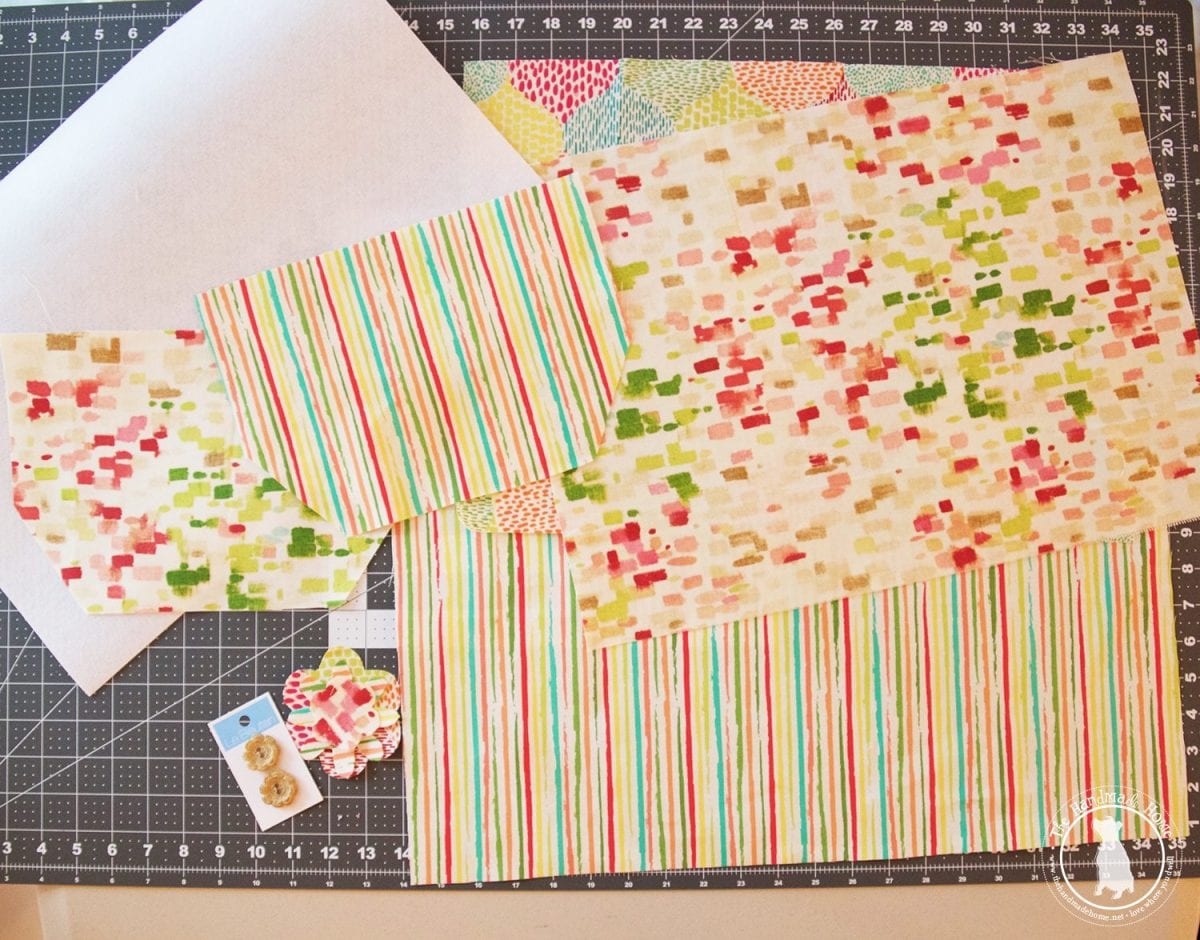
Do as I say, not as I do. You may notice in this photo, my flap is a little larger than the sizes I said…and in a different fabric. That’s because it went through an alteration halfway through the project ;} Using the templates, you’ll cut just as mentioned above:
• Main body : 18.75″ x 13.5″ – You’ll need two pieces for this. And interfacing {medium weight} for a bolder body. While the fabric is nice and thick on it’s own, this helps support a chunky notebook.
• Pocket: 21″ x 10.25″ – One piece – two if you prefer but one is plenty sturdy and you won’t notice the other side once it’s put together
• Inner flap: 9.25″ {top} x 5.25″ {sides} x 3.5″ {length of angle} x 7″ {bottom} – two pieces
• Flowers {optional} – I cut out three different patterns and layered together, and then threw some flowers on top.
Side Note: A long time ago, some sweet readers told me to get a cutting matt and rotary cutter. It only took me, oh… about eight years of sewing, but it’s a total game changer. Do it yesterday if you plan to cut fabric frequently. Worth it.
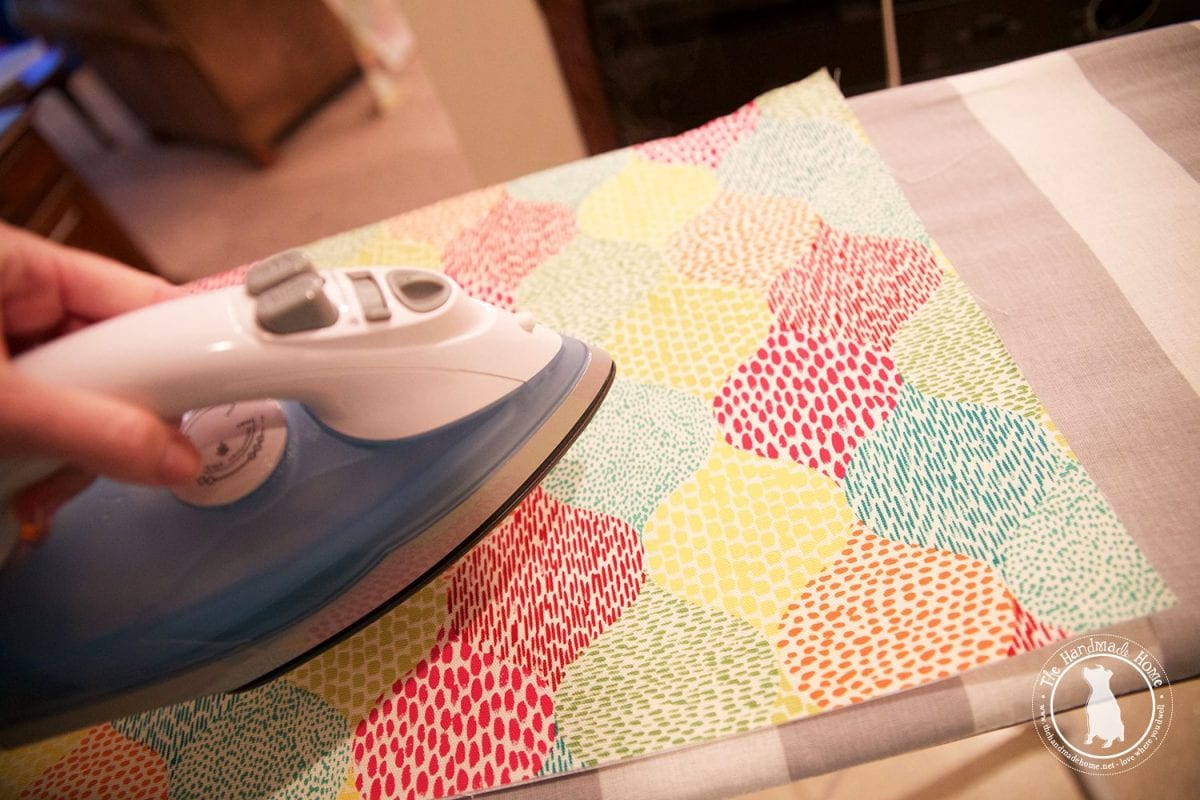
Follow the specific directions for your interfacing, but place the rough side of the interfacing to the wrong side of fabric. It works better if this is the piece of fabric on the main body that will be on the inside of your art case. Iron together.
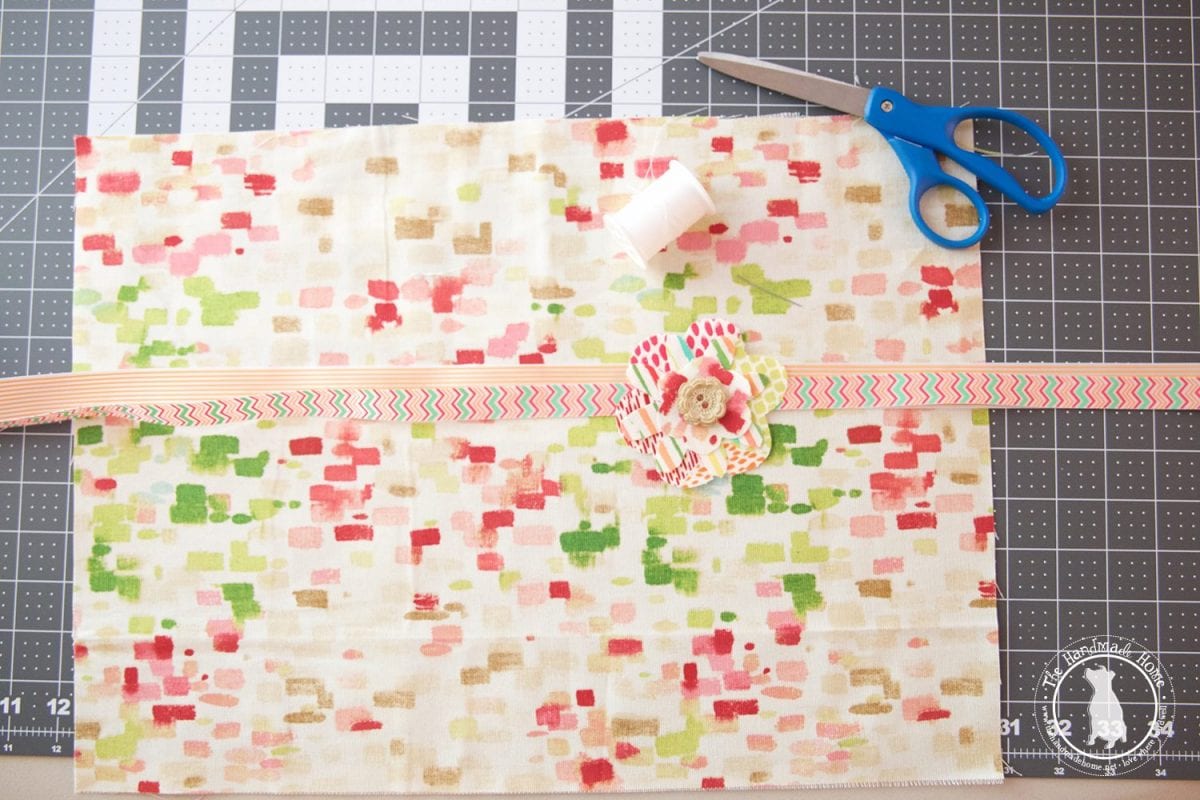
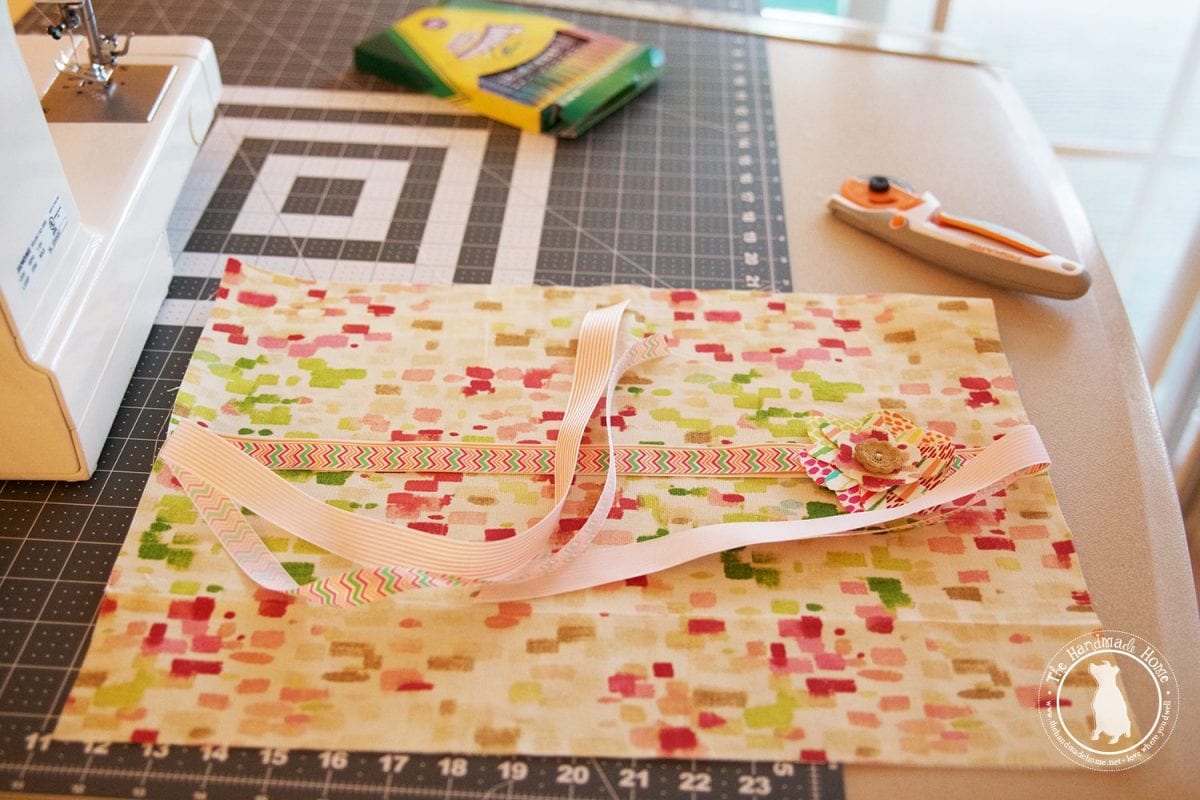
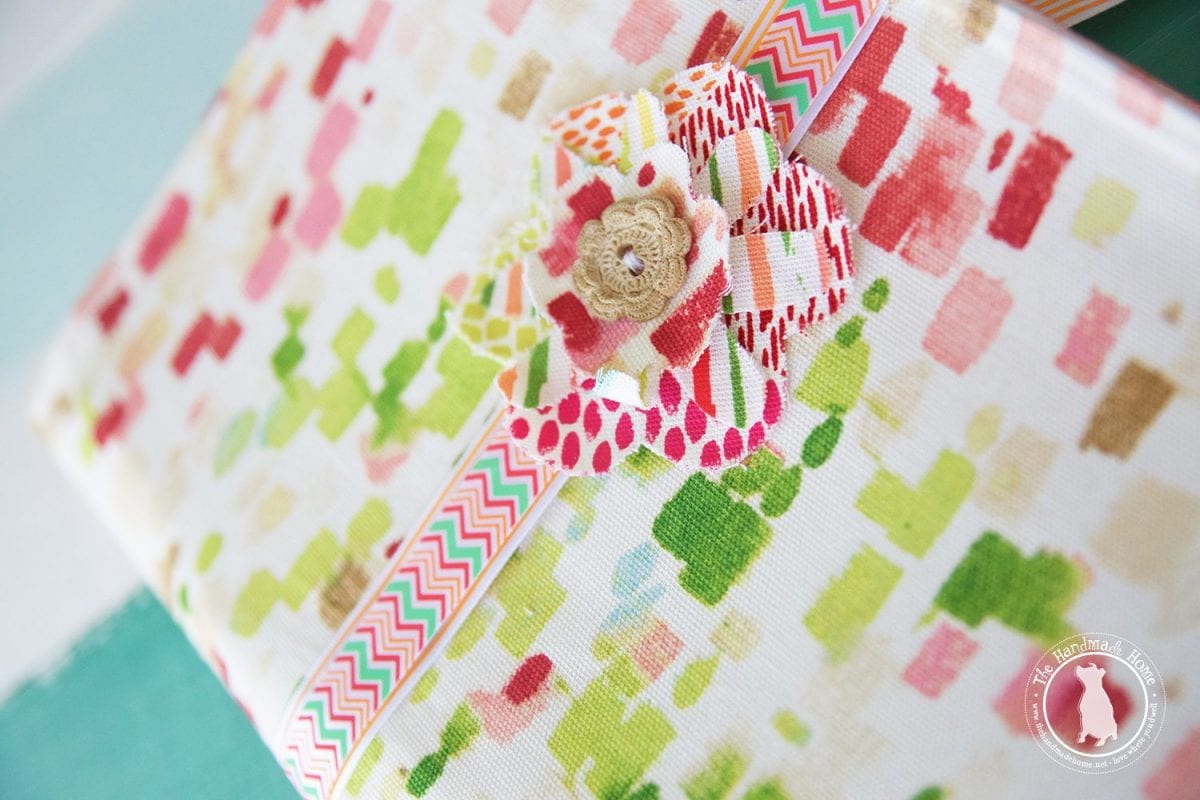
On the front body side, embellish as you wish. I simply took some Waverly Inspirations ribbon, and draped it across. I also went ahead and attached the flower.
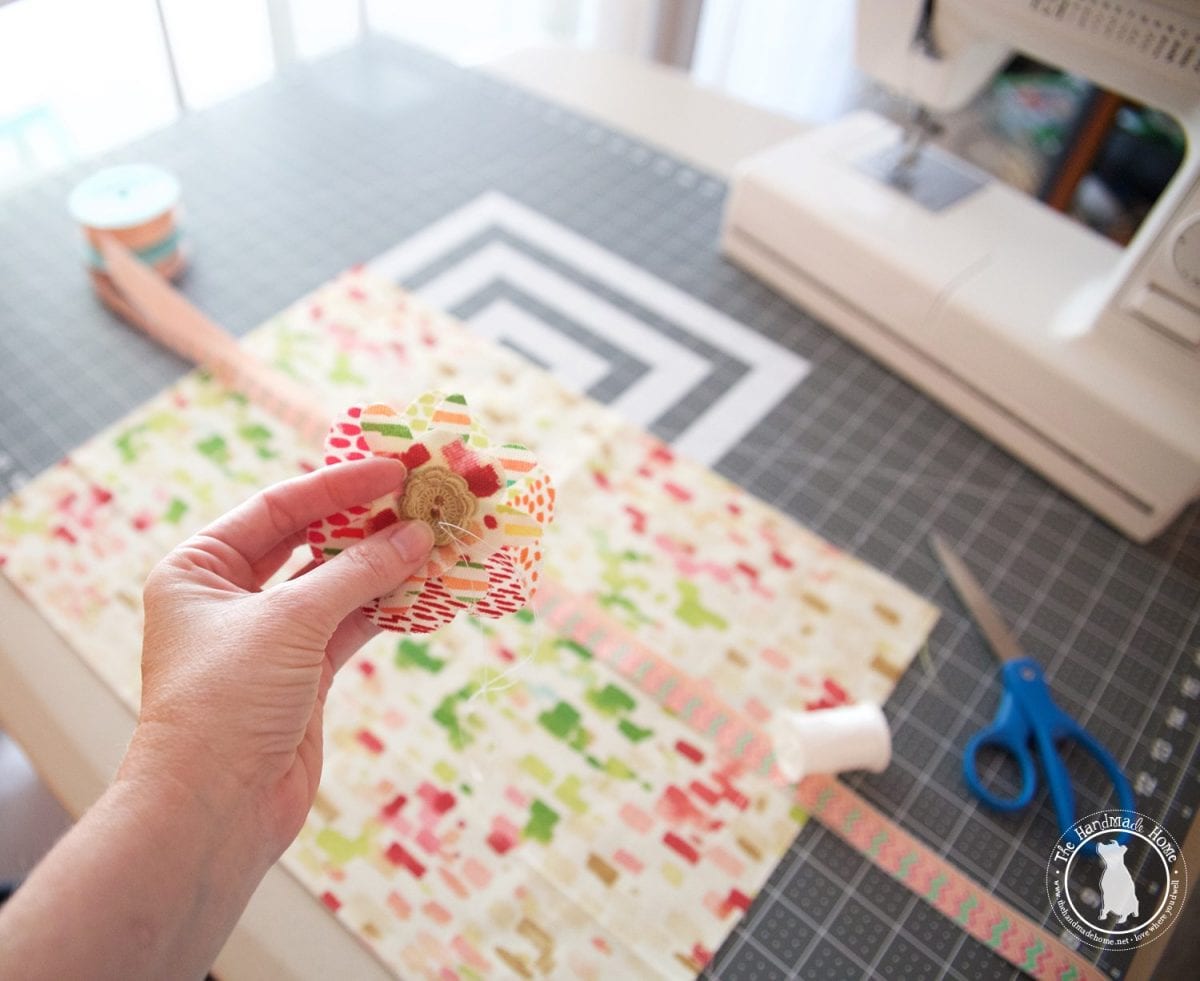
Tip: I tacked the ribbon down on the very ends by hand sewing quickly so it wouldn’t move, later.
Put this aside, and sew your pocket.
Take your fabric rectangle, and hem the edges. This folder piece will run the entire length of the bottom of your art case.
Next, add it with a top stitch to the inside piece {the one with the interfacing attached}. Only attach it to the bottom and sides, leaving the top open.
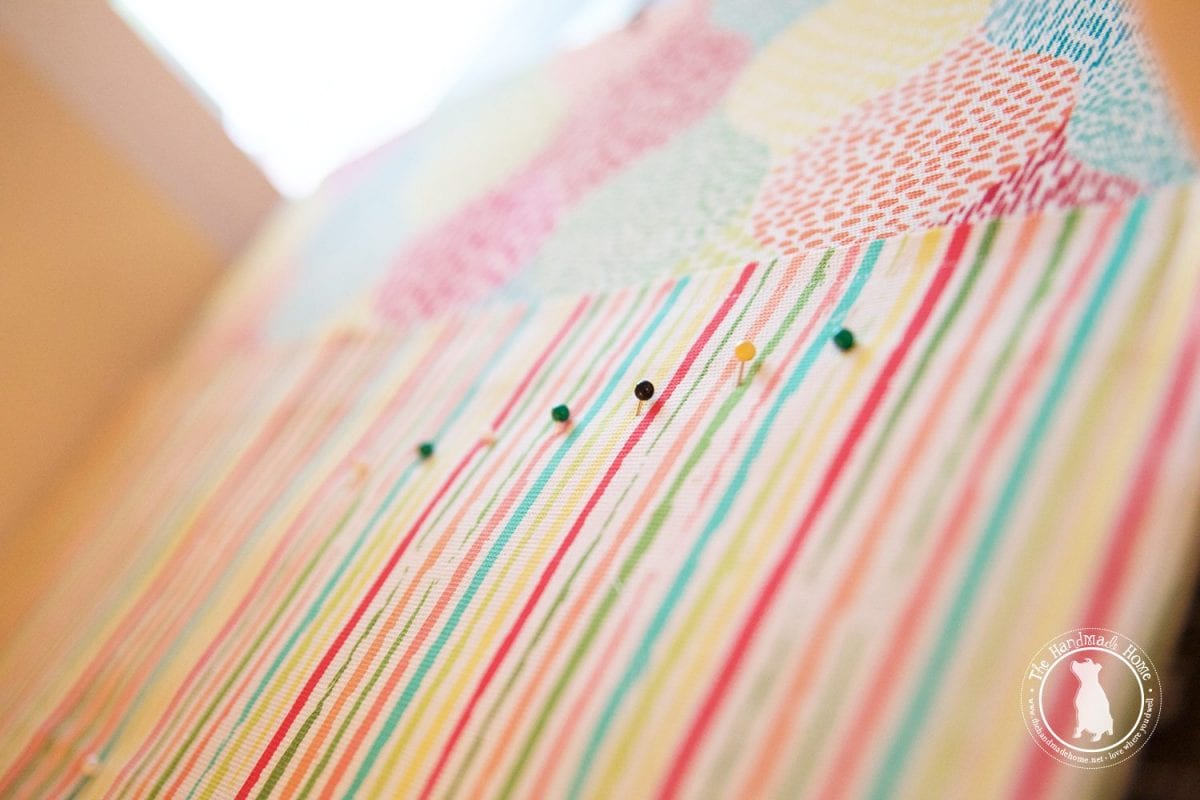
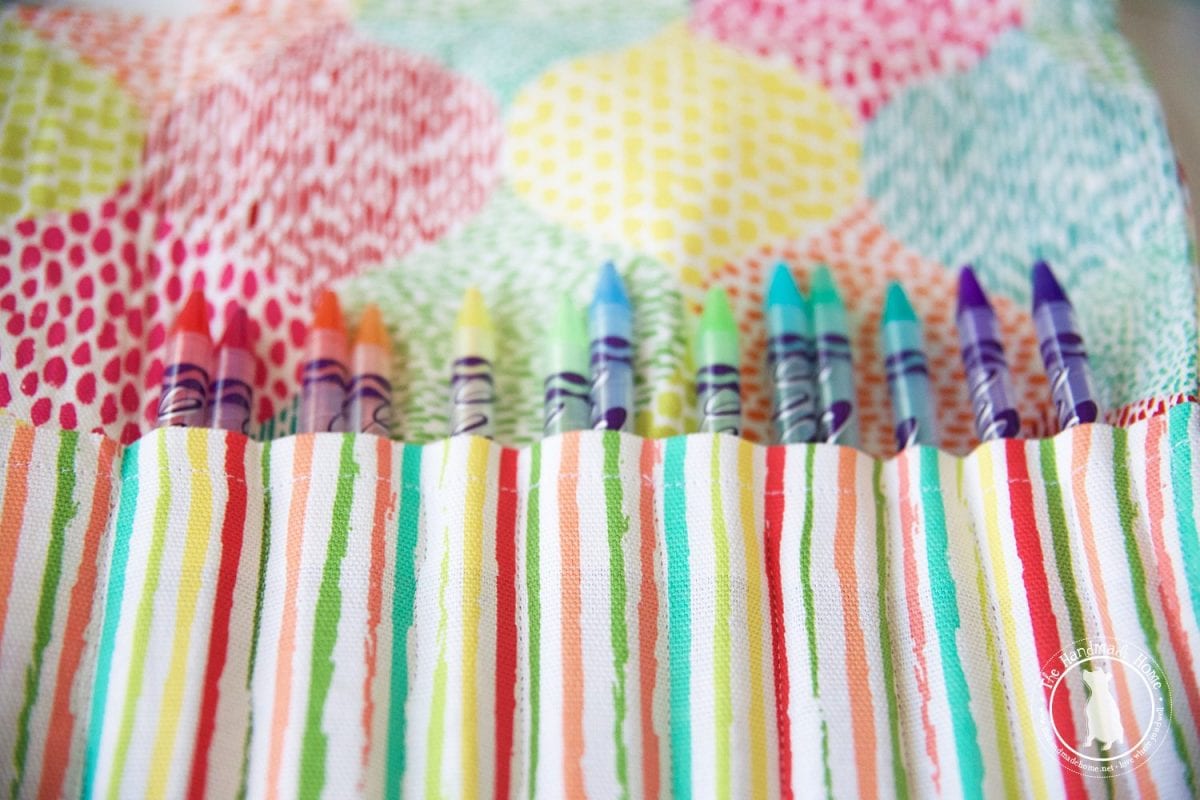
Fold your inside inward, and mark the middle spot with a needle. You will add pencil holders to the right side, and the left will remain open to hold your notebook.
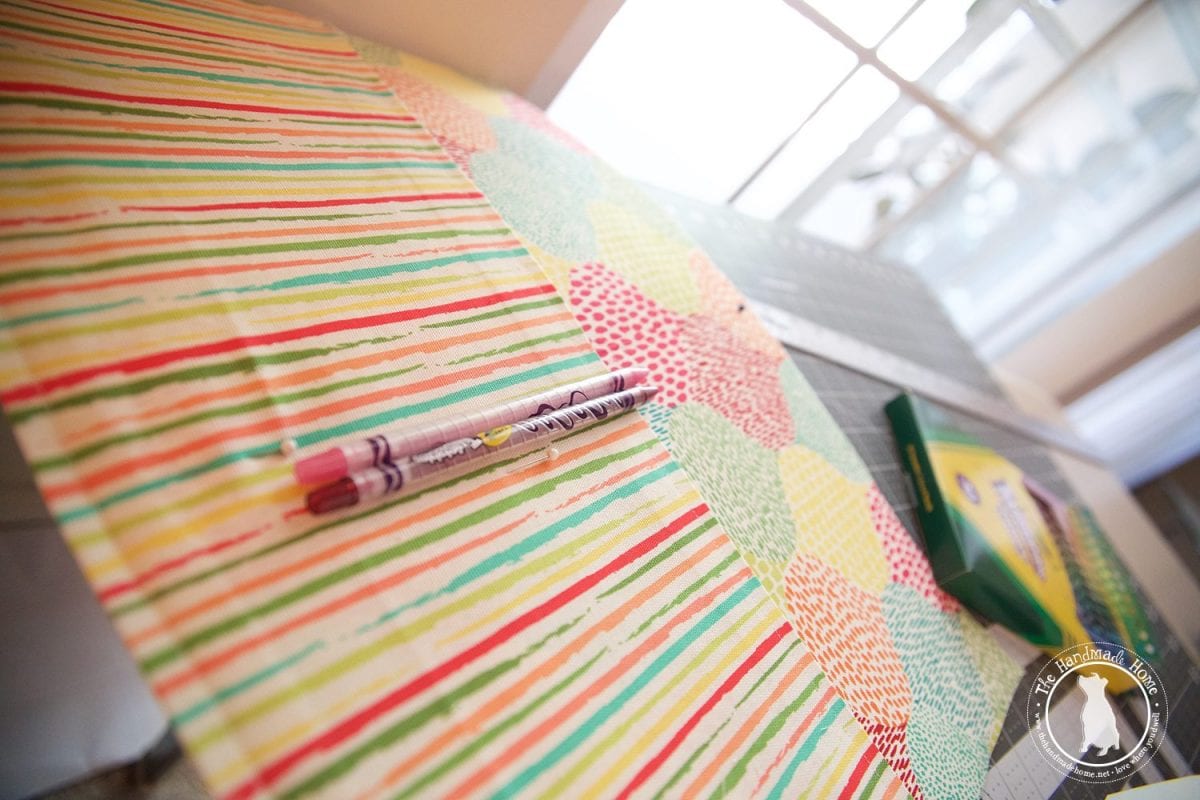
I literally grabbed some colored pencils {Our fam loves these things} and marked each width I wanted with a needle.
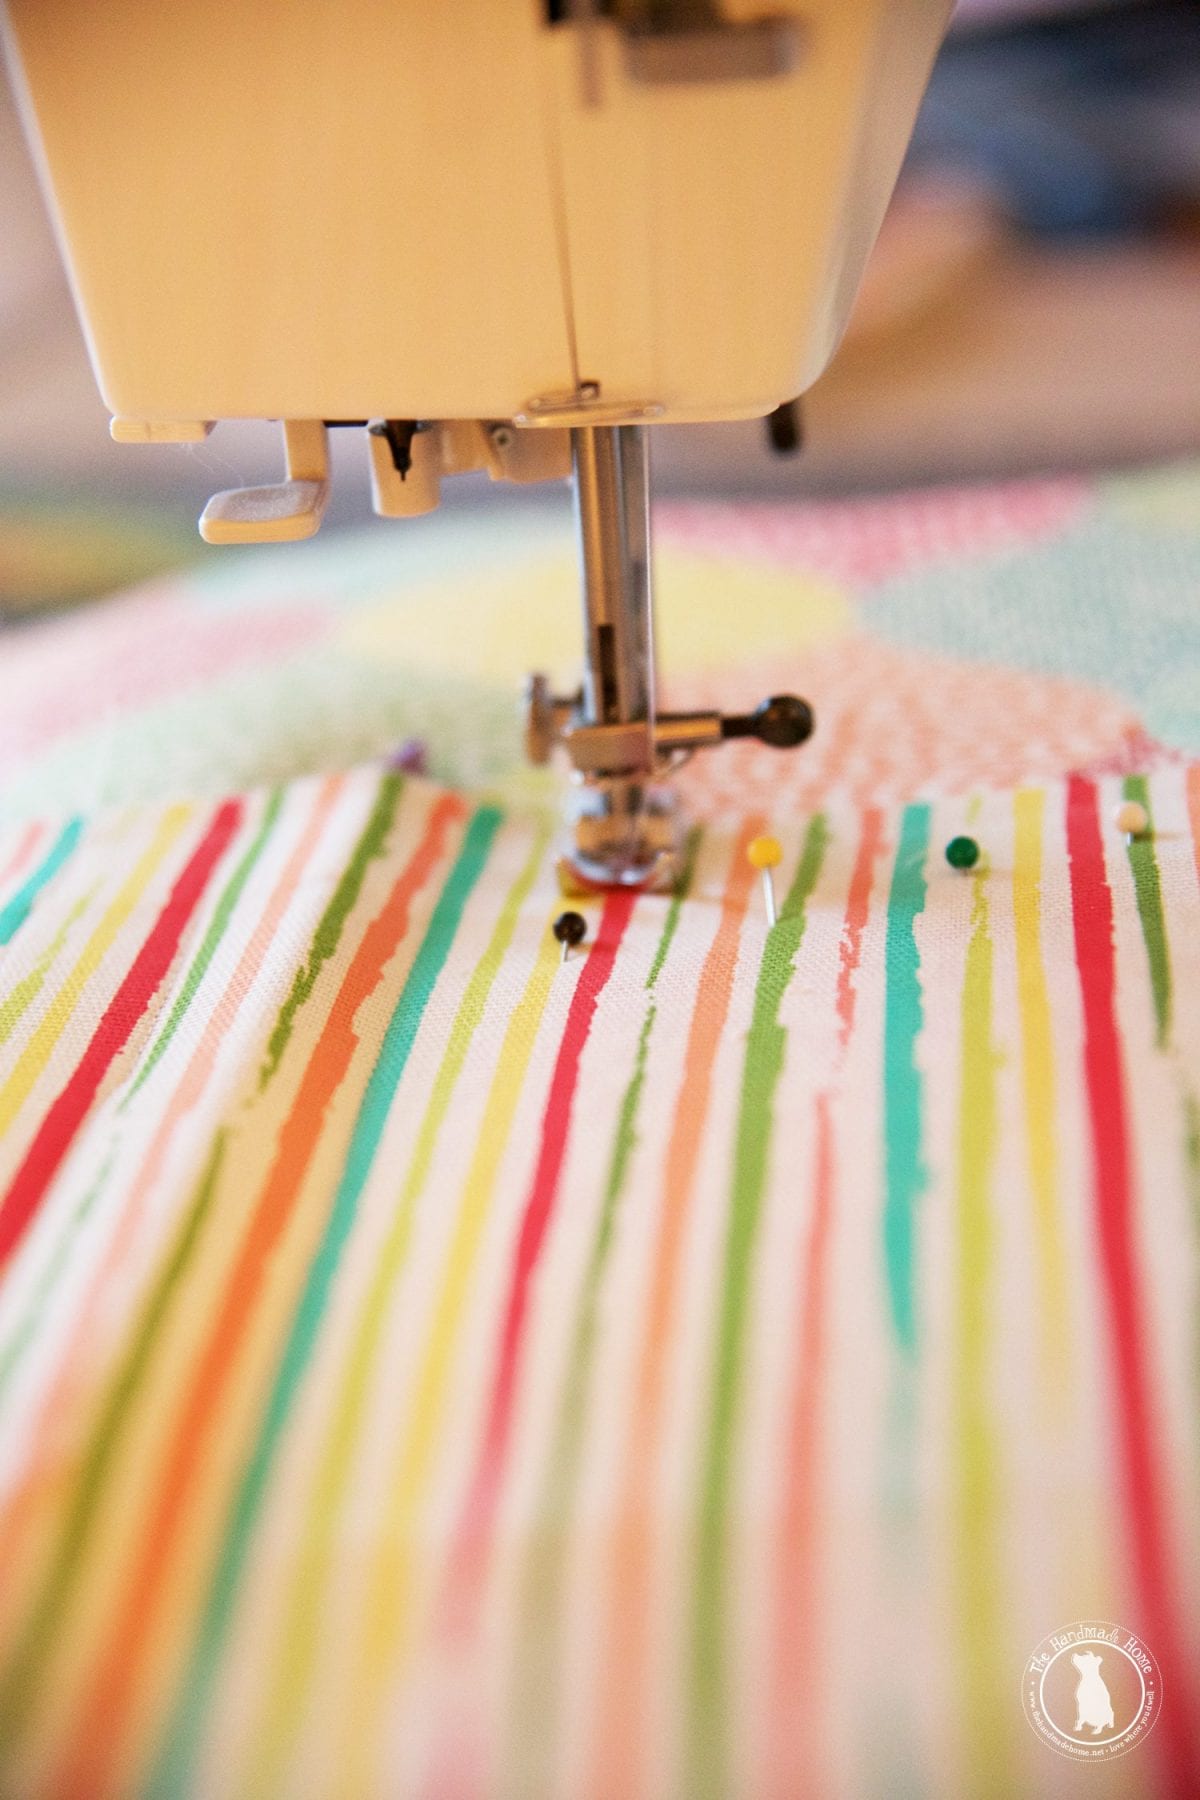
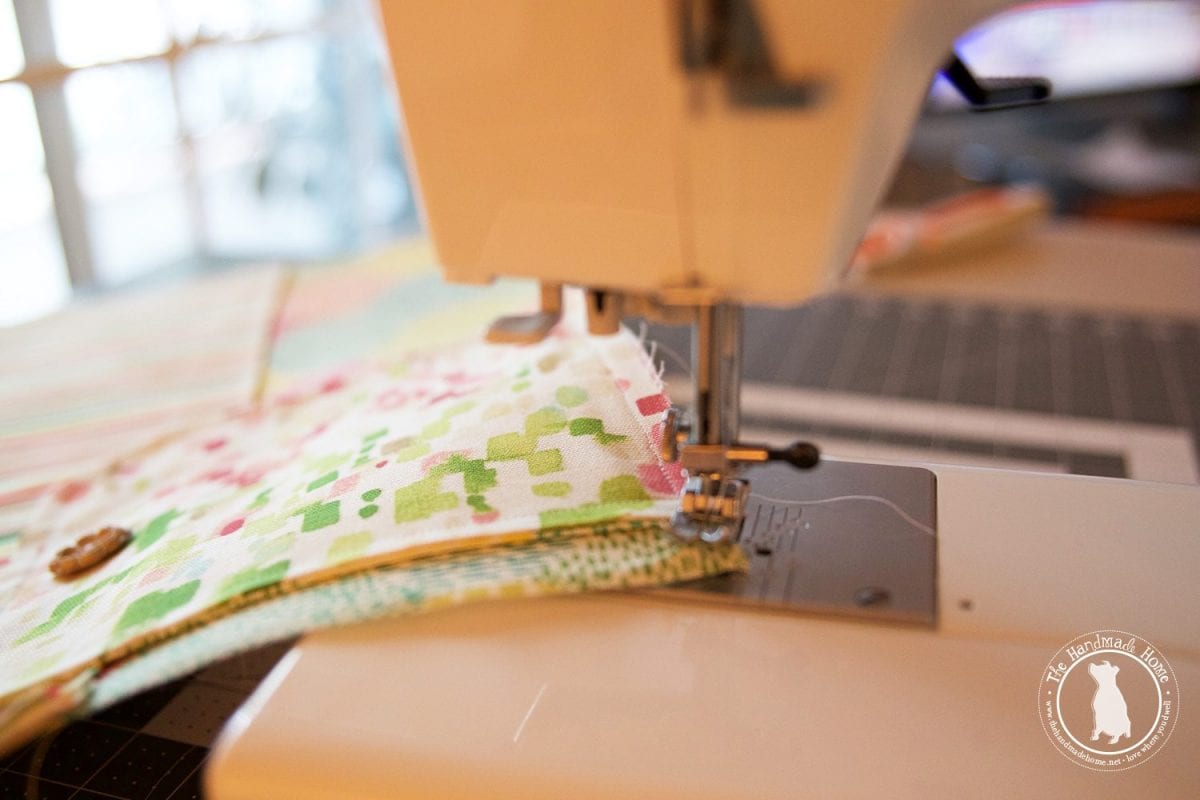
And starting at the top of the “folder” piece on the right side, sewed a straight line down each one.
Next, set this aside and sew your flap.
Embellish a button on the side you wish to show {folding down} on the top, if you wish.
Simply take both sides together, wrong sides out, right sides you wish to show, in. Sew them together, leaving the top unsewn. This will attach to the entire art cover here, so you can just leave it, and pull it back through.
Turn both pieces now attached right side out through the top. Iron down for a smoother finish.
Top stitch for a little extra polish in the finished look.
Remember that middle most spot you marked with your needle? Your flap should fit right up next to that needle, so that it’s not sewn on the sides when it’s all put together, and it fits nicely inside without hanging out. {This is the part where I’d noticed that I had made my template too wide. Thus my new design that matches better, if I do say so myself. Can you tell I’m proud?}
Attach the flap across the top of the case with a top stitch.
You’re almost there.
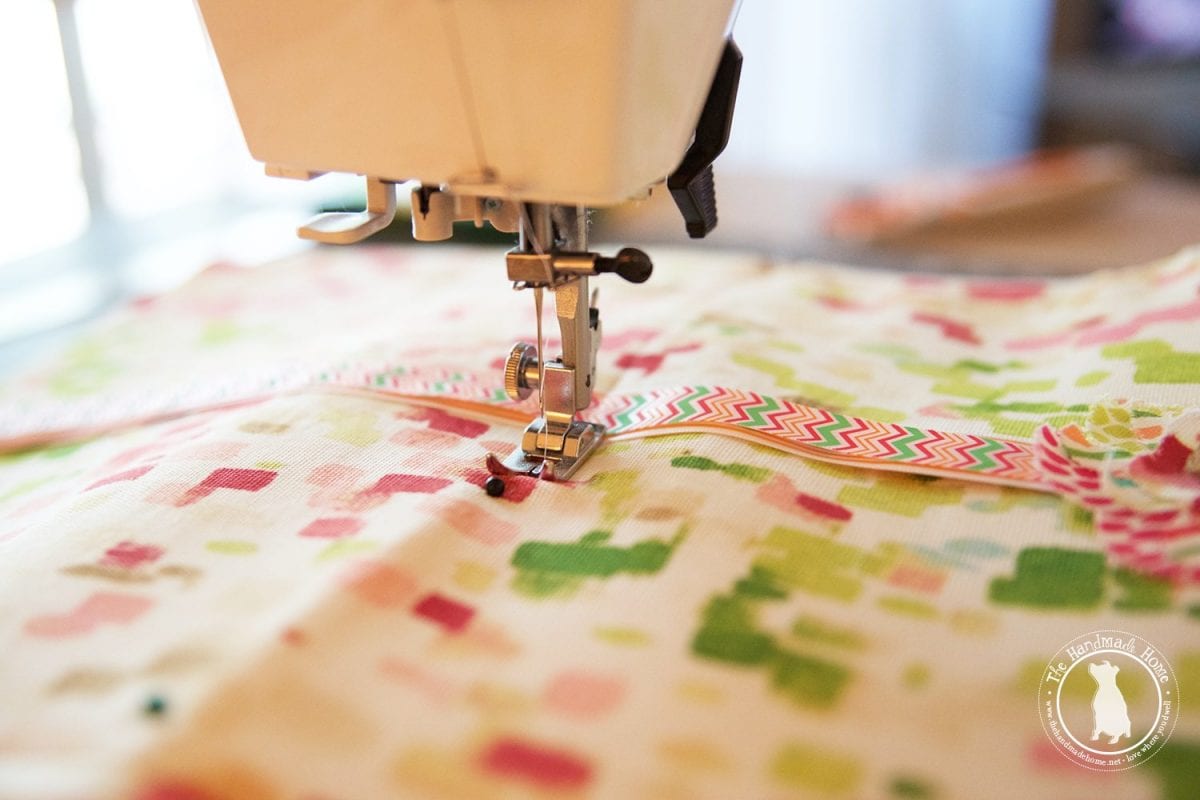
Take your outer cover, and lay it face down. Pull in your embellishments you added to the inside, making sure the ribbon can be sewn/secured on the edge, right with the new hemline you’ll create.
Place the other cover {the one where you just added the folder} face down on top. Right sides in, wrong sides out. Just like a pillow.
Sew all the way around to join them together, leaving a small {five to seven inches depending on the stiffness of your interfacing} opening to pull it all through.
Tip: Before you pull it through, gently snip the corners {without cutting the thread} and trim the hemmed edges to allow for a smoother finish when you pull it right side, out.
It may take a little fluffing at this point, to have it working just right. From there, iron, and finish it off with a center stitch for the “seam” of your case, along with a top stitch for all the edges. I went back and sewed up my hole I created to pull the rest of it through, as well. I ended up doing a double top stitch for an extra security/fun finished look.
This helps hold everything in place, and secure what you’ve made.
Open it up and admire how amazing you are.
Ps. My patterns on the flap vs the inside – this must be noted. They matched up in the shapes by accident. That would never happen again if I tried, but let’s pretend like I meant to do it that way. ;}
Here it is crammed full with all her stuff…
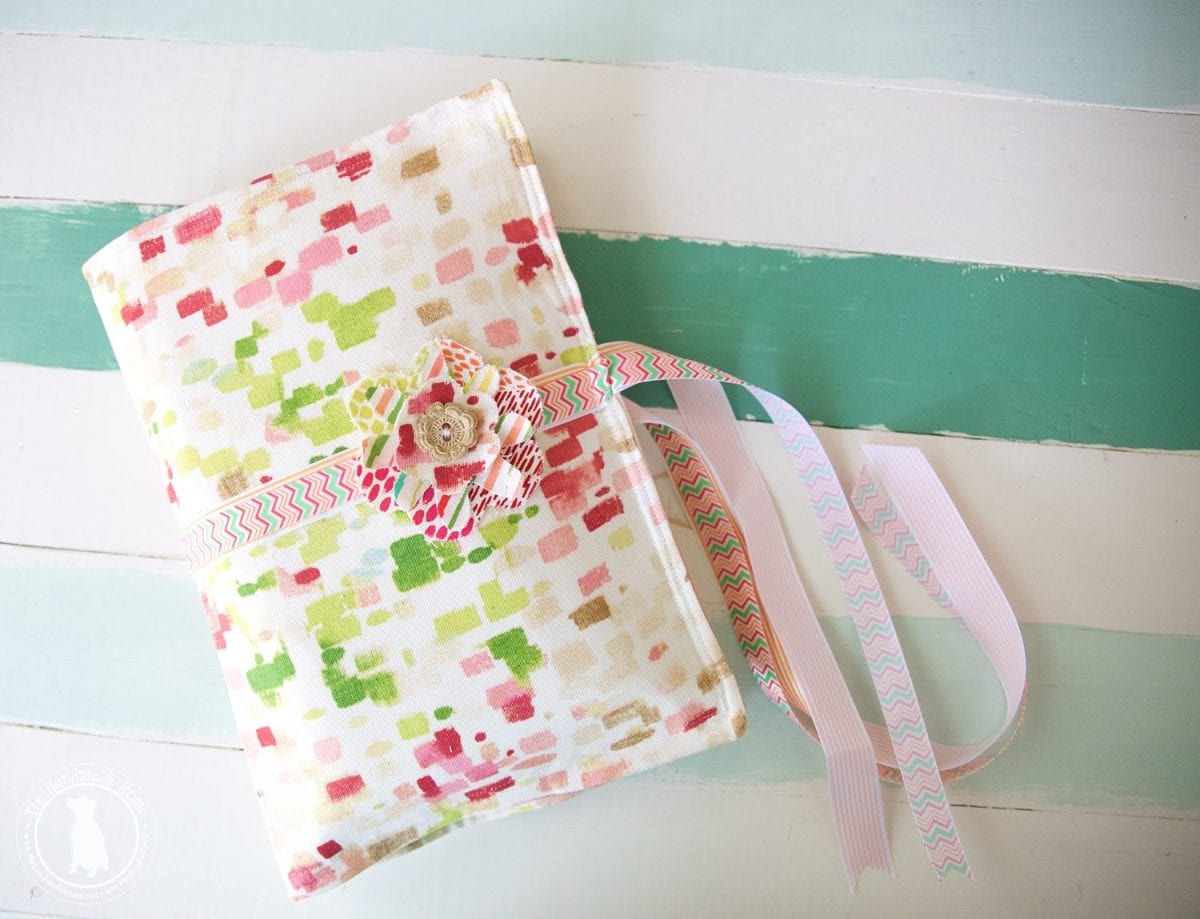
And empty.

These make the cutest little project with your little if you have an aspiring seamstress on your hands. I’m definitely not perfect with my finished product but it’s just right for her love of the creative! These would make amazing gifts, as well!
I was right proud of mahself, y’all!
We adore working with Waverly fabrics. You can catch their fabulous new line of fabrics and crafting supplies – Waverly Inspirations – at Walmart. And everything else you saw in this post? {Cutting board and rotary cutter, supplies, colored pencils, sketchbook, etc… all from Walmart.} Winning.
As always, let us know if you make it. We’d love to see.
Have an inspired day!
I LOVE this!!! It is not just for kids. A styling place for all my colored pencils, doodle books and more so I can carry them wherever I go on planes, trains, and automobiles so I don’t get bored. 🙂
This is precious! And so is your little model. What an awesome idea!
This is perfect for adults too. such a great idea for all the things. And the fact that you used it for an iPad case is perfect. I love it!
Was reading this with my 7 1/2 year old girl reading over my shoulder and her immediate reaction was “I want an art kit! Let’s make one!” so, way to go Waverly and Ashley! I’ll post a photo if we do ;D
Awe please do! We’d love to see!
I love this. I’m not a seamstress either, but my daughter could really use this. I’m heading to Walmart later today and going to give it a try as my little back to school surprise for her.
You’ve got this – and yours will look way better than mine! ;}
I love this! I homeschool and have two kids starting a new science series for us which requires them to draw what they find outside (this year flying creatures). This will be perfect for them to have their notebooks and colored pencils all in one place! Thank you!
What an awesome project. My niece would love one of these. I love the flower on the front. Your instructions are great!
Love this design, especially the flap! Back in the day when I made the kids crayon rolls they’d always end up falling out, this solves that problem!
so cute, love the fabric pattern!!
This is really nice, I know few adults that would love these too.
SO cute! I am going to share this with my homeschool friends.
I am simultaneously in love with this and baffled by it!! It’s really amazing, but the only part I know how to do is sew on a button, the rest is Greek to me!! I’m glad my MIL just moved closer, I believe she has a machine and we may be having some lessons!! I want one for me…I MAY do it for the kids too!!
I Love Waverly Fabrics! I can hardly wait to jump into my stash and make one of these for my granddaughter for Christmas! Well done!