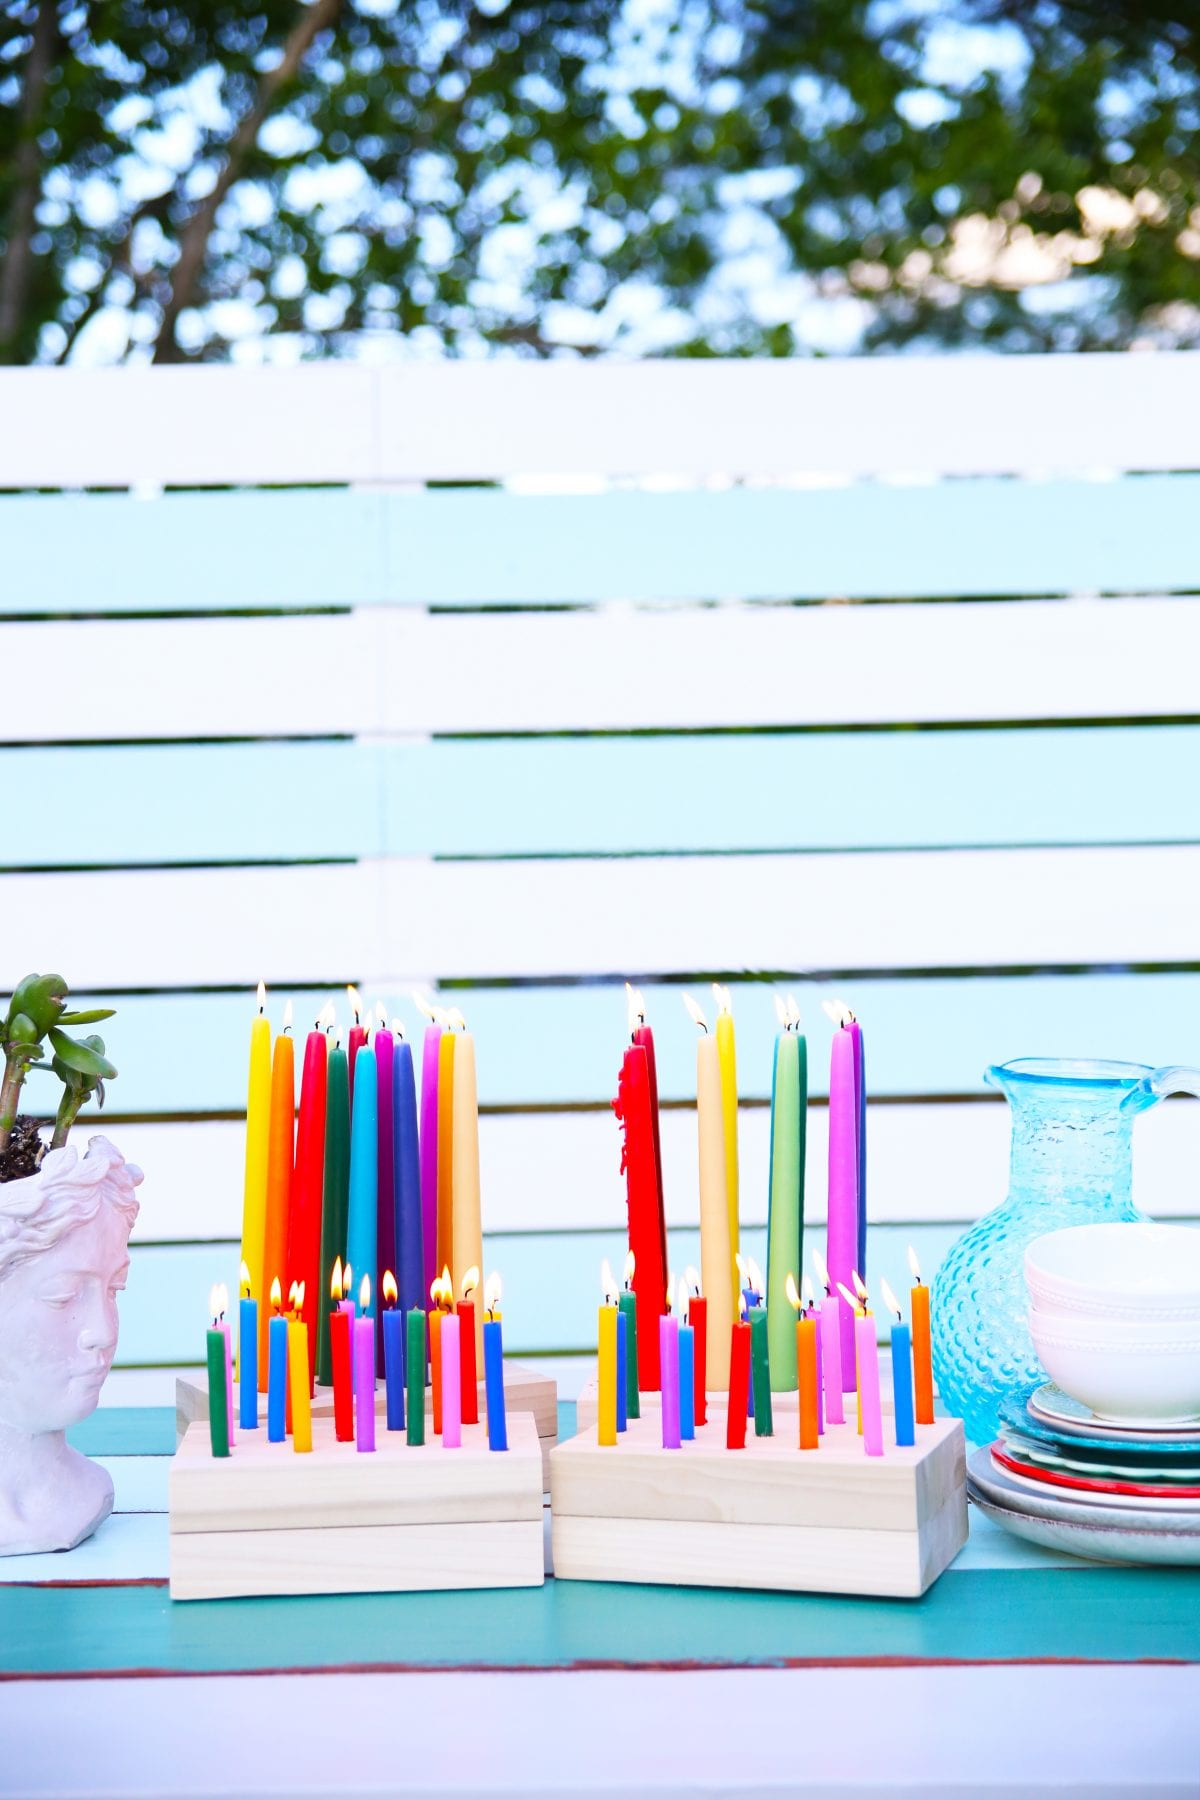
We’re very close to being done with all things side porch. {Remember that project that began at the beginning of covid?} Since things have taken a while to be delivered, etc, we’d moved on to bigger things in the meantime, like building a fence around our acre front yard. It’s been crazy how much it’s opened everything up. But we’re polishing up this space, and couldn’t be more thrilled to share this little project with you. A diy outdoor candle holder!
This is a little bit of a throwback to this post we did years ago. I think there are a million different versions of this all over the internets, but we wanted to cook up our own.
When I was perusing Etsy and spied these colorful guys, I knew I needed the perfect holder for them, to place outside. Aren’t they so much fun?!
Note: I won’t actually leave these outside. They really work anywhere, but when we’re entertaining, they’re so much fun!
For what it’s worth, I can’t even tell you what it took to get a photo of it all lit up. The windiest day in the history of ever. The candles went a bit wonky.
Here’s what you’ll need: {we made two versions, big and small}
• poplar wood – 2 x 2 x 3 feet – in 8 pieces. You can do any kind of wood for these.
• candles – we used two kinds – these handmade fabulous ones – and we added these
• a drill bit at the size of your candles
• clamps + wood glue
• saw
Glue your first four pieces together, in groups of two and clamp them to dry.
When those are dry, glue the two new pieces together, in another pair. Like the photo below.
Make sure they are even on all sides when you clamp them together.
When they’re dry, it’s time for sanding it down a little, to get rid of those glue drips.
It looks so pretty in the natural wood grain, we’d originally intended to add something, but decided with the colorful candles, it was enough.
When we were finished sanding, we decided to cut them into equal groups of four.
Two for the big candles, two for the smaller ones.
Then we laid out a pattern with paper on top, using Frogtape®.
This all depends on the width of your candles and where you want them placed. for the larger ones, we had more of a pattern, and once it was measured and drawn, we were ready to mark our areas. For the smaller ones, we went random, because why not?
Then using our drill bit of appropriate size, marked the spots where the candles would go.
Then your candles are ready to be placed!
Hint: so that they don’t lean, I simply added a dab of hot glue in the bottom right before placing each one. This way they stay put. It’s easy to remove later, so no big deal. Tada!
When the fun colorful wax drips, it makes for fun designs on the wood.
We love the fun color it added to our table!
I guess since times are tough, we can even substitute this look for the traditional birthday cake.
I kid. Maybe not.
This is a little bit of a sneak peek at our new dining area.
Can’t wait to share the whole shebang later next week.
As always, let us know if you try it or have any questions. And be sure to check out more of our fun blogger friends who are sharing their own summertime creations this week!
Today I’m joined by some of my blogging friends who are also sharing their Summer DIY/Craft ideas! Just click the links below the images to be taken to their post…
How to Seed a New Lawn from Scratch at The Happy Housie
DIY Palm Leaf Shadow Art Box (PB Knockoff) at Craftberry Bush
How to Make an Outdoor Pallet Tabletop at My Sweet Savannah
DIY Outdoor Planter with Candle at Clean & Scentsible
DIY Hanging Patio Garden at Tatertots and Jello
DIY Outdoor Candle Holders at The Handmade Home
DIY Painted Coasters at My 100 Year Old Home
Outdoor Tabletop Herb Garden at Inspiration for Moms
DIY Modern Sun Art at Cassie Bustamante
DIY Shell Candles at Finding Silver Pennies
DIY Beaded Garden Markers at Zevy Joy
Easy DIY Macrame and Driftwood Wall Hanging at Dans Le Lake House
DIY Printed Fern Art at Satori Design for Living
DIY Criss Cross Outdoor Planters at She Gave it a Go
Coastal Coaster DIY at Rambling Renovators
Stamped Spoon Garden Markers at Life is a Party
Summer Porch Updates at Taryn Whiteaker Designs
Have an inspired day!


these are SO fun, and I admit I am enamored by the vivid vibrancy of those candles!
OMG such a cute idea! I love the colorful candles too. I pinned it to my outdoor project board. I’m going to make one!
xoxo
So fun! You’re definitely the color queen and I can always spot your projects! {And I totally get you on the candles on the birthday cake!}
These are so cute, Ashley! Such a fun, summery idea!