
diy pool supply storage
We’ve had a ton of fun sharing all these posts in our cabana series! We adore all the projects that we take on, in their own way. From our own home to creations for clients. But we can easily say that this one is definitely one of our favorites. It’s just been such a wonderful space for our family, and so fun to fearlessly tackle. {See the original reveal here!} Today we’re talking about diy pool supply storage.
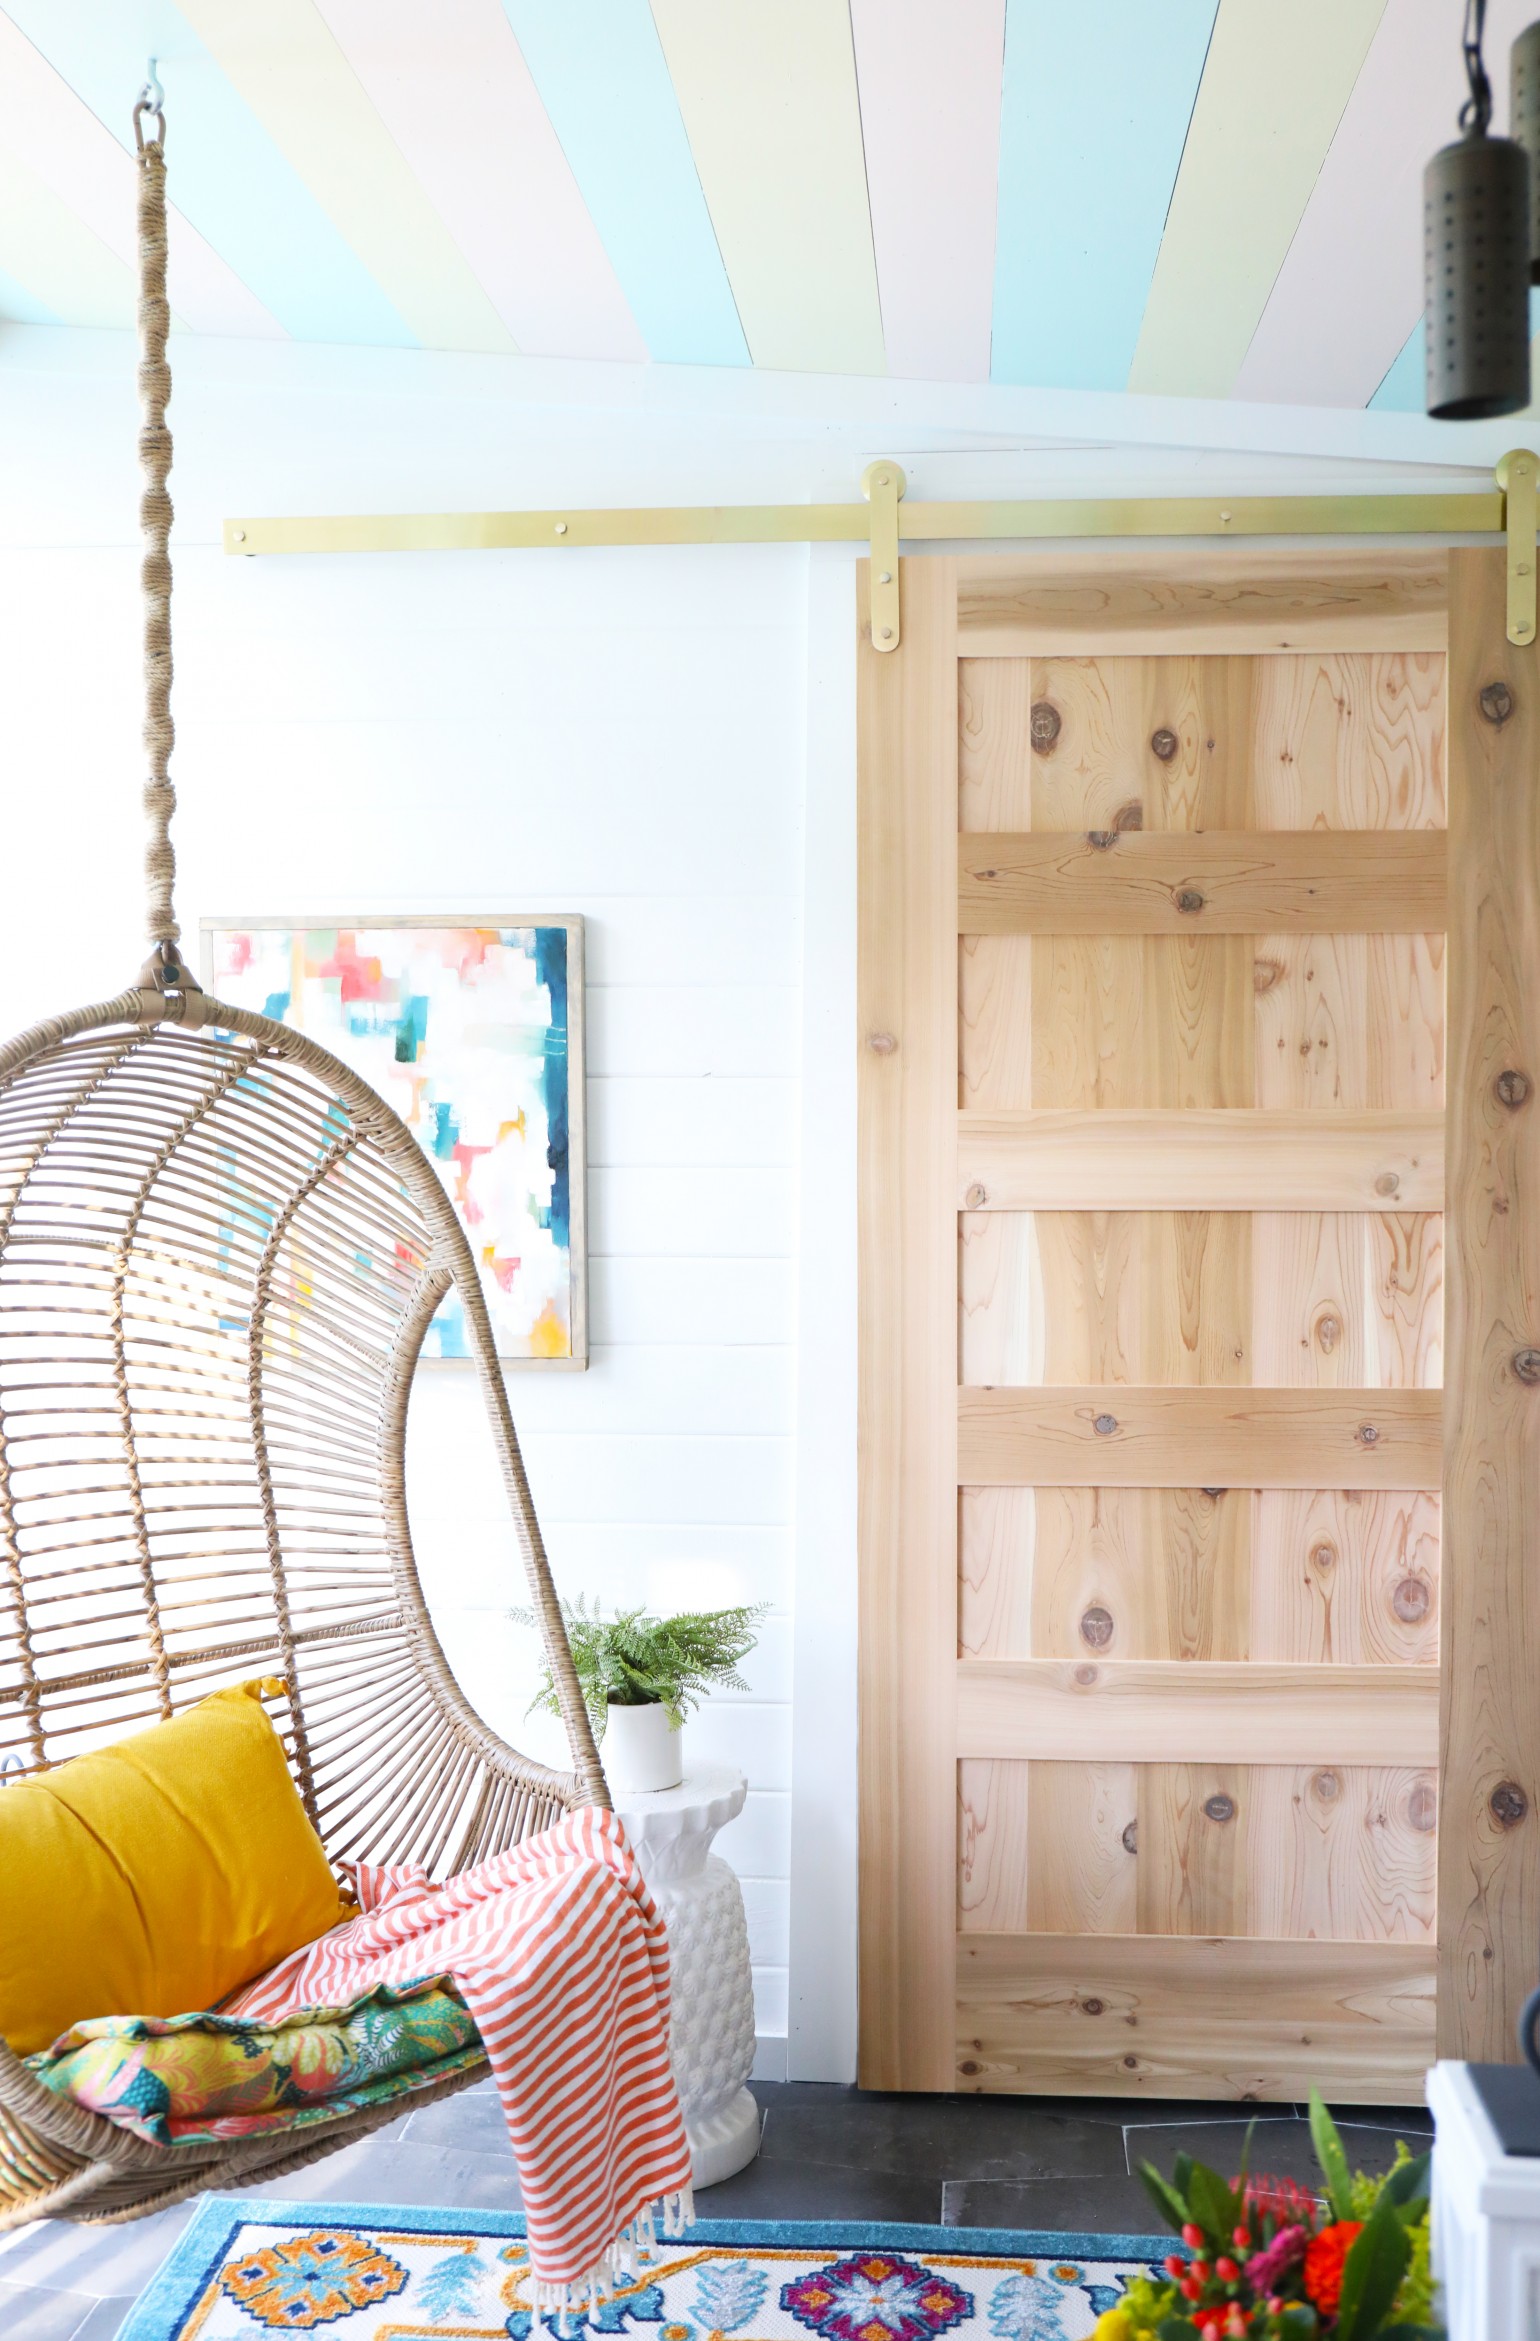
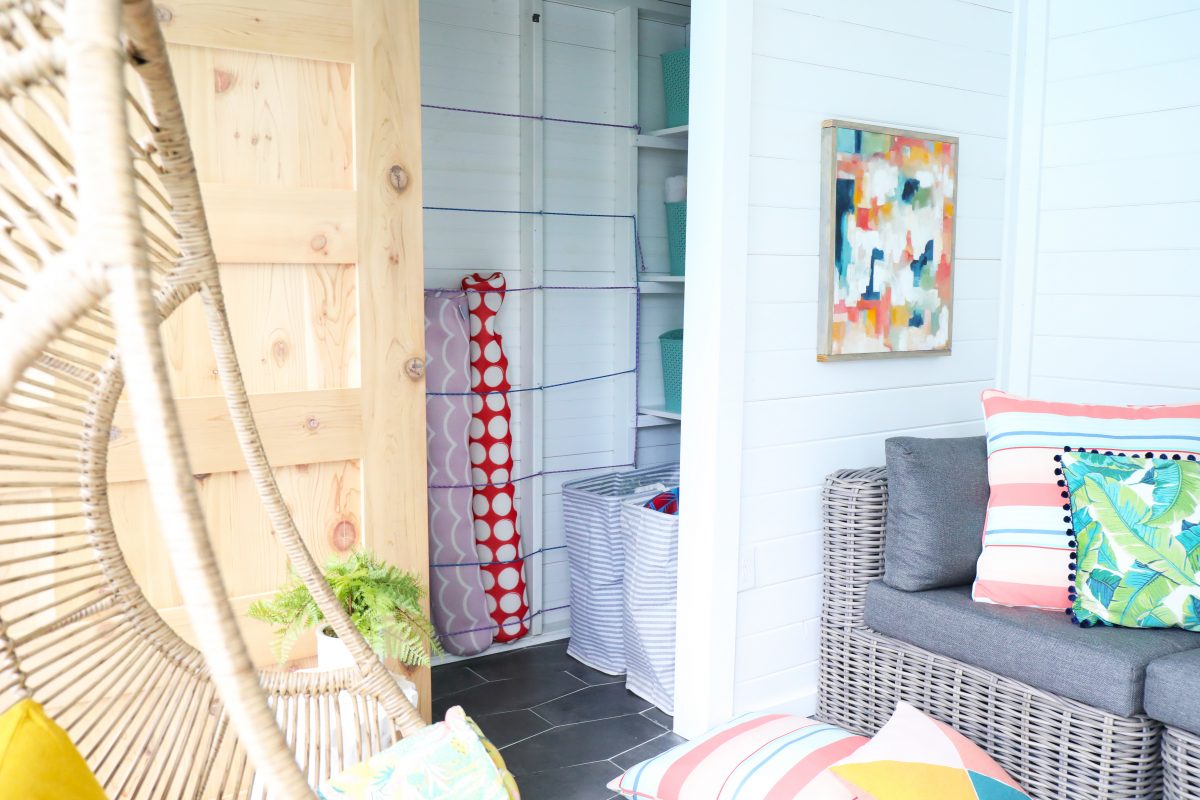
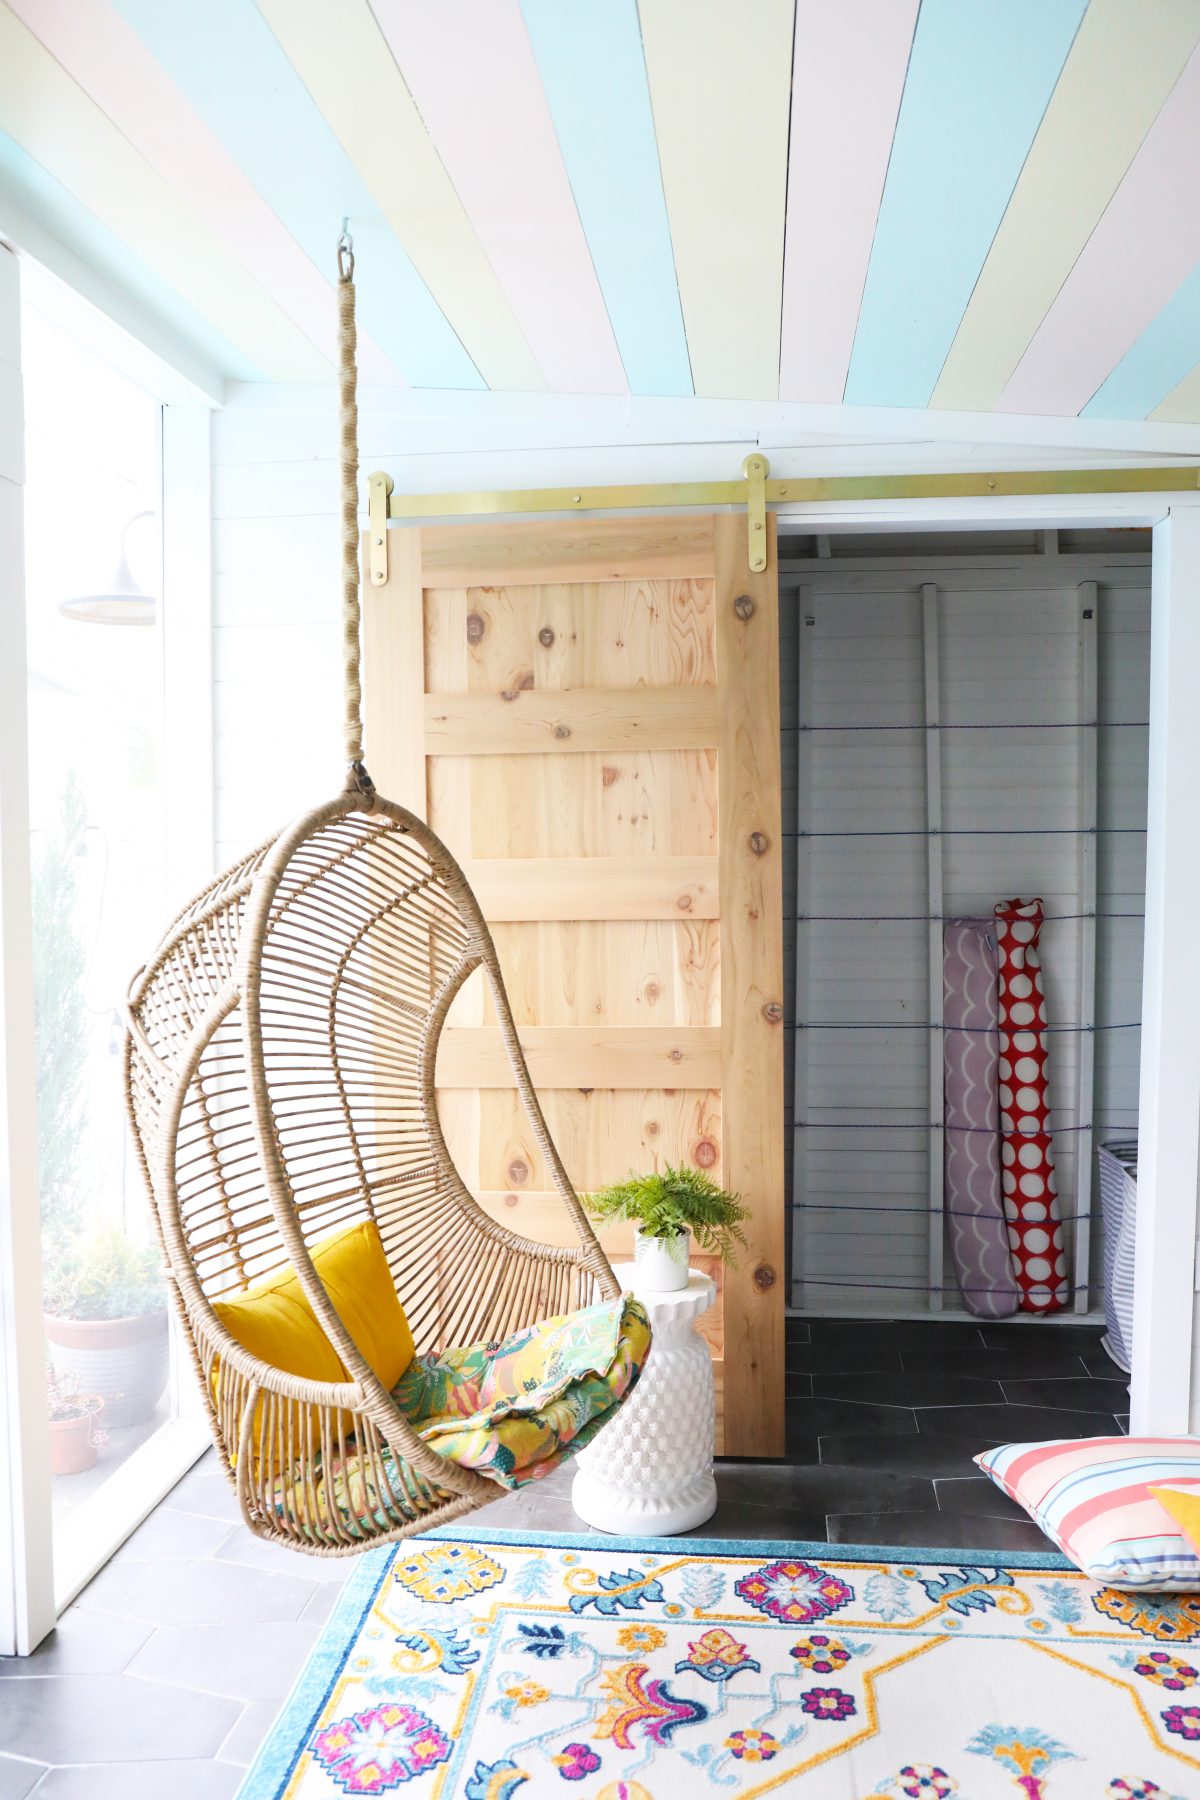
You may remember after that initial tour with the big reveal, that we finished off the cabana with both a bar area, and a closet. {Shout out to all the wonderful finishes that made it so fun and one of a kind, like this amazing artisan hardware barn door!}
See all our amazing sources here!
We knew that we would need to whip the inside of the closet into shape in the upcoming months, to offer lots of storage for pool chemicals, goggles, floats, misc. tools and more.
But this cabana was such a structural undertaking in between our day job, we decide to just relax and enjoy it all when we finished last fall.
So it kind of sat for a while.
As soon as spring rolled around, we knew it was time to tackle it!
I didn’t get a good picture of the before, {there’s more video on our stories today} but you get the gist. Disaster. It was bad. Floats. Baskets. Pillows. A big free for all. Stumbling in to retrieve things. One day I thought they might find me buried under the floats when I lost my footing and fell since I’m a perpetual klutz. Good story. It was time.

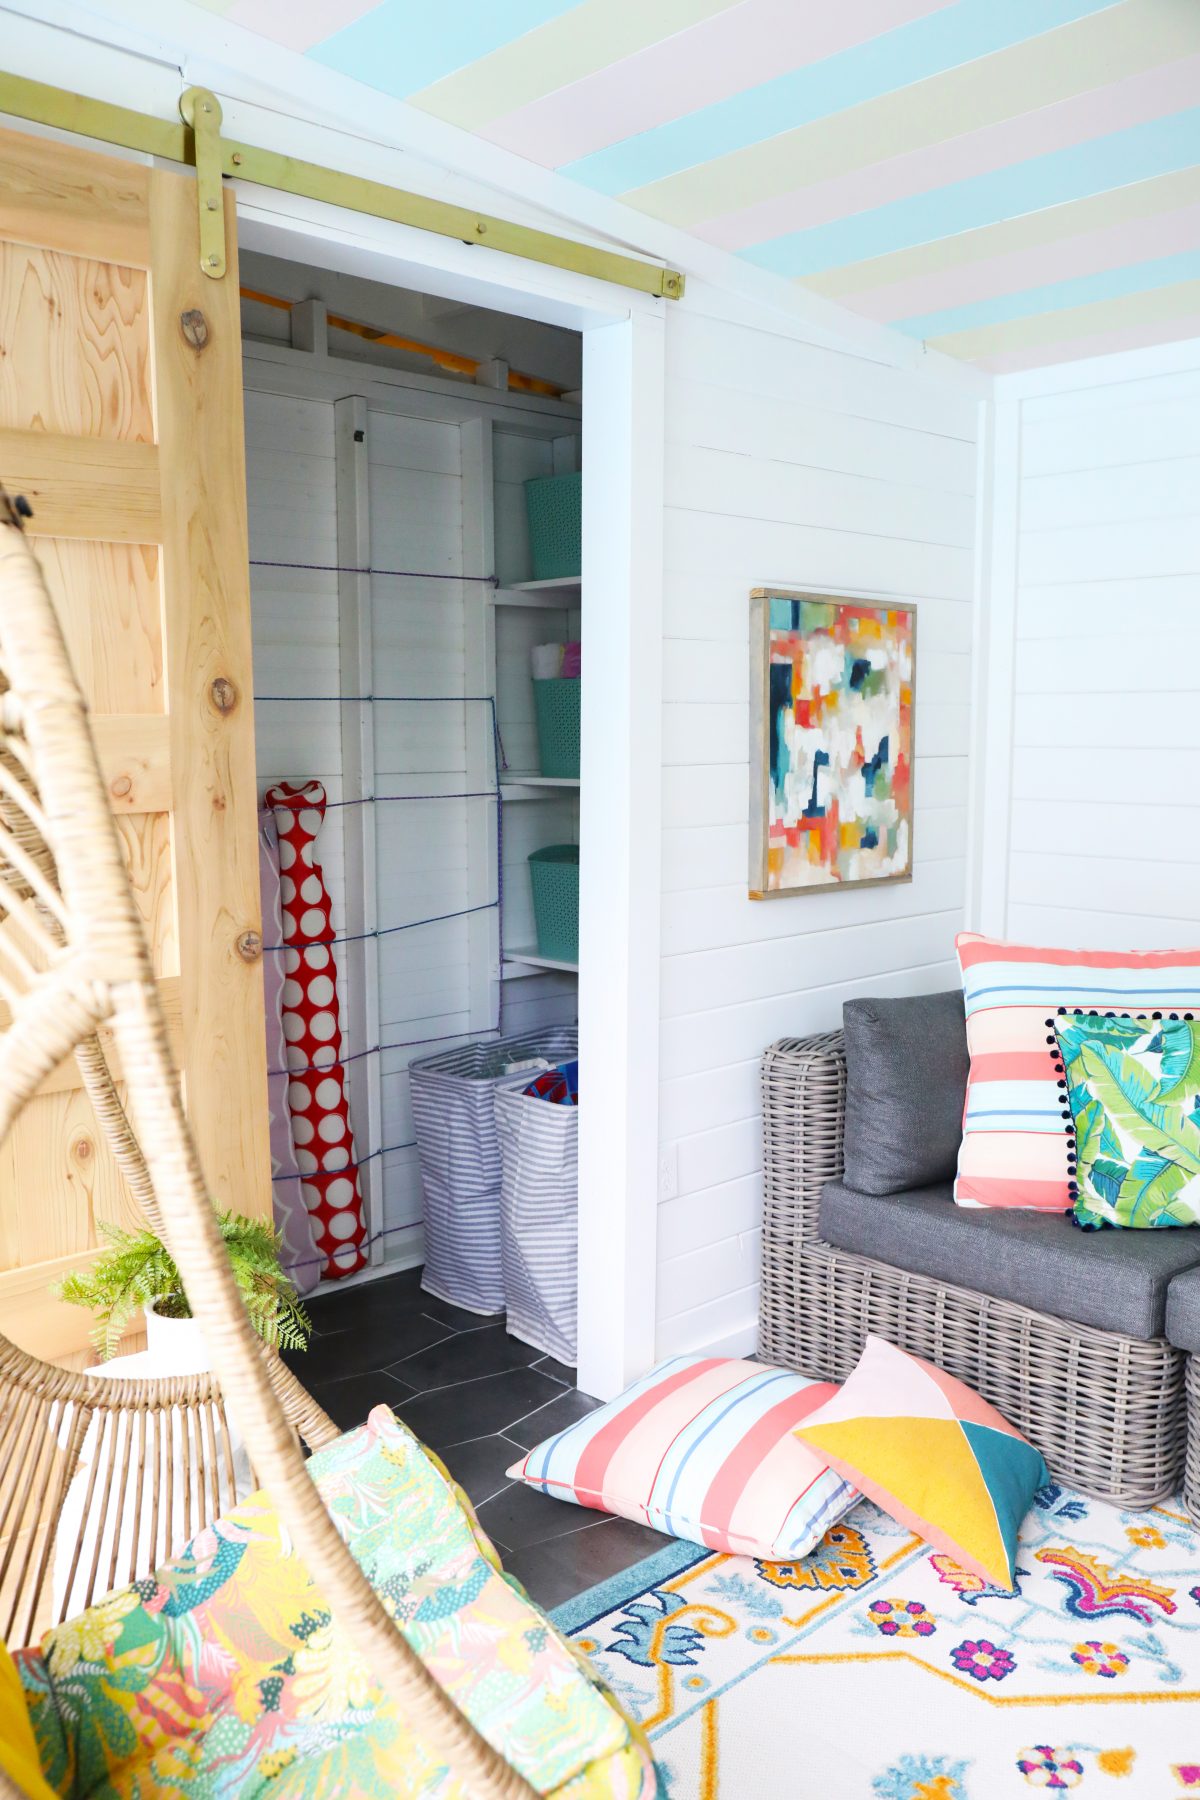
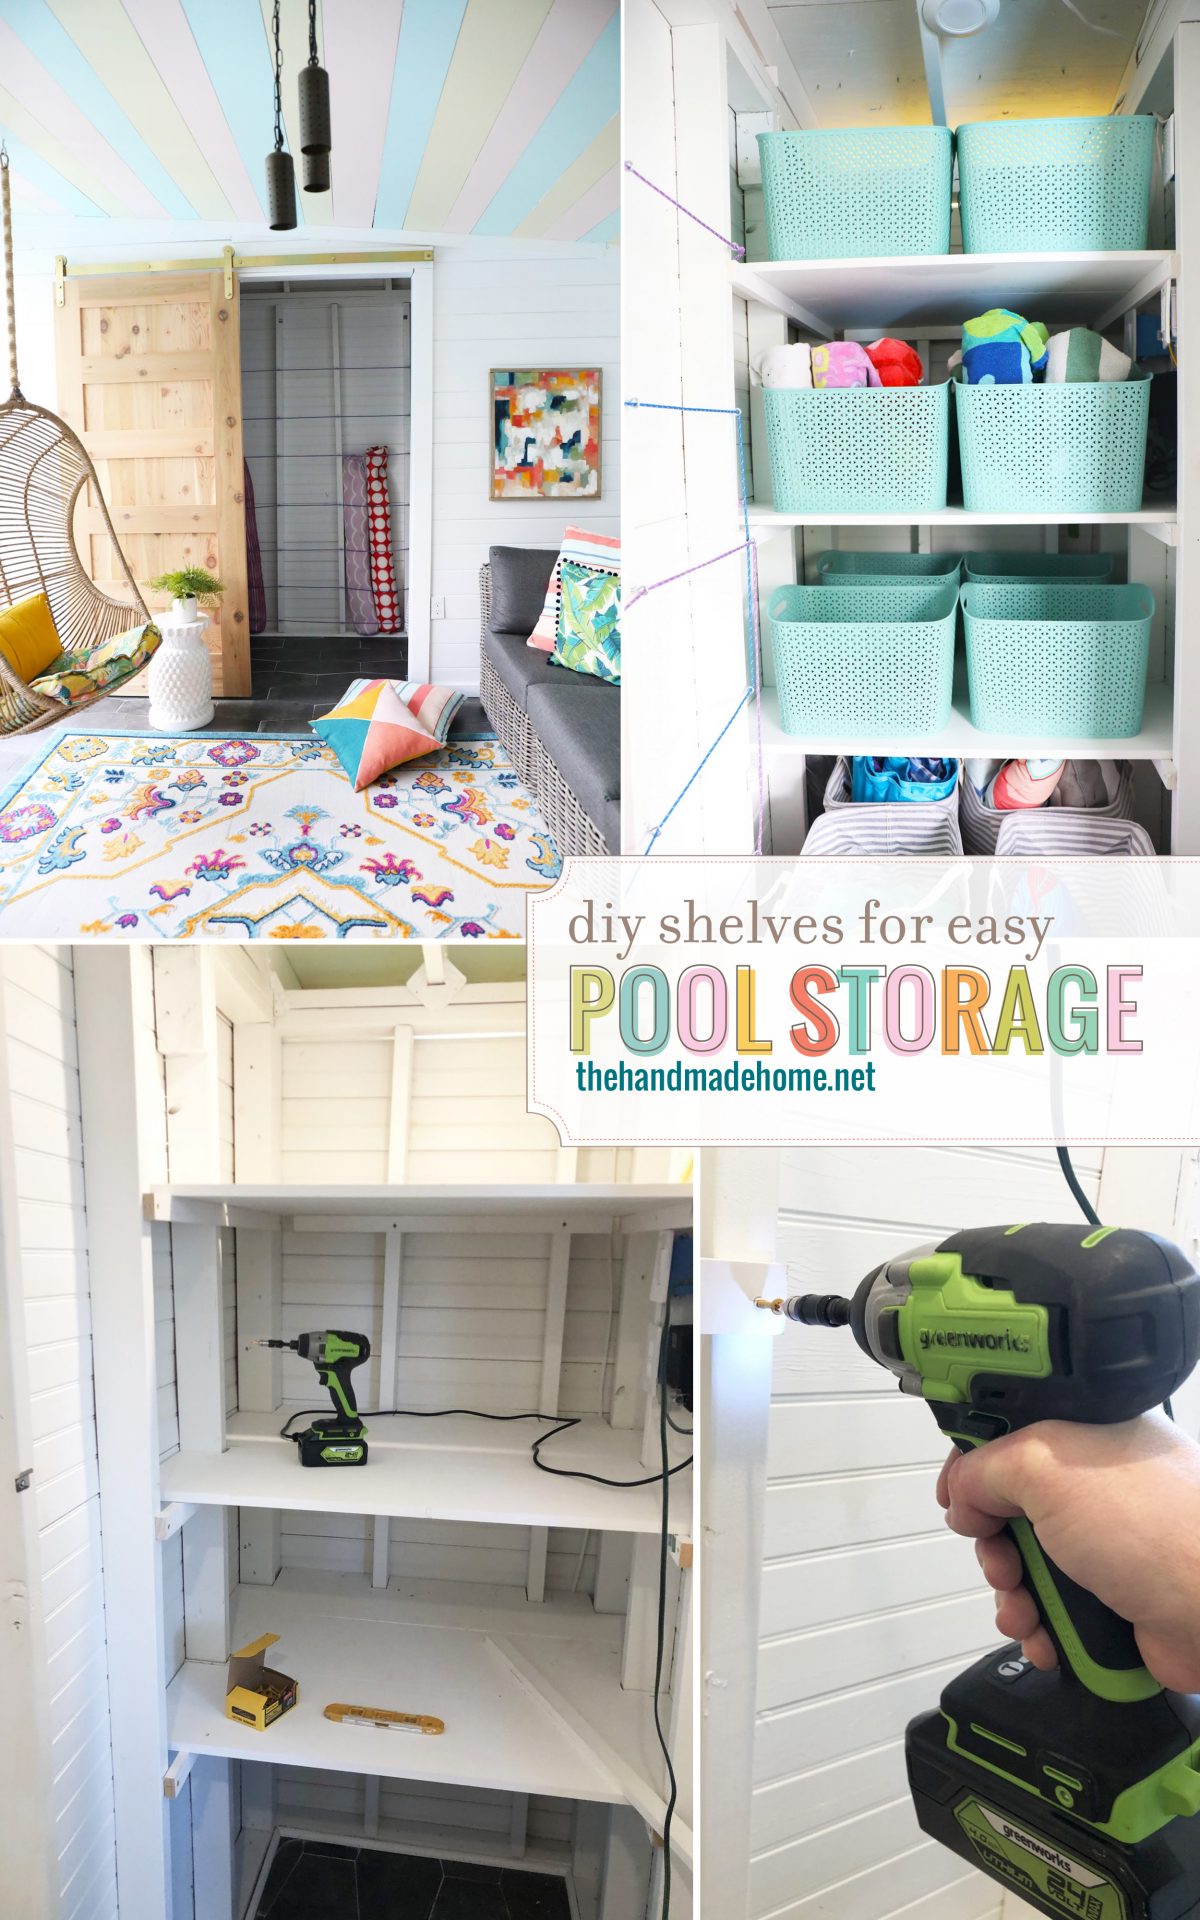
And we were thrilled to whip it into this!
Such a GAMECHANGER, you guys.
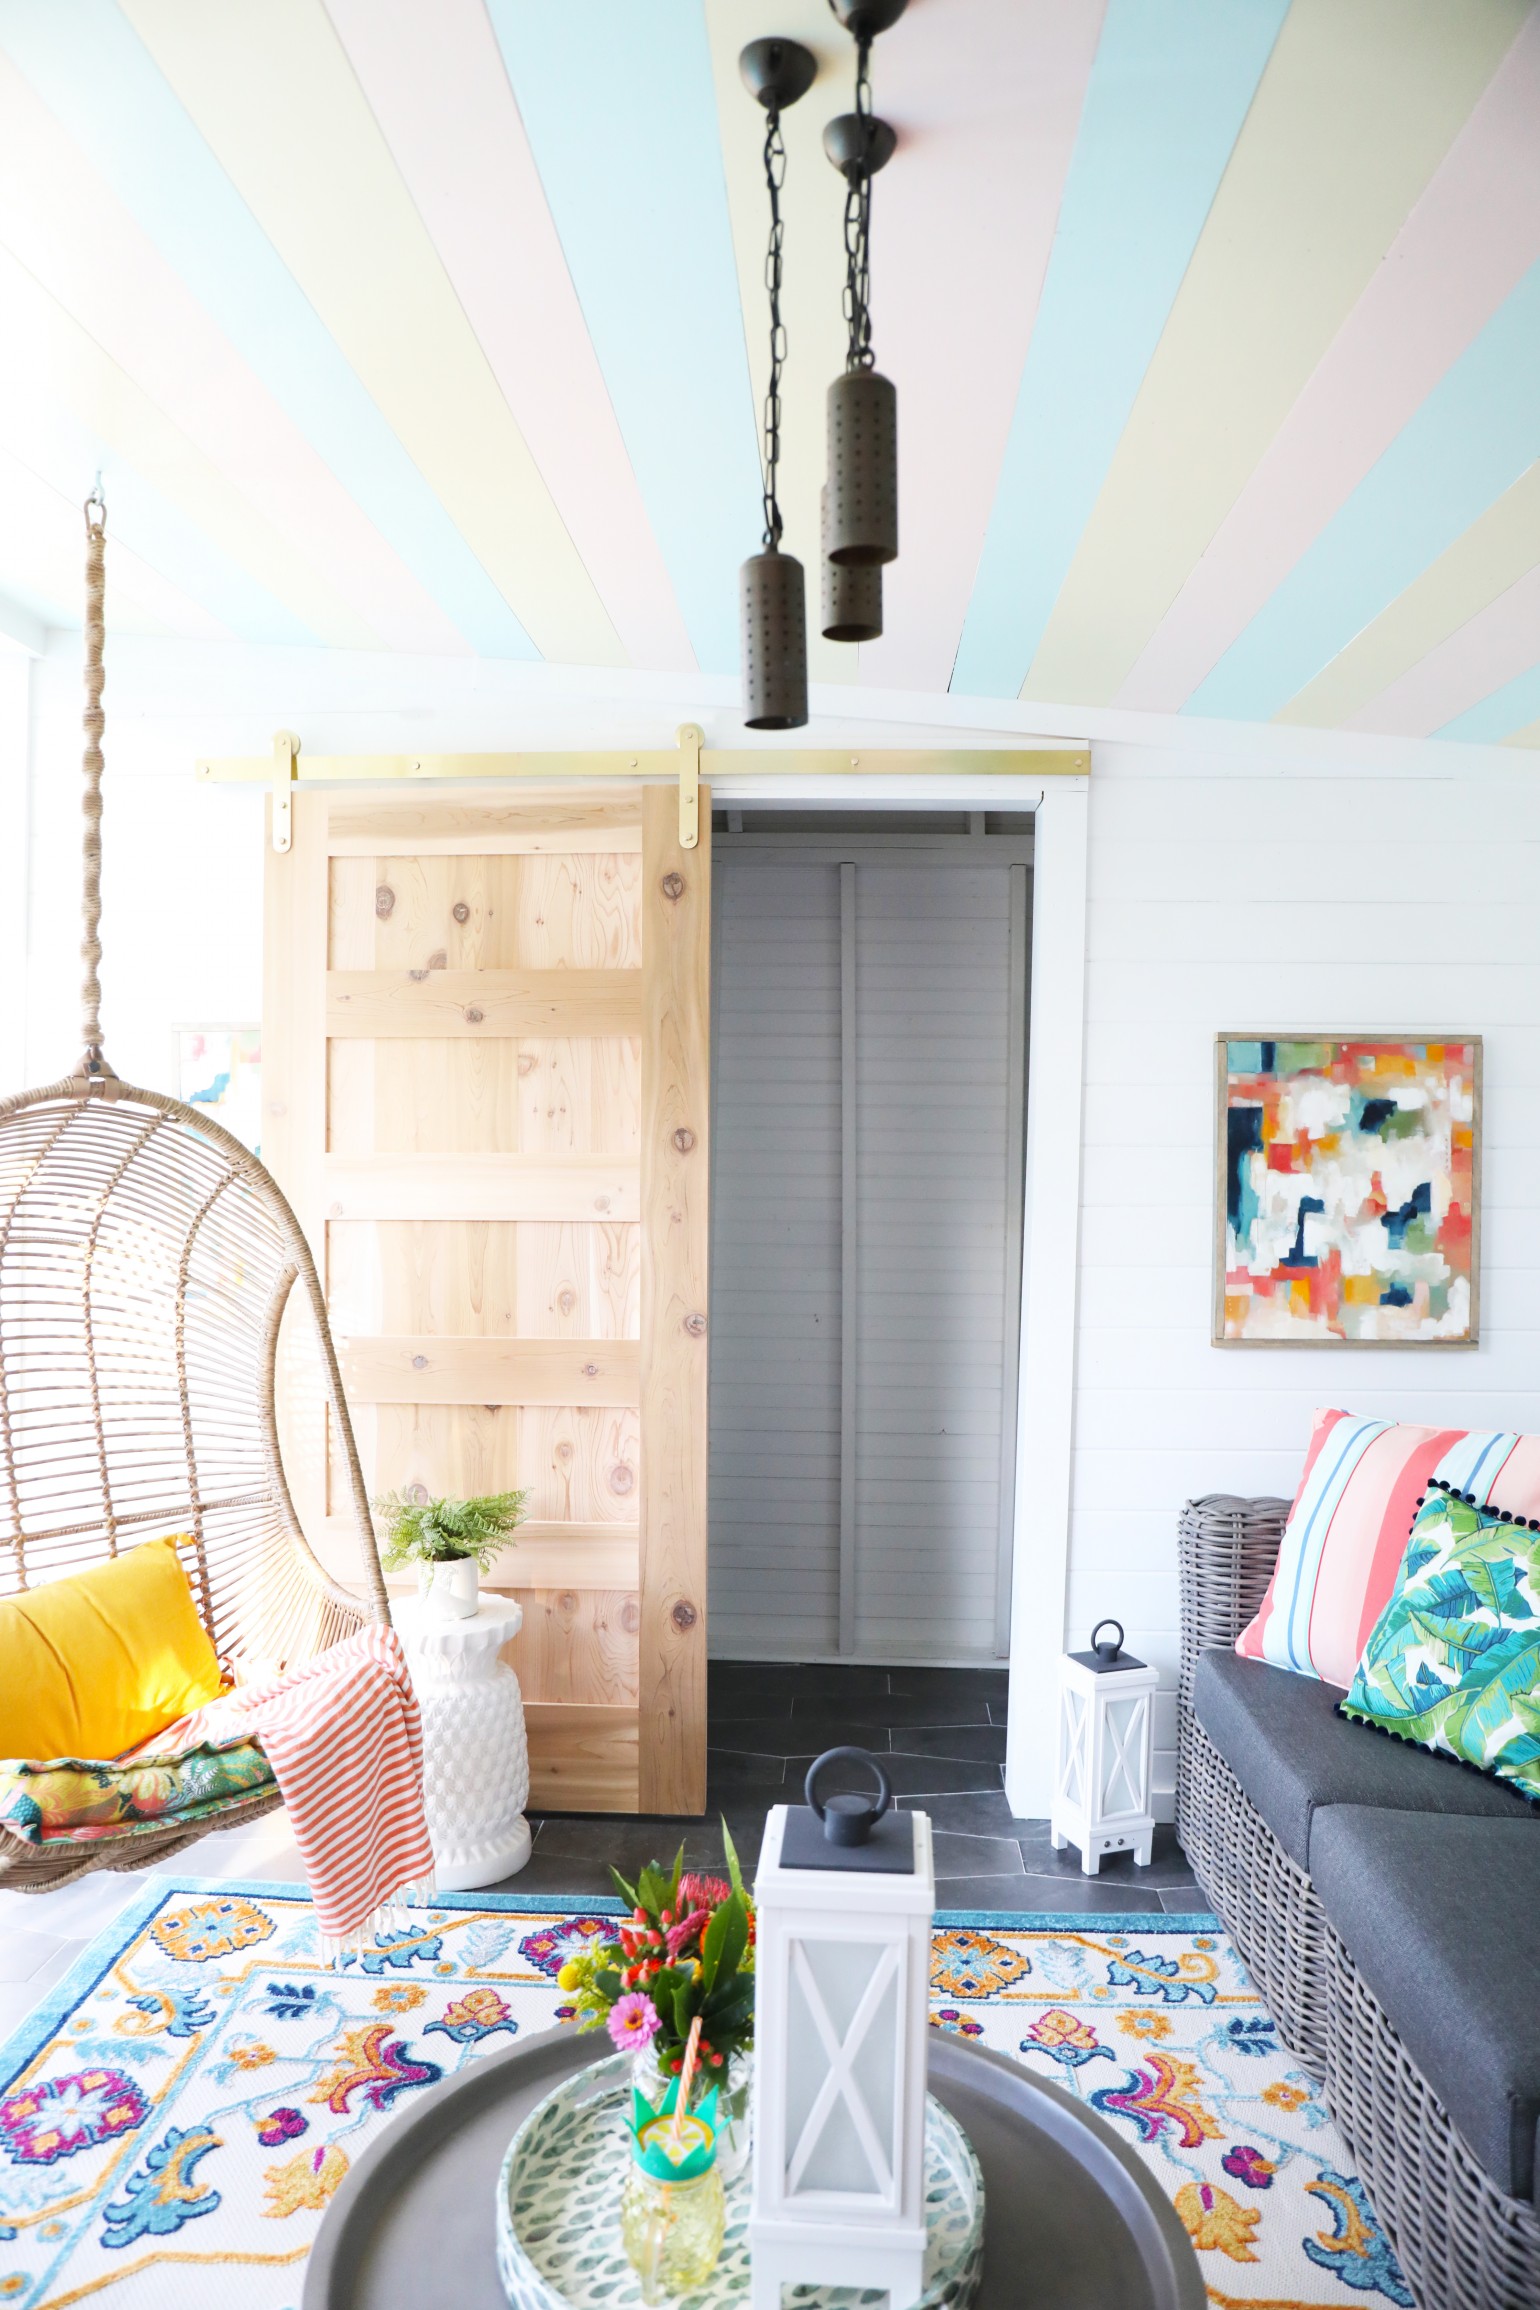
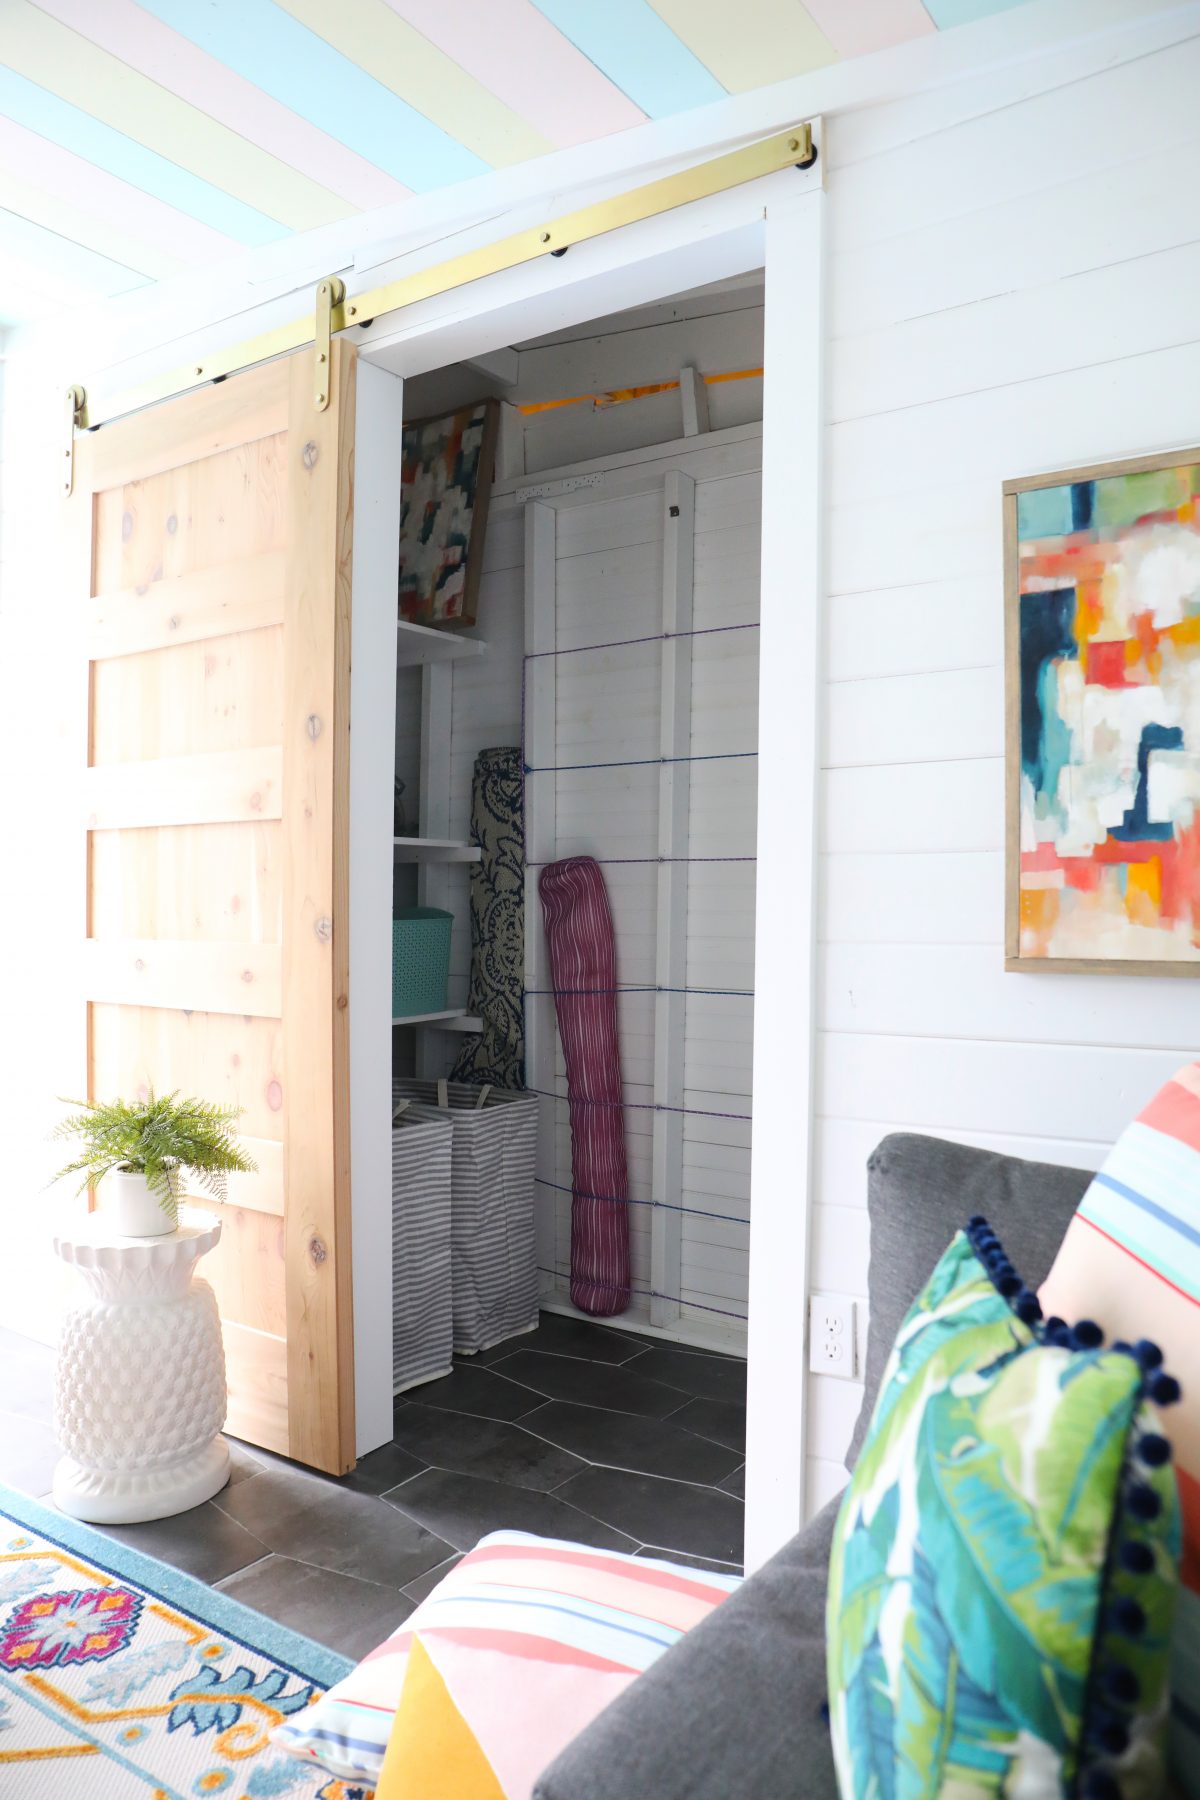
We won’t be buried in an avalanche anymore, we have spaces for all the things. We’re so excited to give you a little closet tour today!
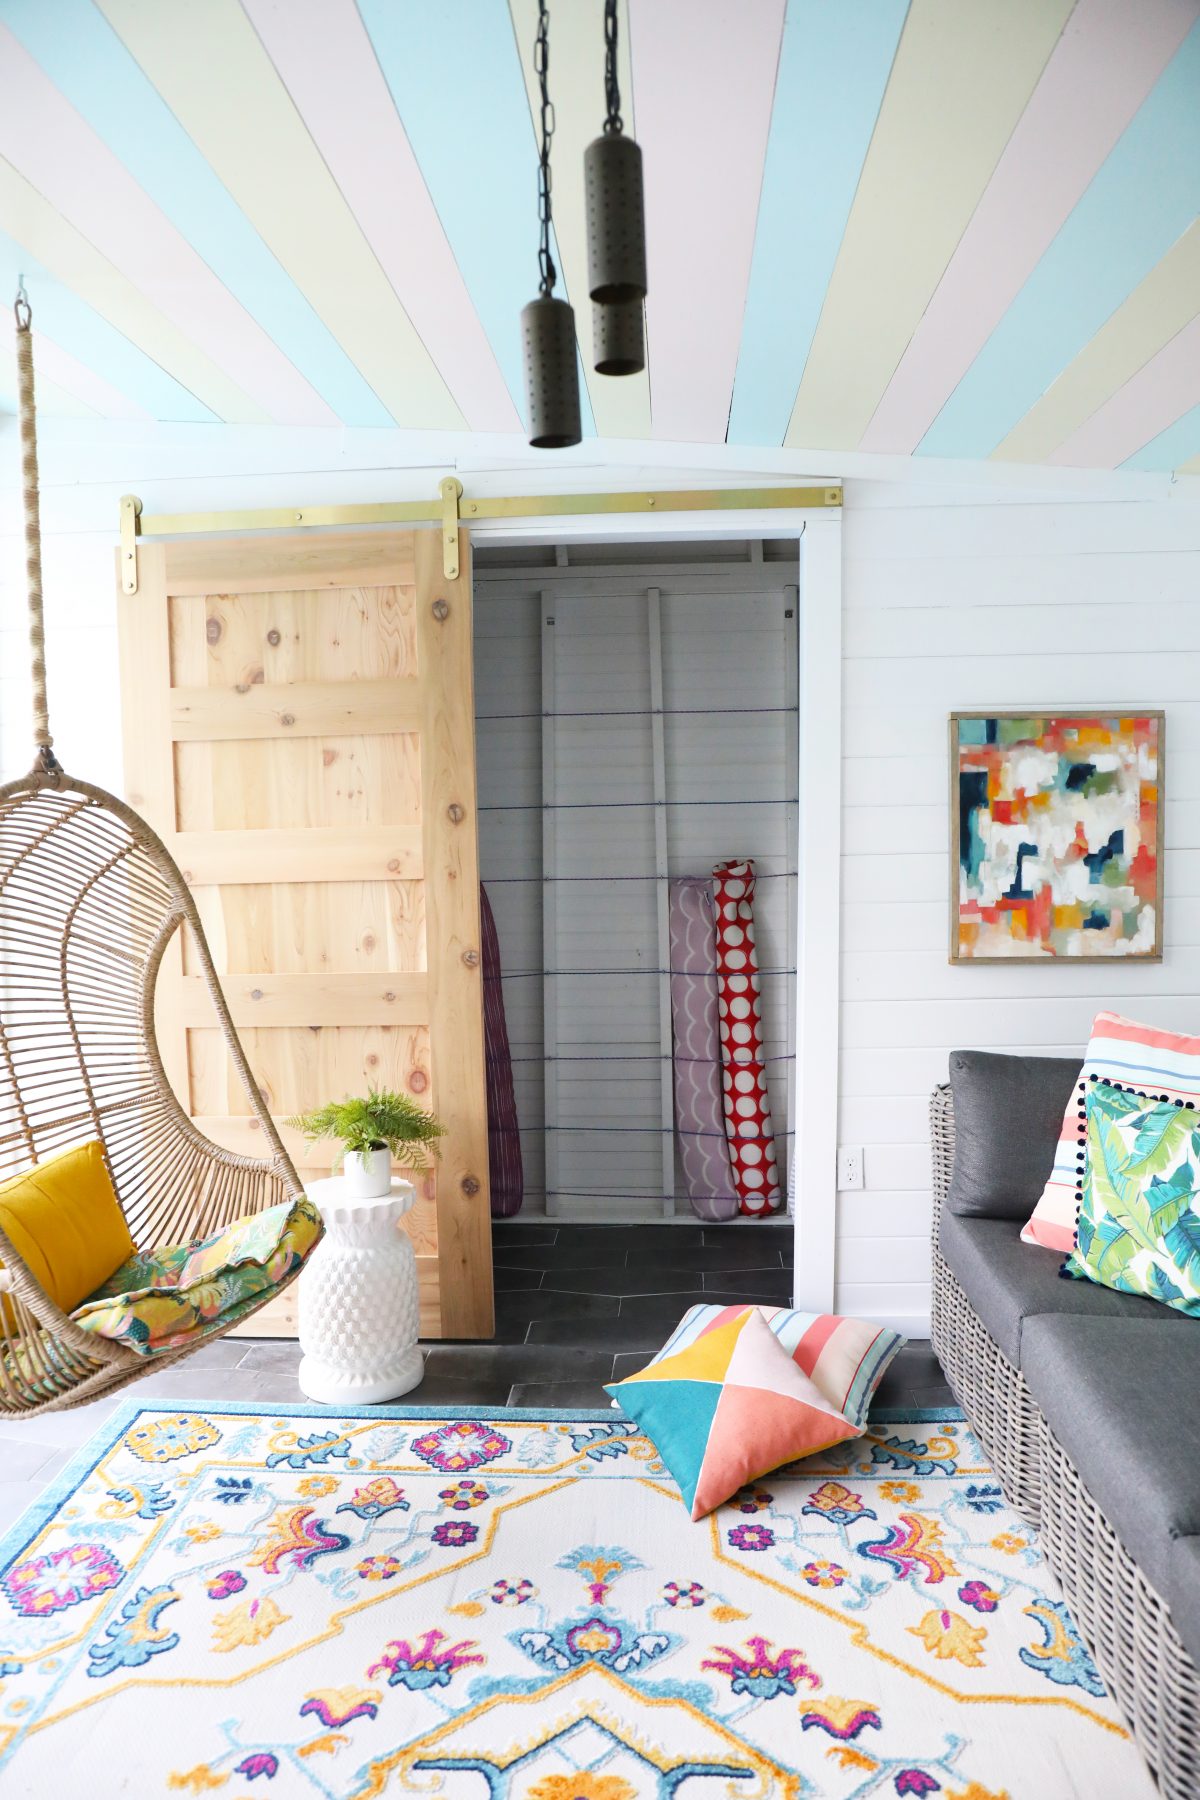
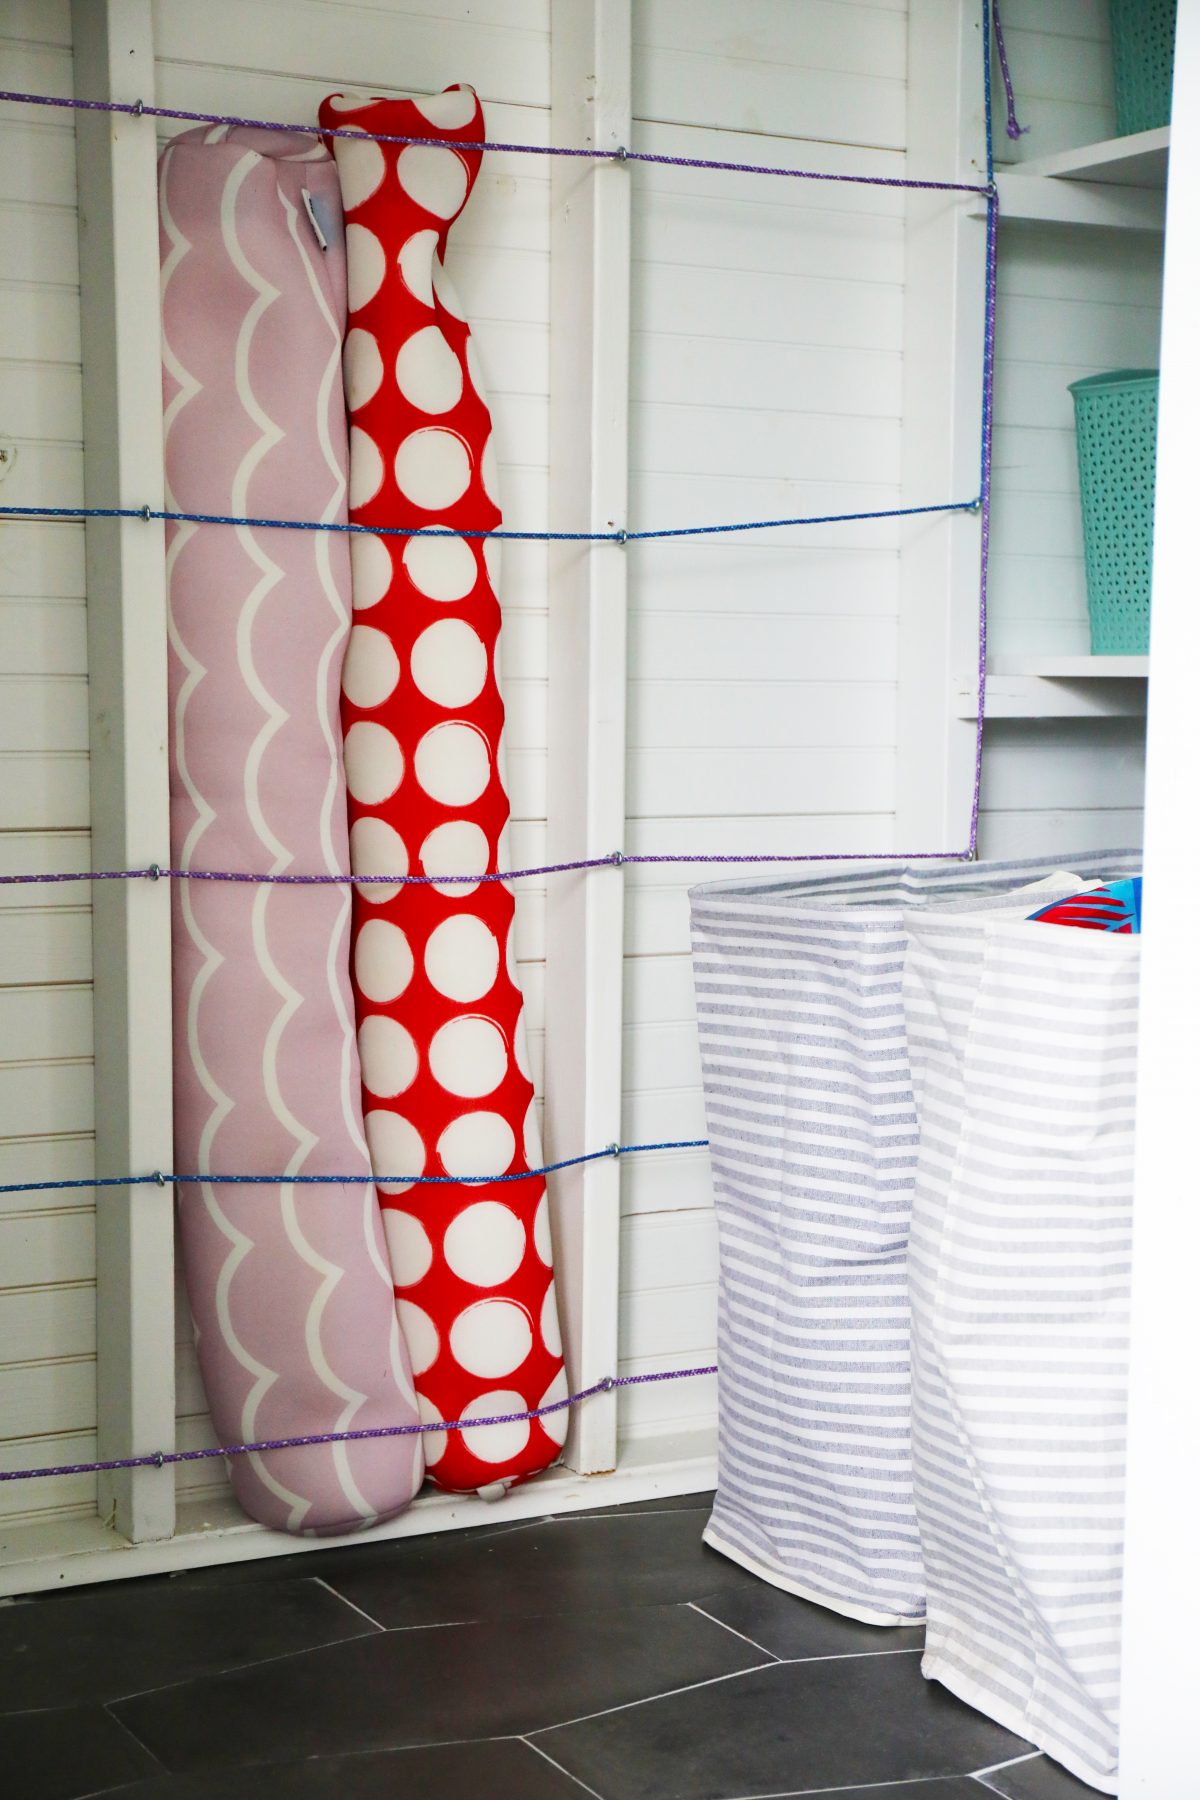
We ended up using some rope + hooks for all the extra things like pool noodles that sometimes can feel impossible to store.
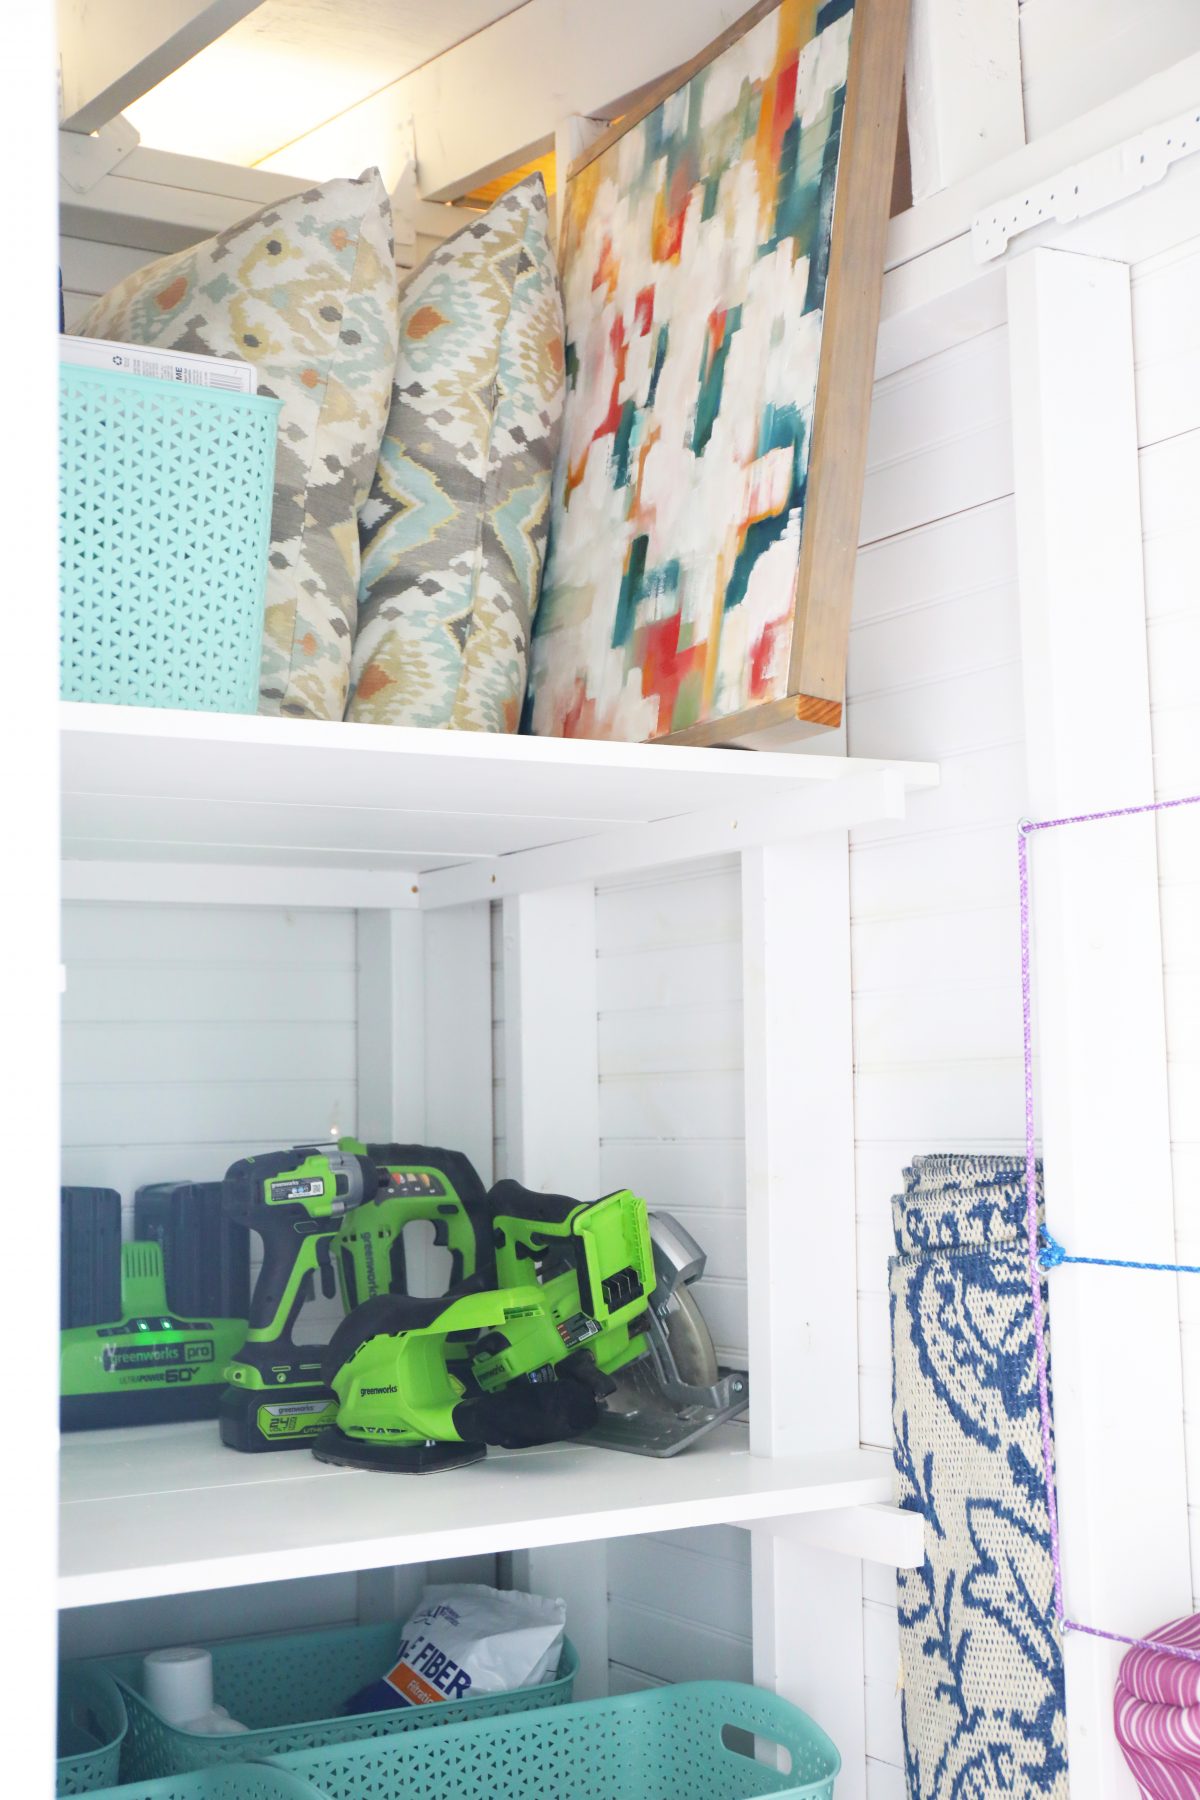
And each end of the closet now has full on shelving and a system that we’re so thrilled to work with.
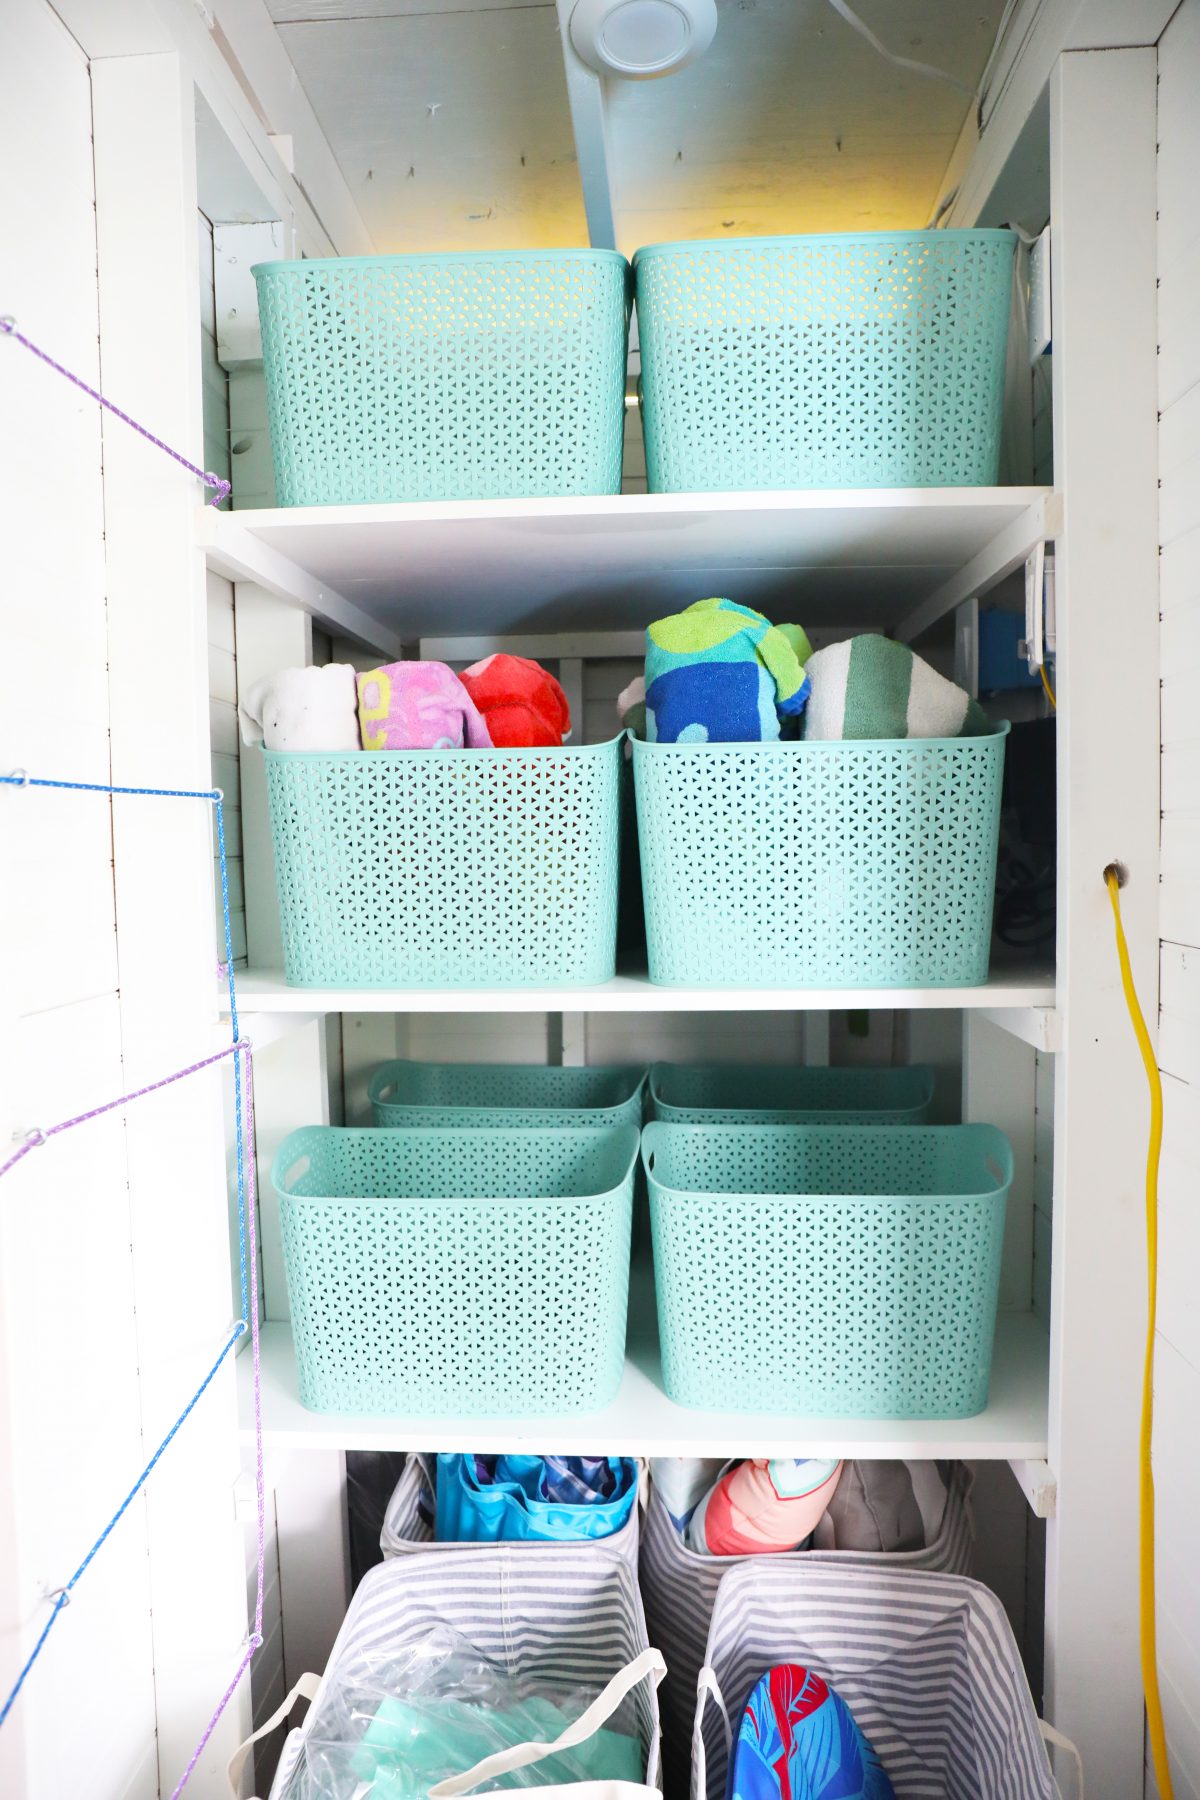
So towel storage, floats, float inflators, pillows, goggles and more… now have a place.
Score.
Of course we love that it’s always well-lit with Kichler!
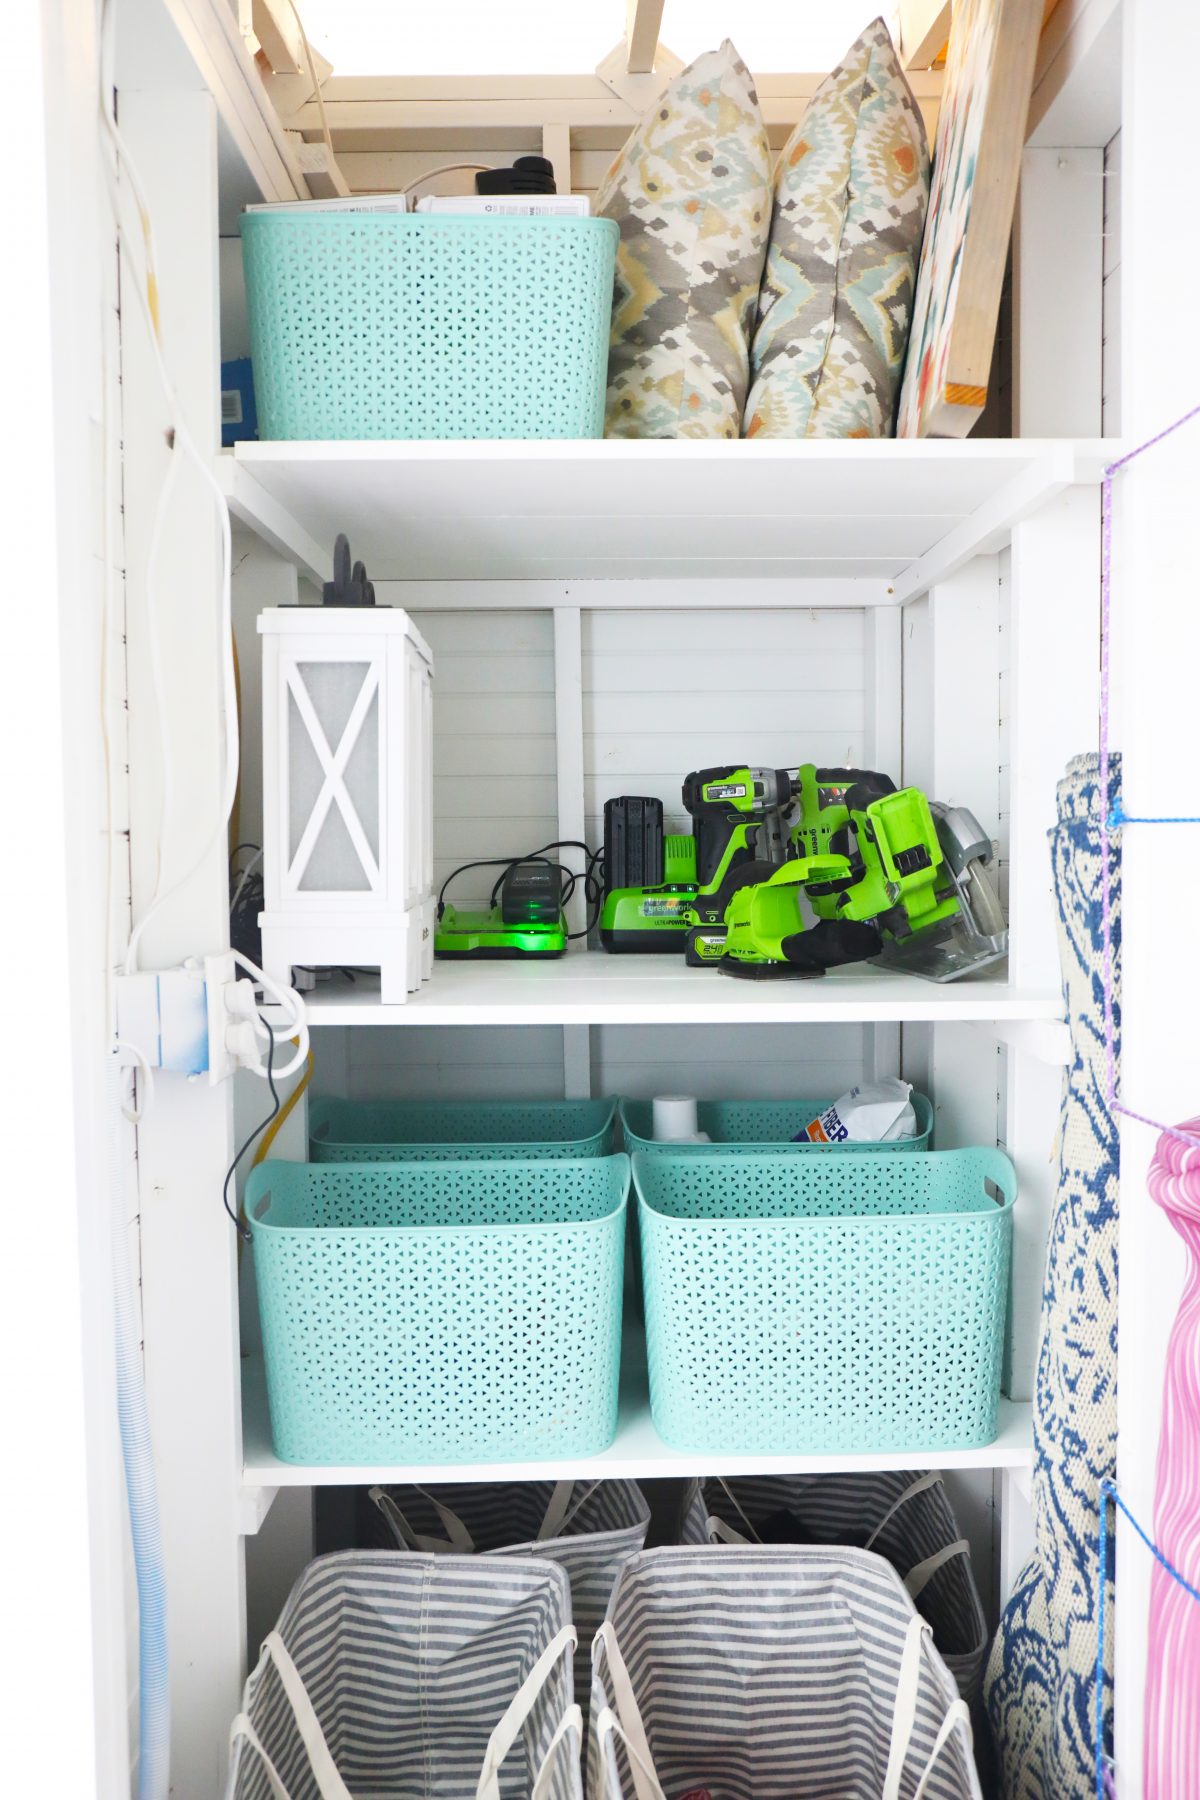
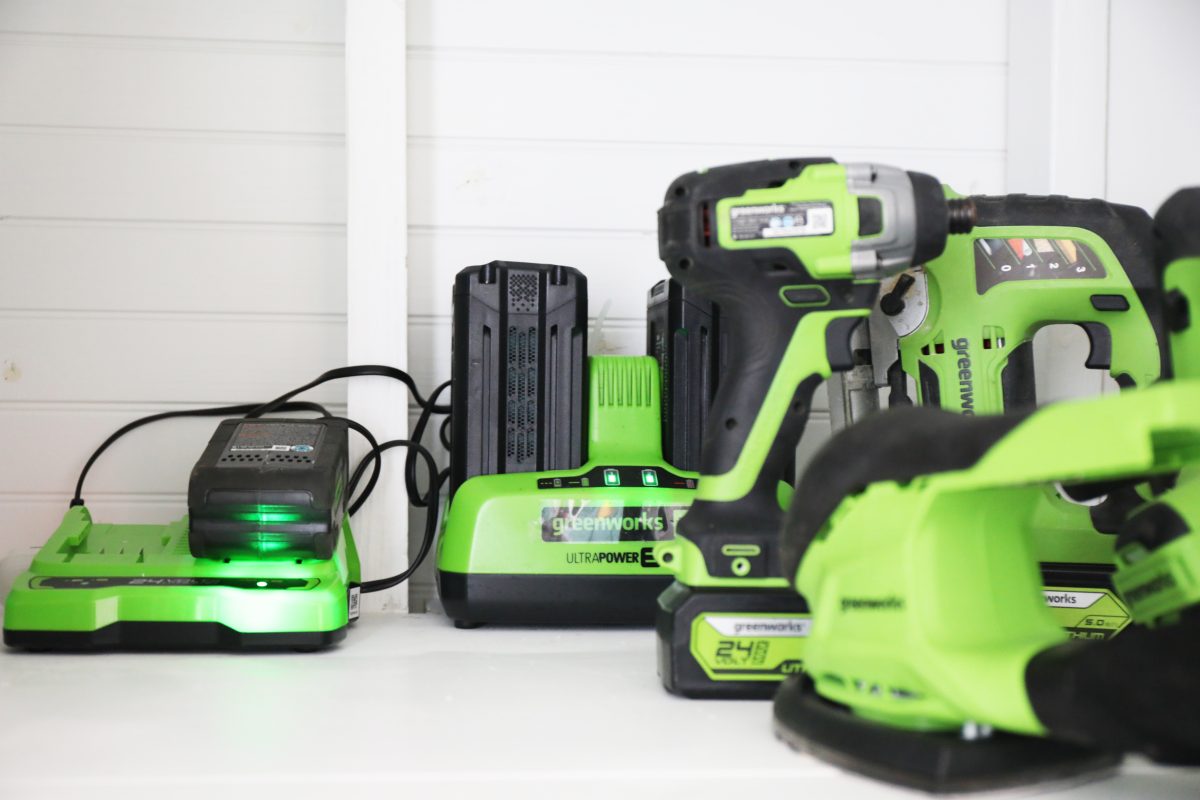
And we even have space for an outdoor rug that we don’t always use, along with a charging station for our tools and lanterns.
We couldn’t be more thrilled to have all this room. No more mixing up the nice stuff with our crusty old yard tools that get rather dirty.

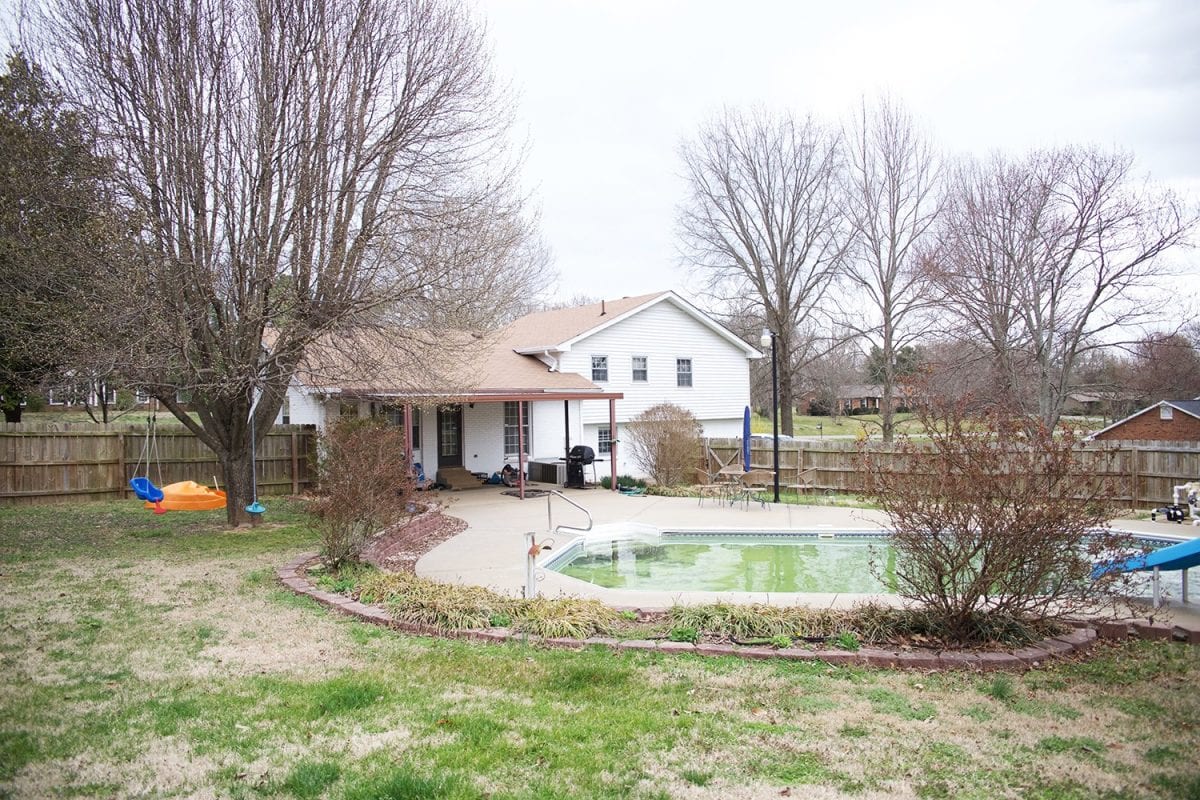
We’ve come a long way from that tiny shed where we started, for sure.
No, not everyone has a cabana with a closet for pool storage, so we get it.
But a lot of people do have a closet in need of an upgrade. This is so easy, we thought we’d share the how to today!
Supplies you’ll need:
• primed 1 x 2 – how much will depend on how much shelving you’ll need. Simply measure the perimeter of your shelving, minus the front and then you’ll know how many linear feet you’ll need.
• Primed 1 x 12 – how much will depend on how much shelving you will need.
• 2-inch decking screws
• Greenworks drill
• Greenworks Circular saw
• Greenworks impact driver
• Greenworks jig saw
• level
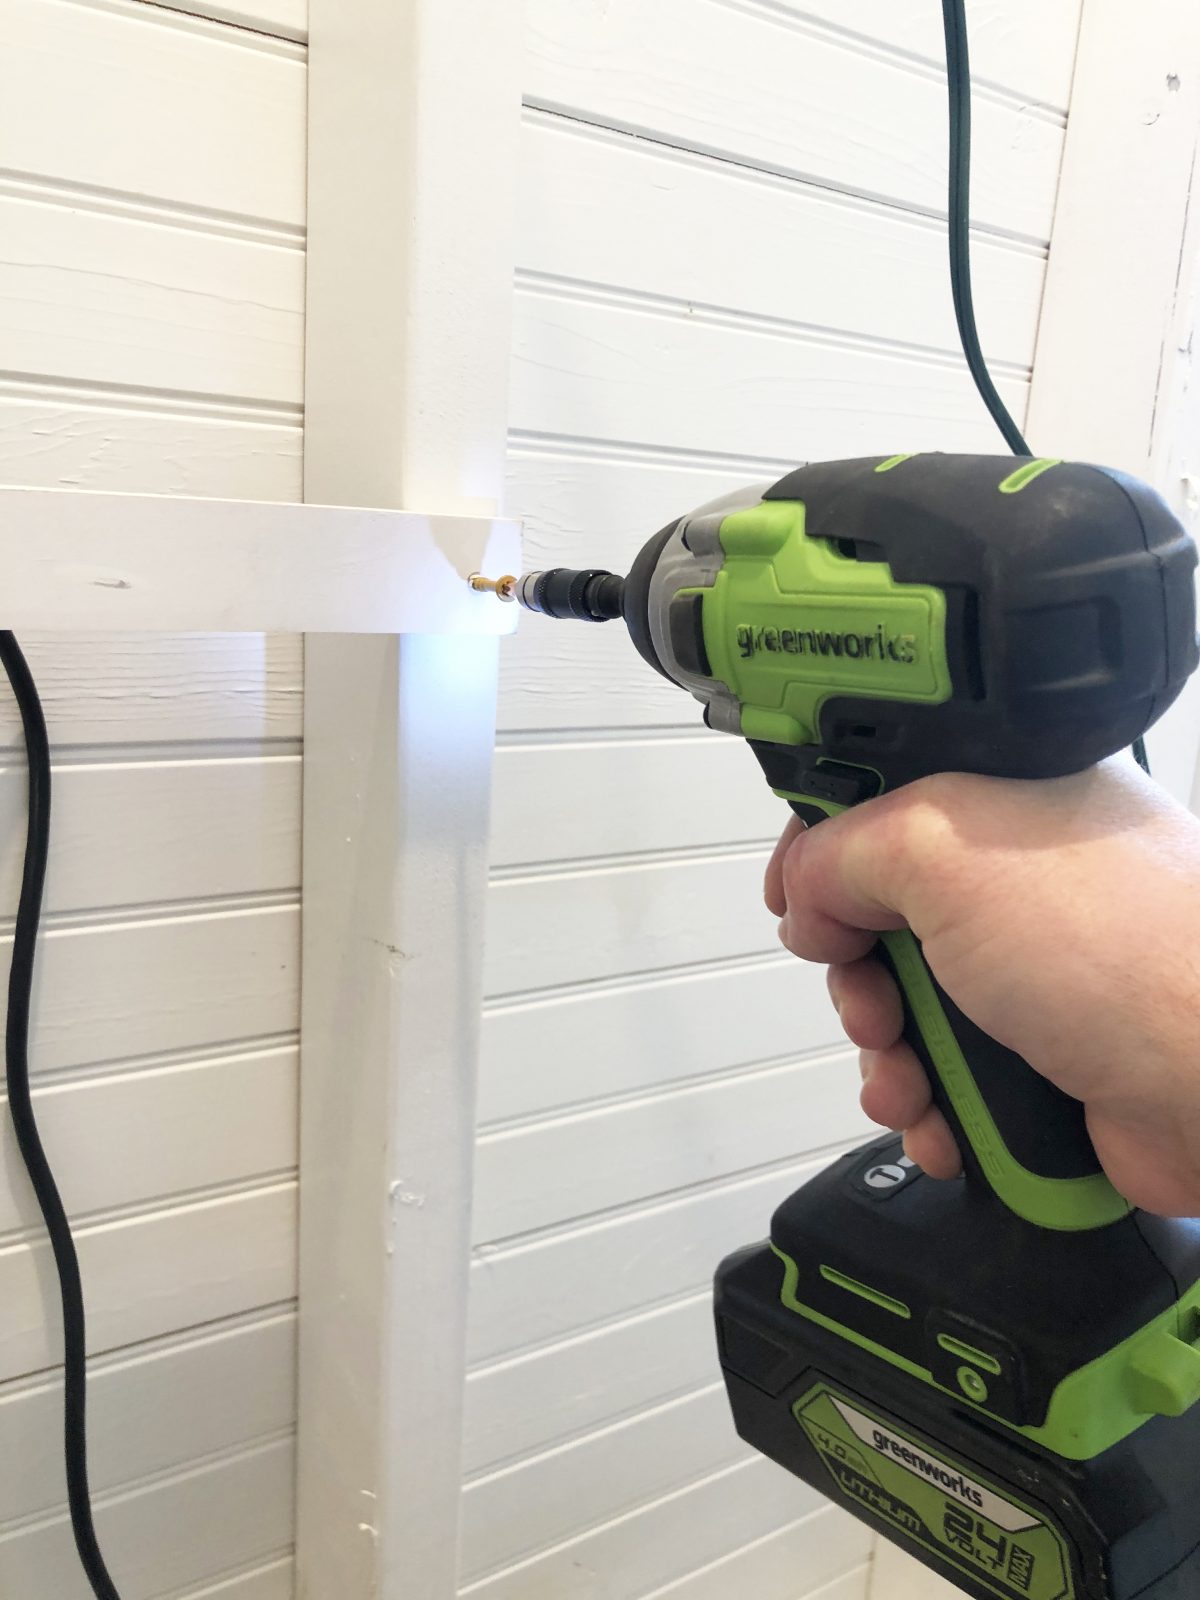
You’ll simply start by cutting your 1 x 2’s down to the proper size.
You’ll need one for the back, and both sides.
Simply measure the lengths you need and cut them.
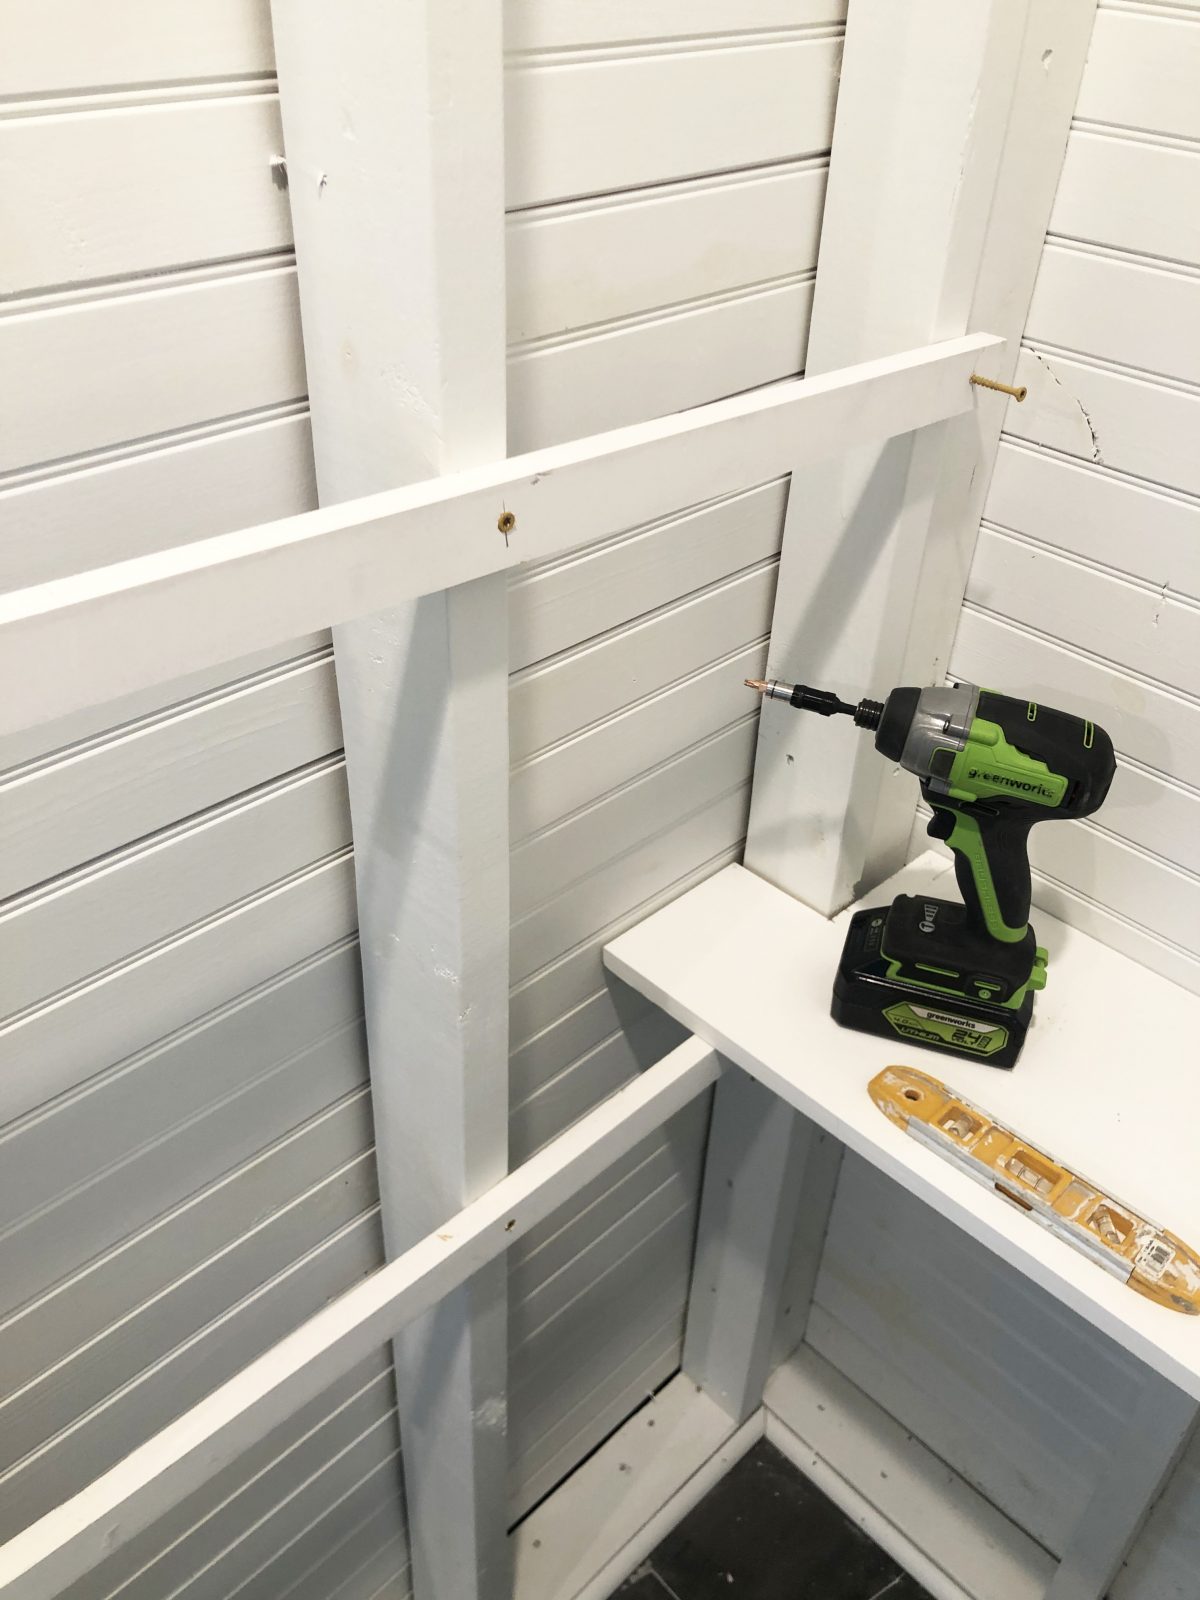
Then use the 2-inch screws to attach them to the wall.
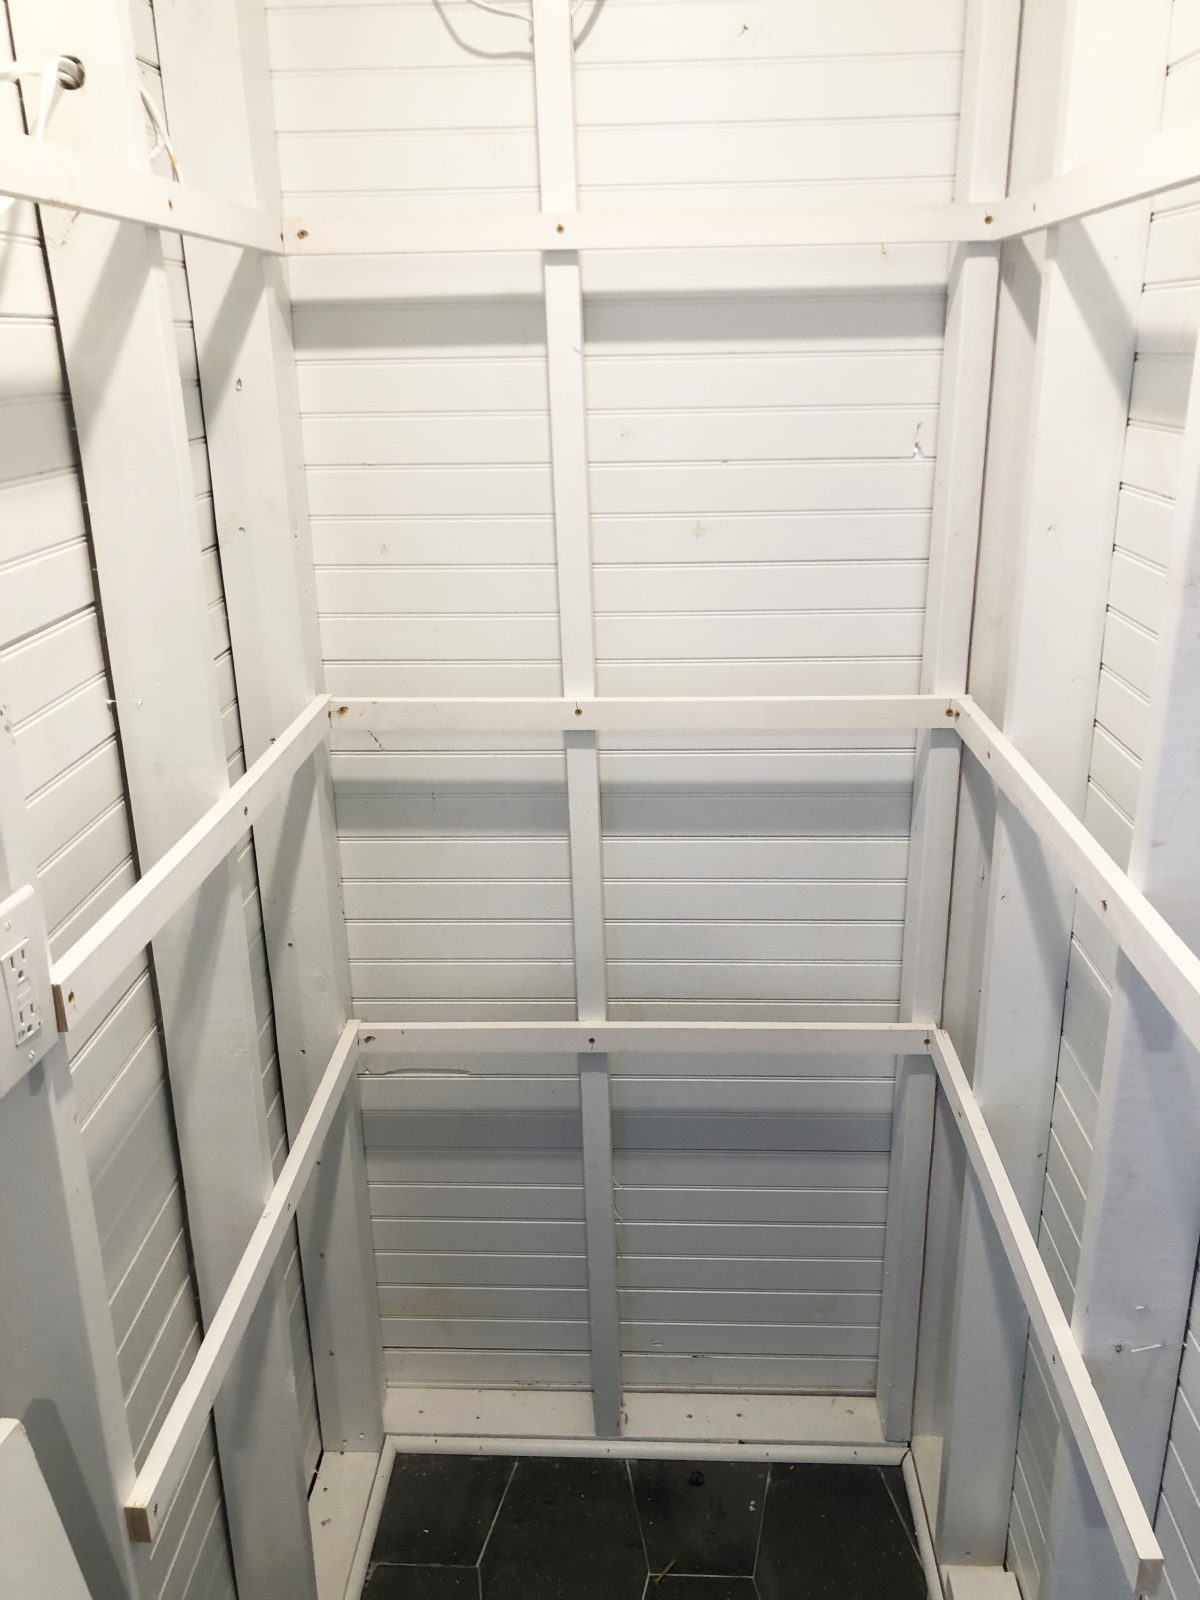
Make sure to use a level, so that you don’t end up with a shelf where things roll.
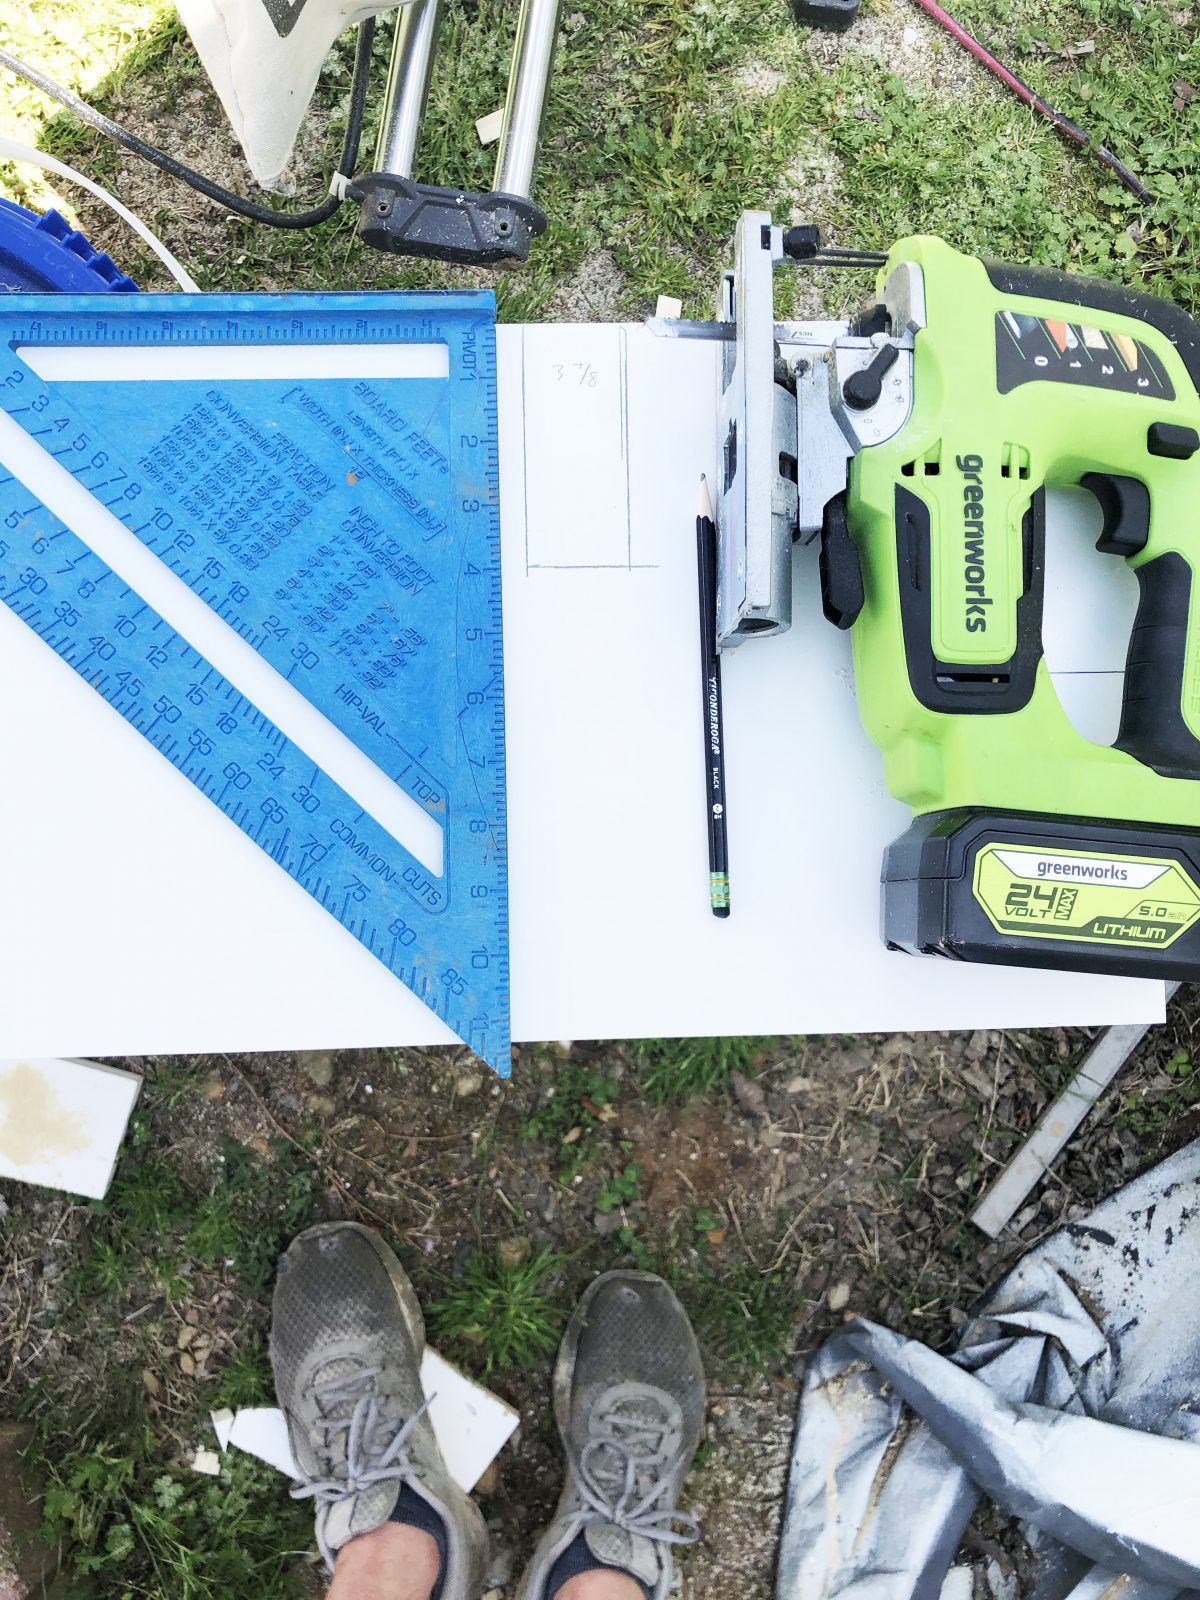
Next, you want to cut your 1 x 12, to the length of the shelves. If you’re installing on a studded wall {like us} or any wall that has things attached to it, you’ll need to notch around it. We used our Greenworks jigsaw for this. You’ll simply want to template the space, make your necessary marks on the wood, and cut. Use your measuring tape and your square to help make exact lines to cut.
If you have an obstacle that is not on the edge of the board, use your Greenworks drill and a 1/2 inch paddle bit to create a hole in the center of the board.
You can use this hole as your starting point to cut.
Once the boards are cut, place them on the shelf brackets you attached to the wall.
You can screw these down as well, although we did not.
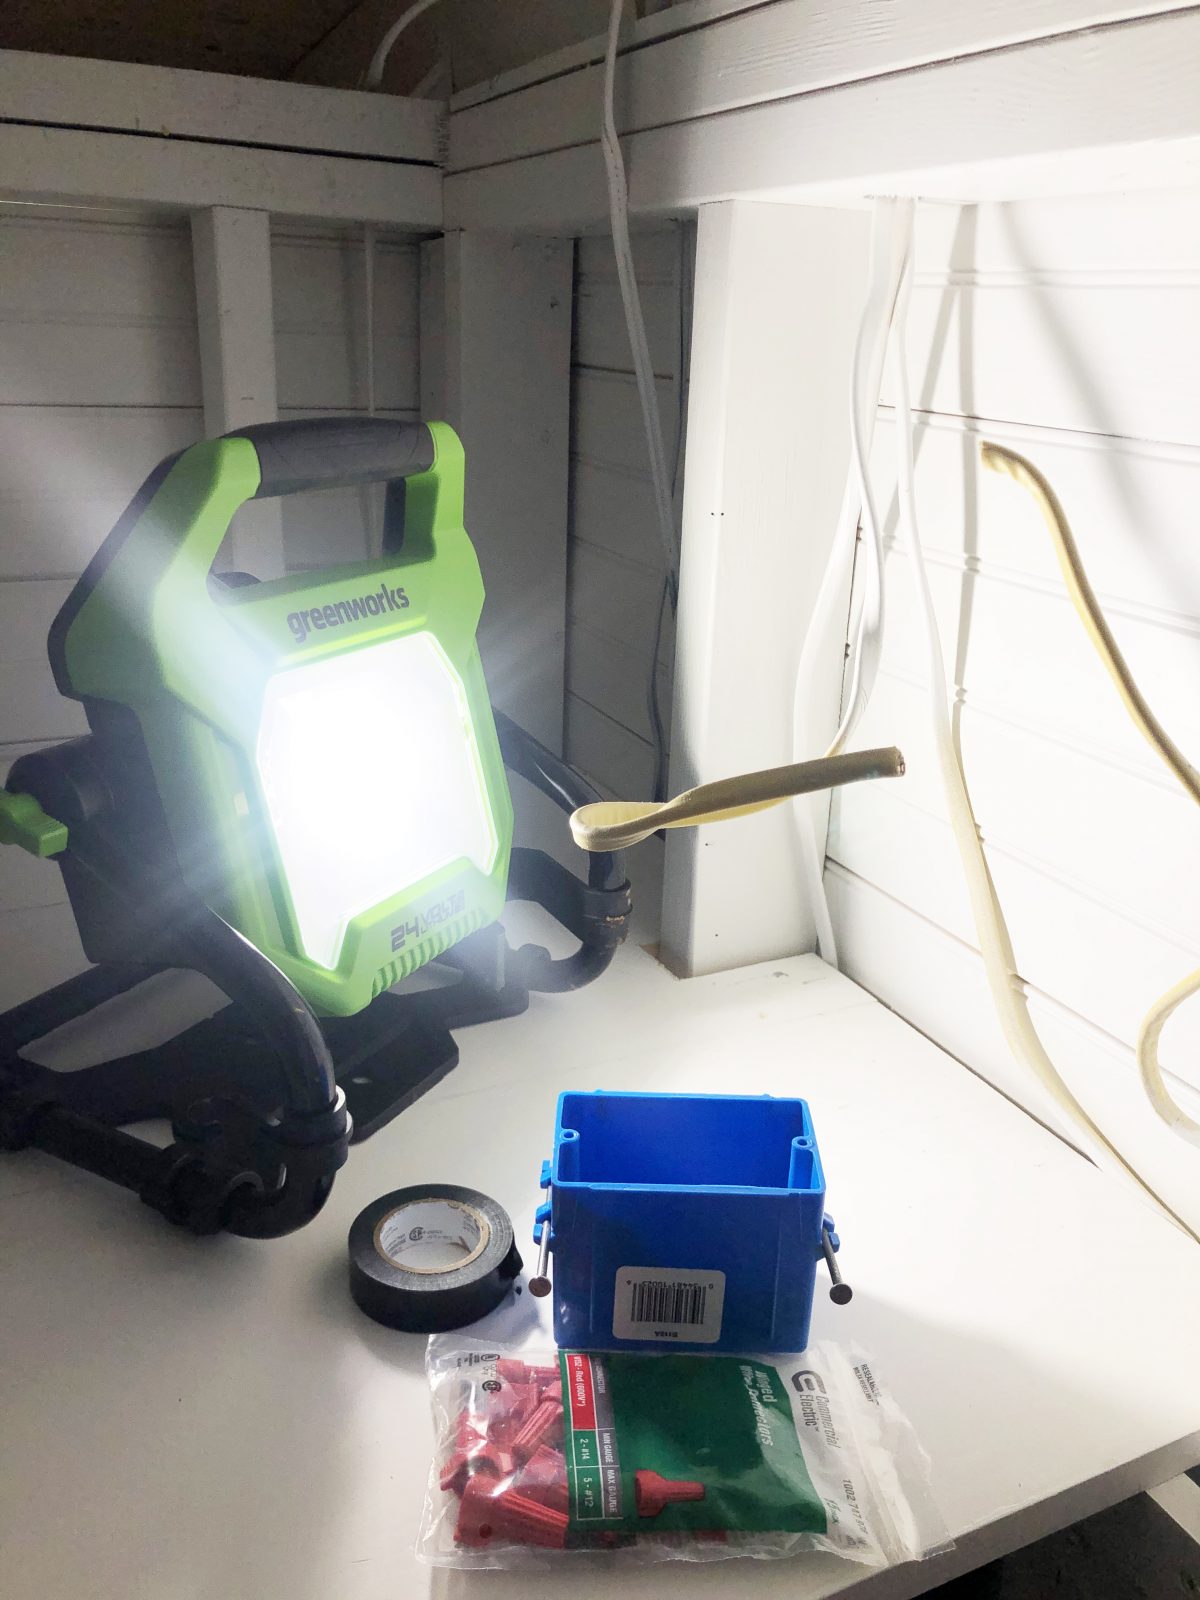
Bonus picture: We added some extra plugs to the cabana and this light, which uses the same batteries as my tools.
It’s always hard to pick a favorite Greenworks Tool, but this one is at the top of the list.
We’ve gotten so much use out of this thing for so many projects.
Finally, we wanted to maximize our space, so we decided the space between the studs was a great place to store some pool toys.
Using the Greenworks drill, we simply added some eye hooks and ran some string through them. A simple addition to add much-needed storage.
Now we have so much room, and can keep things separate.
We’re starting to {safely} host small friend groups at our pool again, and it’s just so great to have everything organized!
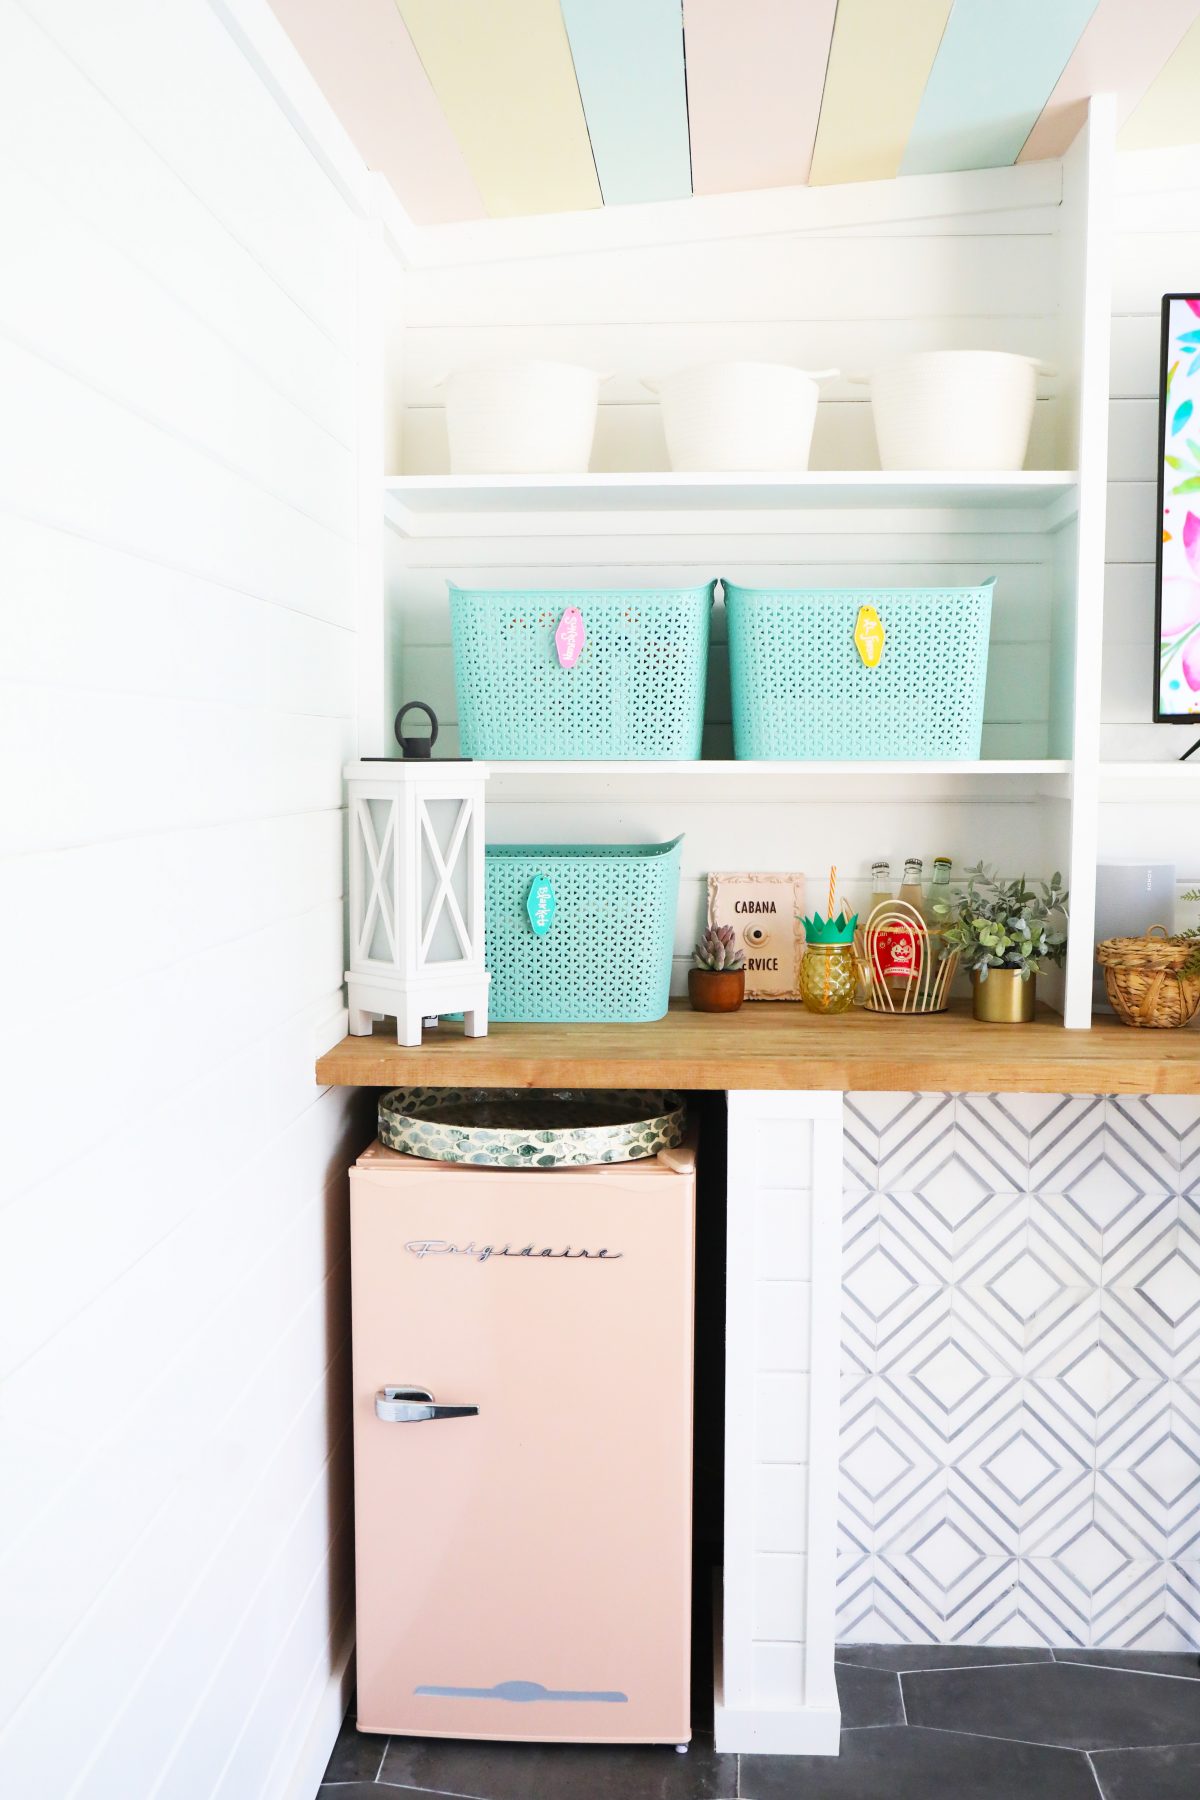
We added these blue baskets, which sit two deep and hold a little bit of everything from goggles to sunscreen to towels and so much more.
They’re just the right kind of plastic too, where they’re super durable, air out easily, and won’t scratch the shelves like woven ones tend to do.
We have a fun idea for labels coming up, and can’t wait to show you next week once we have a chance to corral them all. {We’ll also update this post, here.}

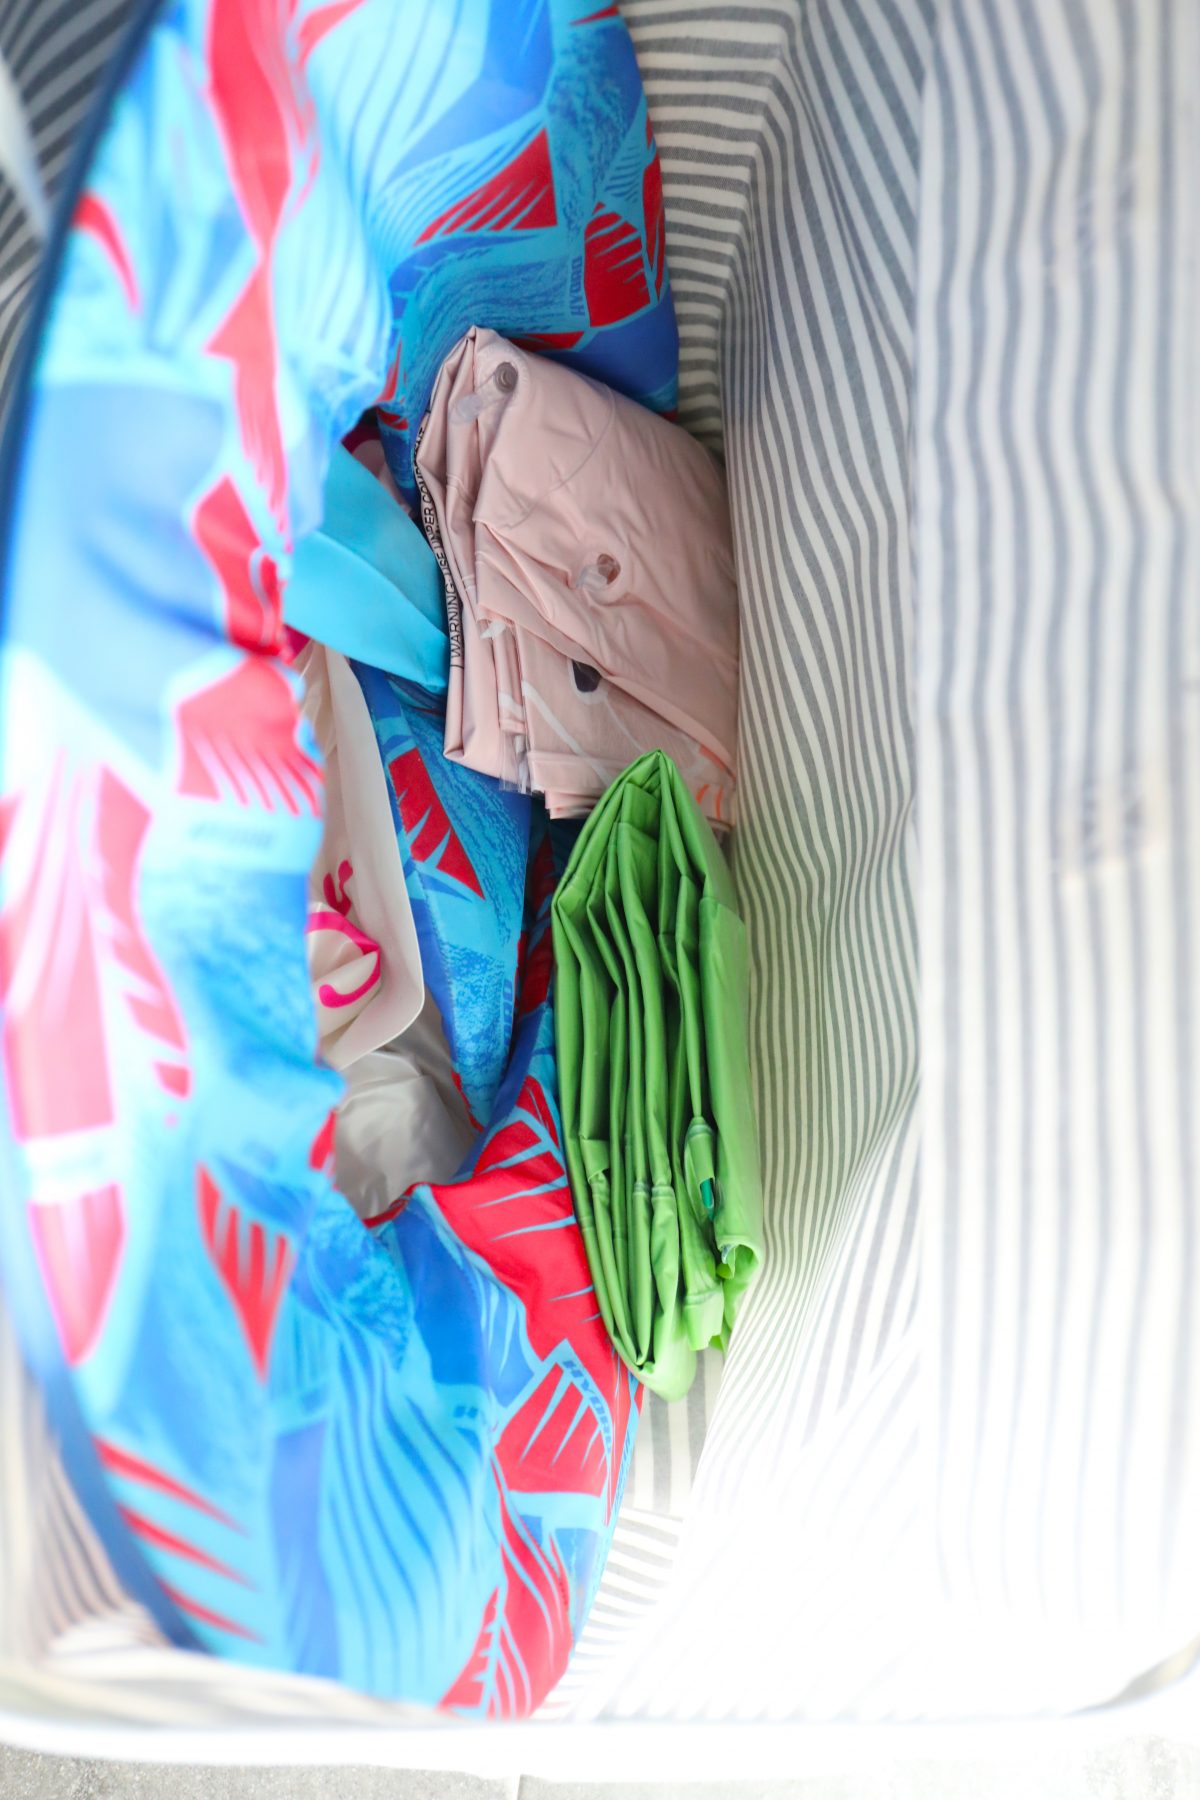
These oversized hampers are what we used in the bottom part of the cabana closet, and they hold the larger, heavier items like floats. We kind of have a fun float addiction and it’s easy to access them, blow them up, and then store them away when not in use with these.
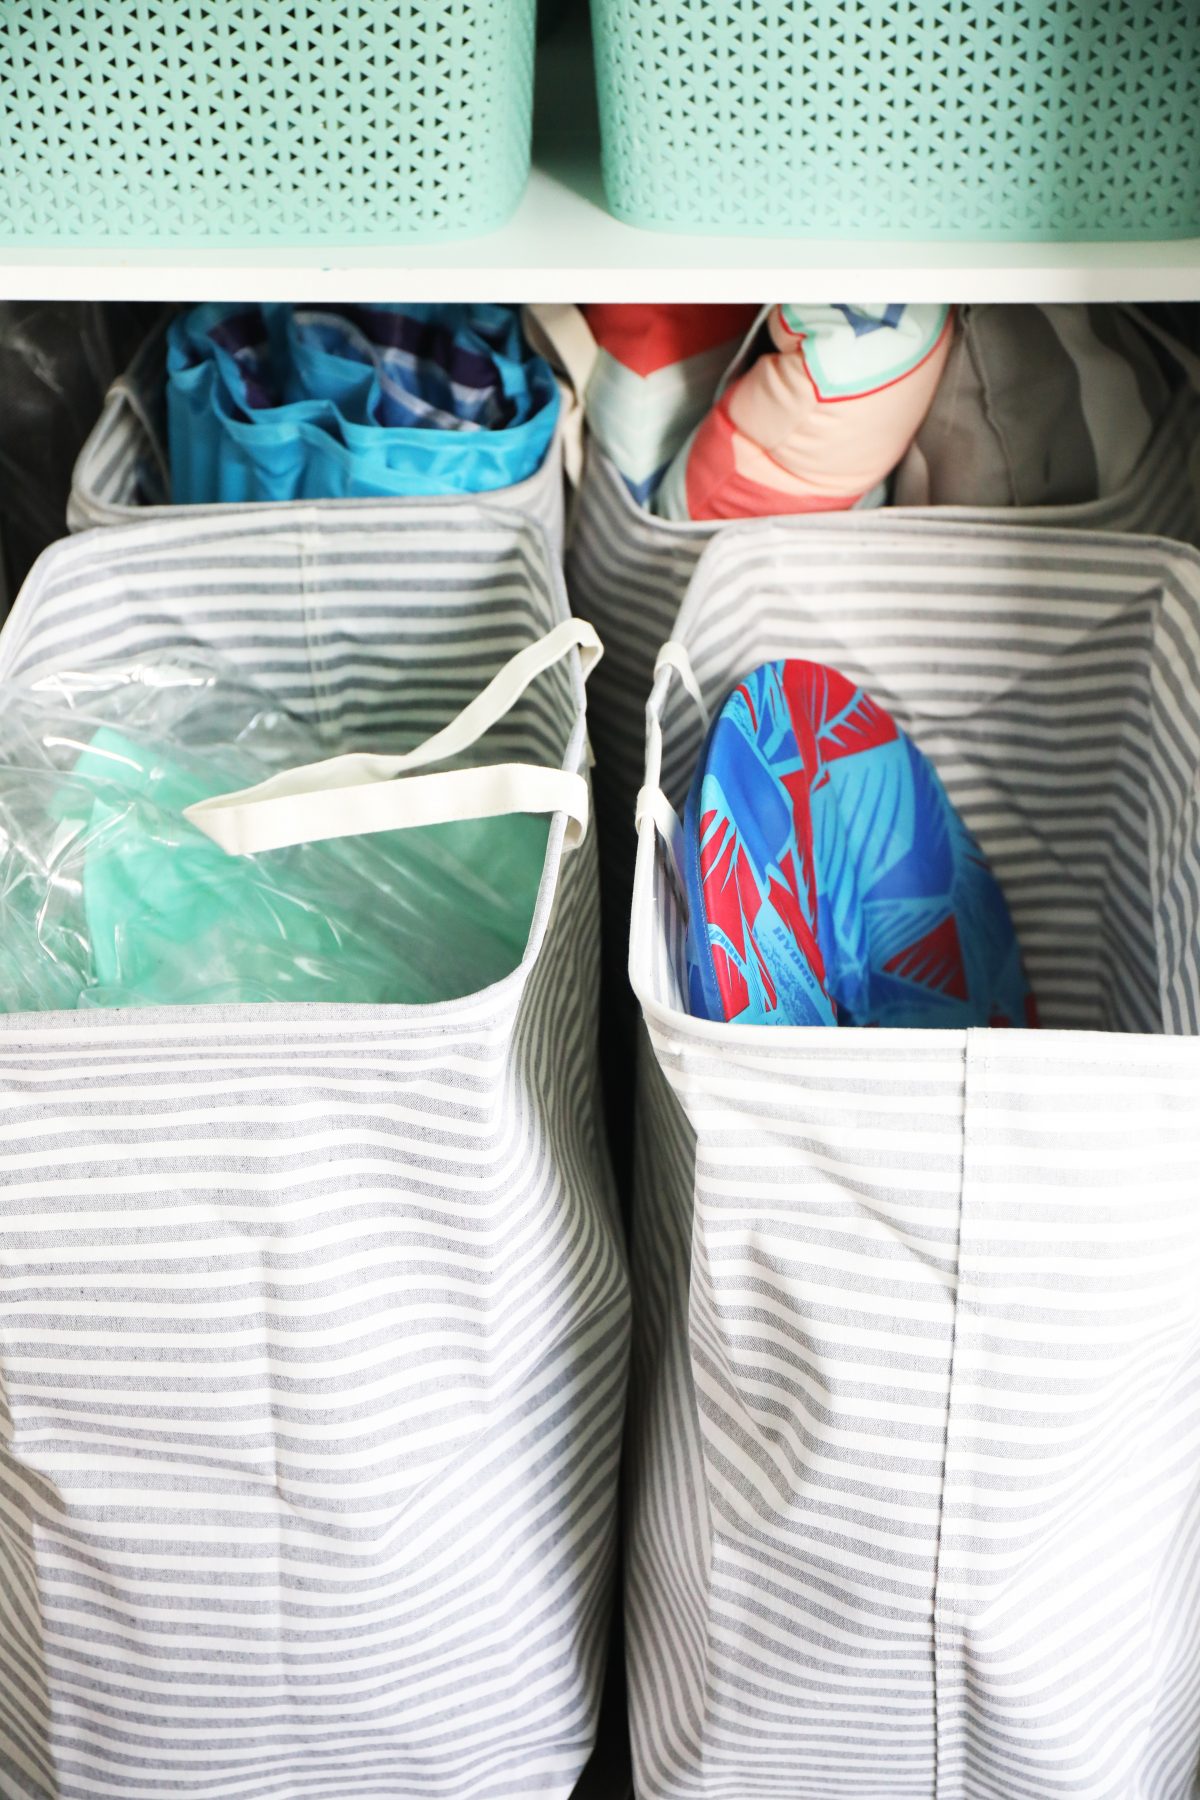
These have a nice plastic lining that once dry, won’t encourage the growth of mildew. We actually use this size with our family’s laundry, and they make for easy carrying up and down the stairs. They also stand up straight on their own, which is another bonus. We highly recommend these.
We love the big change these simple shelves have made.
We hope you guys can use some of these ideas for any space in your home which may need a storage upgrade.
Pool storage can be hard to figure out, so we’re so glad to put it all together!
As always, let us know if you have any questions.
We’d love to help in any way that we can.
Have an inspired day!
Pssst… check out our labeling system, here!

Where can we buy the hampers shown?
Great idea.
Hey thanks so much Doreen- they’re linked above but you can get them here!