
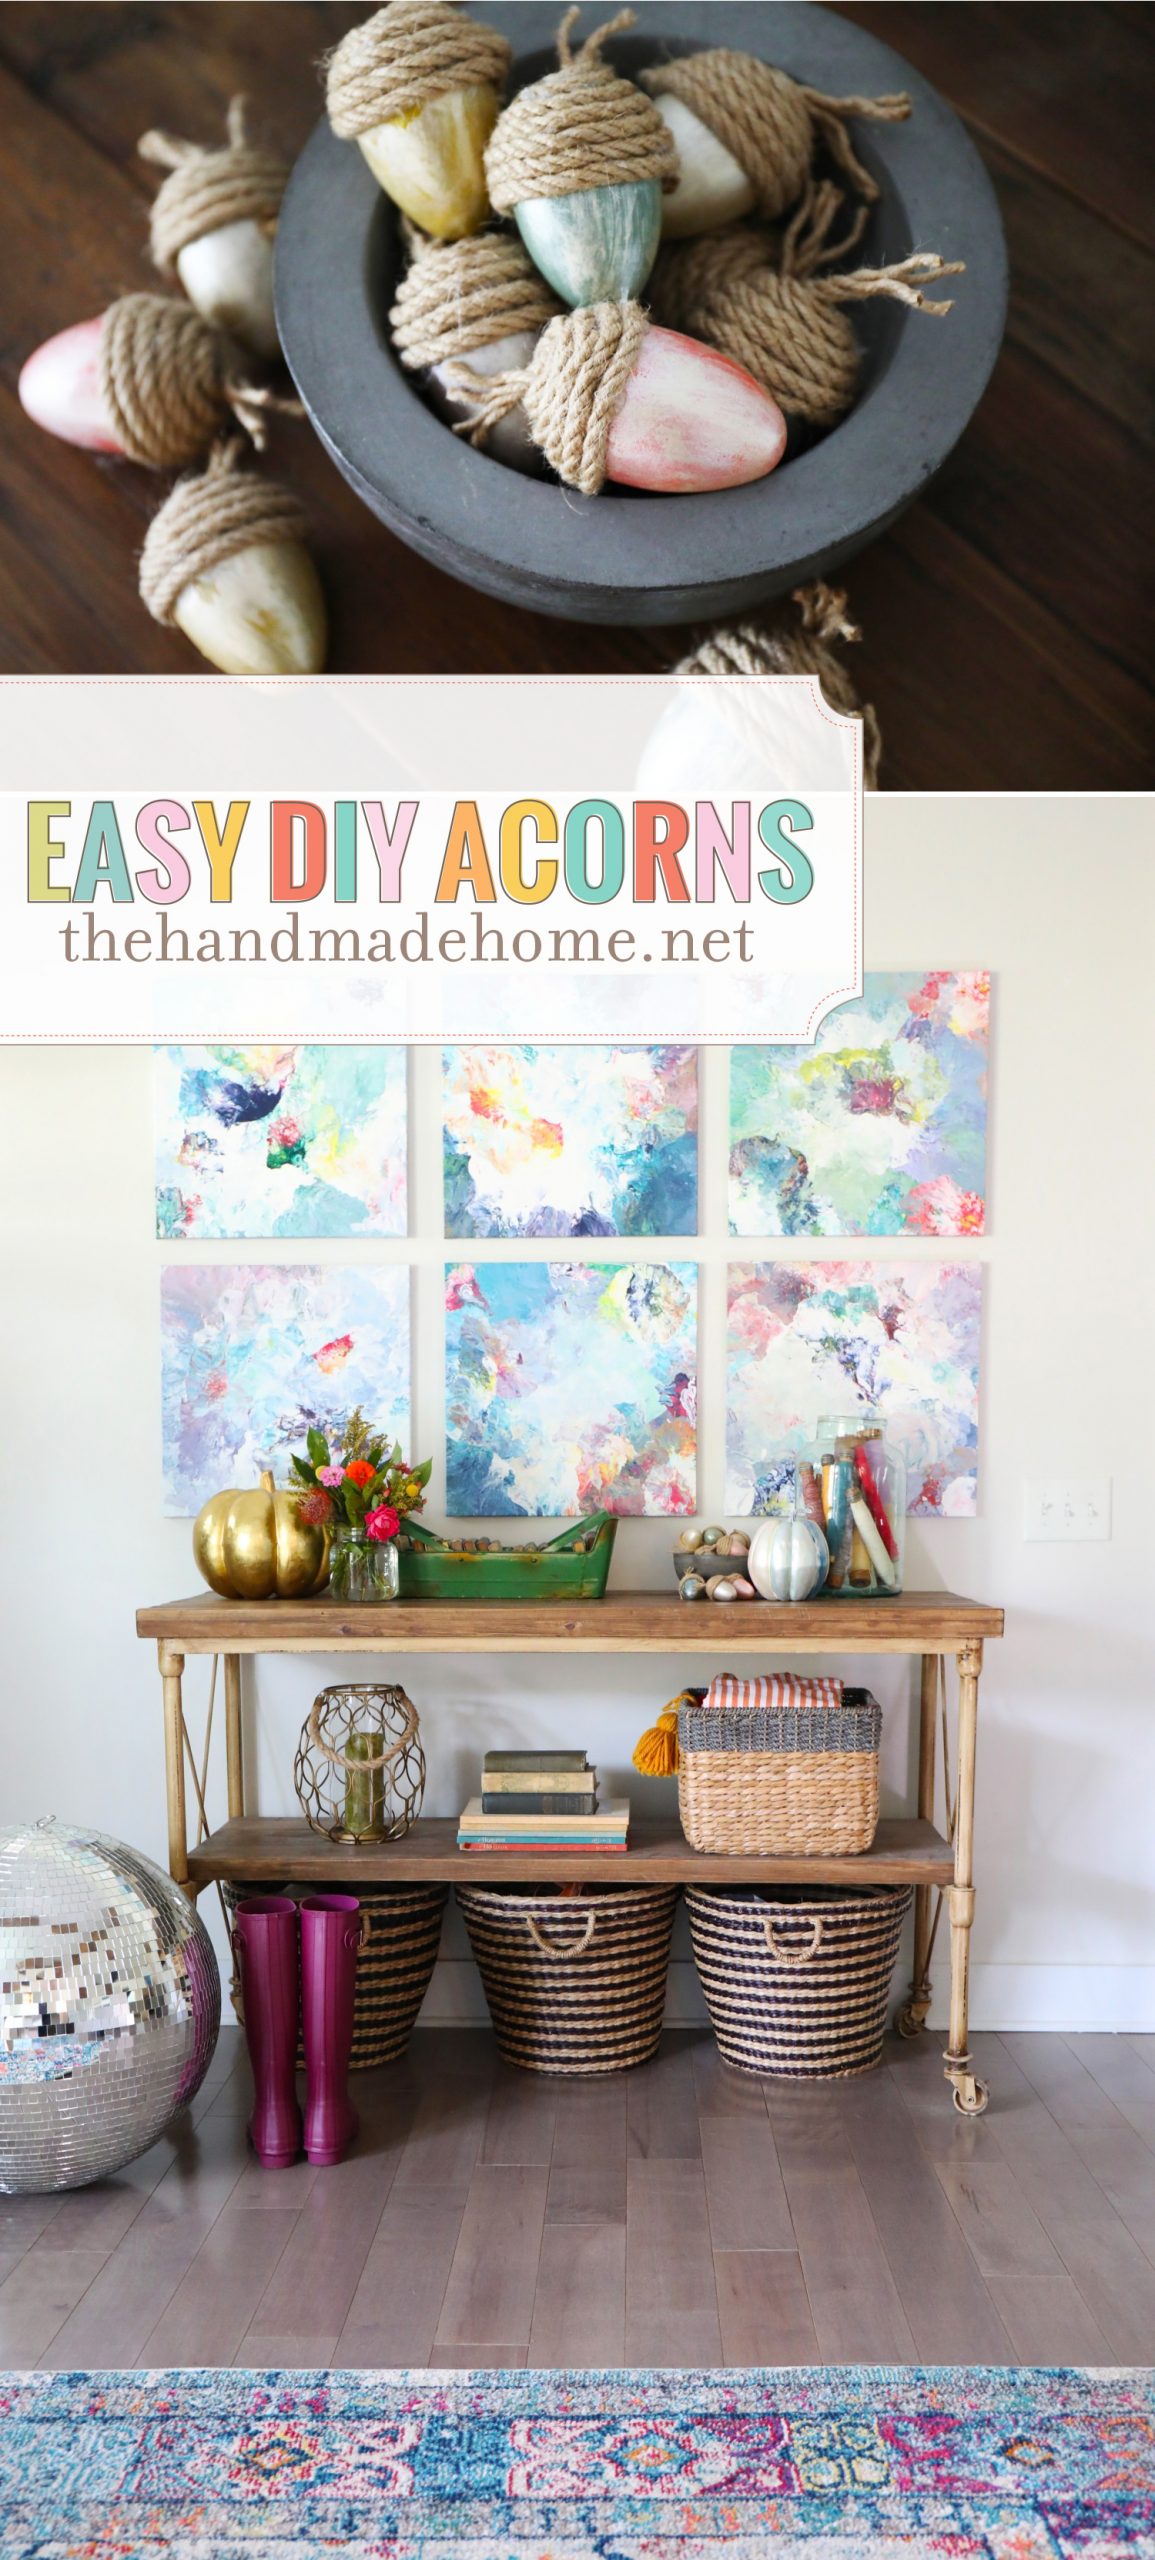
easy diy metallic acorns
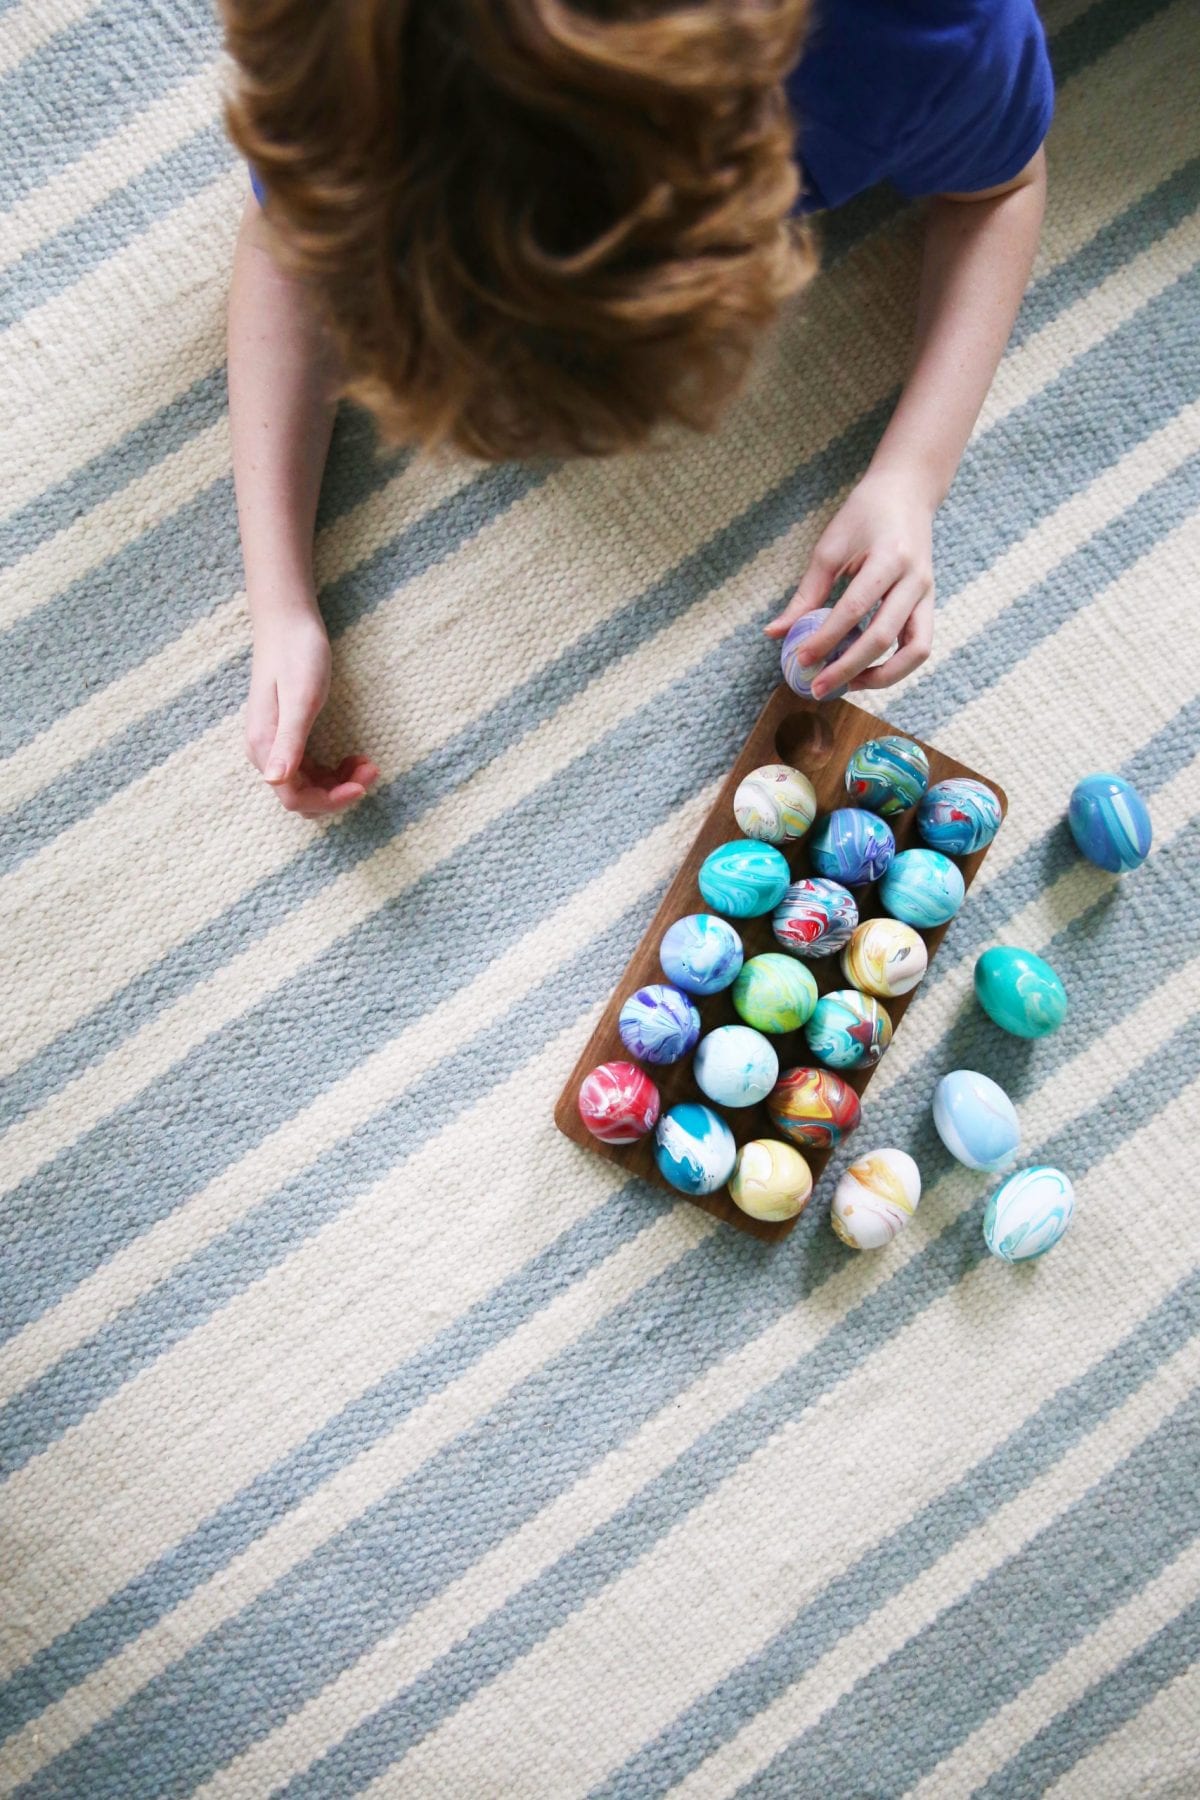
After the re-make of those really fun rainbow fairytale pumpkins last week, I was in the mood to create something else fun for our home. Remember our easter eggs from this past spring? {I felt like a apocalypse hit and I was all, CRAFTS. The zombies are coming, but CRAFTS.}

When I was getting organized last week, I actually had a few eggs left over from that project, and I wasn’t sure what to do with them.
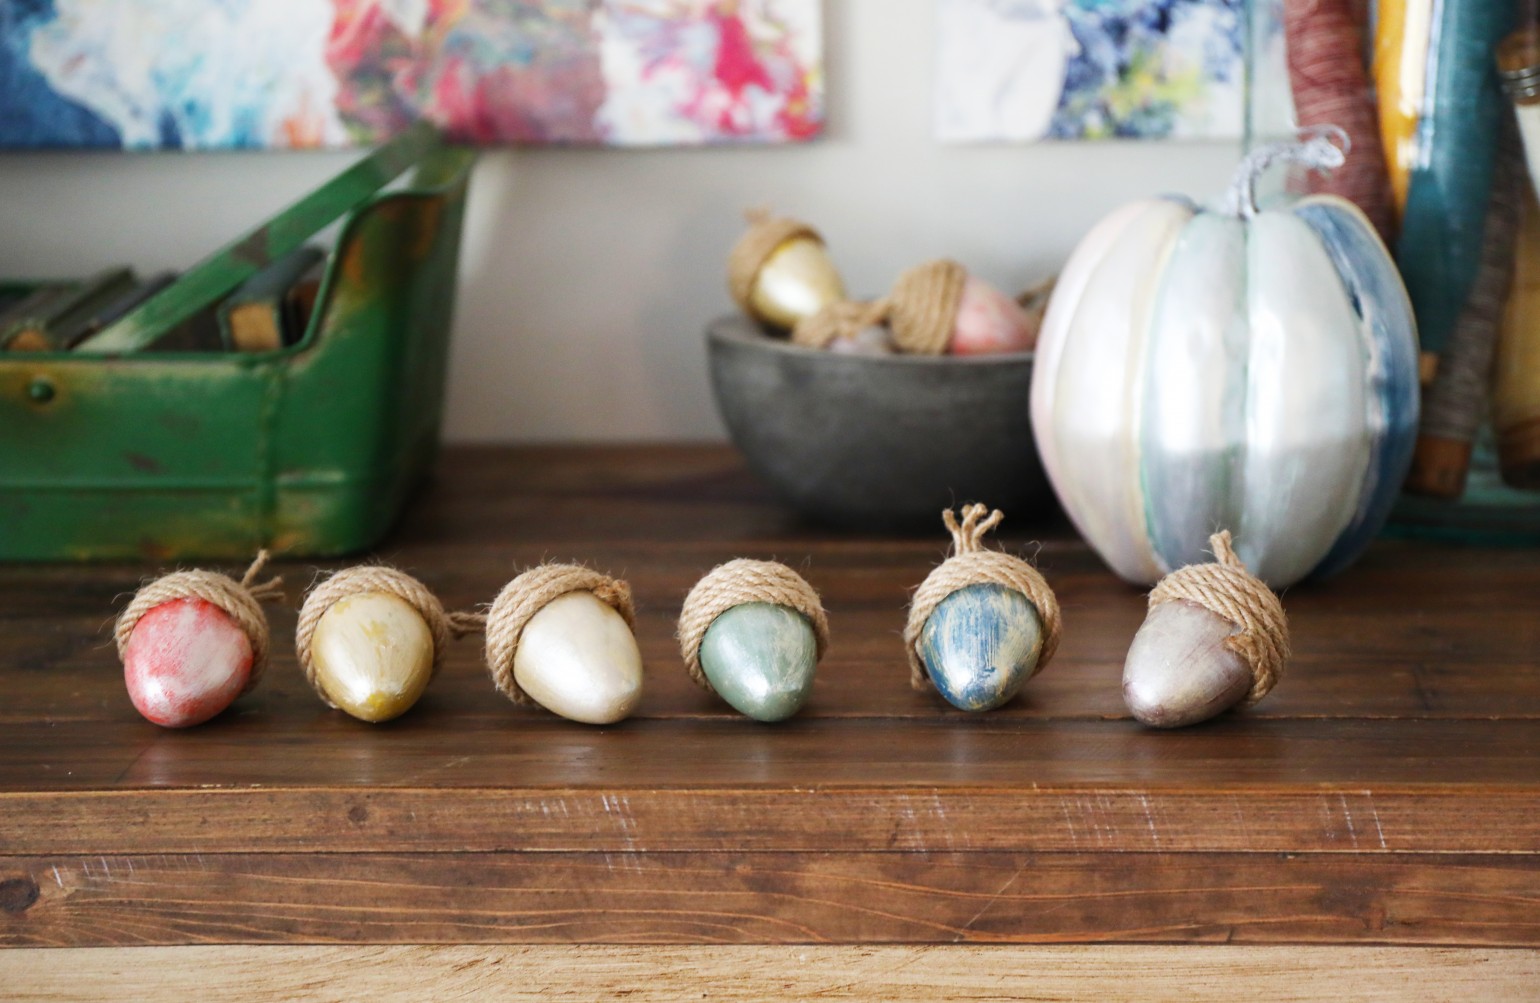
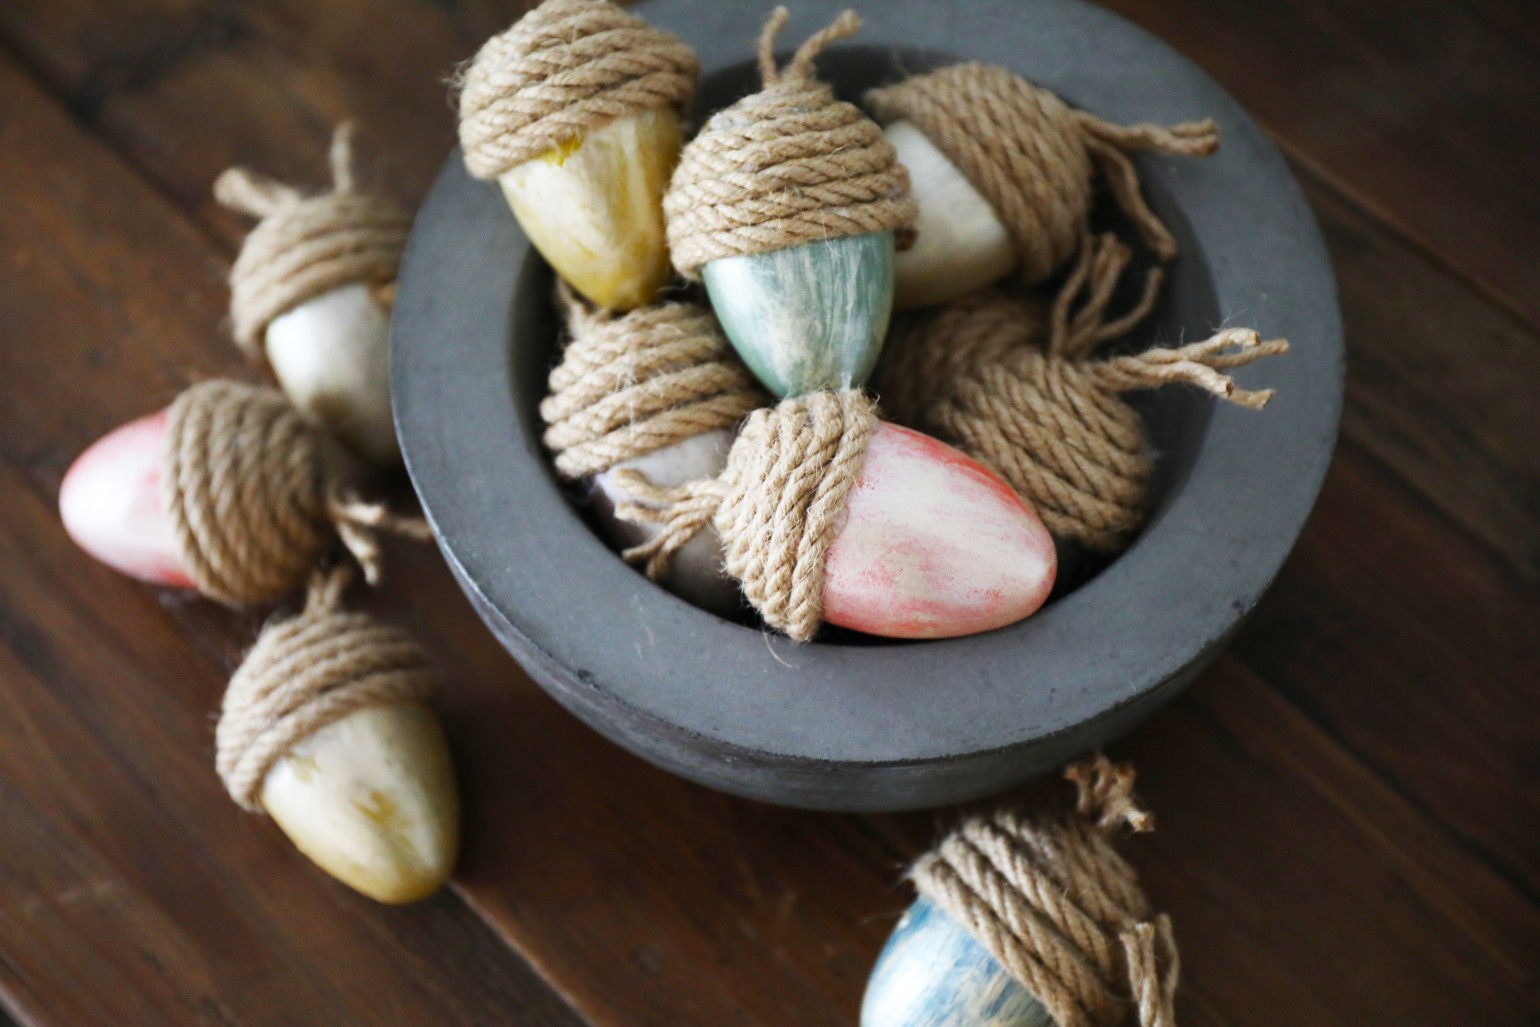
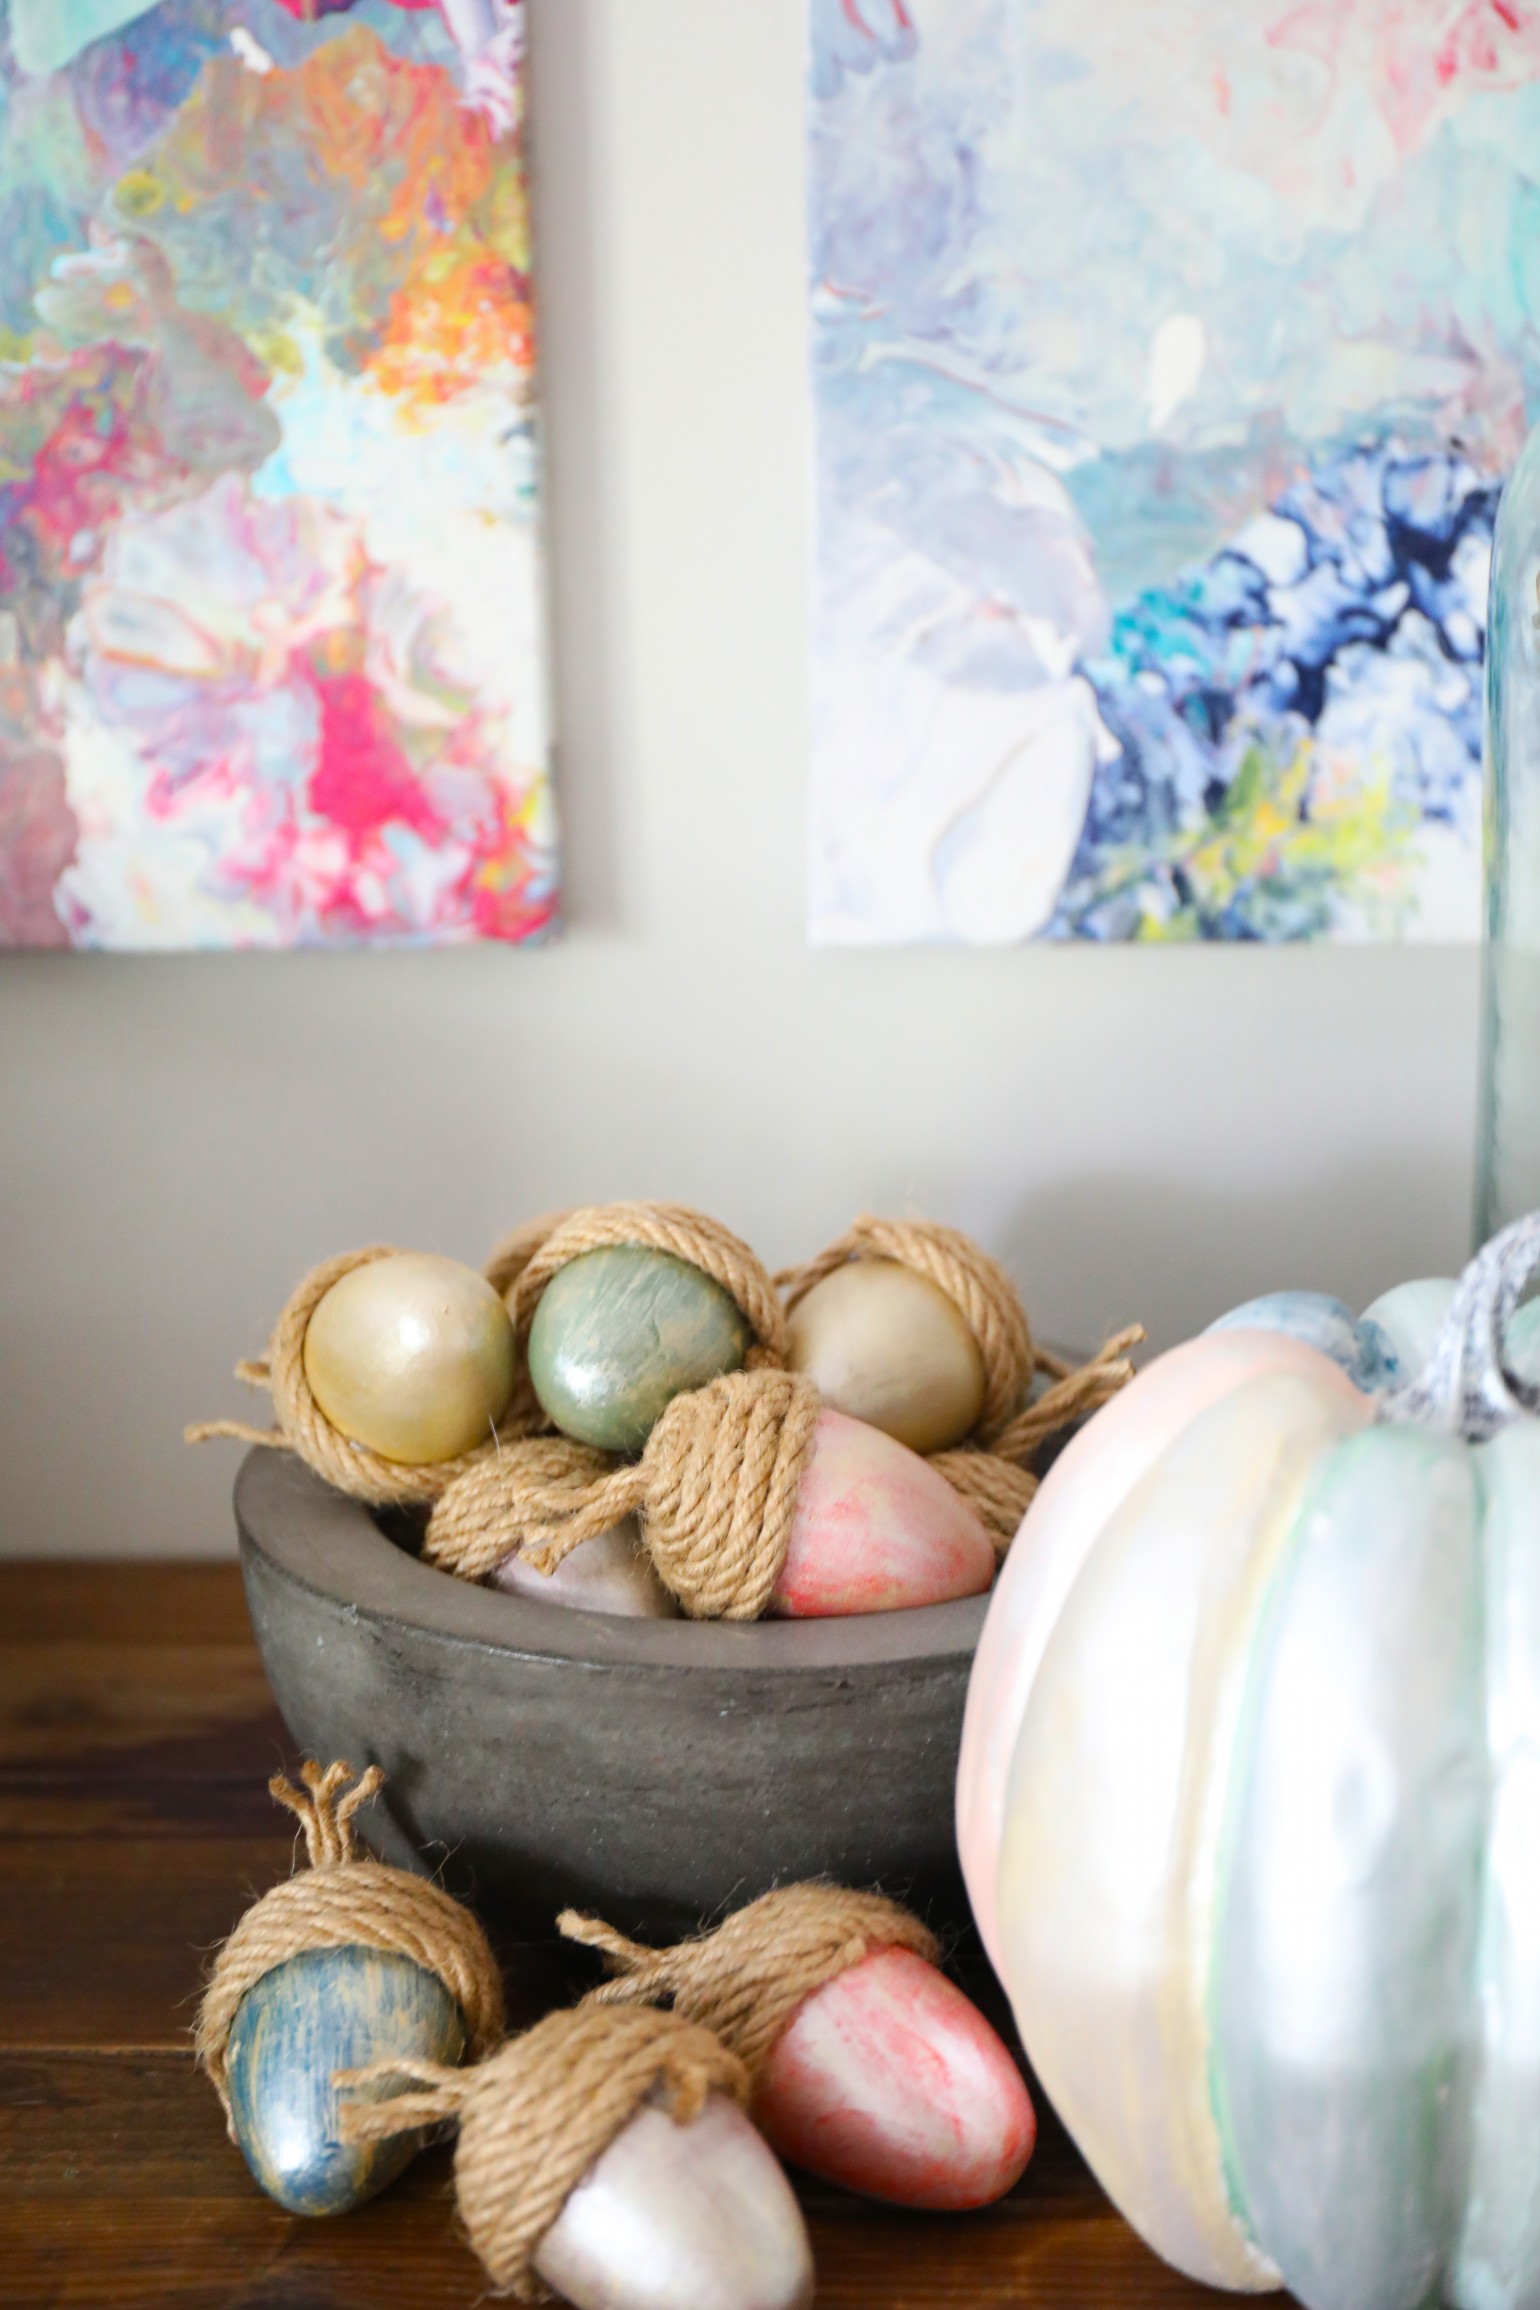
And then it dawned on me: acorns! I just love a good chunky bowl filler, so I thought metallic acorns would be oh so fun.
We did these up in all the fun fall colors, and then topped them off with some twine. VIOLA!
I’m a fairy god mother and the once upon an egg, is now an acorn.
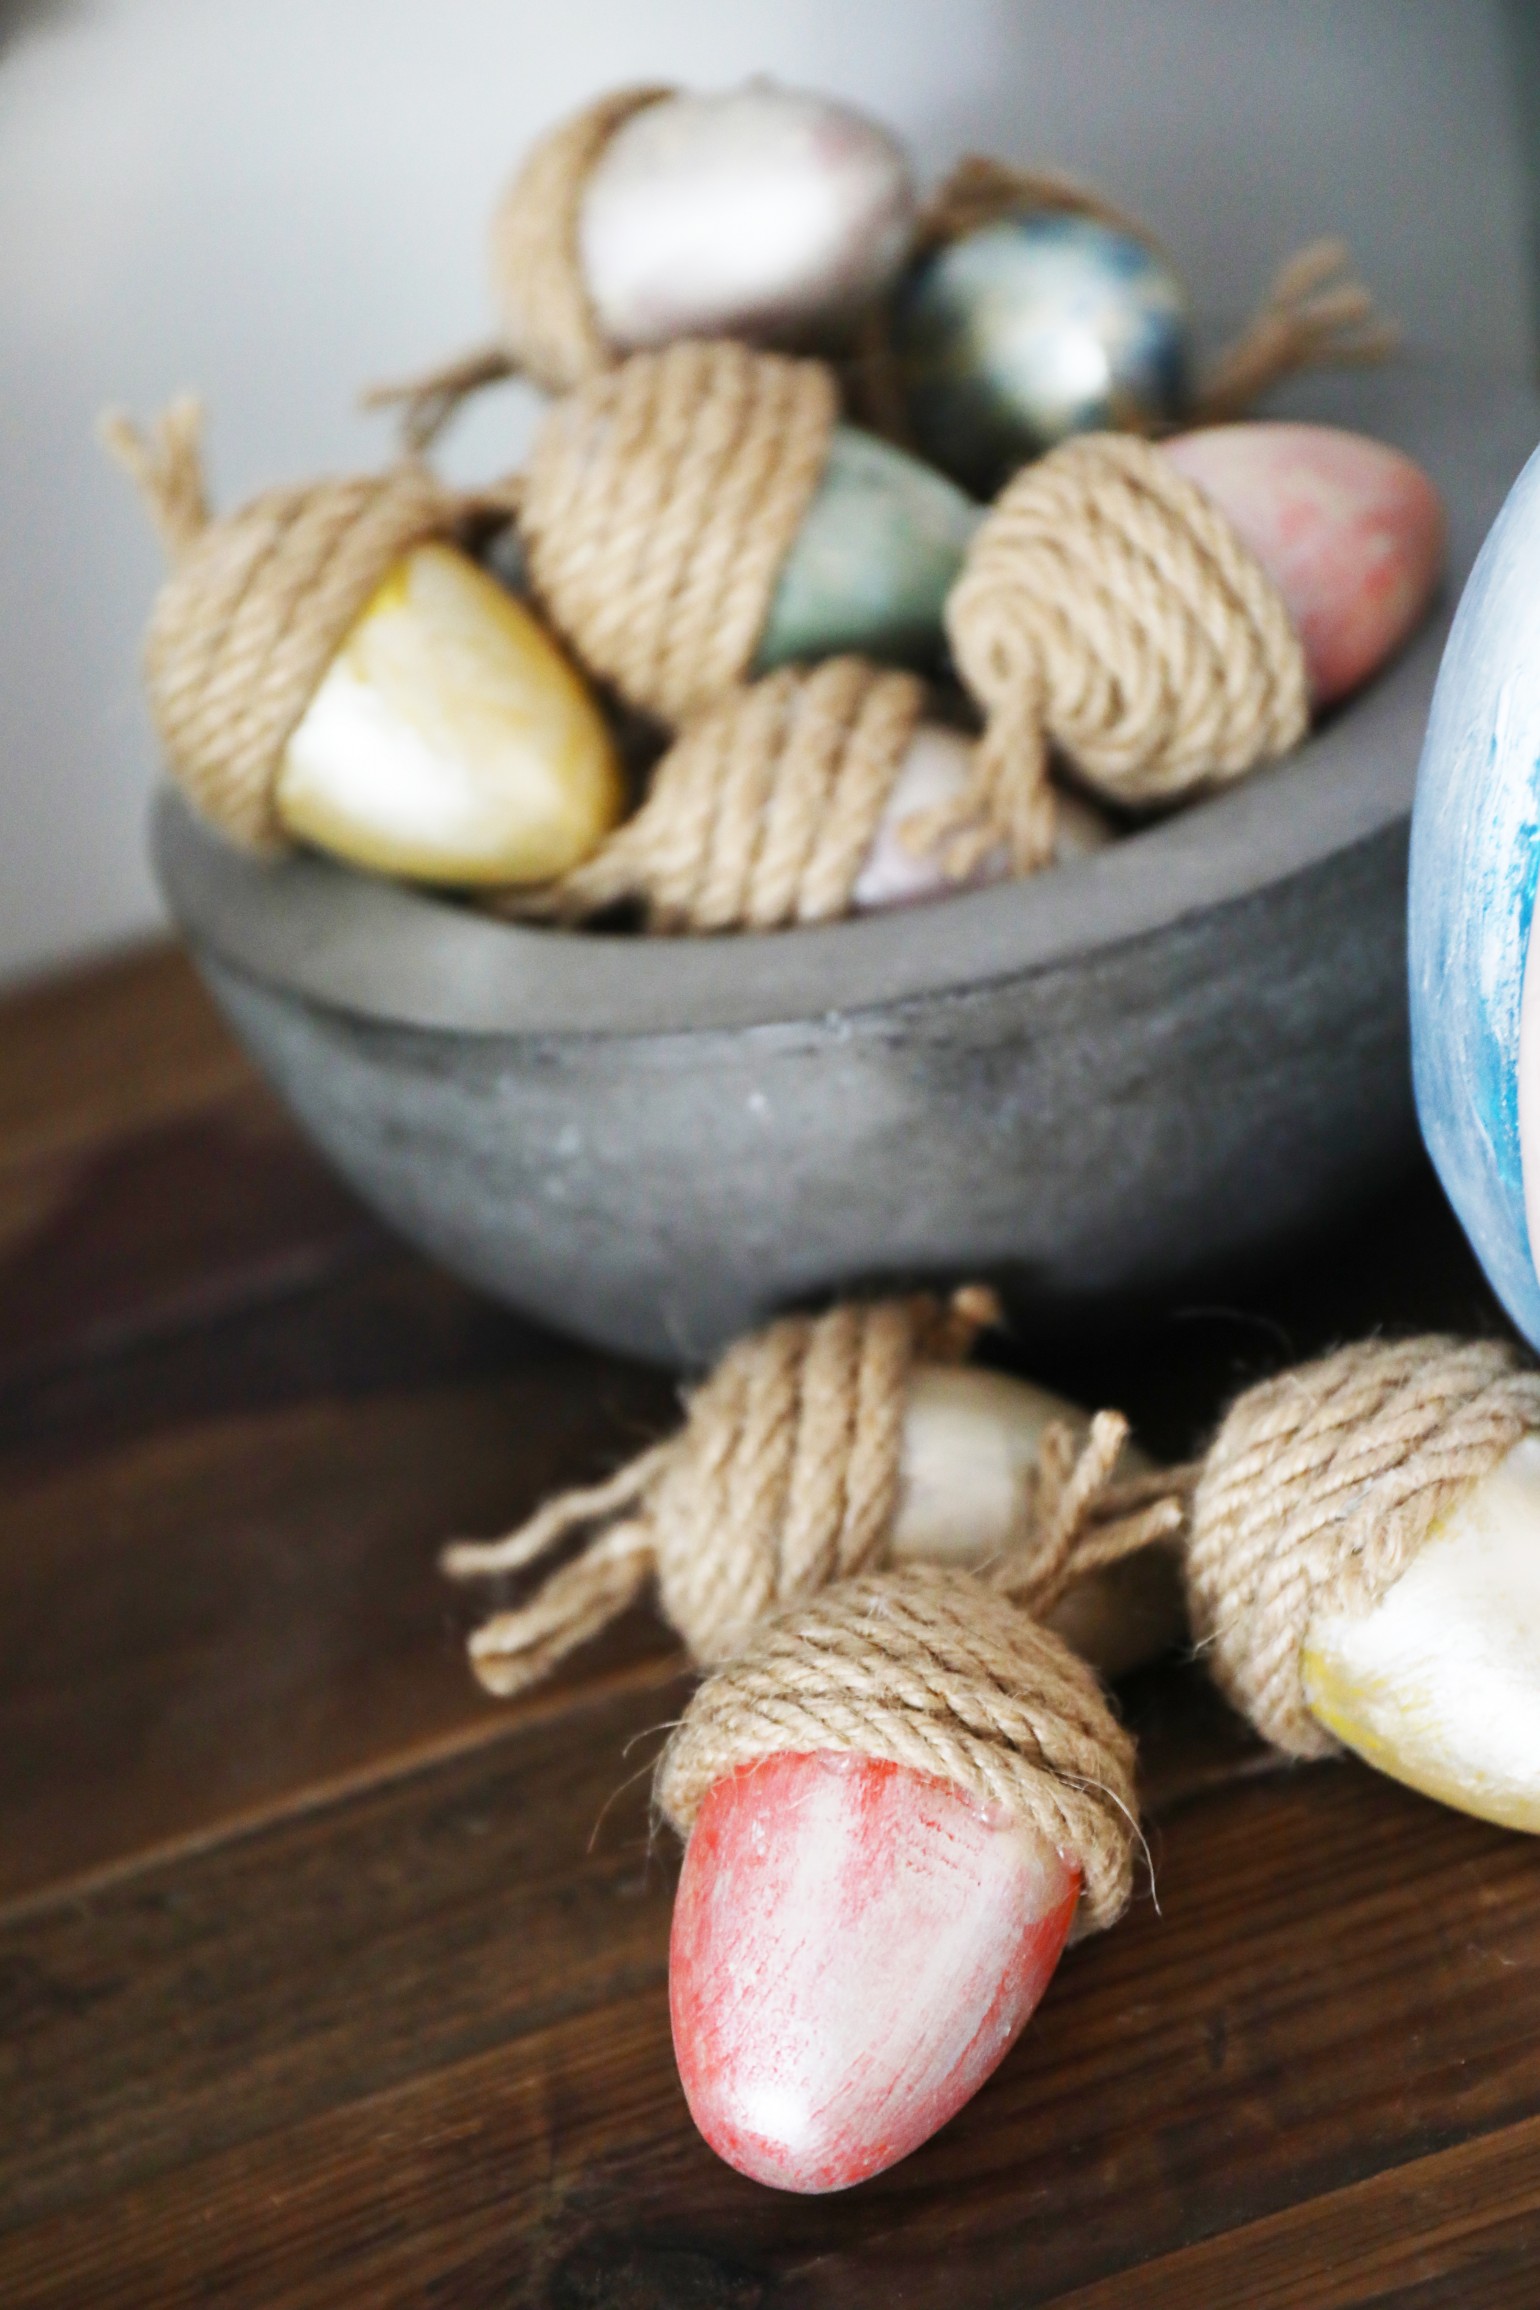
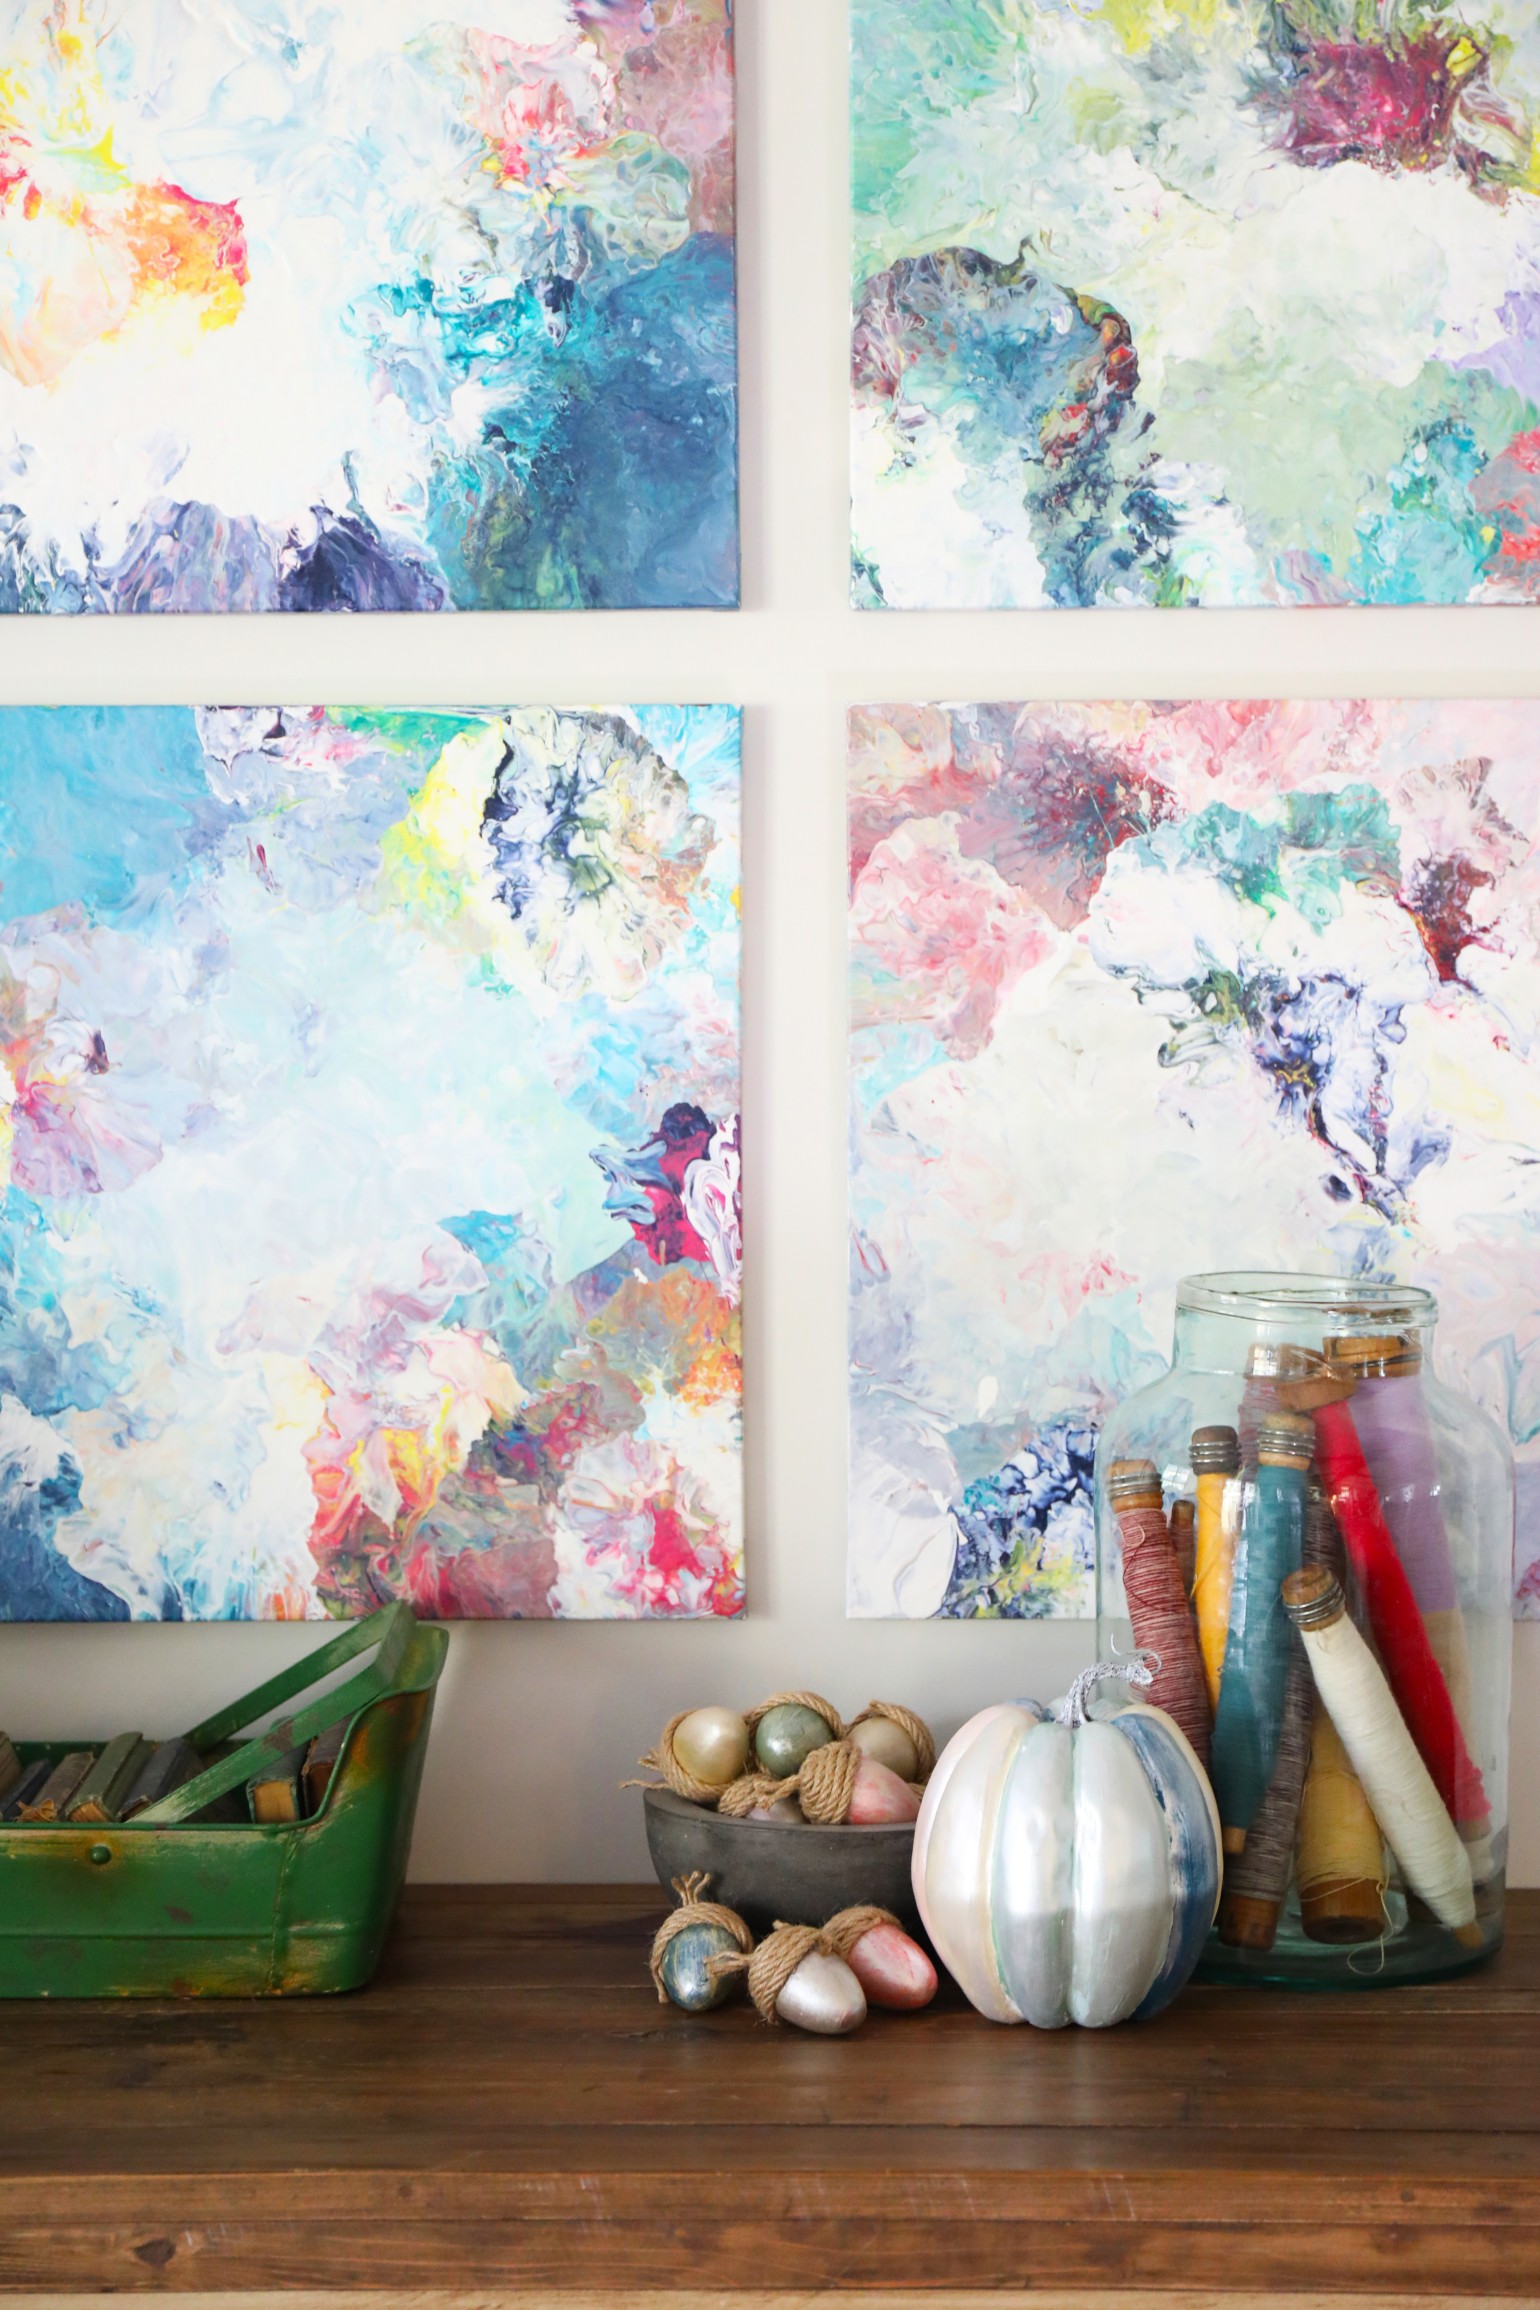
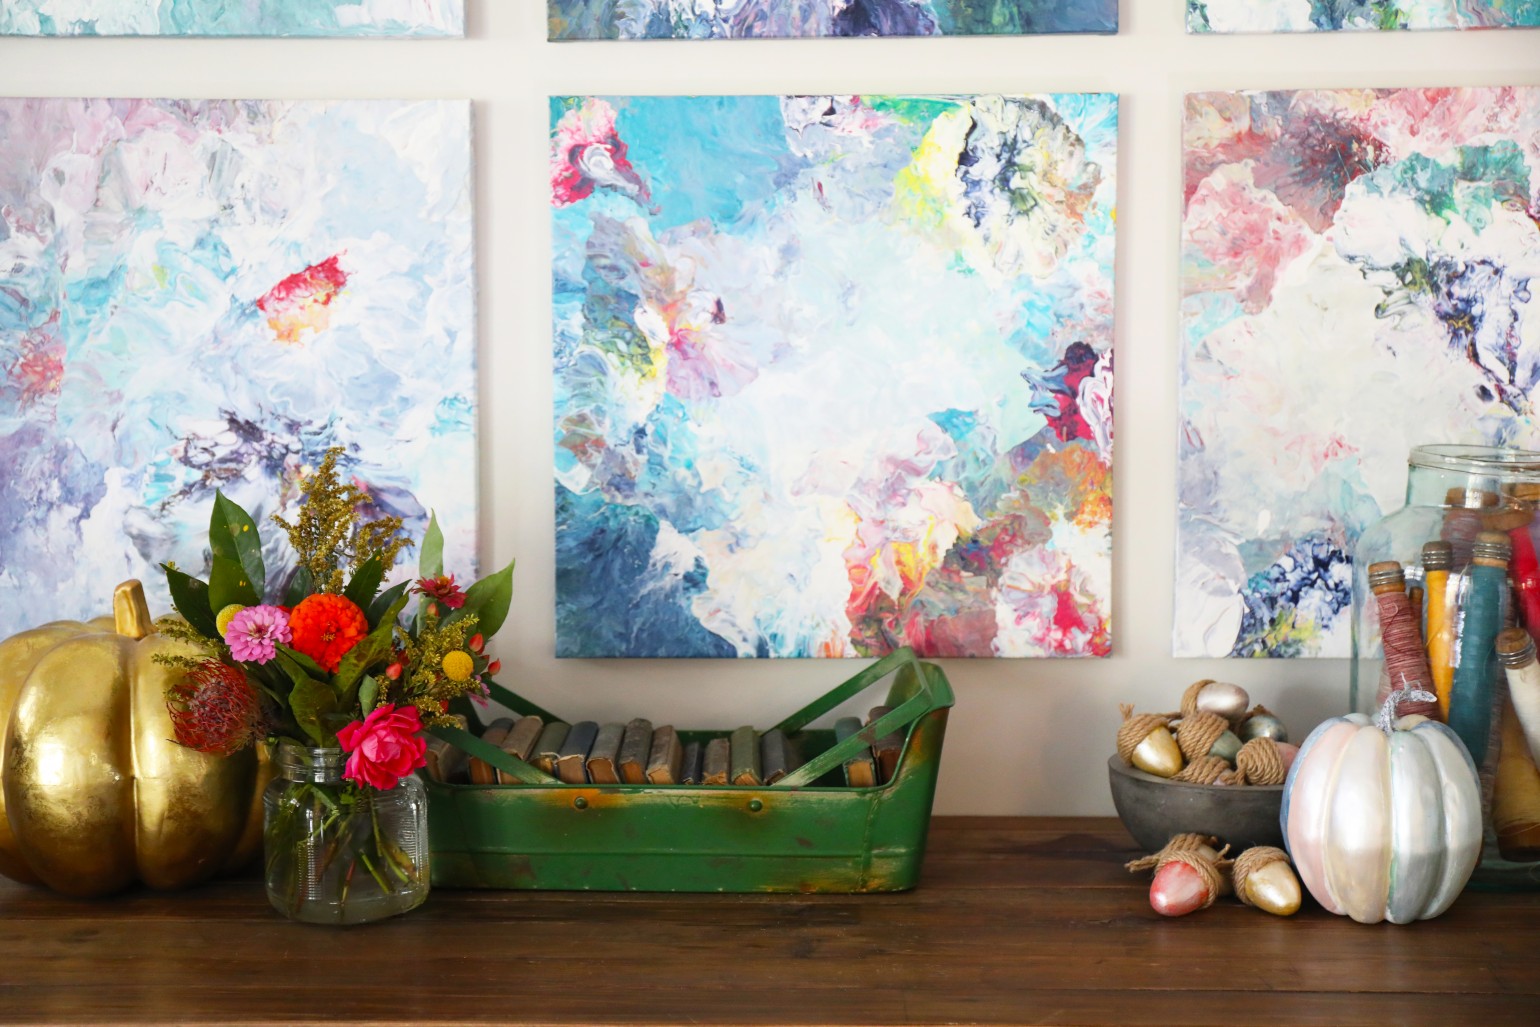
I just love a colorful fall accessory.
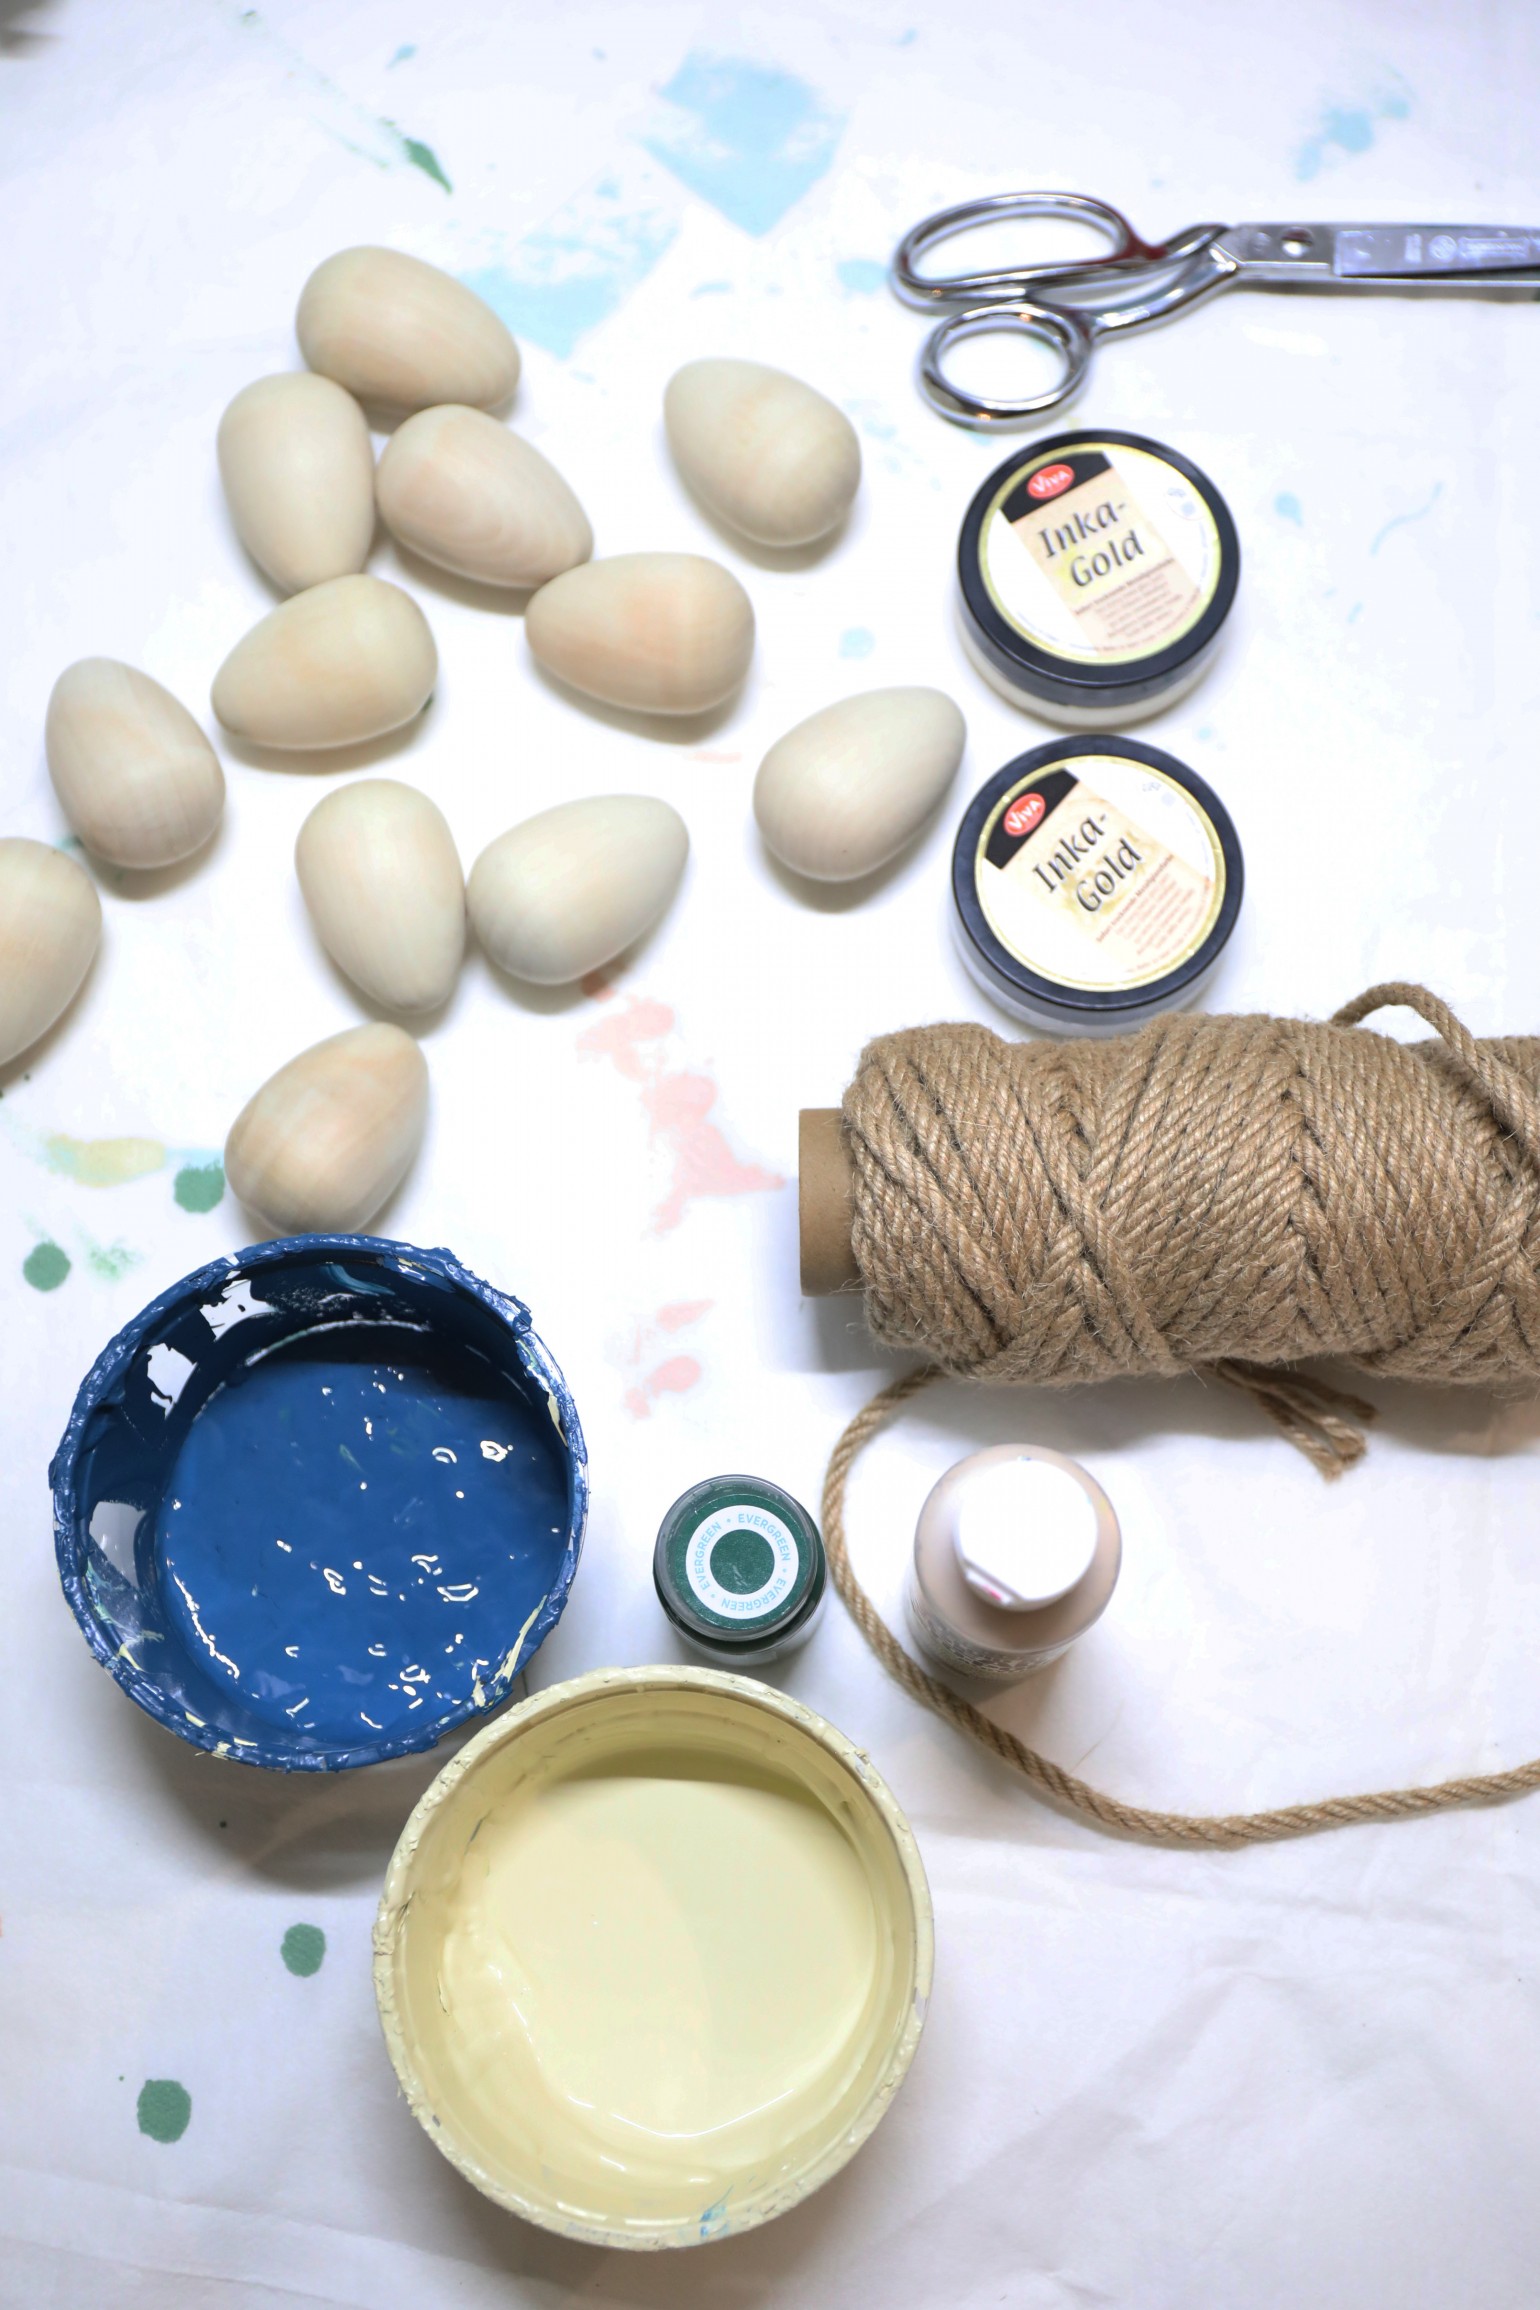
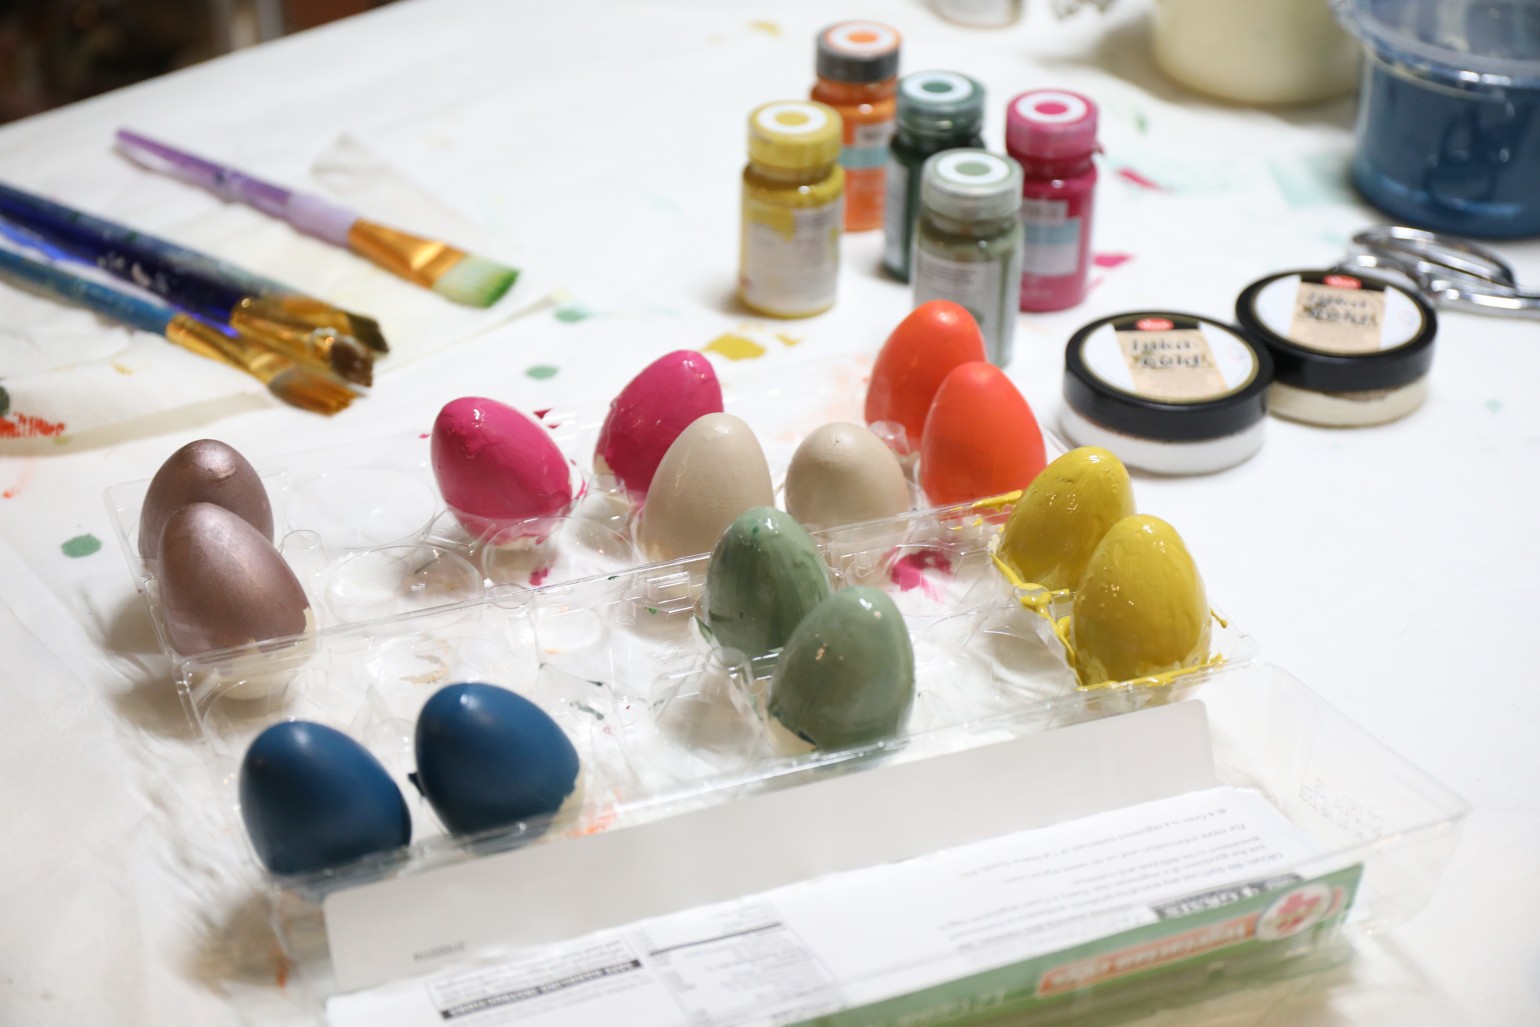
So here’s what you’ll need:
• wooden eggs {we did two so that our three kids had plenty to work with}
• acrylic paints + brushes {or whatever you have lying around – I found that foam brushes worked best to reduce brush strokes}
inka gold gloss paint – we purchased platinum and gold for that shimmery, sheer finish
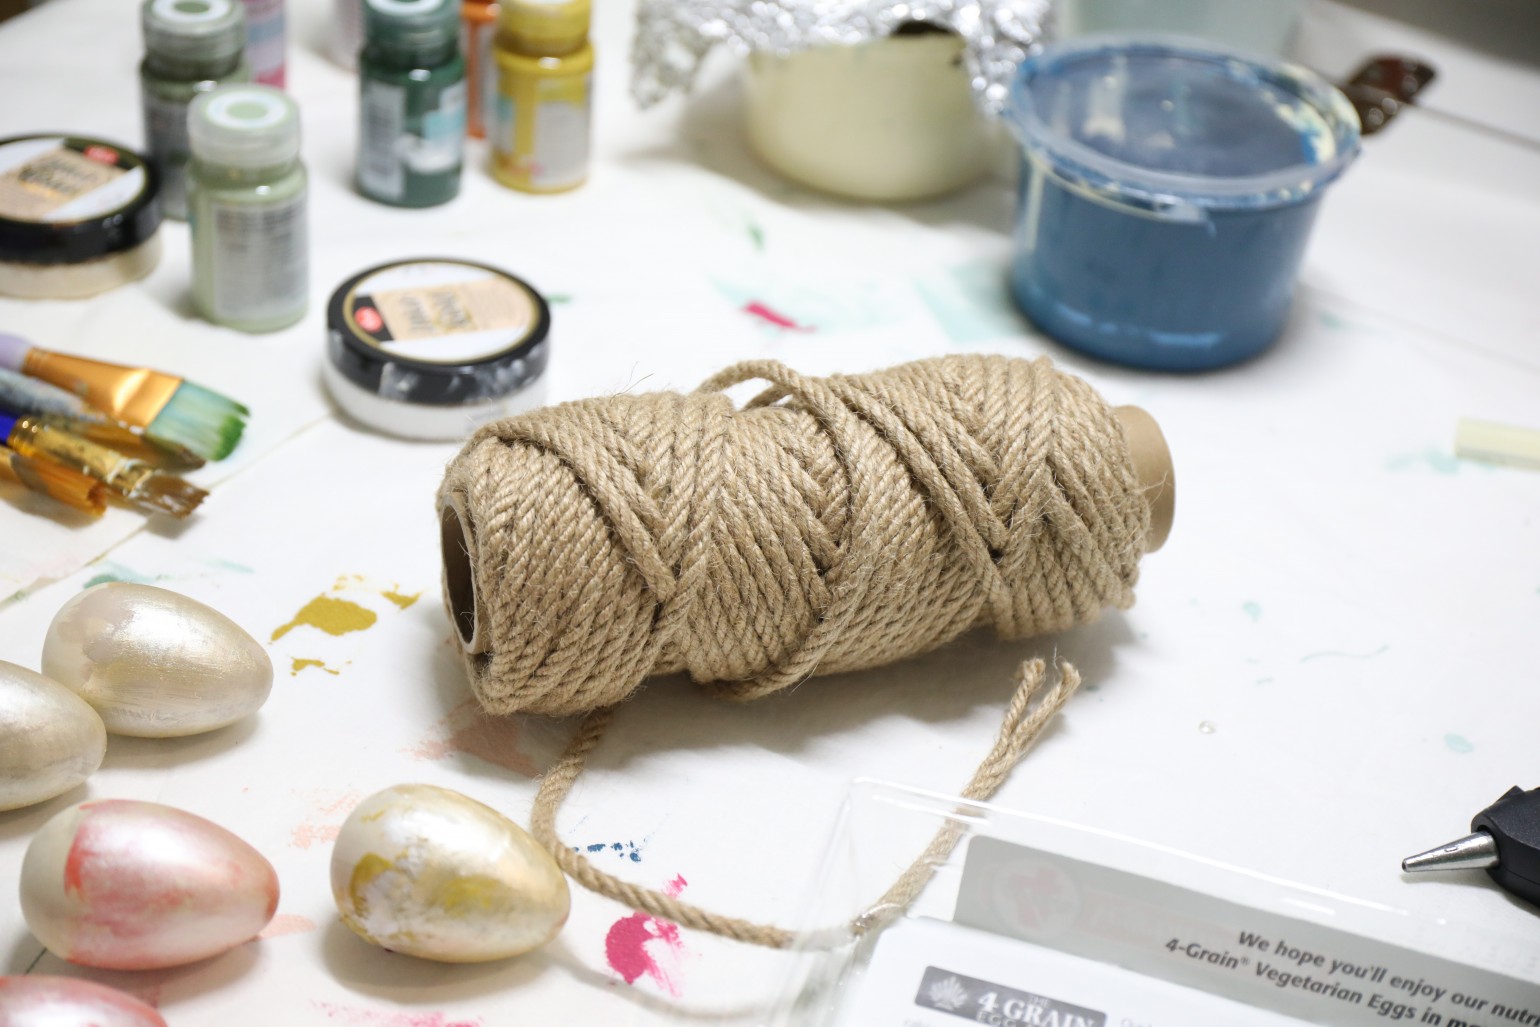
• hot glue + twine or a thin rope + scissors
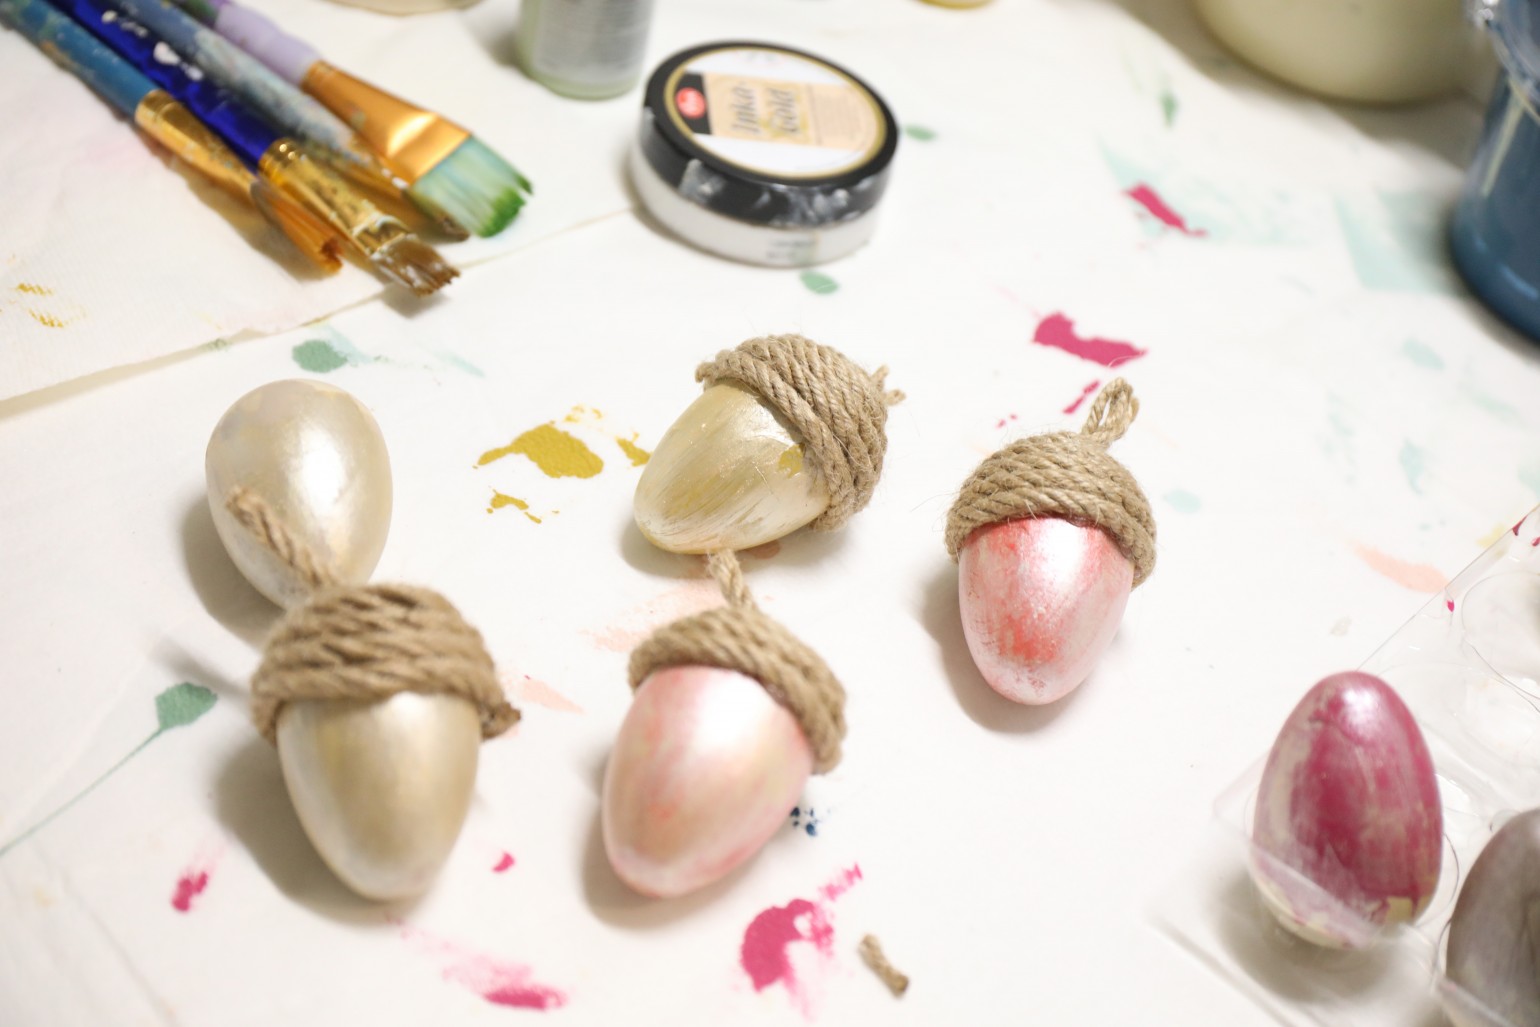
First, put on whichever paint you want. If you watch our stories today, you can actually see where we changed up the colors. My initial yellow was too light and my first green was too dark, and I didn’t like the way all the colors were working together. {Sometimes, ya gotta pivot.}
I held onto the bottom of the wooden eggs {careful, they’re slippery little boogers} and painted down to about the 1/5 part- the broader side.
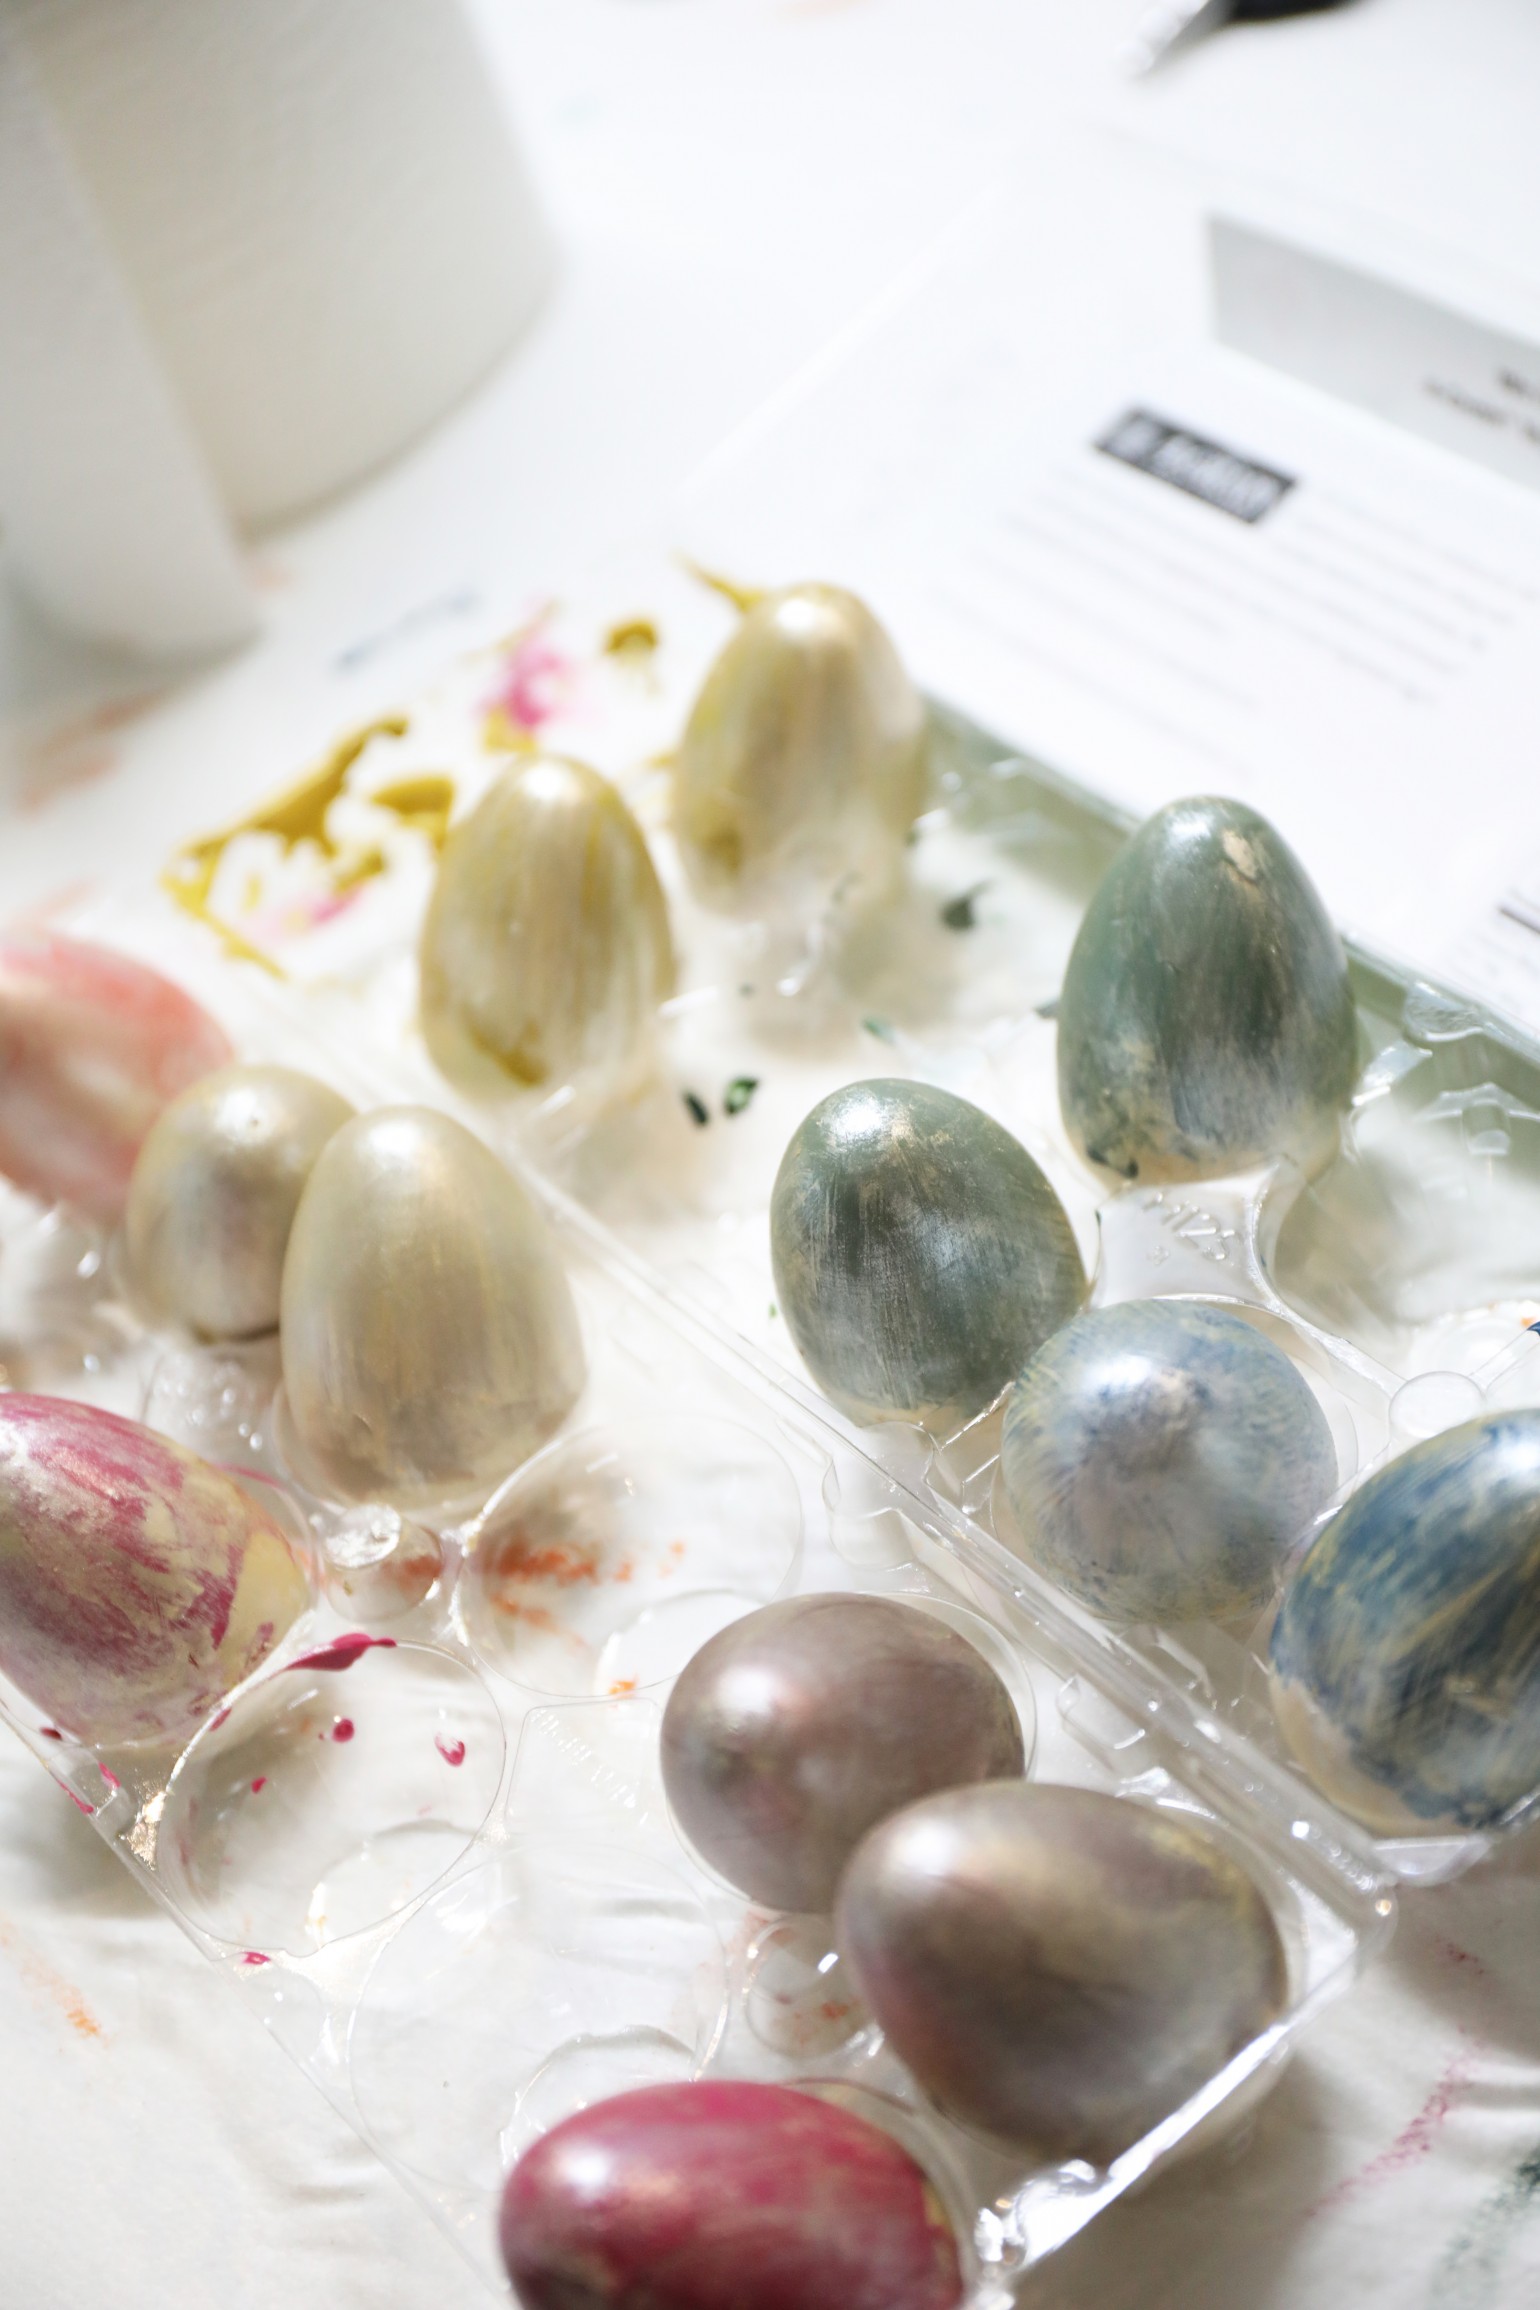
When those are dry, it’s time to apply your metallic coat.
Simply wipe on wipe off with the inka gold, and it should be dry in a matter of seconds.
![]()
I love how they transform the color of whatever you’re working with.
These are so fun together!
Then you’re ready to wrap your twine around the bottom portion you didn’t paint earlier. If you’re working with a natural wood finish, you did yourself a favor to help with all those gaps. If the wood shows through, it’s not that obvious.
Helpful hint: I also worked with a smaller glue gun on the low heat setting. It made for less glue in a smaller area, and no blisters. {Those are the WORST.}
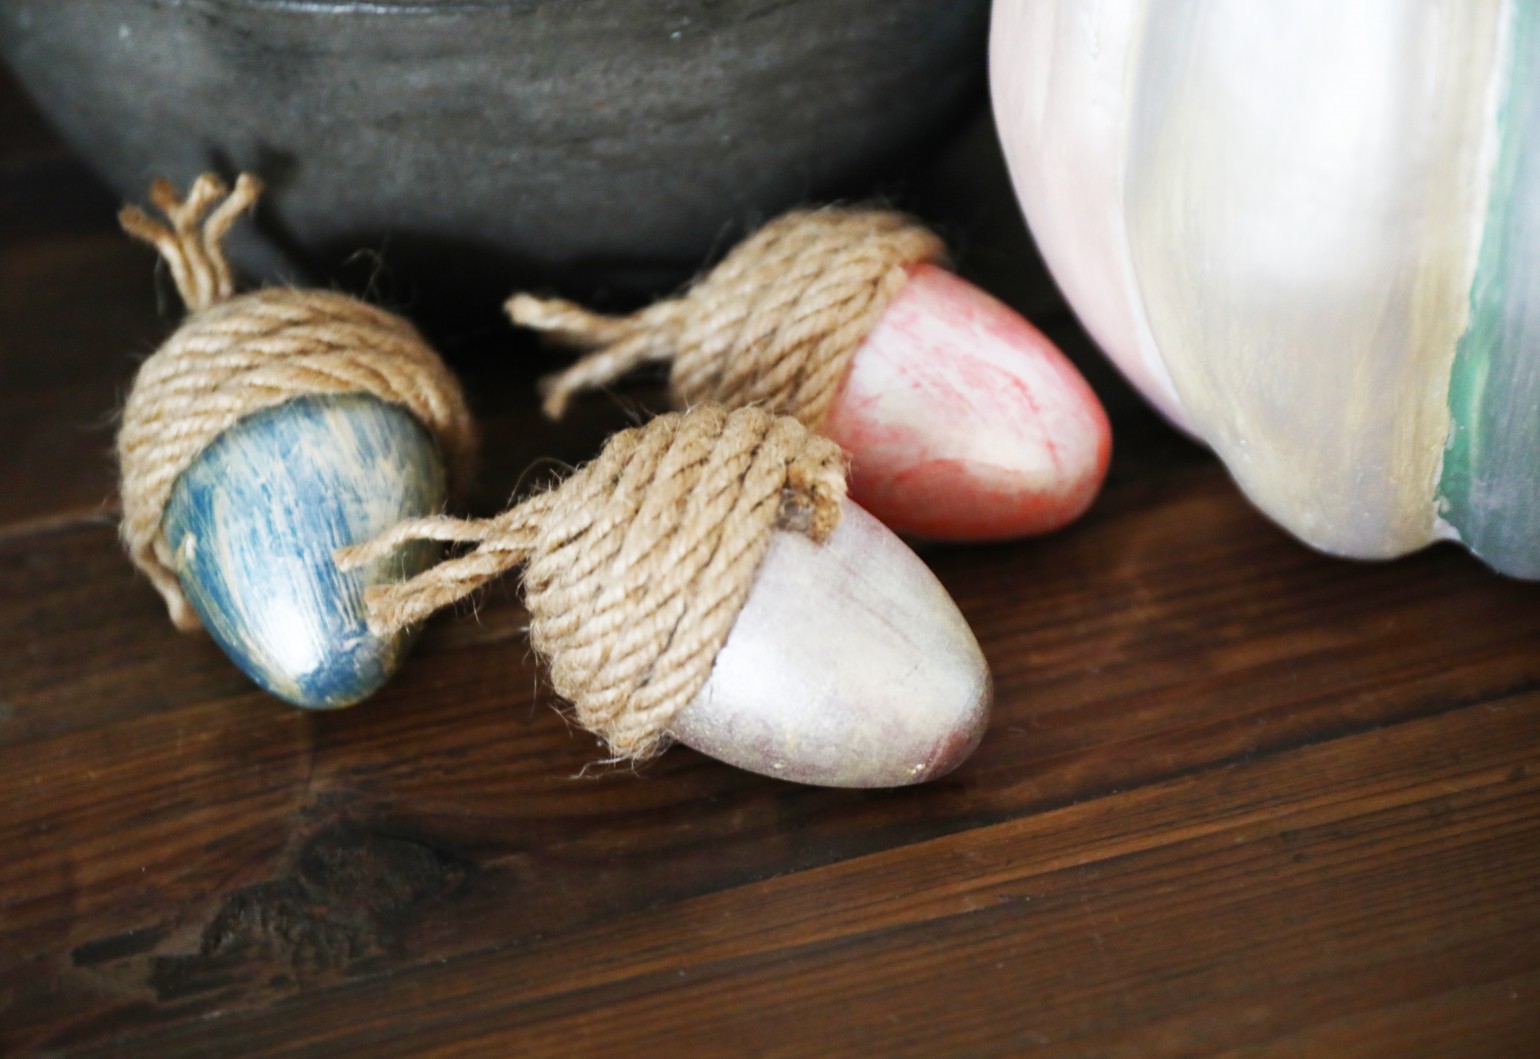
Slowly wrap around until you’ve formed a nice acorn “coil” at the top.
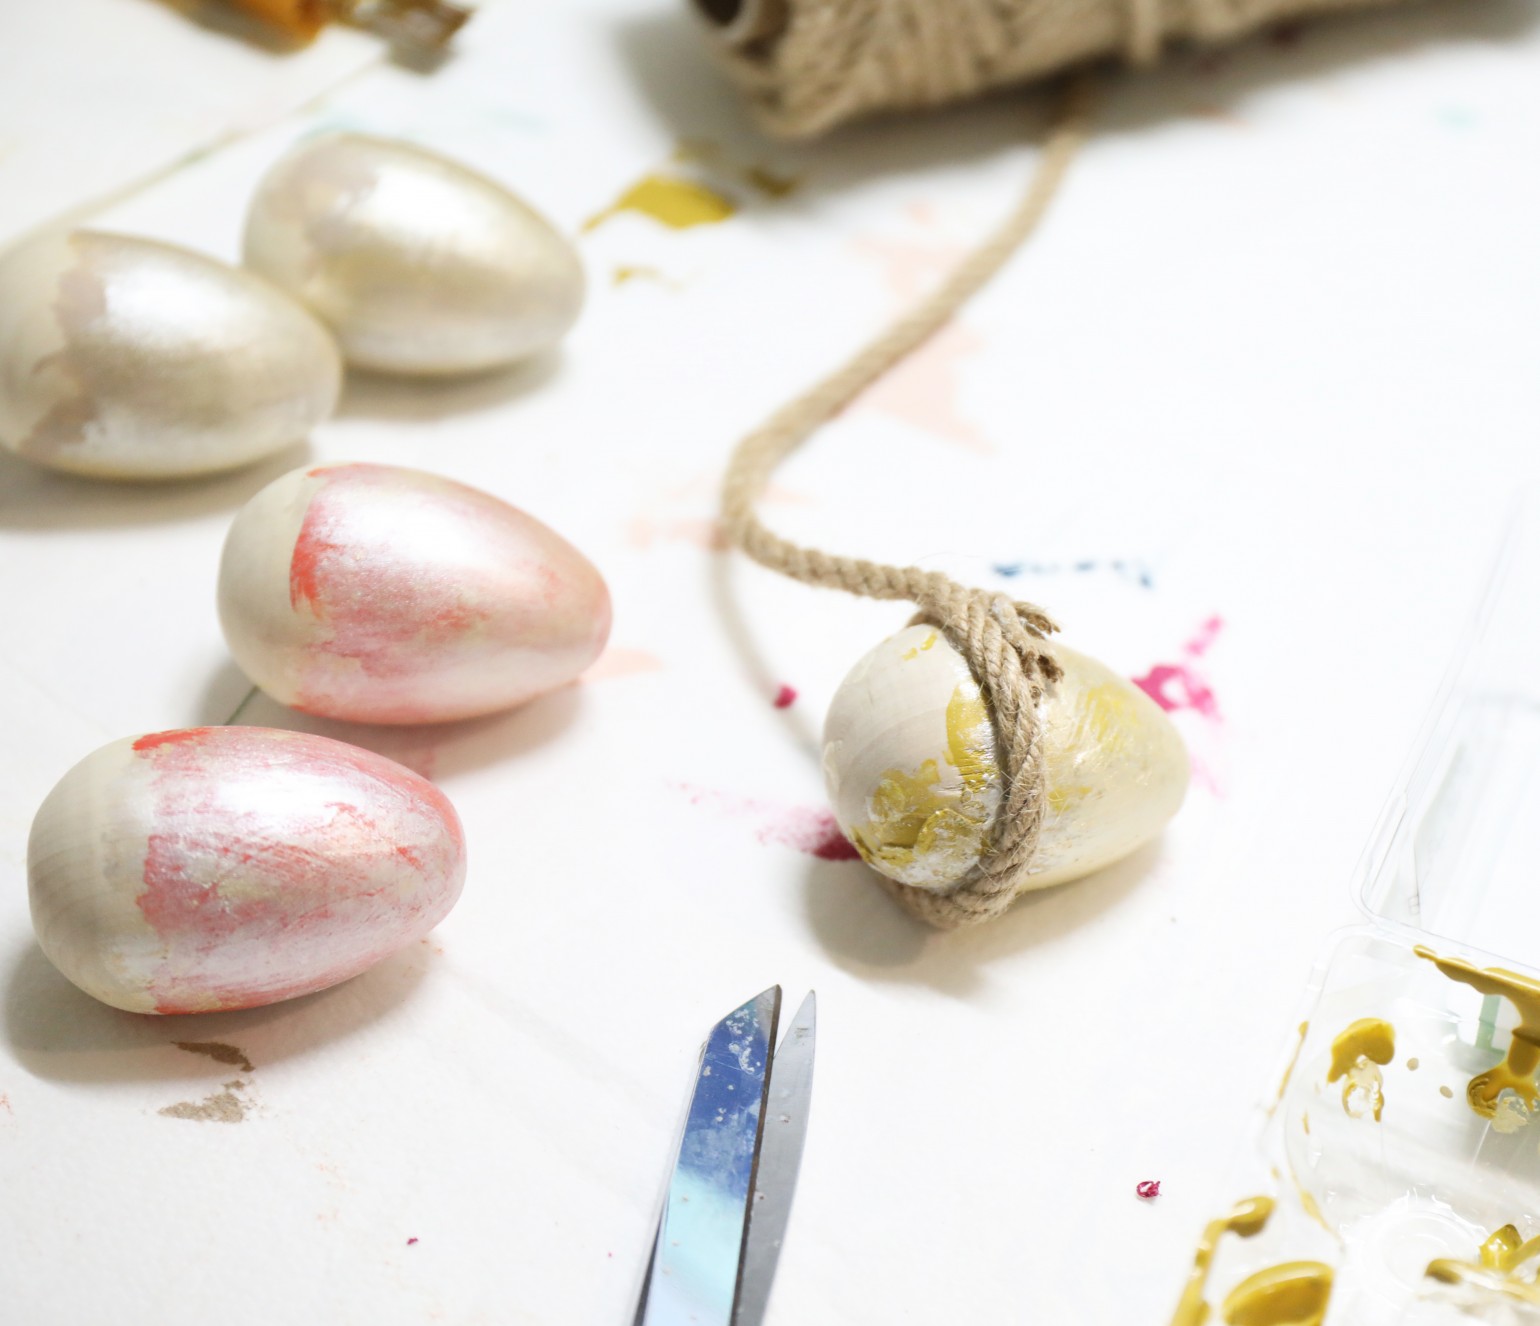

Trim the top for the “stem” and you’re donezo!
You could even add a little felt leaf at the top, if you wanted. Since ours were going in a bowl, I decided to leave them be. See what I did there? I need a good night’s sleep.
And then you’re ready to decorate and style as you wish!
I just love a good alternative to the traditional stuff every now and then. Love some pumpkins, but acorns are fun, too!
As always let us know if you try them or have any questions. We’re happy to point you in the right direction.
We’d love to hear!
Have an inspired day!
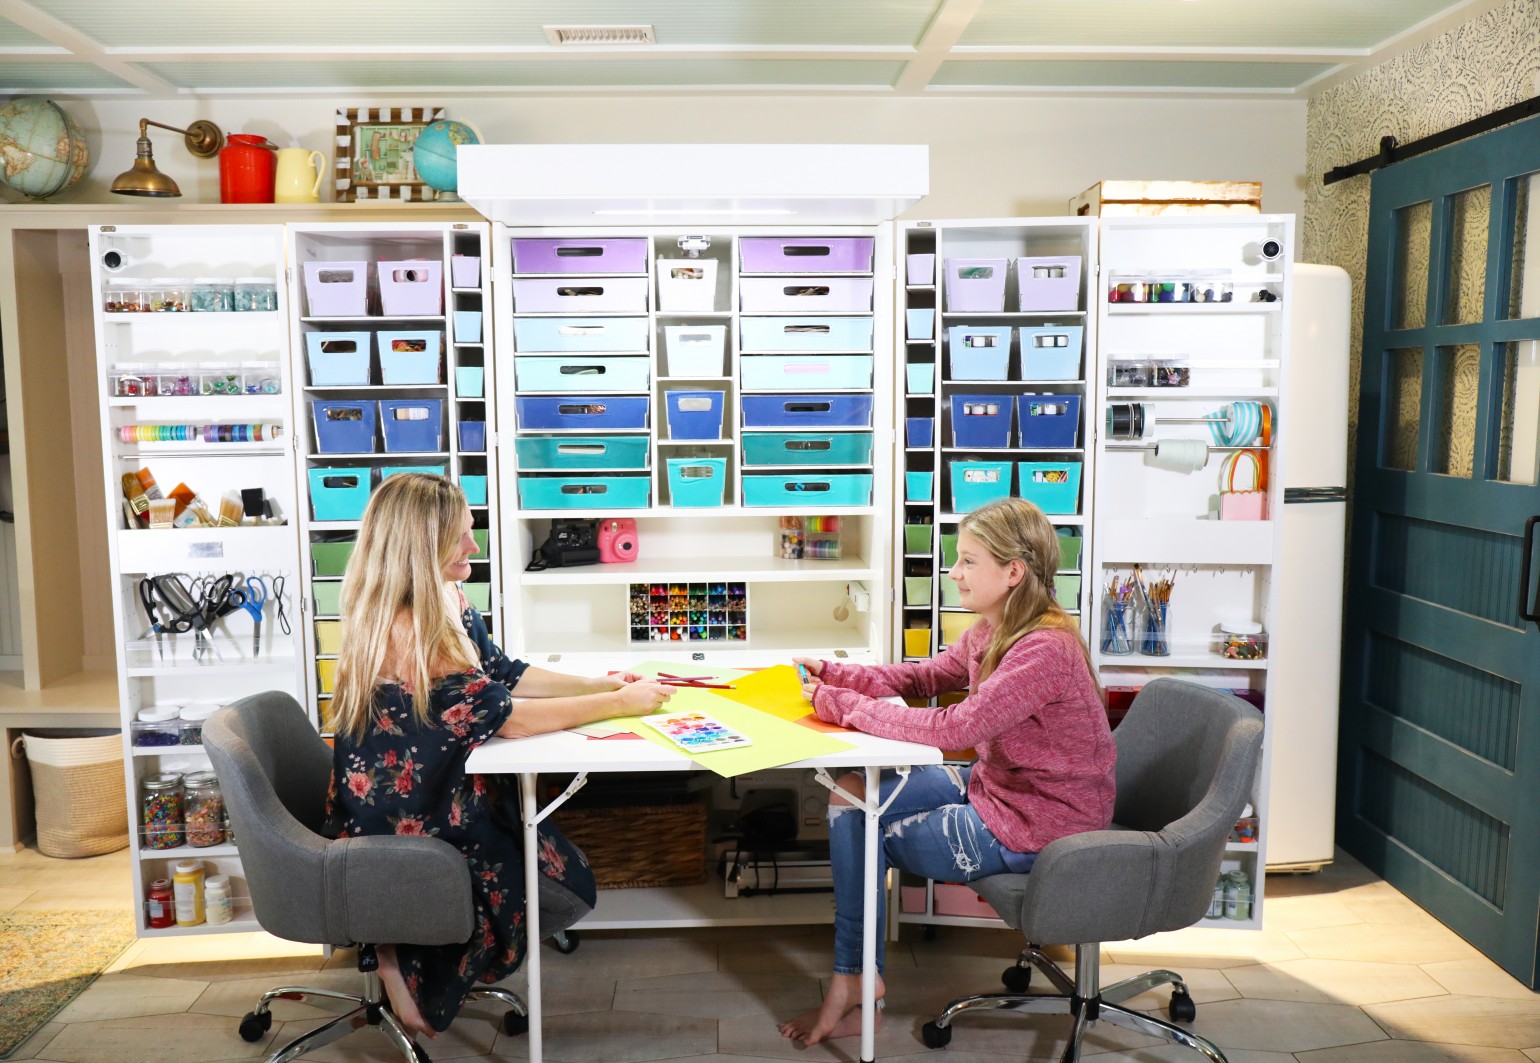
Pssst… I made this with the help of my new Create Room! Can you tell how ridiculously excited I am about it? I probably would have purchased the supplies twice because I was so disorganized before. Check out all the details of this awesome piece, and use the code HANDMADEHOME to take off a nice little portion of the price if you’re interested in rocking your world.
One Comment