
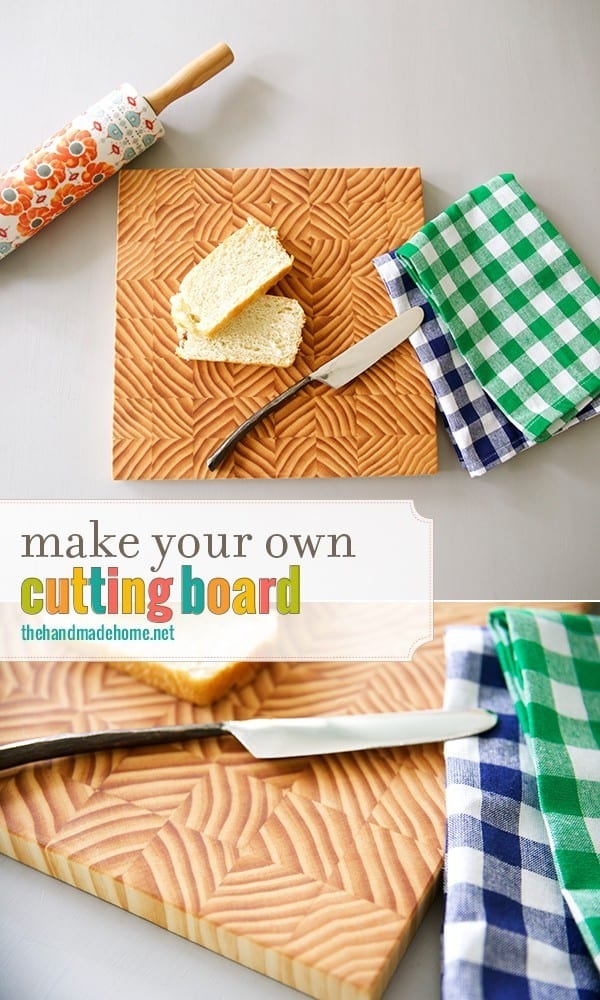
how to make a cutting board
Growing up as a kid we had a lot of free time. It was the 80’s, before travel ball and the overcommitment of the 21st century. We played sports and were involved in stuff without it being over the top.
So this left us with lots of time to figure out new games. We loved to combine sports or any variety of things. Like football on a bike… yeah not real safe and our kids would be in trouble for doing it, but again it was the 80’s. We didn’t wear seat belts in the car, or shoes while riding a bike, and only motorcycle riders wore helmets.
Which is why I think I love this project so much. We were able to combine two of my adult passions together: cooking and power tools.
So without further ado: how to make a cutting board.
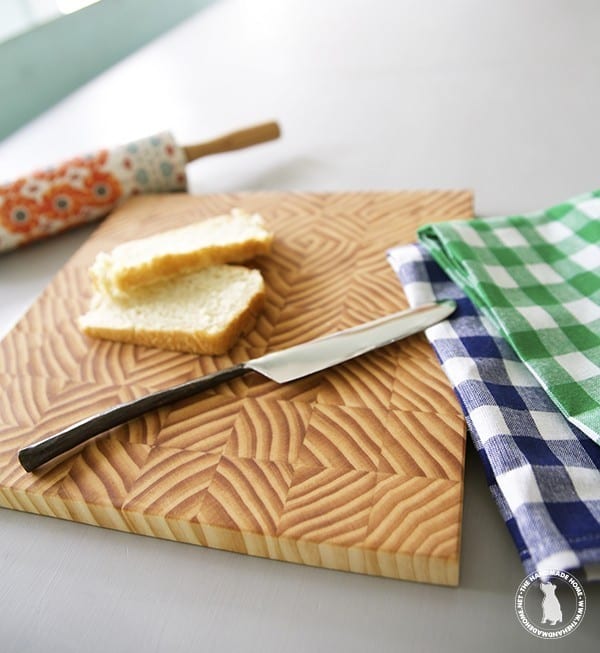
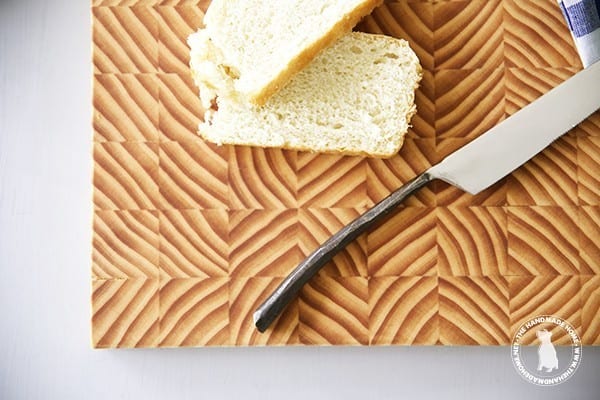
 Who doesn’t love some homemade bread and a stylish board to go with it? (recipe here).
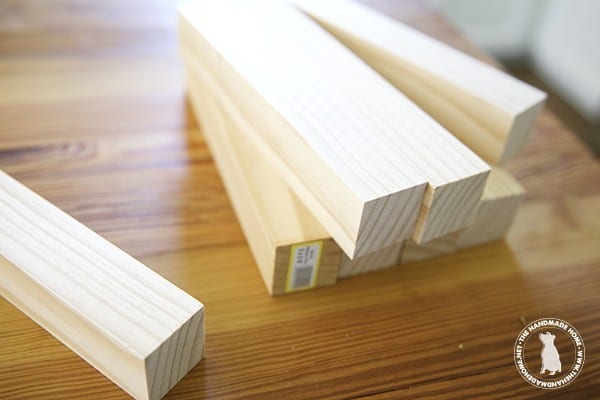
You can really use any type of wood you want.
Once you decide on the wood, you’ll need to cut it to length. The amazing thing about this simple project, is that you can make it any size you want as long as your clamps are big enough. (This is an awesome super adjustable clamp that we highly recommend.)
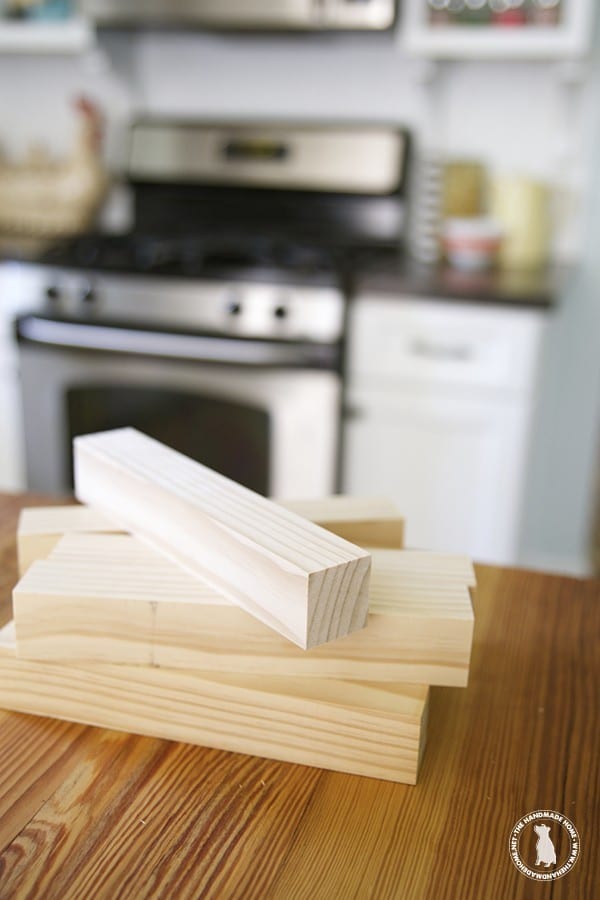 We decided on a simple 12 x 12 board. We also wanted an end grain look. So we cut a 2 x 2 x 8 into 8 11 inch pieces. (This is more than you will need, but gives you extra to grip as you cut. Safety first!
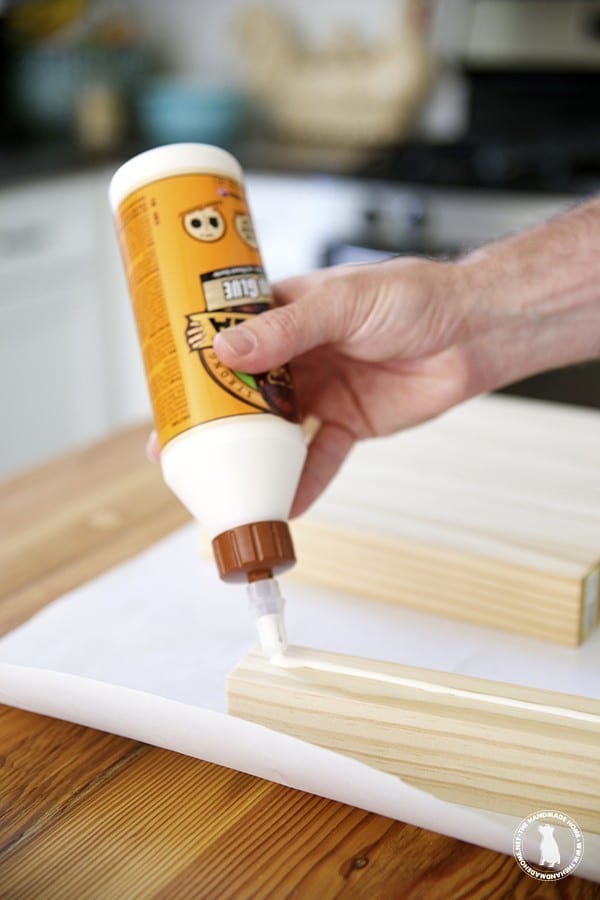 Once they are cut, take some wood glue and run a strip down one edge of one board. Place another piece next to it.
Repeat this step with all the other pieces sliding, until the last piece is put in place.
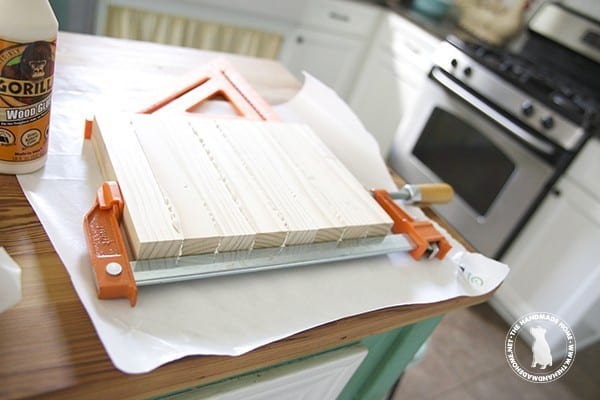
Then we used a simple bar clamp to secure them together.
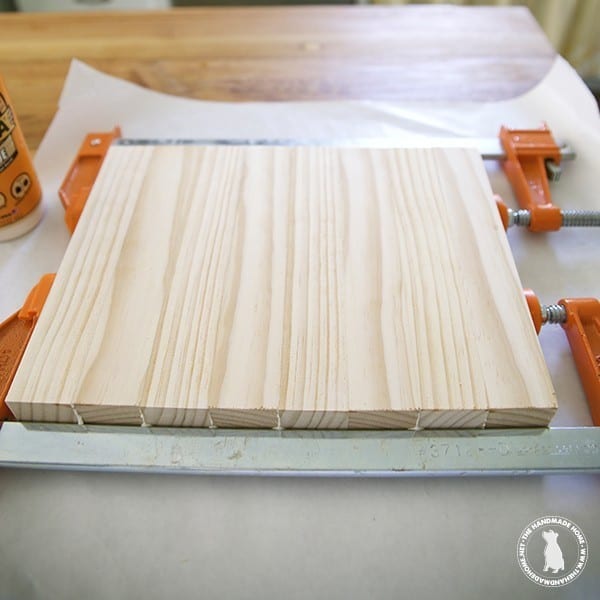
Allow for the sufficient drying time recommended on the bottle.
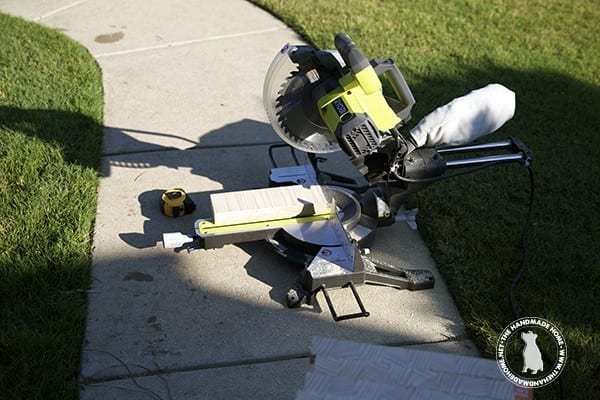
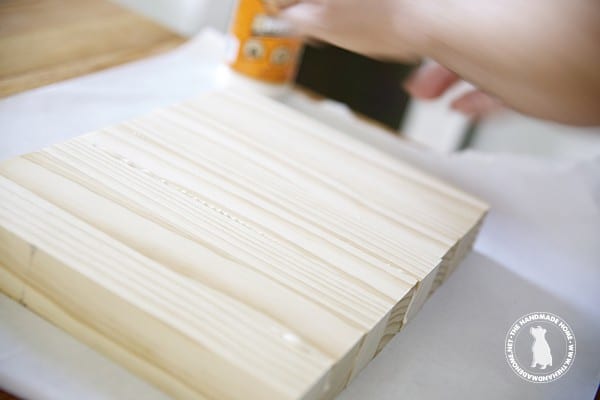
We then cut the board down to one inch strips using our RYOBI miter saw.
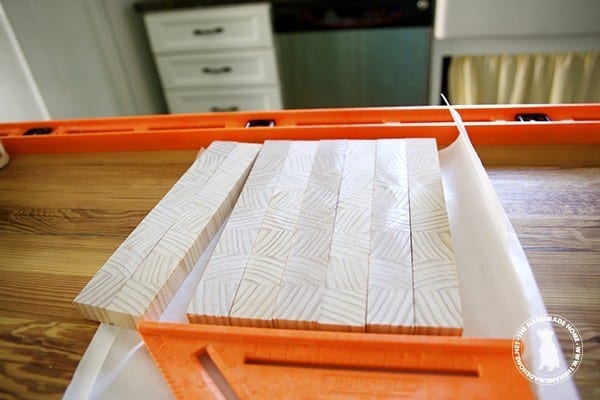
Then simply lay these out and glue them the same way as above, but this time use a couple of straight edges on each end to make sure they stay straight.
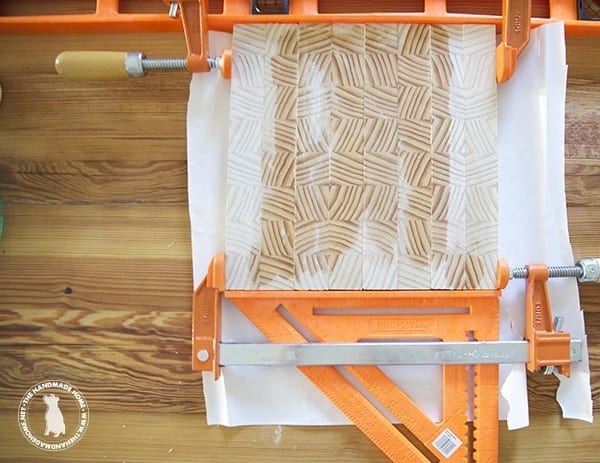
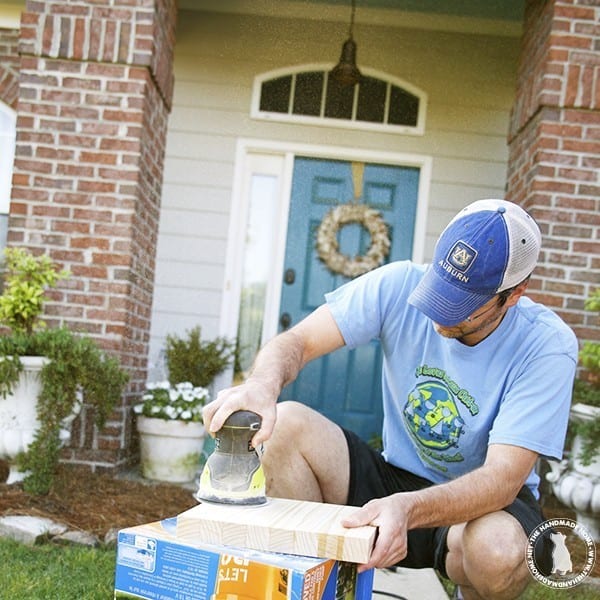
Once the glue has had time to dry, remove the clamps.
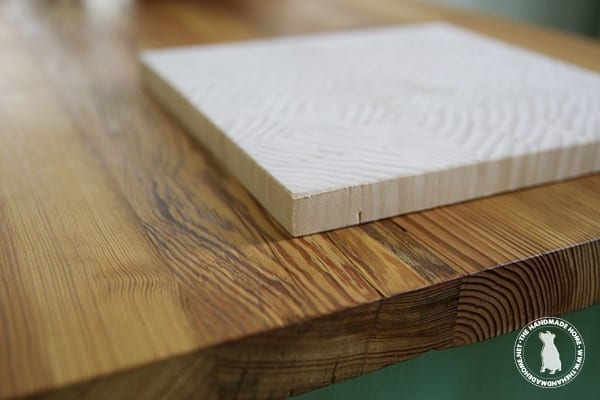
You’ll want to sand both sides with an orbit sander and 80 grit paper to ensure it’s level and smooth. We also lightly sanded the edges for a more finished look.
 You’ll want to wipe the board clean with a little water, but don’t soak the board or it might slightly warp it.

Once it was completely dry, we sealed it with some Watco butcher block stain.
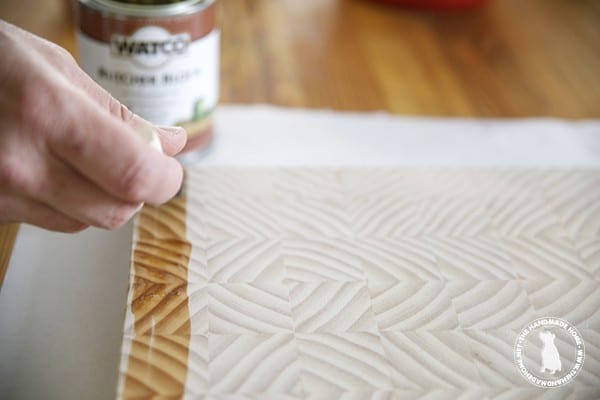
The stain is safe for everyday use and approved for food contact.
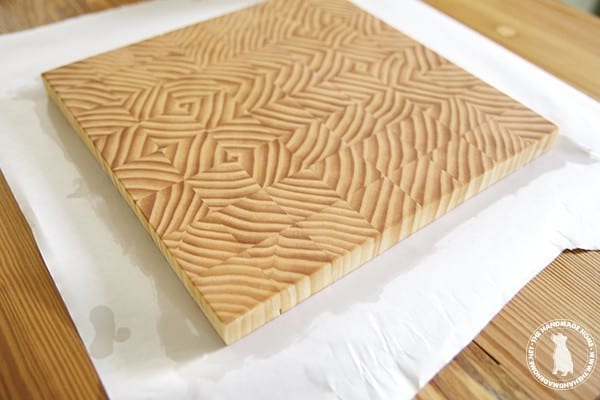 It really brings out the natural look of the wood.
 It makes for a great handmade gift.
 And simply beats paying $50+ for a cutting board, and the beuaty is you can create them in every imaginable type of wood for an amazingly custimizable look.
 As always, let us know if you try it or have any questions! Have an inspired day!
This, along with a fresh loaf of bread, would make a great housewarming gift! Or maybe a smaller one with cheese as a hostess gift? Thanks for the inspiration – heading out to Lowes now!
I love your website, your style, your ideas! I love it all! But trying to read this post on my iPhone was infuriating. Having to scroll through so many adverts and then ‘clicking’ on them by mistake and being taken to another window. I don’t mean to be rude, I just wanted to give you some feedback. I know this is your business but please think about how many adverts you have in one blog post.
Ruth,
Thank you for the sweet comments and the feedback. As I am sure you are aware the ads are necessary to bring you and all our readers the free content we are suppling on a daily basis. The adverts feed the kids. Also, the new mobile format is what you will begin seeing on all major sites, in some form or fashion. Google recently changed their algorithm and we are trying to stay in compliance with it. I hope this helps explain it some. Thank you for reading!
I love this!! Thank you so much for posting! I love your rolling pin as well, any info you’re willing to share would be lovely! Thanks again 🙂
Thank you! It’s an anthropologie find- hope that helps!
I LOVE the “how-to build a cutting board! It’s easy and fun! thanks for sharing!!