 Hello friends and happy Wednesday! Jamin here again with one more simple project from Emerson’s room redo.
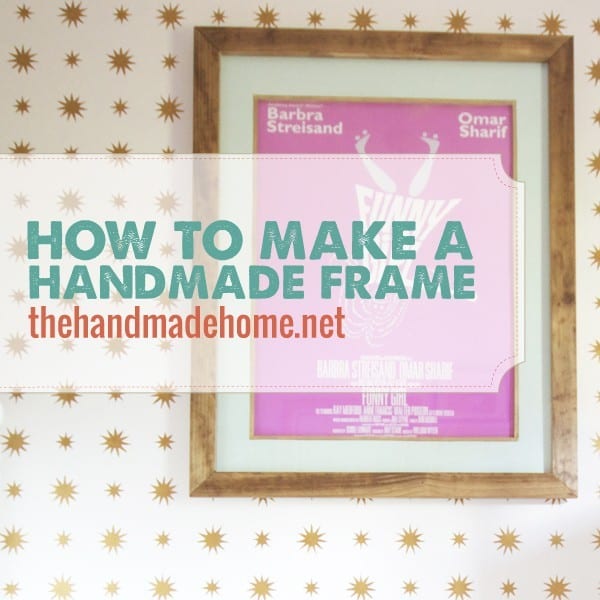
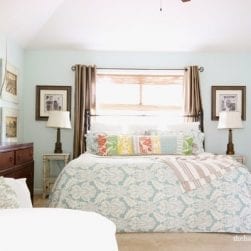
We almost forgot to share this little project we put together, and it’s probably one of our favorite parts about her room. We call her our Funny Girl, and thought this poster was just perfect with all of the colors in the space combined with those belly laughs. (You can read more about our sources here.) This is an easy, great way to spruce up a print and bring a little fun art to your walls.
So let’s jump in with the supply list:
• (1) 4 x8 sheet of MDF @ 1/4 inch thickness
• (1) 35 x 44 1/2 Plexi glass @ 1/8 inch thickness
• 12 feet of balsa wood
• (2) 1 x 3x 8
• (8) #6- 1 inch screws
• An old box/large piece of cardboard. This will be to brace your art on the back of the frame.
• Nail gun and a vise.
• hot glue gun • paint and stain • skill saw • jig saw
If you’ve read our book, you probably have a good idea of how to make this frame. It’s very similar, and integrates a few things that we cover in Handmade Walls. Before we begin, remember this frame is specific to our print, and you will need to adjust your measurements to the size of the art you wish to frame.
Now let’s begin with the cuts you will need to make.
To begin, first cut your MDF down to 44 1/2 x 35 inches. {This will be your “matting” – much like you see in this frame tutorial, here.} Once it is cut down to size you will need to cut out the center. On the long (44 1/2 inch side) edge, measure in towards the center 8 3/4 inches. On the short (35 inch side) edge measure in towards the center 9 1/2 inches. Do this on all edges near the corner, then use these crop marks to draw a box. Cut along the lines using a circular saw and a jig saw. (Again remember to adjust measurements to your print size.)
Also cut your cardboard down to 44 1/2 x 35 inches.
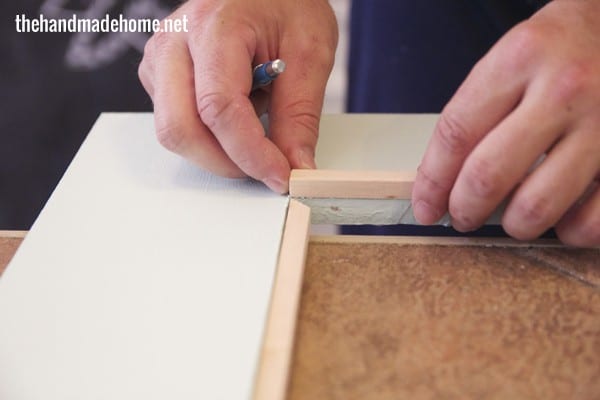
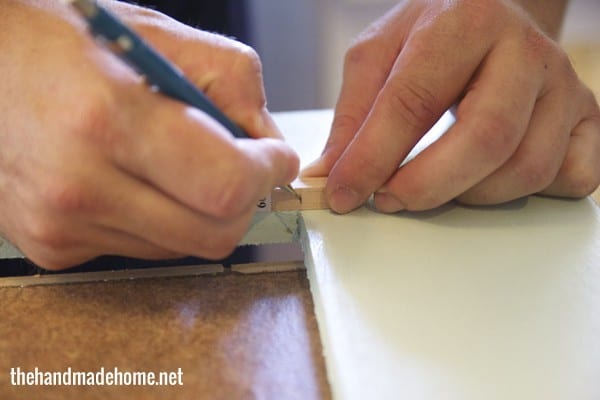
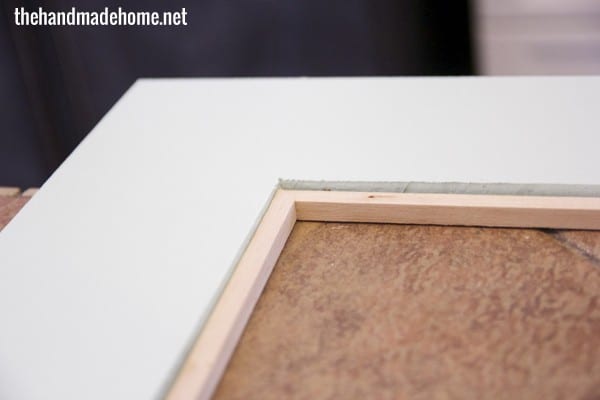
Next cut your 1 x 3’s down to (2) 38 and (2) 47 1/2 inch pieces with both ends having a 45-degree angle cut on them. (This will give you a 1 1/2 inch overlap from the MDF, as you will see in below photos. If you don’t want an overlap, then add 3 inches to your MDF and cardboard sizes.) Later, we will talk about glueing these pieces to the frame.
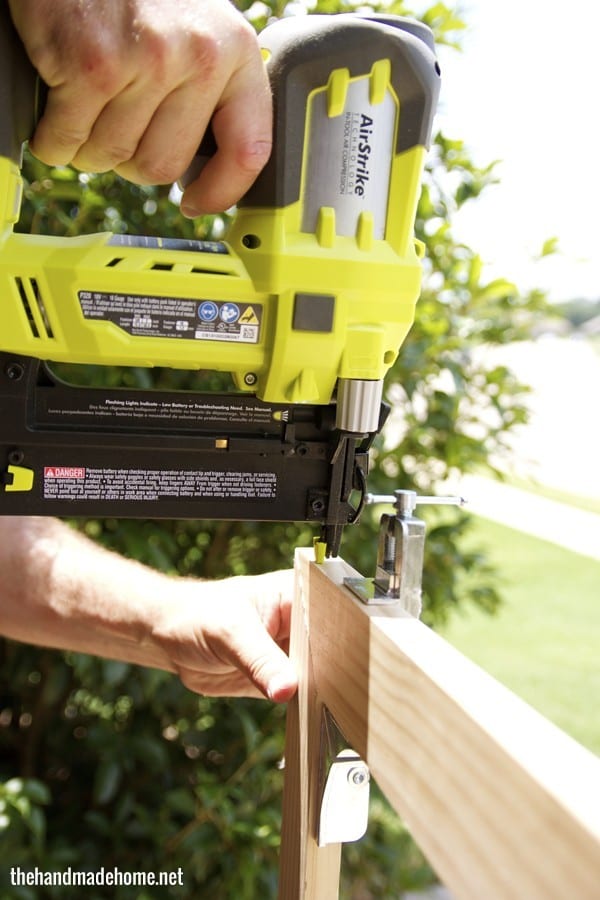
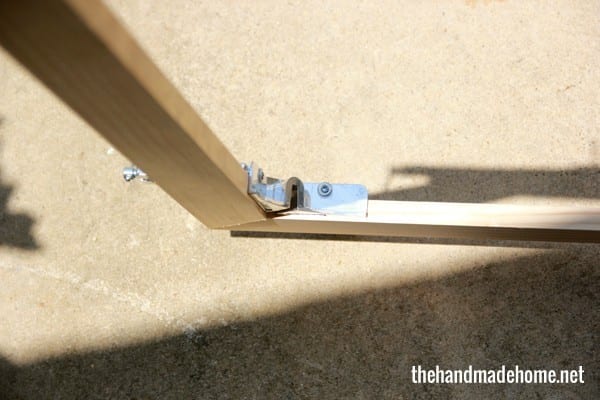
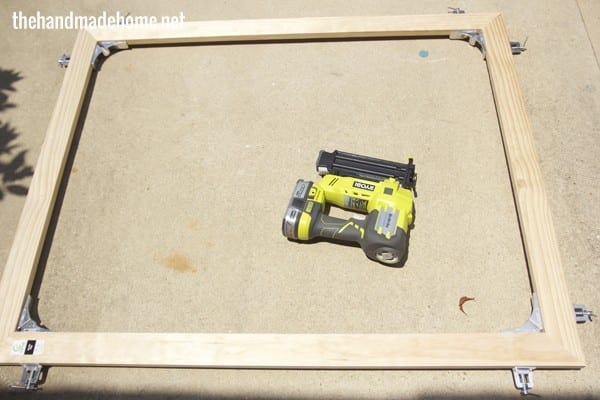
As the photos above show, we choose to use our nail gun and vises to make our outer frame. We just wanted a little extra strength. If you don’t own a nail gun we love our RYOBI. But as we talk about in the book, you can use corner brackets or just simply glue the frame.
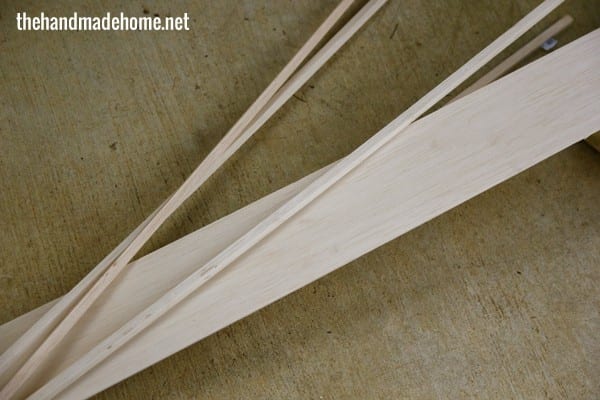
Now cut your balsa wood down to (2) 35 and (2) 26 1/2 inch pieces with both ends having a 45-degree angle cut on them.
(Note: if you don’t buy your plexi glass from a local glass store, then you will probably need to cut it down to the desired size.)
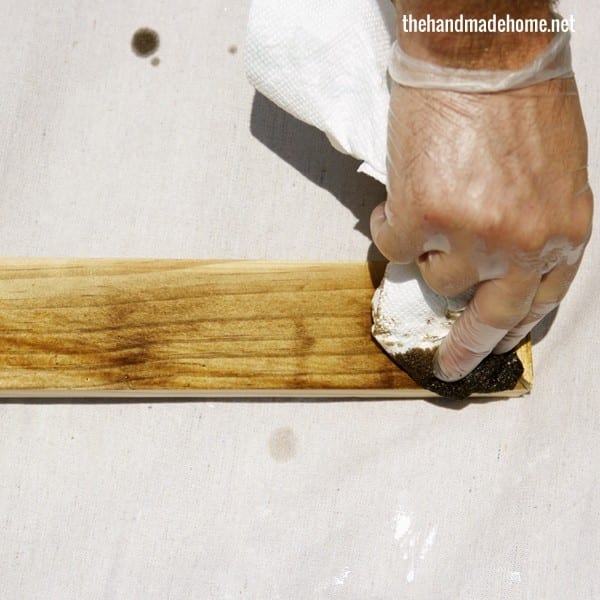
Once all your cuts are made, paint or stain all the pieces to your desired finish.
Putting it together is fairly simple. All you really need is a hot glue gun and a drill.

Start by glueing the balsa wood to the MDF, then center the print on the cardboard and tape it into place from behind. We recommend this over glue, so that the print doesn’t get damaged and you can remove it easily if you ever want to replace the art with something new down the road.
Now place the MDF over the print so that the hole you cut out allows the print to be visible. Use the hot glue to secure these together.
Place the plexi glass on top of the MDF and balsa wood and glue it into place with hot glue.
Next glue the 1 x 8 on top of the plexi glass using hot glue.
{Be careful with your glue, to make sure it can’t be seen once the final piece is in place.}
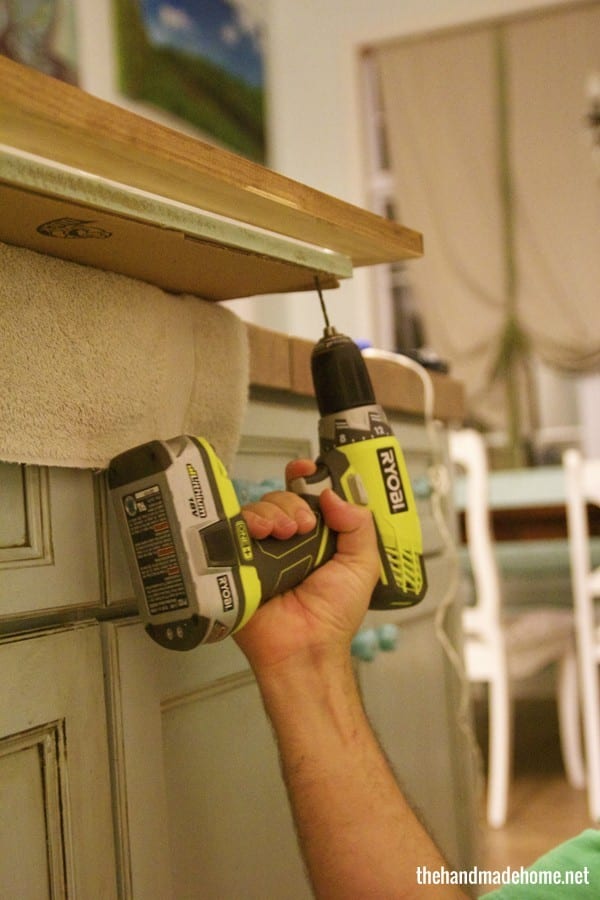
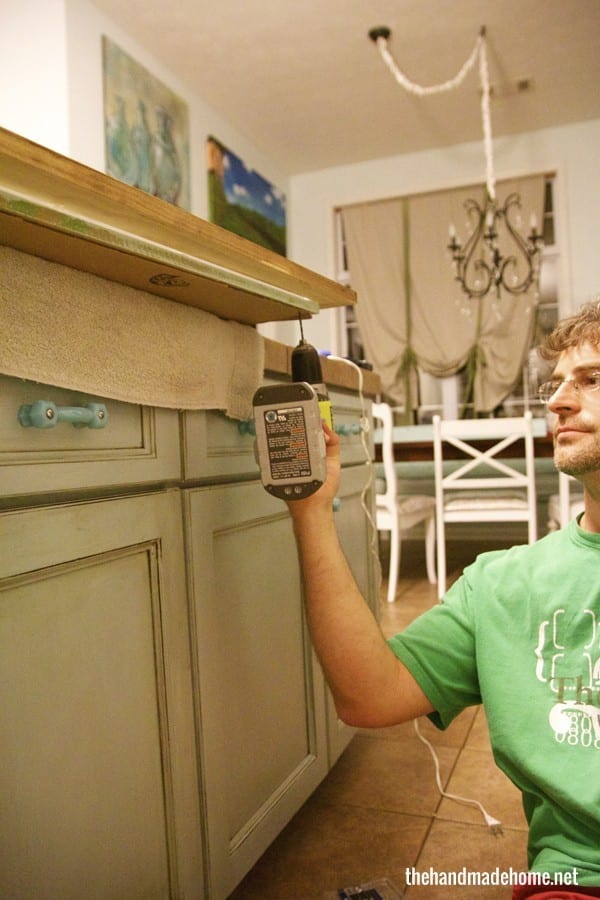
Finally, we moved our piece to our kitchen island so we could work on the corners from behind while making sure they were placed correctly. Because that’s how we roll. Pre-drill (8) holes, two in each corner, but make sure not to go all the way through. This is really just enough to get through the plexi glass. Then screw in your 1 inch screws.

It’s a little bit of elbow grease for a whole lot of wow – Now you are ready to hang your newly created masterpiece {be sure to hang it securely, especially when placed over a bed like this} and show off your handiwork!
Do you guys think you might try this? We’d love to hear! Have an inspired day!
Updated: To see the room reveal + series of tutorials behind it, be sure to click here and check them out! • As always, please read our disclosure policy.

I love this. And just in time! I am ordering that poster, YESTERDAY.
Ooooooo! I was wondering if you would share this. I love it! So trying this, this weekend. I love that art in her room, it’s the perfect touch
Can you tell me where you bought the star decals?
Hi! They’re a stencil – all the details can be found here Hope that helps! ;}