I struggle with balance.
Don’t we all?
And if you’re anything like me…well, you hate the laundry.
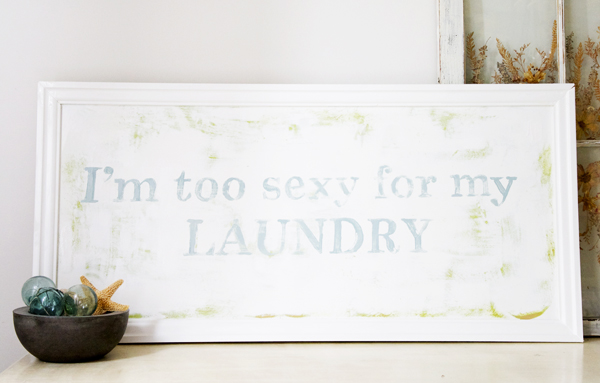
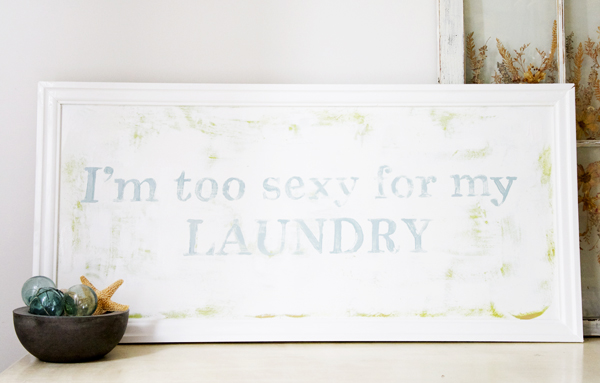
And if I have one vow in life, it’s never to take myself too seriously. So when I walk into that neglected room and see five baskets piled high, just waiting to be folded and put away…I think I’ll enjoy this little number on my wall, reminding me what I truly stand for. 😉
I’ve been itching to make a sign for our laundry room for a while. And because I feel like this simple phrase completely embraces it {the negligent housewife} and it seemed a little edgier than the simple word, for my taste… And, since we’re knocking out that laundry room this weekend {don’t worry-kitchen coming soon-fingers crossed} I decided now was the perfect opportunity to make this lil piece for our soon-to-be-revamped space.
Want to know how I made it?
Here’s what you’ll need:
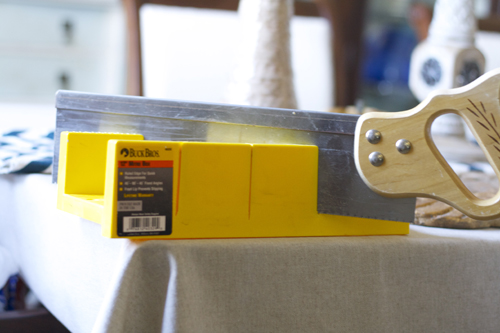
• a mitre box {if you don’t own one of these, you can thank me later}
• a basic saw
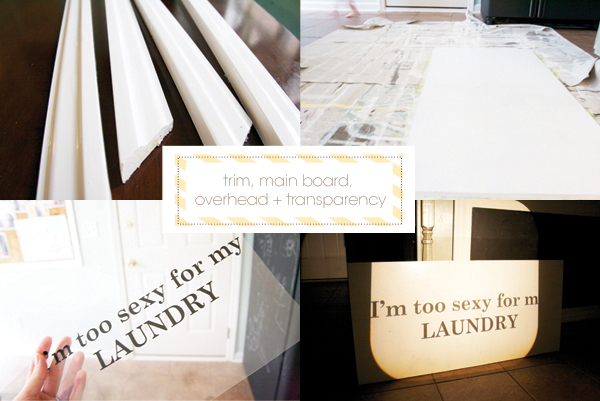
• trim of your choice + mdf of your choice
• glue gun + wood filler
• paint of your choice
• sometimes I freehand, but this time…a projector and transparency with font of choice
• sander
• a pencil + some measuring tape
• paintbrushes {small and large}
1. Cut your MDF board to size {mine was a hearty 41.5″ x 20″}
2. Cut your trim to match, with the miter box, so you can mount it on top of the MDF, giving it a framed look {regarding cutting: cut it at an angle after measuring and marking, and place all the pieces on top, so that you can see how they will fit. If they’re not perfect, no worries. We’ll get to that.}
3. Get to painting! I placed a green coat first, on the MDF, and then went over it with my favorite new white {chantilly lace} I did the frame in the white, as well.
4. After both are dry, place the board upright, and break out your projector screen. {If you haven’t yet read about my personal beliefs in the powers of the projector screen, feel free to clickety click on over and read all about it.}
5. Hold it steady, and once you have the projector in the right position {make sure that type is straight} start to trace {I just used a pencil}
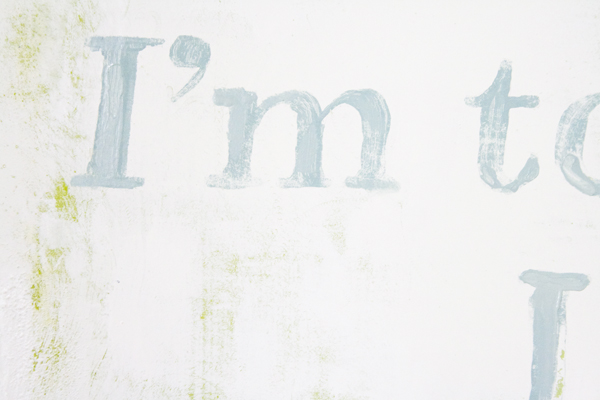
6. Once you have those letters traced, take your paint and fill it in with a paintbrush.
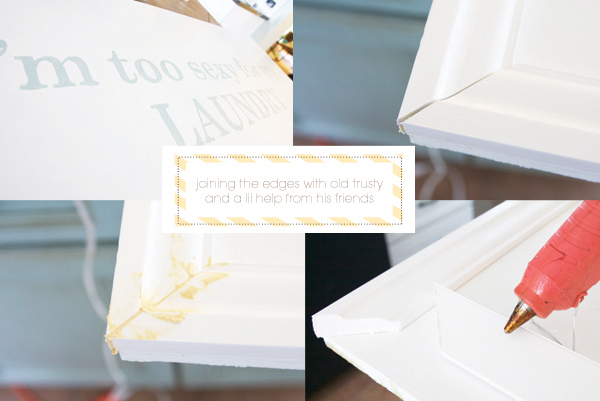
7. While those are drying, I took out the glue gun, and placed my previously cut trim. But the corners weren’t perfect, so I broke out the wood filler, and simply filled it in with my fingers. I then went back over it with a wet wipe, and when it was dry, a fresh coat of paint in the corners.
Then for the fun part…
8. I busted out the sander.
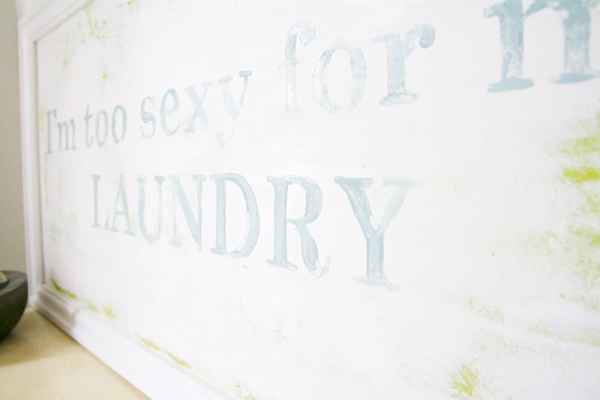
This was experimental, as the green I initially used, began to show through. If it was a bit much, no worries…I simply went back over it with my white in small areas, to eliminate the “obviously sanded” areas, and give it a little more of a time-worn feel. Which is a funny kind of juxtaposition for me…a vintage laundry sign with 80’s inspired musical lyrics, of course.
Play with it until you’re happy, but there you have it: a simple little piece with instant character, and a reality check…when I start to freak out about that never ending pile in the laundry room…
See it in our laundry room with the rest of our spaces, here.
If you try this lil project, be sure to let me know! I’d love to see!


HOW CLEVER! I am sooo way too sexy for my laundry. I am also soooo making this!
HIGH. LARIOUS!!!!
You are so talented Smish-Smash-Was-Taking-A-Bath.
(yeah…new nick.)
🙂
That's hilarious! :)…and I love it!
Absolutely adorable. I LOVE this project.
OK- I love this! I am your newest follower!
Very funny – look forward to seeing the whole room!
That is an awesome idea! I love the sign. I've been wanting to spice up our boring laundry room and I think this is just the way to do it!
I may have to seriously copy this basic idea and do this. I still haven’t braved up enough to try putting any framing or trim around anything yet, but I LOVE the concept! Awesome!
Alright! I did it! (Well… sorta.) I loved it so much, I had to try one of my own!
http://dojocrafting.blogspot.com/2011/04/and-i-shake-my-basket-on-catwalk.html
love it!