Wallpaper. It’s made a comeback.
It’s been on the updraft for some time. I totally just used that phrase incorrectly, because now I’m picturing skydiving wallpaper… but I think you get the gist.
If you’ve never used it before to literally deck your walls, then you may be a little hesitant to try it. I know I would be. So today, we’re here with a fun idea to ease you in to the whole craze, with two great smaller projects you can make from the leftovers afterwards.
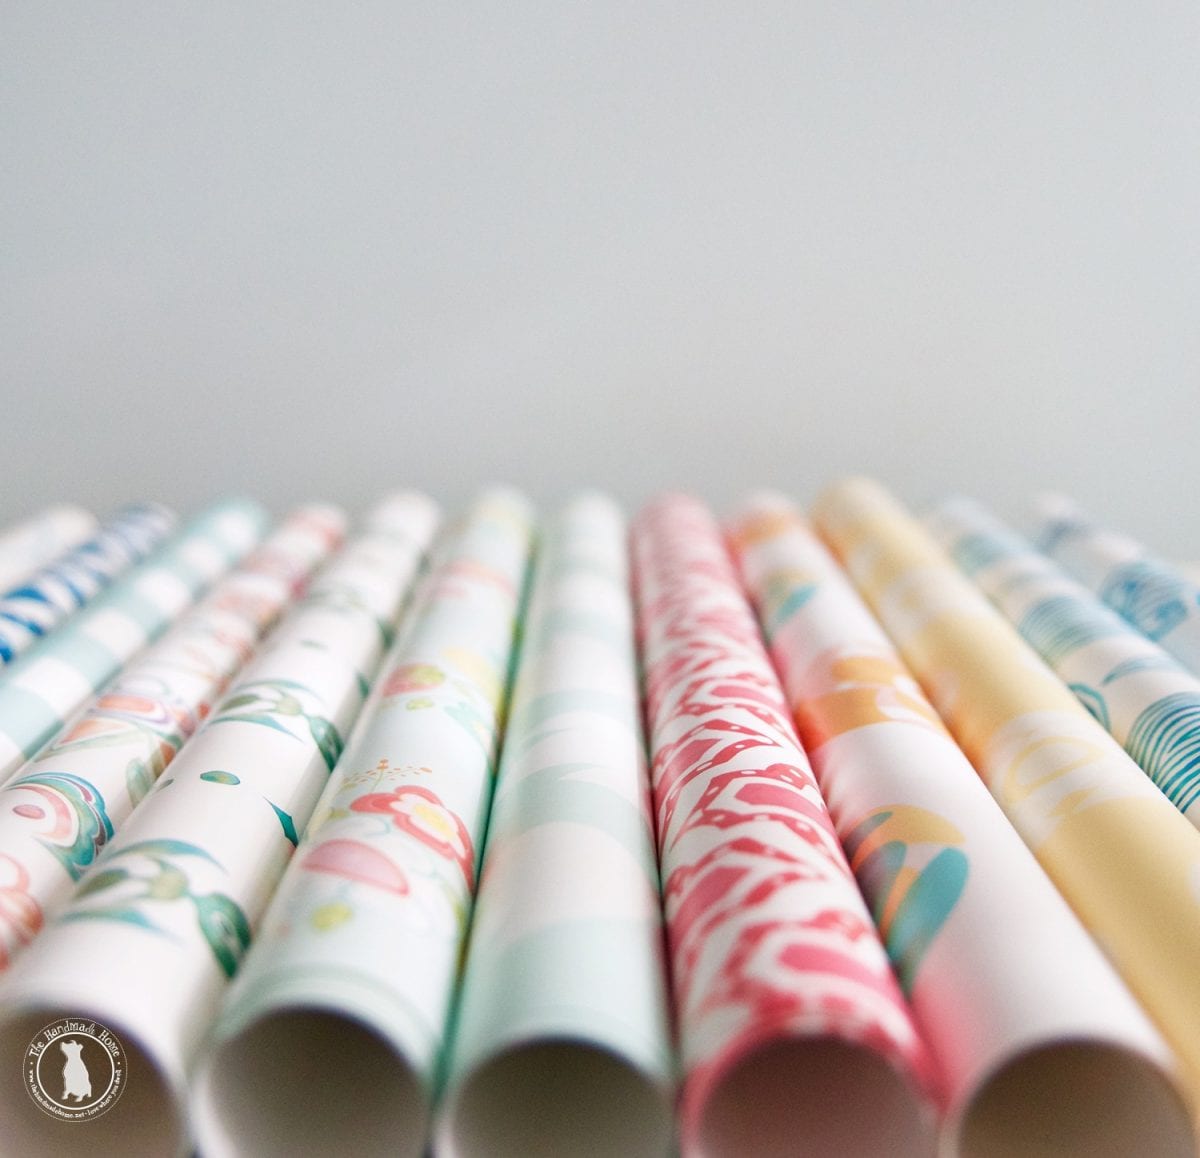
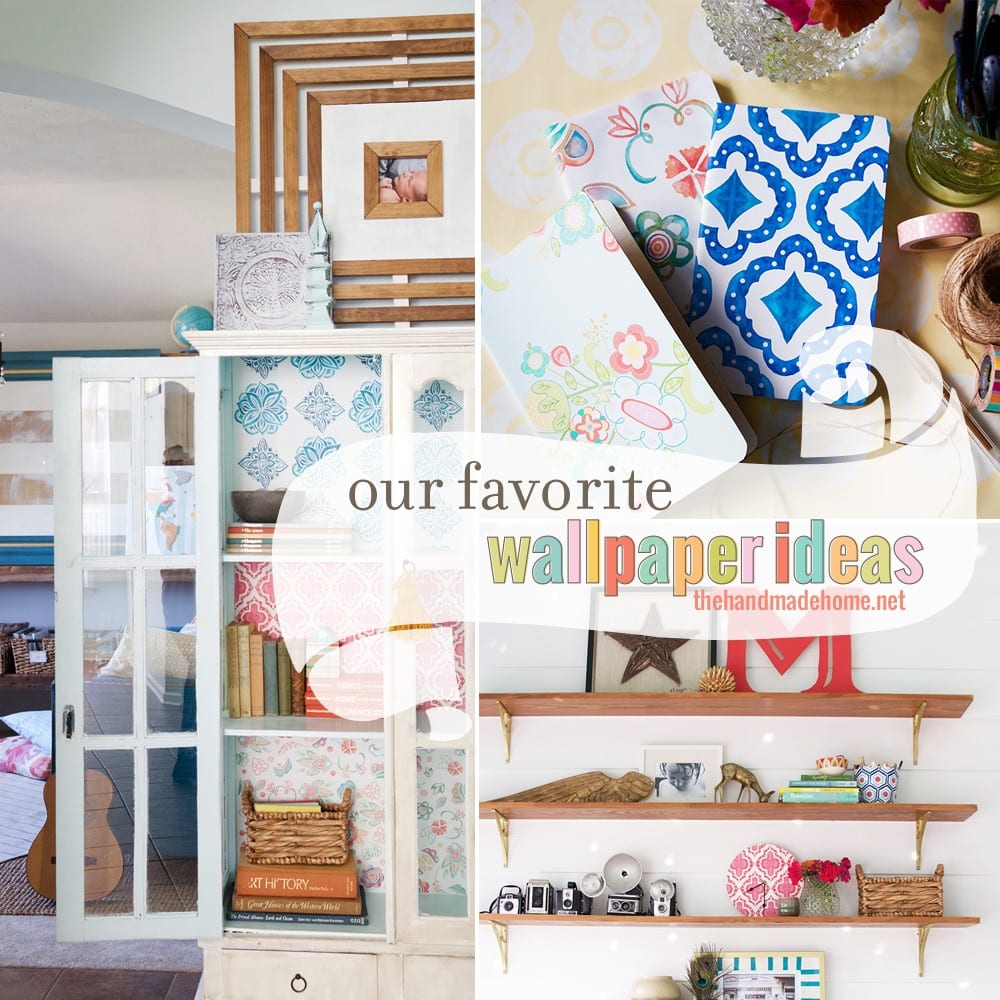
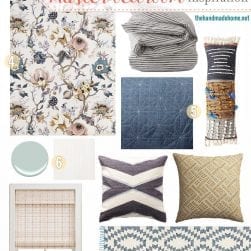
We were really excited to release some of our first patterns, and they make a great, colorful addition to any space in fun ways. Whether it’s one wall for an impact, or the entire room. Did you know that there are a bazillion other ways to use these fun patterns we carry in our studio, than dedicating it to an entire wall? We say if you’re hesitant, start small to add a fun impact in little ways. And today, we’re sharing a few how tos for some fun ideas. So without further ado, a few of our favorite wallpaper ideas.
Put a back on it!
We’ve loved this idea for years, and it’s easy to switch out when you’re tired of it. There’s really so much you can do with wallpaper and furniture, from under glass tops to lining the insides of drawers for a colorful surprise.
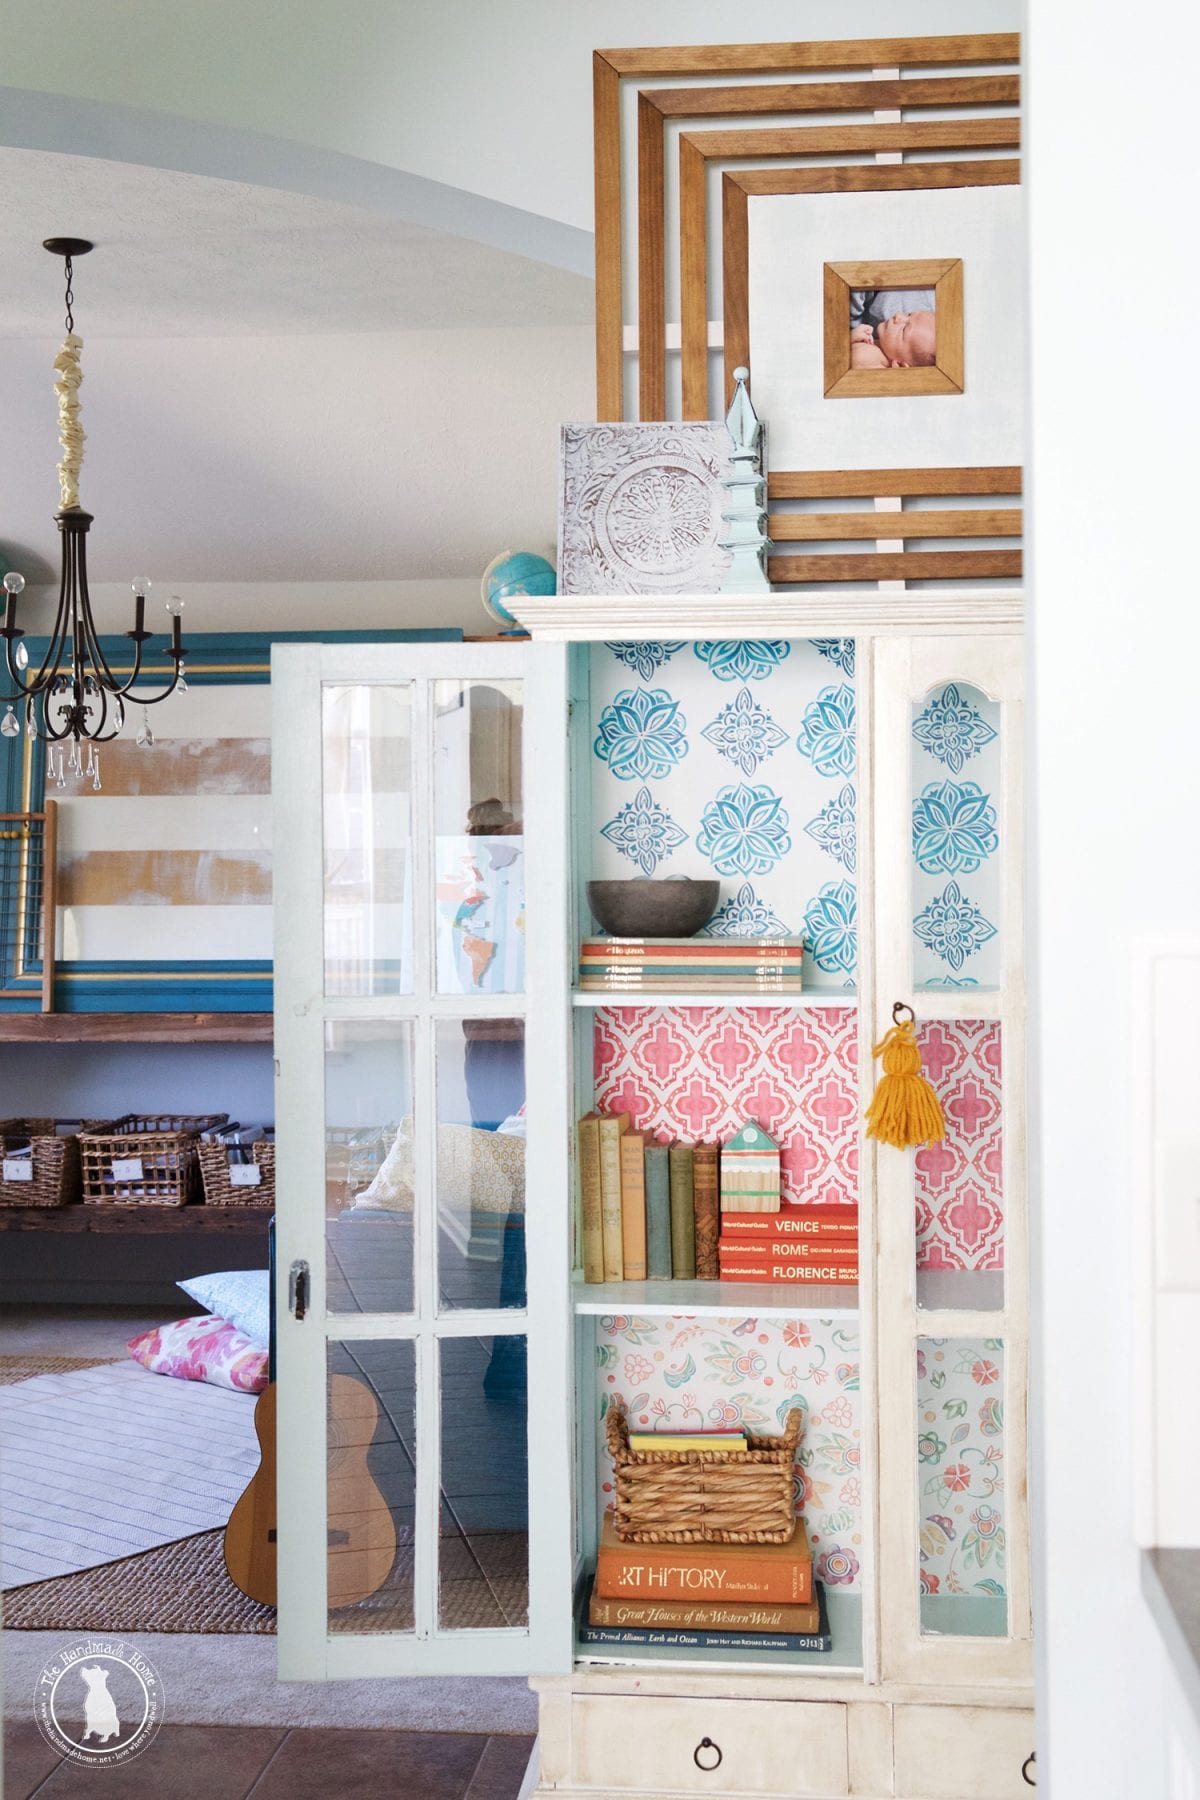
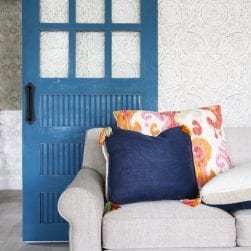
So we decided to deck out one of our fave pieces in our own home, to show you what a fun look it can give to liven up any piece.
We even mixed it up a bit with three of our fave patterns for a colorful vibe since it’s what we use to store the kiddos’ books.
You can follow the directions on your wallpaper {ours adheres easily with a little water and comes with clear directions} or tack it up with a spot of glue or tape on the back, for a temporary fix. Both are totally removable.
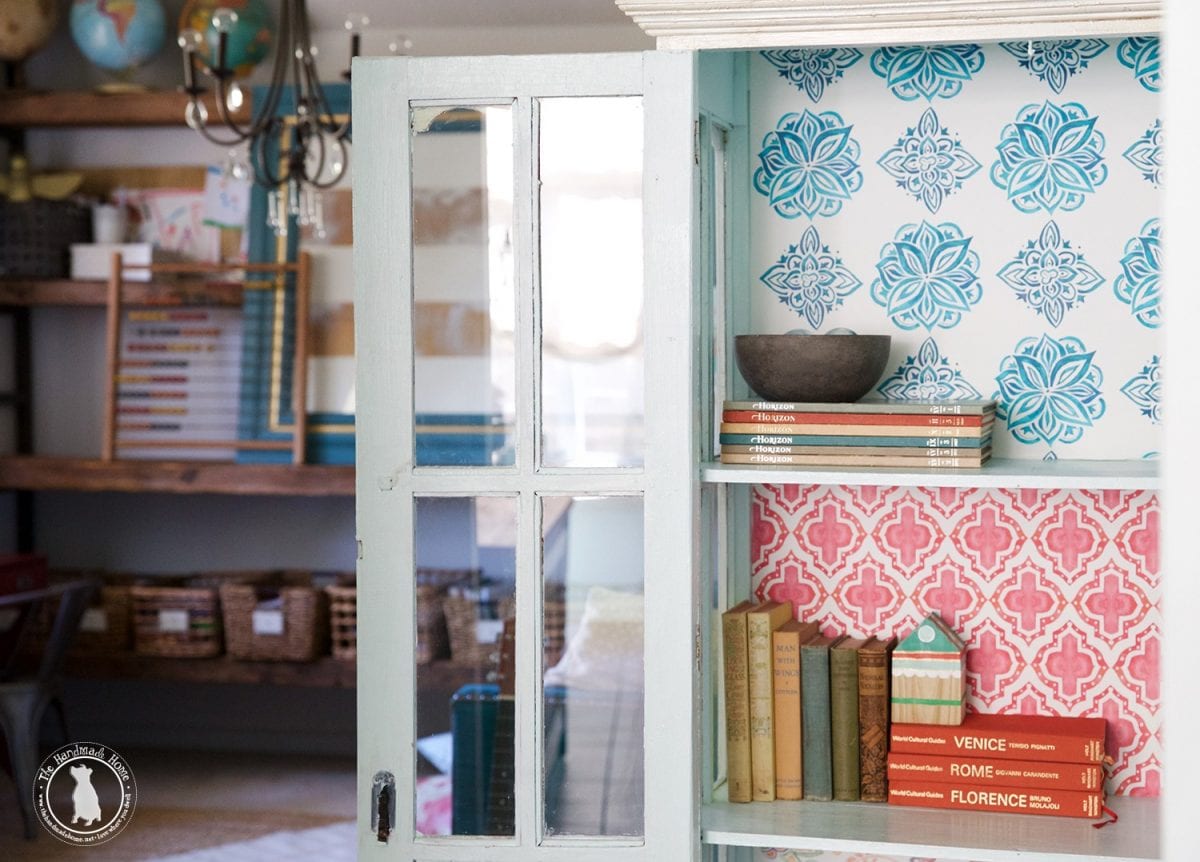
Since our back on this particular piece of furniture is not removable from behind and it’s an older piece with uneven edges, we simply placed the wallpaper on the back, and creased it in the places where we needed to cut. Then we wet the back, and smoothed it on from the top, down to eliminate uneven edges and air bubbles. Using an X-Acto knife, we cut the bottom and smoothed as we went. You’ll need two pair of hands for this since it’s like working on mini walls in a confined space, but it only takes a few minutes for each section.
Tada! A whole new look.
That piece went from purdy to WOWZA in just a few minutes of work.
And with the leftovers…
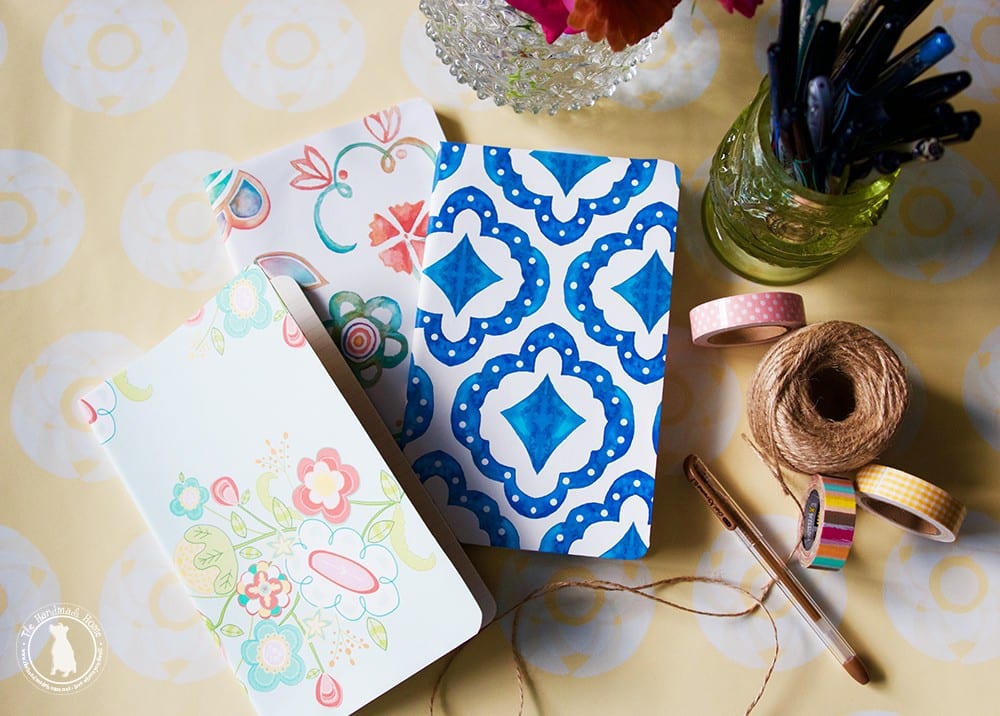
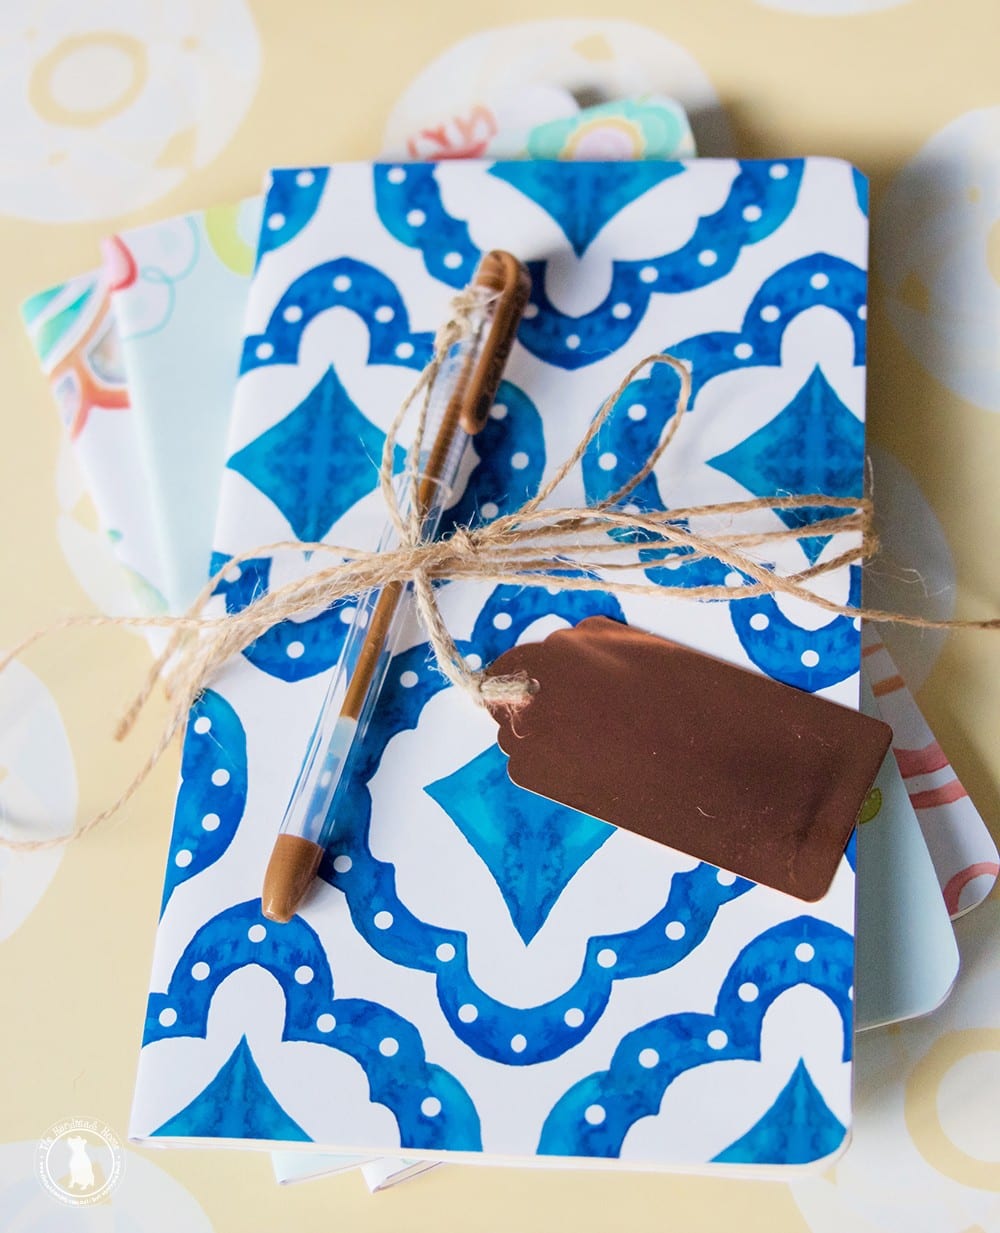
These fun colorful journals!
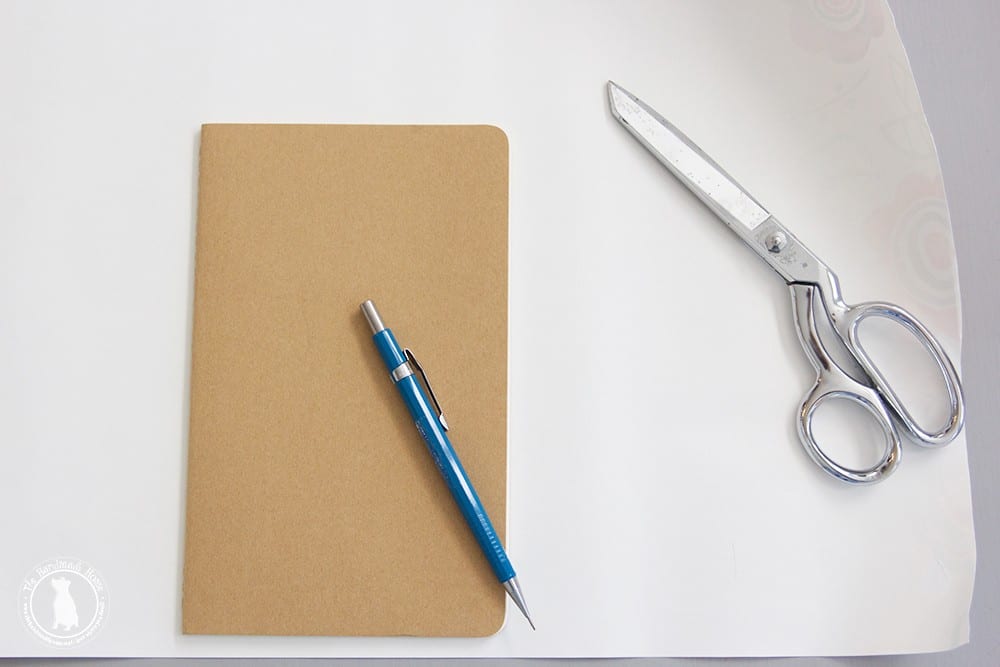
What you’ll need:
• Journals of your picking. {We recommend a lighter color since the paper will be covering the outside} • Wallpaper • pencil • Water + sponge • X-Acto or scissors

Remember the olden days when you would cover your books for school? This is the cooler, way easier version of that because a. fun patterns b. no wrapping around the tricky corners involved.
Lay your journal face down for the first side, and trace it. We recommend you open it up, and allow plenty of room on each side to guesstimate before cutting. This allows room for the spine, and keeps it from getting too tight on the cover.
Wet one side of the wallpaper, and allow it to sit for a few moments to activate the adhesive. Then place one side of the journal on top. Flip it over and smooth out any air bubbles. Then wet the other side of the wallpaper. Pull the paper up around the journal. Again, this is to allow it to adjust so that there is no tight pulling when you’re done. {It allows room for the spine}
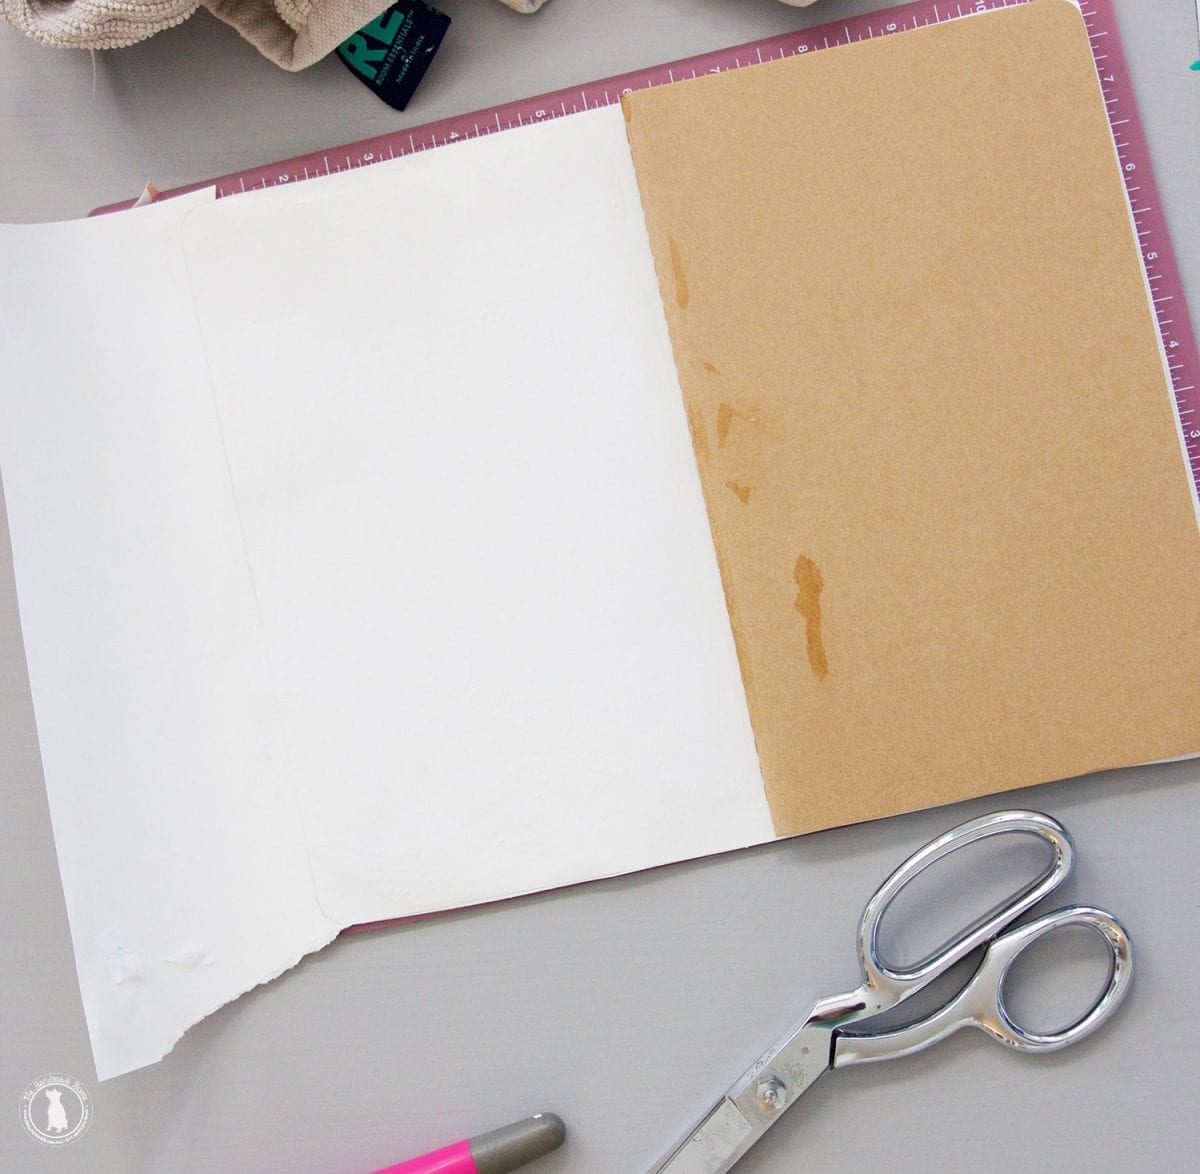
Carefully smooth out any remaining air bubbles, and allow time for it to dry. When it’s dry, open it up again, and trim off the edges with an X-Acto blade or scissors.
This wallpaper makes it easy to readjust if you need to. In case of booboos, simply remove it while it’s still wet and try again.
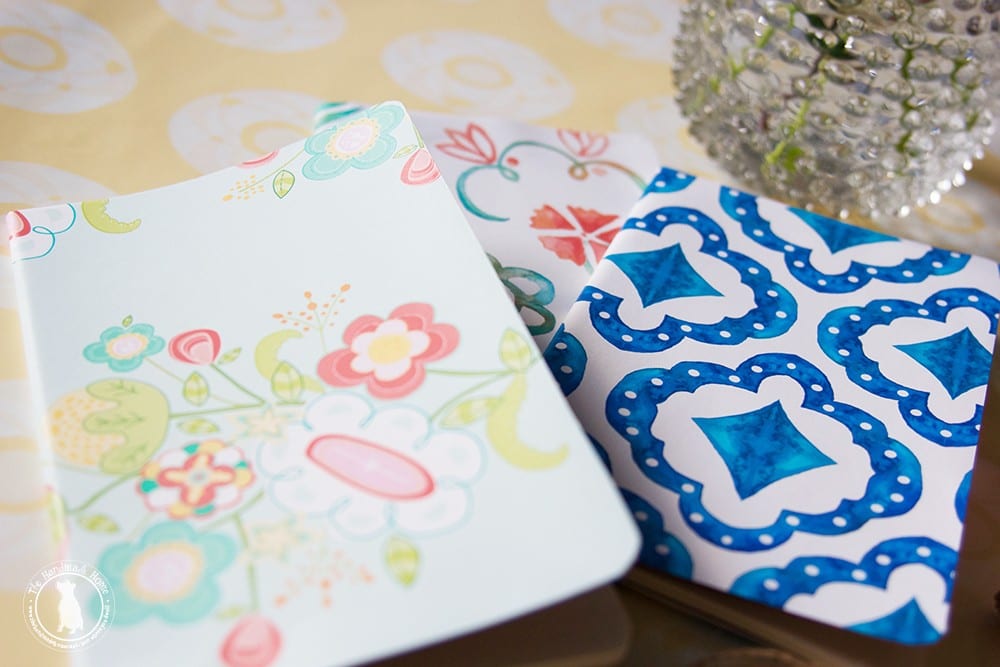
Tada! A pretty little set of handmade journals with amazing patterns… if we do say so ourselves.
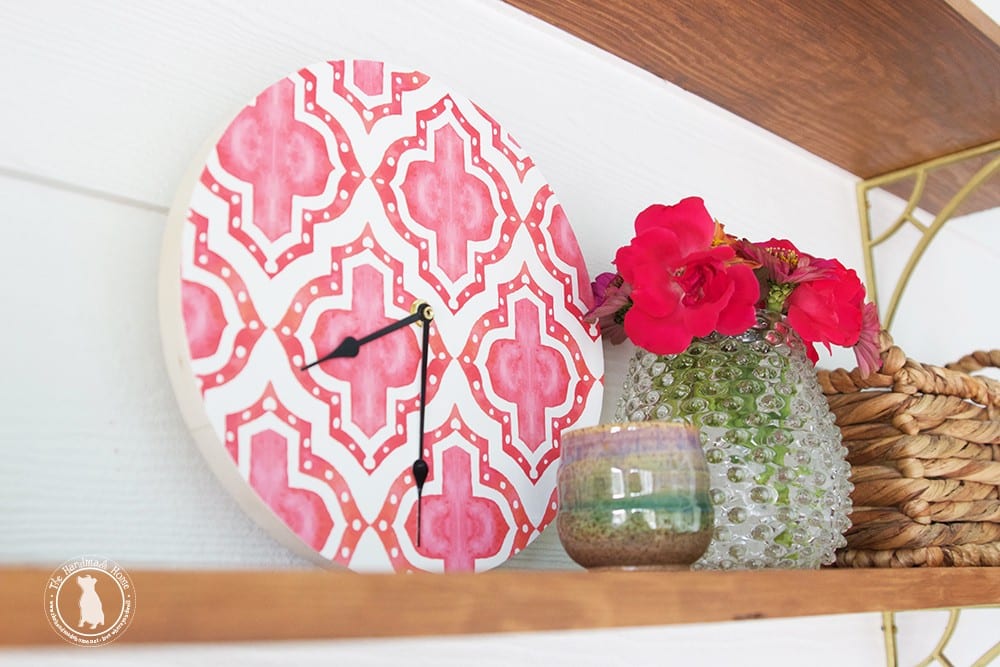
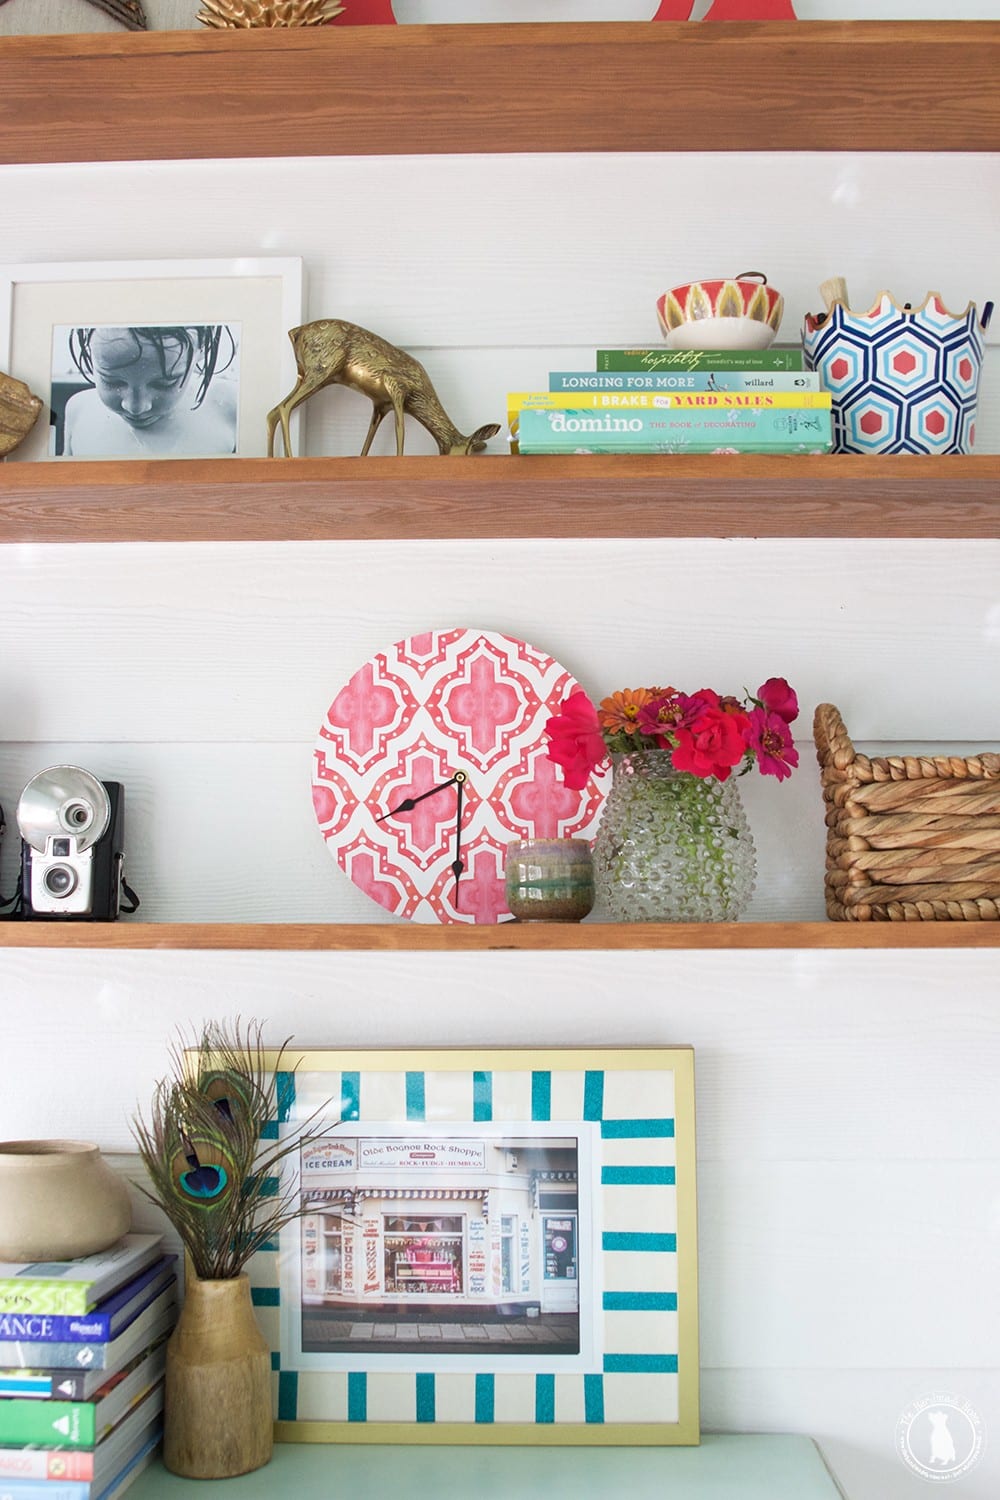
A handmade Clock!
Because who wouldn’t want this pretty little deal sitting in their space?

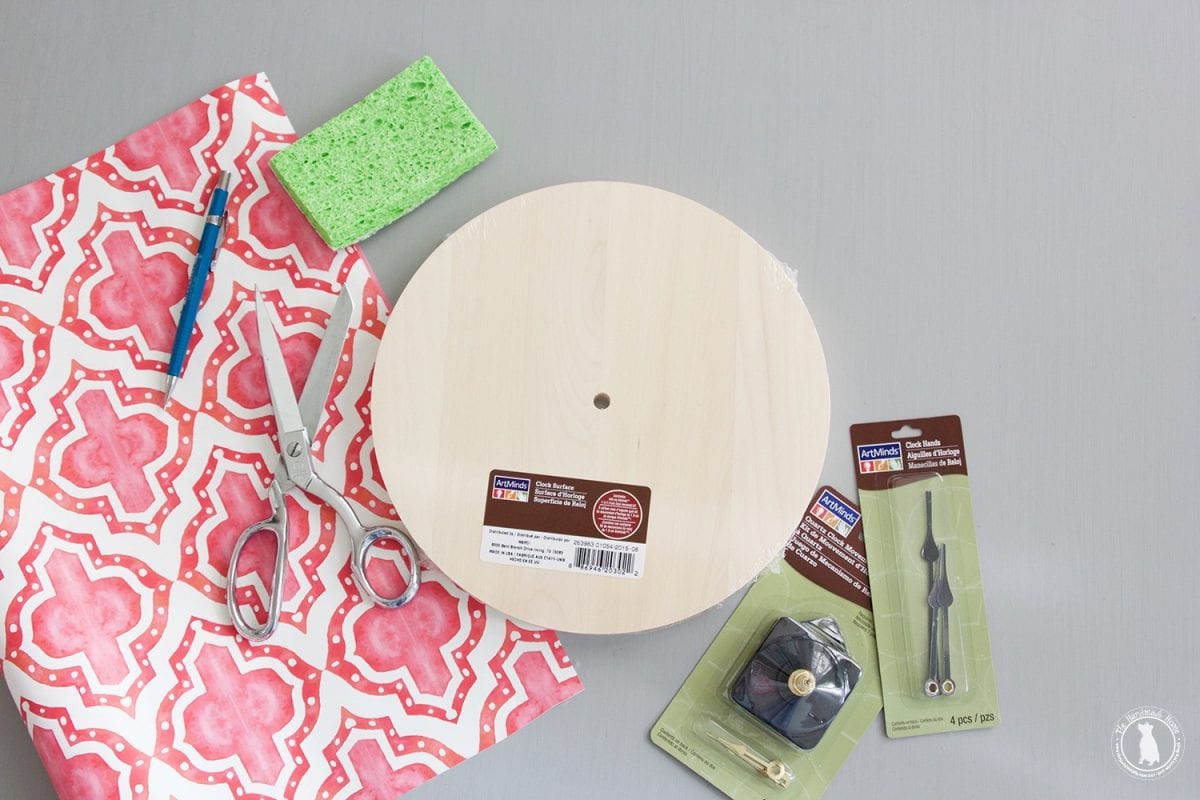
Here’s what you’ll need:
• Wallpaper • A round piece of wood and clock set from your local craft store {These are so easy they require no tools whatsoever-the hole is already drilled and everything!} • Pencil + Scissors or an X-Acto blade • Sponge + water
Flip your wallpaper over face down, and trace the shape of the clock on the back. Carefully cut out the shape.
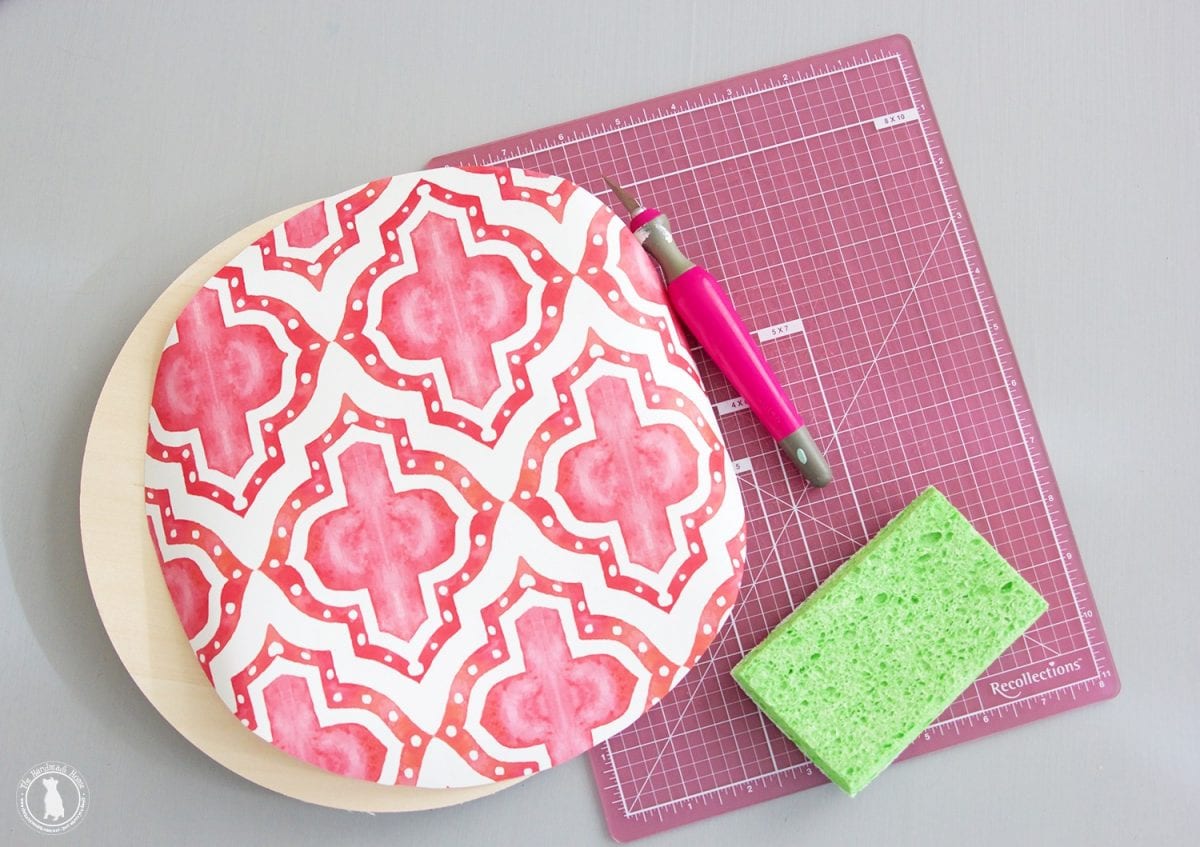
Wetting it with a sponge, allow the adhesive to activate for a few moments, then flip the paper over, and smooth it over on top of the clock. Allow a little smoothing time to make way for air bubbles. Flip the clock back over once allowing it to dry, and carefully trim off any overlapping.
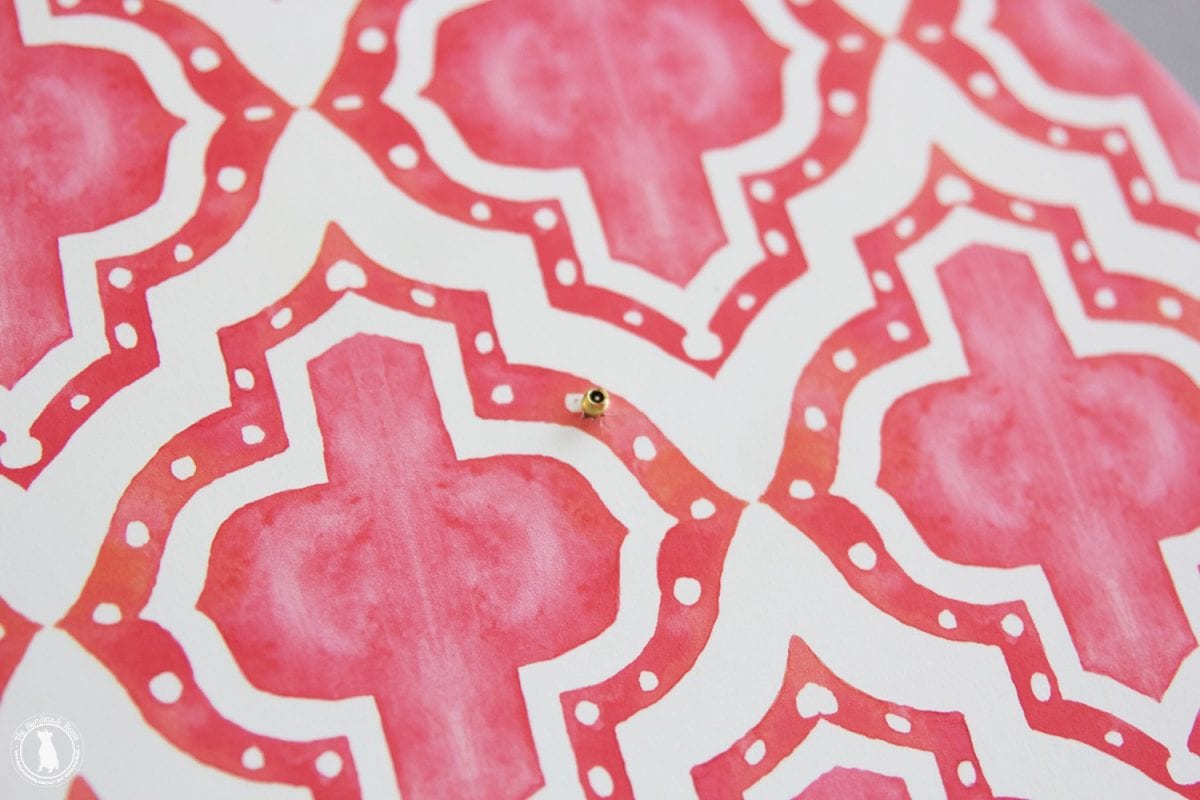
Carefully find the hole in the middle of your wooden piece, and make a few little slices to place the back of your clock piece in. Following the directions on your kit, place your clock hands on top, and batteries in the piece.
Tada! You’re telling time in style.
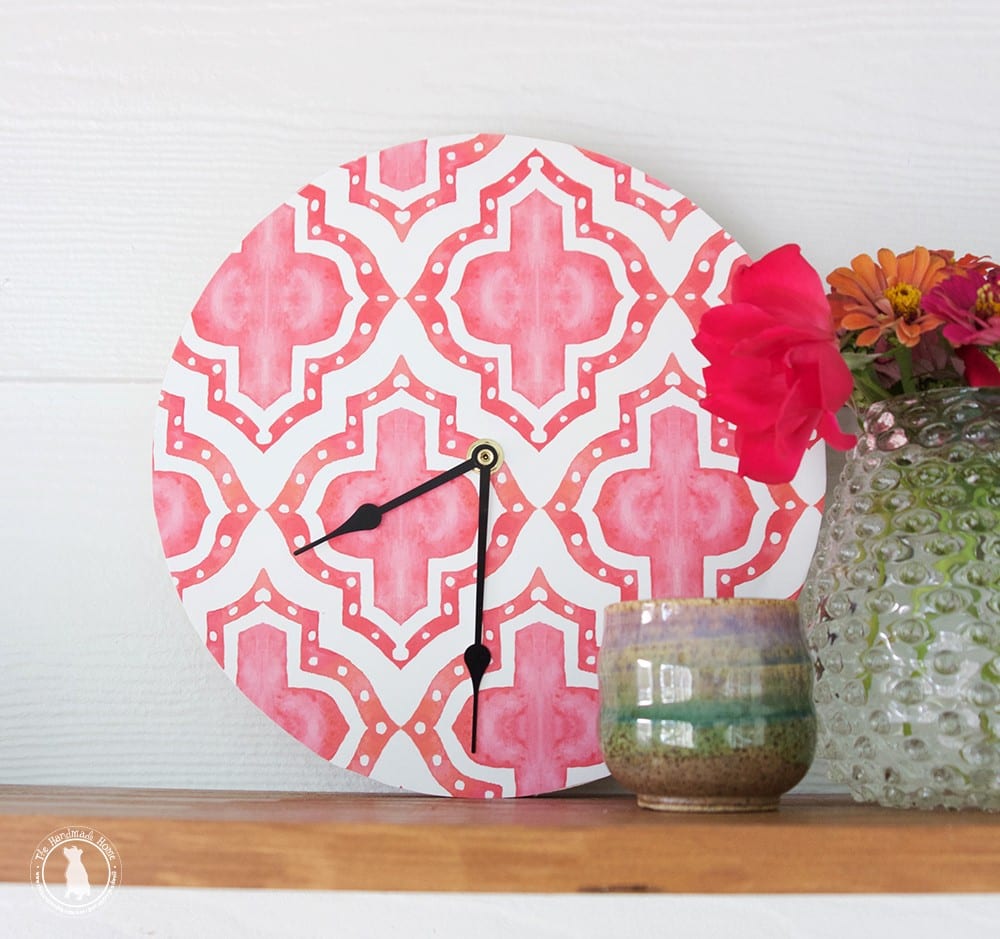
Lots of style. Such a fun little project for those leftover pieces, or perfect for a handmade gift!
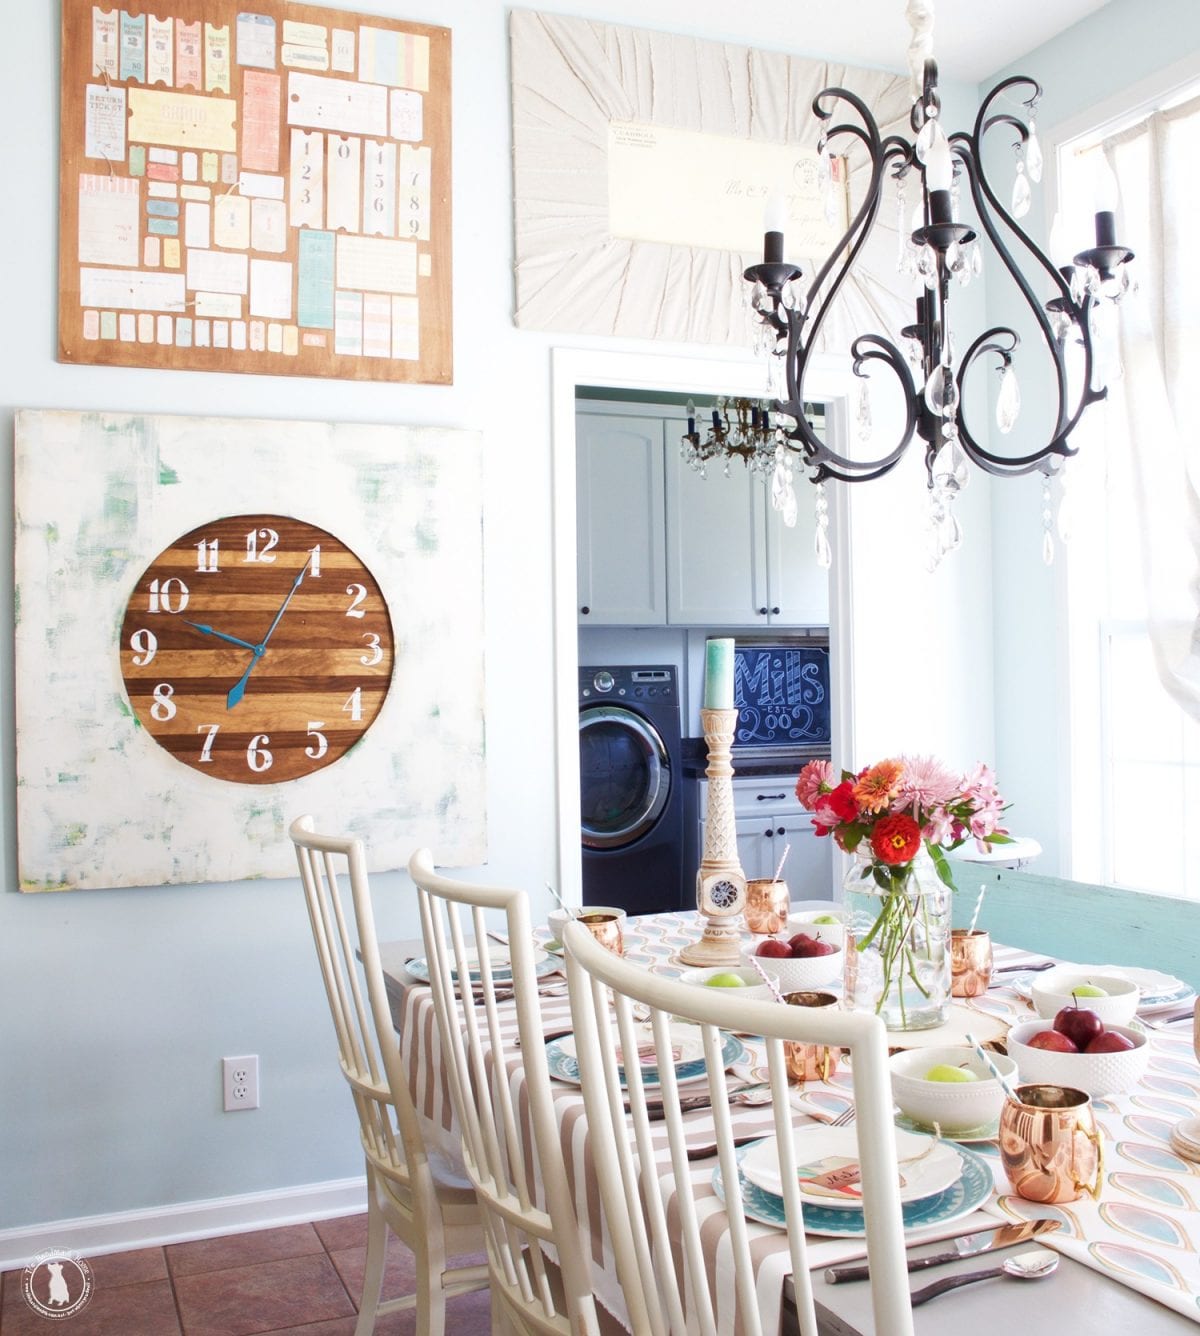
Pssssst – speaking of clocks… because we get a lot of questions about this one: Be sure to check out this big clock how to in our book, read more about them here – available for purchase here in the studio. For something large and in charge!
We hope you enjoyed our little wallpaper round up. Be sure to check out all our patterns in the studio!
Have an inspired day!

Absolutely LOVE the idea of using wallpaper as backing on bookcases, clocks, etc. Actually, probably the journals most of all. Wallpaper always seems to ‘busy’ for a full wall, but as an accent, it’s great.
Need to turn off the Bloglovin’ banner so I can share this with my list and Stumble it. 🙂
Thanks, lady! Yes, I think we would use it on an accent wall, or with board and batten half way, or in a smaller area for a fun impact when we get a chance. Bookcases and furniture accents are so fun! Have a wonderful Wednesday!
Ah, this brings back memories of my thrifty mom covering my schoolbooks with leftover wallpaper (minus wetting and permanently attaching it) They were the “lovely” pastel blues/salmon colors of the 80s! Or my friend and I deciding to “wallpaper” the entire inside of our locker with coordinating sample squares from the local hardware store. Oh, we thought we were so cool….If we had your designs at our disposal back then, we might have actually been cool instead of just thinking we were. Great looks! But then everything you do has a touch of magic to it….