
how to build a privacy wall
We loved sharing our back yard makeover {part 1!} and the how to for our brick pavers.
We absolutely adore the final outcome, and thought we’d share how to build a privacy wall today!
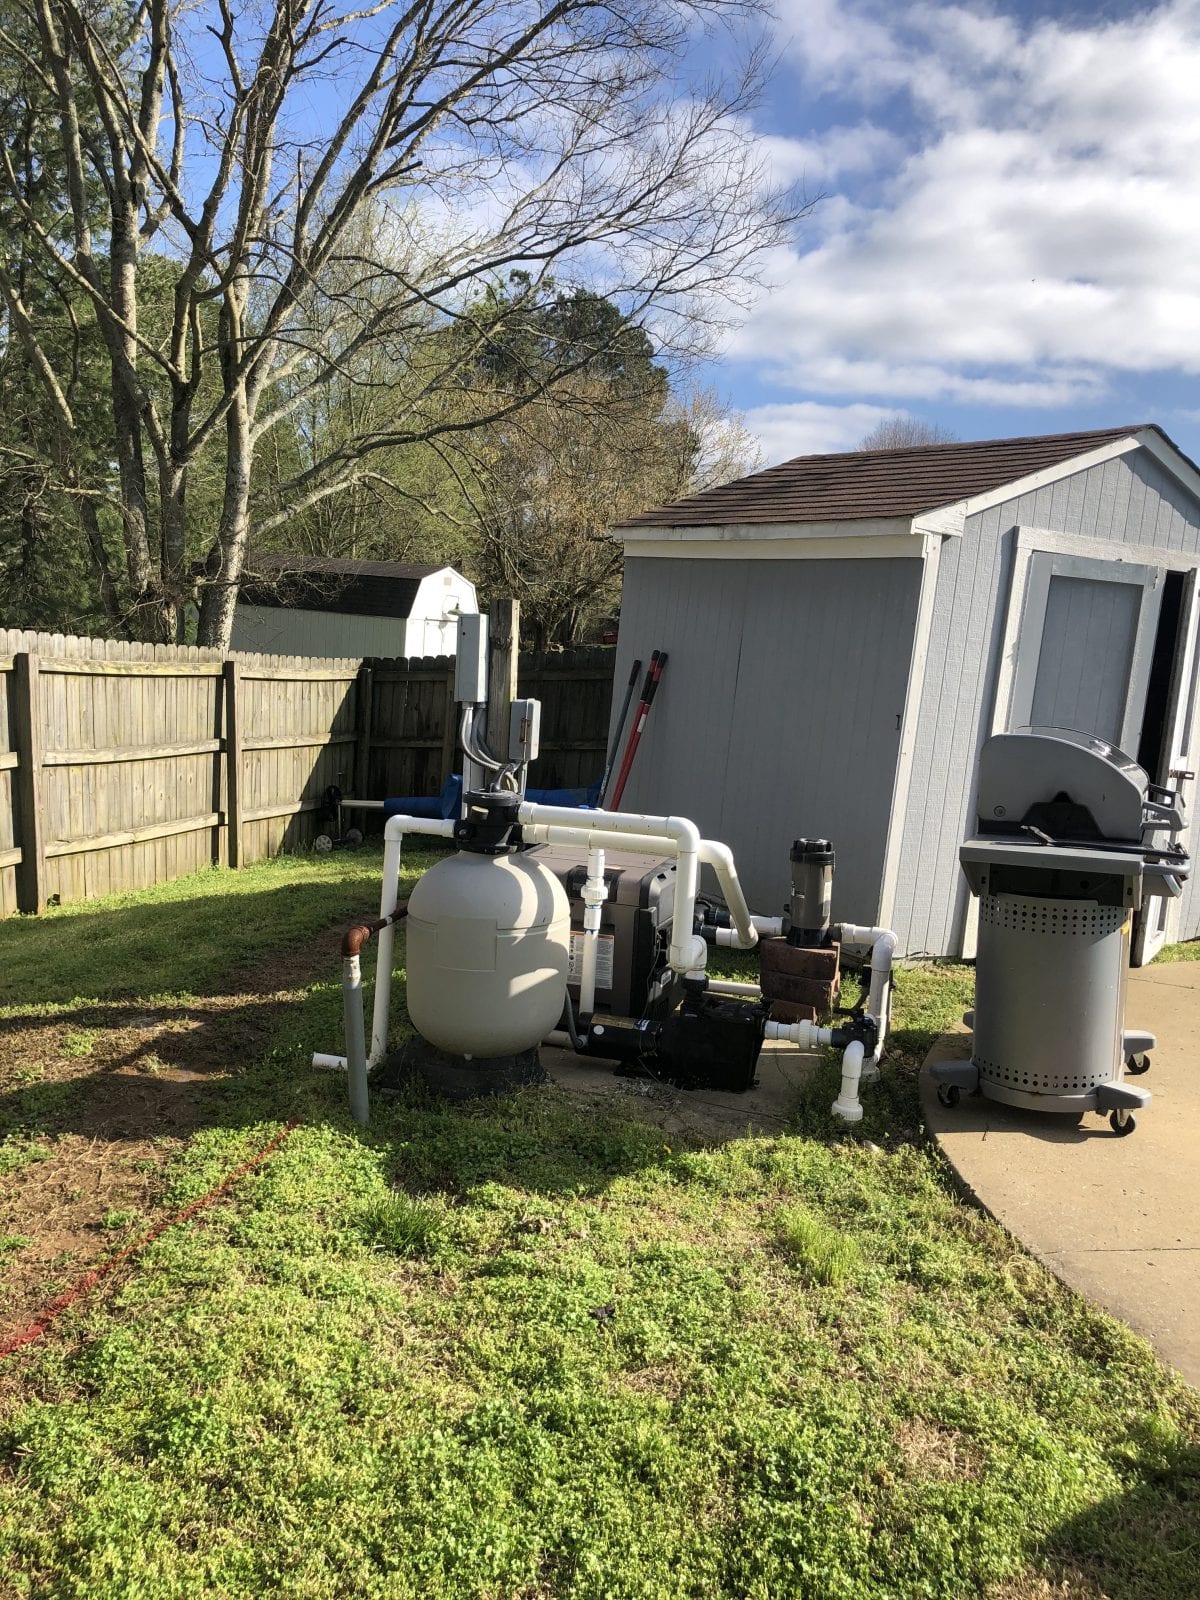
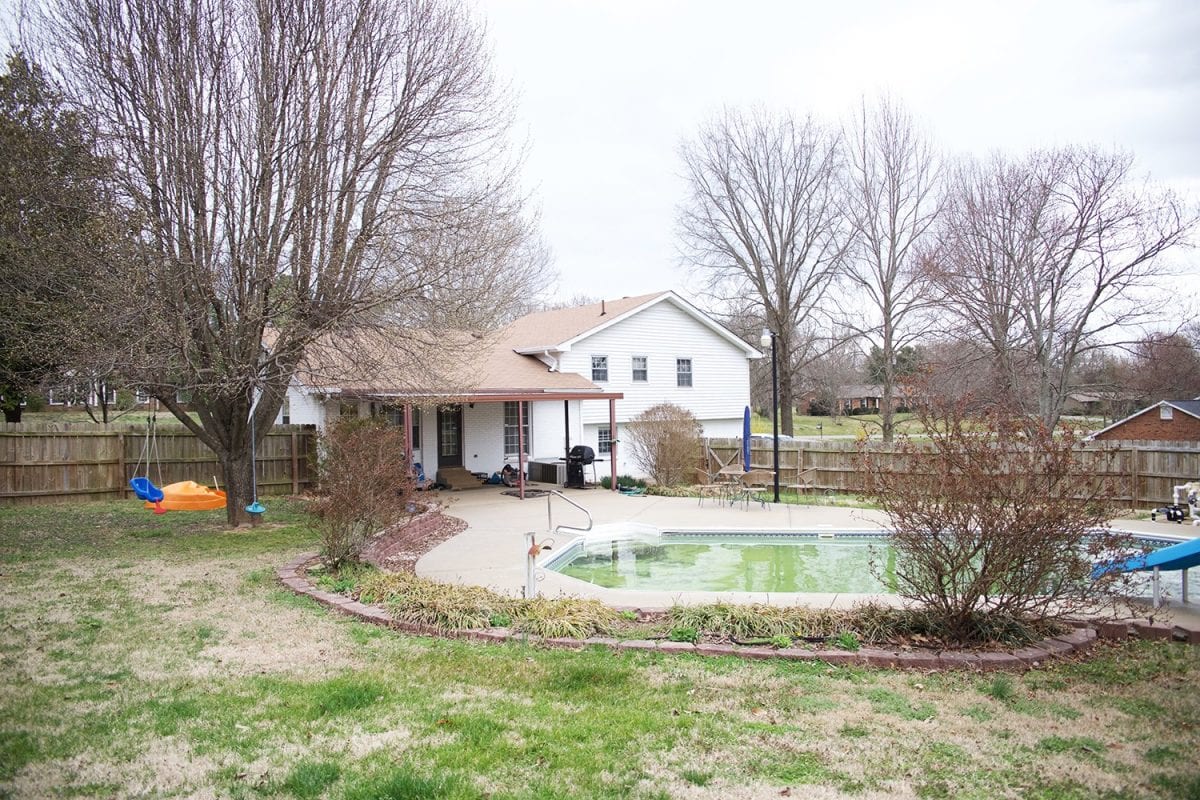
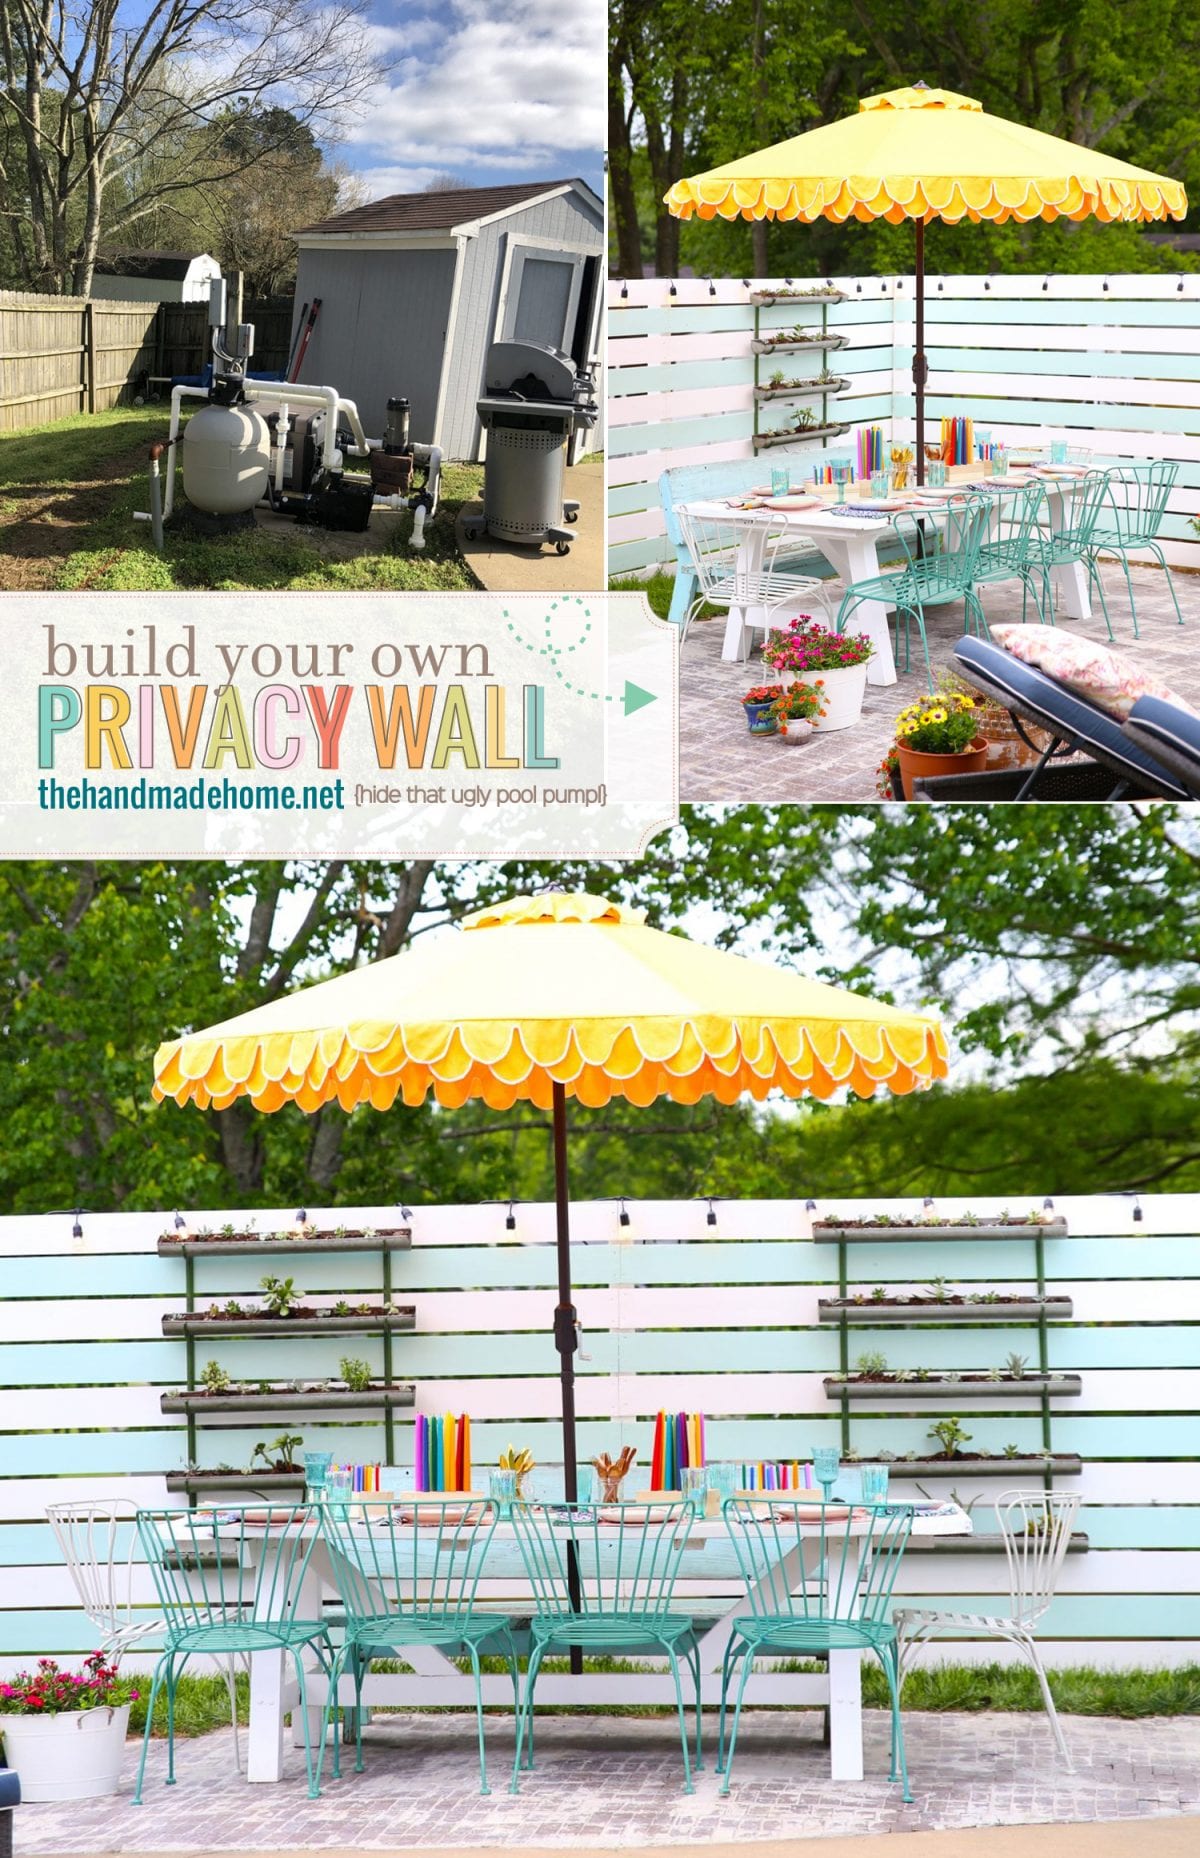
If you’ve been checking in on us, then you know that once upon a time we would look out our window and see this. A horrible pump area {even though we’d restored the entire pool area, it would take thousands dollars more to relocate (no thanks)} and this delightful purple shed. {Stay tuned for removal of said purple shed, we can’t wait.}
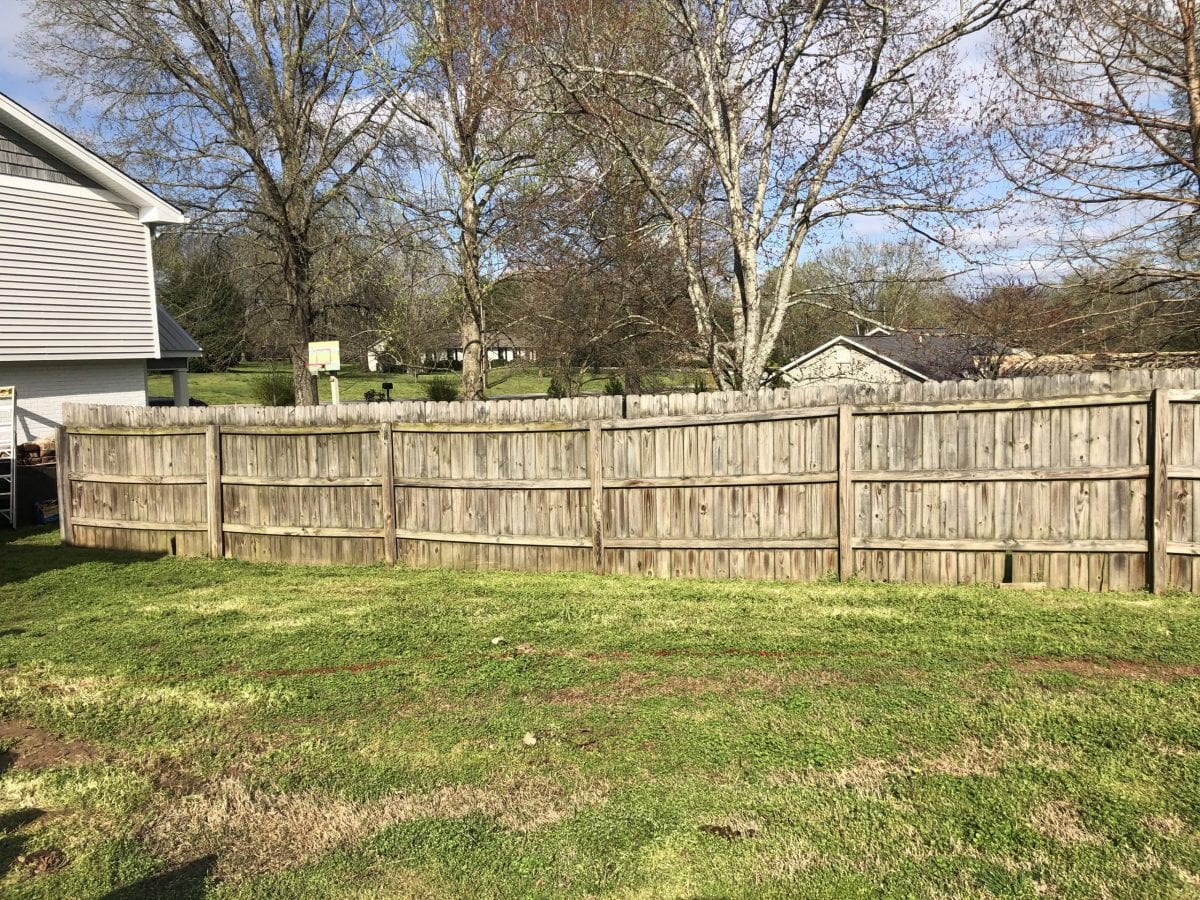
This entire situation has been a big fat, “If You Give a Mouse a Cookie,” conundrum.
Sometimes, the best projects are. We’ve expanded our fence…
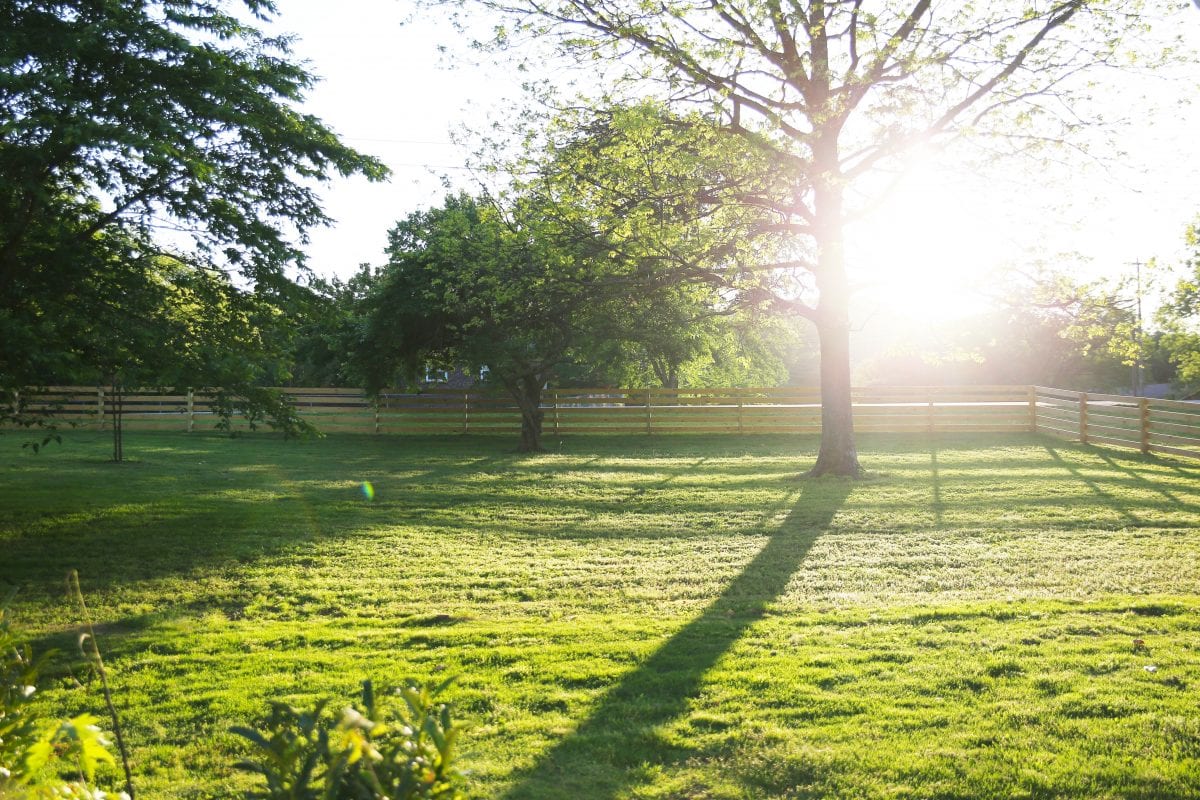
And we love the new look of everything. We promise there’s a how-to coming for that soon, too. Our friends have been asking us if we plan to paint it – and yes! Sherwin Williams Porpoise will be the color.
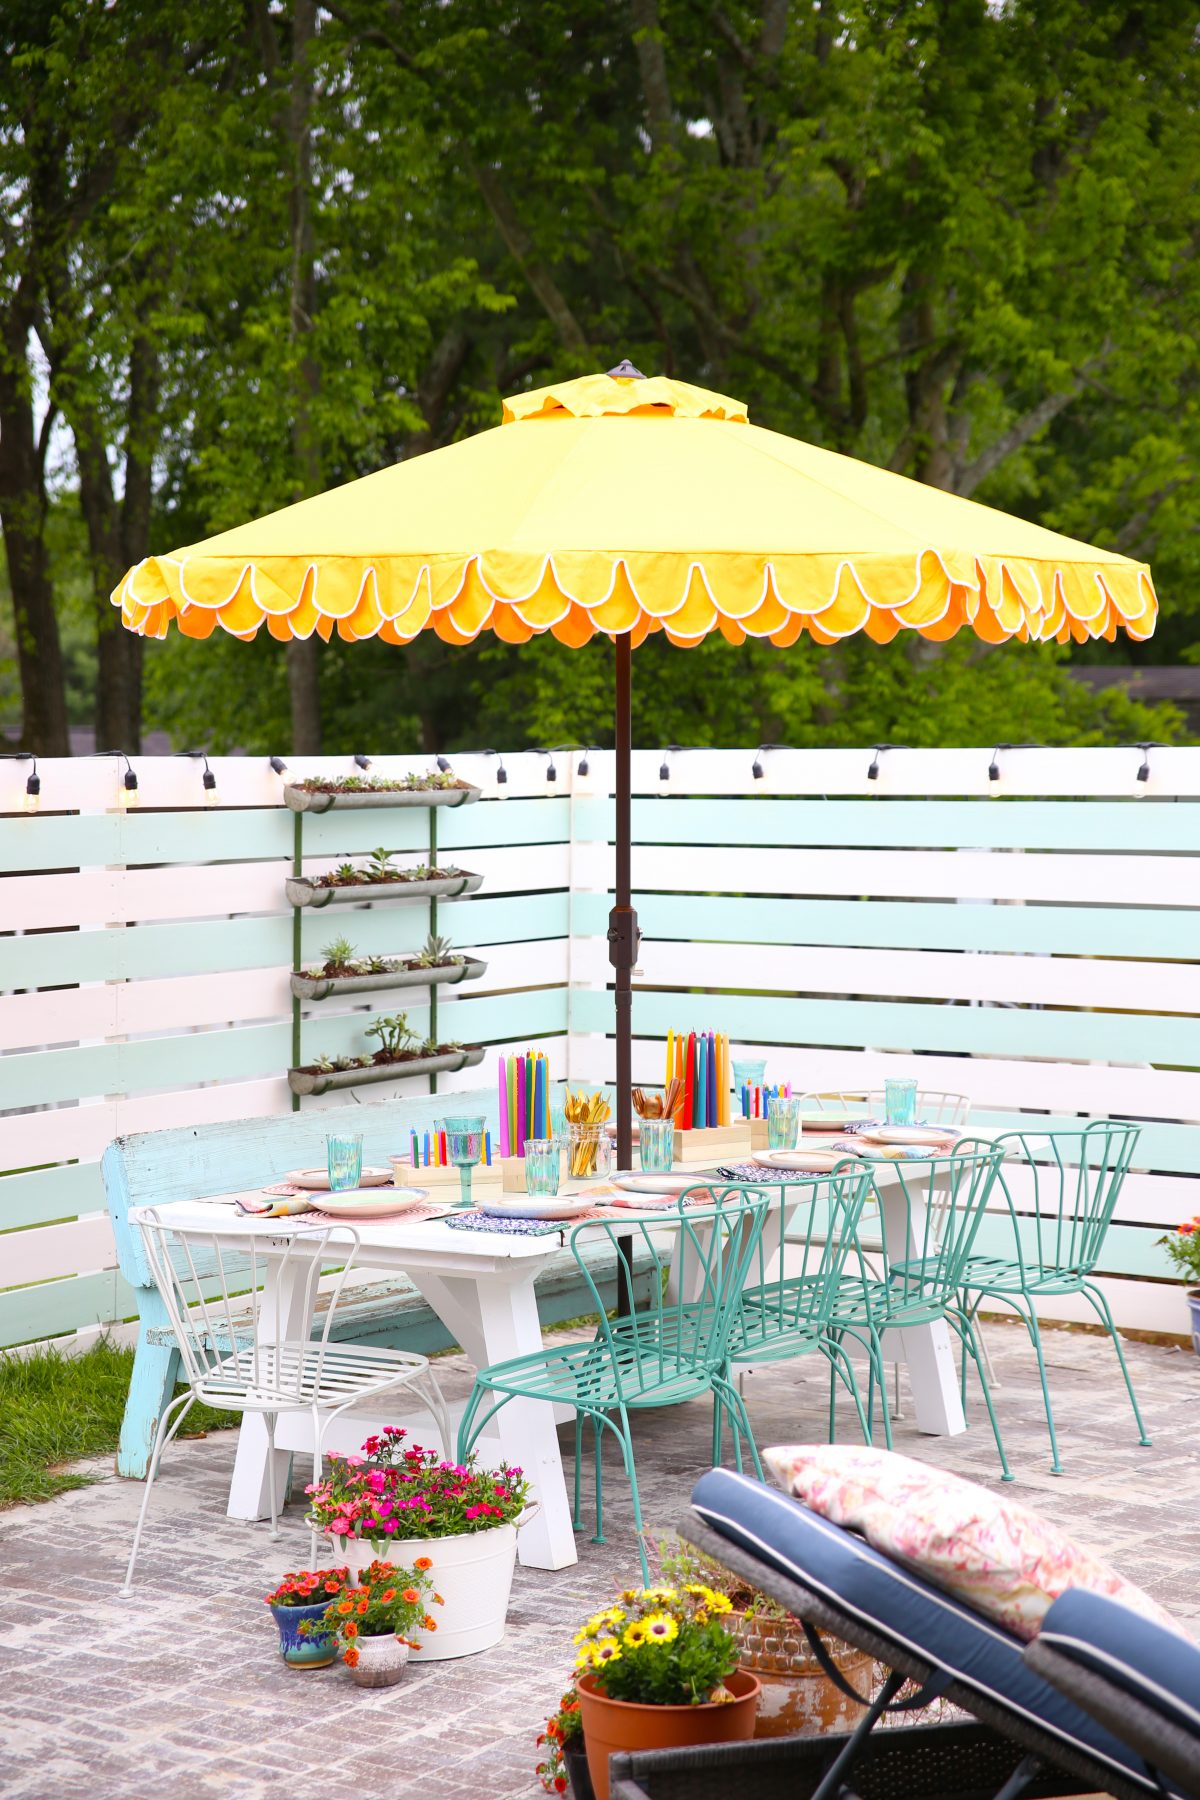
But today, we thought we’d share how we built that privacy wall. Because sometimes when you open your yard all the way, you need a few places here and there that help you feel like maybe you’re not living in a fish bowl.
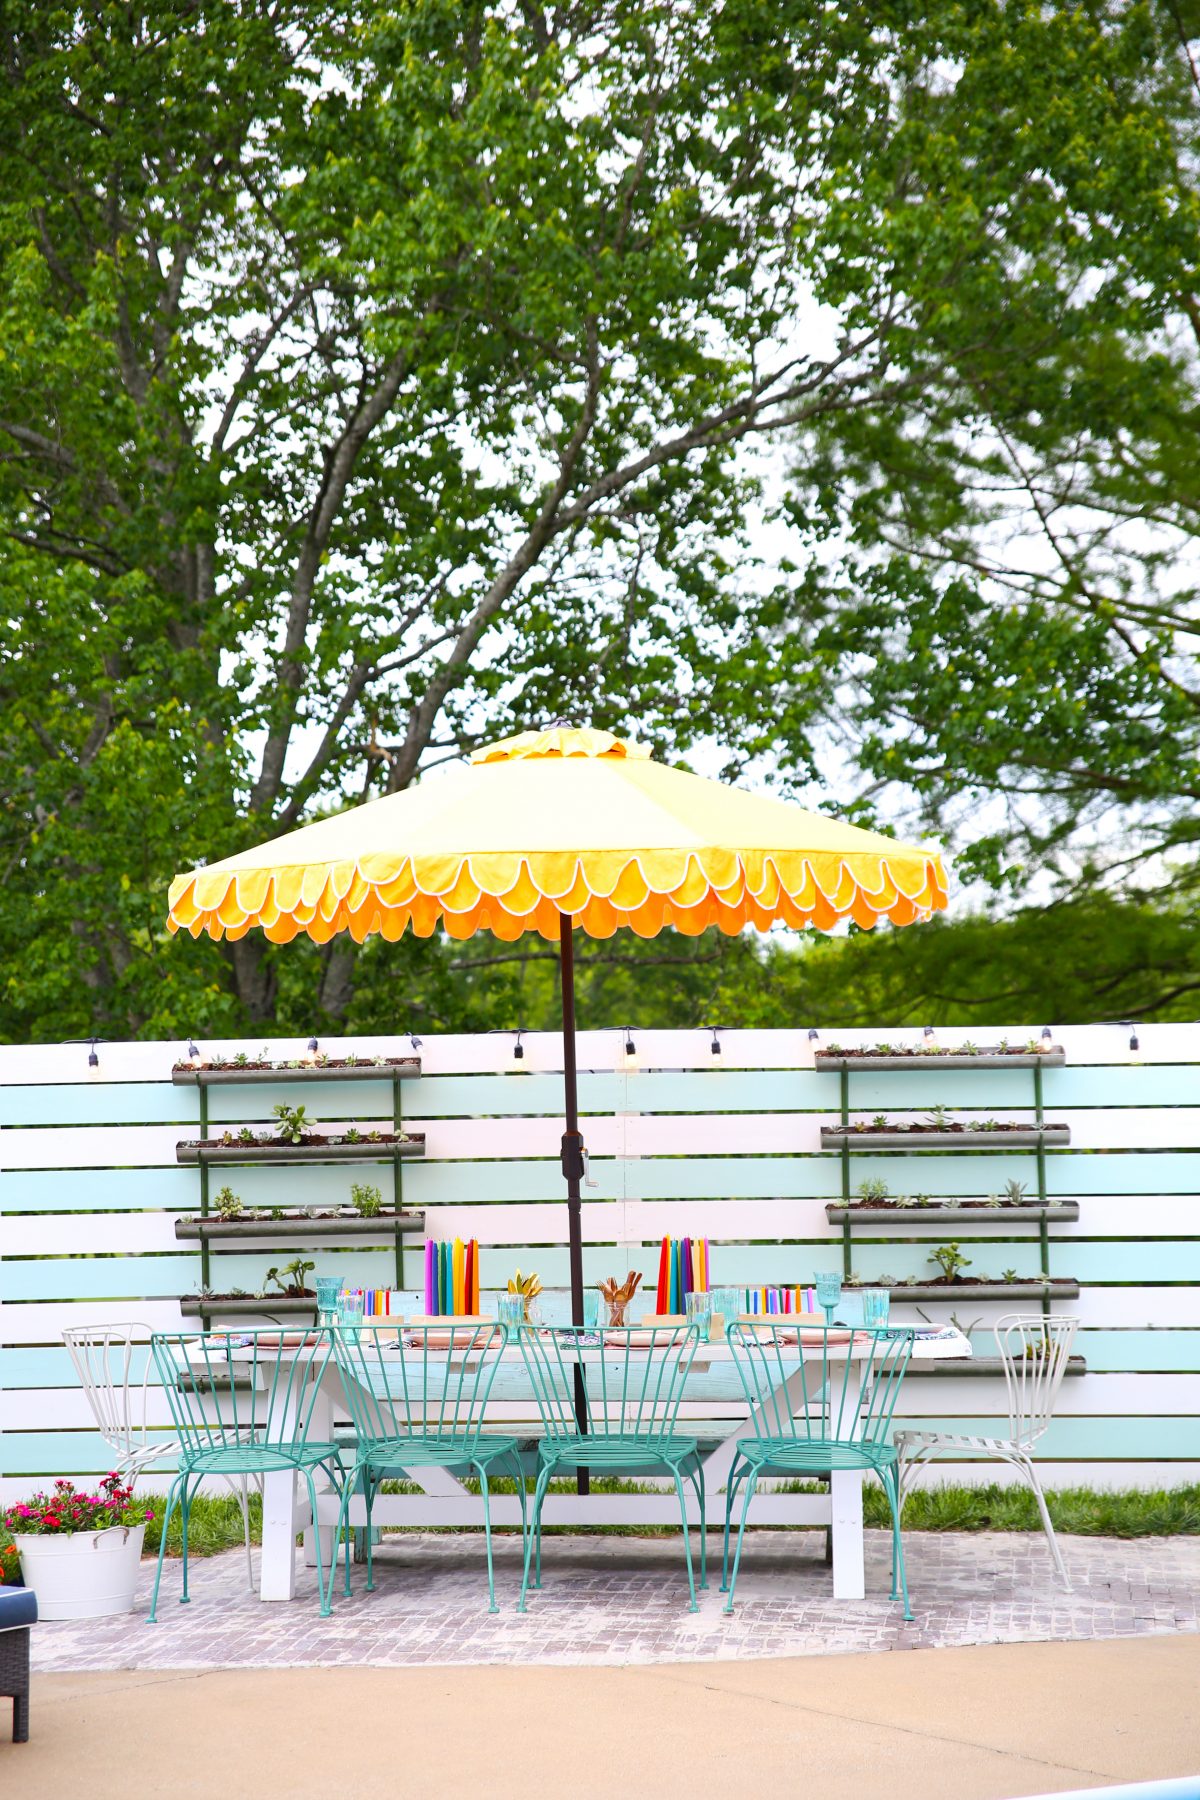
So without further ado, how to build a privacy wall.
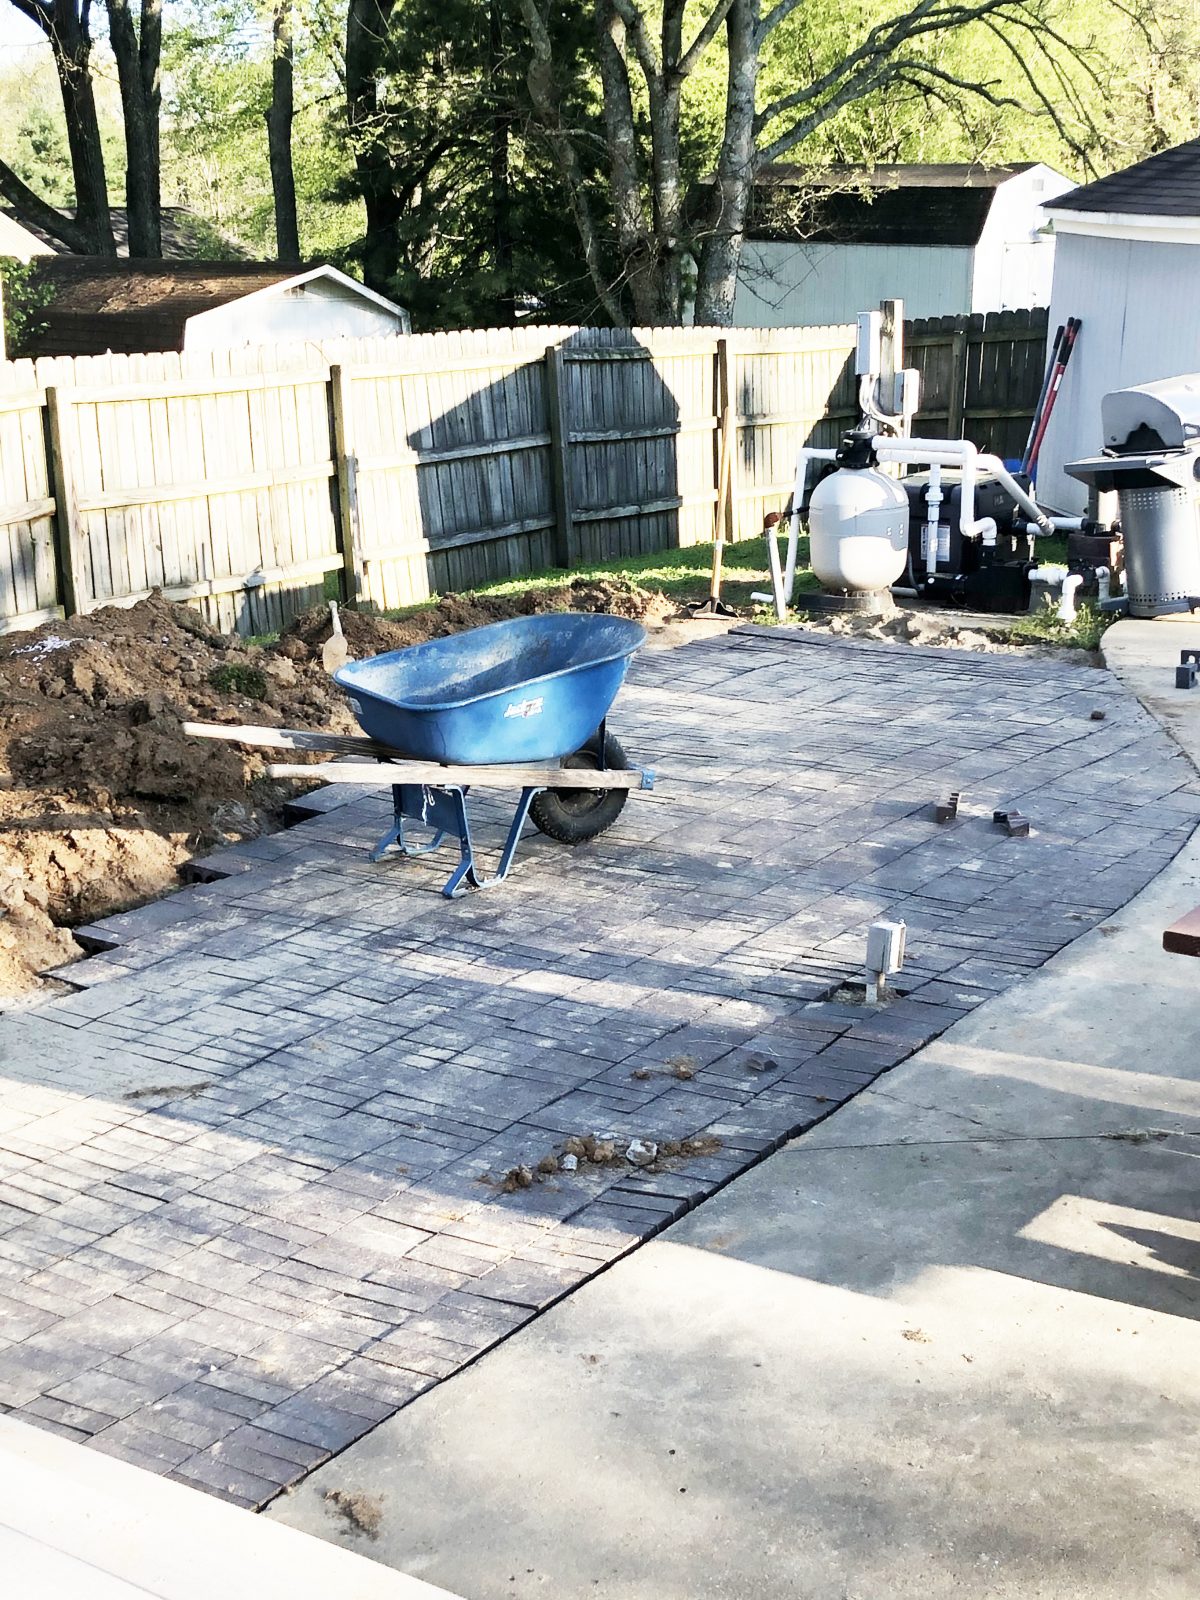
The brick pavers were looking great, but ew, because the giant pump was still there. It also helps when it hides the unsightly stuff.
This is a simple project that anyone can replicate.
How to build a privacy wall: plan and dig your first holes
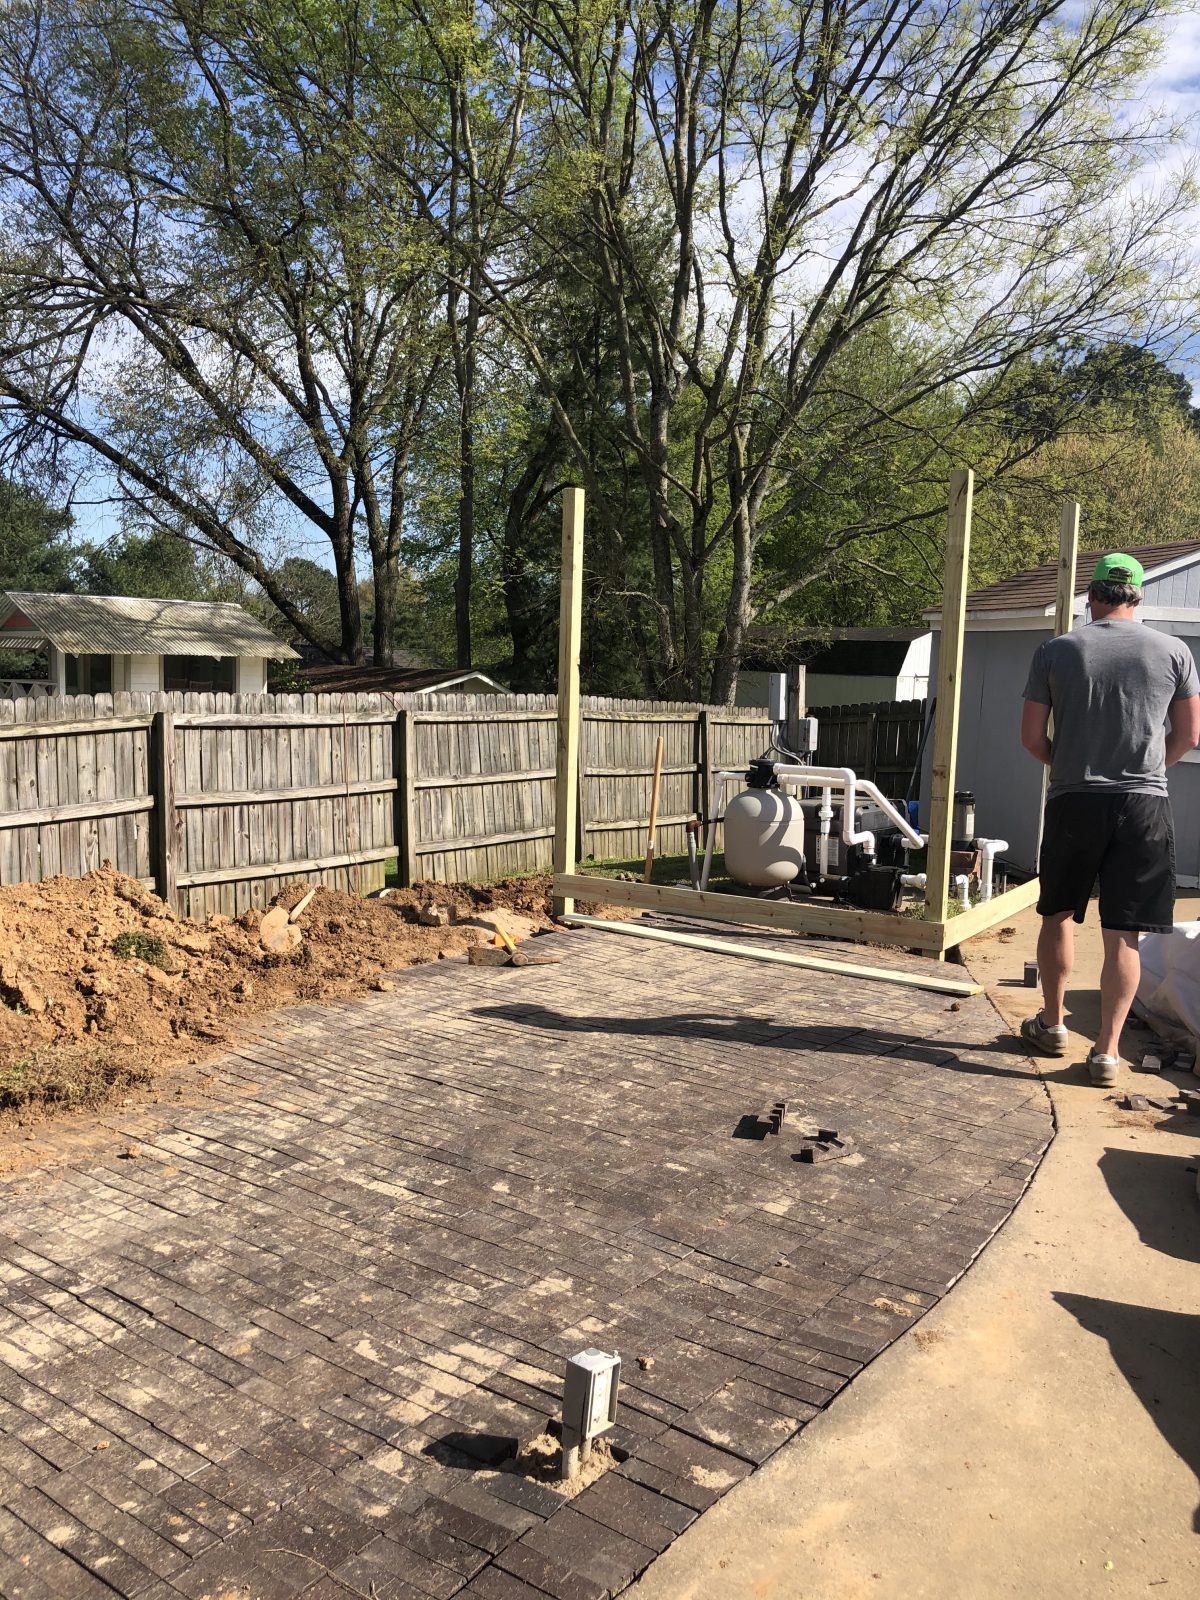
You’ll want to lay out where your wall will be first, so that you will know where the post will go to support the walls. To make the entire process easier, it’s best to build your walls in common lengths to eliminate as much cutting as possible. Call us lazy… but we’ll go with smart. We went with 8-foot sections.
So we simply found our POB (point of beginning) placed a mark measured out 8 feet. Then we placed another mark, and so on.
We also knew we were using 4 x 4’s as our supports since the wall wouldn’t really bear much weight. If you are building a structure like our hideaway or basketball goal then you will want a bigger piece of lumber like a 6 x 6.
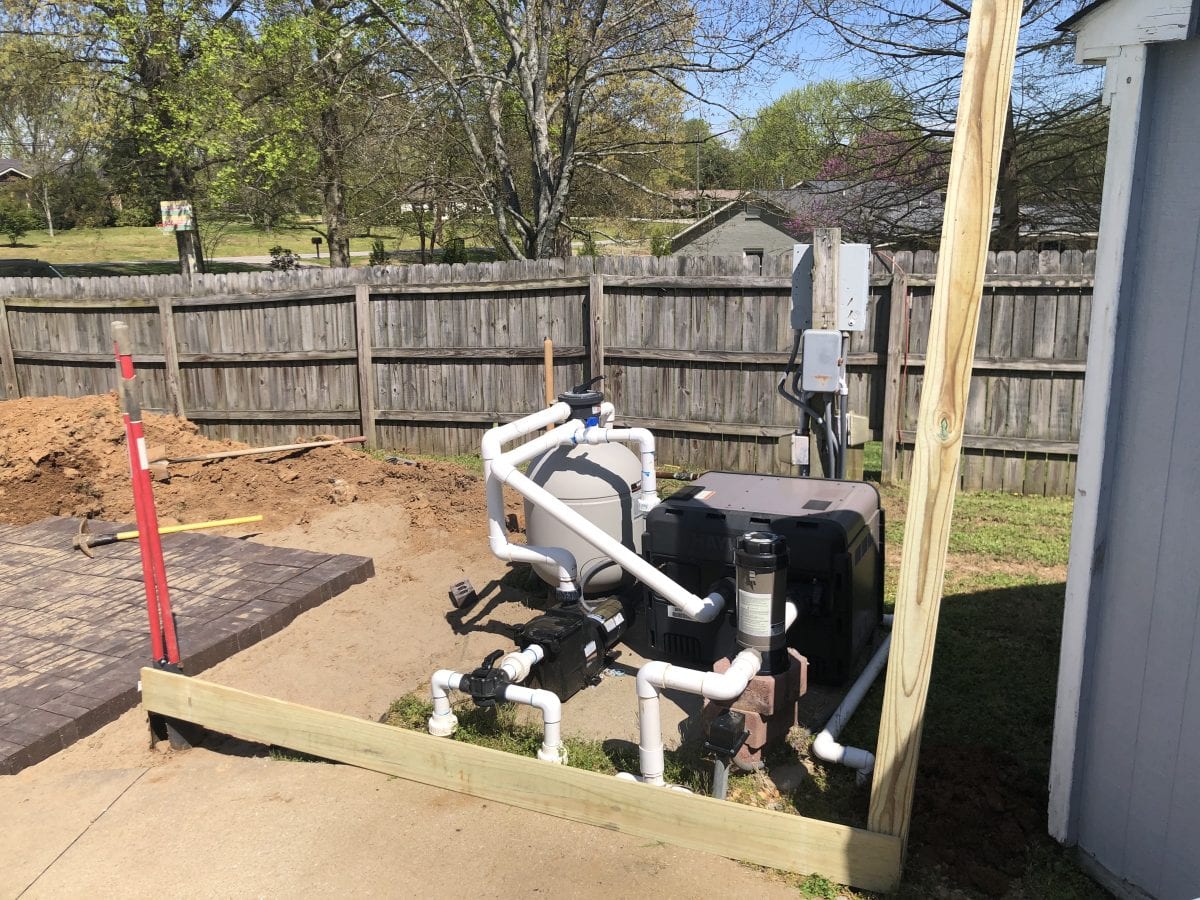
Once you have your marks, you’ll want to dig your holes.
Always remember if you don’t know where the underground utilities are, call 811, also keep in mind you’re supposed to give a two-foot buffer zone.
You’ll want to dig your holes at least twice as wide as the lumber you’re using and 3 times as wide if you are using concrete to anchor them. (For this project, we choose not to set the posts in concrete, but simply pack the dirt. This was for a variety of reasons, but this is why you won’t see us pouring concrete.)
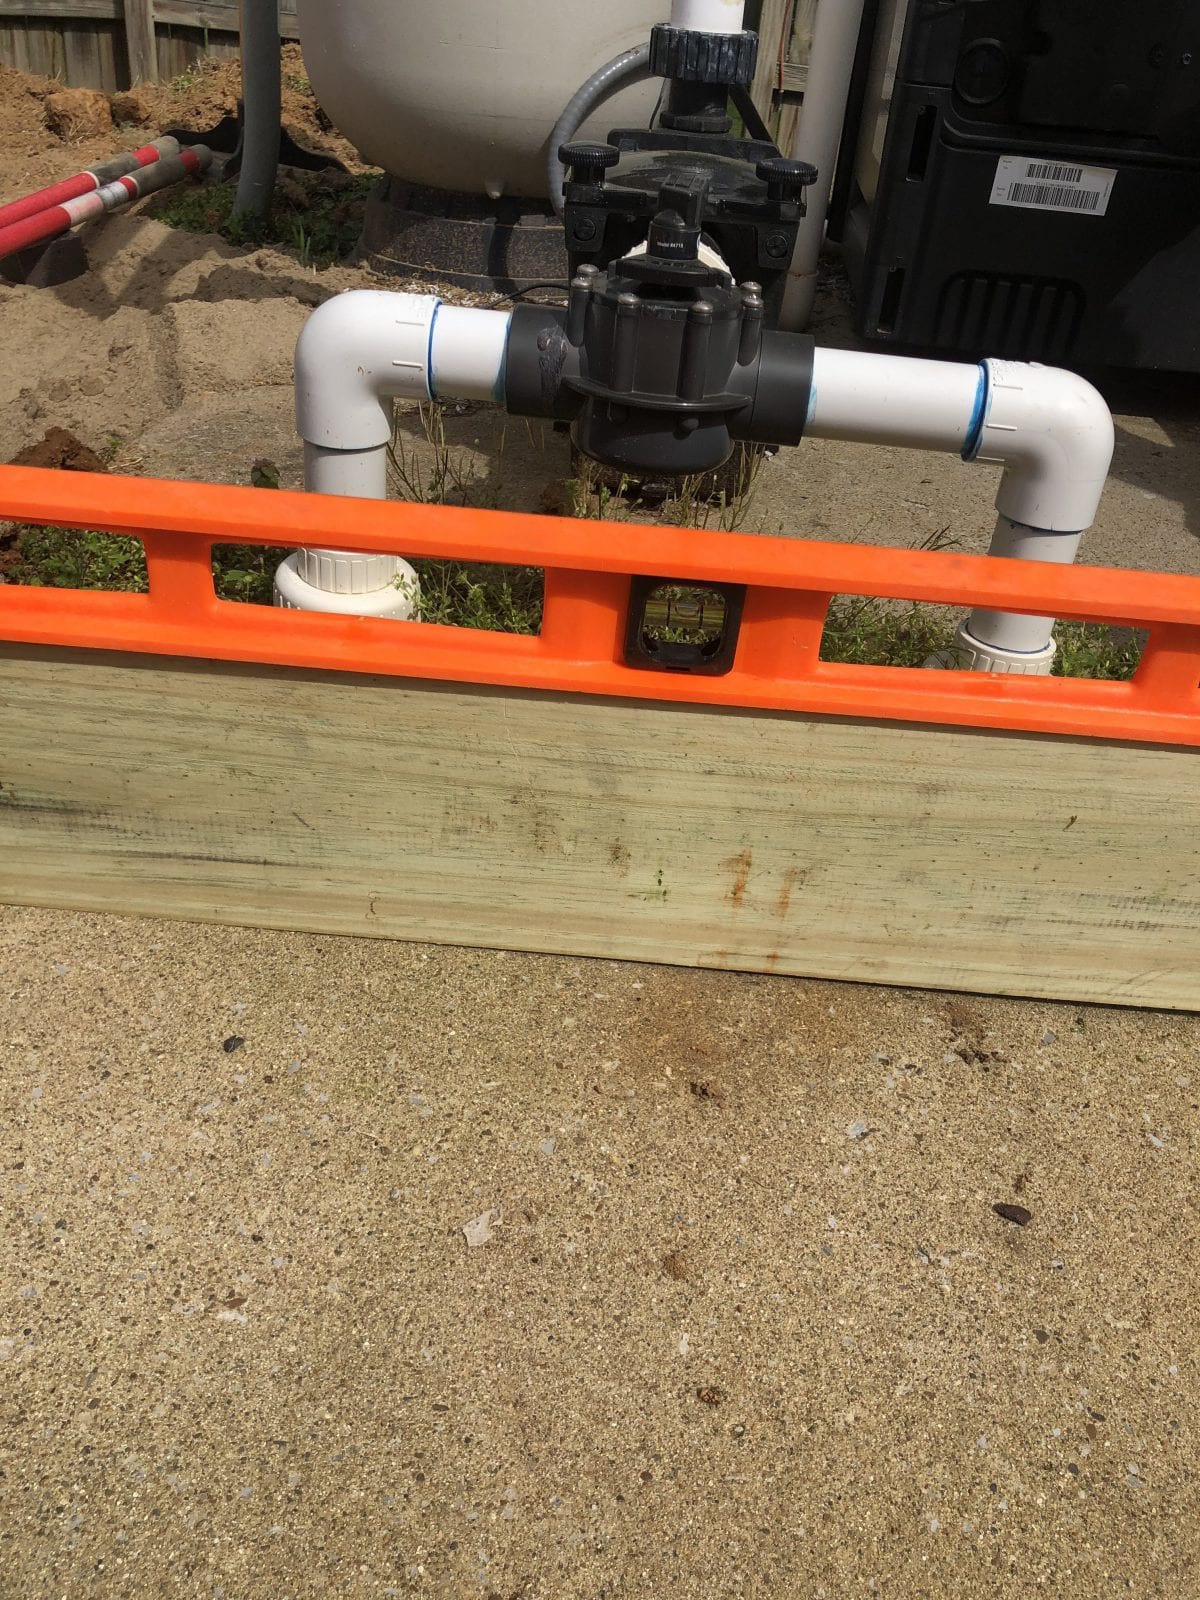
How to build a privacy wall: start with a level base
As you are setting your post you’ll want to make sure they are the right distance apart. A lot of times we’ll simply attach the first board to assist in this process. Again this is all to cut down on the amount of cutting you’ll do.
Before you set the post in concrete or pack the dirt, make sure the post is level vertically as well as horizontally. Then simply continue down your line. For a longer fence, I most likely set all the posts first and cut the boards accordingly.
Add all the boards.
Once you get the posts set and the first board attached, you’ll simply add more slats as you go. Of course, you’ll want to know the width of the gap between the boards and don’t forget to level each board as you go.

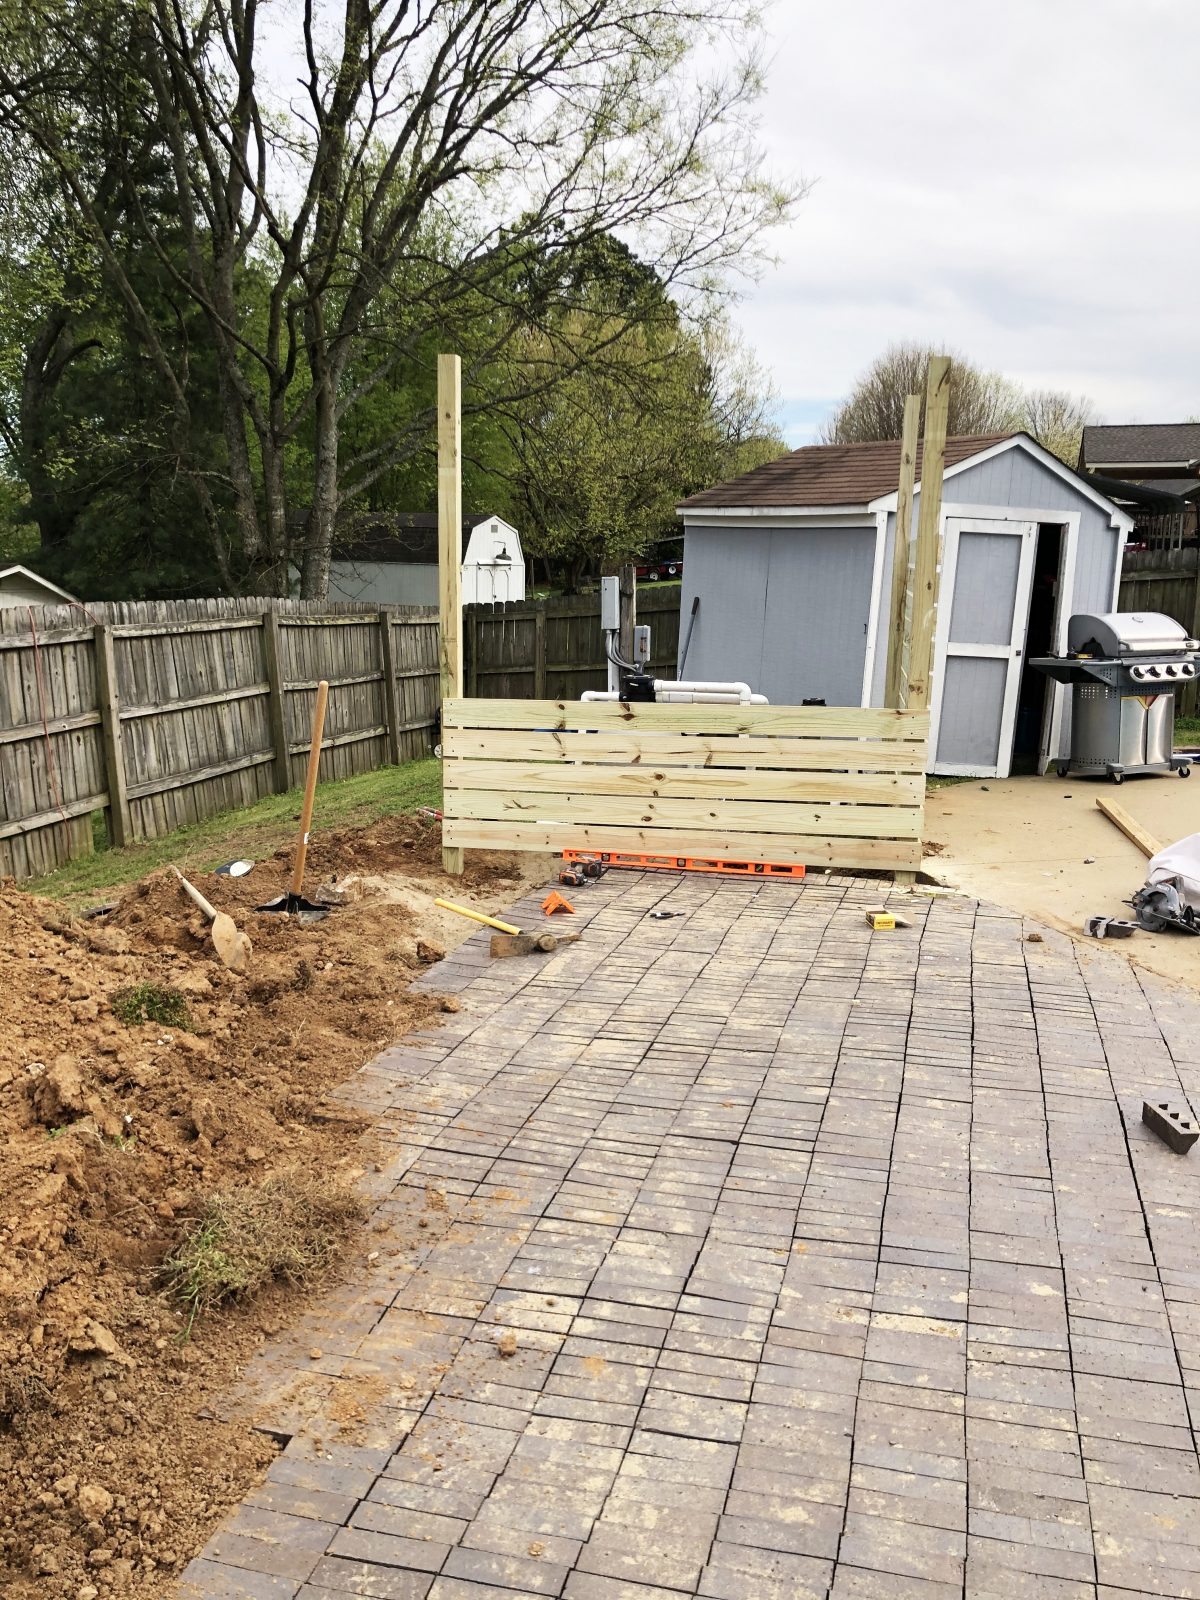
So slowly but surely, side by side, the walls were added.
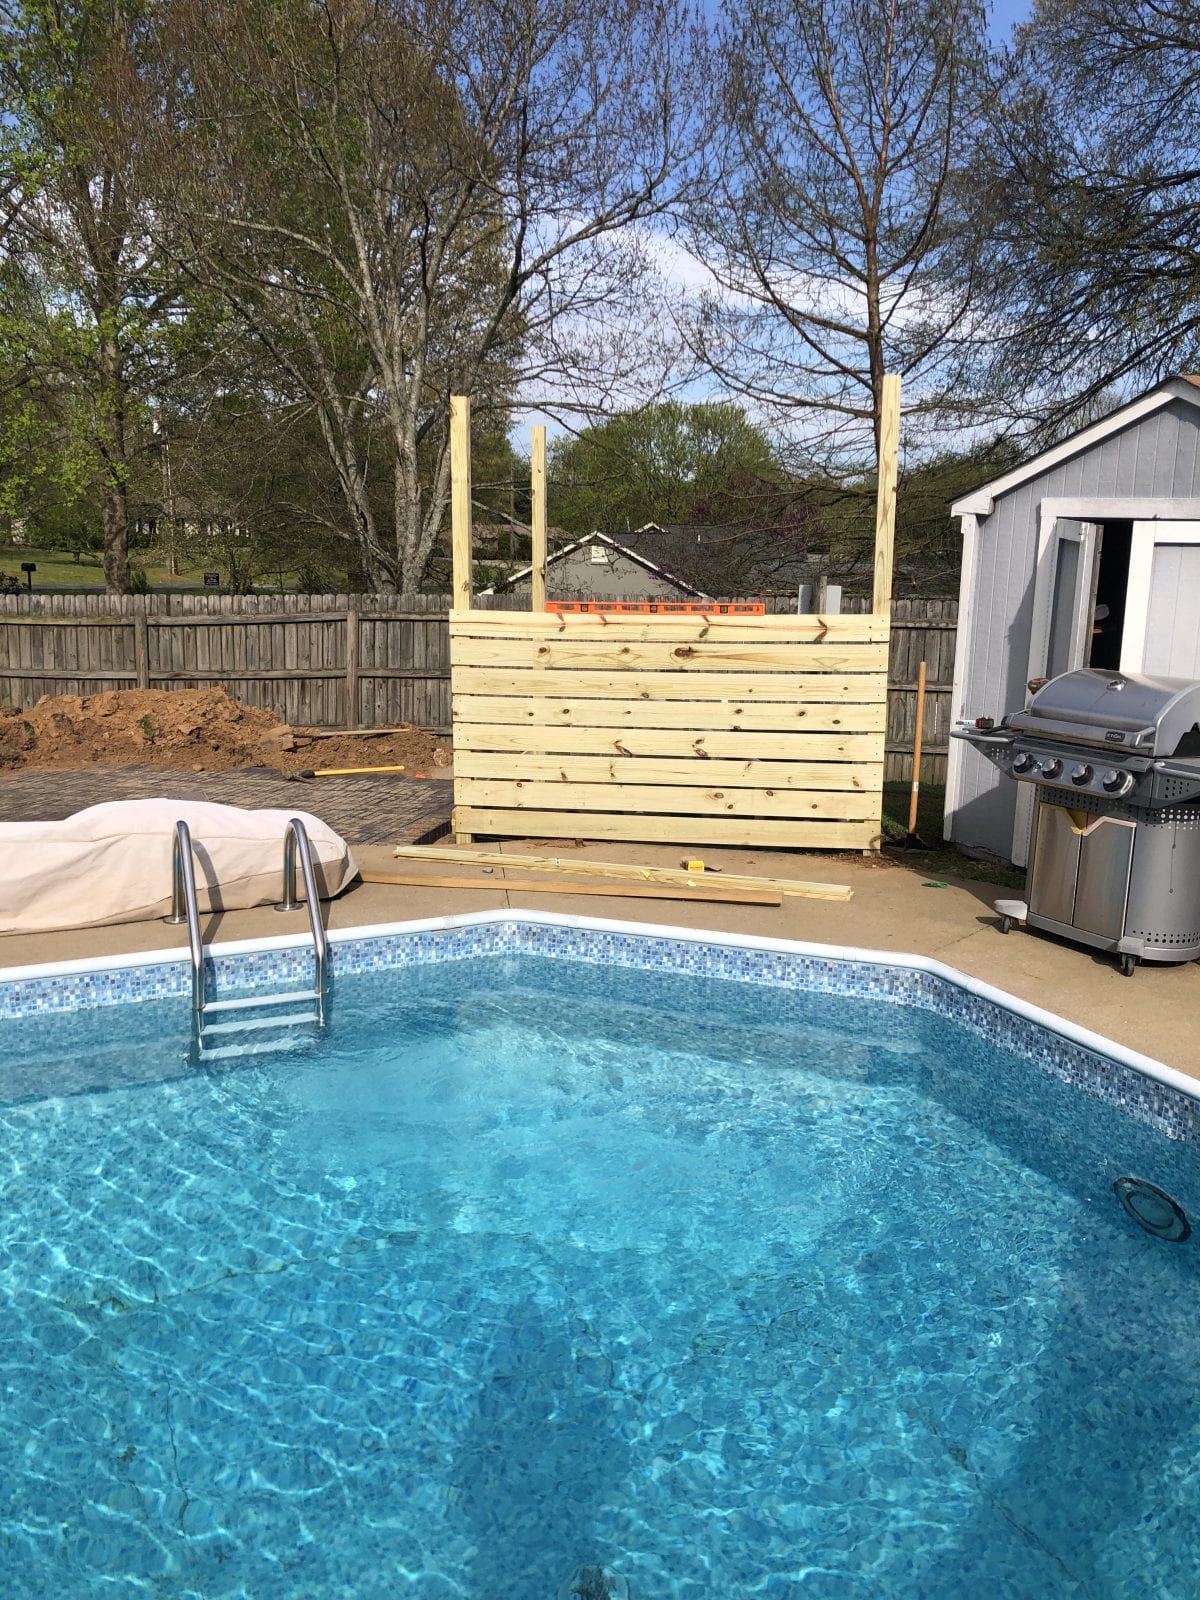
How to build a privacy wall: corners
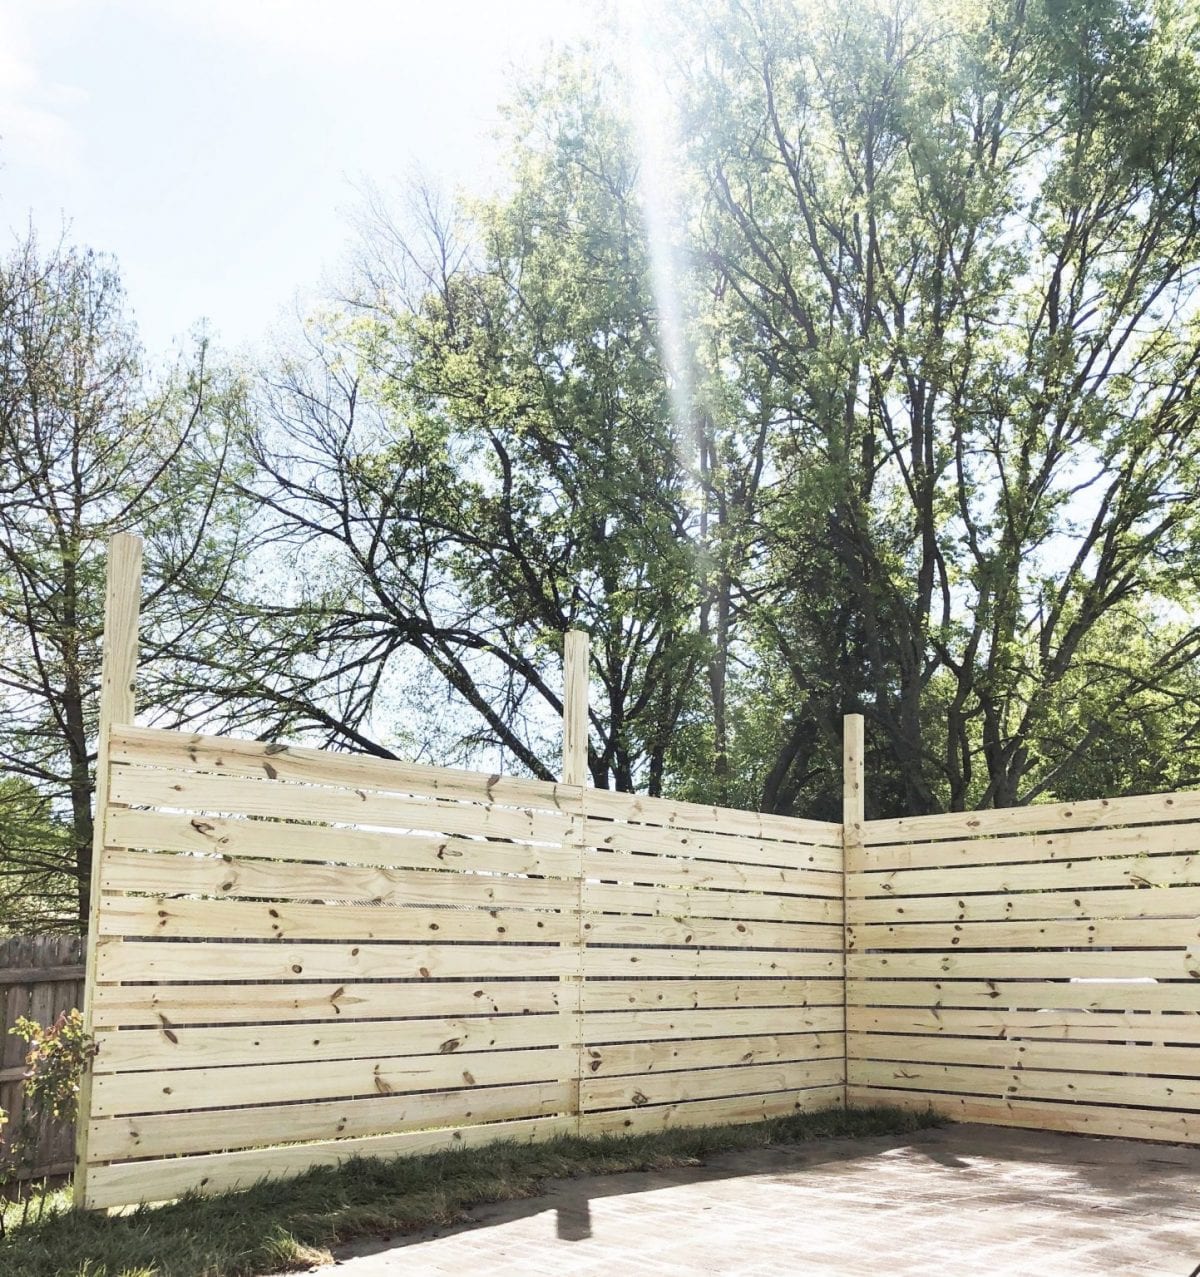
There are several ways to tackle the corners. Because we want only one post in the corner, we ran one wall of boards to the edge of the post and then ran the other wall of boards from behind the post. This gave us a clean corner.
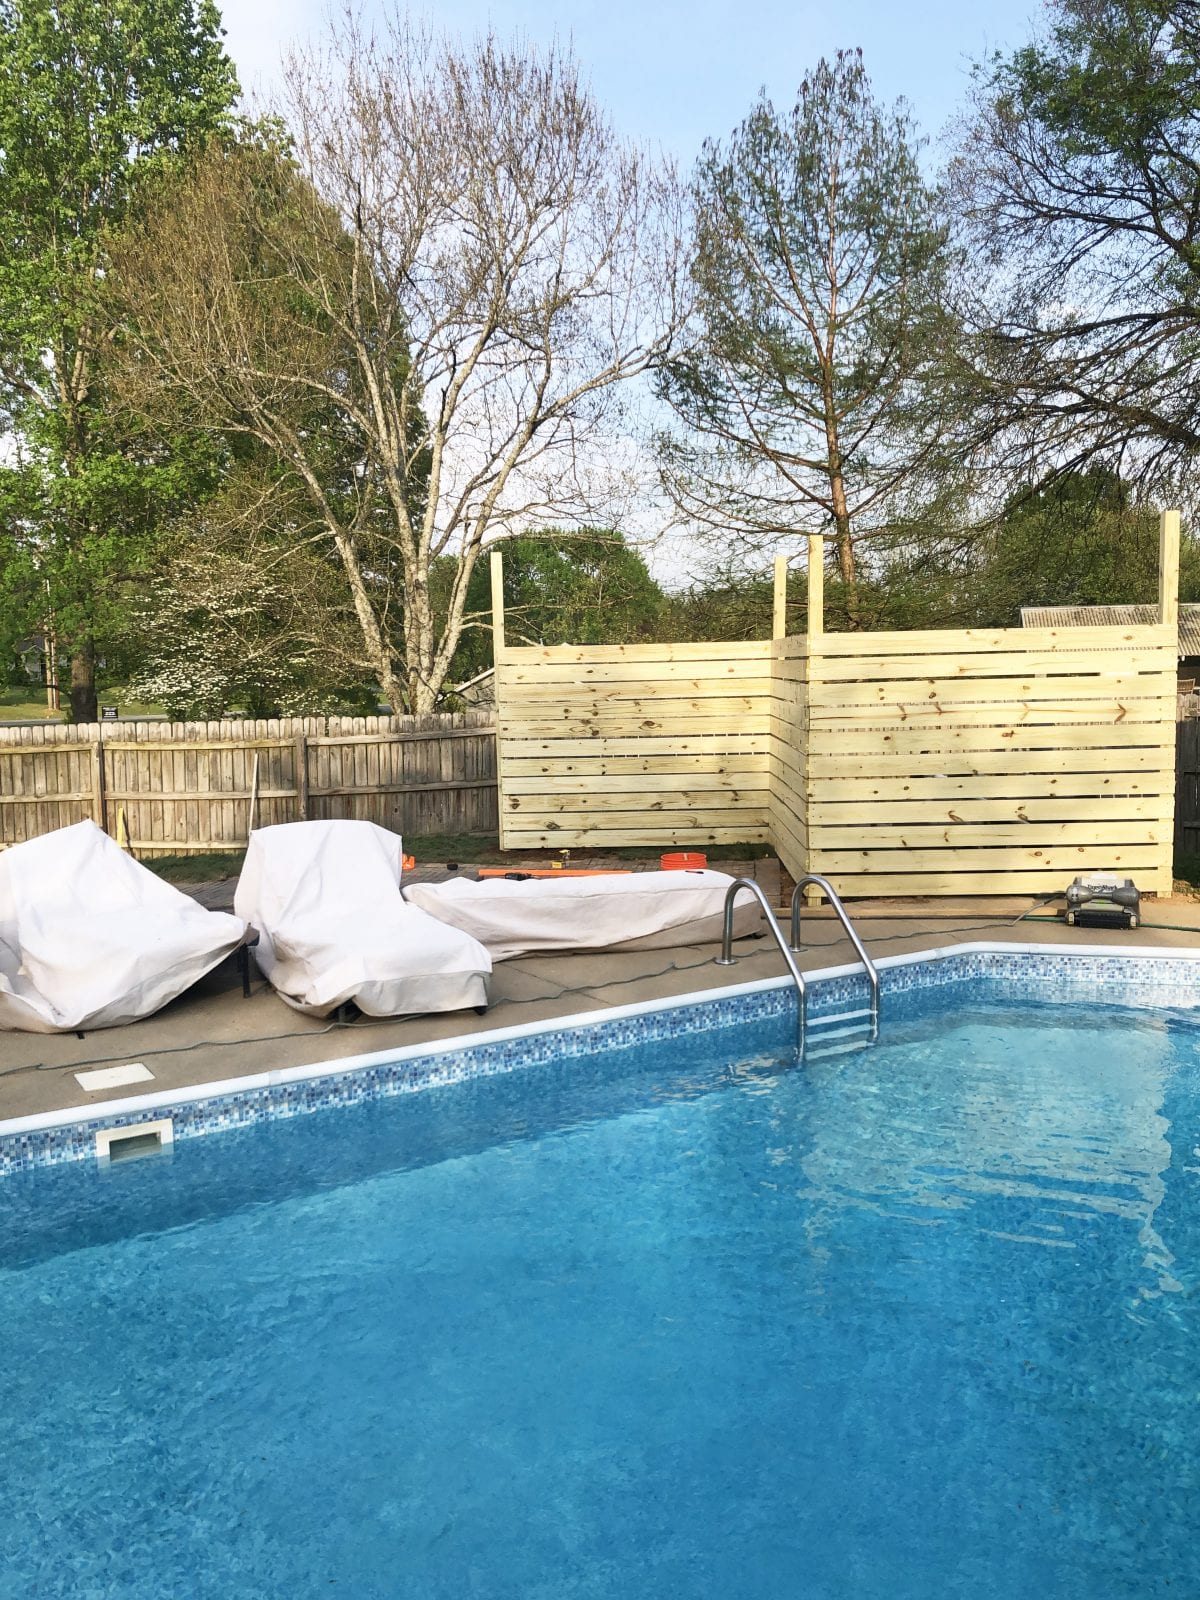
We added as we went and we loved the huge difference it brought to this space!
Cutting the posts
Again to simplify things, we didn’t want to precut the height of our posts. This would require being precise with the hole depth. It’s much easier to build the posts too high and then simply come back later and cut the top off with a saws all.
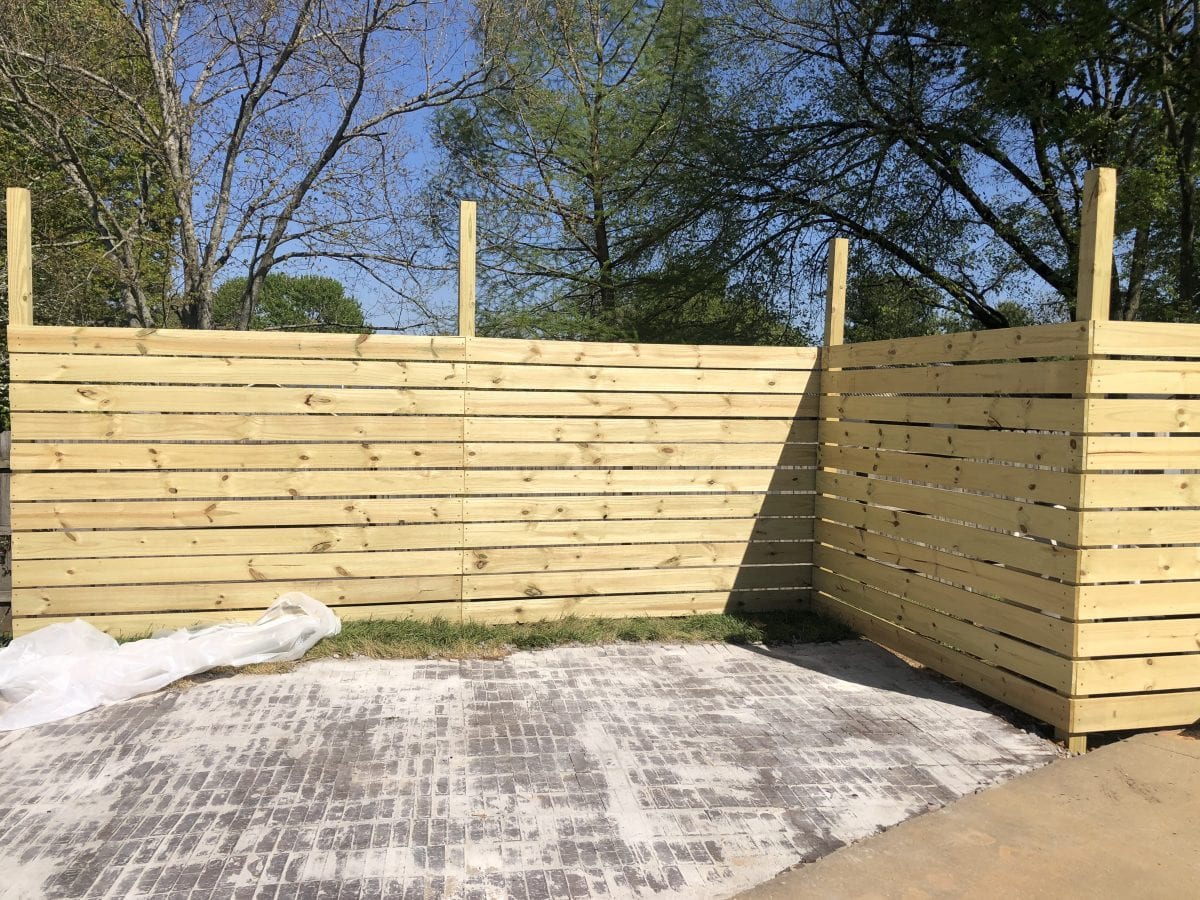
Here it is with all the pieces added, right after we german smeared the brick.
Then we were ready to add our favorite part, color!
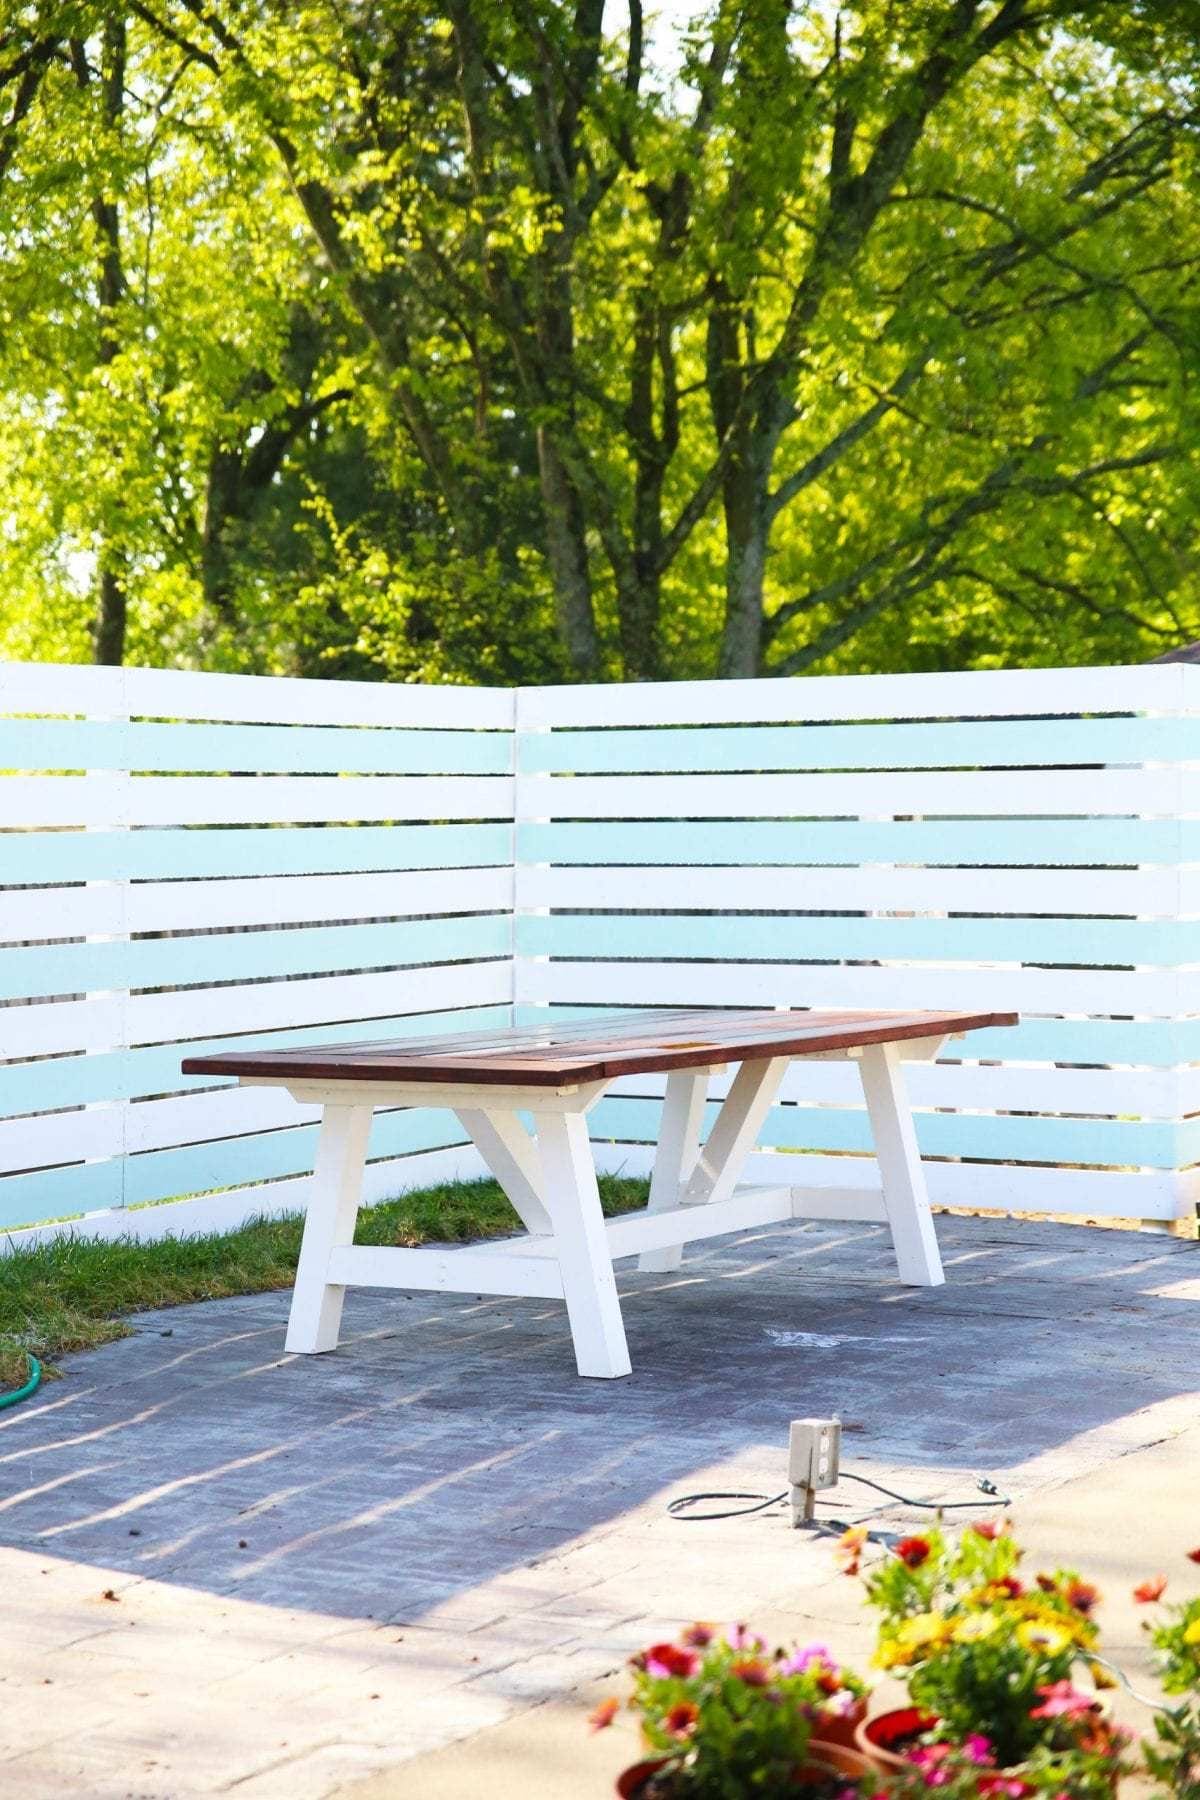
For the Side porch area:
Chairs + table top = SW Kendal Green
Privacy wall = Super paint Satin Extra White + SW breaktime
End chairs + tabletop = SW Mindful Gray
We adore the final look and all the fun character it added to our yard.
Yay for character and simple privacy with a lot of style, all at once.
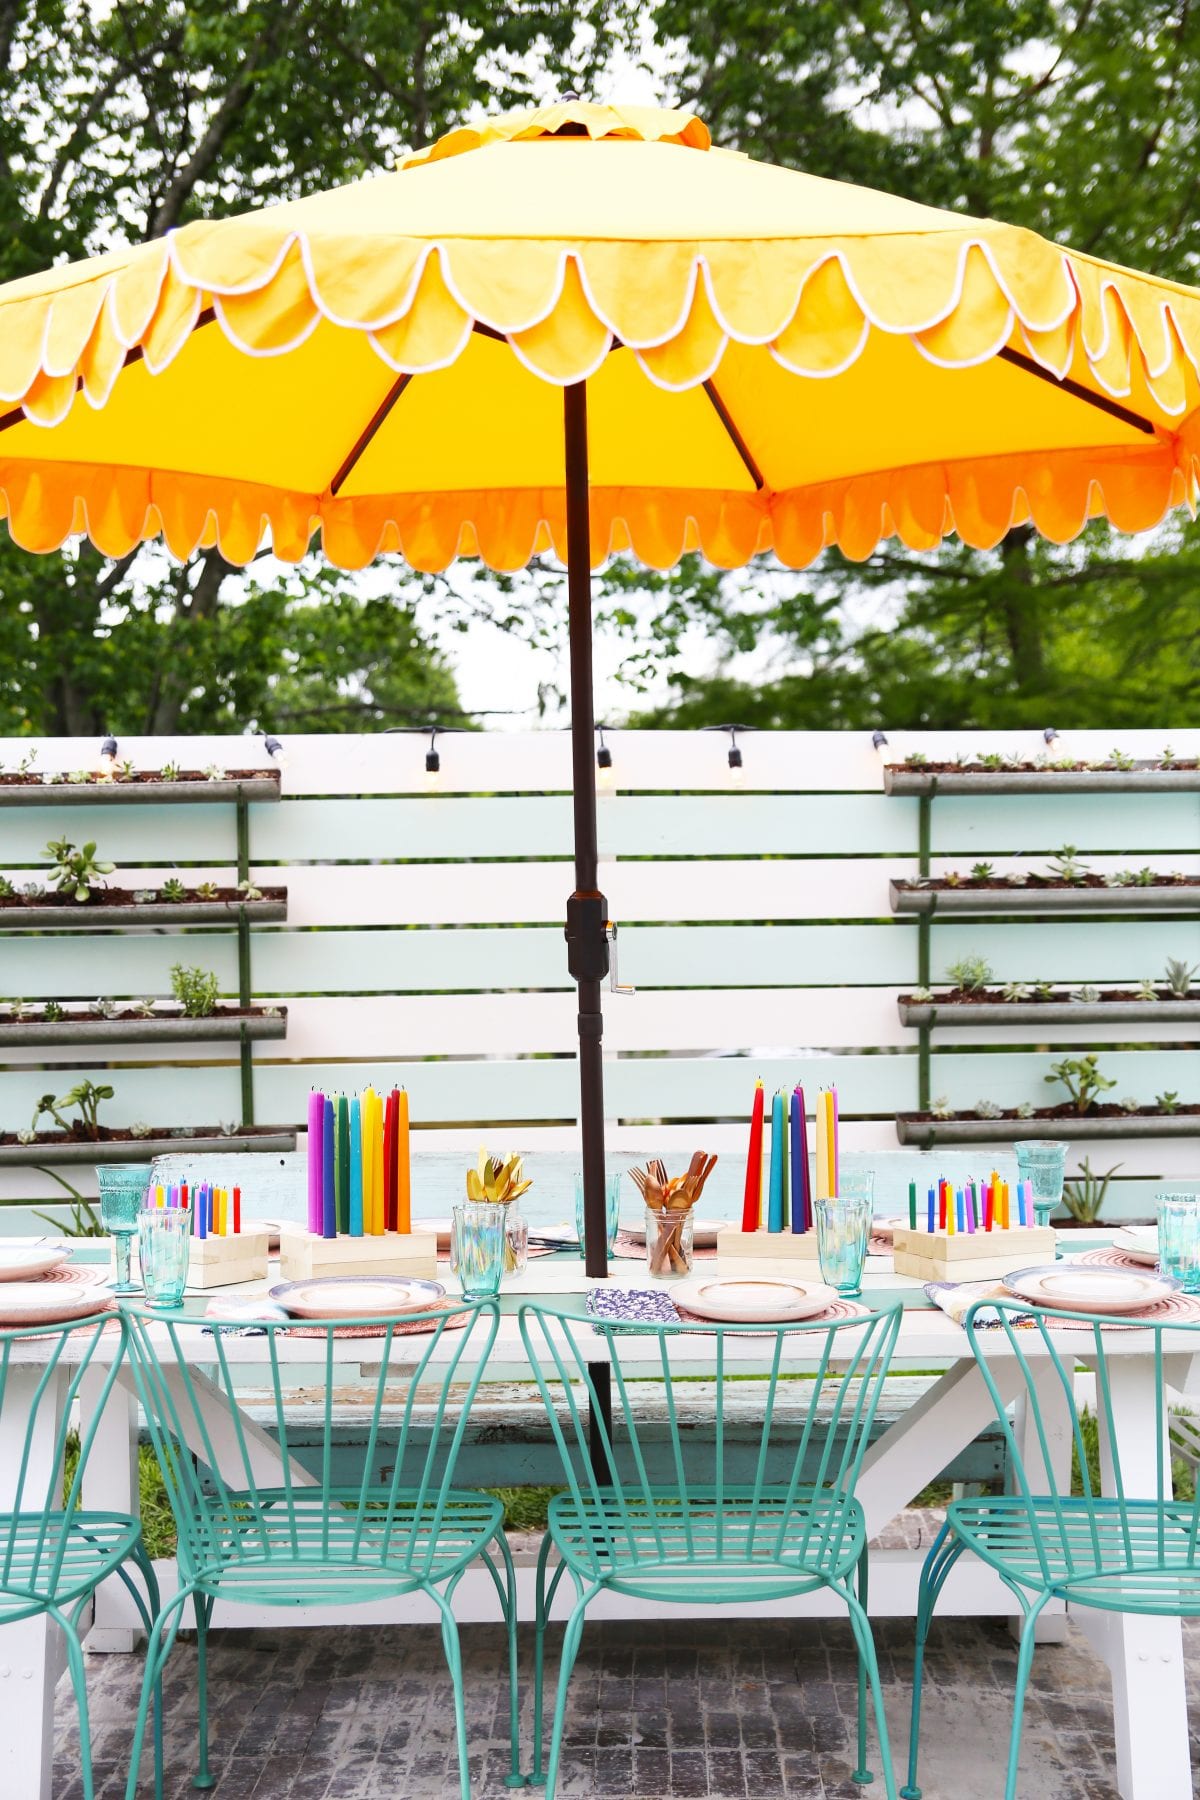
One of my fave before views vs. the after again…
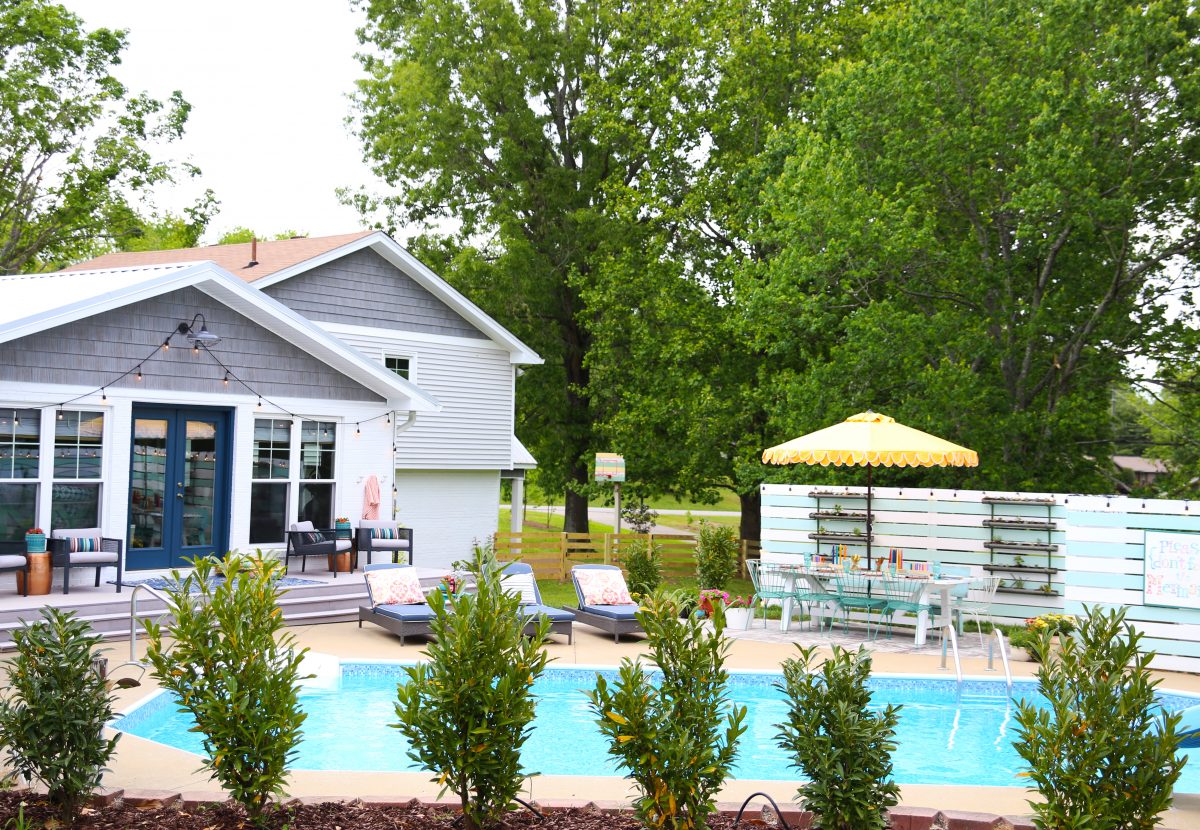
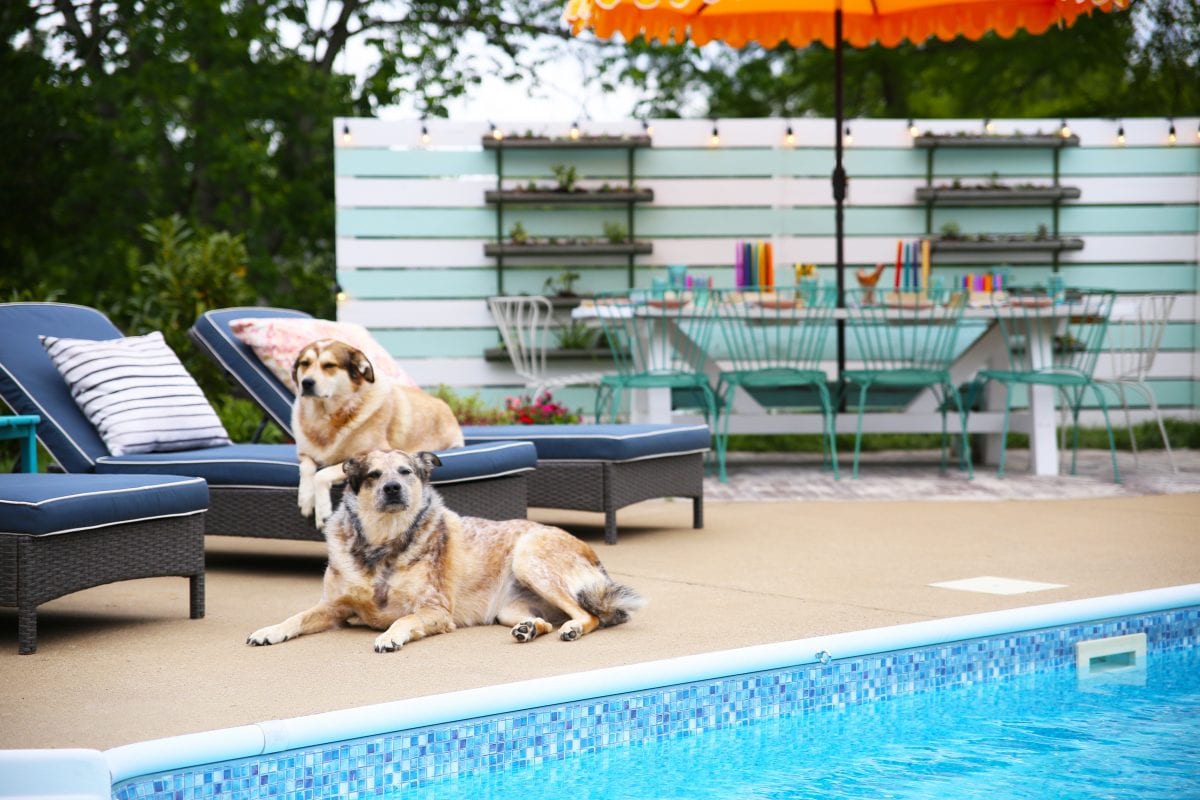
The pups have loved their new yard so much!
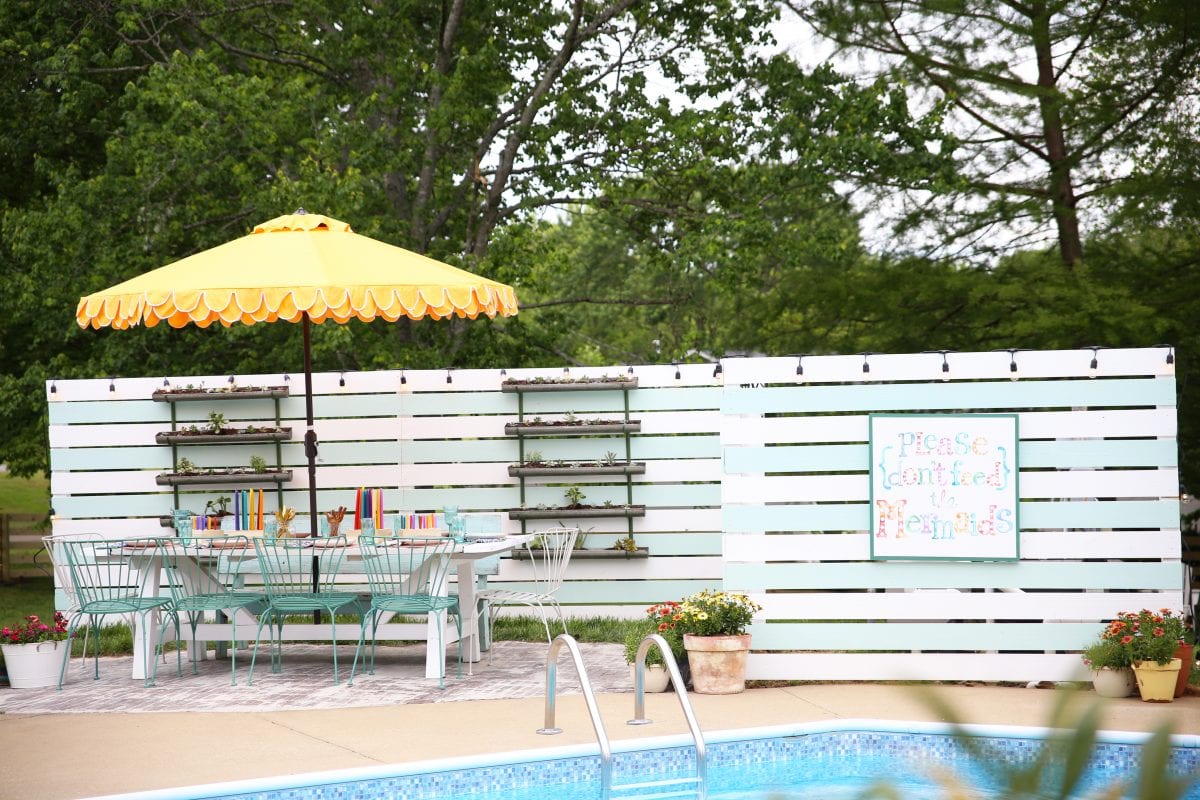
As always, let us know if you have any questions.
Have an inspired day!



I LOVE this and the colors! It is perfect!!