
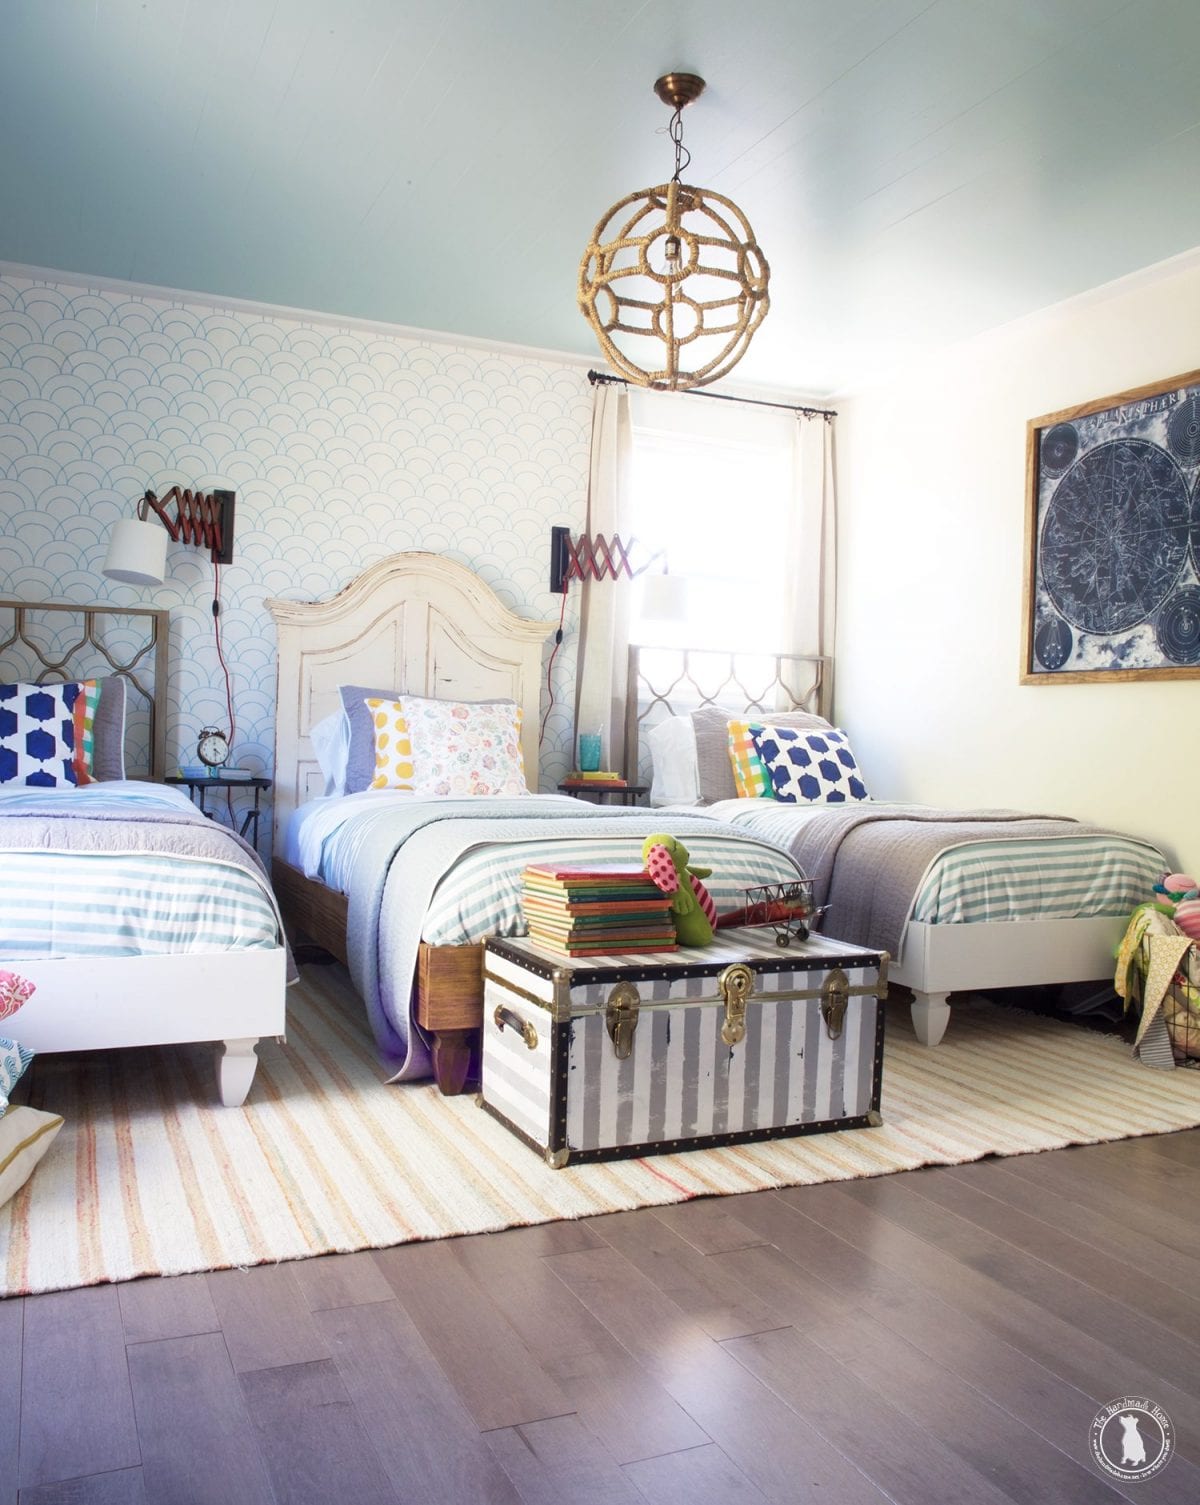
how to build your own bed {skip the boxsprings}
Remember this little before and after a few weeks ago?
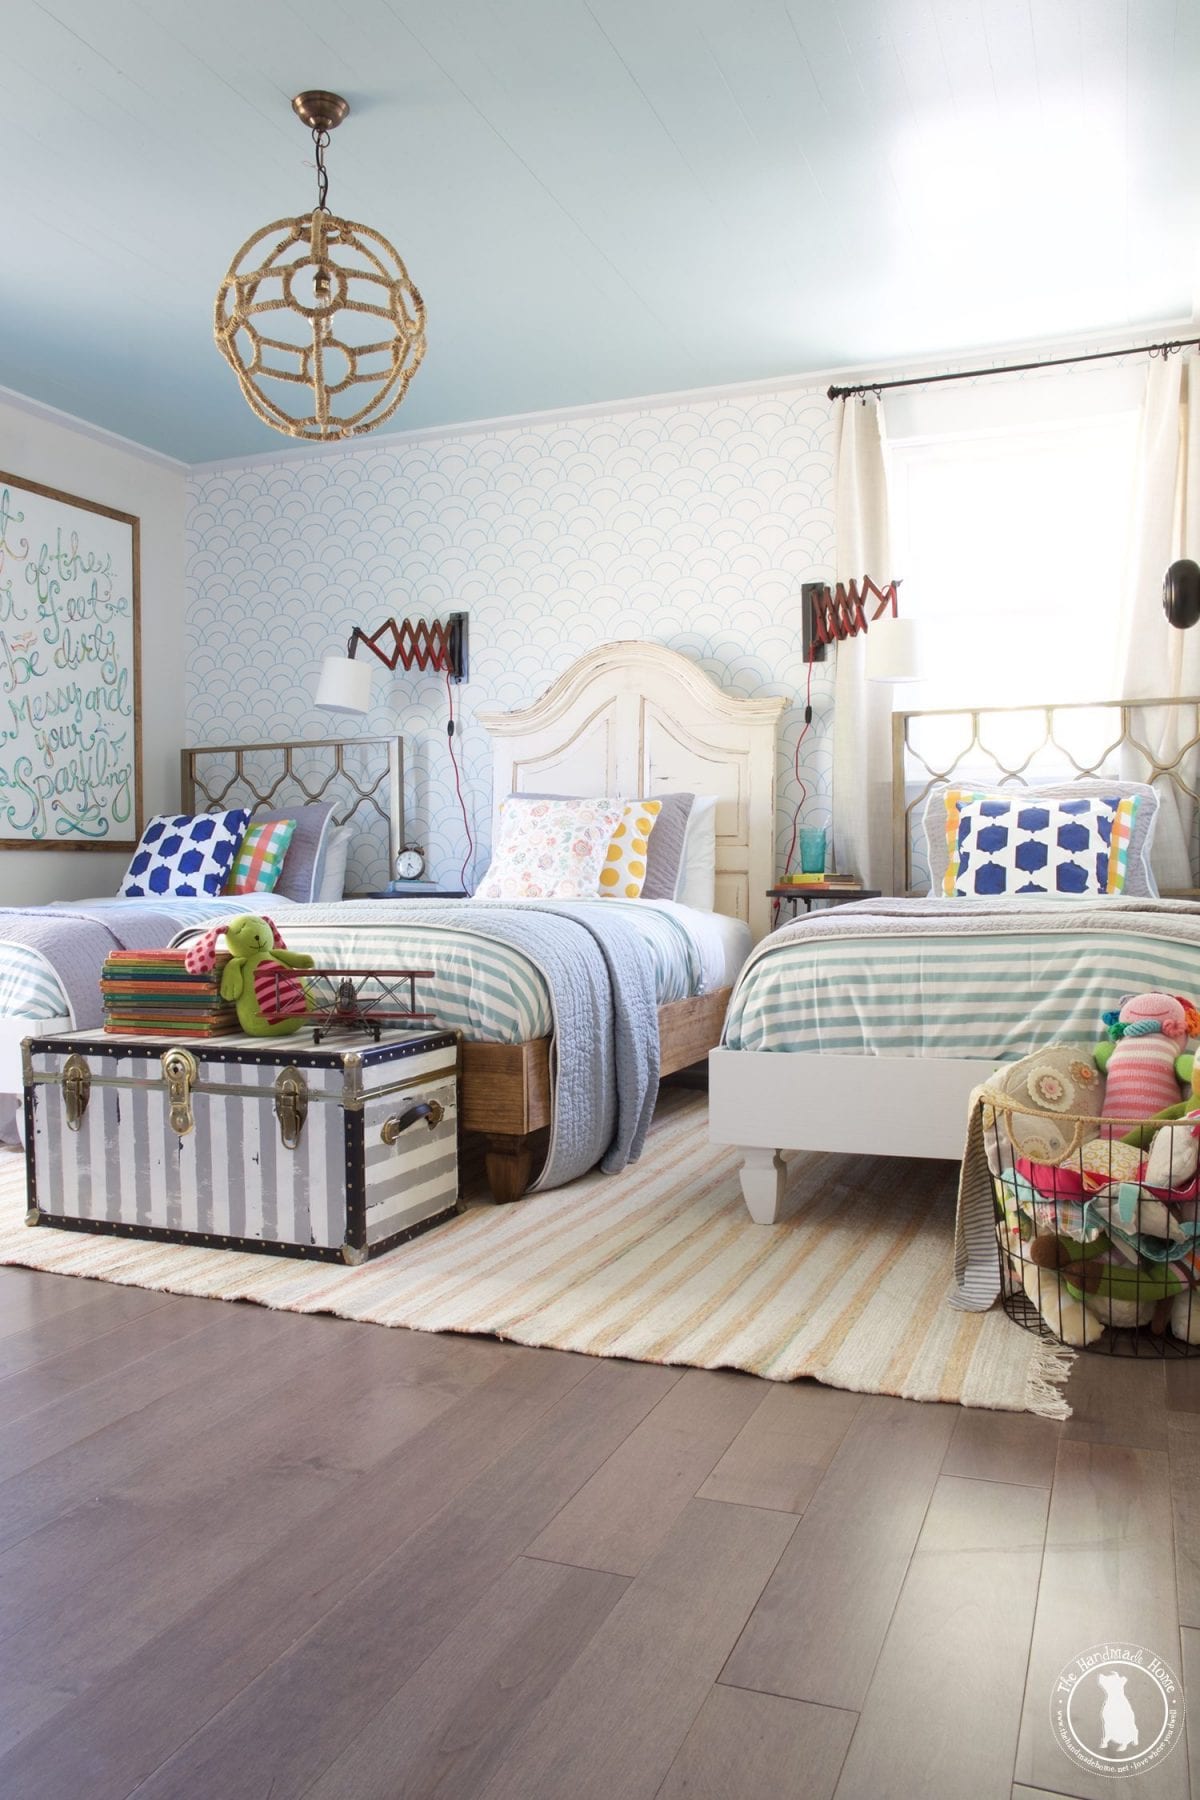
We’re thrilled to have the kids sleeping room completed! And today we’re back with a bit of a how to.
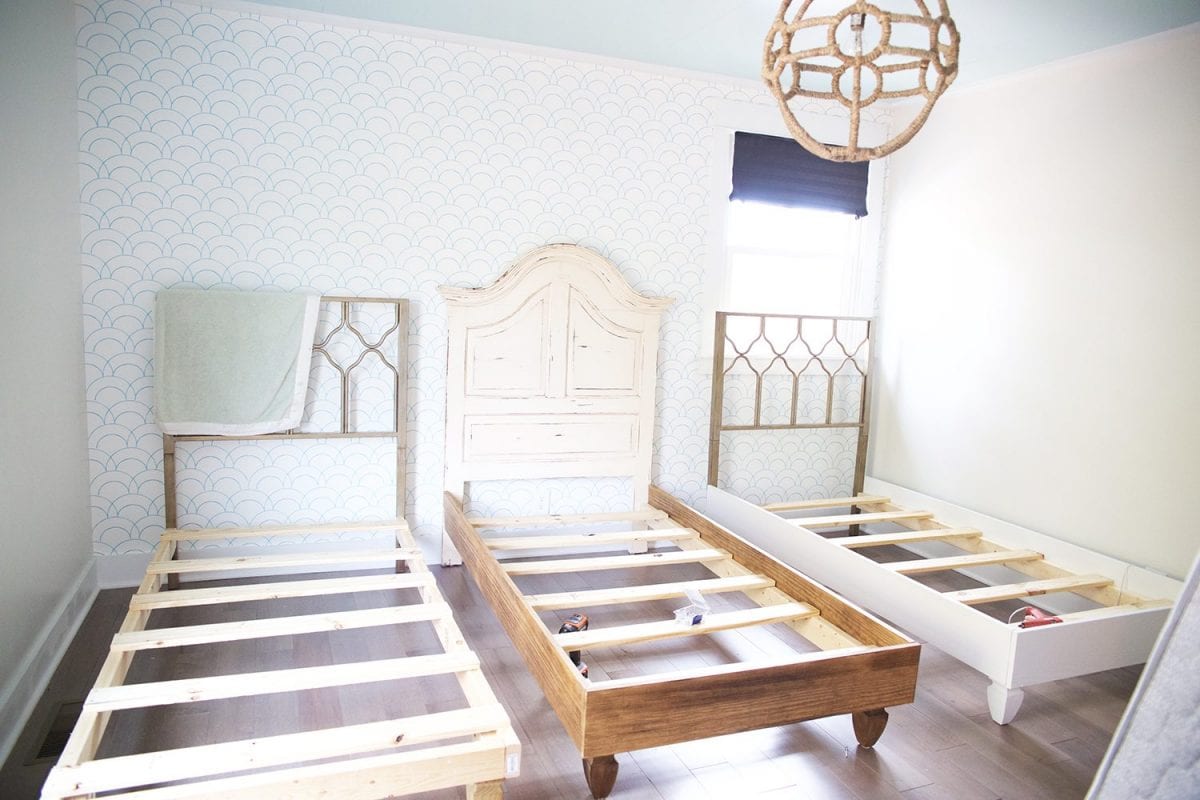
After fully building the beds for the kids in our last house (here and here) we decided this time around to merge the bought, found, and built all into one.
We combined two little headboards that we found for the boys, along with an old one we had {a flea market find} for the Emerson.
We decided to build the bases, and skip those boxsprings.

It ended up with an old school feel, with planks underneath to hold up their mattresses.
Bonus: their beds don’t get too high, and there really is no need for bedskirts. This is nice, as it gives us cleaner lines in a room with three beds.
This little process is one we’ve used for years to adapt to things we found, and works with just about any headboard you can think of to attach, or build your own.
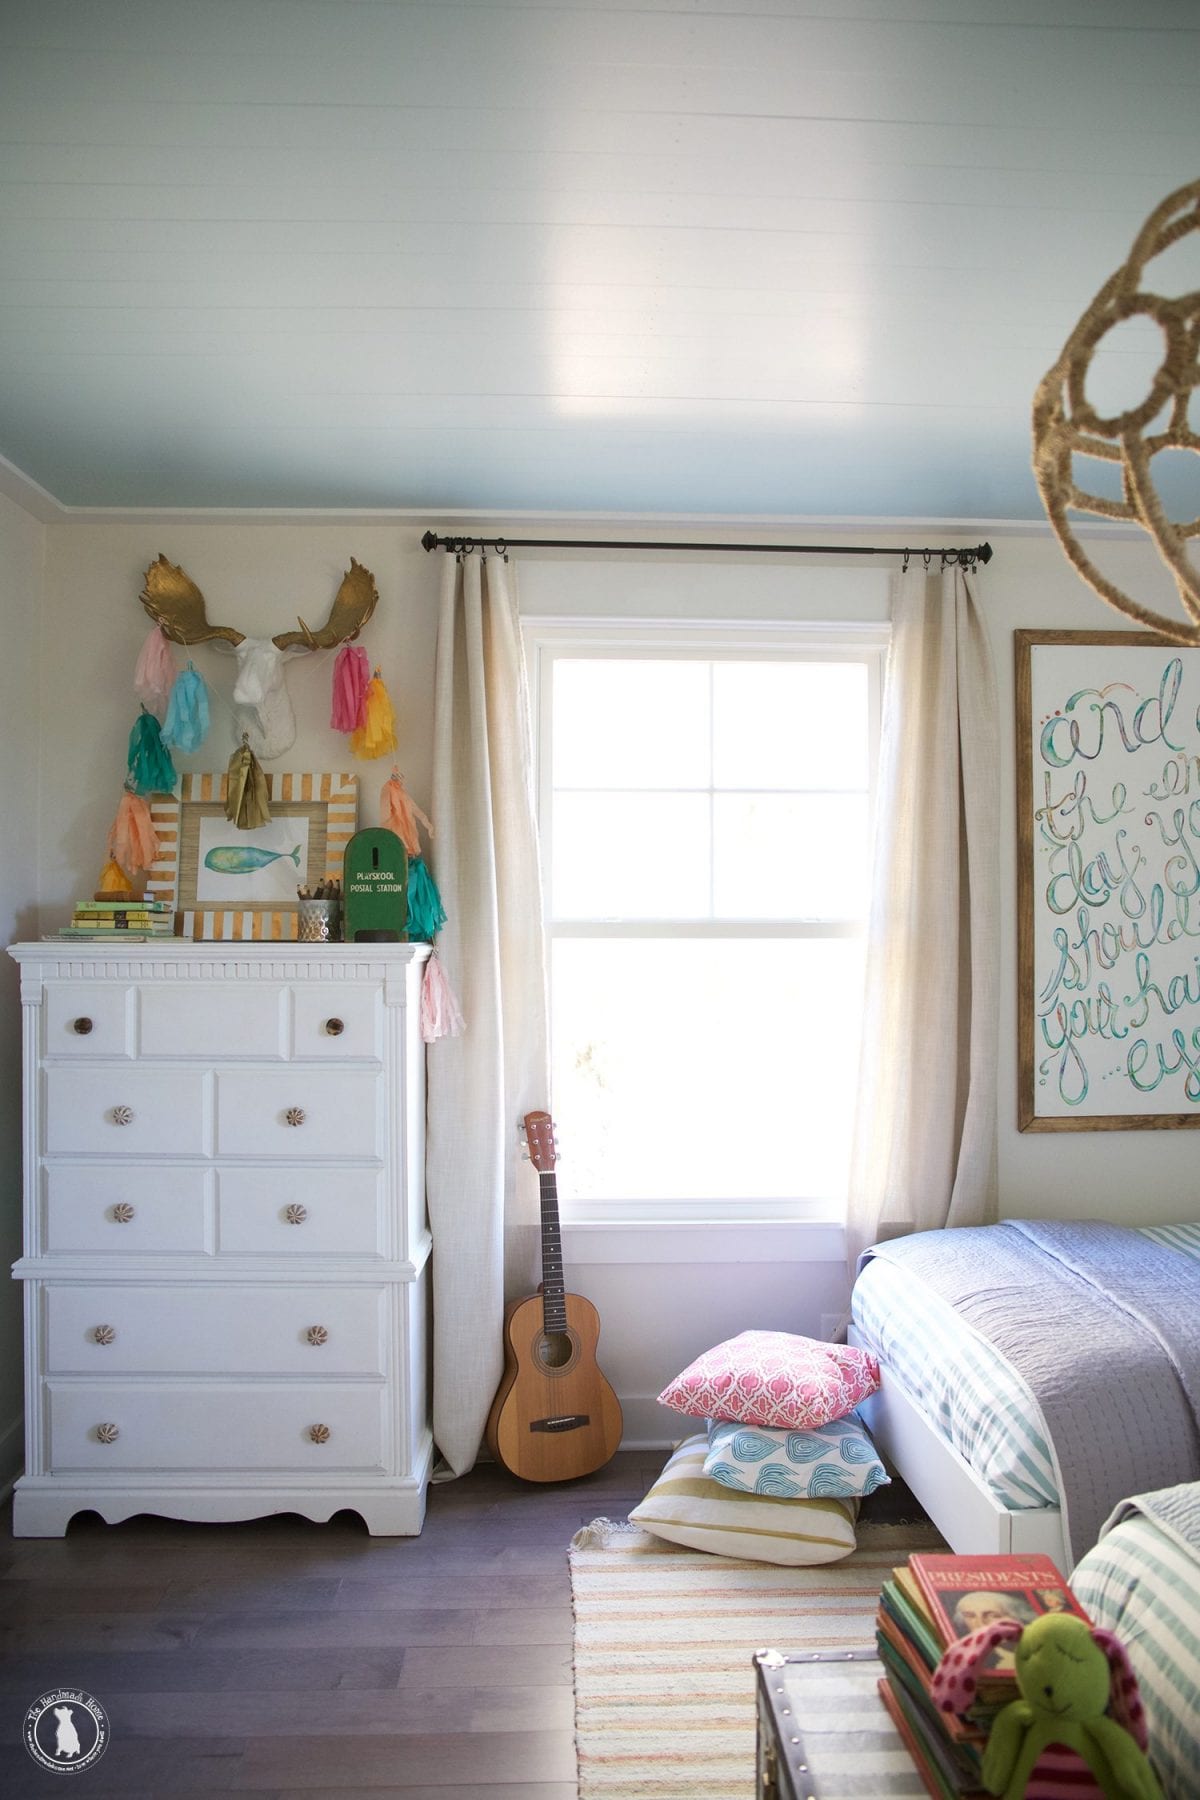
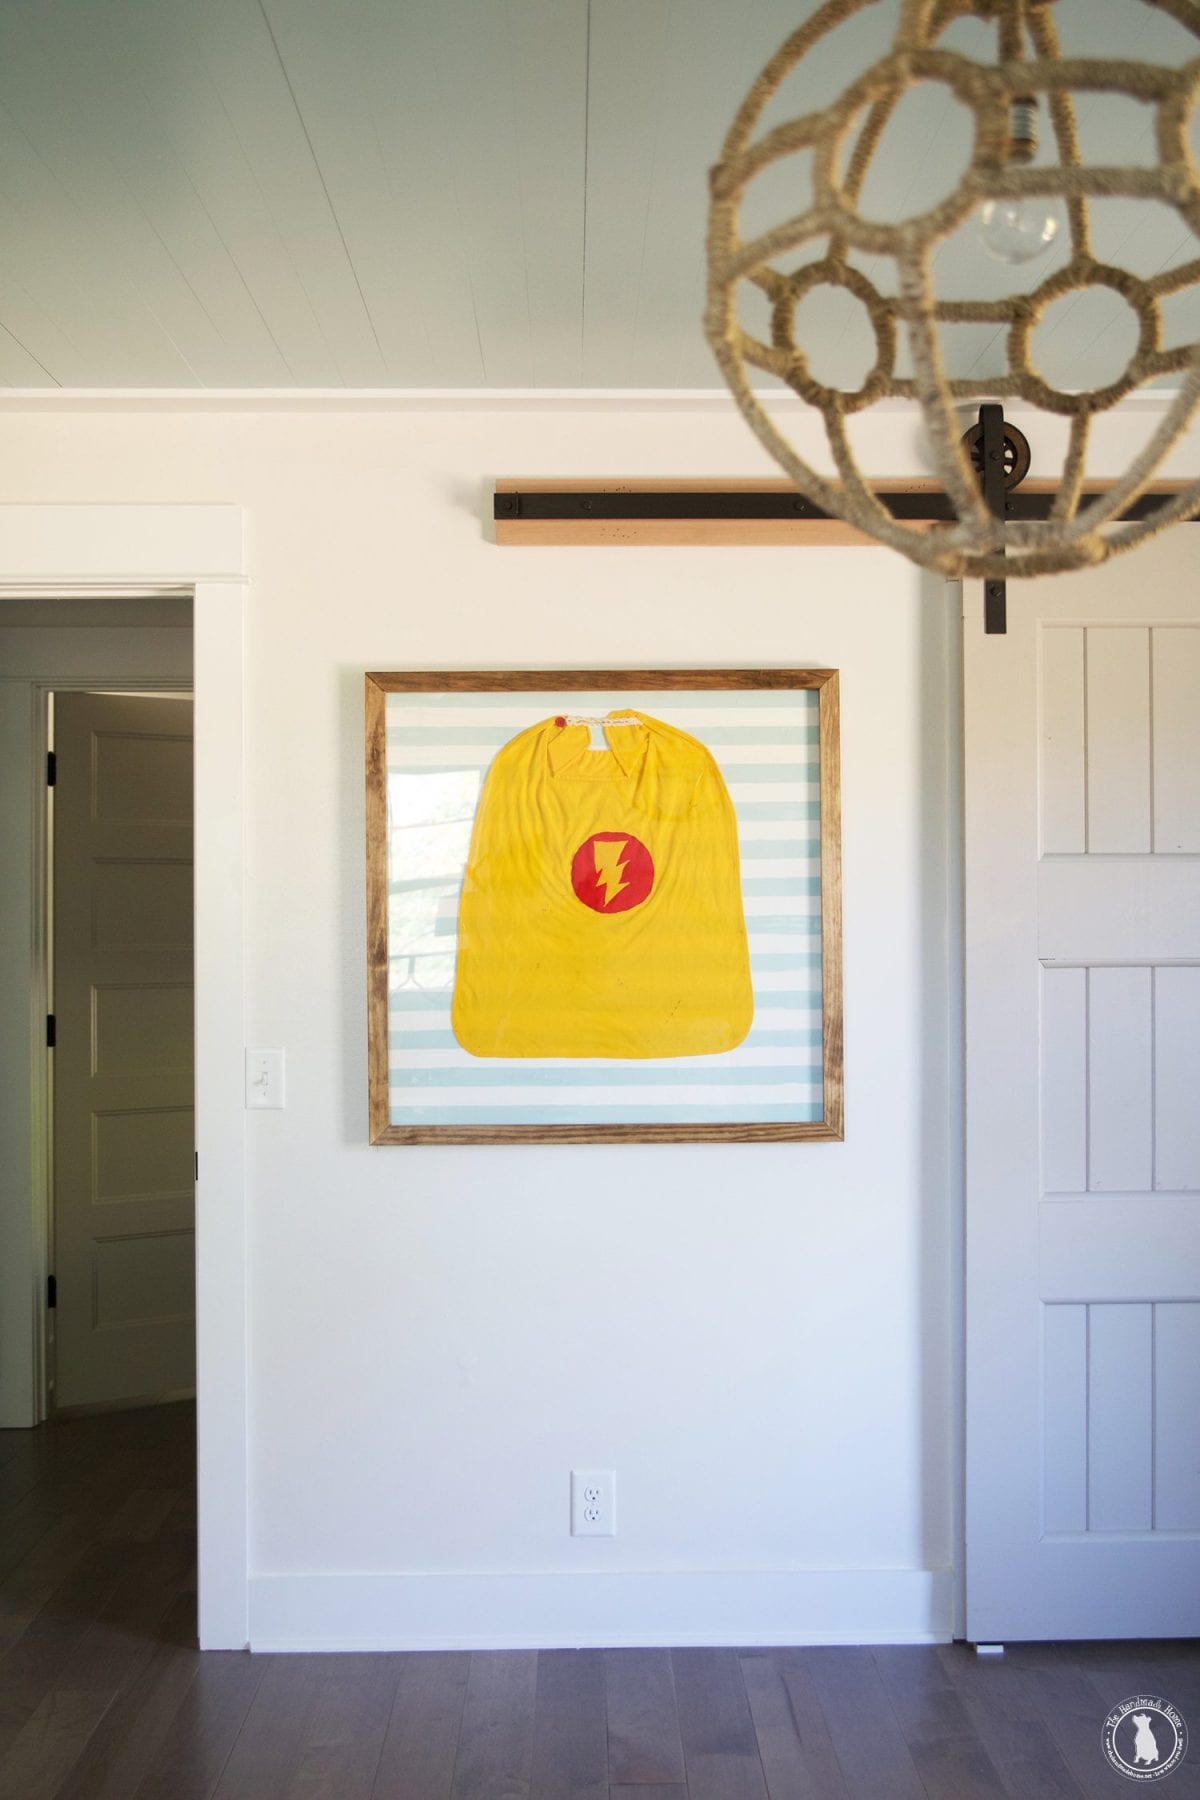
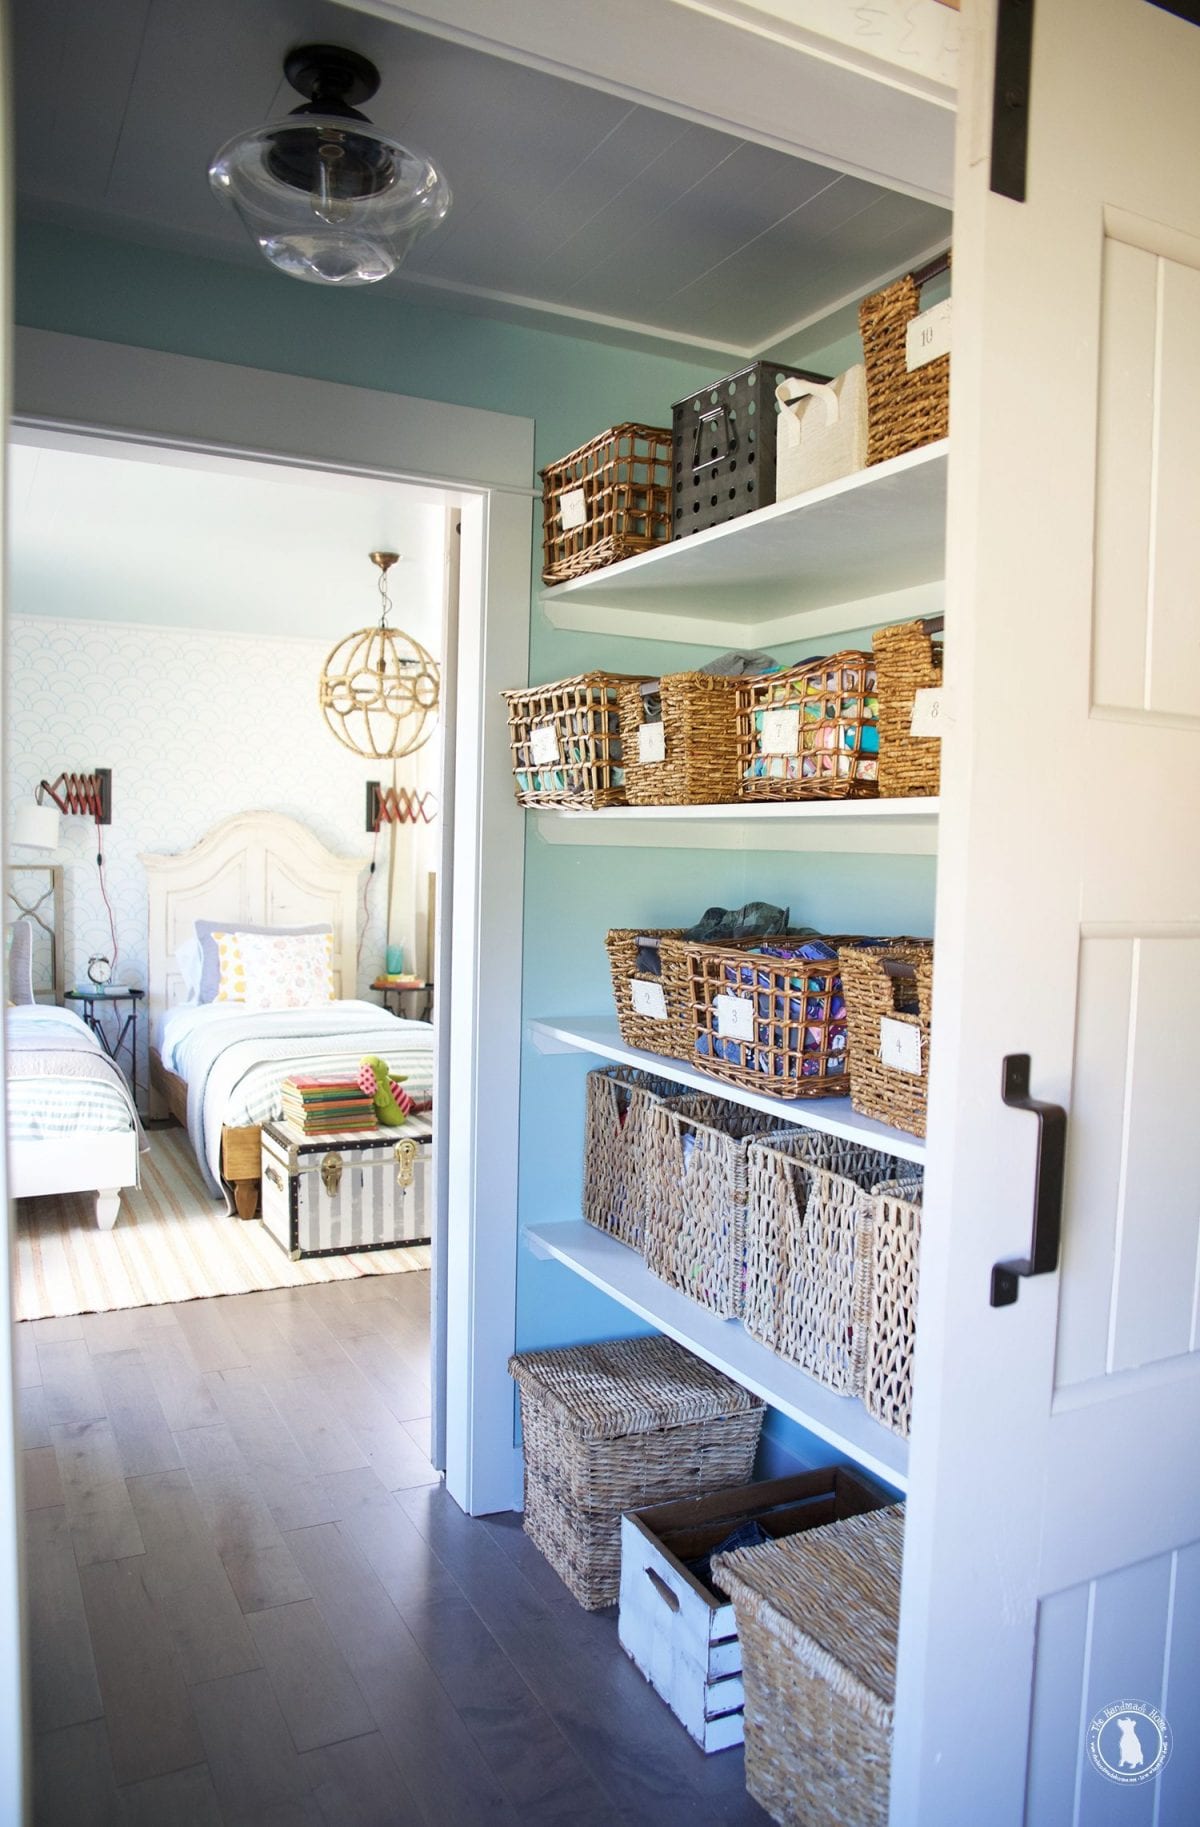
And just a few more shots of the space because we love it so…
But without further ado, how we built those beds!
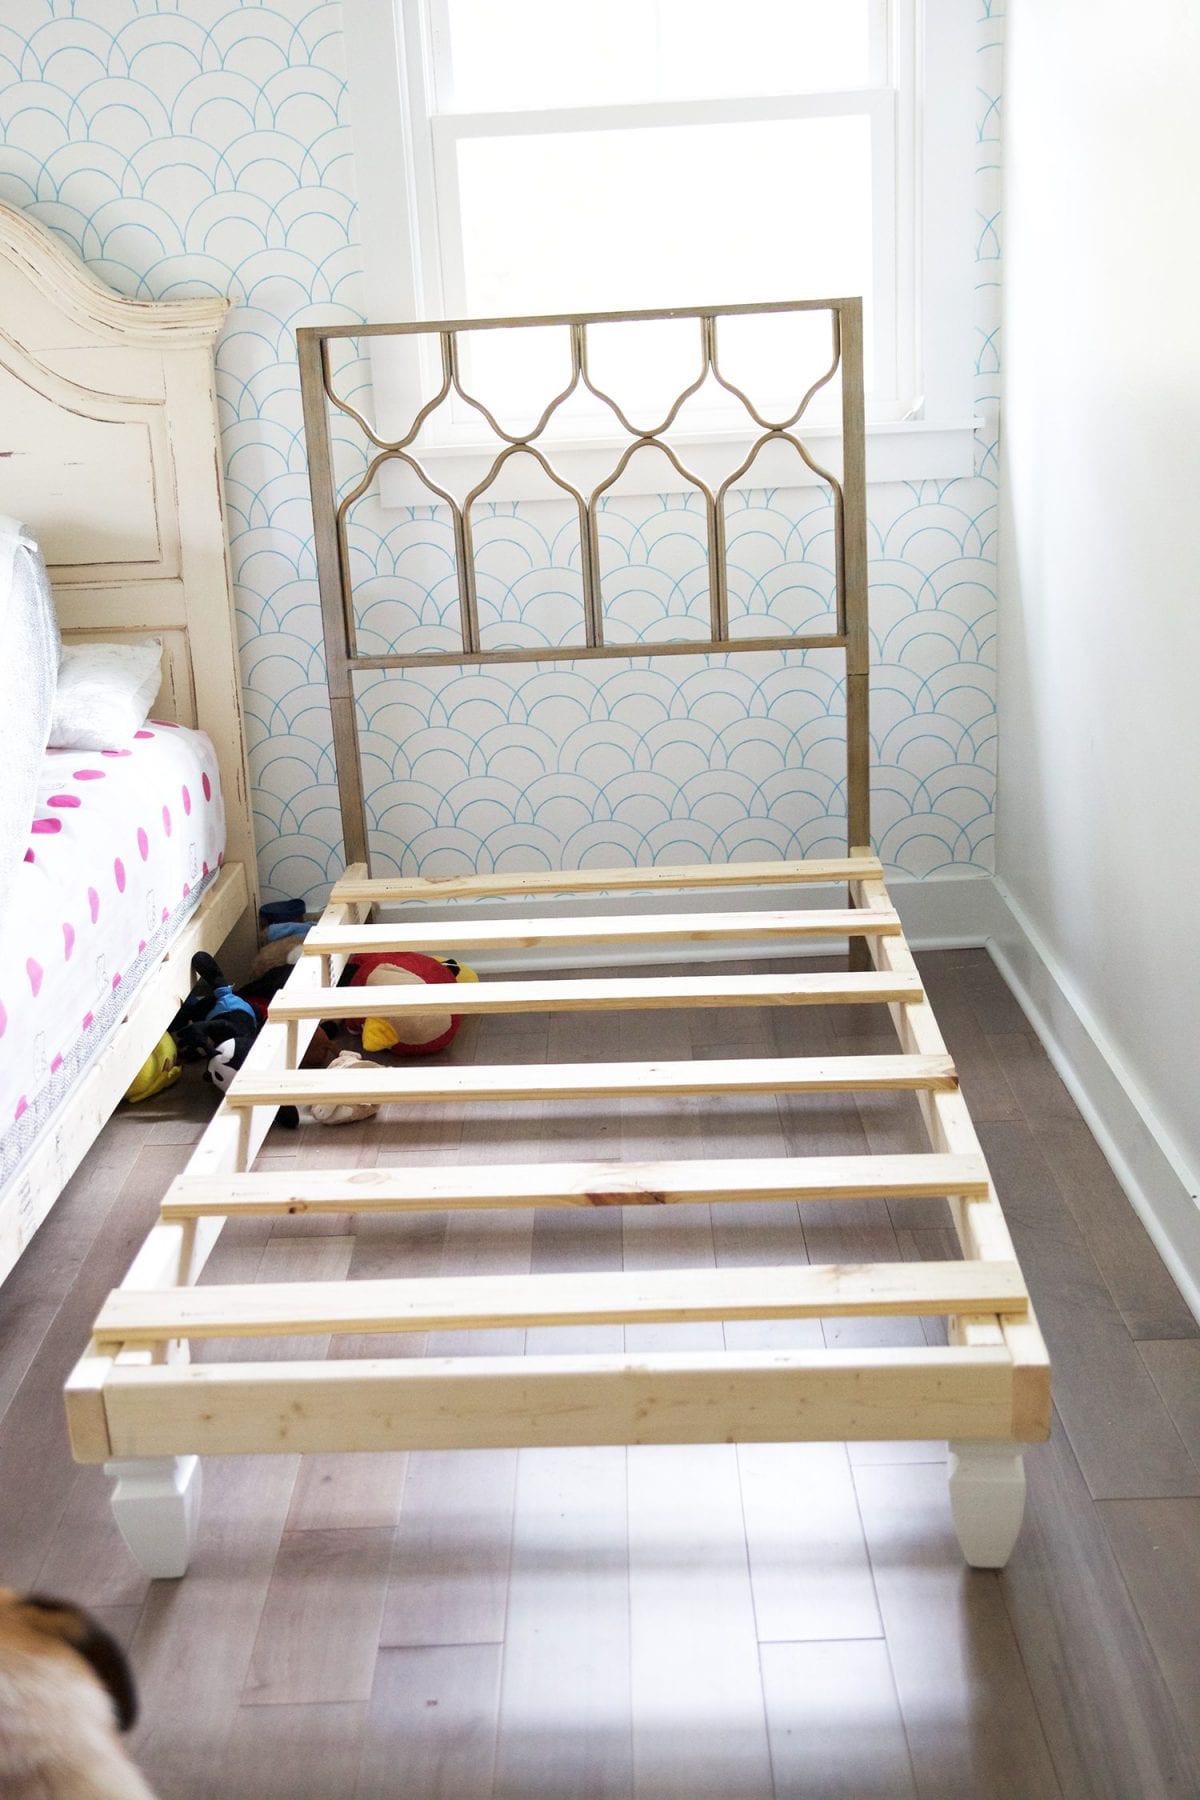
What you’ll need for a twin bed at 38 inches by 75 inches:
• (2) 12 foot furring strips or about 19 feet total. – Furring strips are cheap lumber used to build out walls.
• (2) 2 x 4 x 10 untreated pine boards
• (2) 2 x 10 x 10 white boards or some variation. – Just make sure you have enough for (2) 74 3/4 inch pieces and (1) 38 inch piece.
• wood glue
• (2) furniture feet
• box of 2 1/2 inch #8 screws
• box of 2 inch #8 screws
• (8) 1/4 x 2 inch lag bolts
• drill bits
• drill
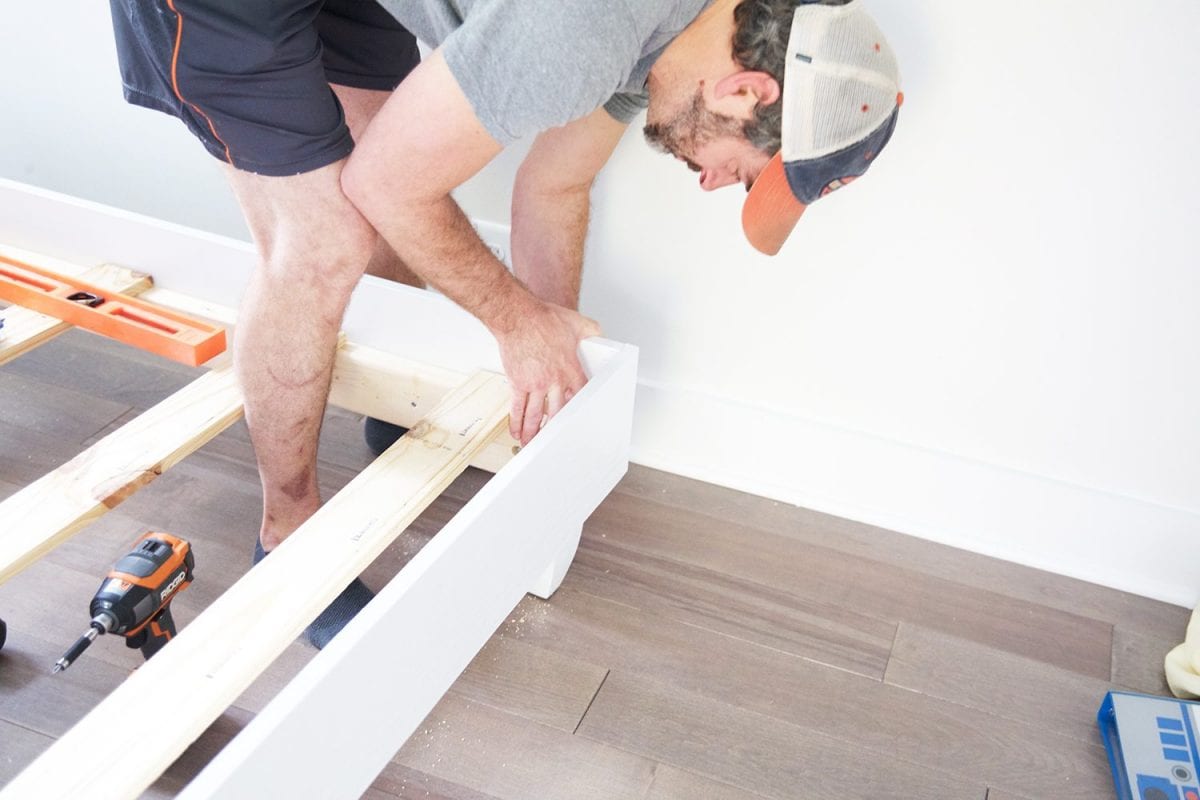
To start, you’ll need to cut the 2 x 4’s down to (2) 75 inch pieces, and (1) 35 inch piece, plus (2) more 6-8 inch pieces.
Then, using the 2 1/2 inch screw, attach the 35 inch piece to one end of the 75 inch pieces.
Next, take the 6 inch block and butt it up against the corner of the pieces that were just screwed together. You’ll attach this with the lag bolts. I prefer to predrill the hole, then predrill a larger hole about 3/4 of an inch into the scrap piece, so that the head of the lag bolt will sink in. Attach both sides.
Cut the furring strips down to 38 inches, and attach (6) of them with 2 inch screws. Space them evenly.
Attach the furniture legs you bought by drilling and screwing them into the 6 inch 2 x 4 you scabbed onto the frame.
Then attach the frame to the headboard with a lag bolt using the predrill method again.
This will be the frame that actually supports all the weight.
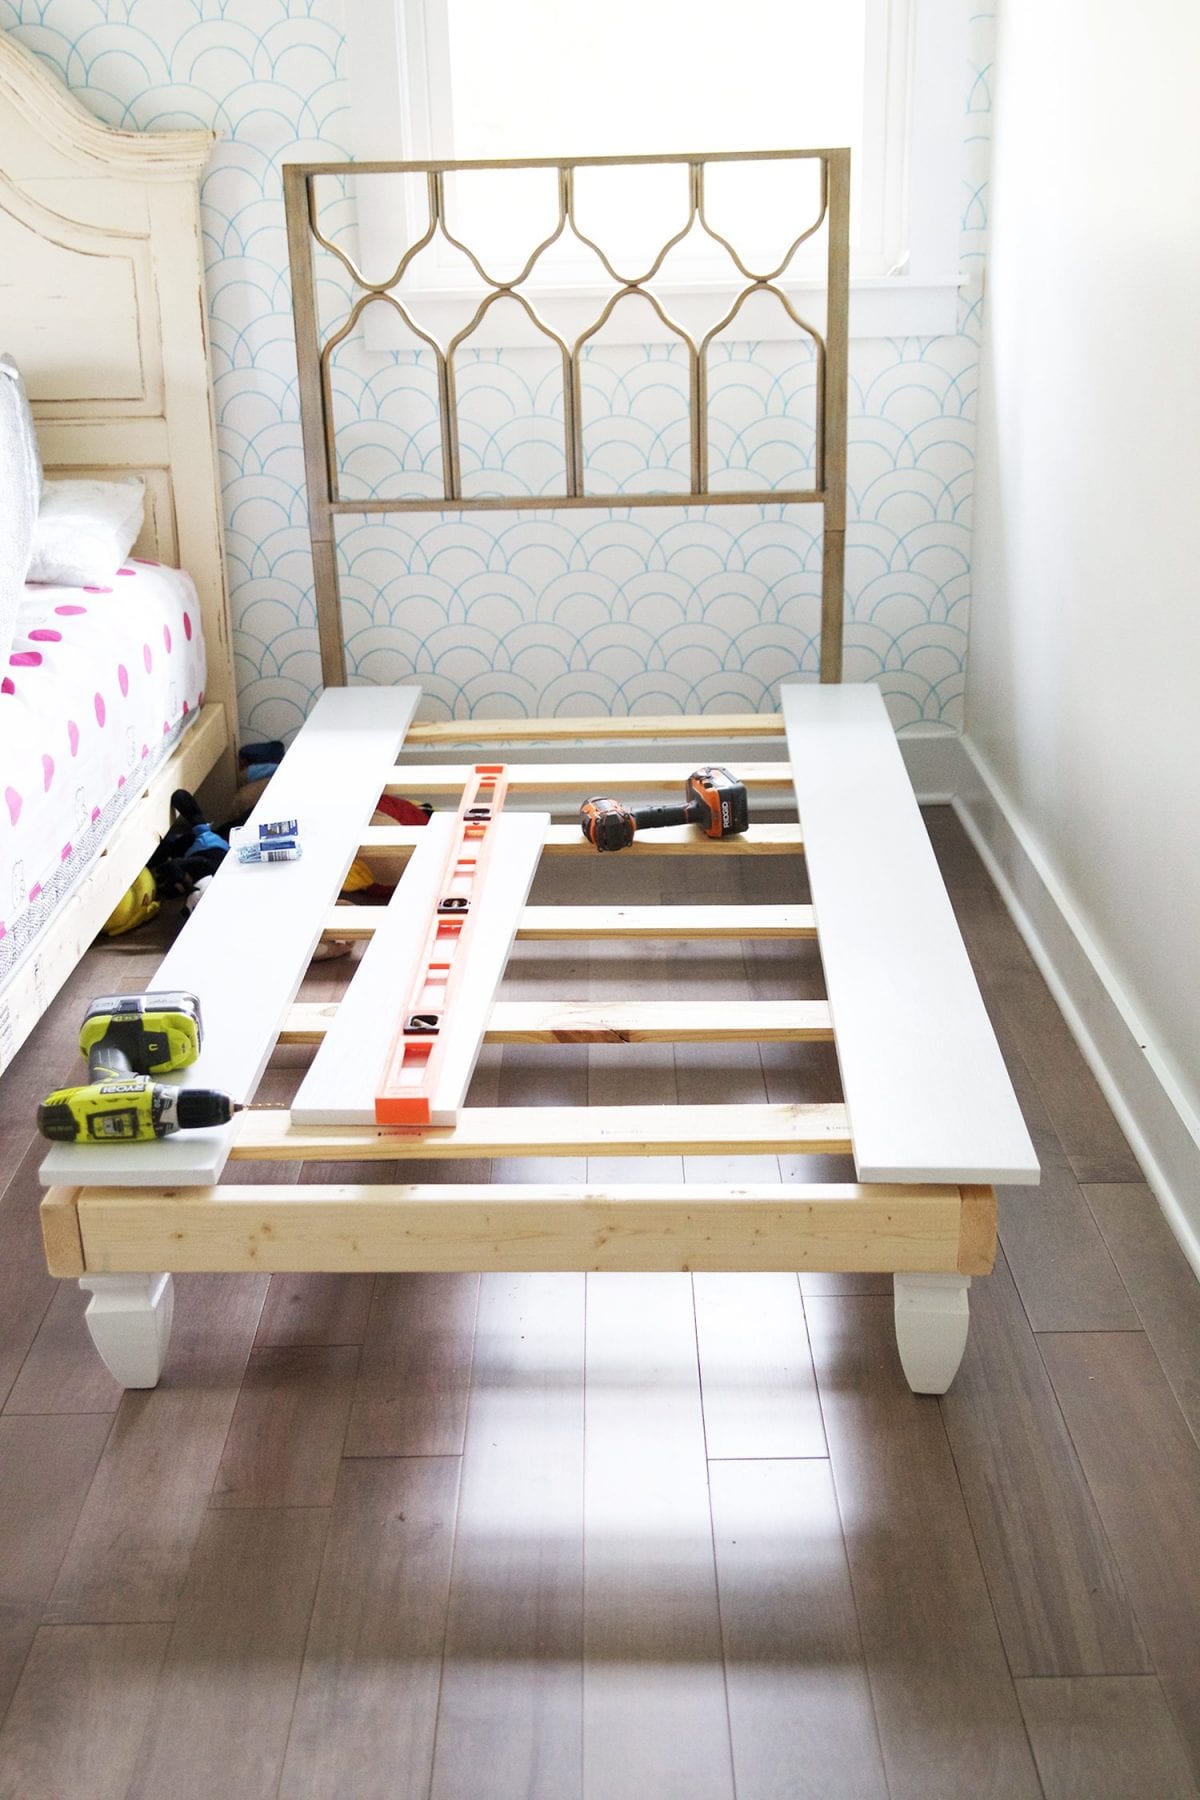
Now you’ll want to finish it off.
Cut (2) 1 x 10’s to 74 1/4 inches and (1) to 39 1/2 inches.
Stain or paint the pieces.
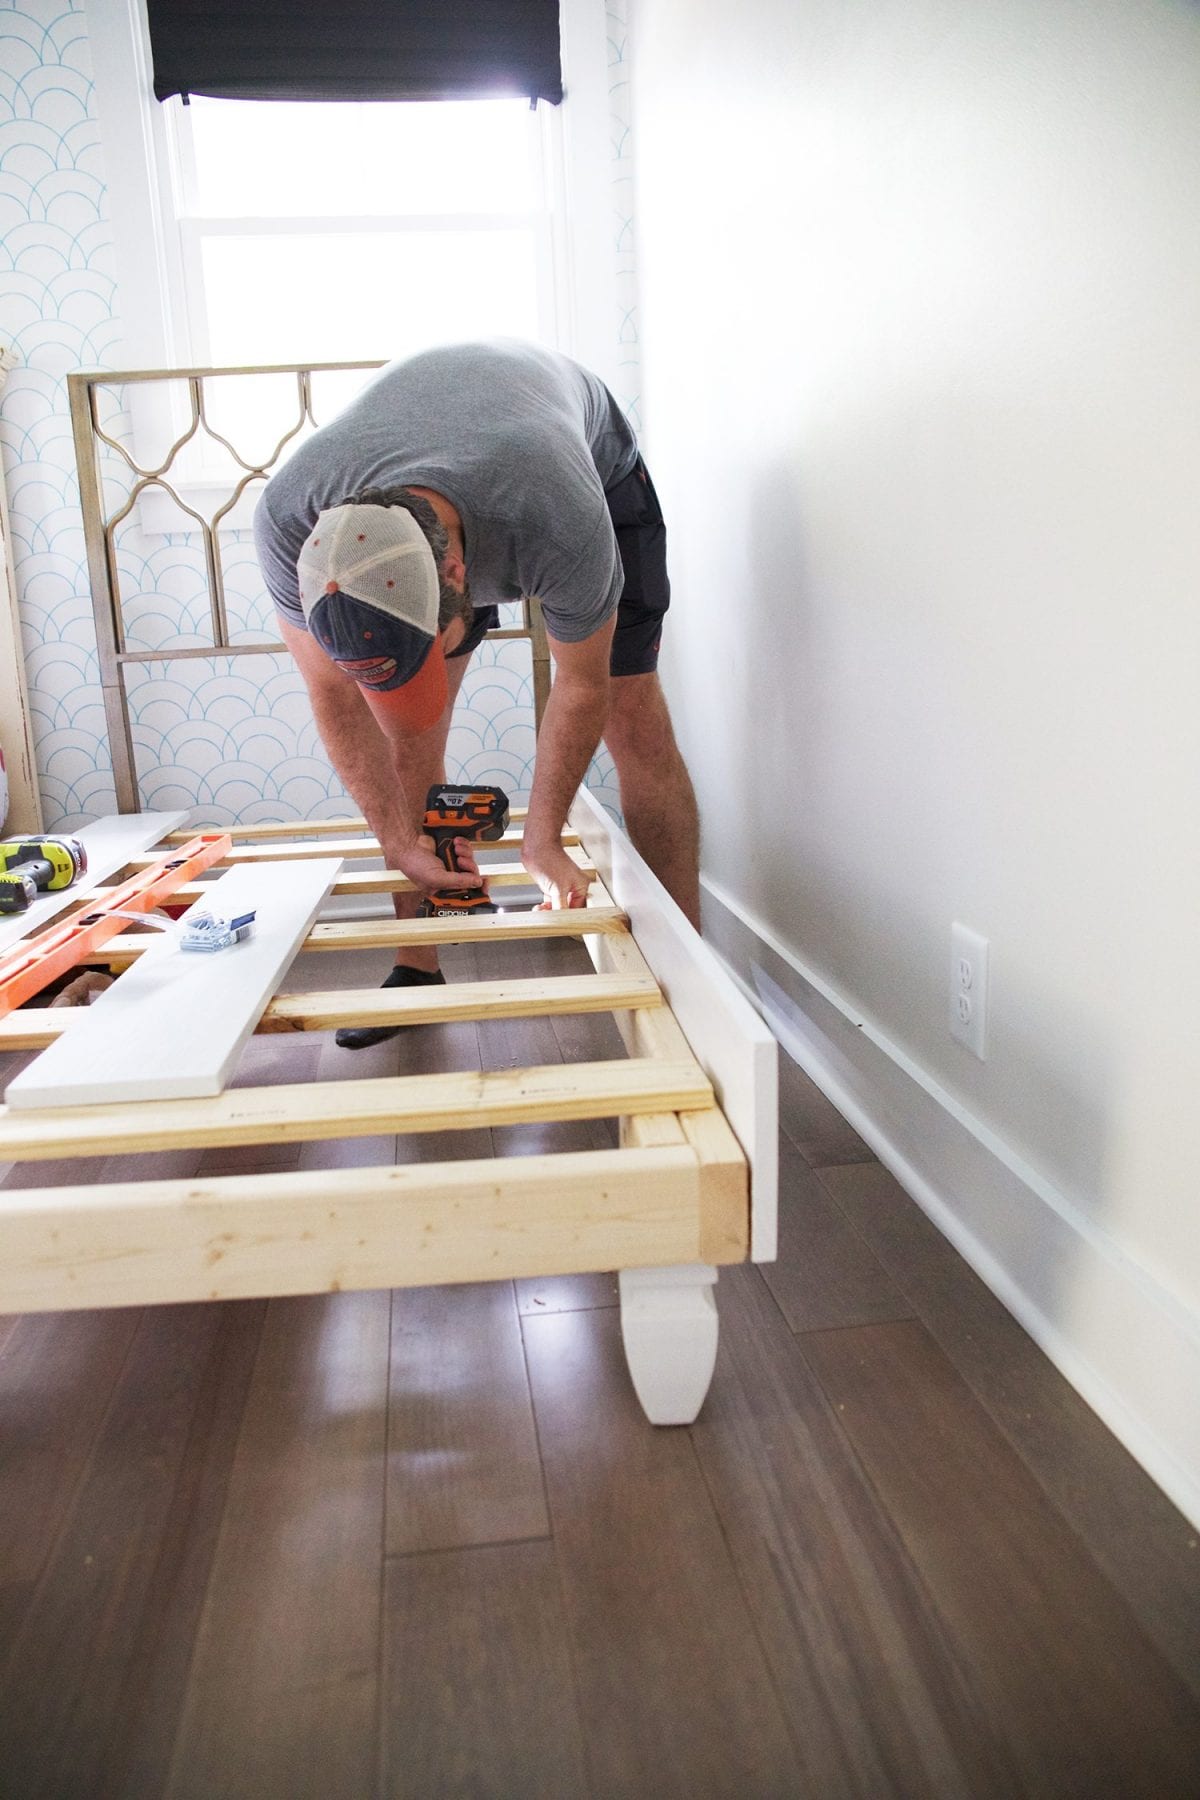
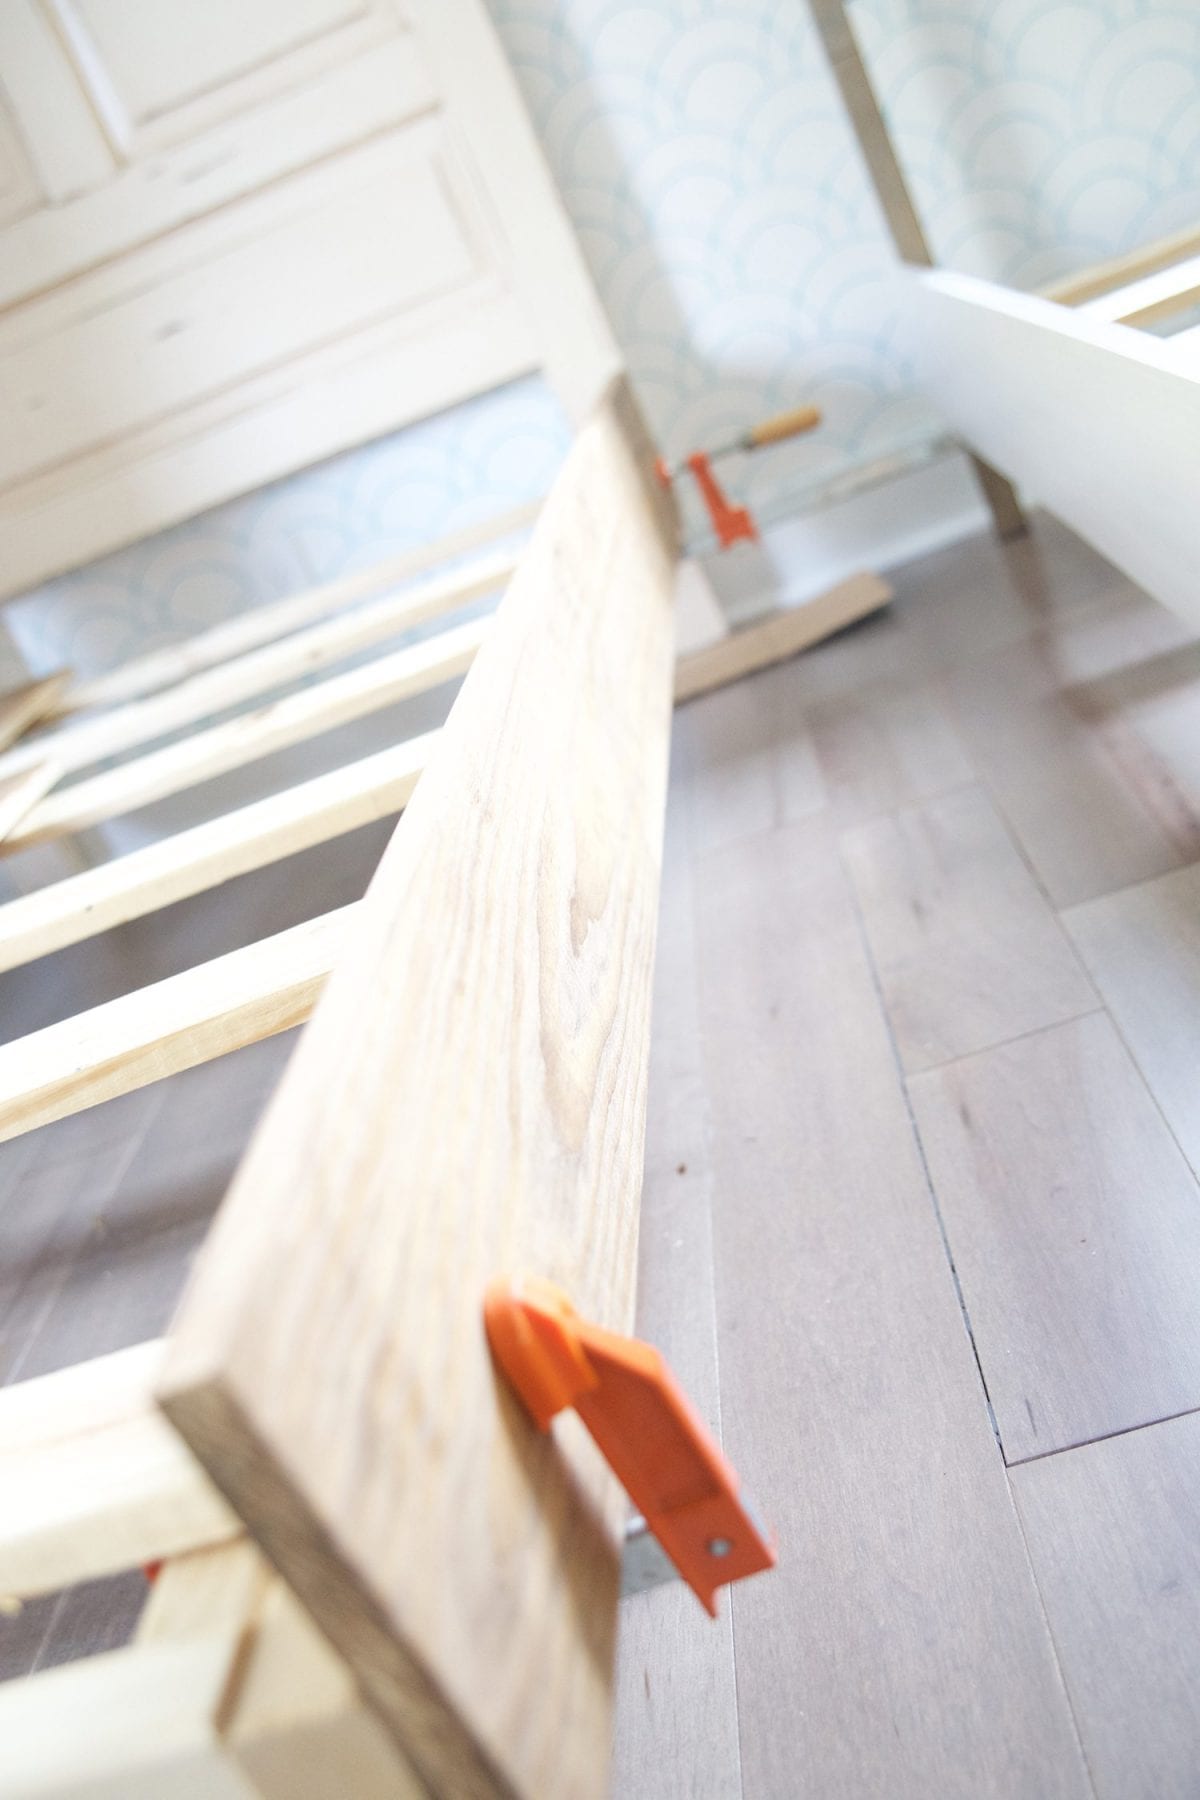
To attach them, we ran some glue down the edge that would attach to the 2 x 4, used a few clamps to pull them tight and screwed them in from the inside of the frame using 2 1/2 inch screws.
We think it’s easier to start witht he side rails and move to the end rail.
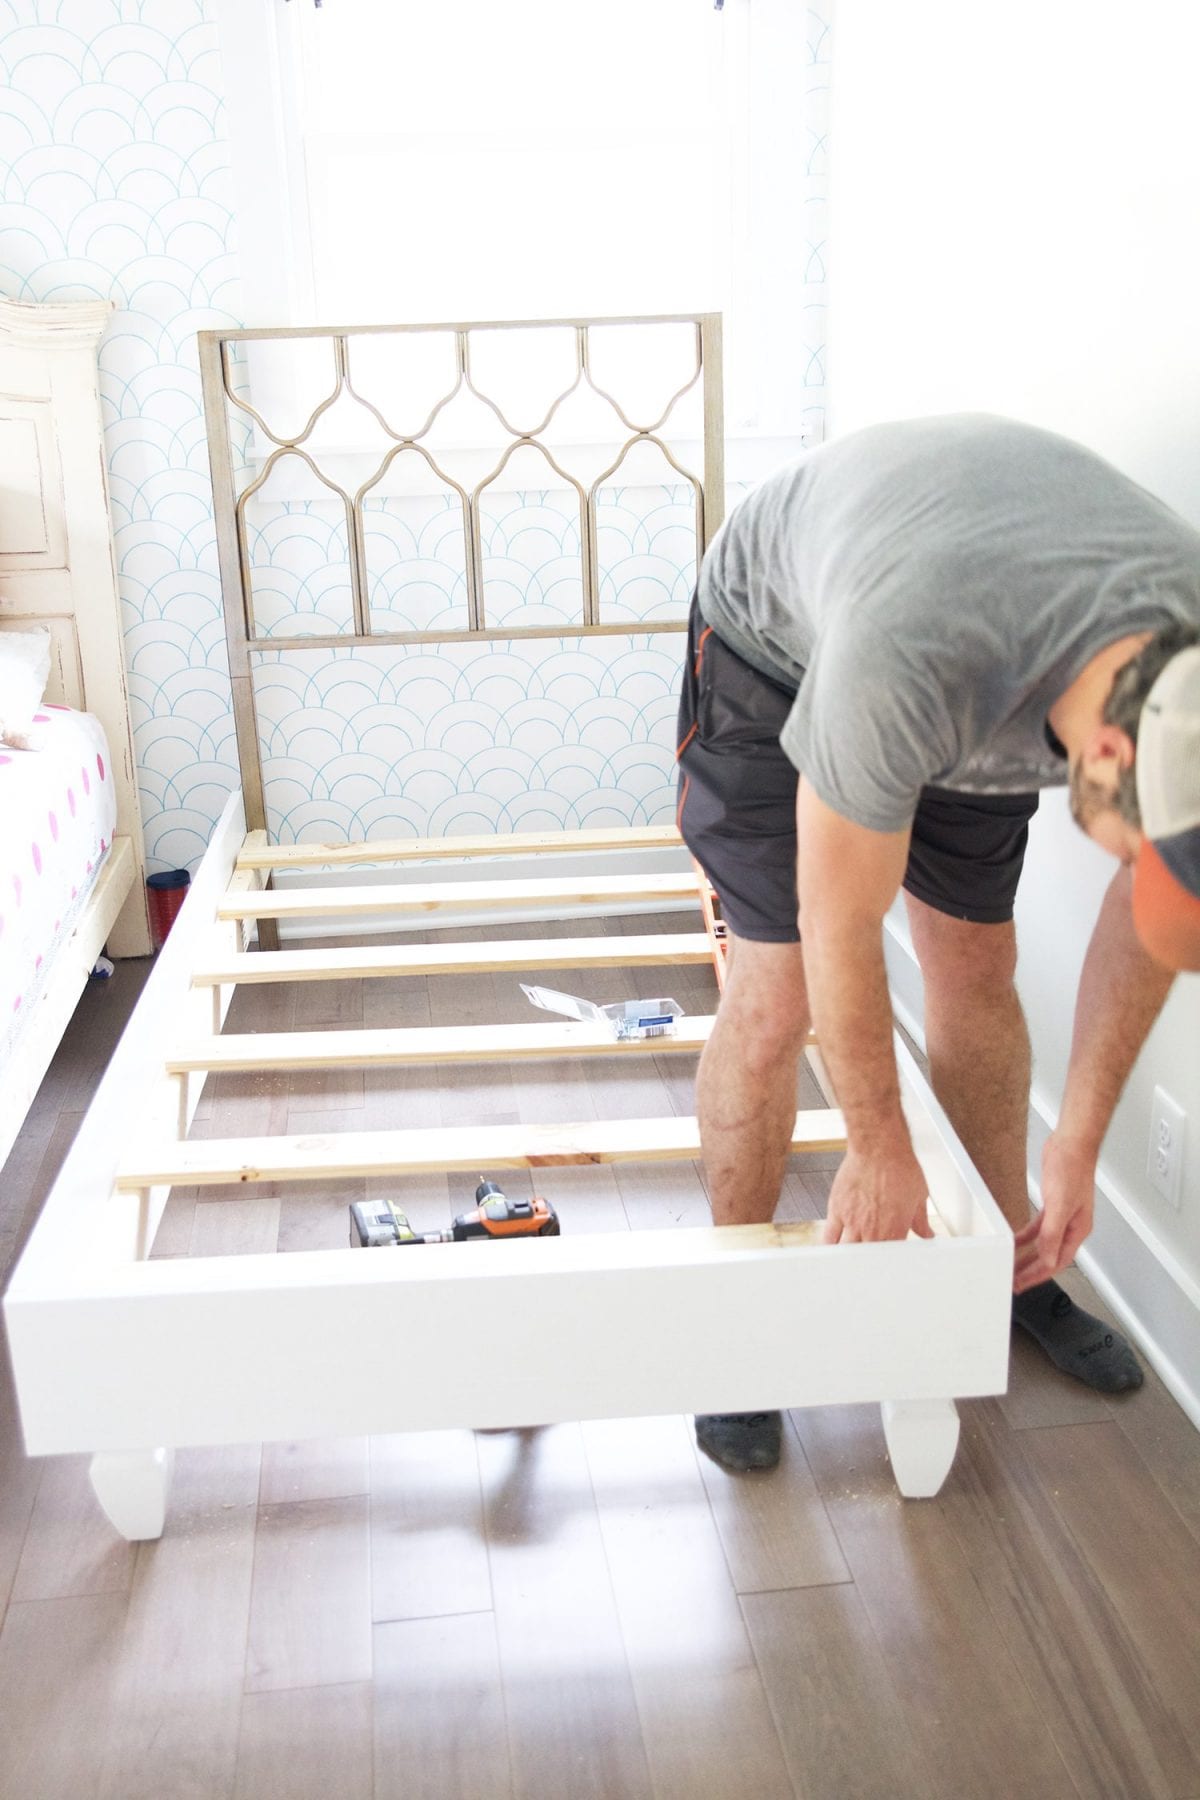
Once you have all the screws in, check for and loose spaces that might need securing… and enjoy.
This might be one of the easiest builds to give your space a ton of individual character.
Our kids are loving their beds… especially their new mattresses from Gel Foam Beds.
And man are those some mattresses. We might be slightly jealous.
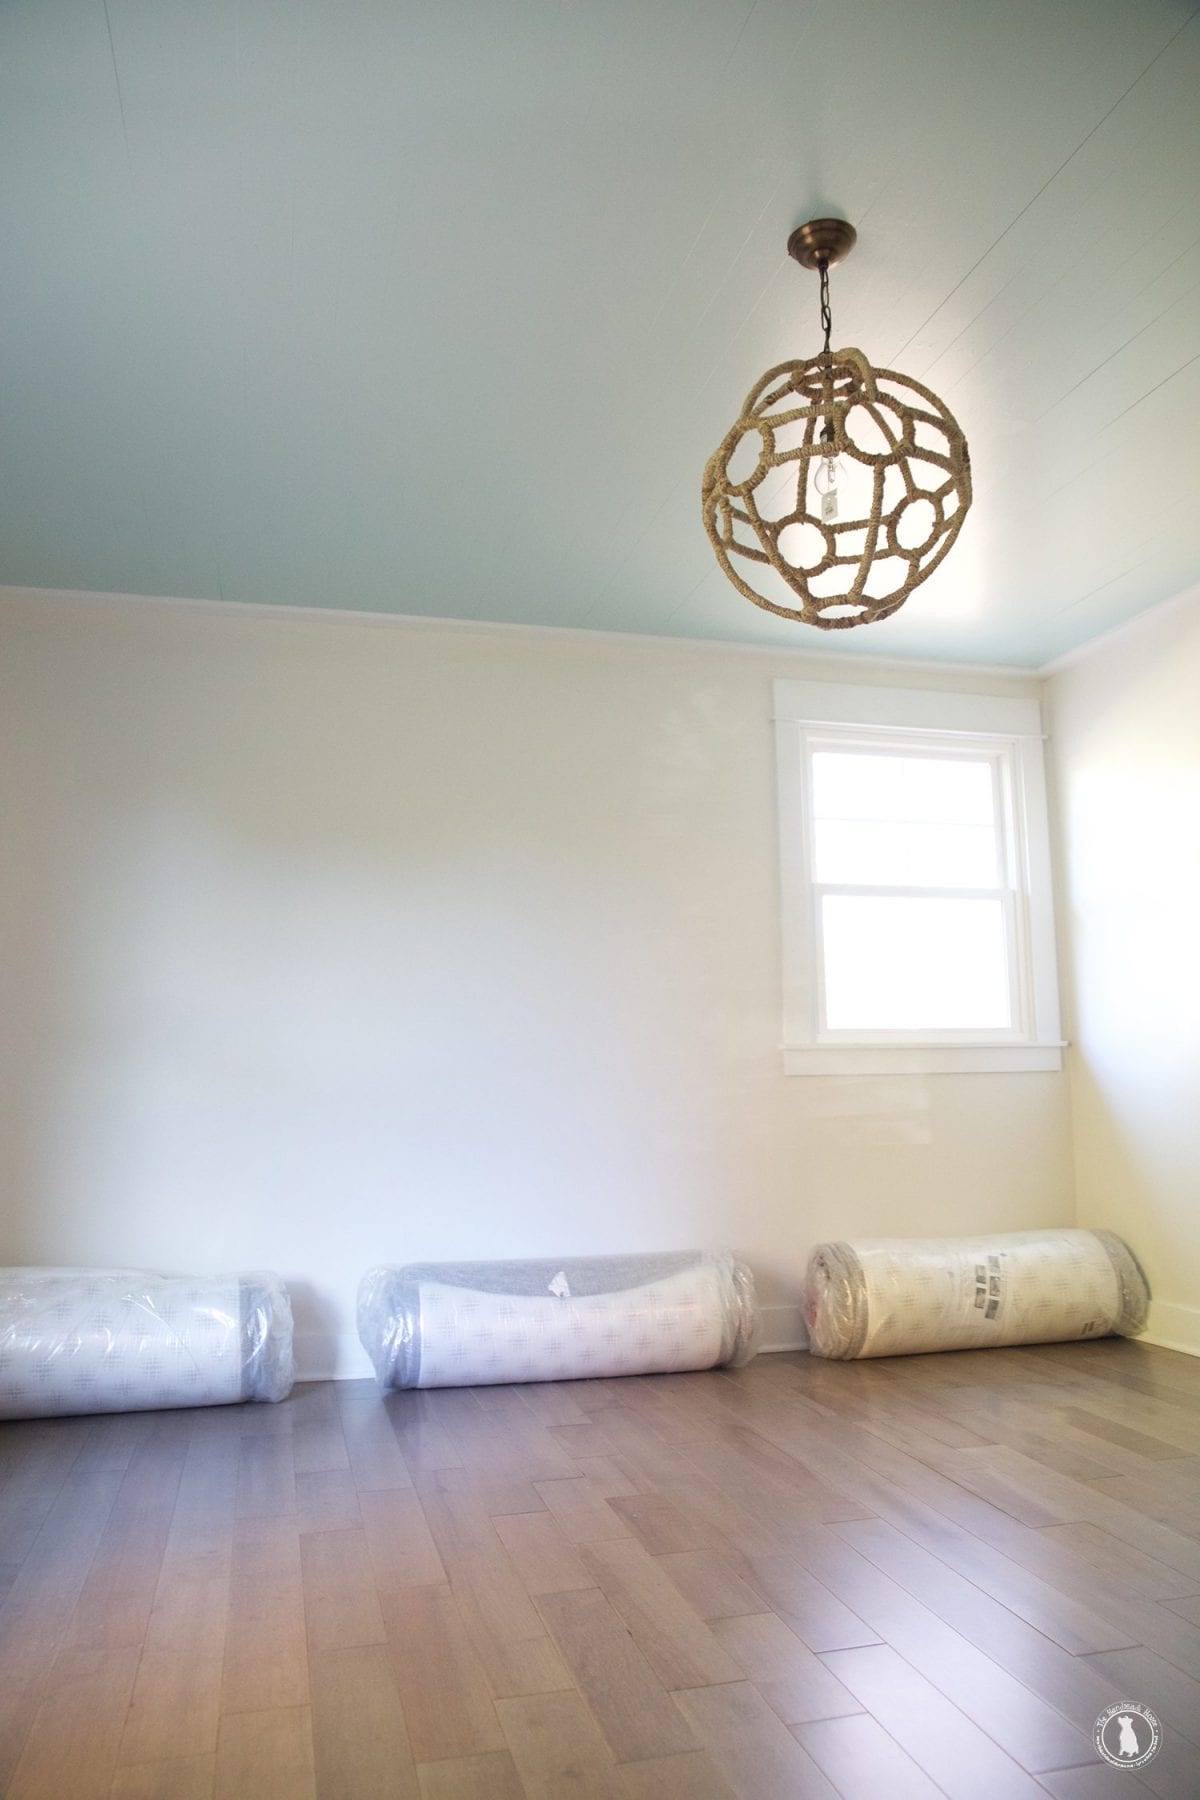
The kids had been sleeping on their mattresses for a while, because they were the first things we rolled out when we moved in that day. These are the first mattresses they’ve ever had that weren’t hand me downs, which have been great up ’til now… but they were all on their last leg with lose springs… and it was time.
We simply rolled them out, and…
Tada!
Well, it wasn’t that quick, but you get the picture.
The kids love their shared space. We weren’t so sure at first, but they’re having so much fun… we’ll definitely leave it this way for a while.

As always, let us know if you try it. We’d love to hear!
Have an inspired day!


Lovely blog. Had difficulty posting from Bloglovin, but went onto the web and found your site. I just wanted you to know how much I enjoy reading your posts.
Awe thanks so much, Wendy!
Love the beds! I’m sorry if this is posted somewhere but how are the mattresses as far as heat/cooling? We have a memory foam topper that traps body heat like crazy, which is ok in our Iowa winter but awful in the summer! My daughter wants a new mattress but gets hot in the summers, so don’t want that issue. We also need a new mattress but man, I hate shopping for that! Any tips?
Hey, Kim. Based on our experience with them, they do amazingly well in both winter and summer. They have a technology that releases body heat. We love the beds and joke with the kids that we are going to take them from them for our own!
Where can I purchase the bed feet? Thank you for sharing this and I cannot wait to build my own. Wish me luck !
You can buy they online or grab them from Lowes or Home Depot.