
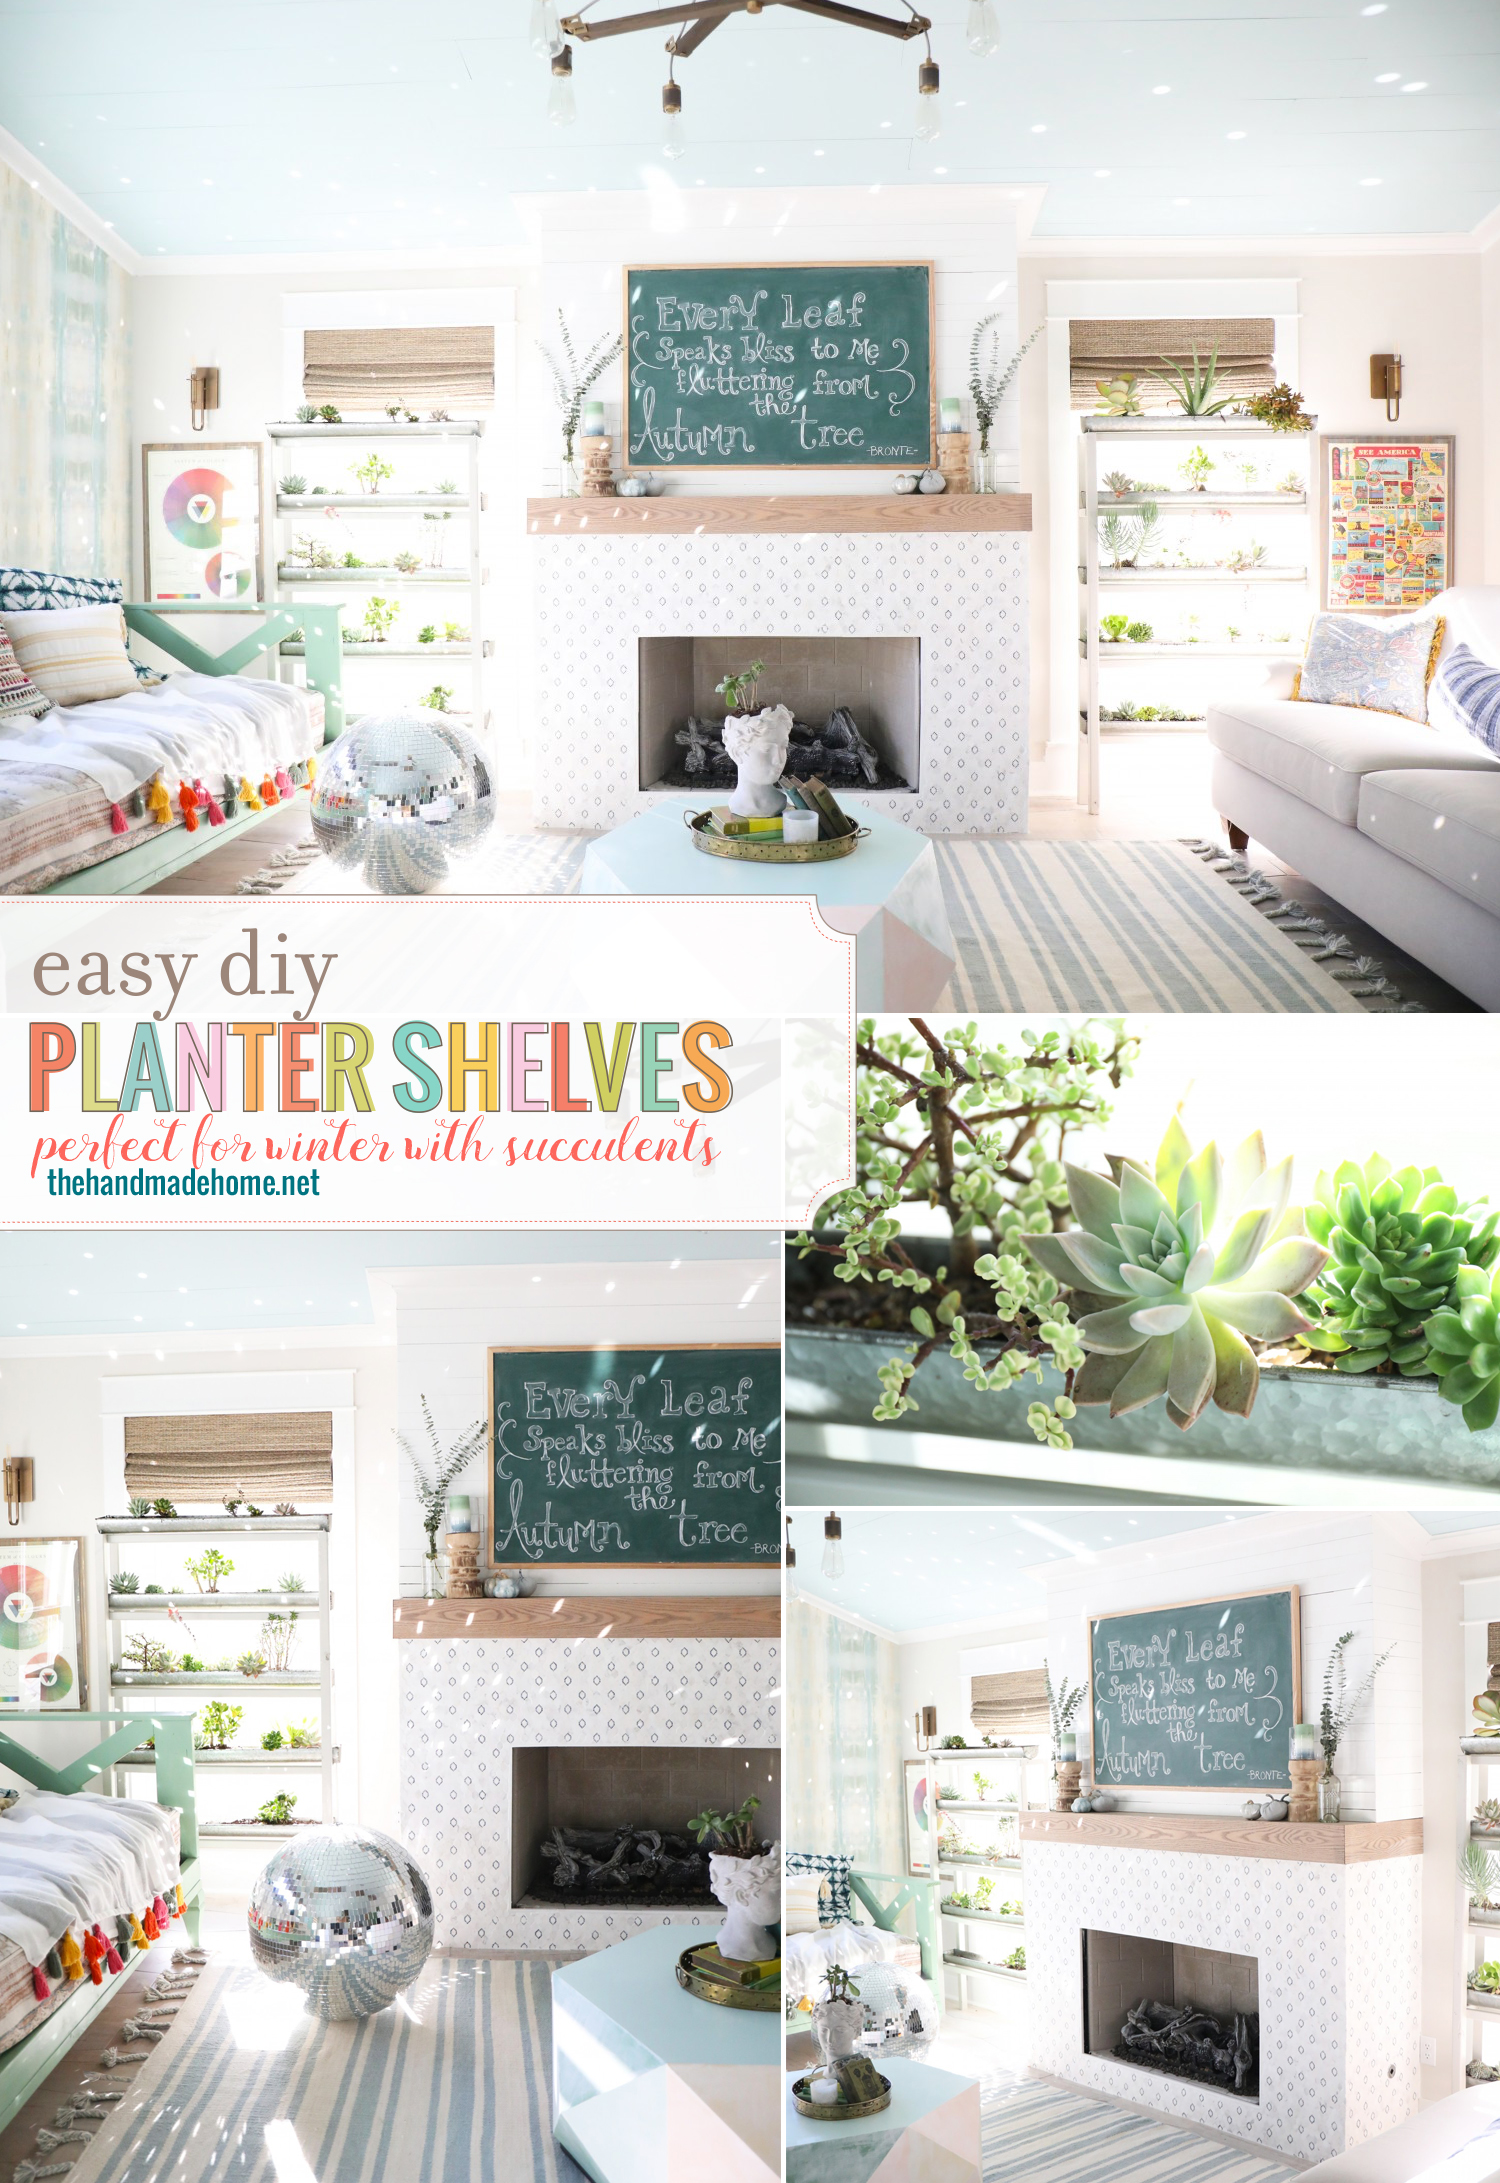
easy diy succulent shelves
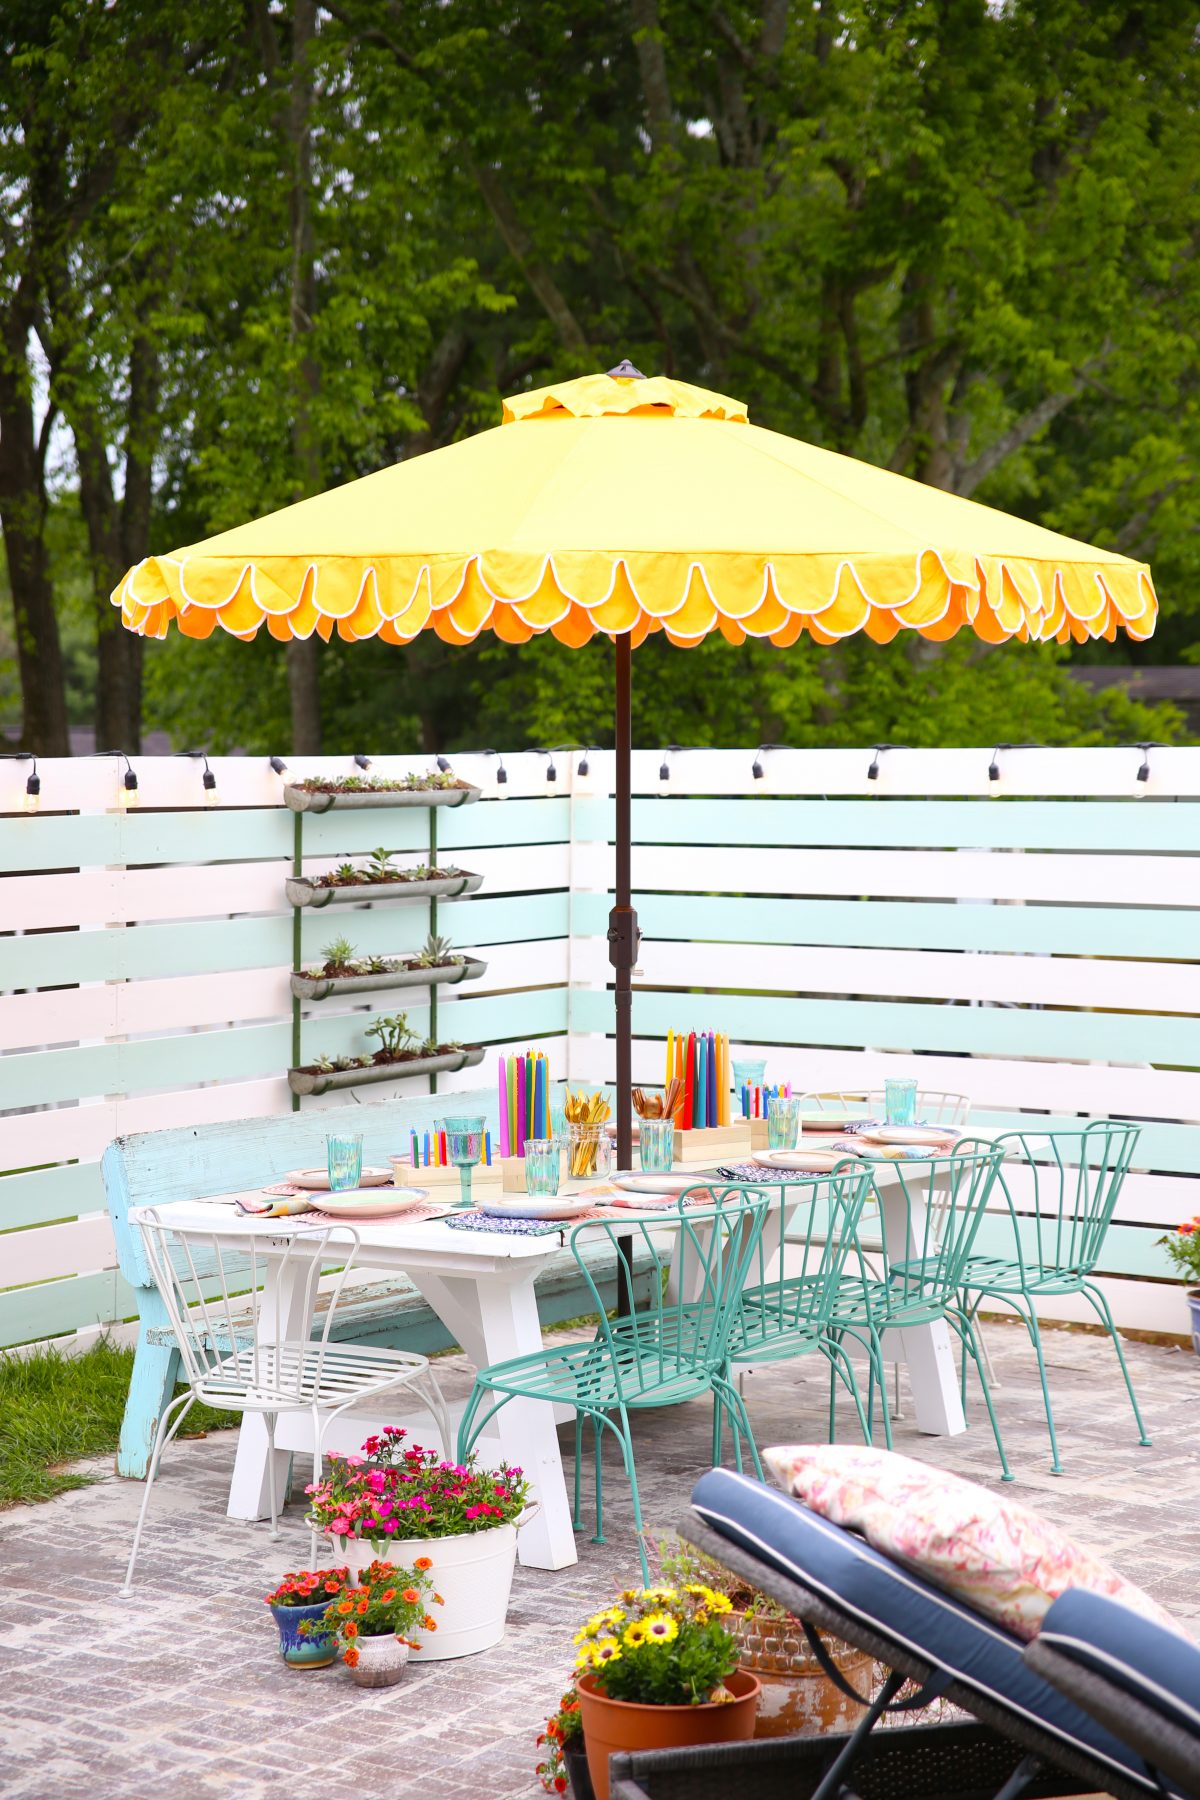
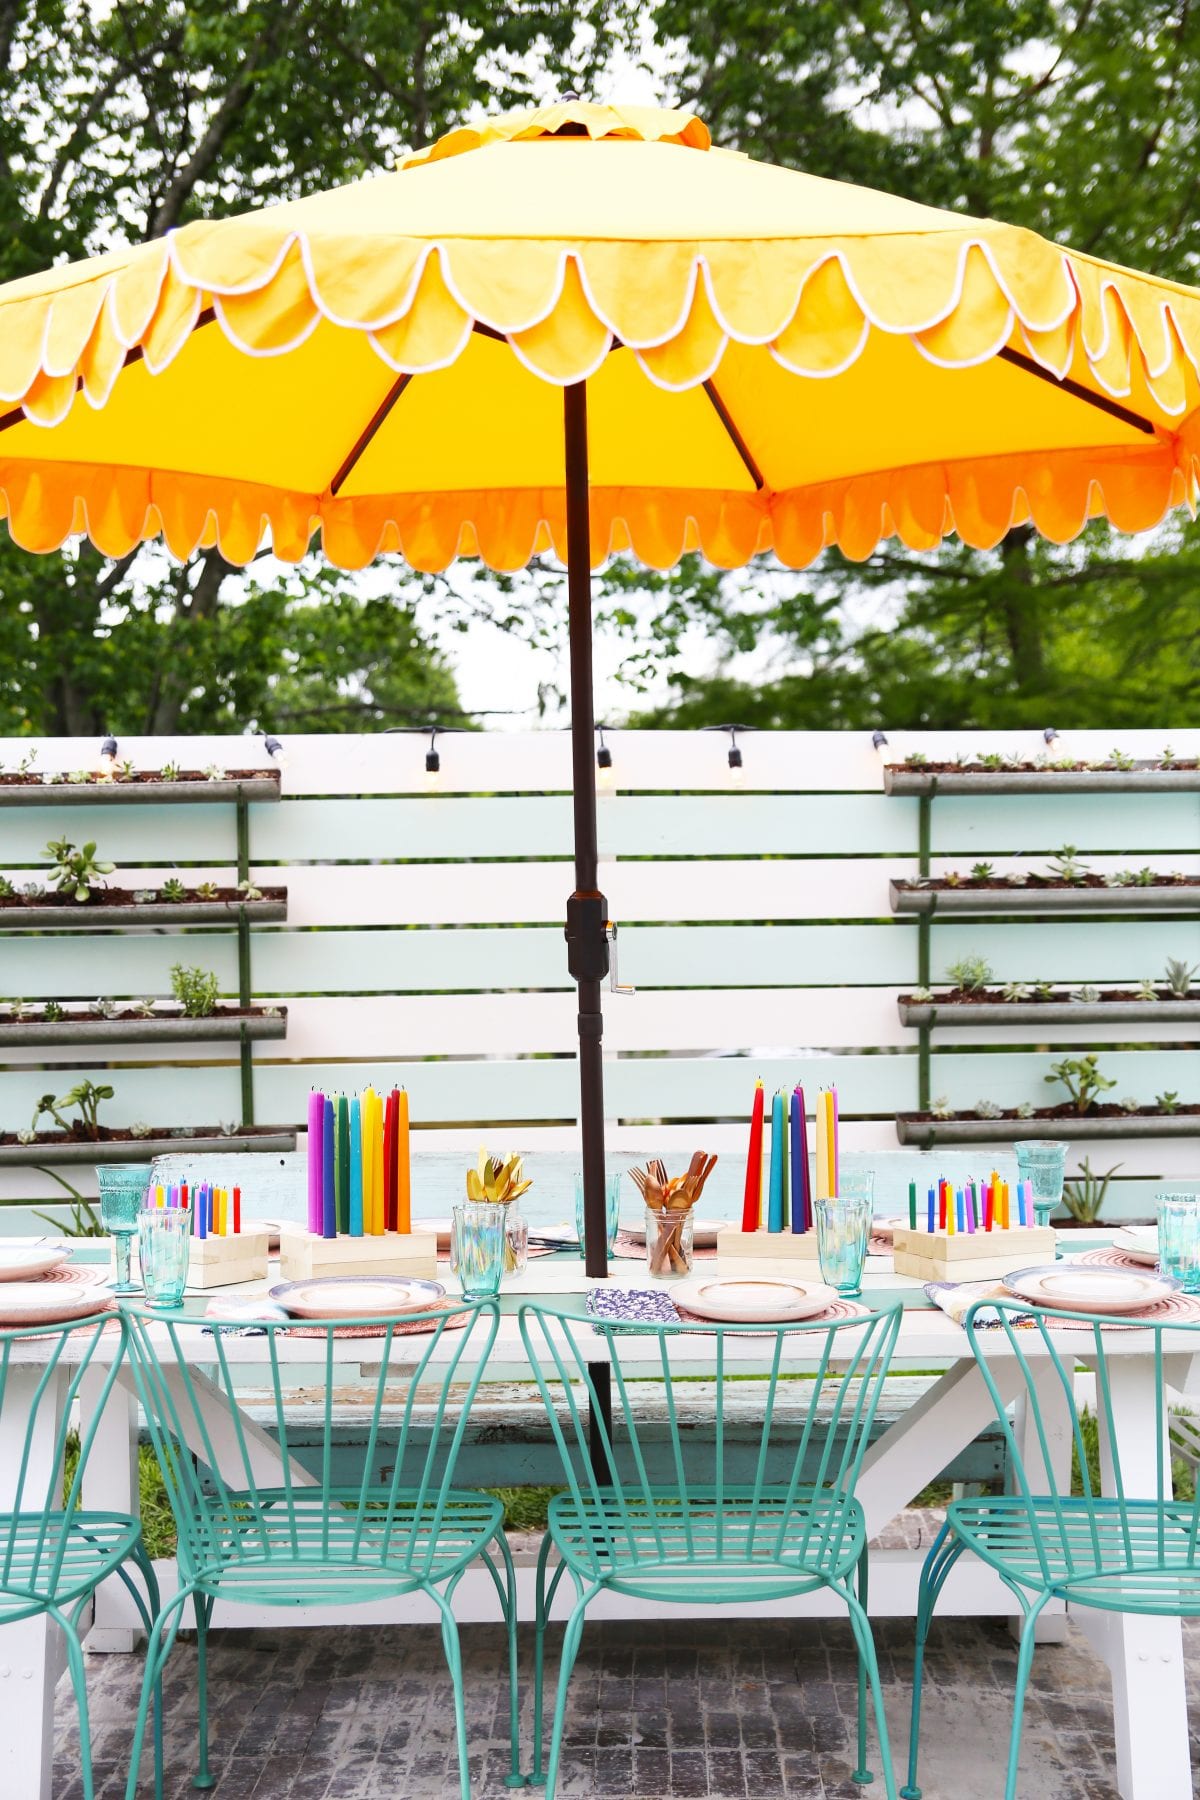
We seriously loved upgrading our yard during all things shut down a few summers ago, and one of my very favorite elements is this succulent wall.
We had a great time installing these {affiliate link} wall planters from Wayfair. It brings character and privacy to our home, and they became my little plant babies over the summer. They really do thrive on neglect. Wheeeee!
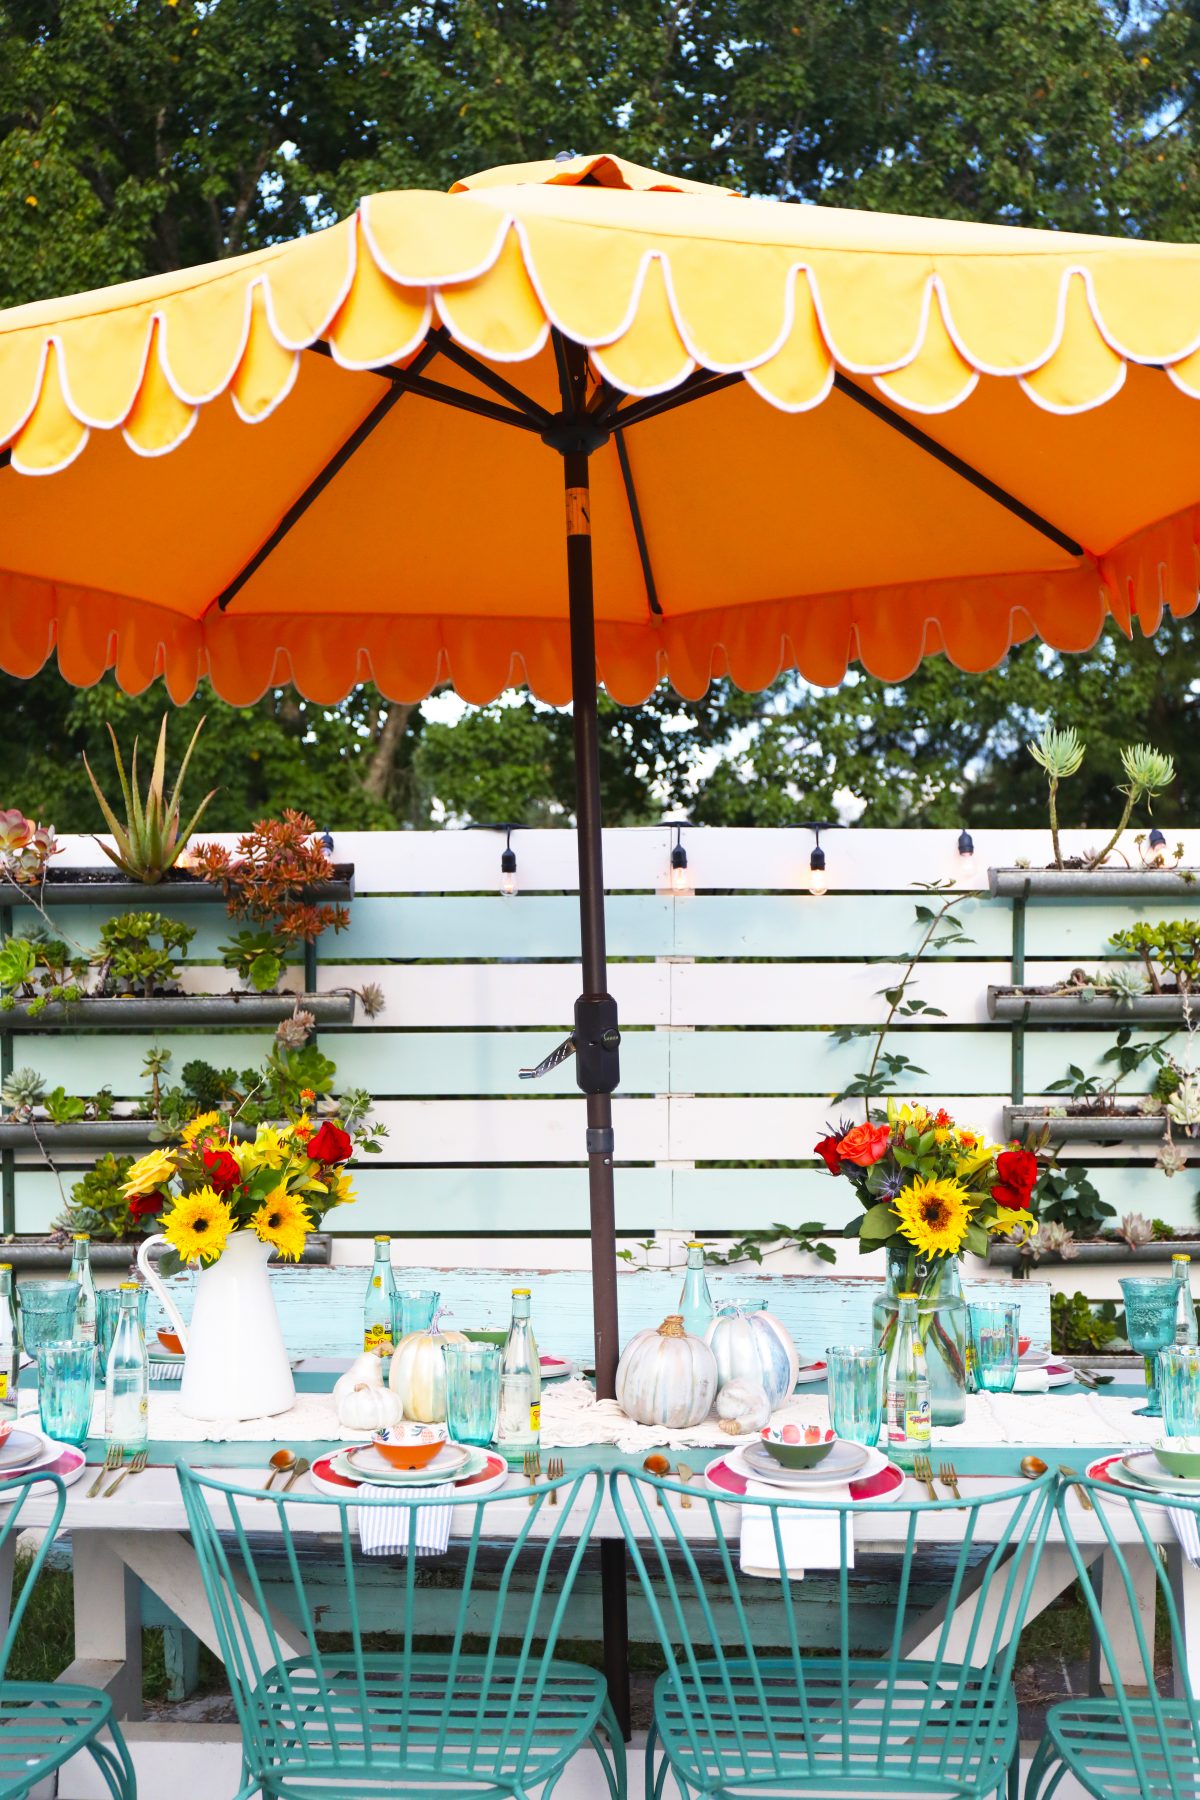
Every fall I bring certain plants in at a certain time, and I realized that I needed to get on the ball with all things succulents, since they seem to be super sensitive to cooler weather.
When I googled {because botanist I am not} it was a little vague, and I saw that anything between 40-45 degrees could be detrimental once they sense that the weather is changing. So we decided to go ahead and bring them inside. The only problem is that these are a lot of succulents. And the trays they’re sitting in are curved underneath. Also, I didn’t want these plants to just take over my space. They need access to sunlight without taking over my entire home.
They started out so small, and here they are this fall. I’ll definitely be moving some to different pots, in the spring.
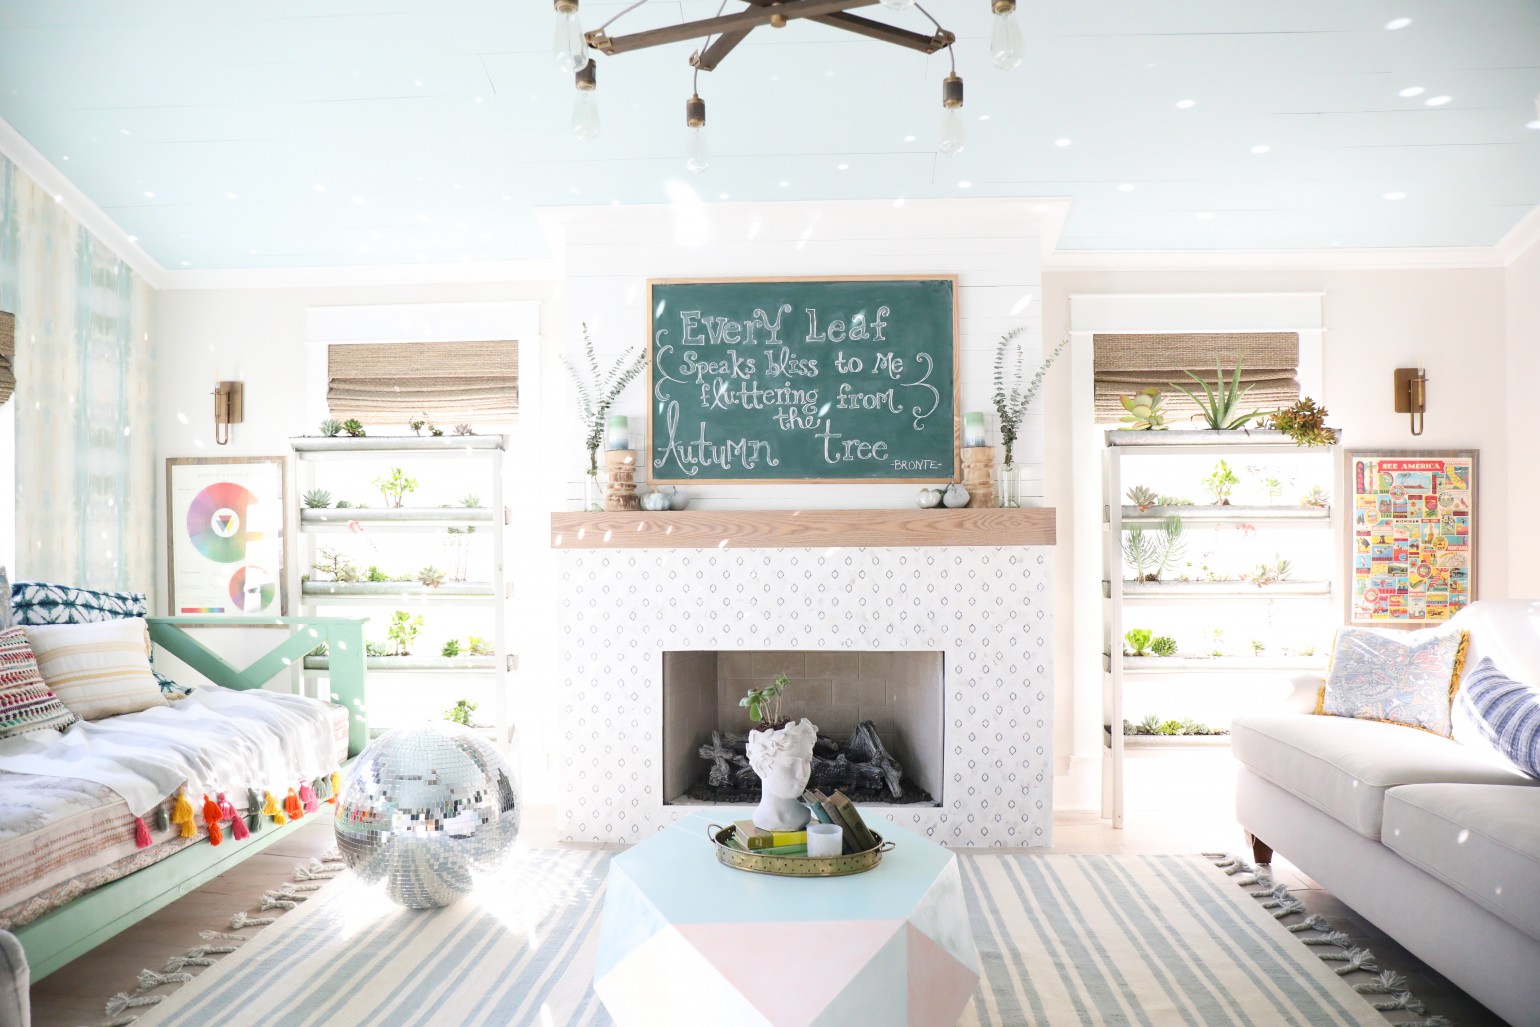
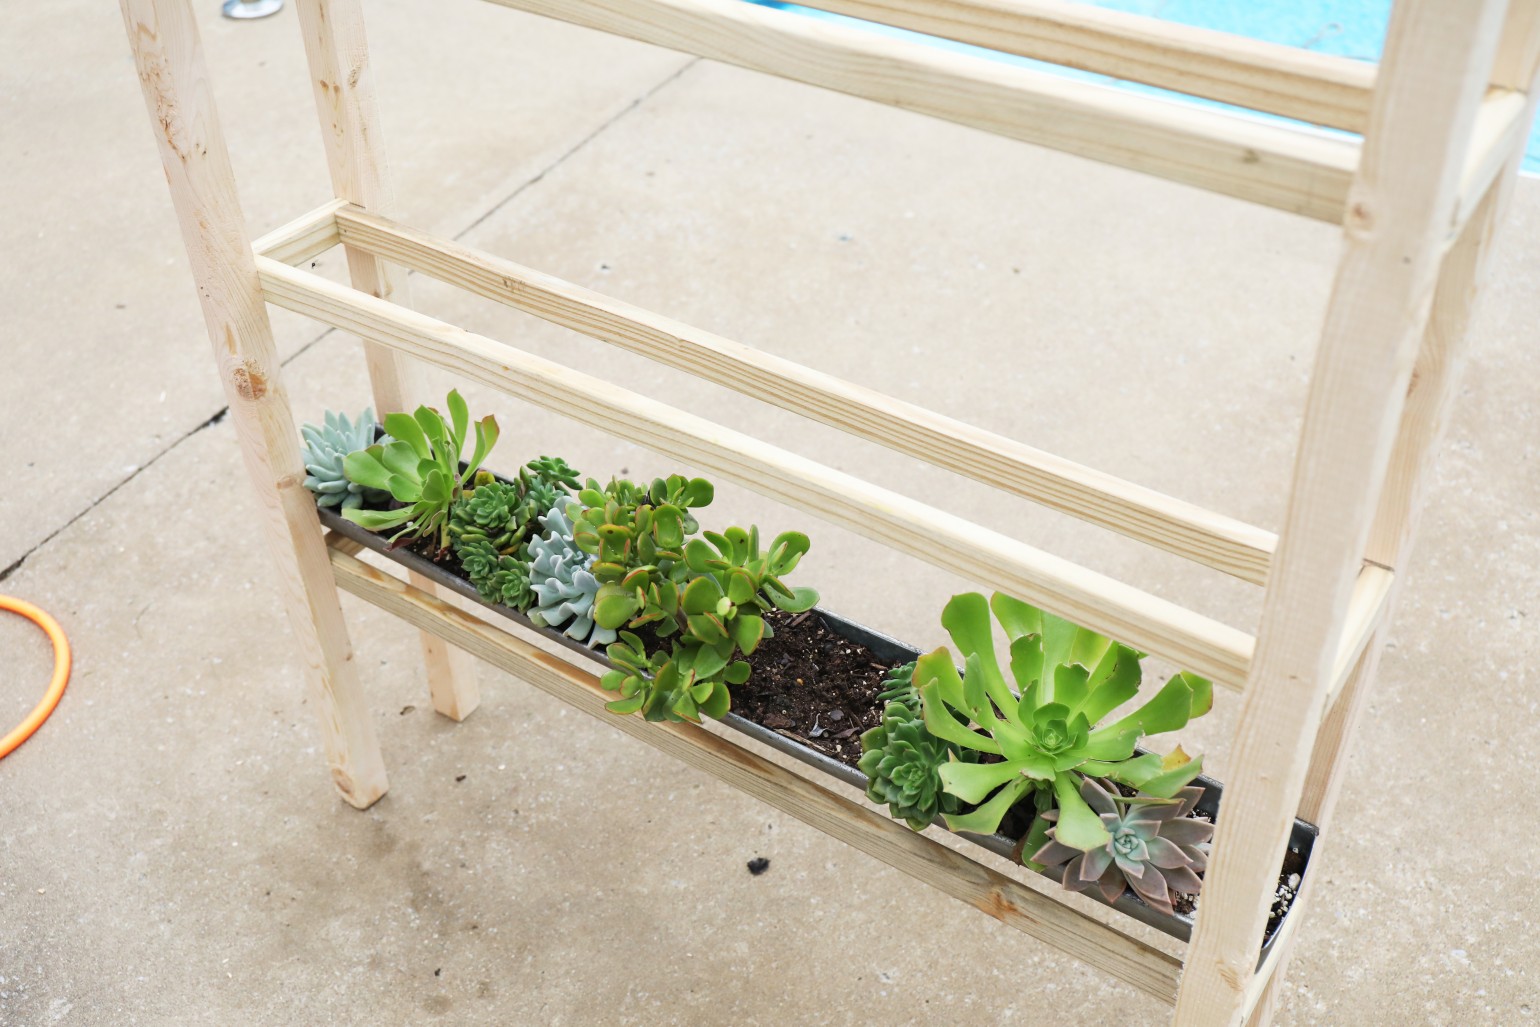
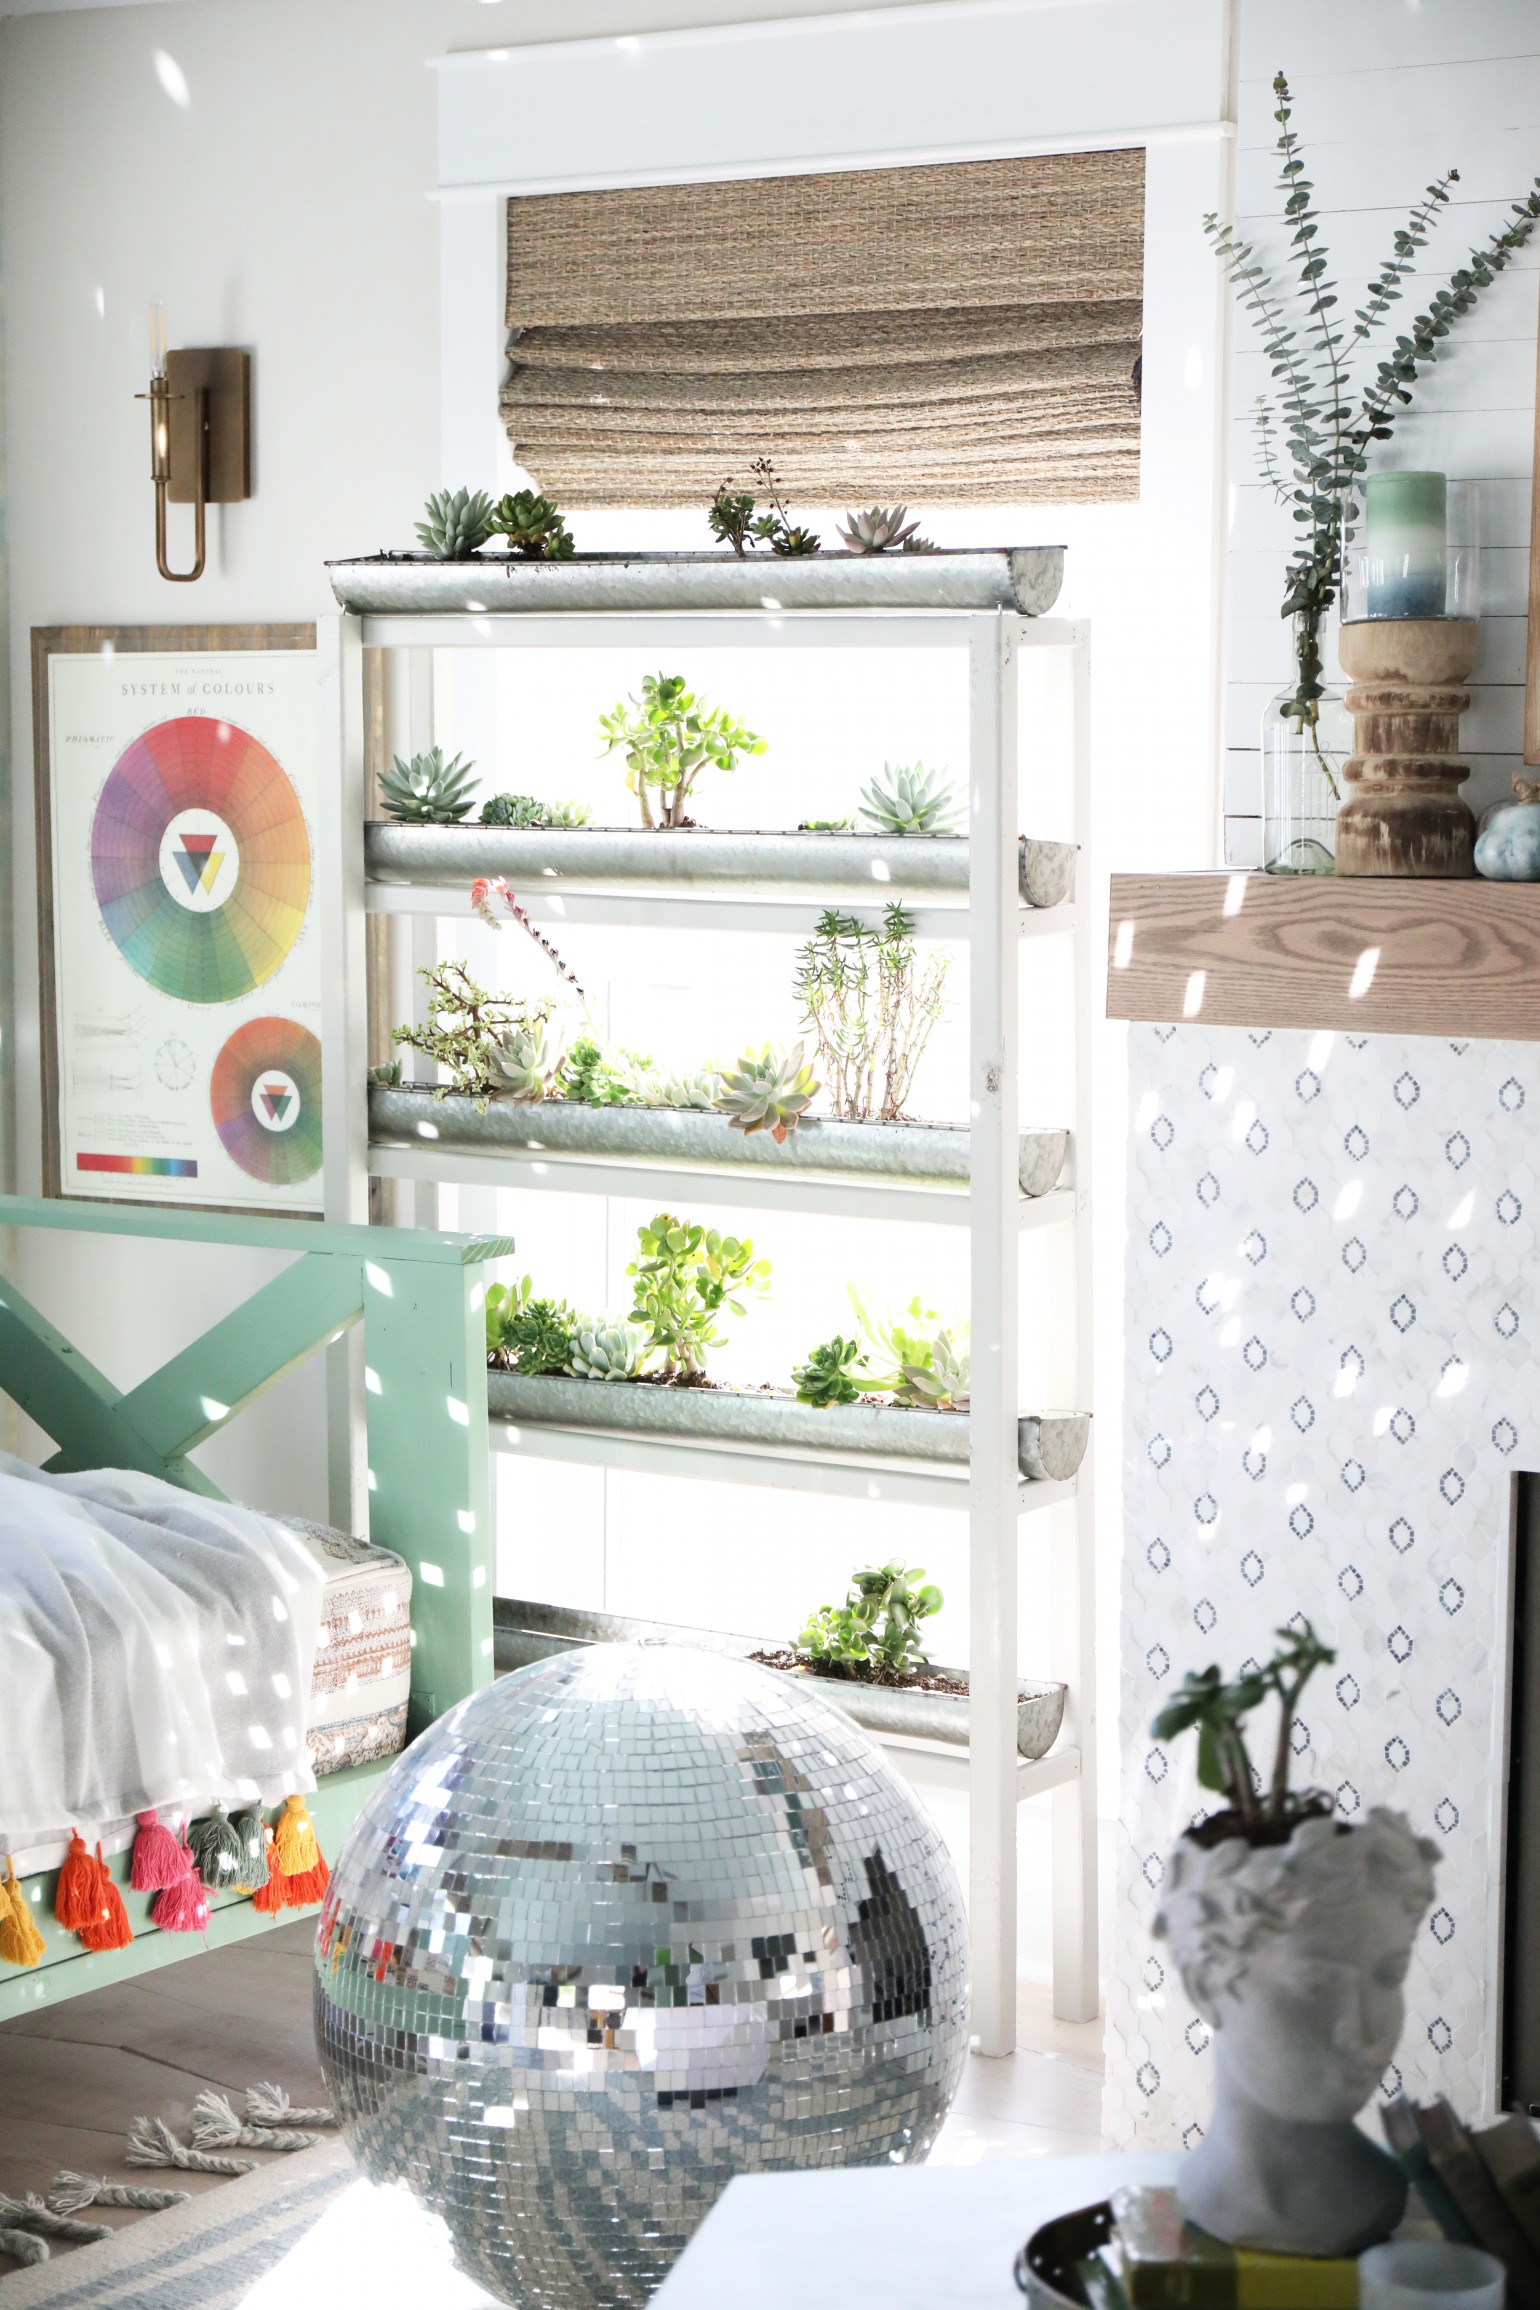
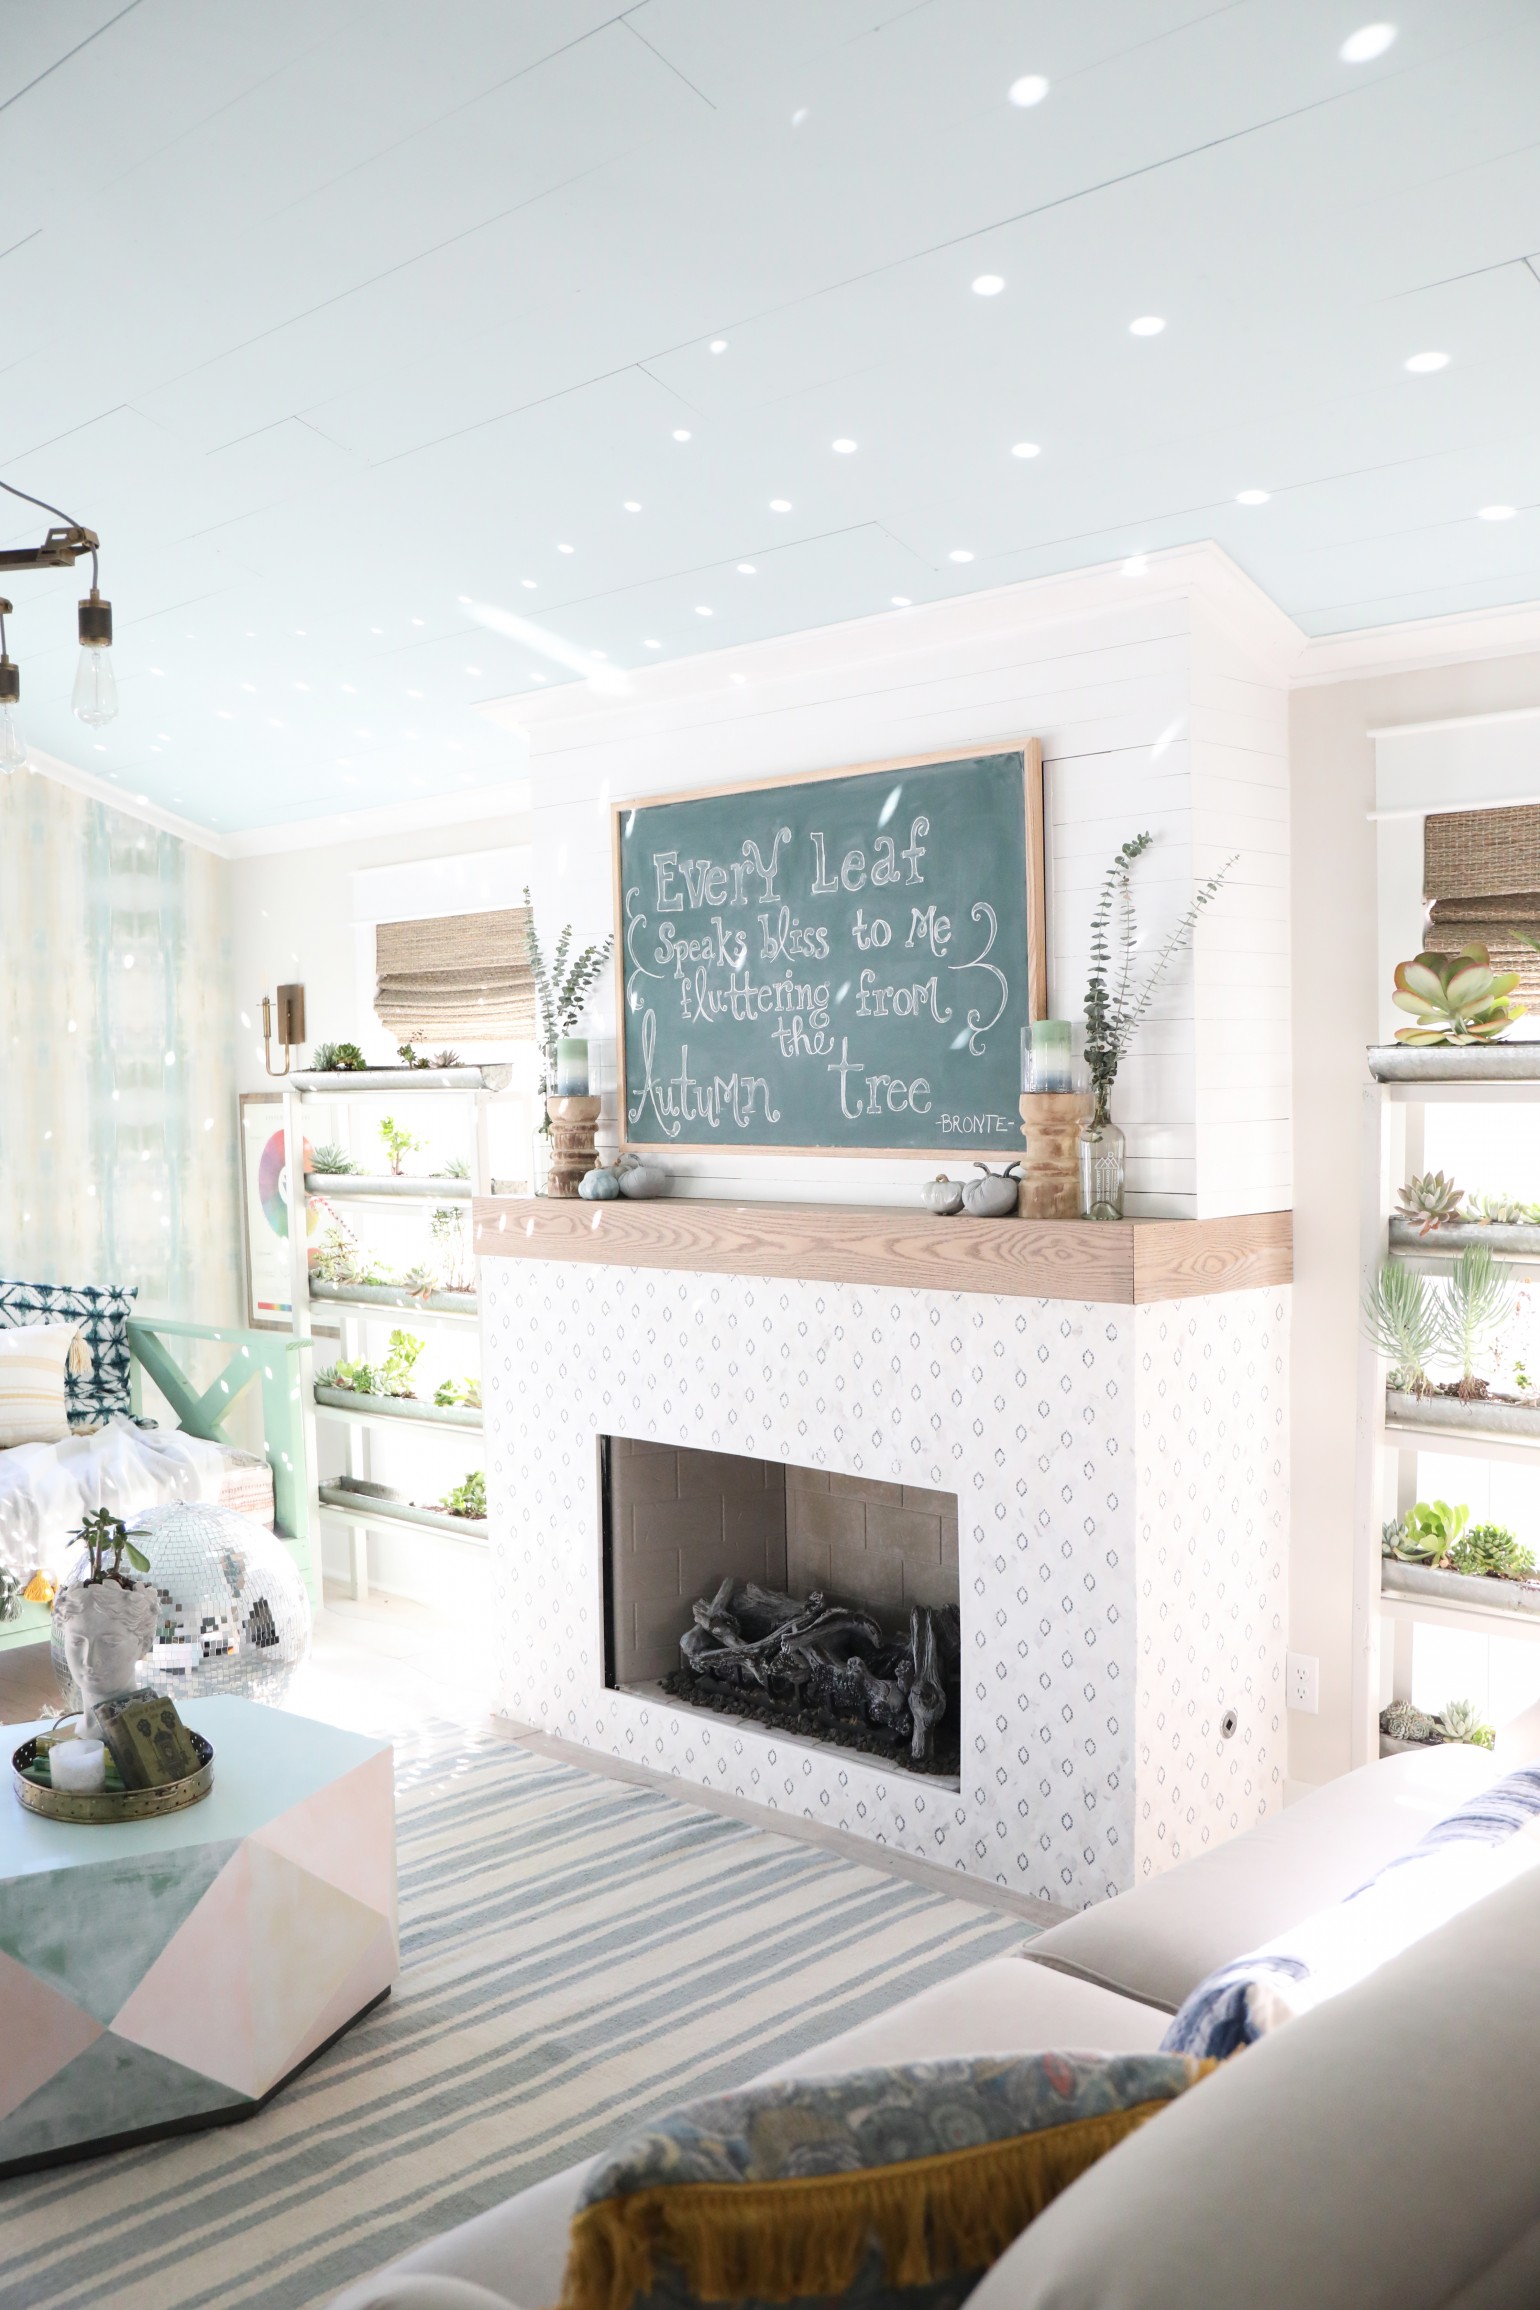
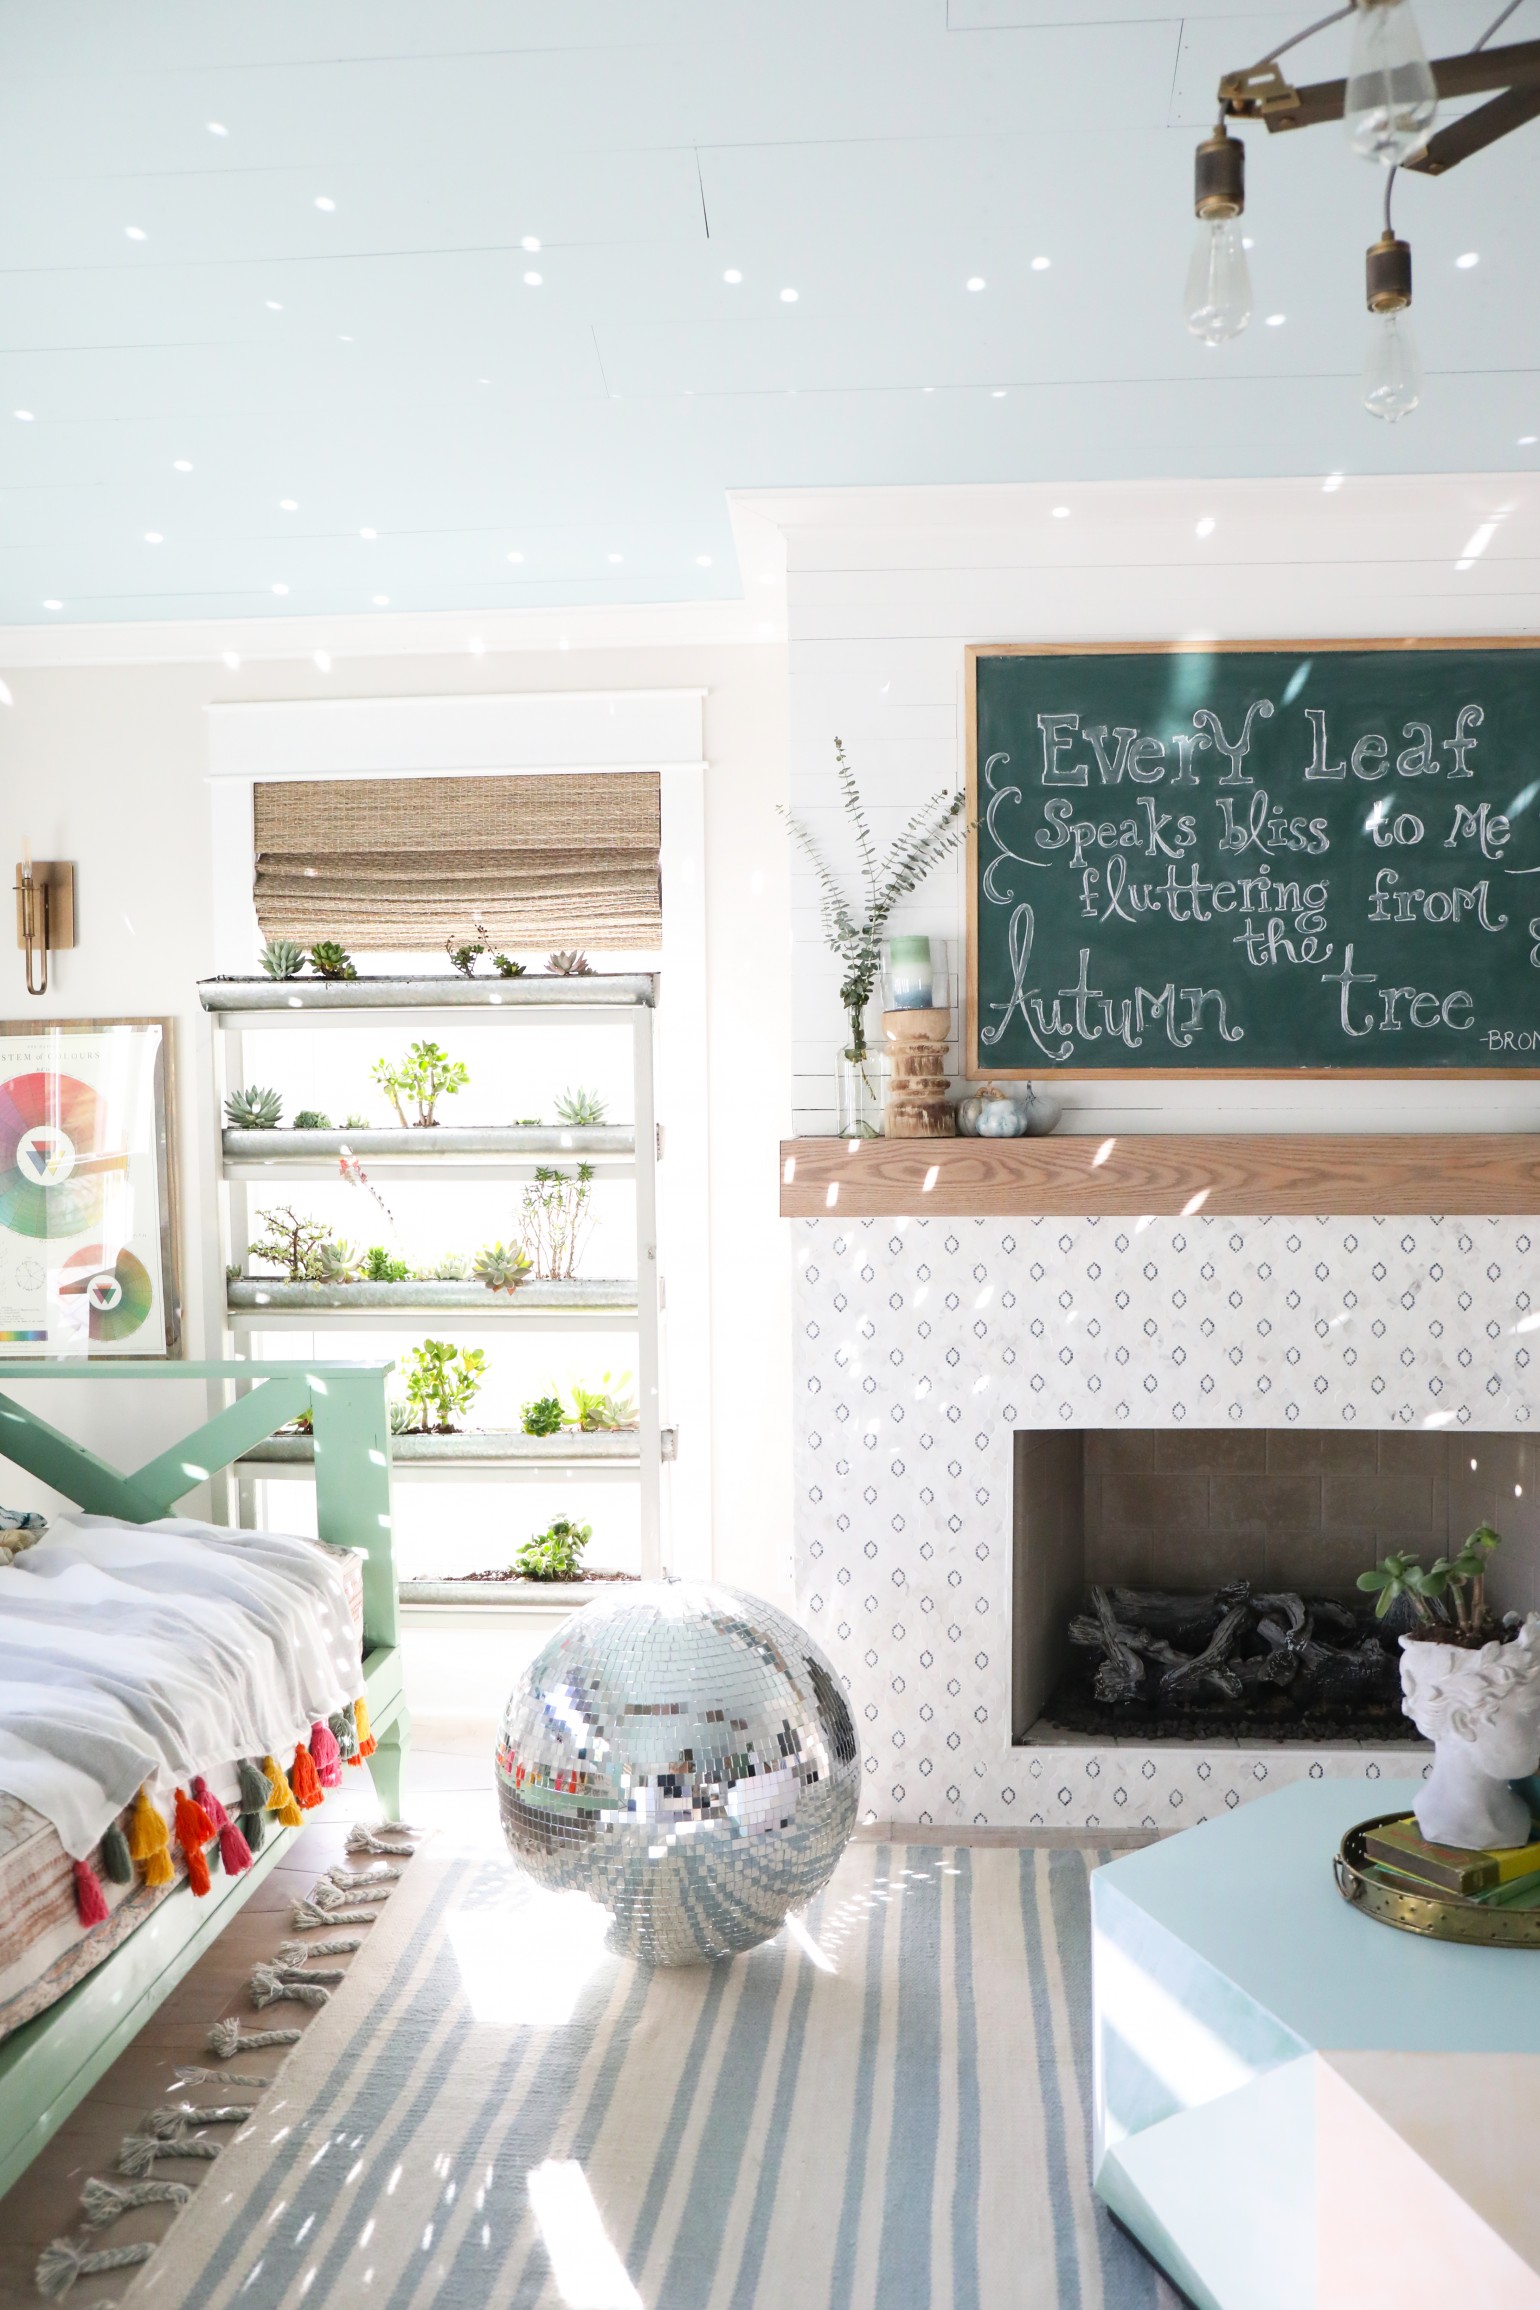
So Jamin and I cooked up this little design, and built a small succulent shelf to make it through the winter. This way they’re up and off the floor and in front of the window where they can get plenty of sunlight each day. And I get to not murder them. Everyone wins.
This would also work to support basic pots or window boxes. You’d just need to change the dimensions, accordingly.
Want to make one? Here’s what you’ll need:
• 2 x 2’s
• 1 x 2’s
• nails or screws
• paint
We love that this project is totally customizable to whatever size you need and can be made with a few simple cuts and attaching the pieces together.
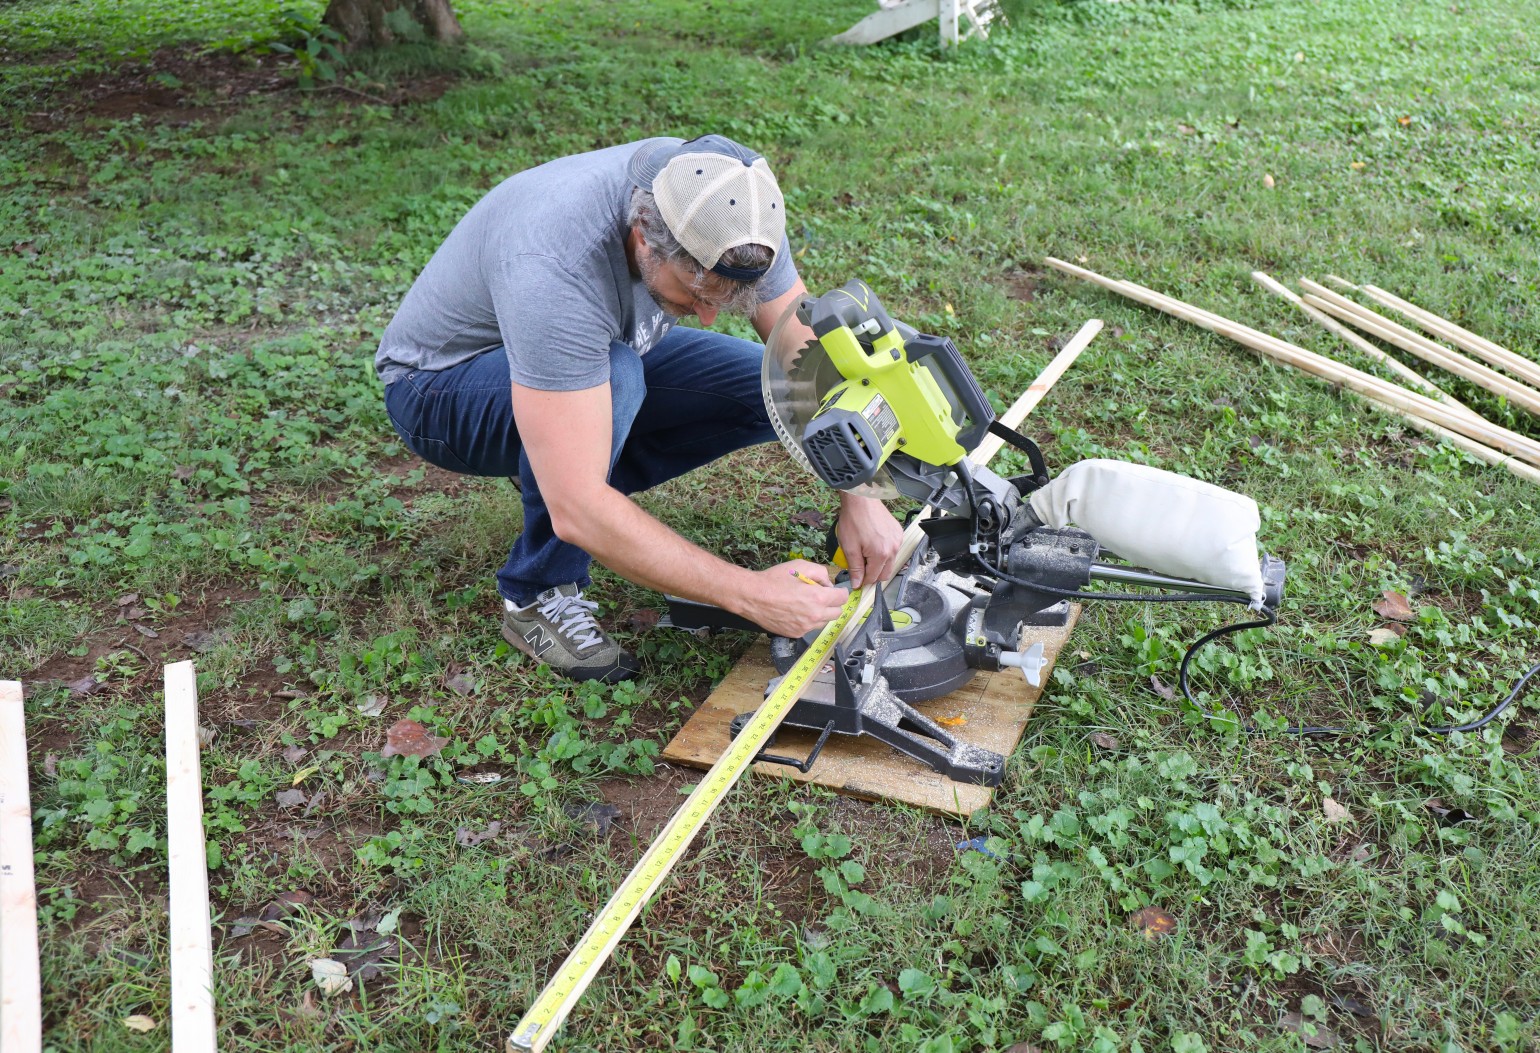
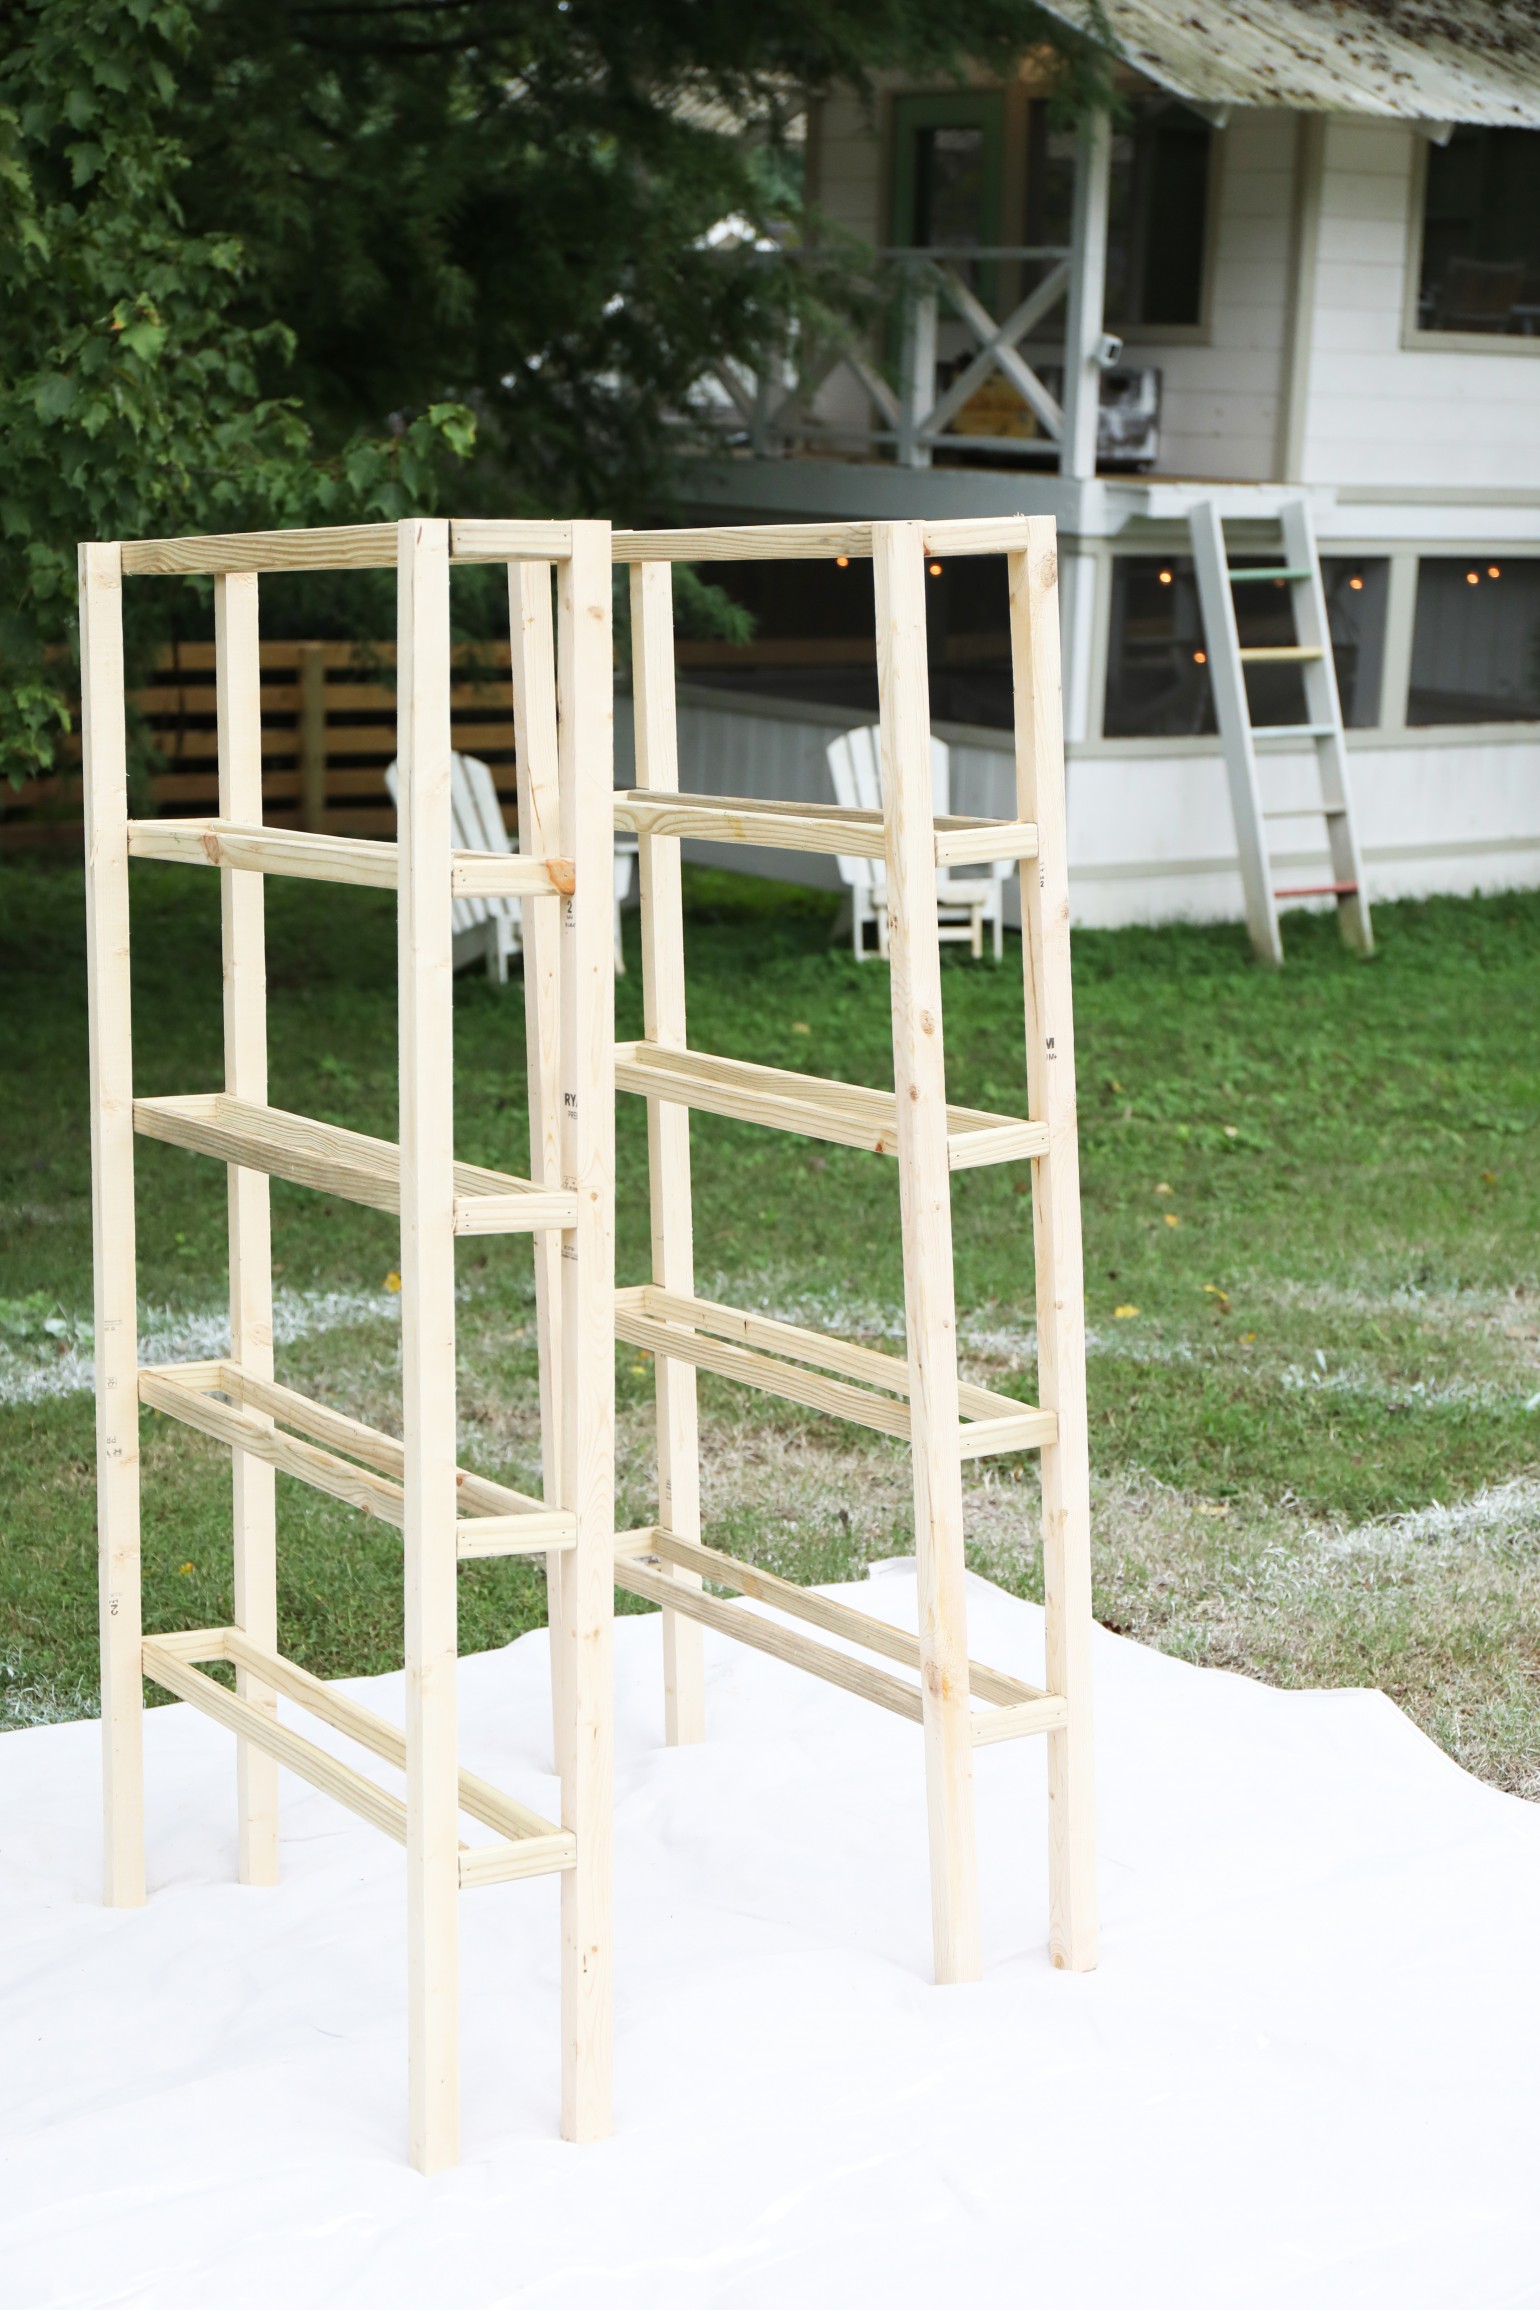
You’ll want to start by cutting your 2 x 2’s down to size. You can either buy 2 x 2’s from the store, or you can rip down a 2 x 4 to create your own. You’ll need 4 identical pieces per stand.
We ripped down a 2 x 4 x 8 into tw0 1 1/2 x 1 1/2 inch pieces, then cut them in half at 4 feet. This gave us our four identical pieces to serve as our legs.
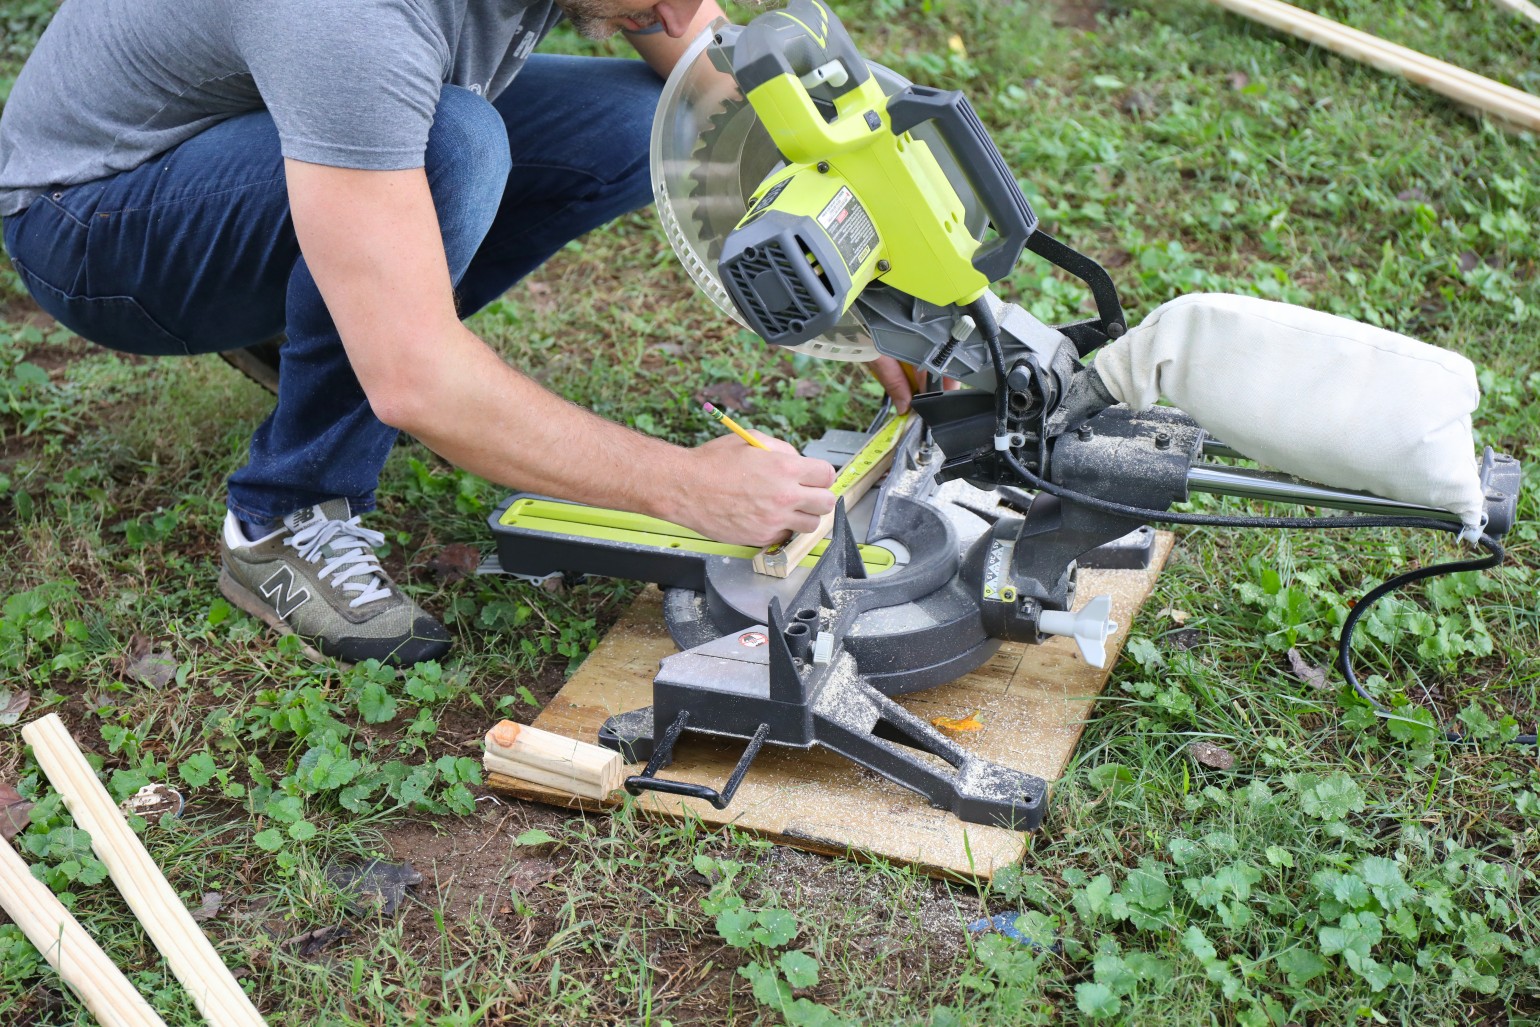
Next, you’ll want to cut your braces that will attach to the four legs. We used 1 x 2 x 8’s for this. You’ll need to not only cut longer pieces for your main braces, but also some shorter ones to attach the two sets of legs and braces together.
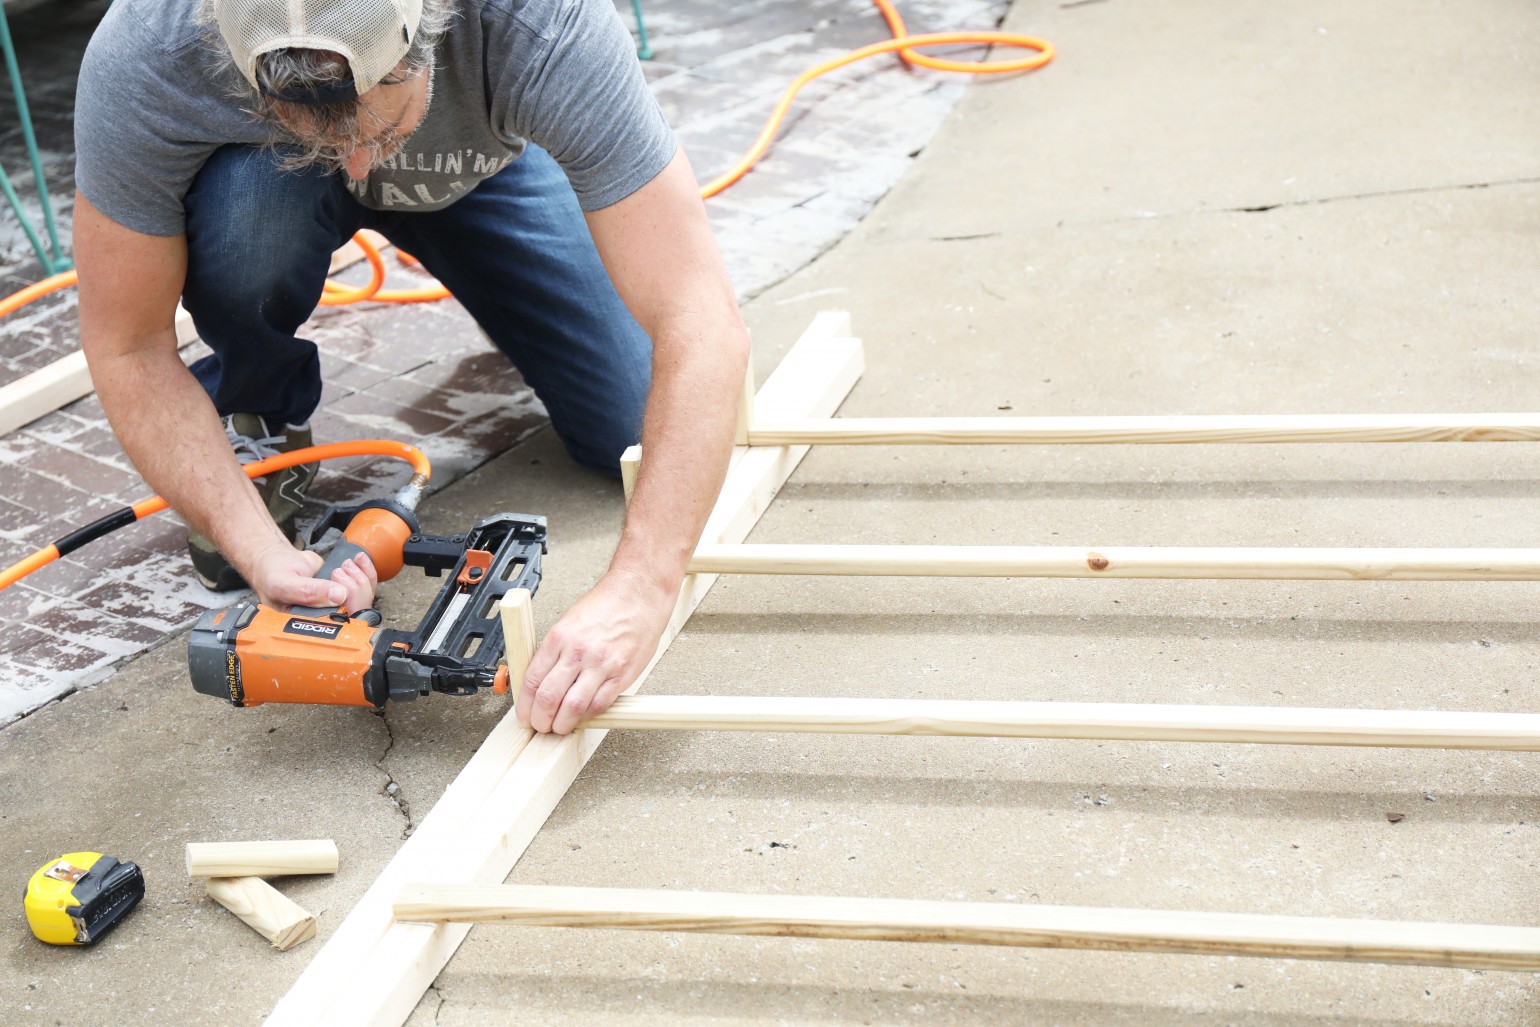
Once everything is cut, you simply mark on the legs where you want your longer braces to be and attach them all to the legs. An easy way to do this is to line them all up and use a carpenter square to mark them all at once.
Once the long braces are attached, connect the two sets of legs using the shorter braces.
Tada! Paint them, and you’re ready to roll.
We love them in our space for the winter!
They add a touch of warmth to the room with the upcoming winter months.
They’re so happy!
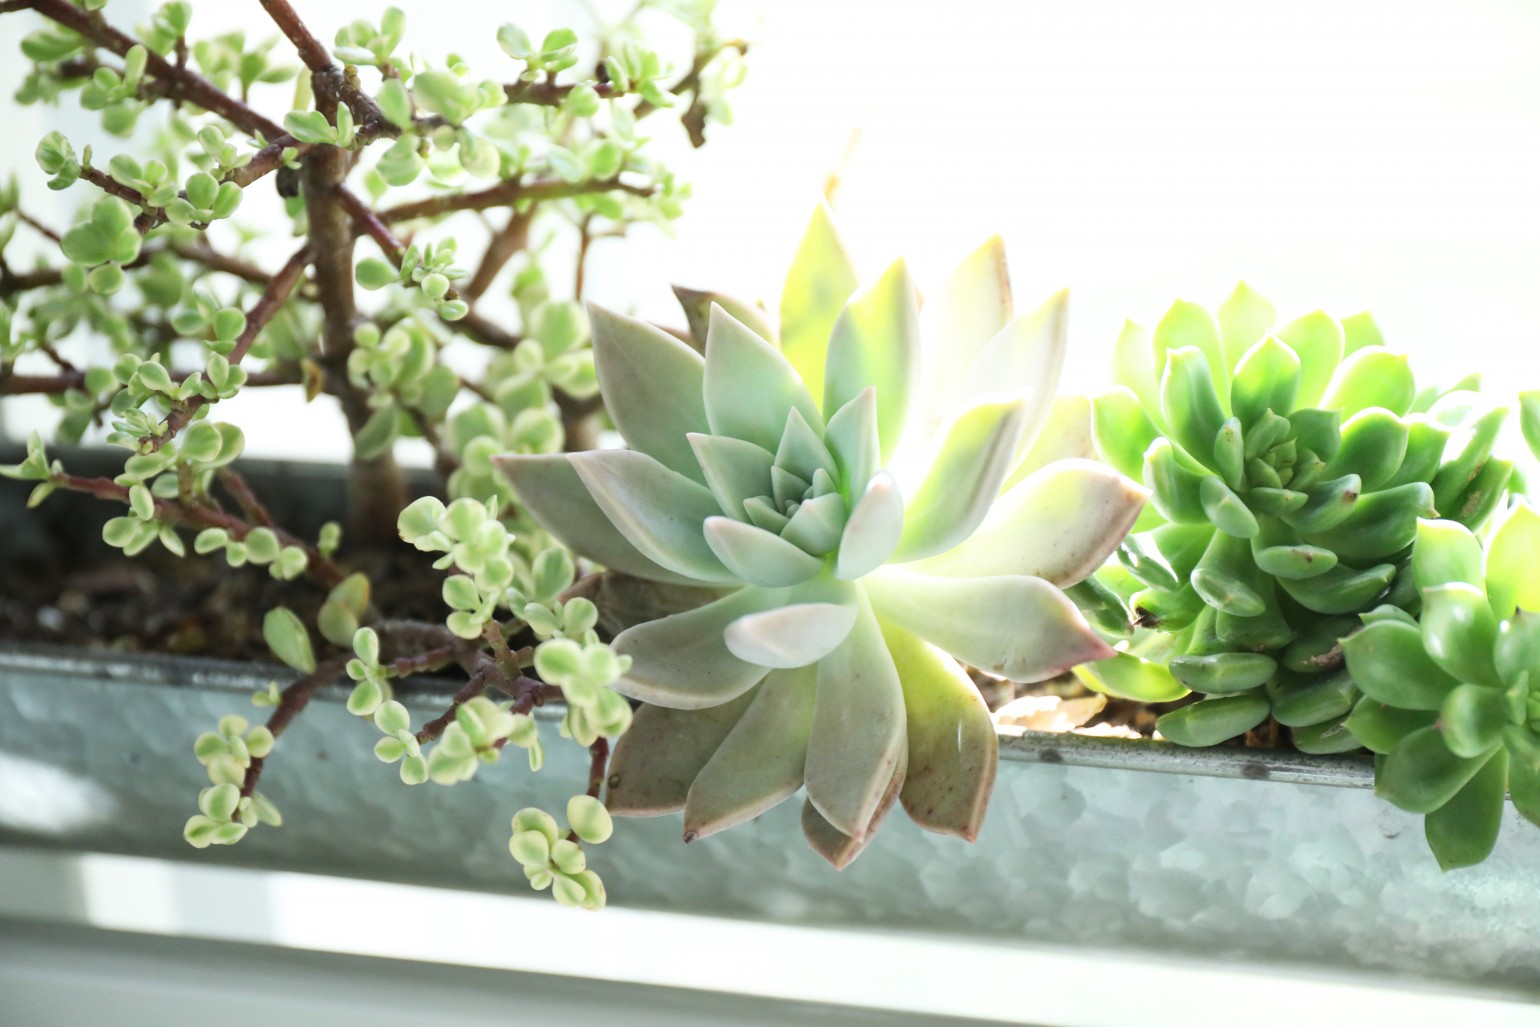
Succulents are just the prettiest.
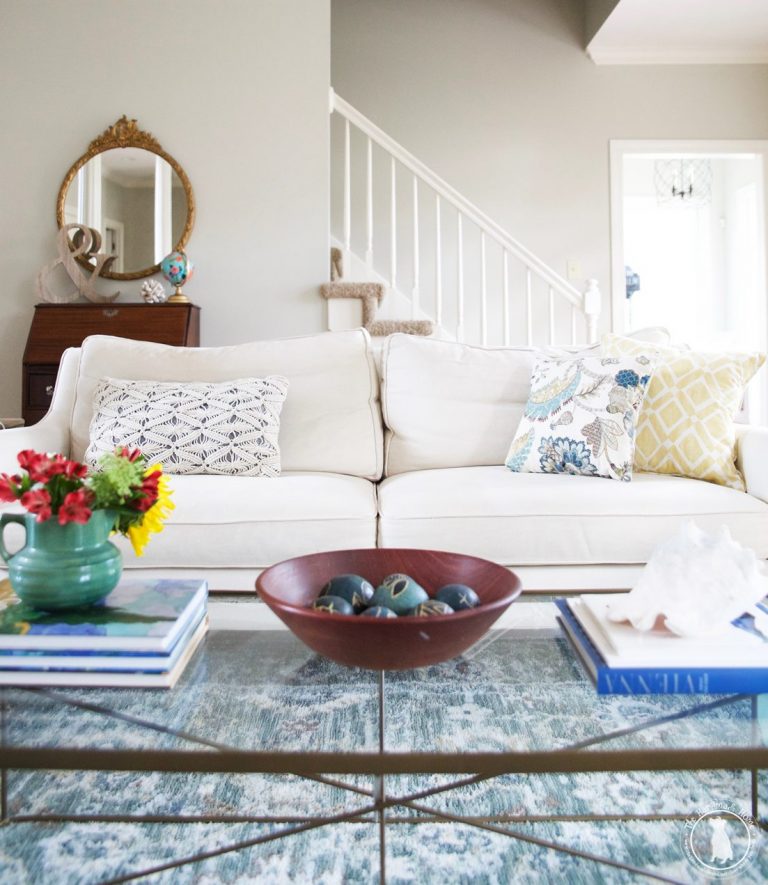
We also ended up refinishing our coffee table after it met a tragic end with a doggo. Long story. But we love the softer colors and the way it works with the space! Do you bring plants in for the winter? Do they take over your home?
So let us know if you try it. We’d love to hear.
Have an inspired day!


hi where did you get the galvanized planters
Hey! It’s at the top of the post, but they’re https://rstyle.me/+Uzm4K2Svh-llHVuPUgOXfg from Wayfair ;}
Loving the pastel colors! It really lights up the space and the succulent shelves complete the look.