embroidered tennis racket how to
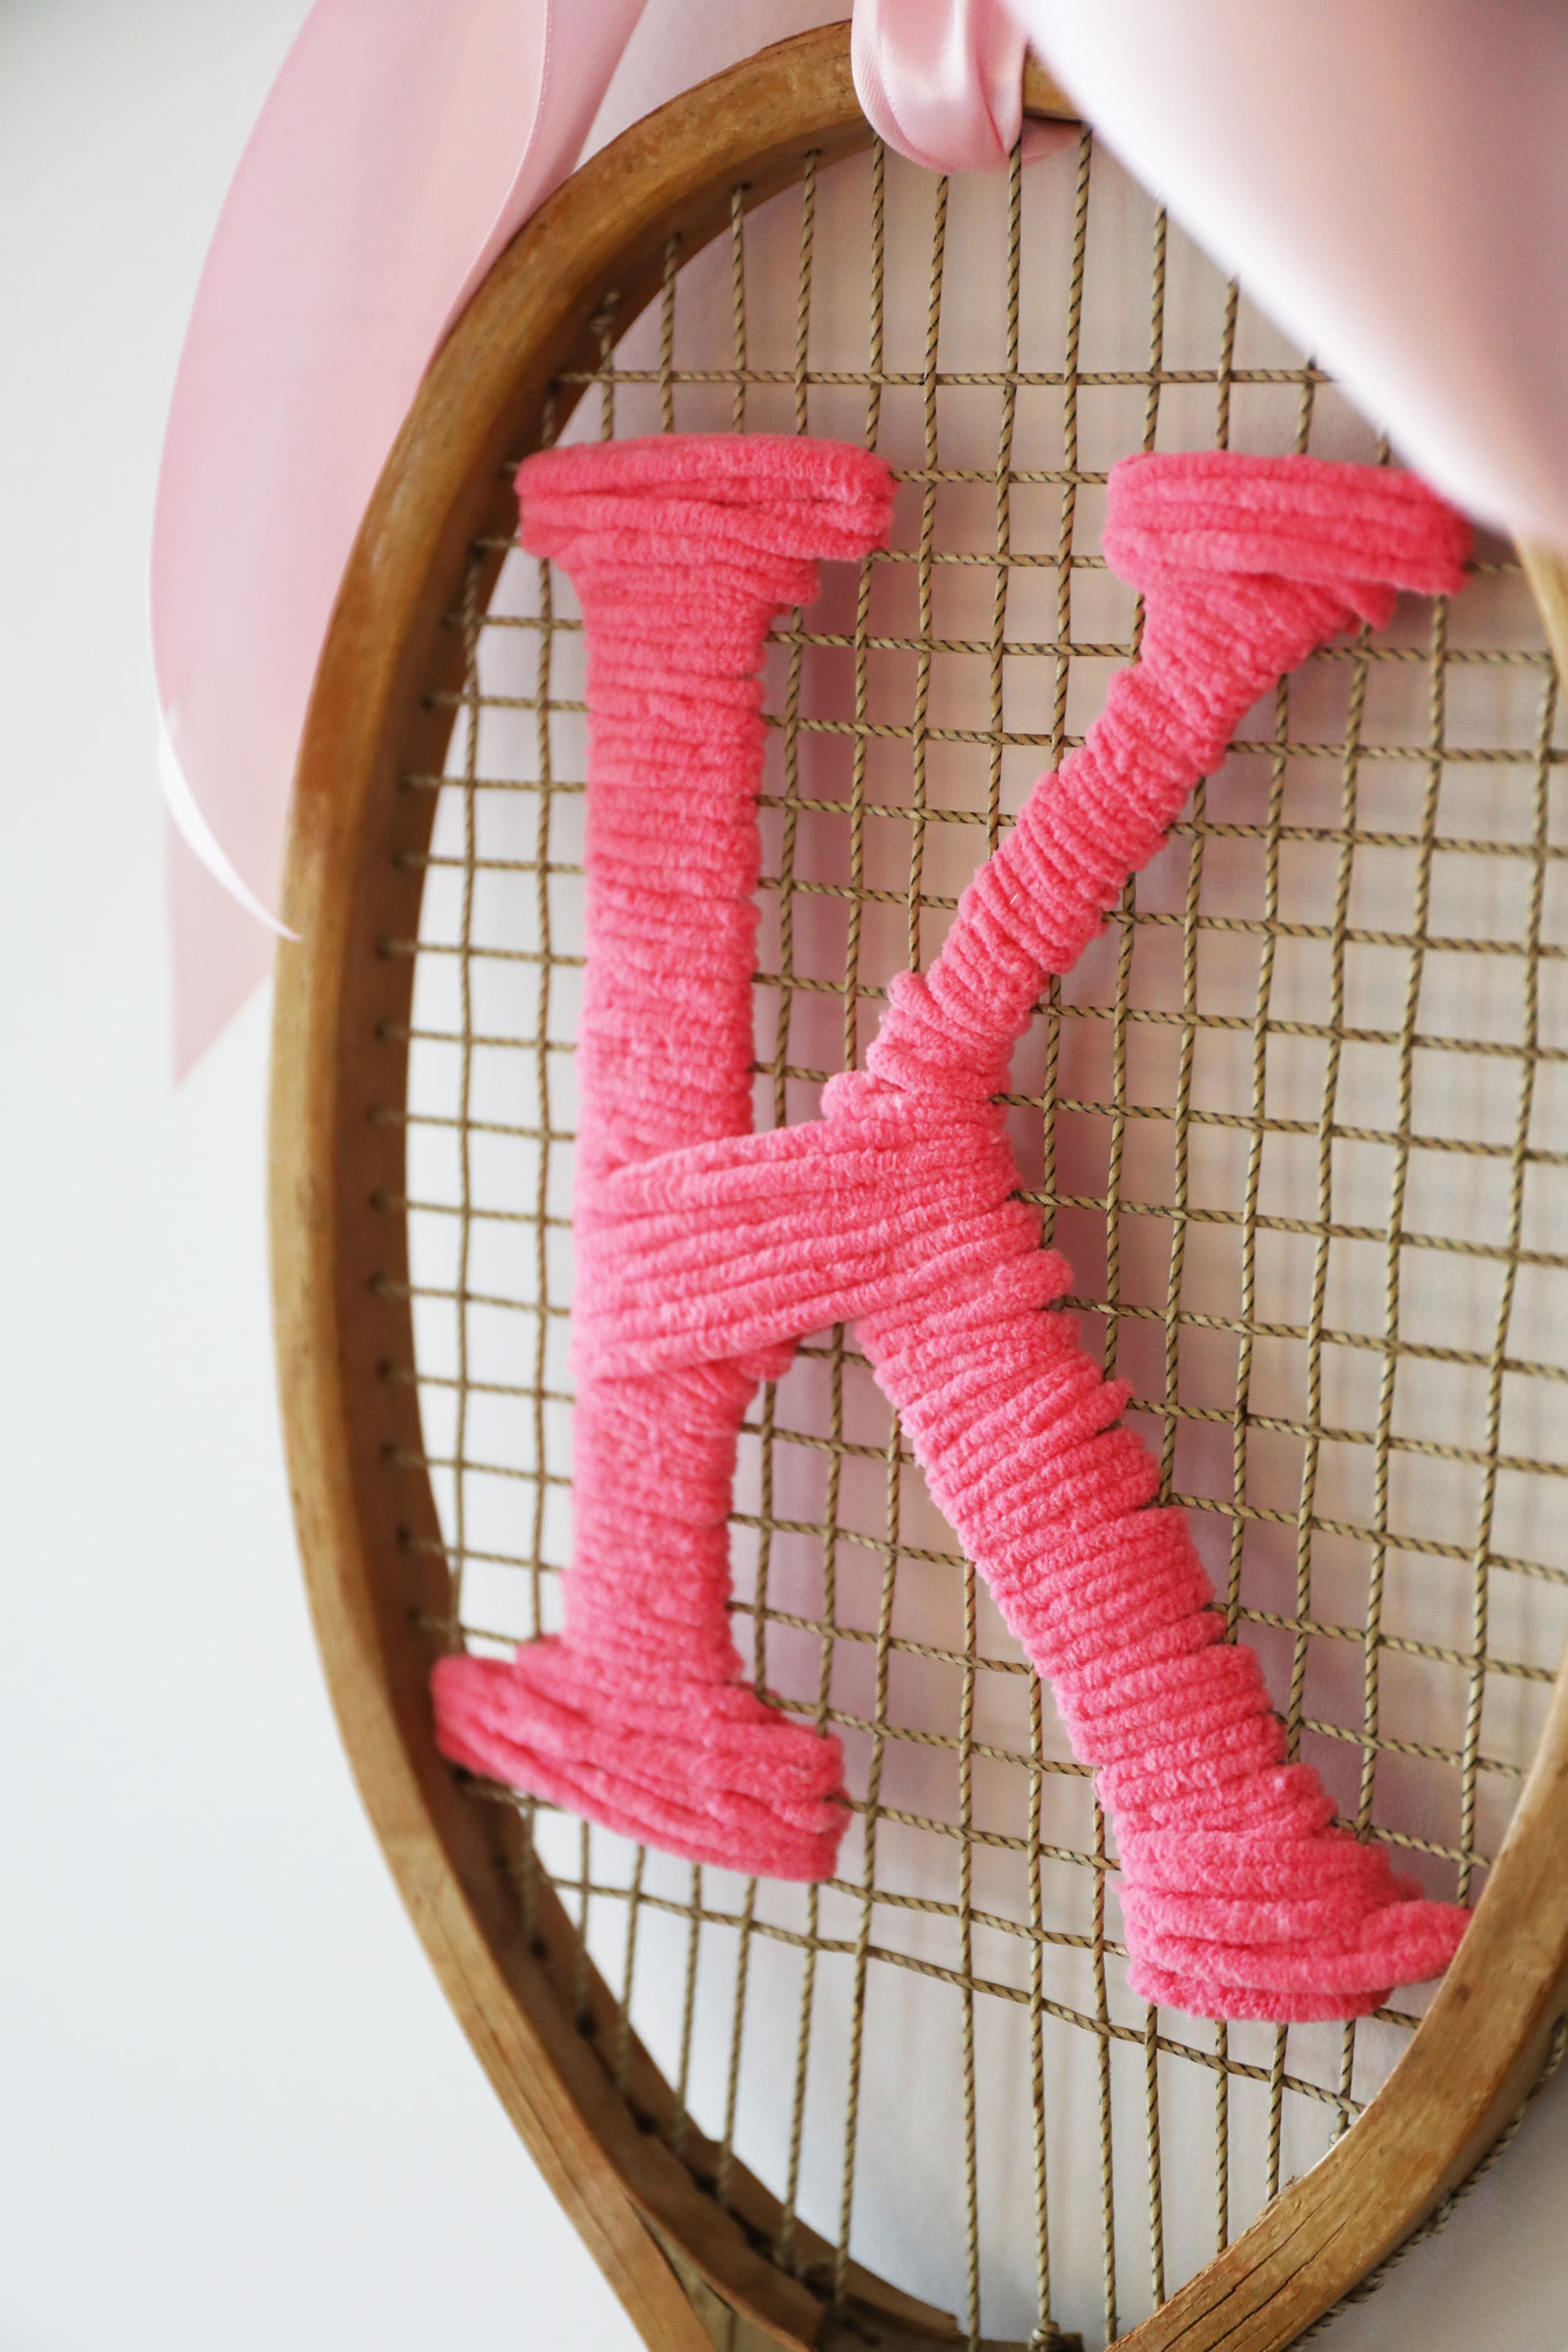
This summer, when she wanted to create a birthday gift for a good friend, Emerson and I decided to try our hand at the embroidered tennis racket trend. We had so much fun with the first one, we tackled it a second time with a floral design. So today, I’m here to share this little project, in case you want to try your hand at it: embroidered tennis racket how-to!
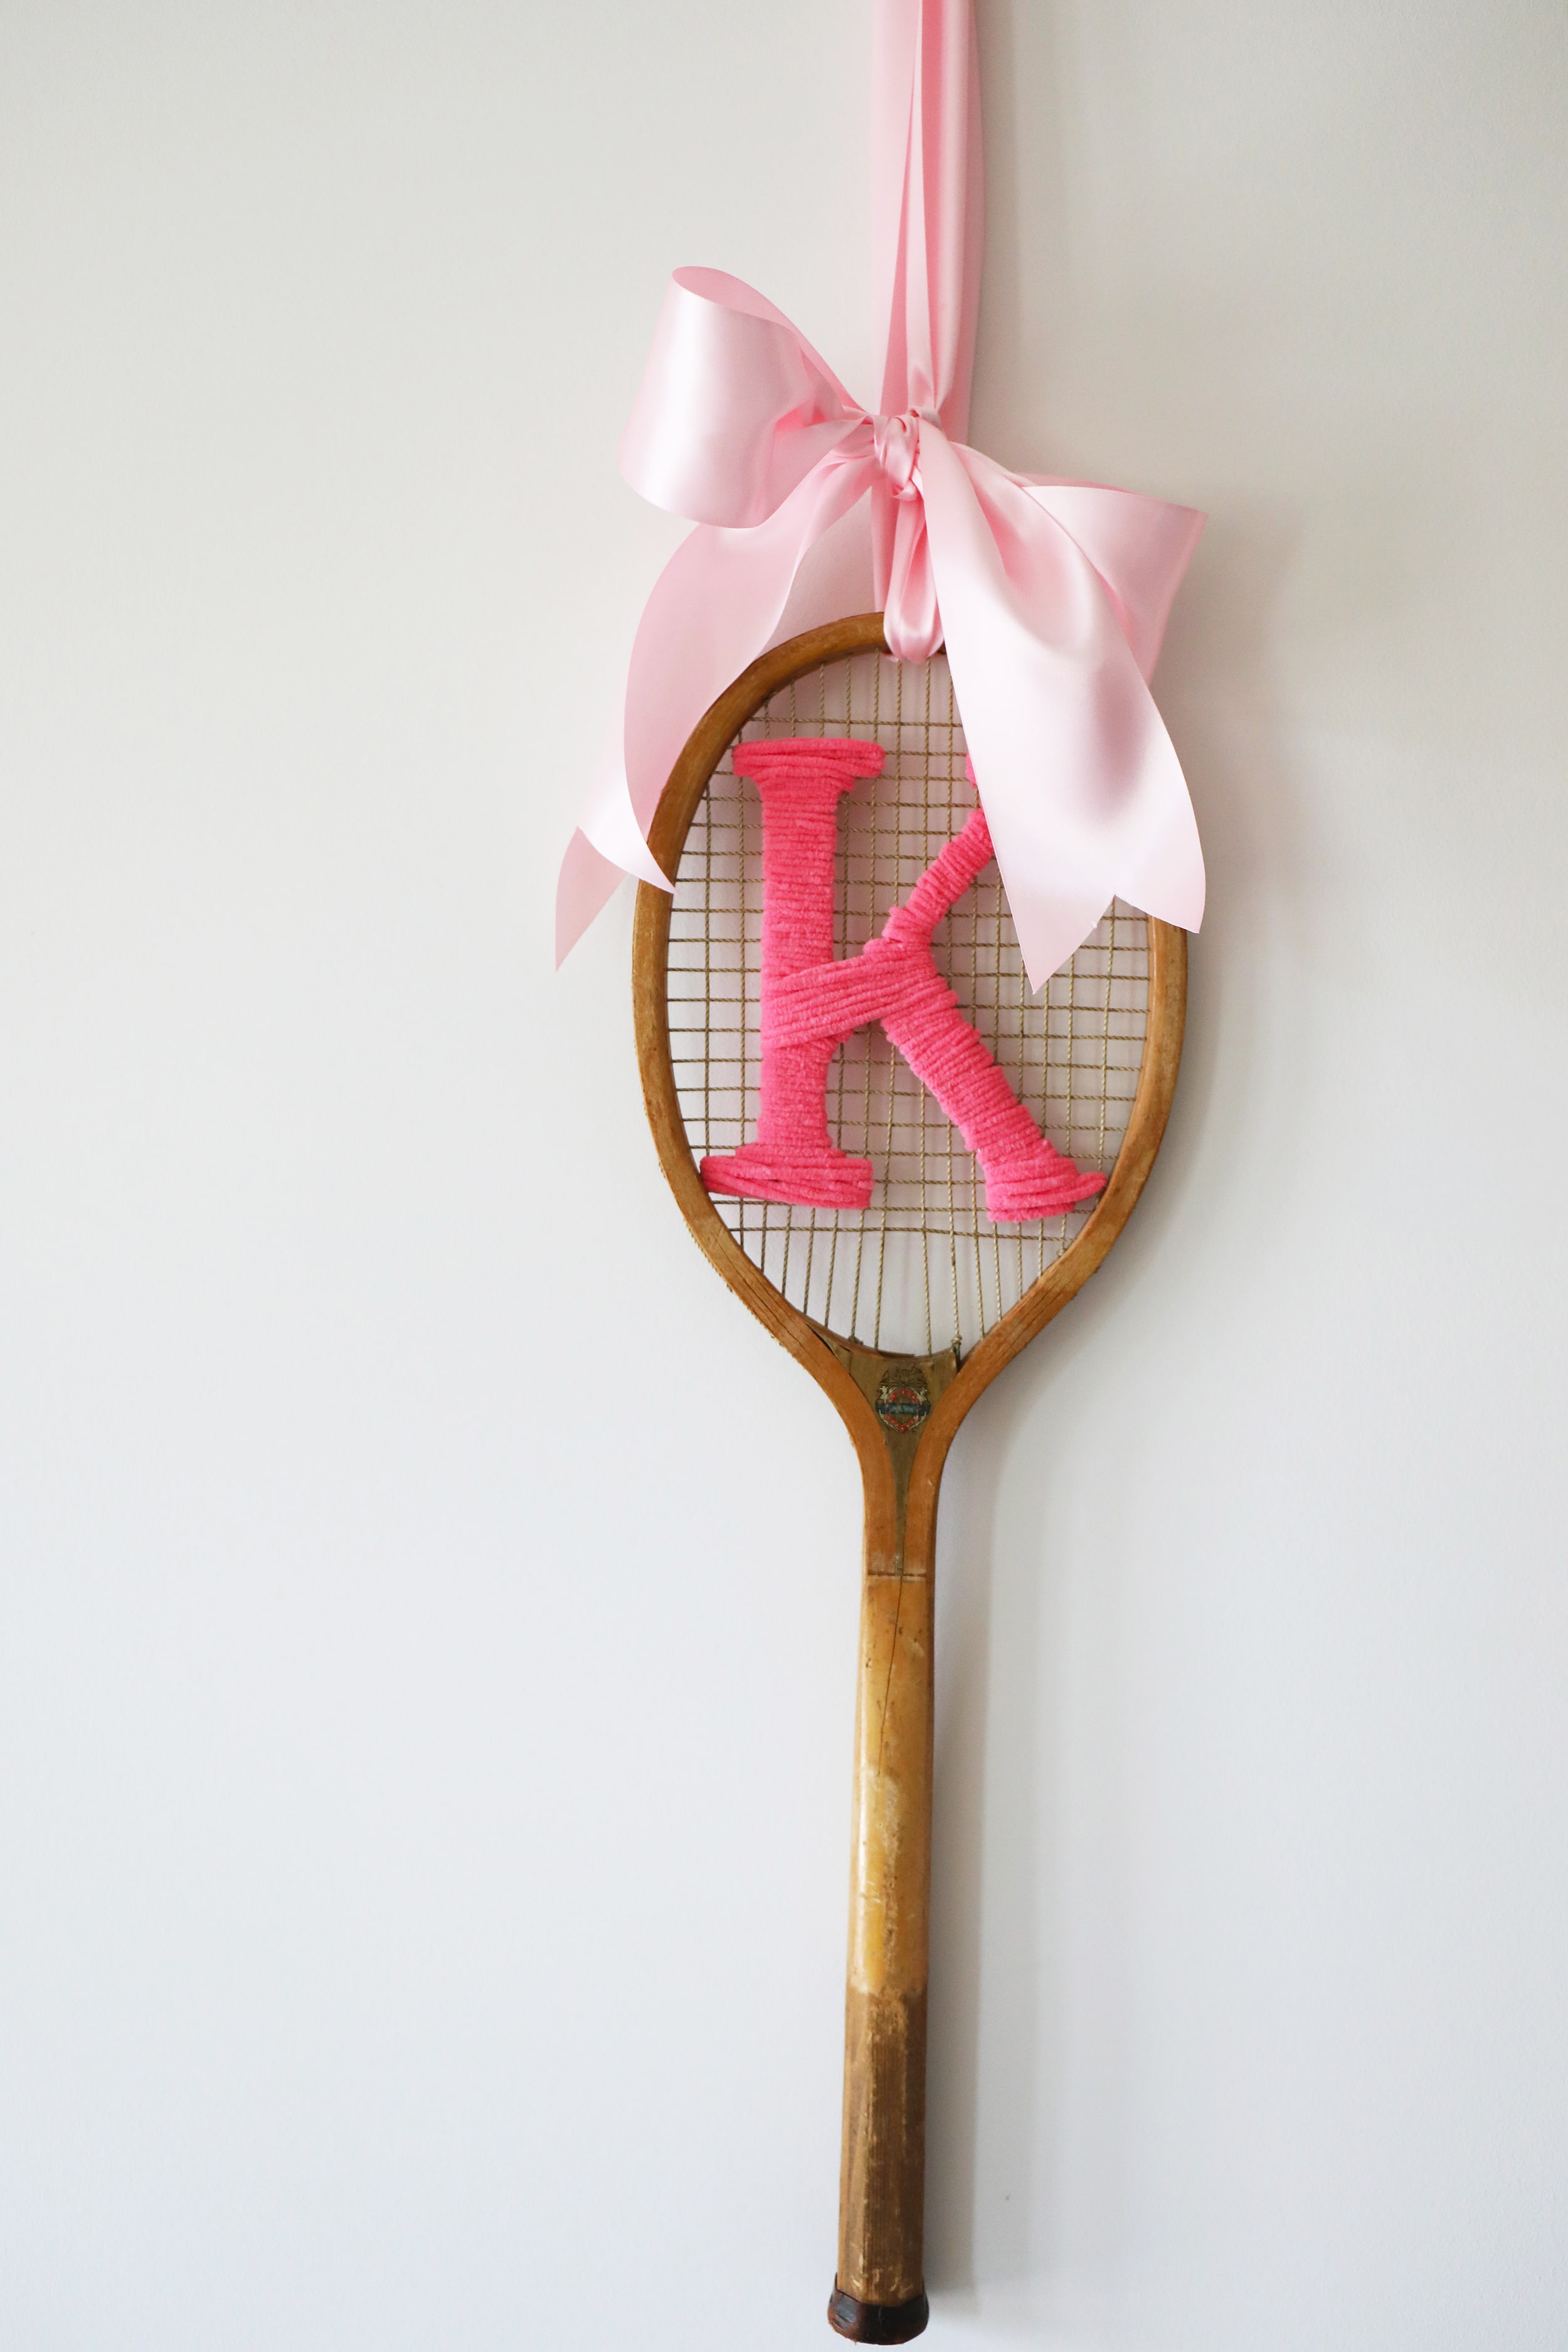
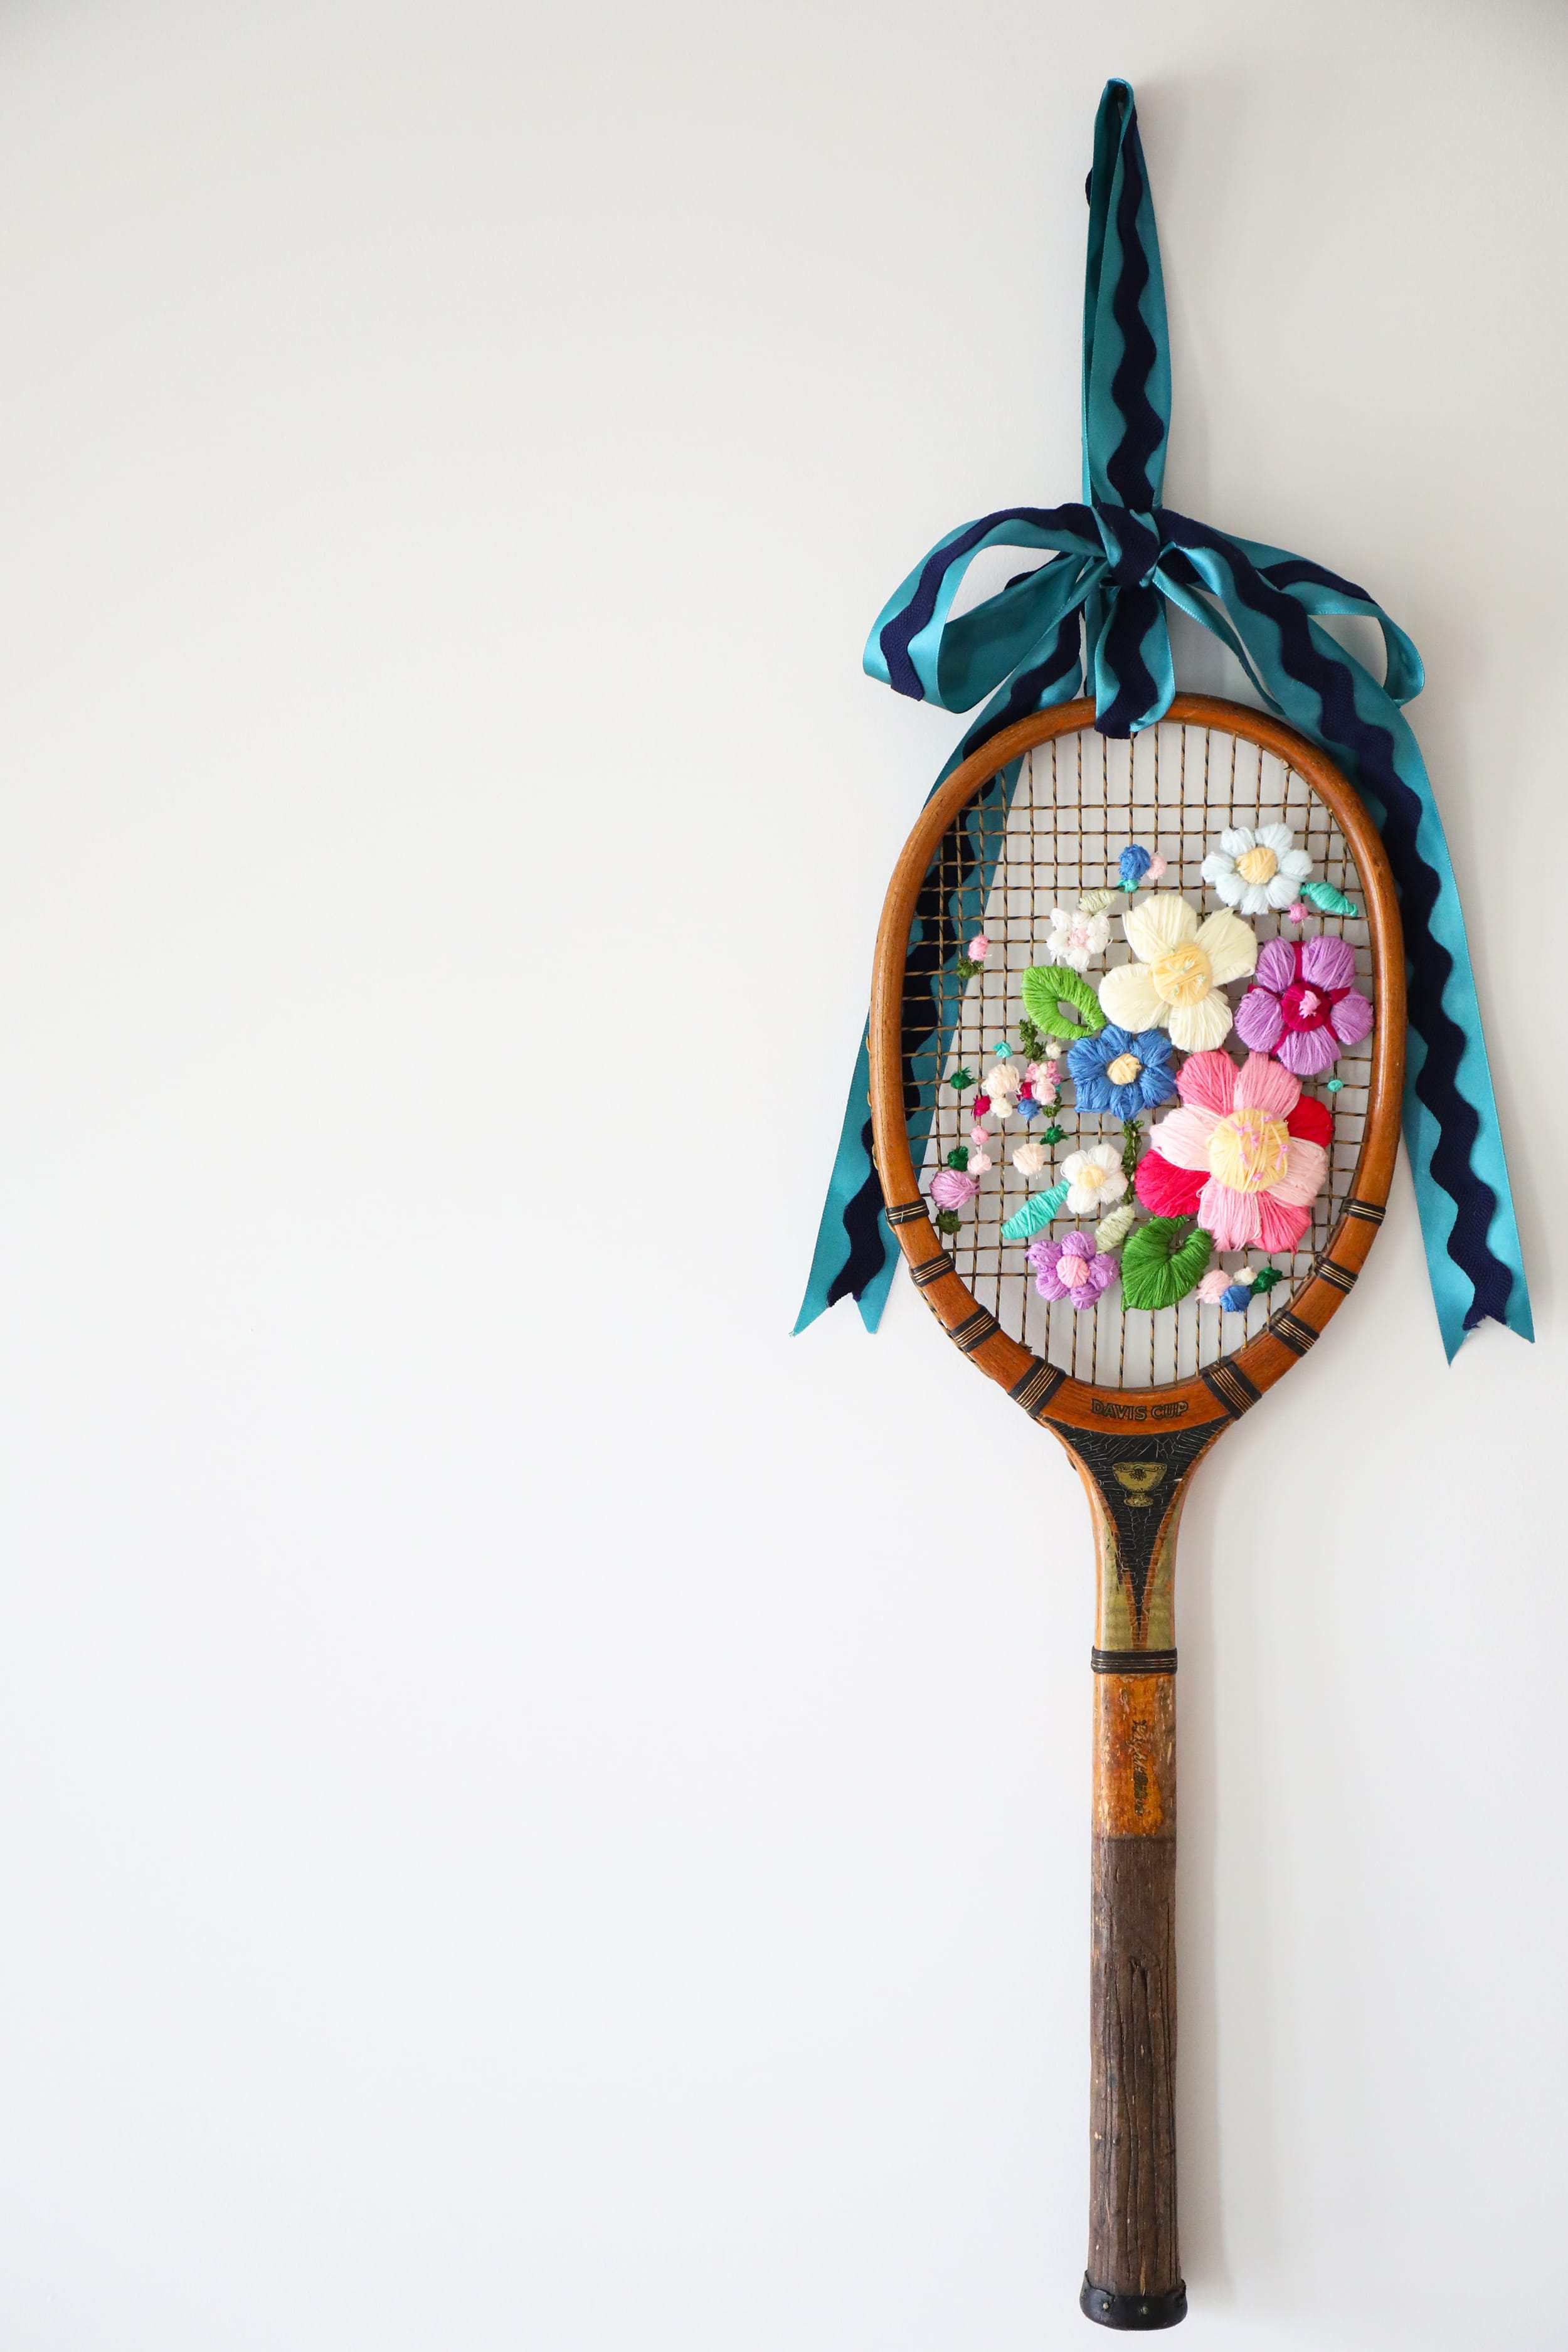
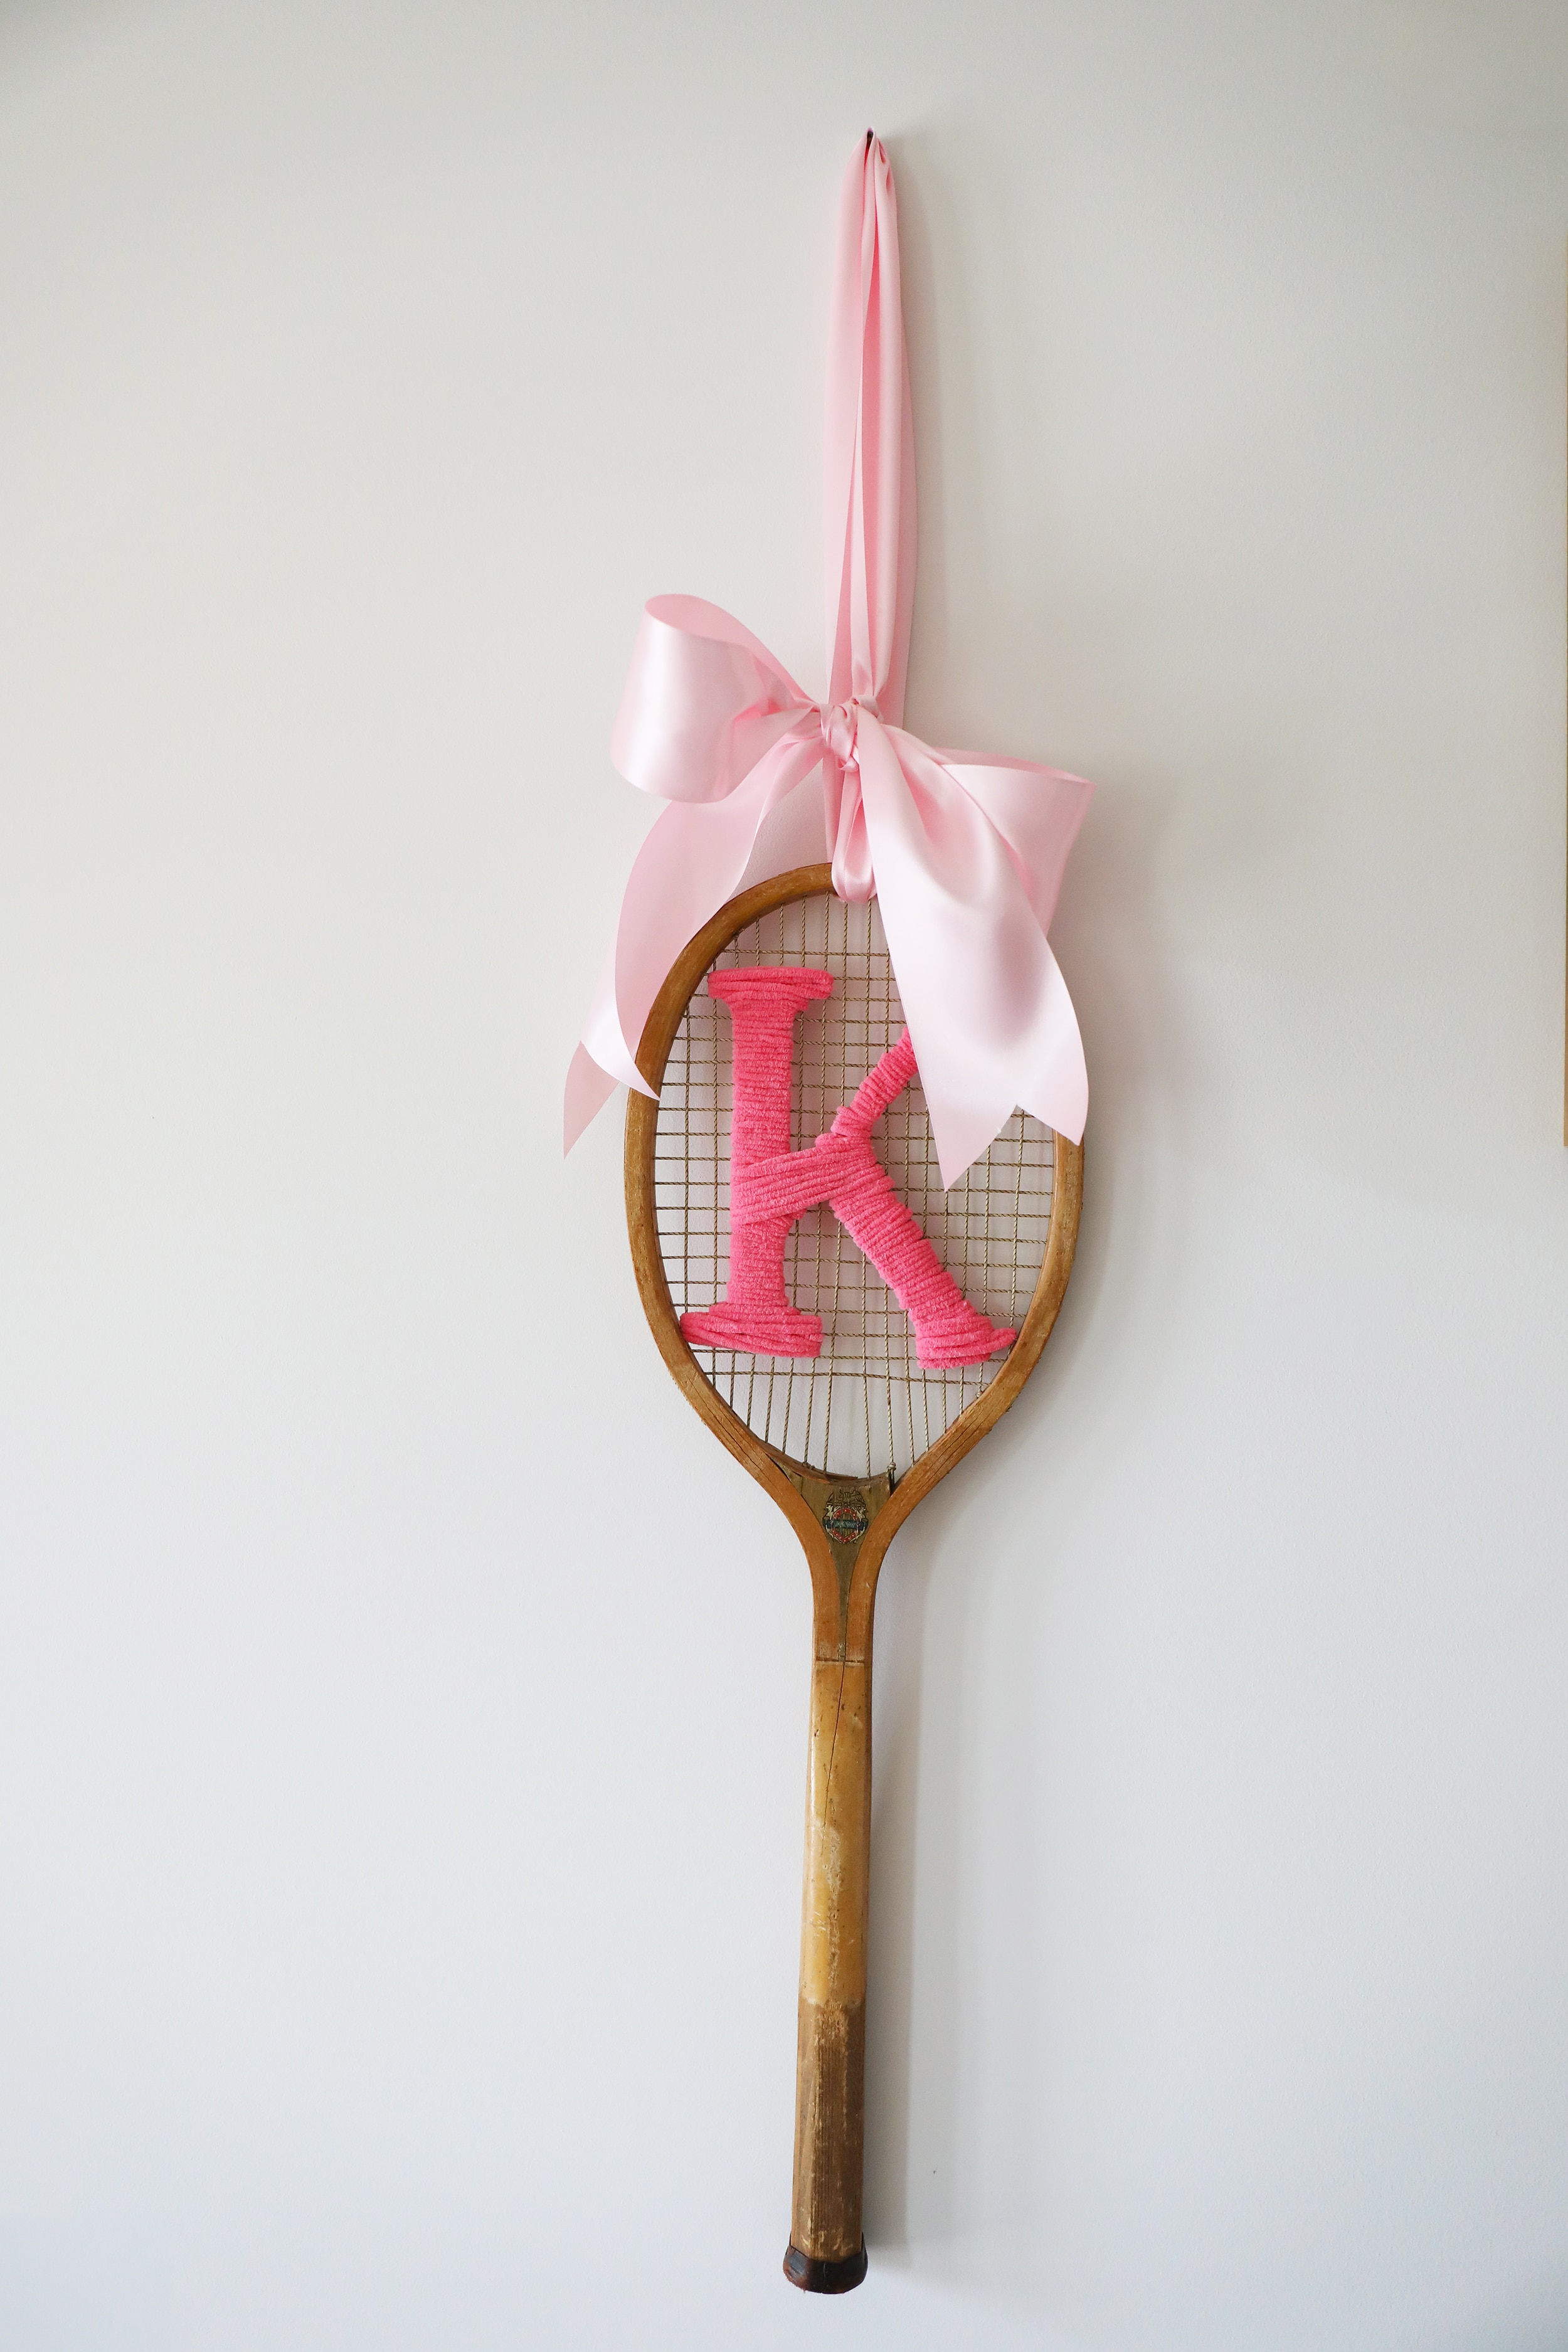
We loved the way the first monogrammed one turned out; she decided she wanted one for her dorm room, as well. These are two totally different looks with the same approach. If you look these little creations up online, they go for a hefty price, and rightfully so… this project can be a bit time-consuming, on top of a vintage item, but it’s nothing a couple of rainy afternoons + a good audiobook can’t fix!
Want to make one of your own? I’ll cover everything you’ll need below. The beauty of these is you can weave anything you want… it just takes a little planning and patience.
First up: The Monogrammed Tennis Racket.
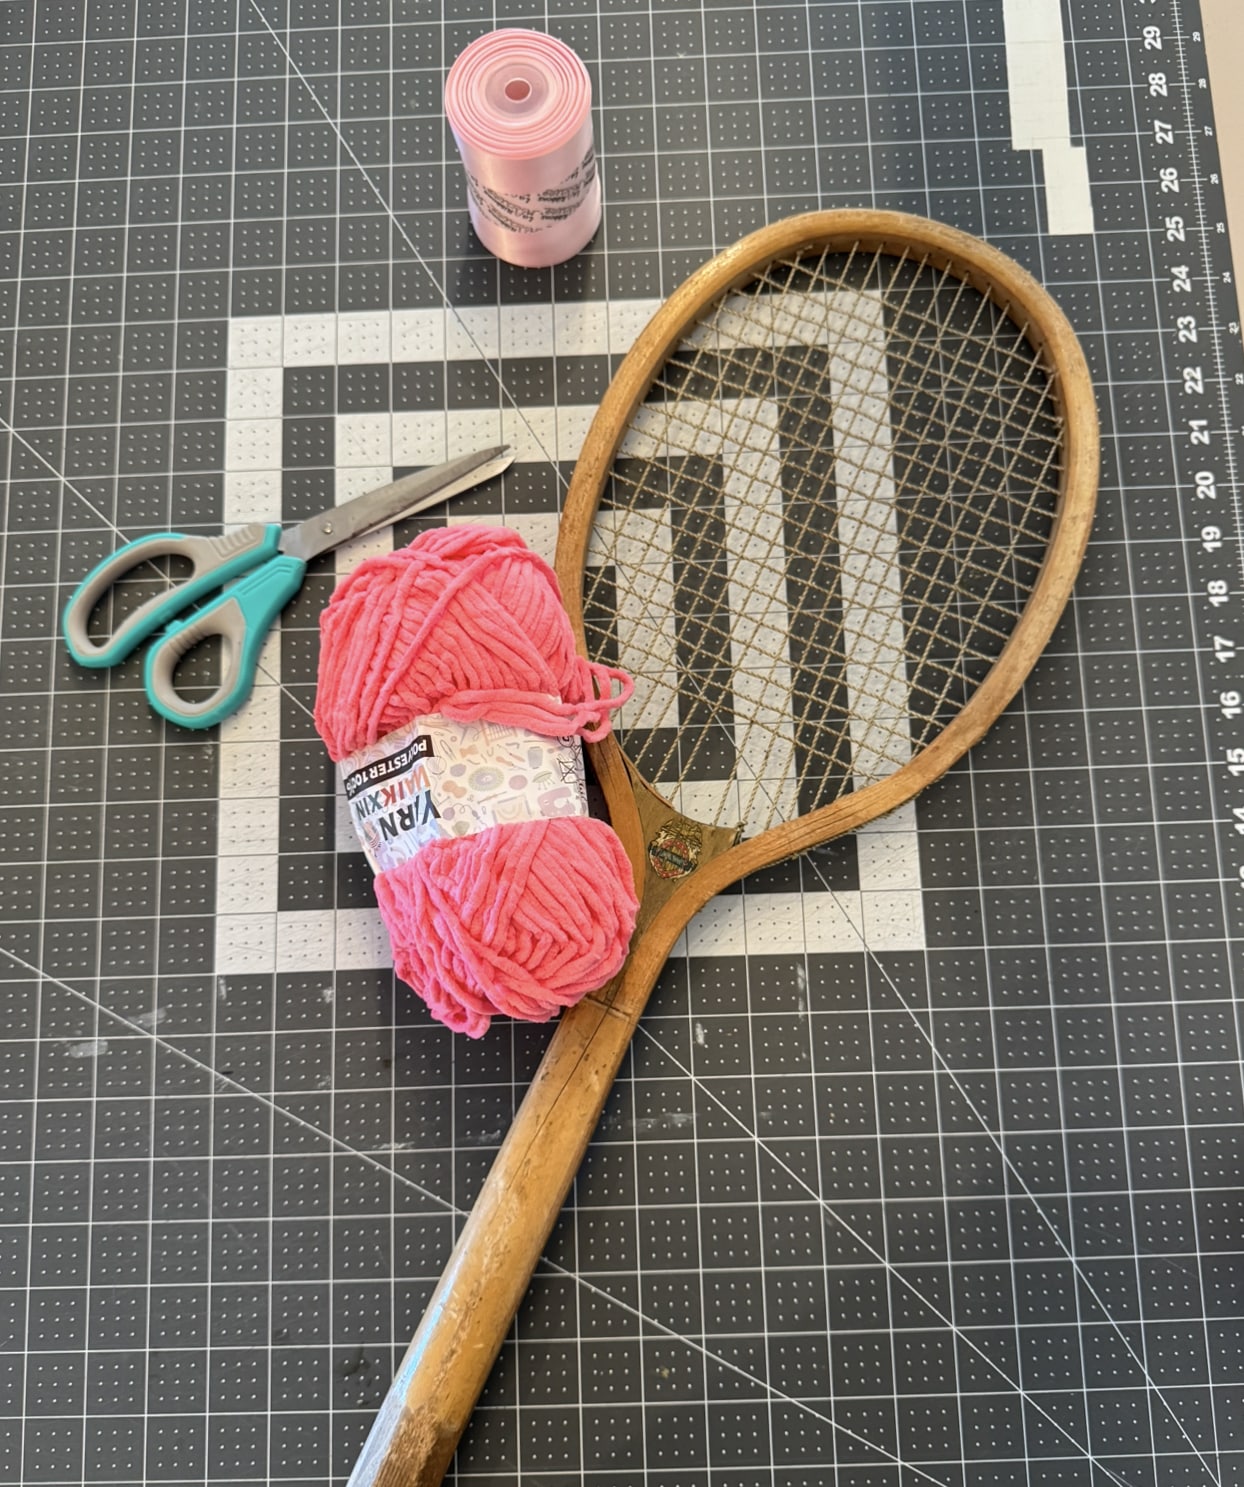
What you’ll need: {some of these are affiliate links and we may earn a small commission – thank you for understanding!}
• An old Tennis Racket. The best place for these is your local FB Marketplace or good old eBay. I do find that people are a little prouder of their procured antiques on Etsy, so I steer clear {unless it’s a true artisan creation, of course}. Otherwise, these are great sites for the best prices. If you’re so lucky to find one at the local flea market or garage sale, I do bow down to the luckiest of perusers… You never know what you’ll find. I would recommend grabbing one with the strings intact, for obvious reasons.
• Yarn of some kind. I do prefer the polyester kind because it doesn’t fuzz up as badly while pulling it through the tennis strings.
• Toothpick or this + scissors
• Hot glue gun + hot glue
• Access to a printer + cardstock

1. Wipe down your racket. I skipped this part because it looked clean with our second racket, and regretted it later.
2. Print your letter to size for your tennis racket. I resized it a couple of times and then printed on cardstock + cut the letter out. You can always freewheel it, but I do think that it helps to have a plan and a template, especially regarding the floral design below.
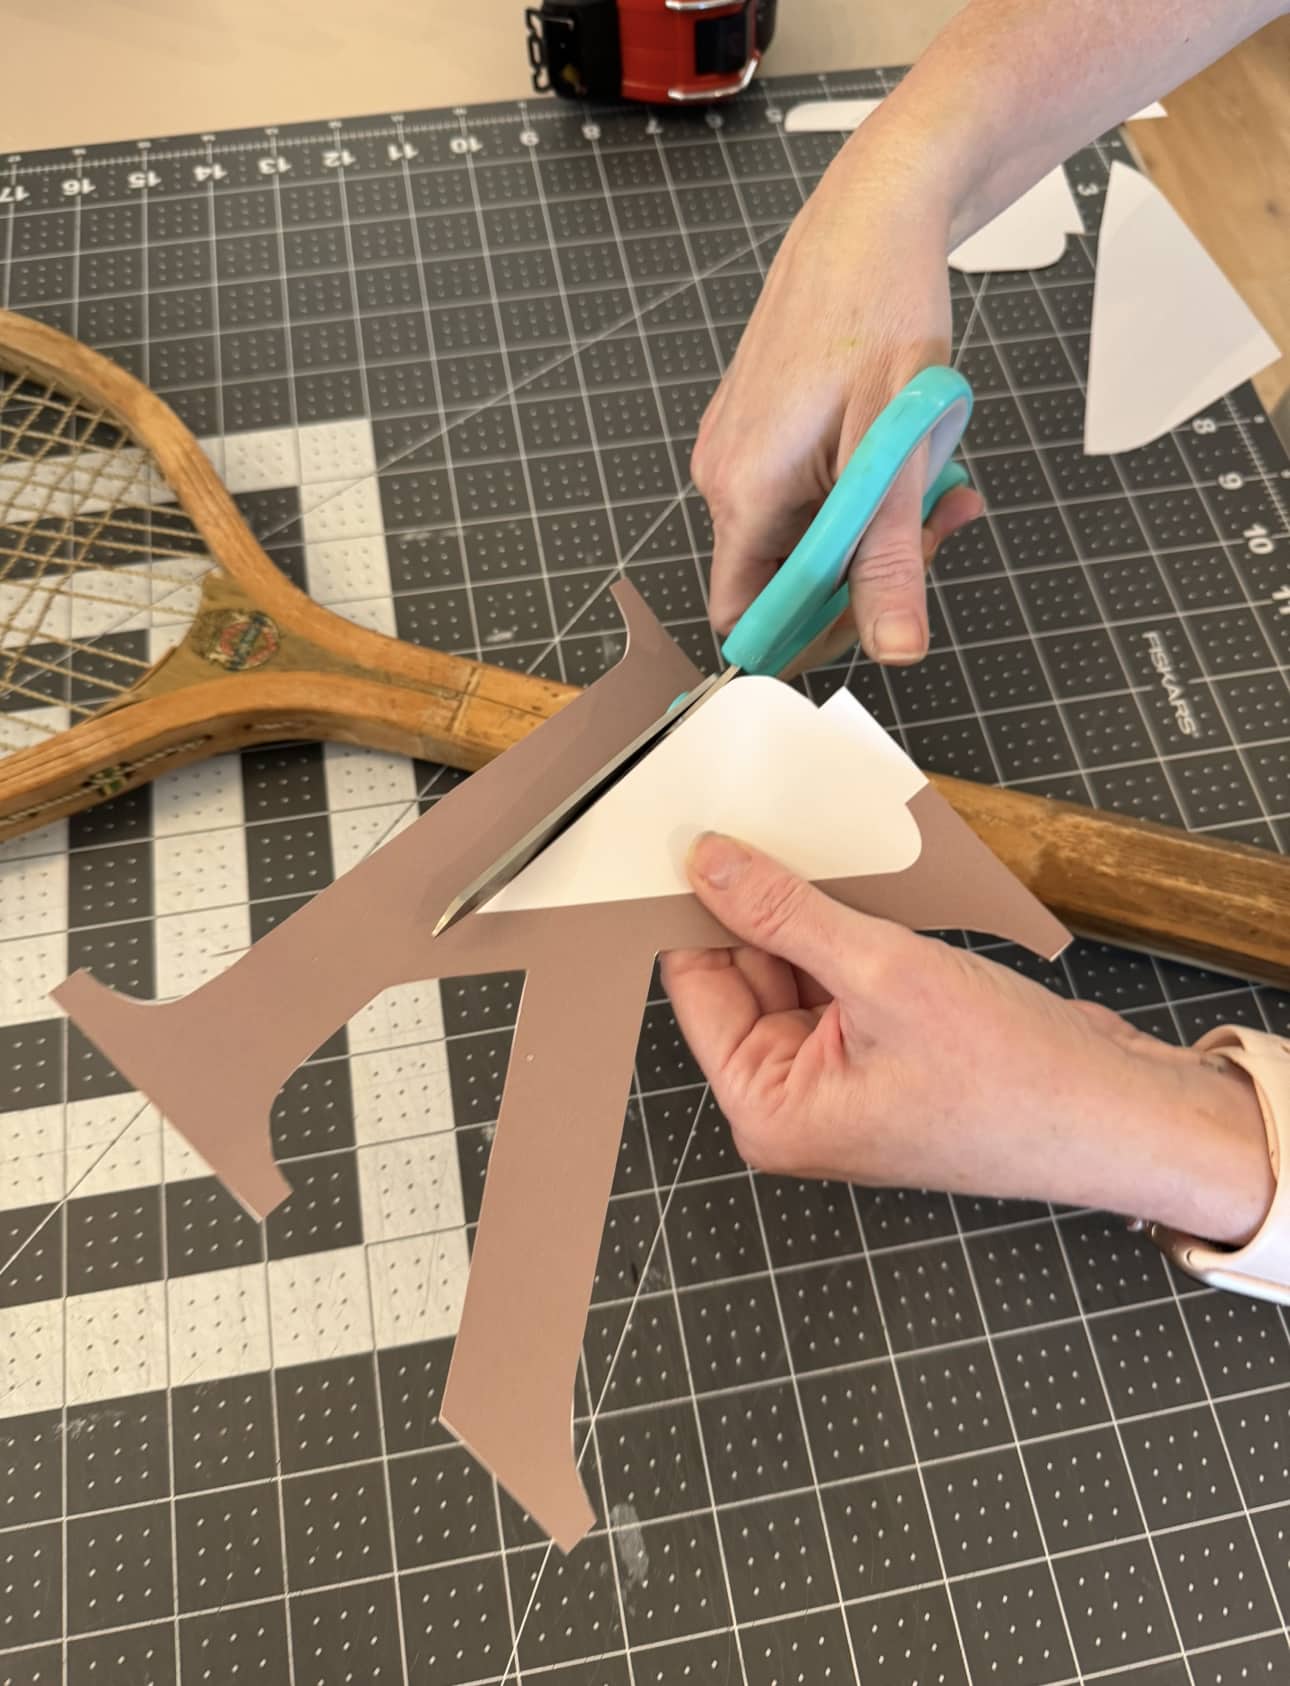
3. Once cut, secure it to the tennis racket with a little hot glue on the back.
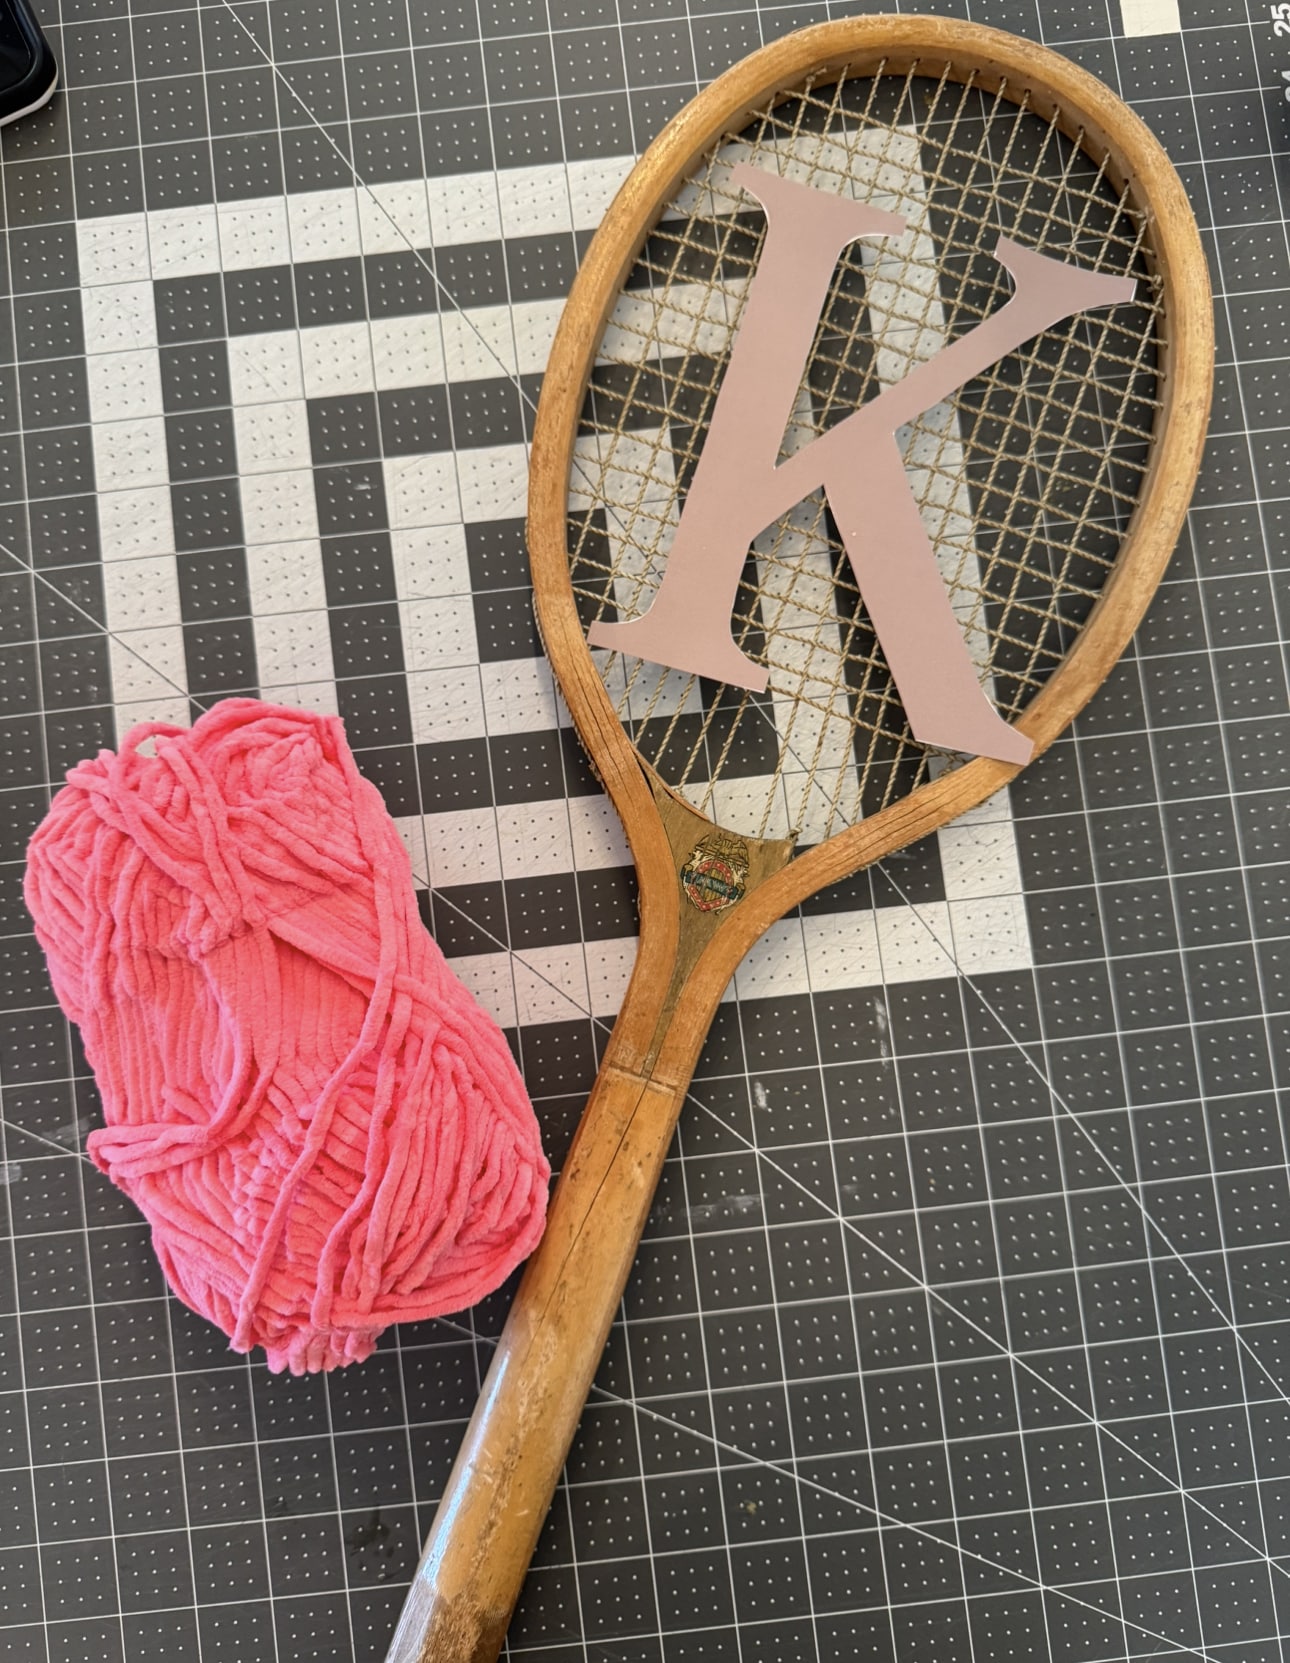
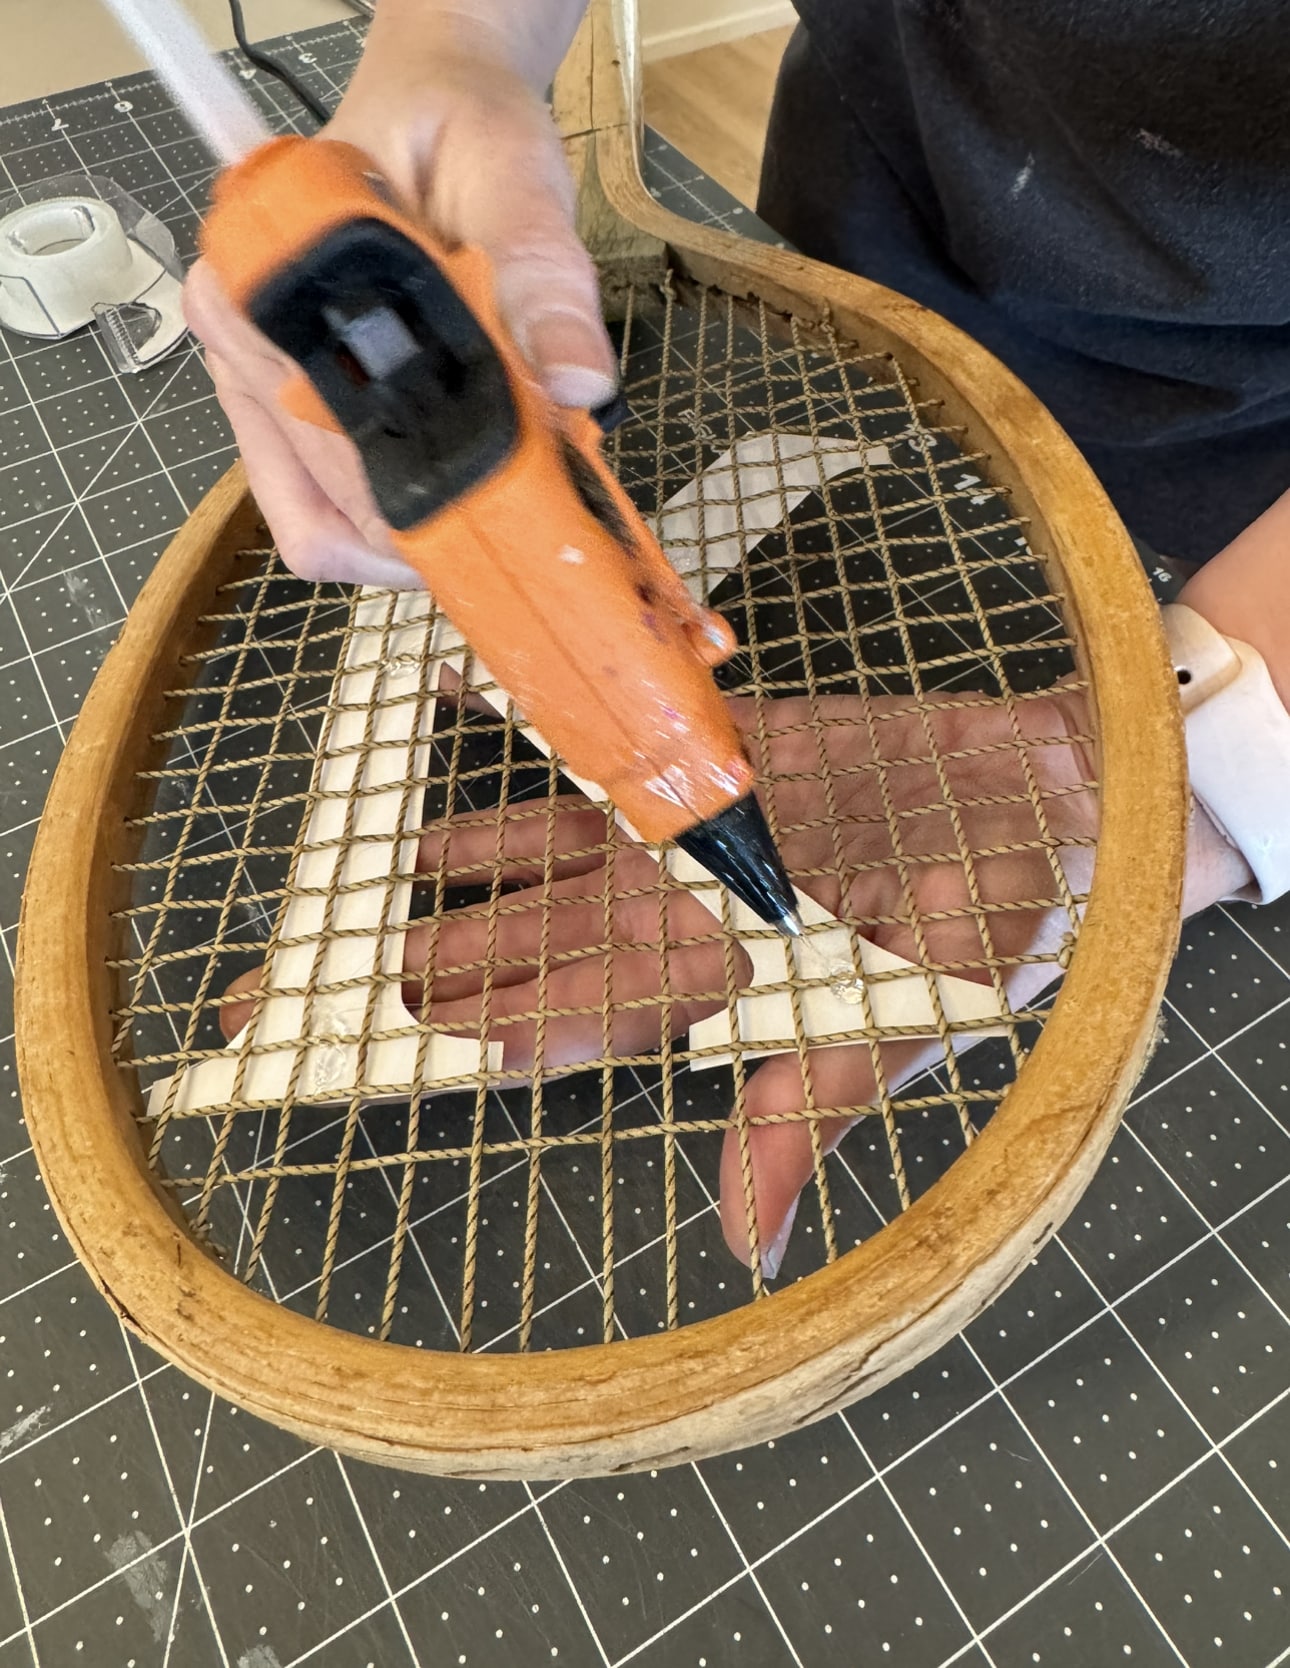
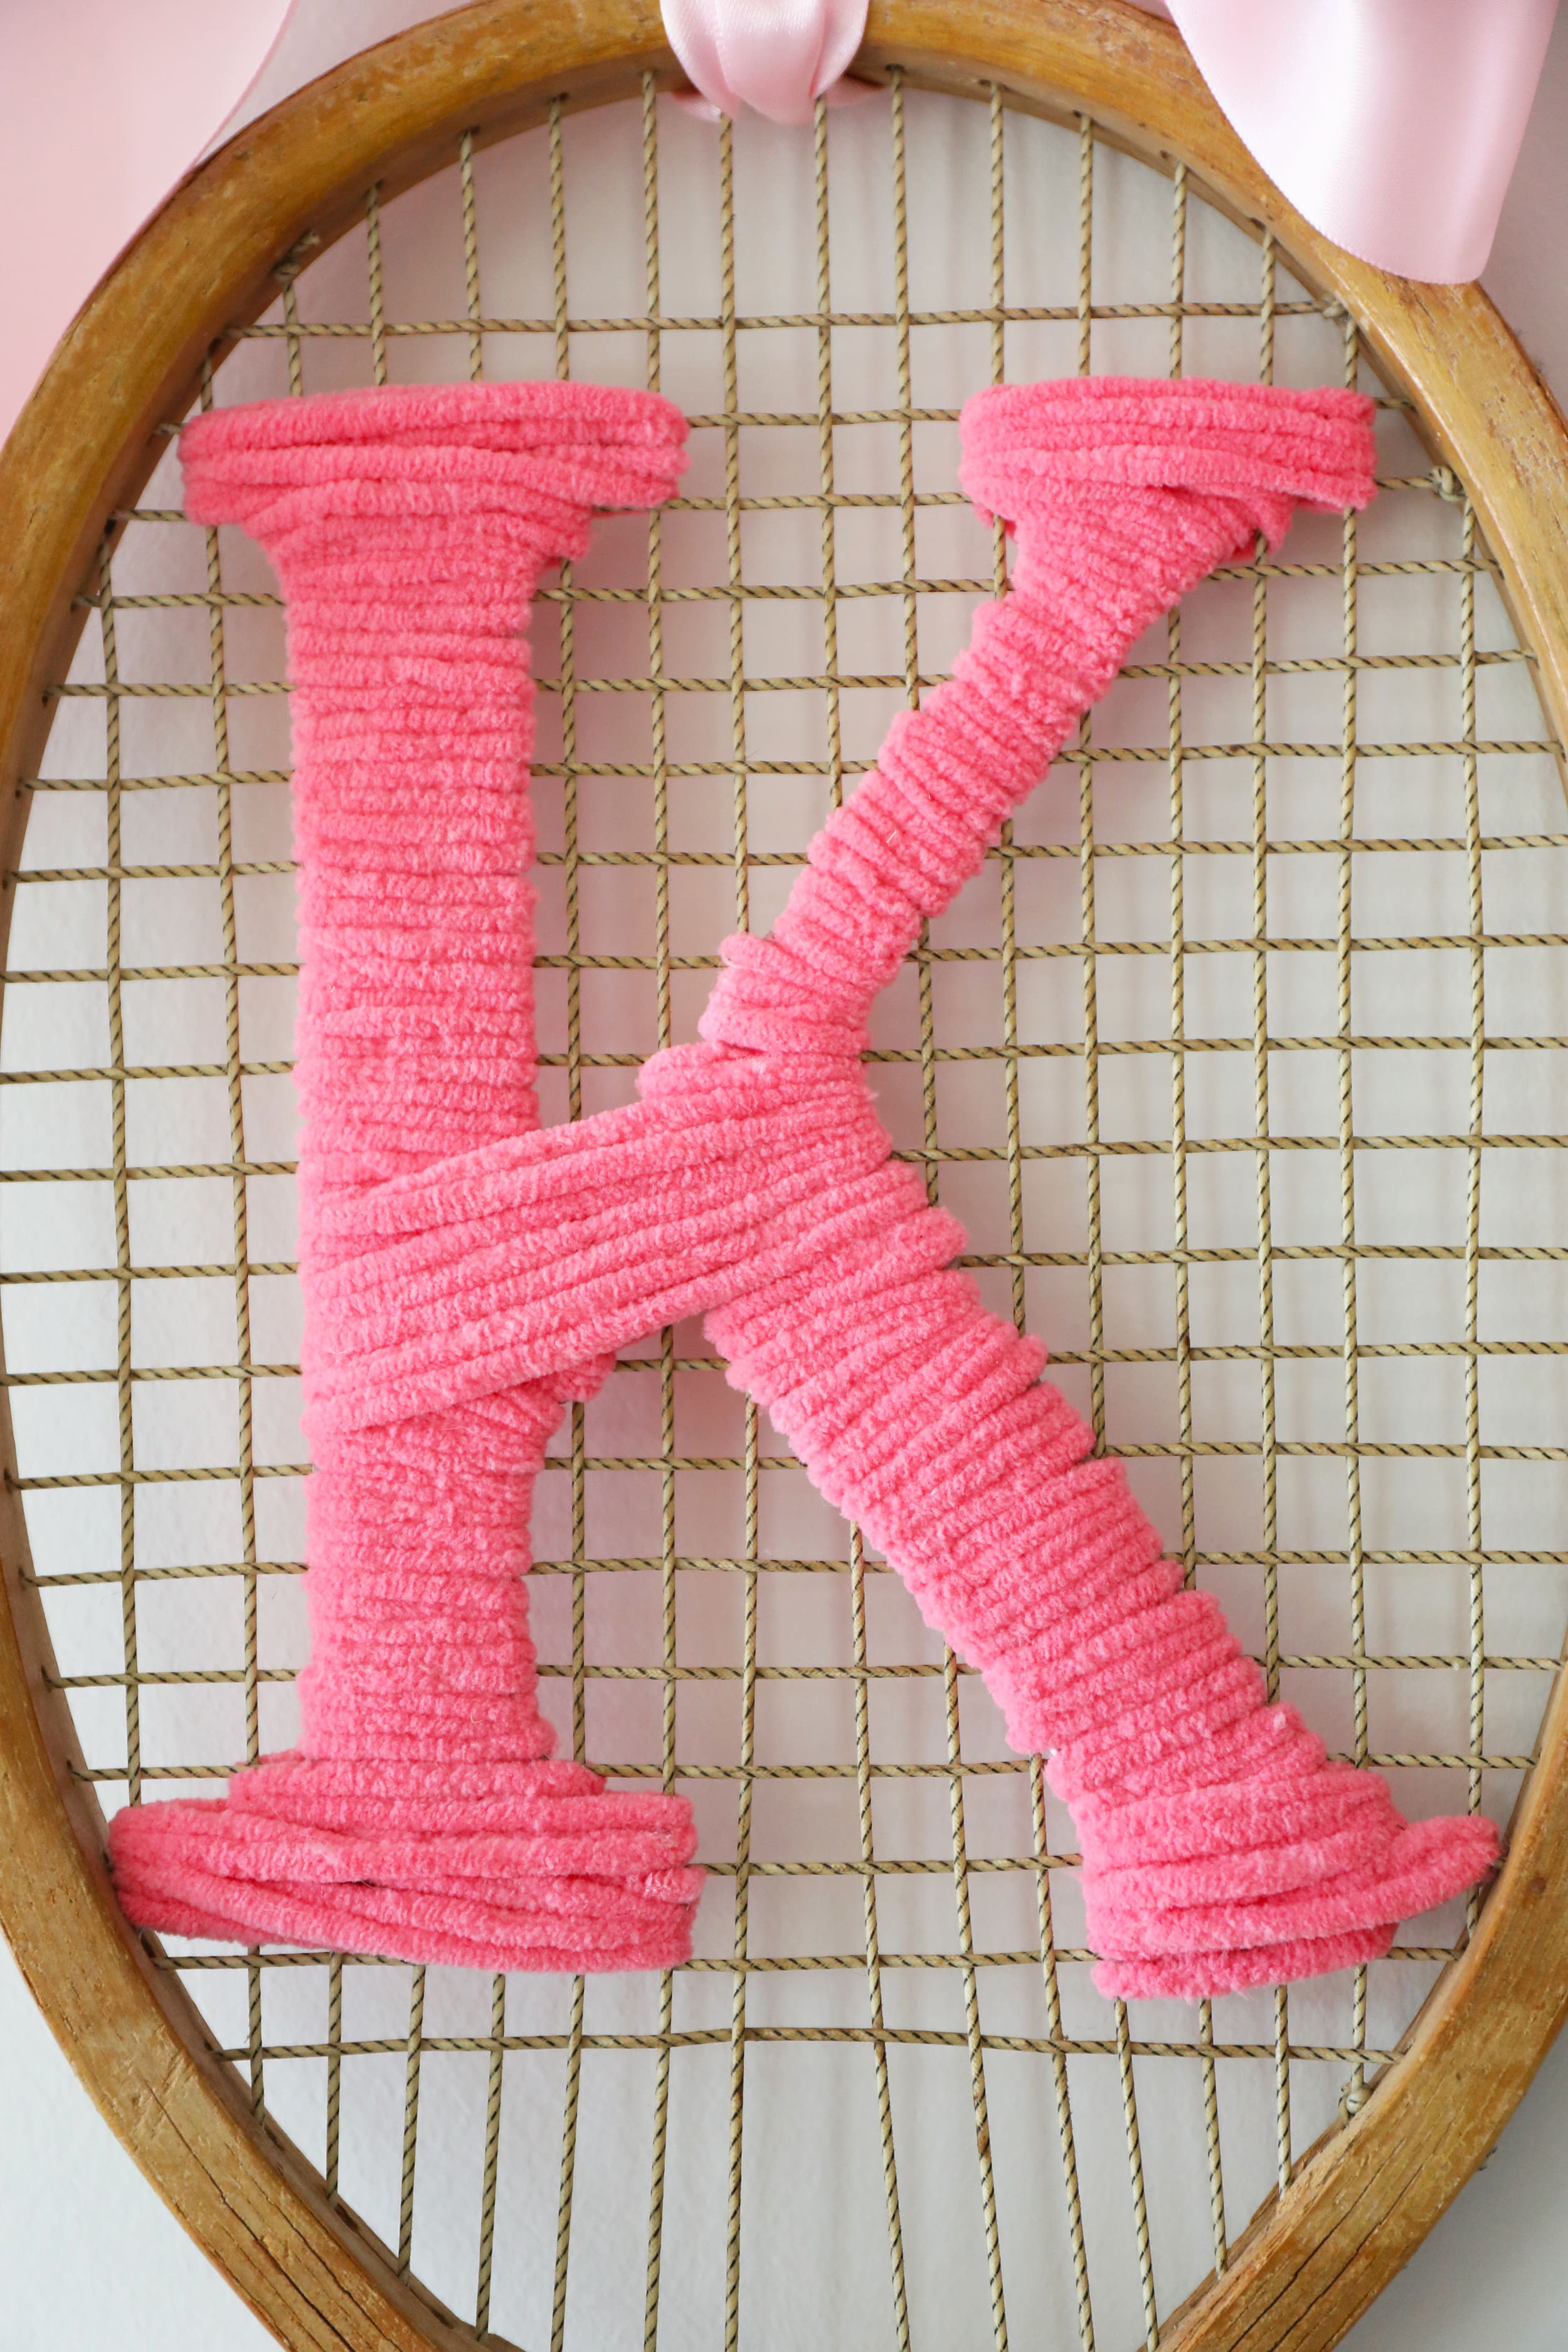
4. Anchor the yarn in a discreet place, and start weaving through the racket.

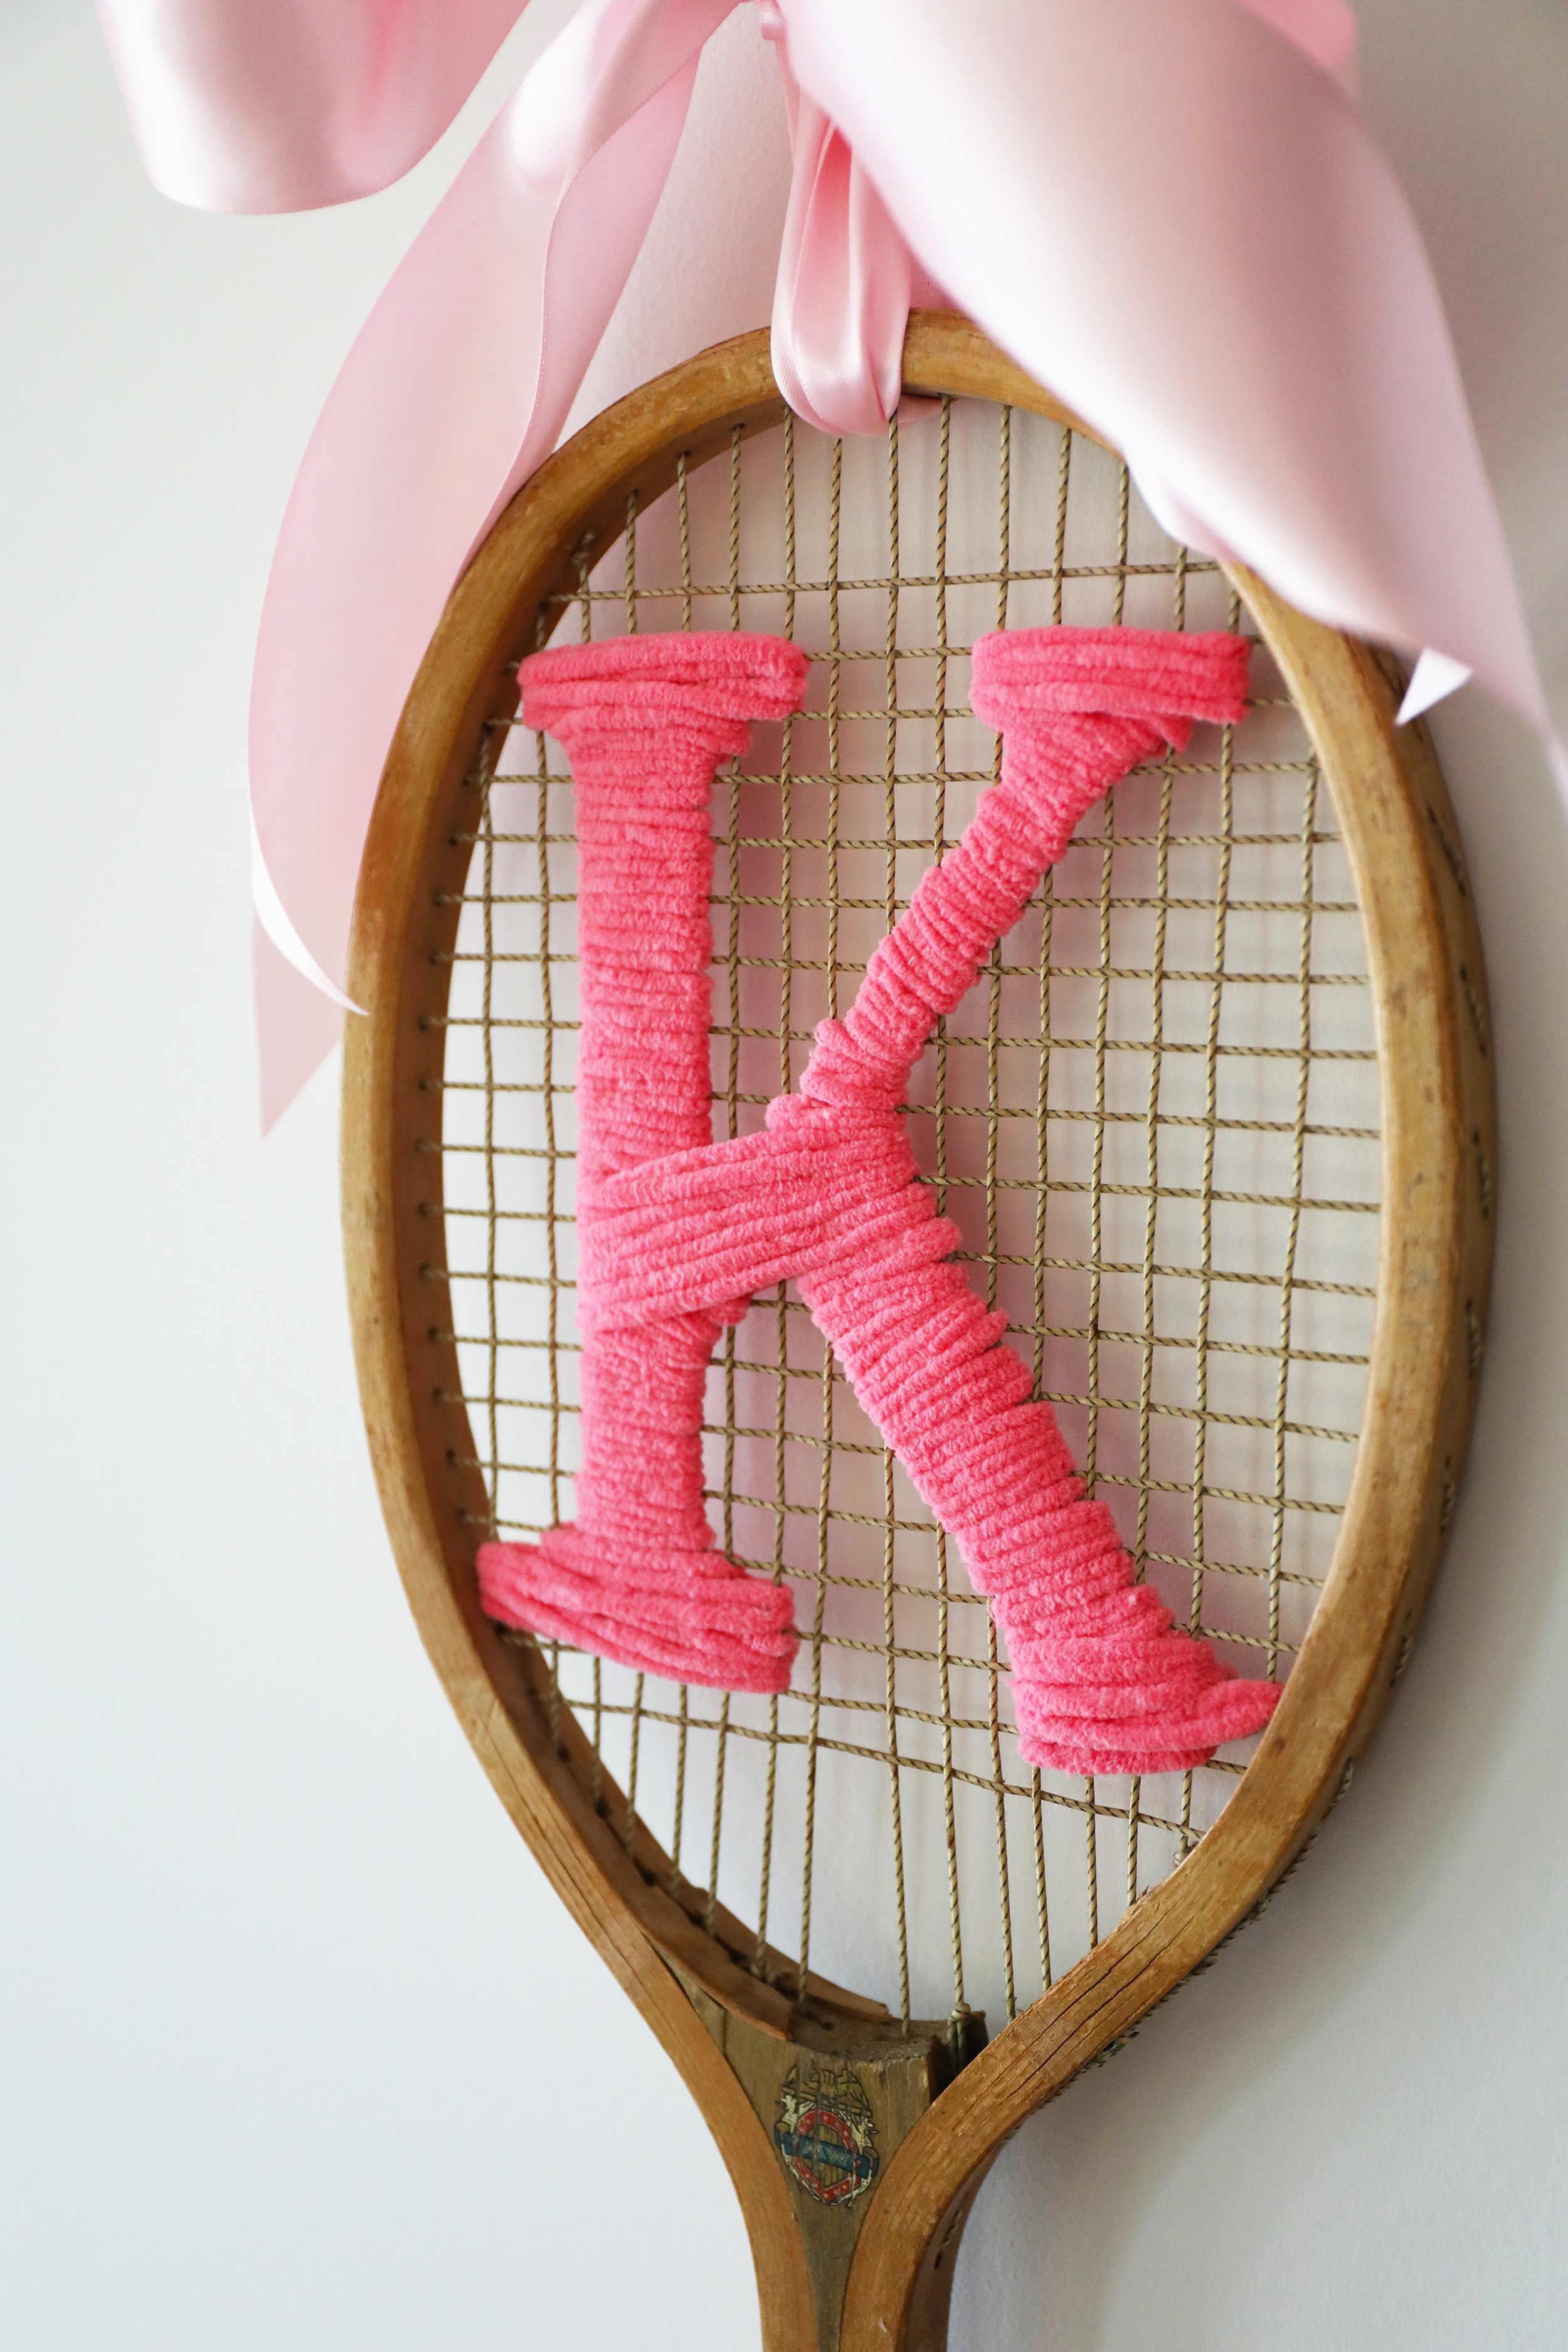
We tried to keep it as straight as possible, which took a little reworking as we went around the diagonal areas.

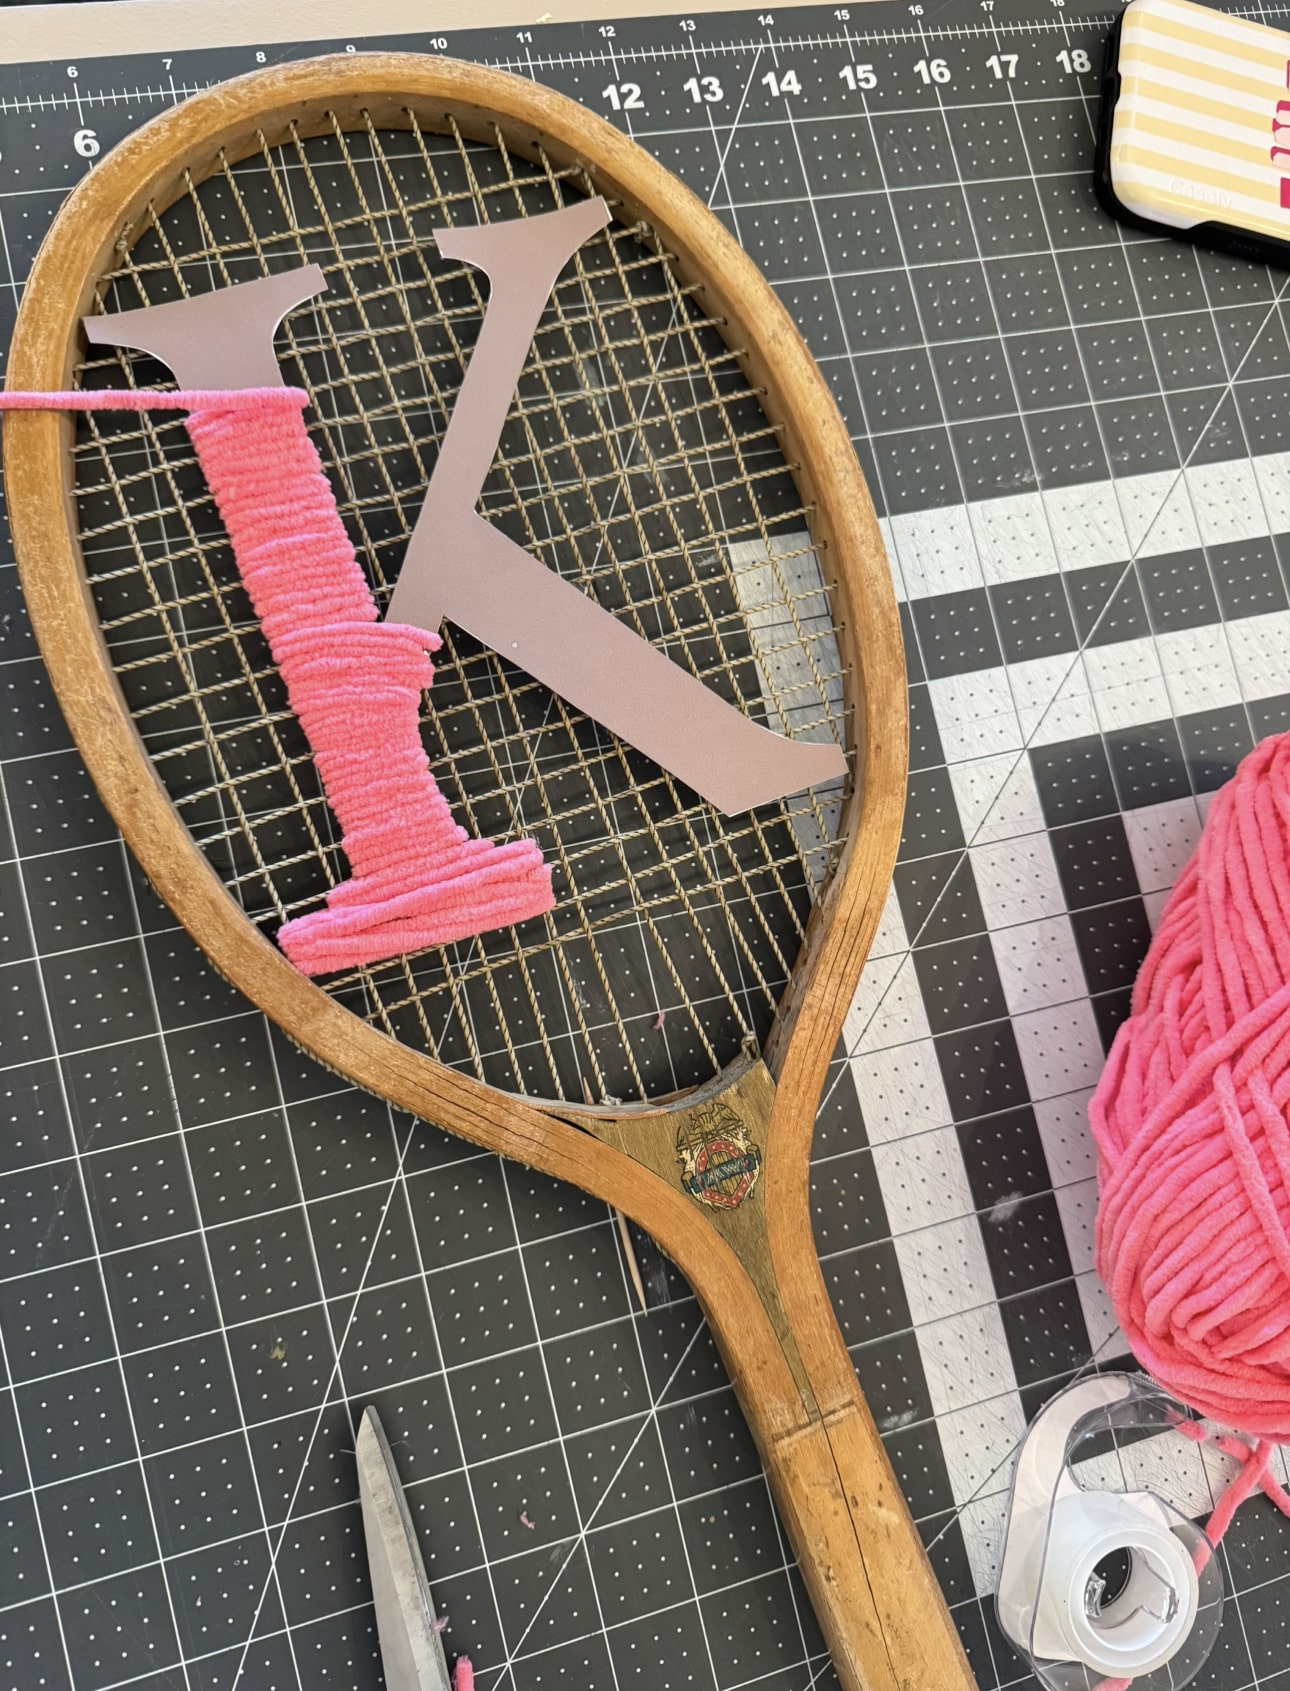
The toothpick helped to pull it through. You can start and stop on the back when you need a little more length to work with.
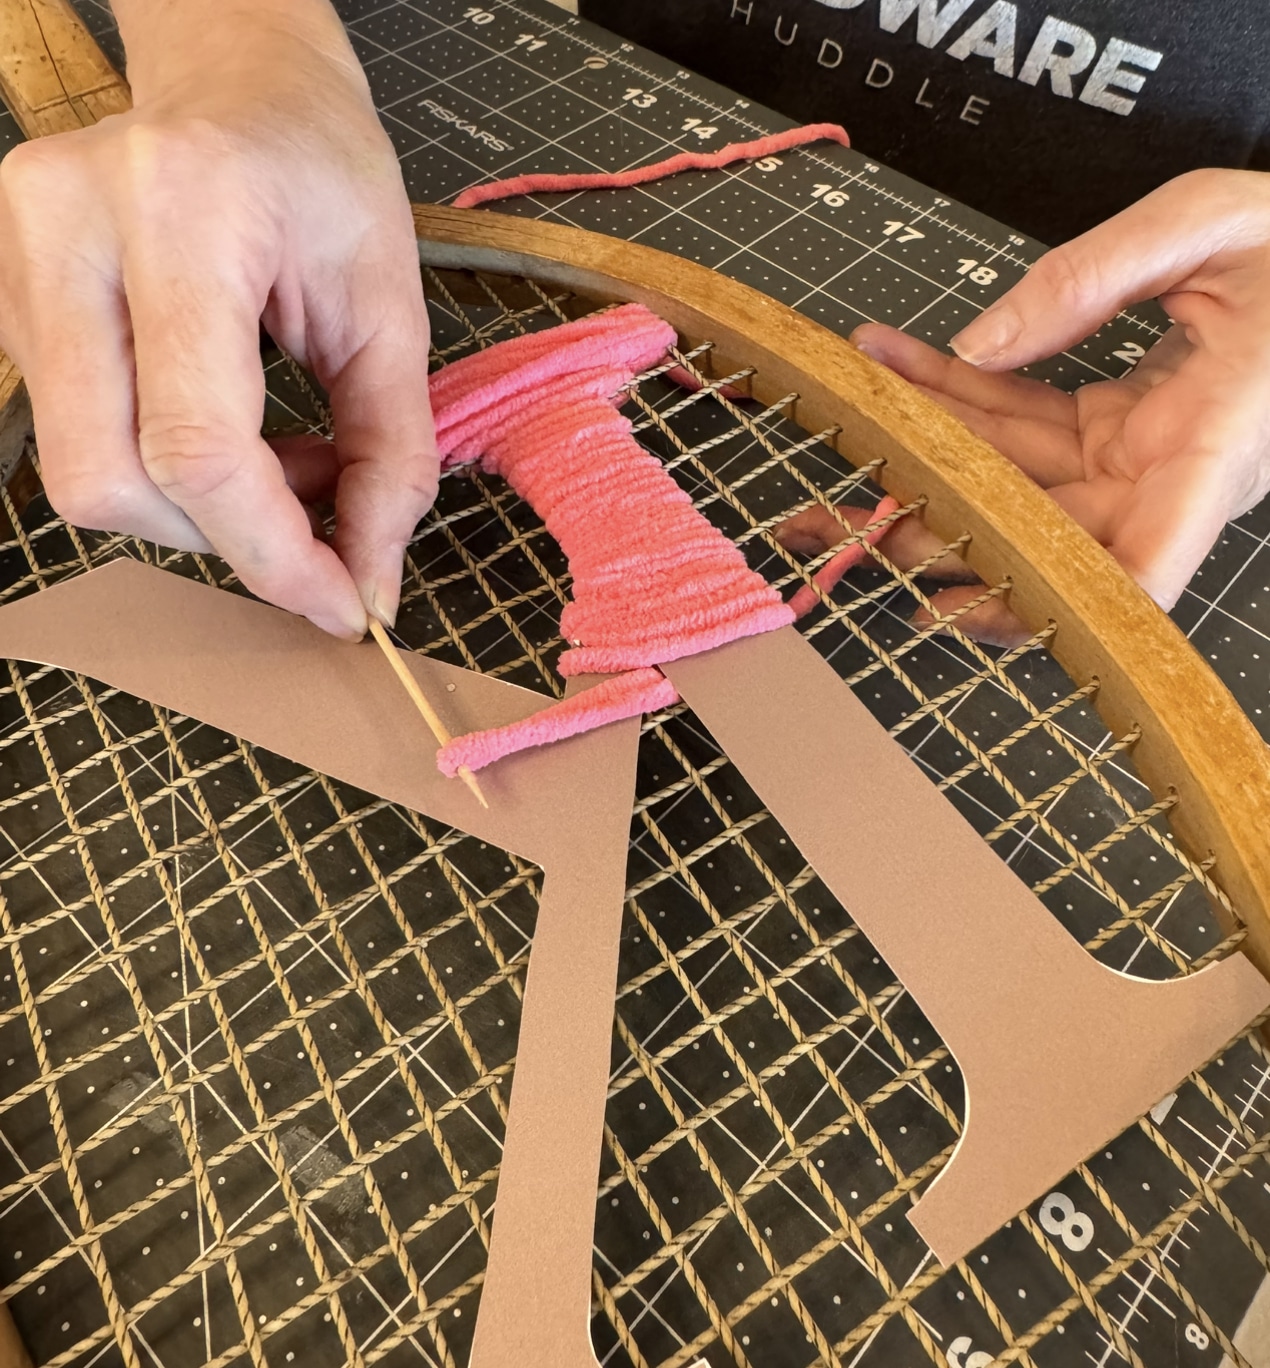
Here it is in progress. And before we knew it, we were finished!
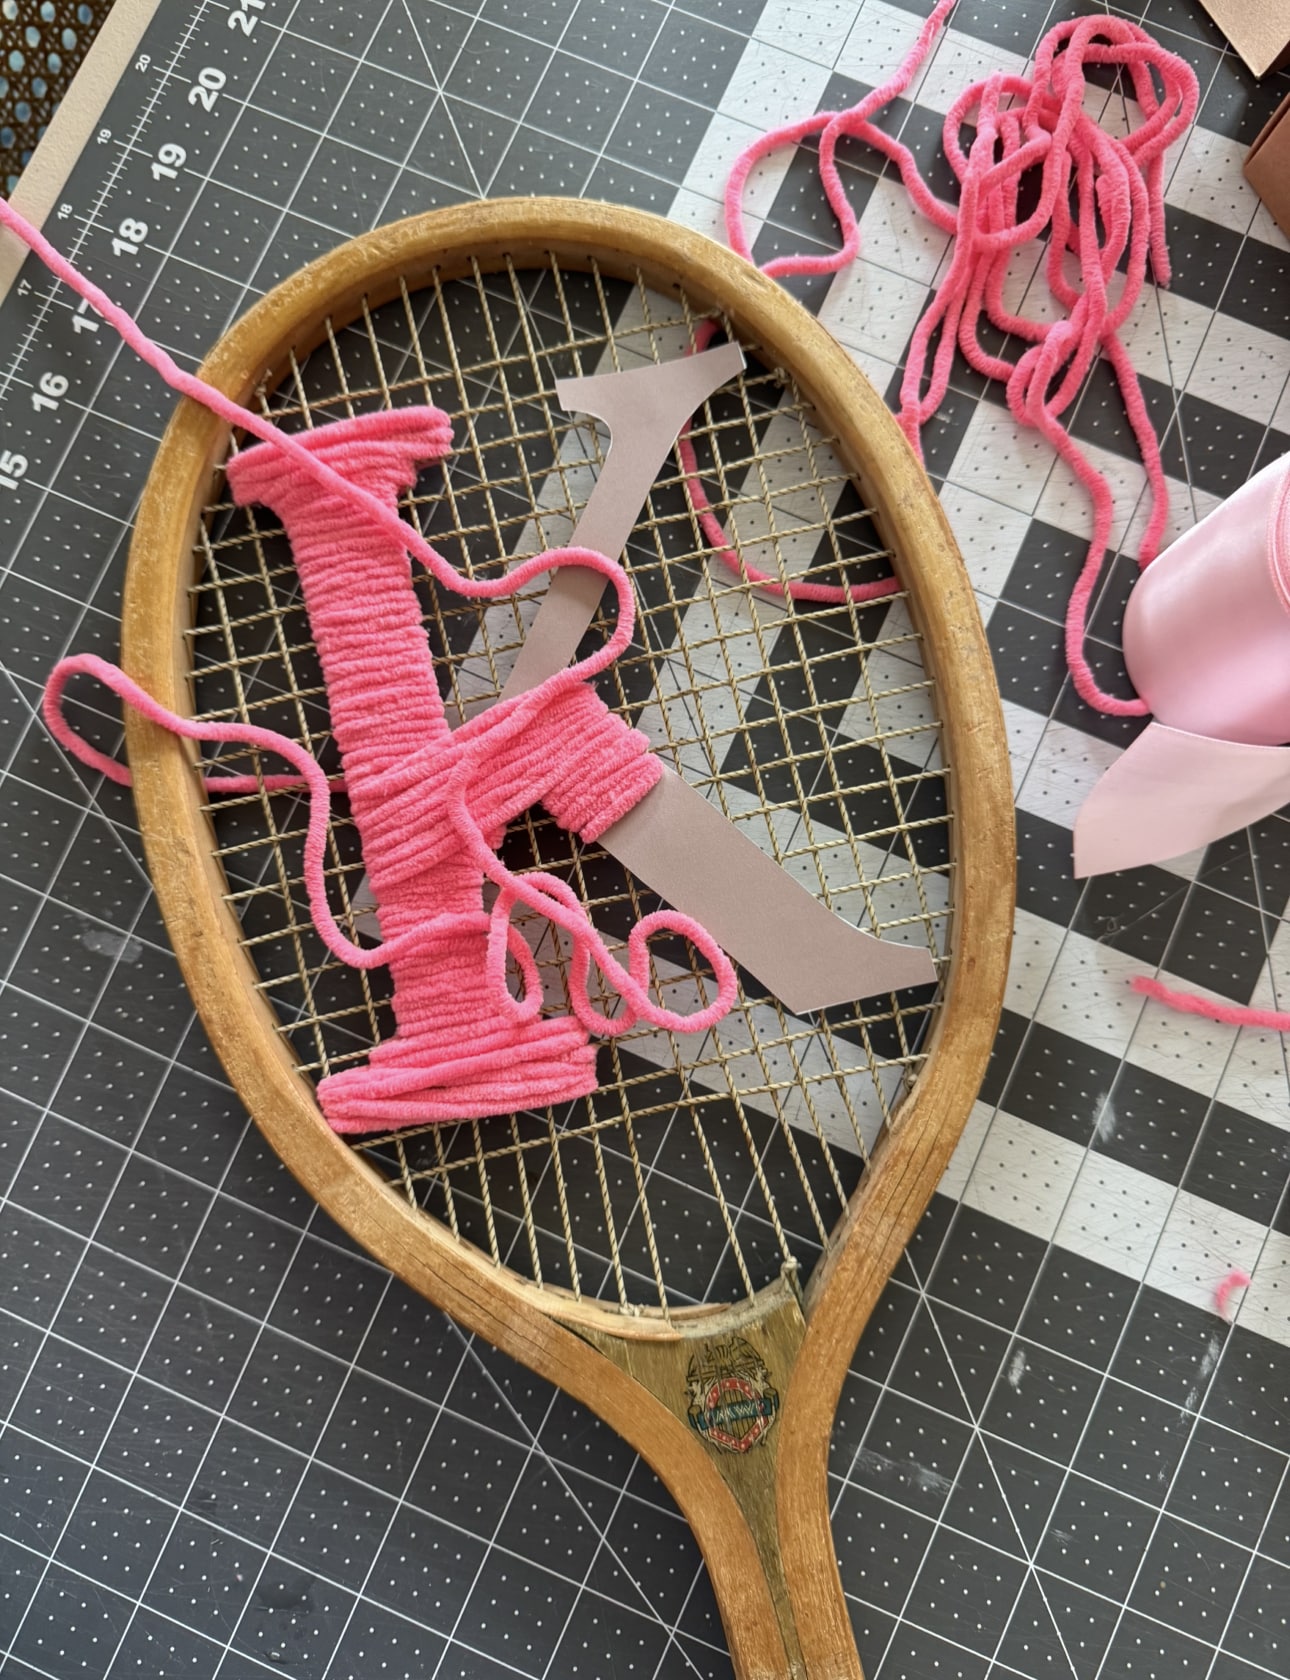
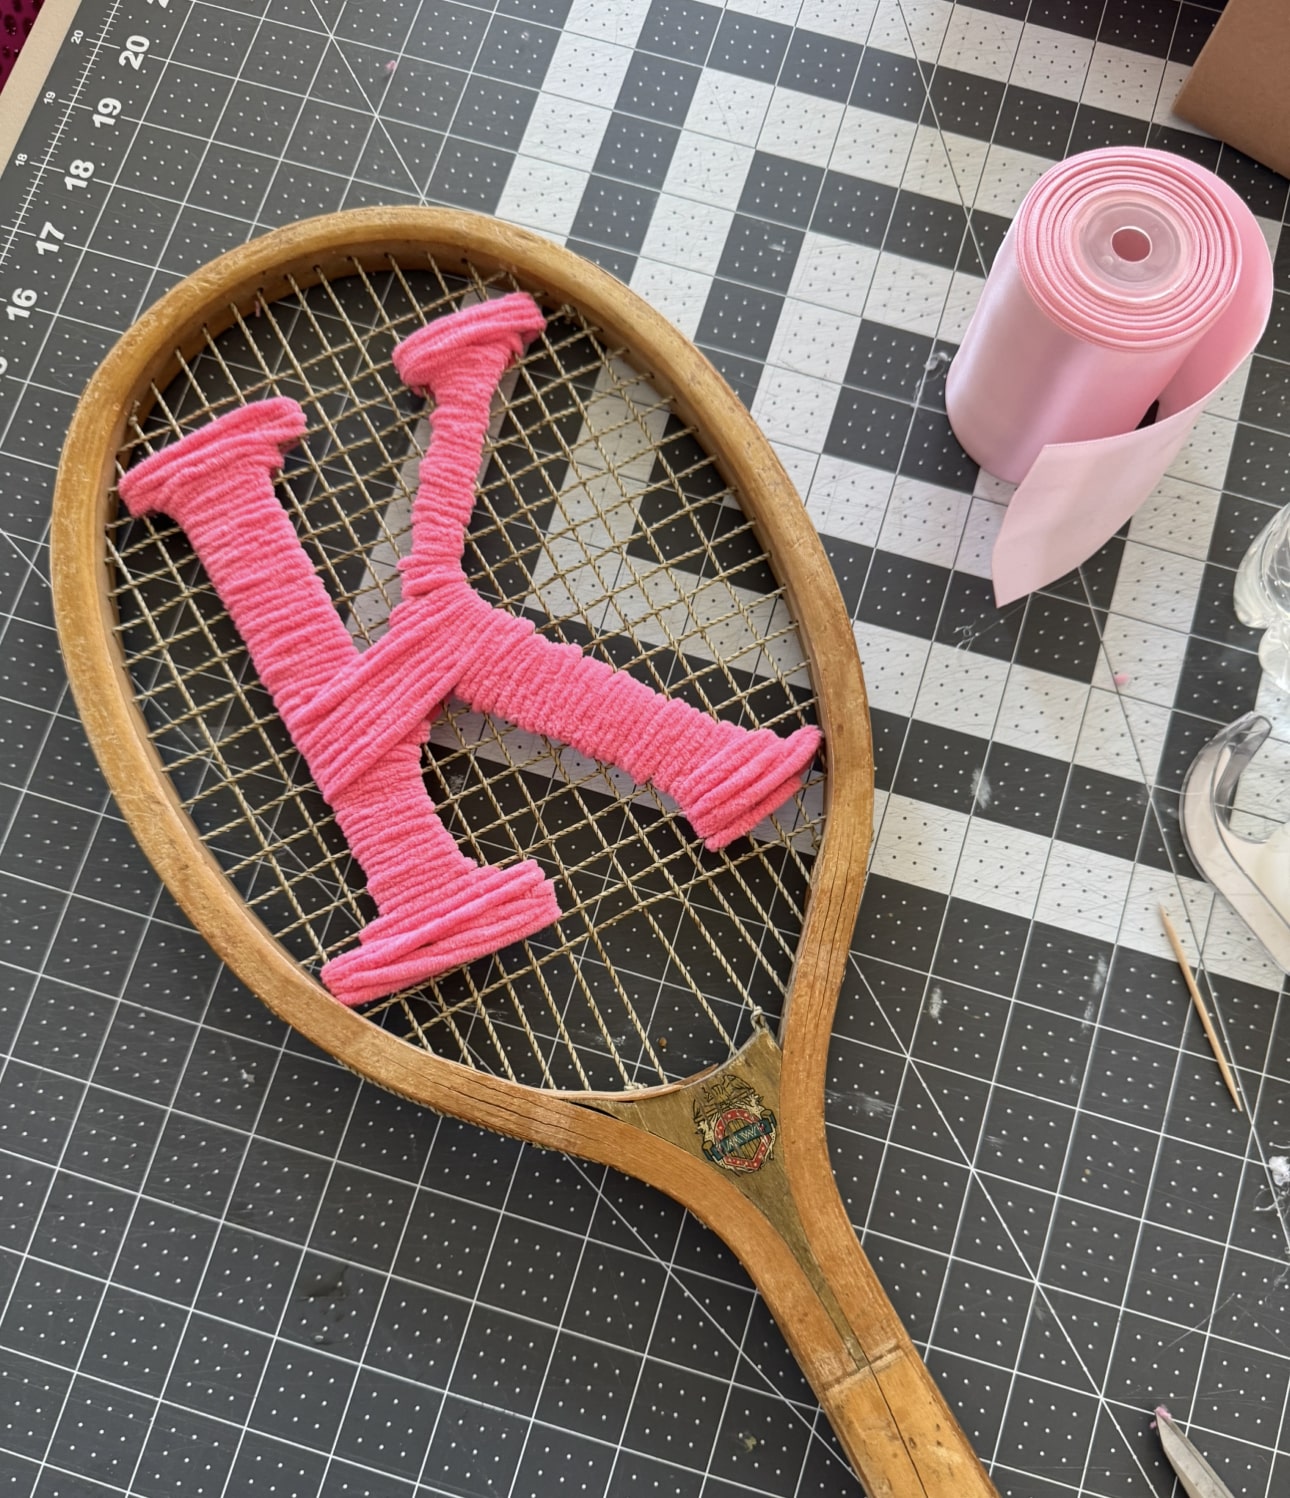
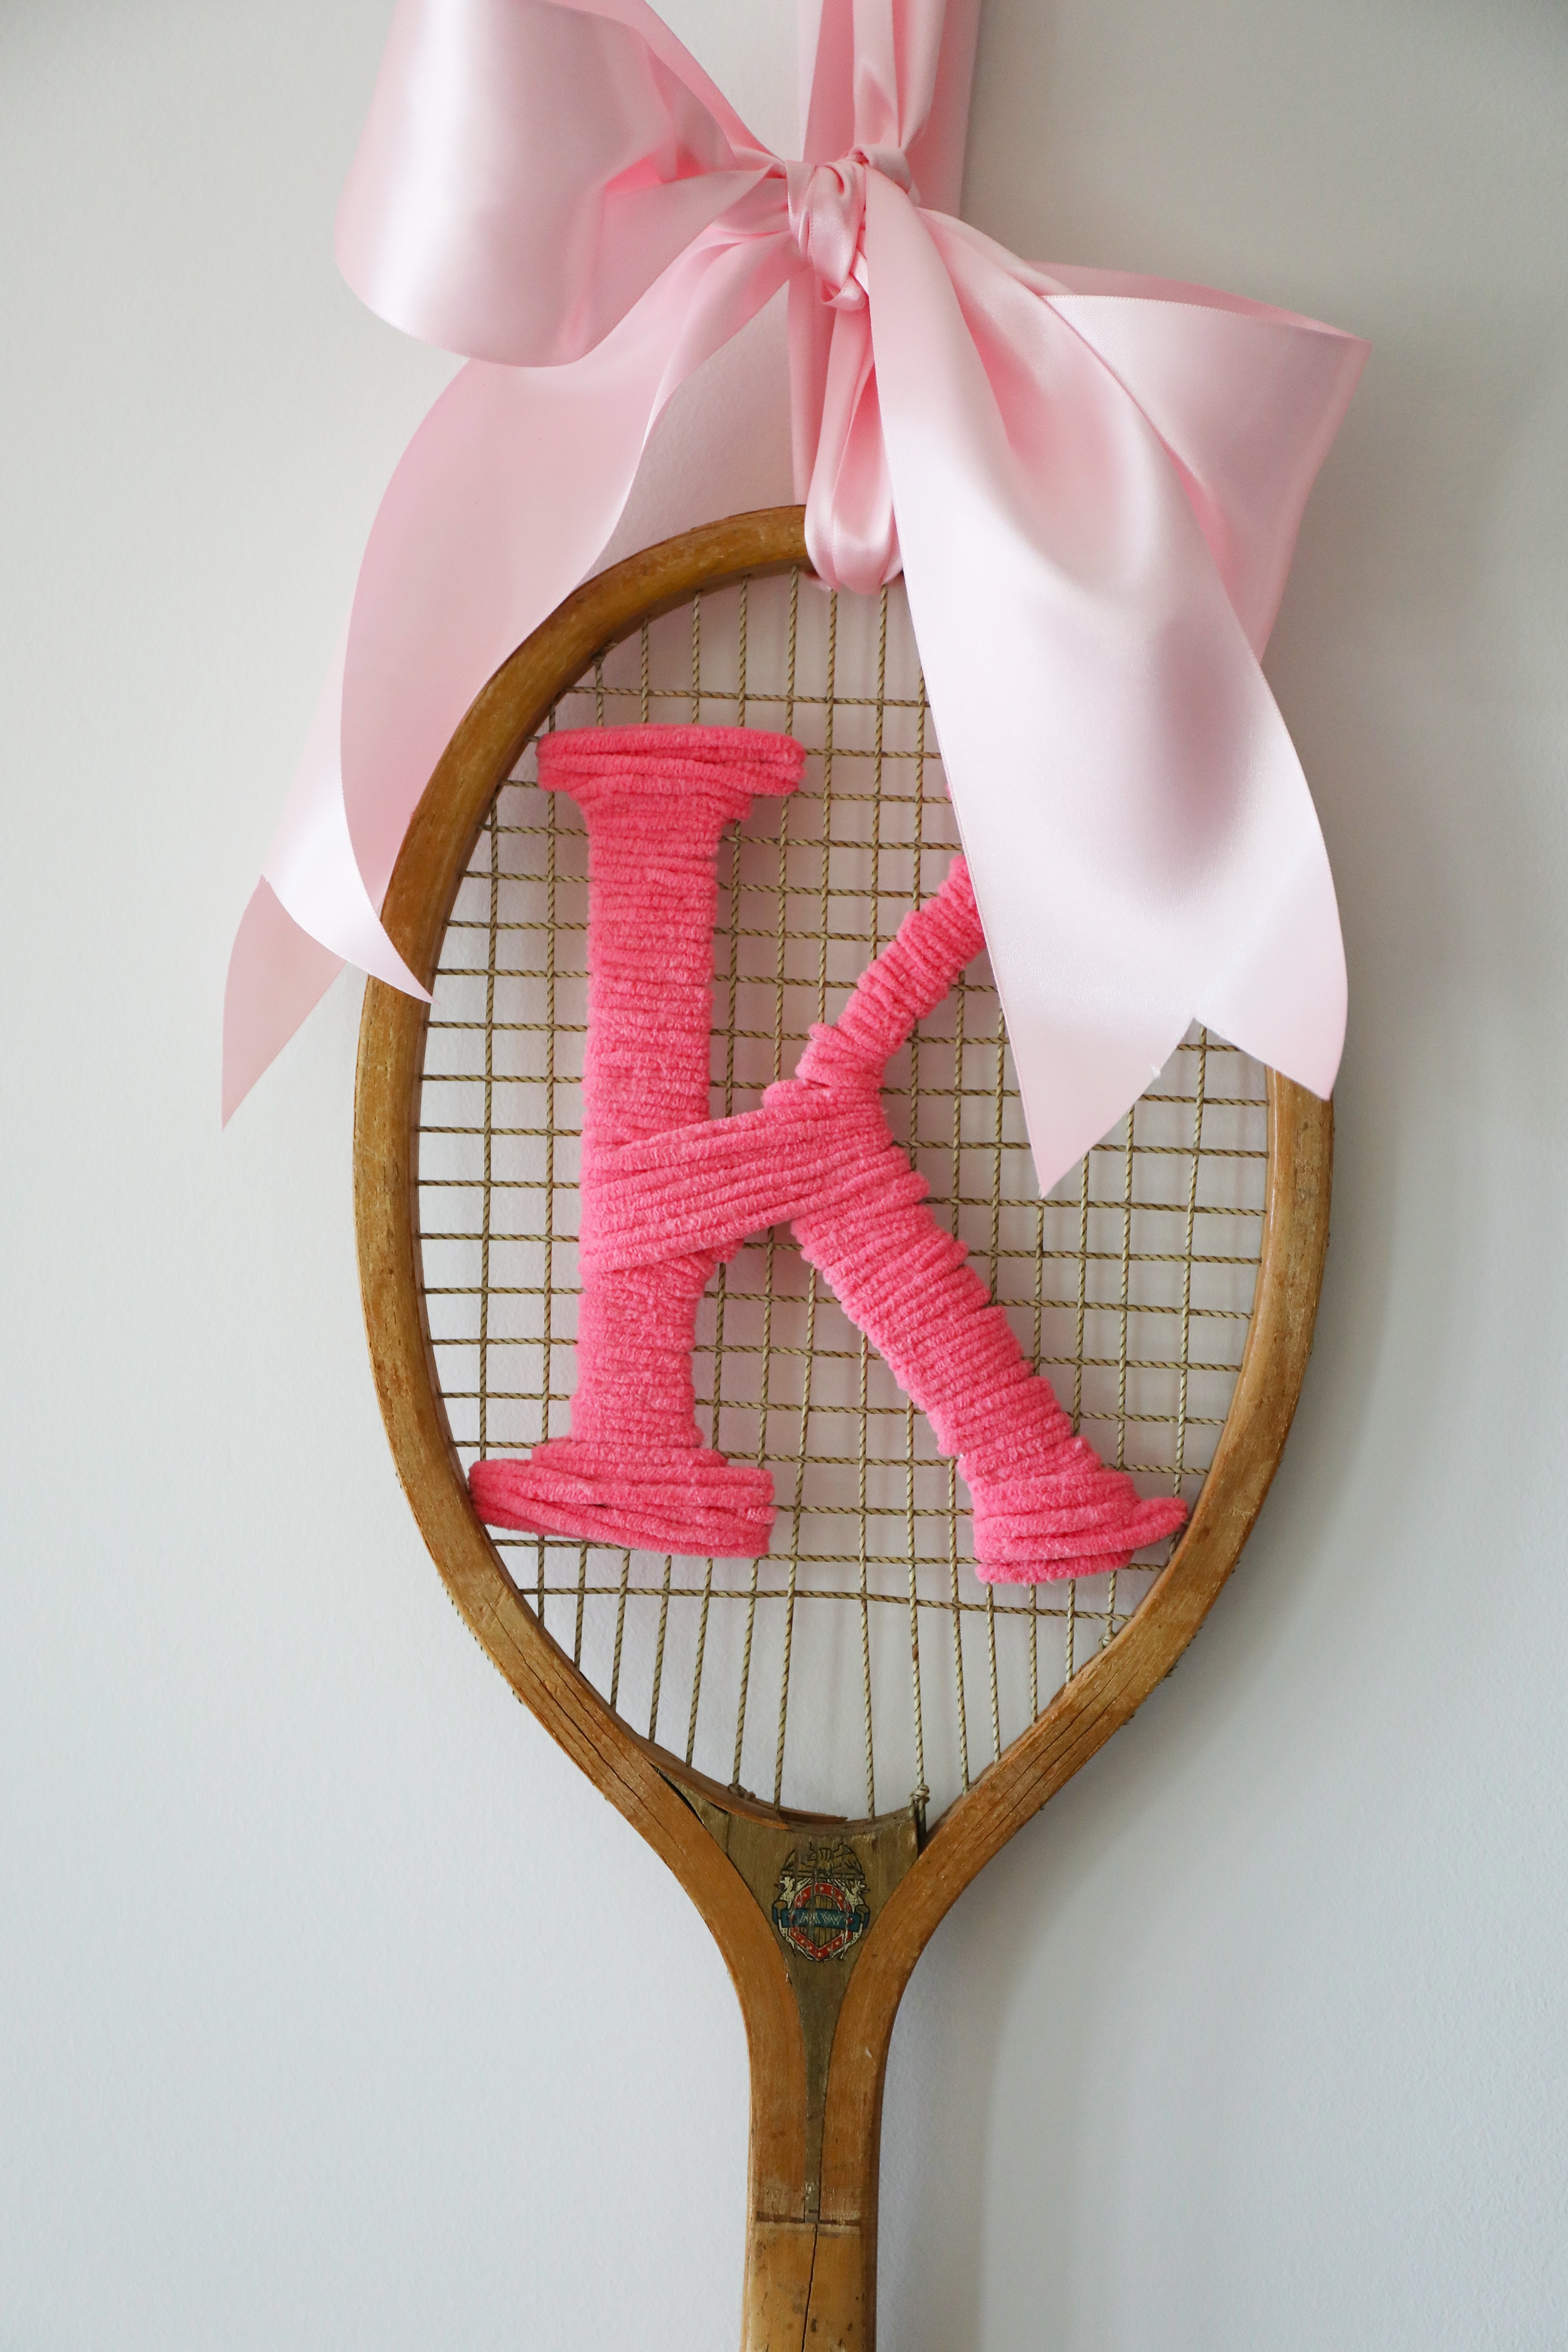
Tada! You’re ready to attach your ribbon.
Next up: The Floral Embroidered Tennis Racket.
For the floral-embroidered tennis racket, I quickly realized I needed something different. At first, I went to freehand the flowers with the same thick yarn in different colors, only to realize that they needed a bit of a curve, and it was starting to look like fireworks without a plan.

So, I decided that instead of thick polyester yarn, I would use classic embroidery thread. Of course, I loved that this assortment option comes in a gazillion colors, but I did find that to complete a petal or two, I needed more than one set. I ended up ordering three, because I see myself using the leftovers again for something else. It also helps with this one to use some needles.
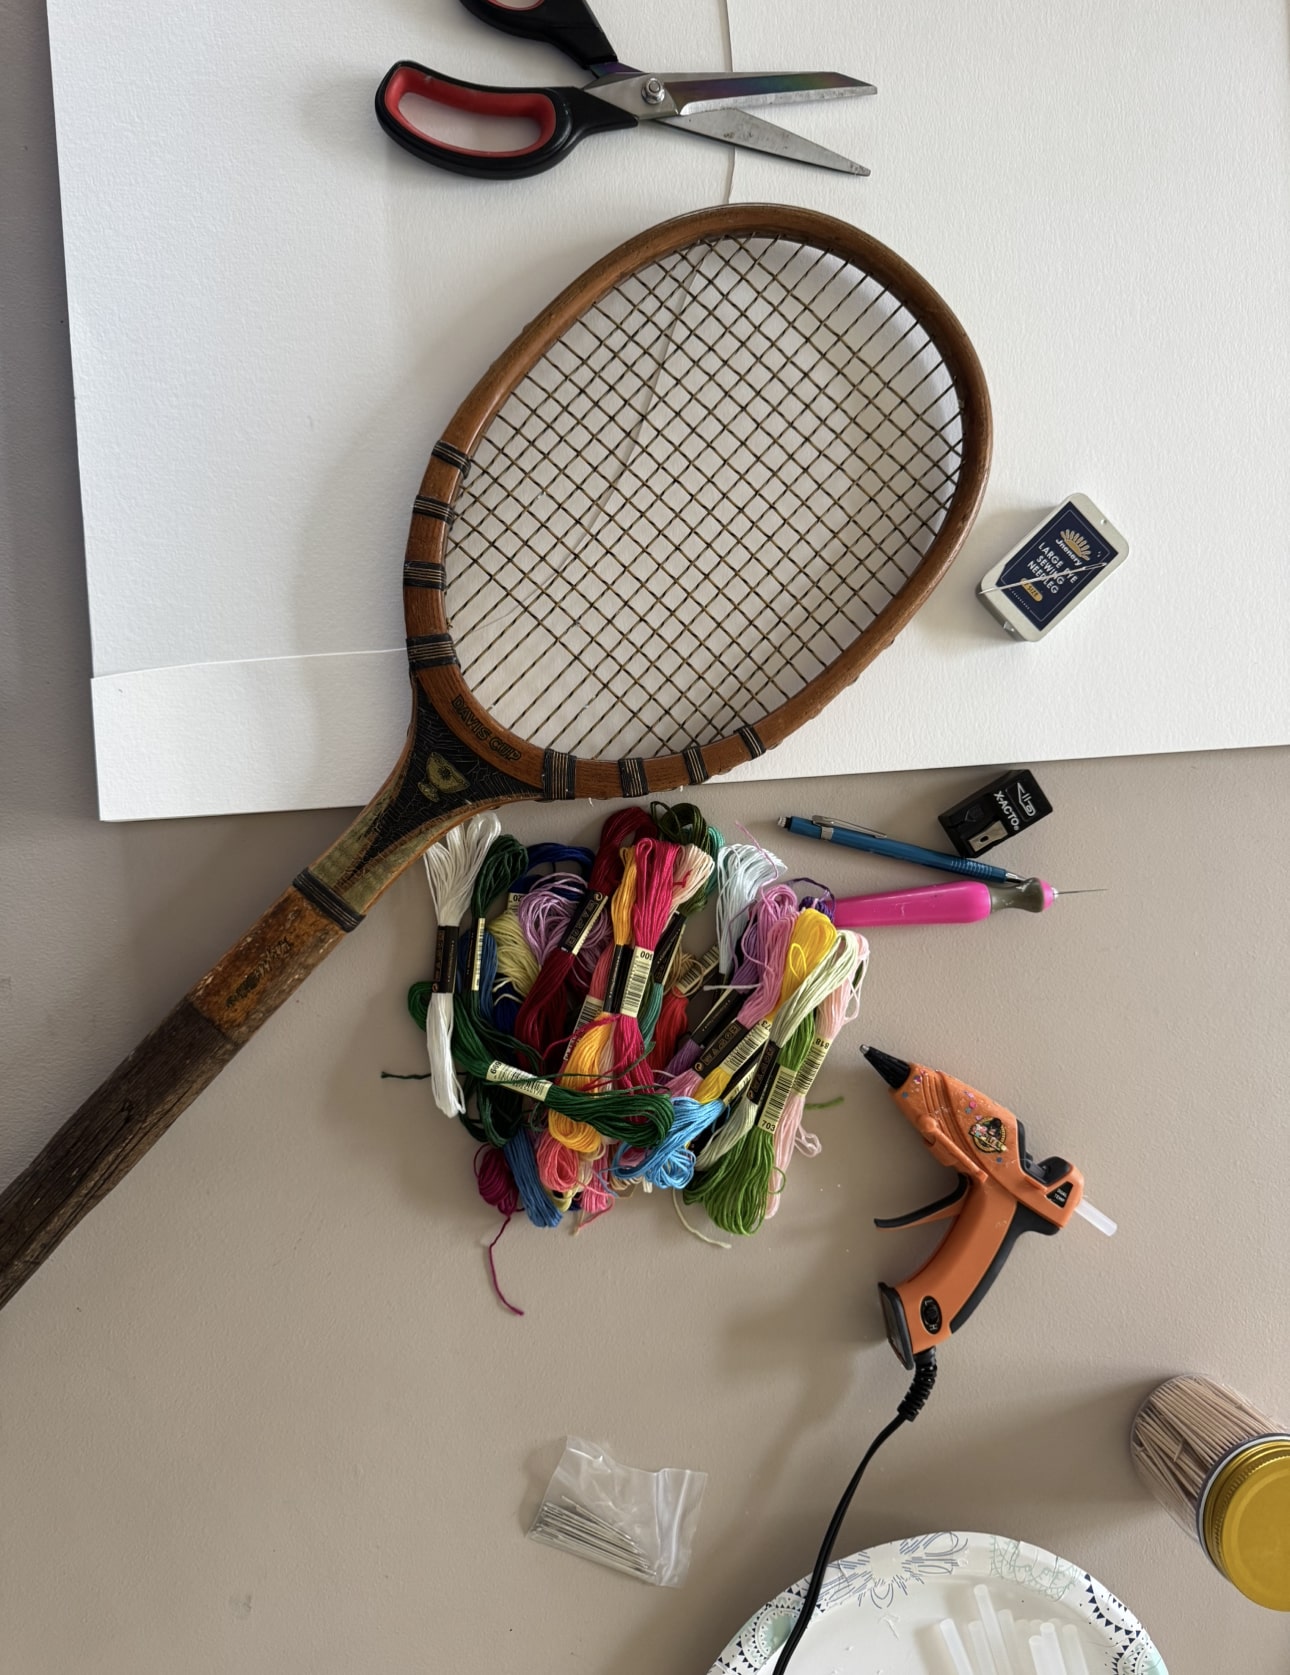
You’ll also want the glue gun with this one, and some thick paper. For this version, I opted to sketch out some flowers and make a plan. I had some watercolor paper on hand, and it was just the perfect thickness, so sketch + cut.
Start with a sketch:
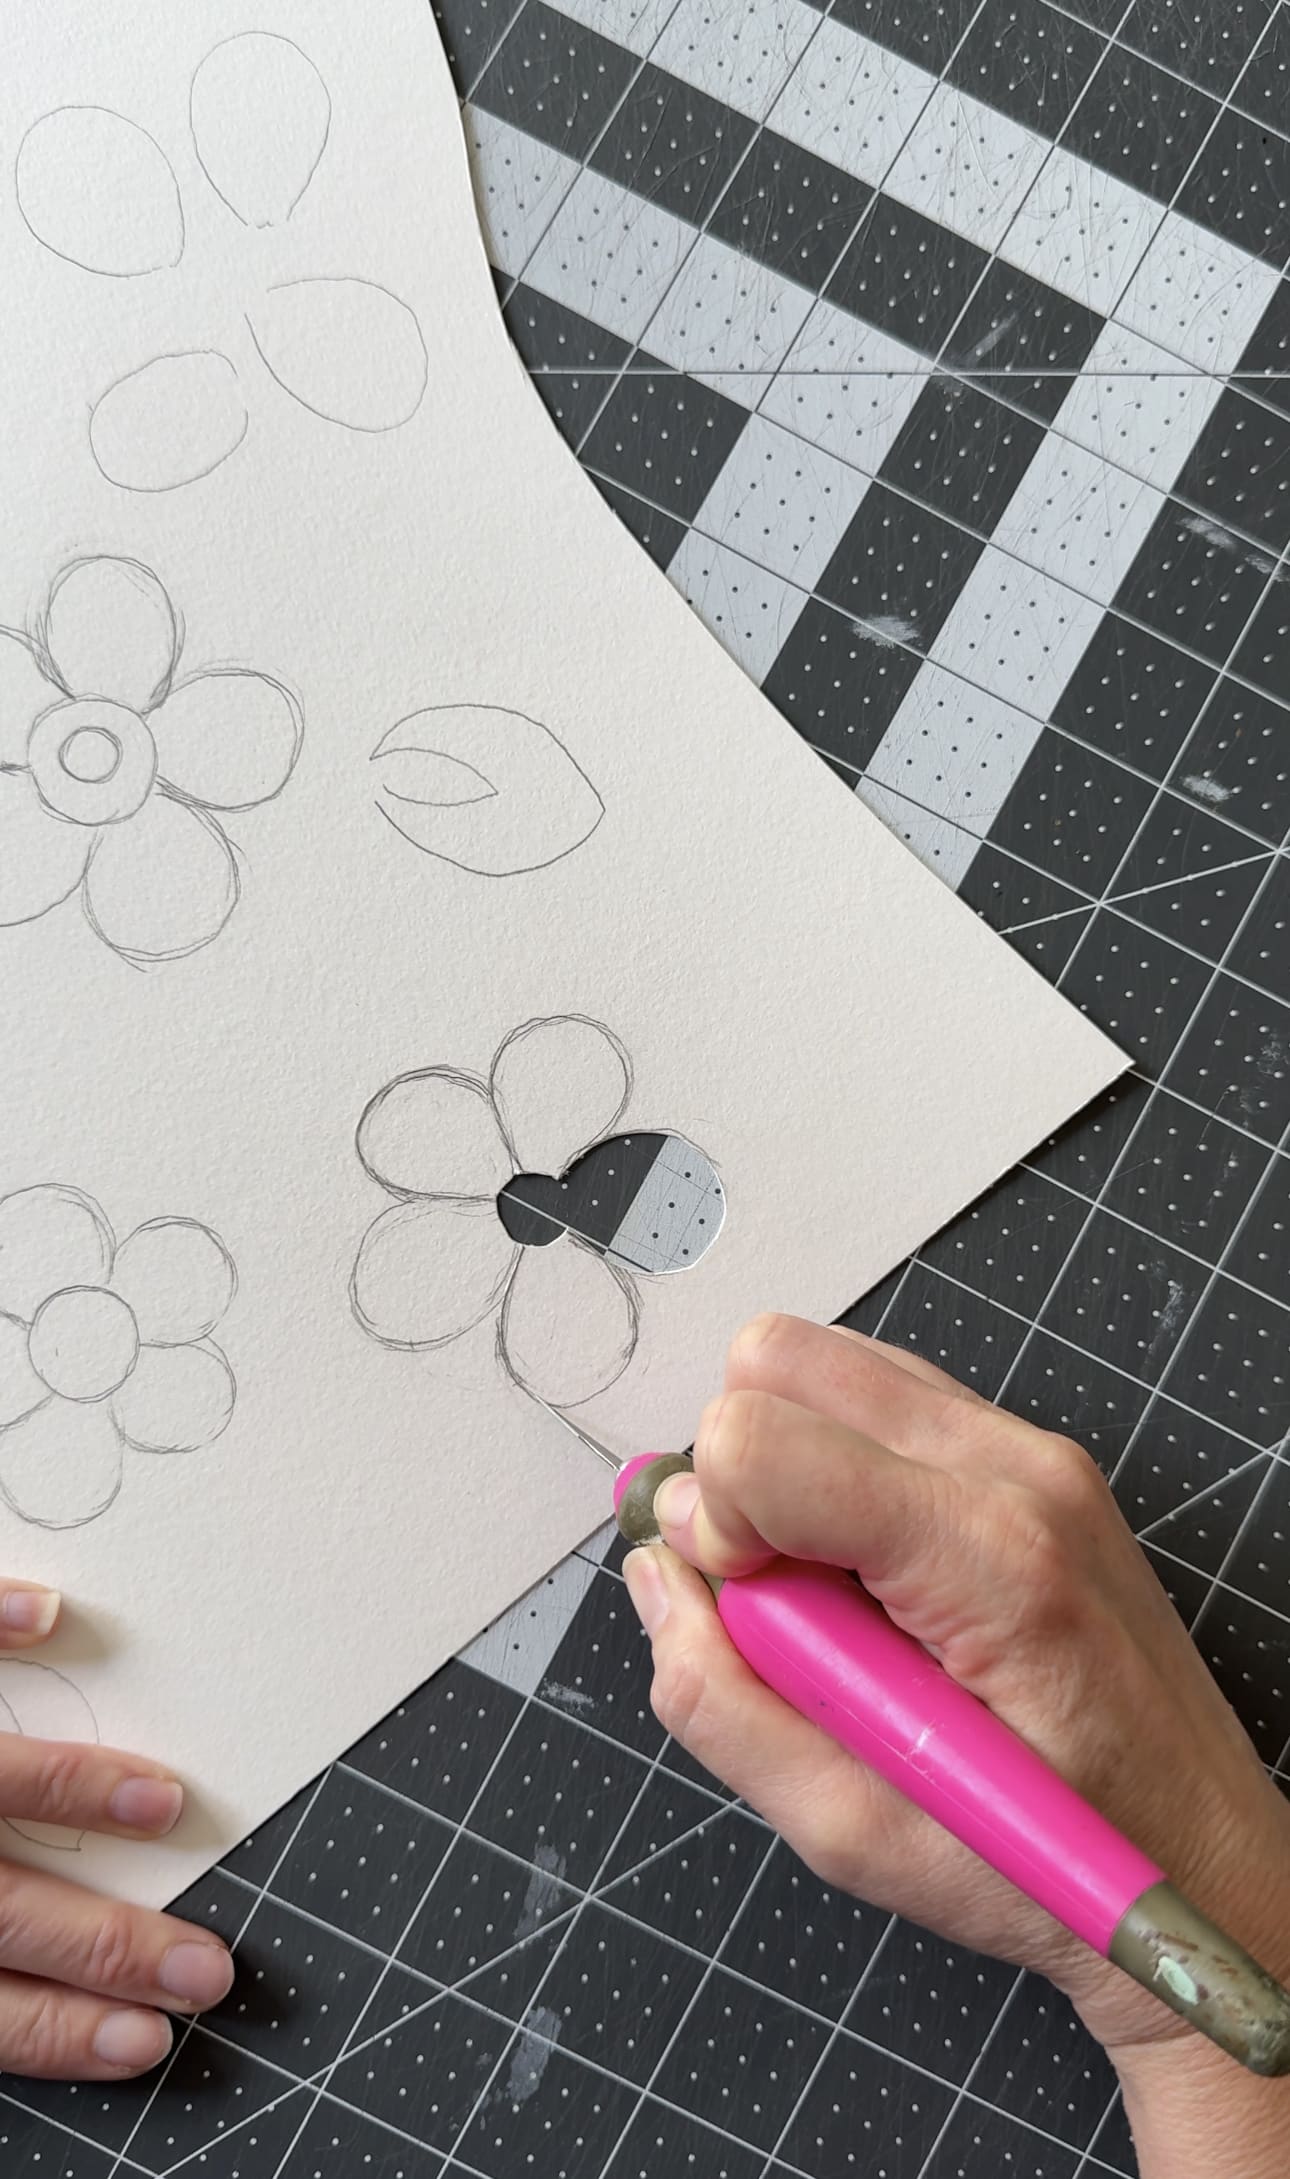
I used an XActo, but you can use scissors as well.
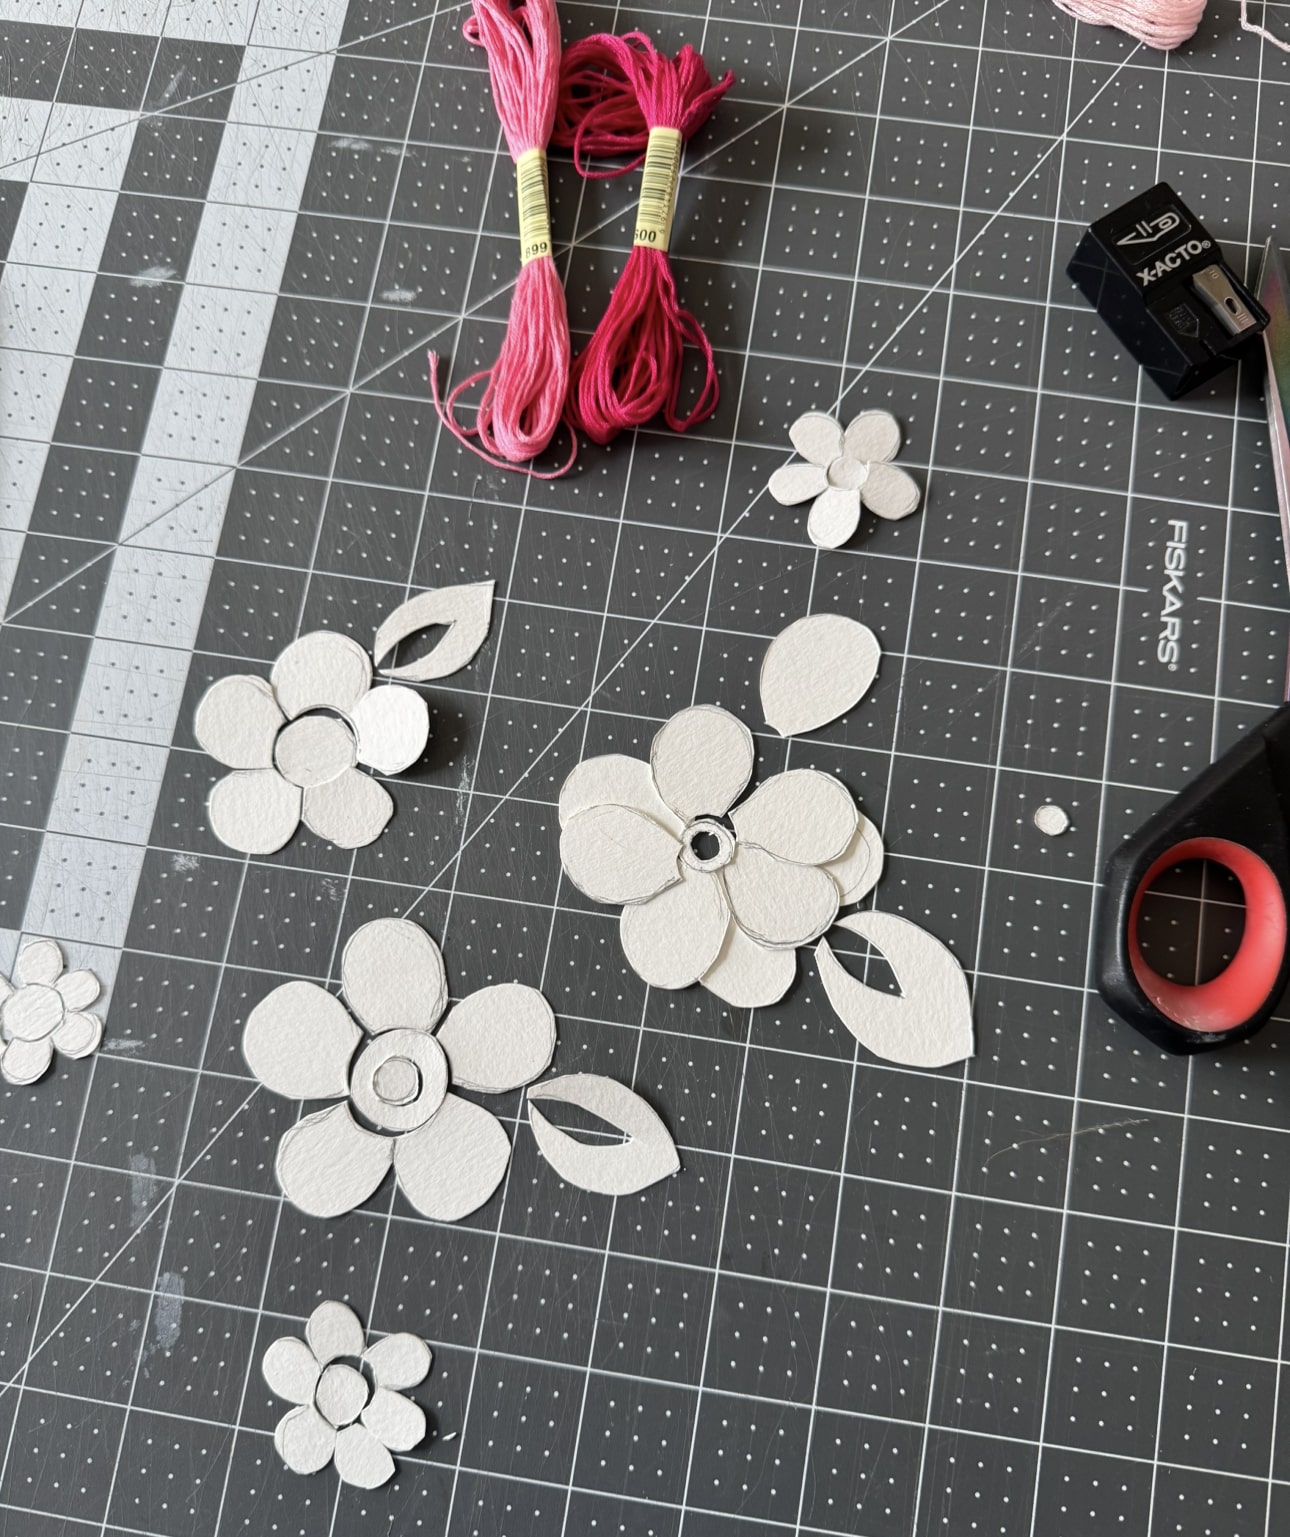
I knew I wanted about three main flowers, with smaller ones in between and around, with some greenery. Once I was happy with my guide, I started to place them.

Helpful hint: for the larger petals, this one works a lot faster if you secure them with glue on one side while they’re detached, then wrap as much as possible. When you’re happy with the wrap, place the petal where you want it to go, and sew around it so that it looks as though the entire thing was planned that way and sewn straight on.

Simply add more petals as you go, and build each flower onto your tennis racket.
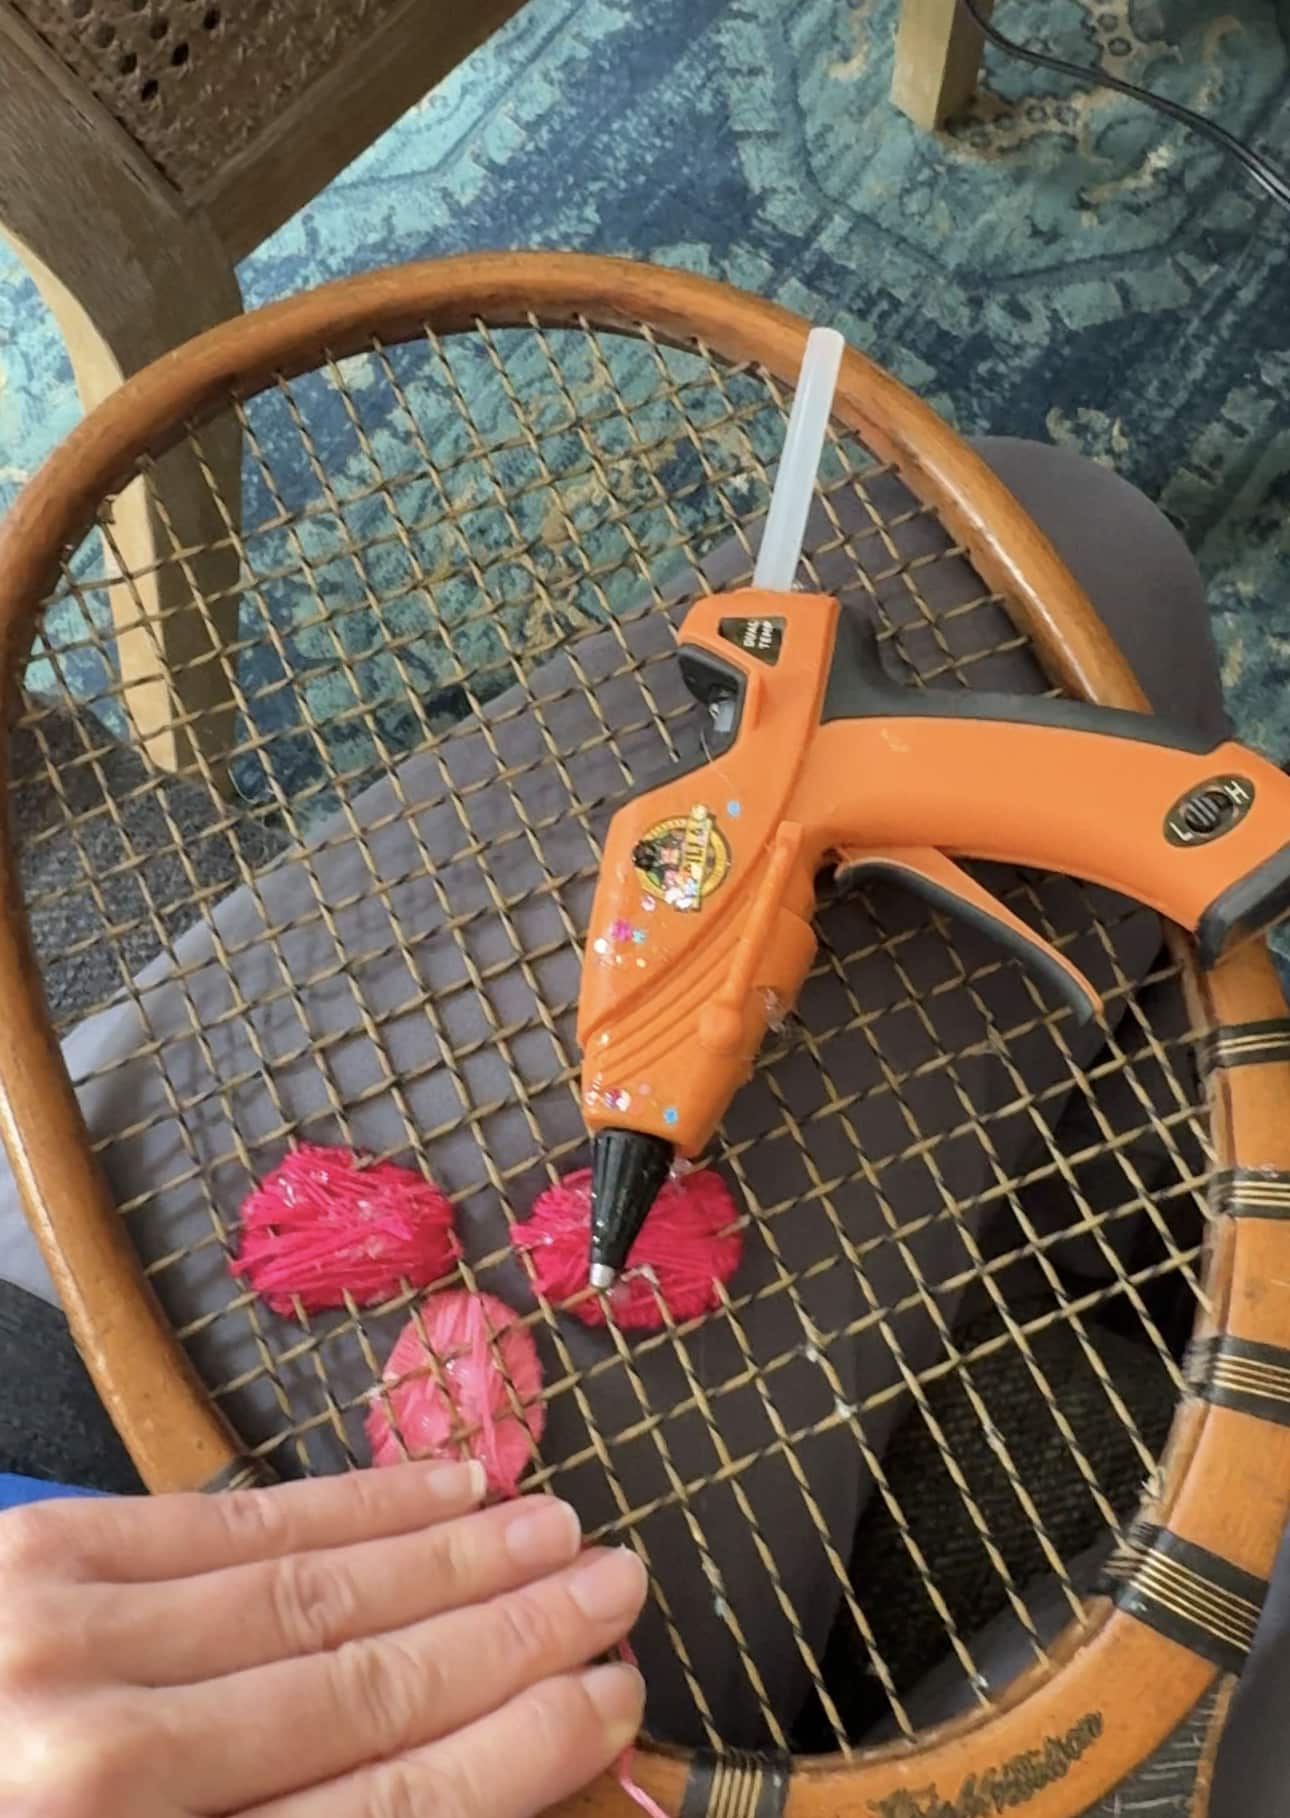
Once you’re on with each petal, it helps to keep adding around it with the thread and needle.
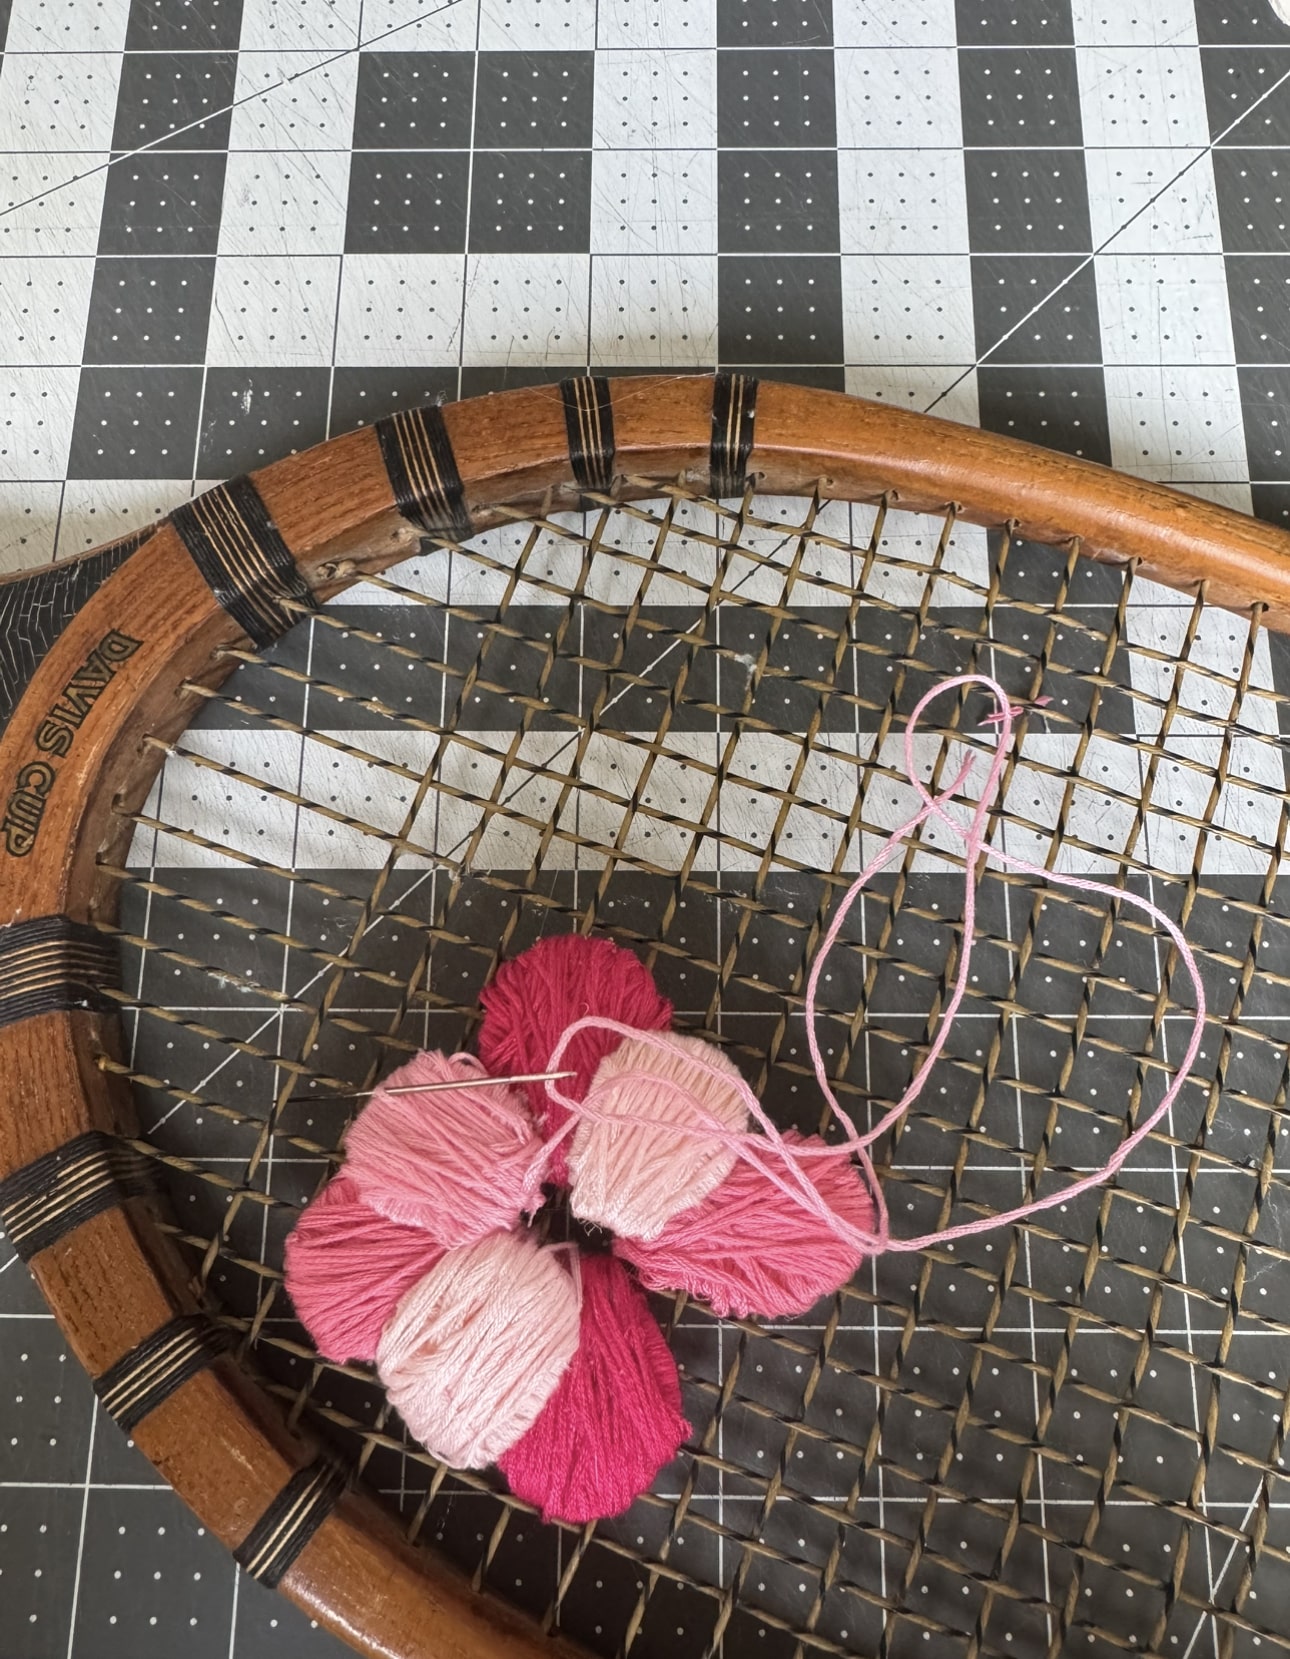
I slowly added each piece as I went. And made a giant mess in the process.
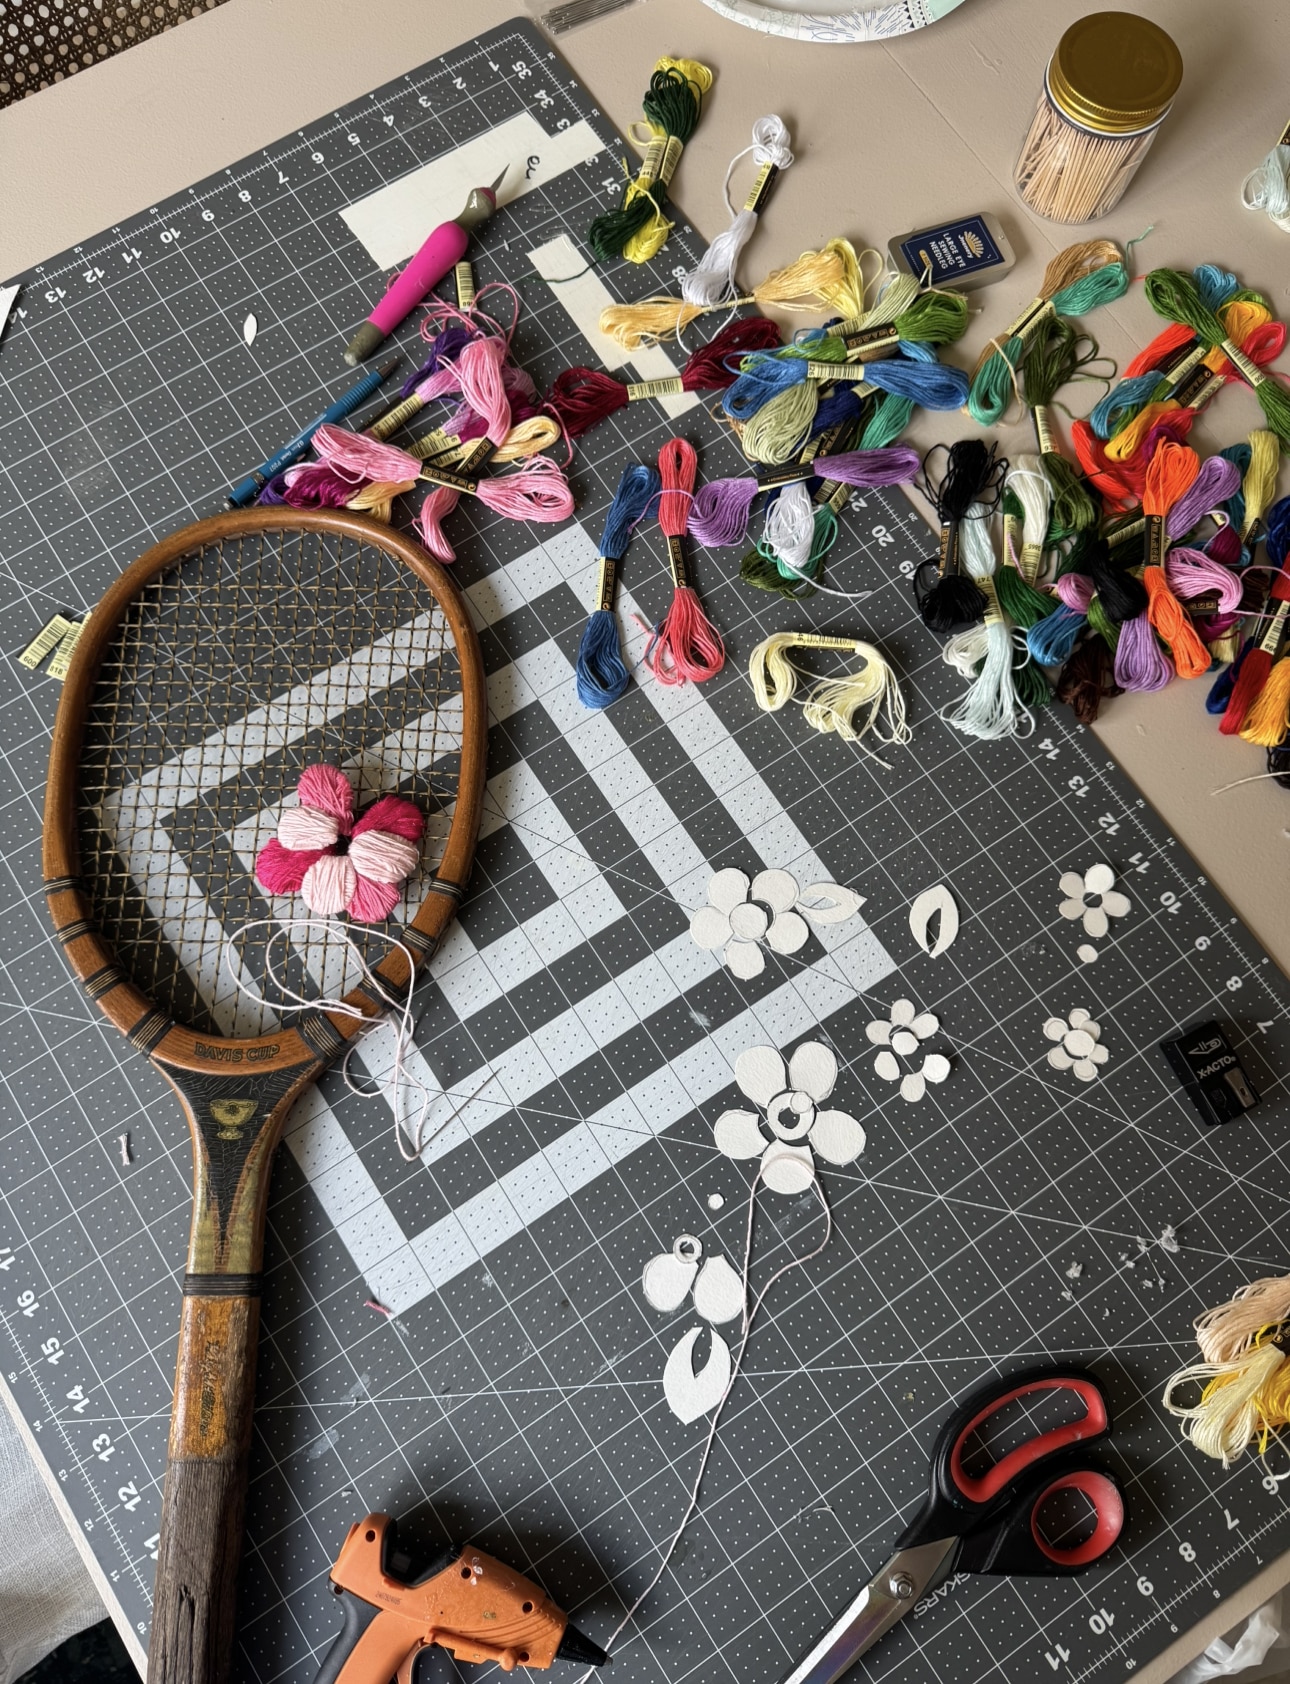
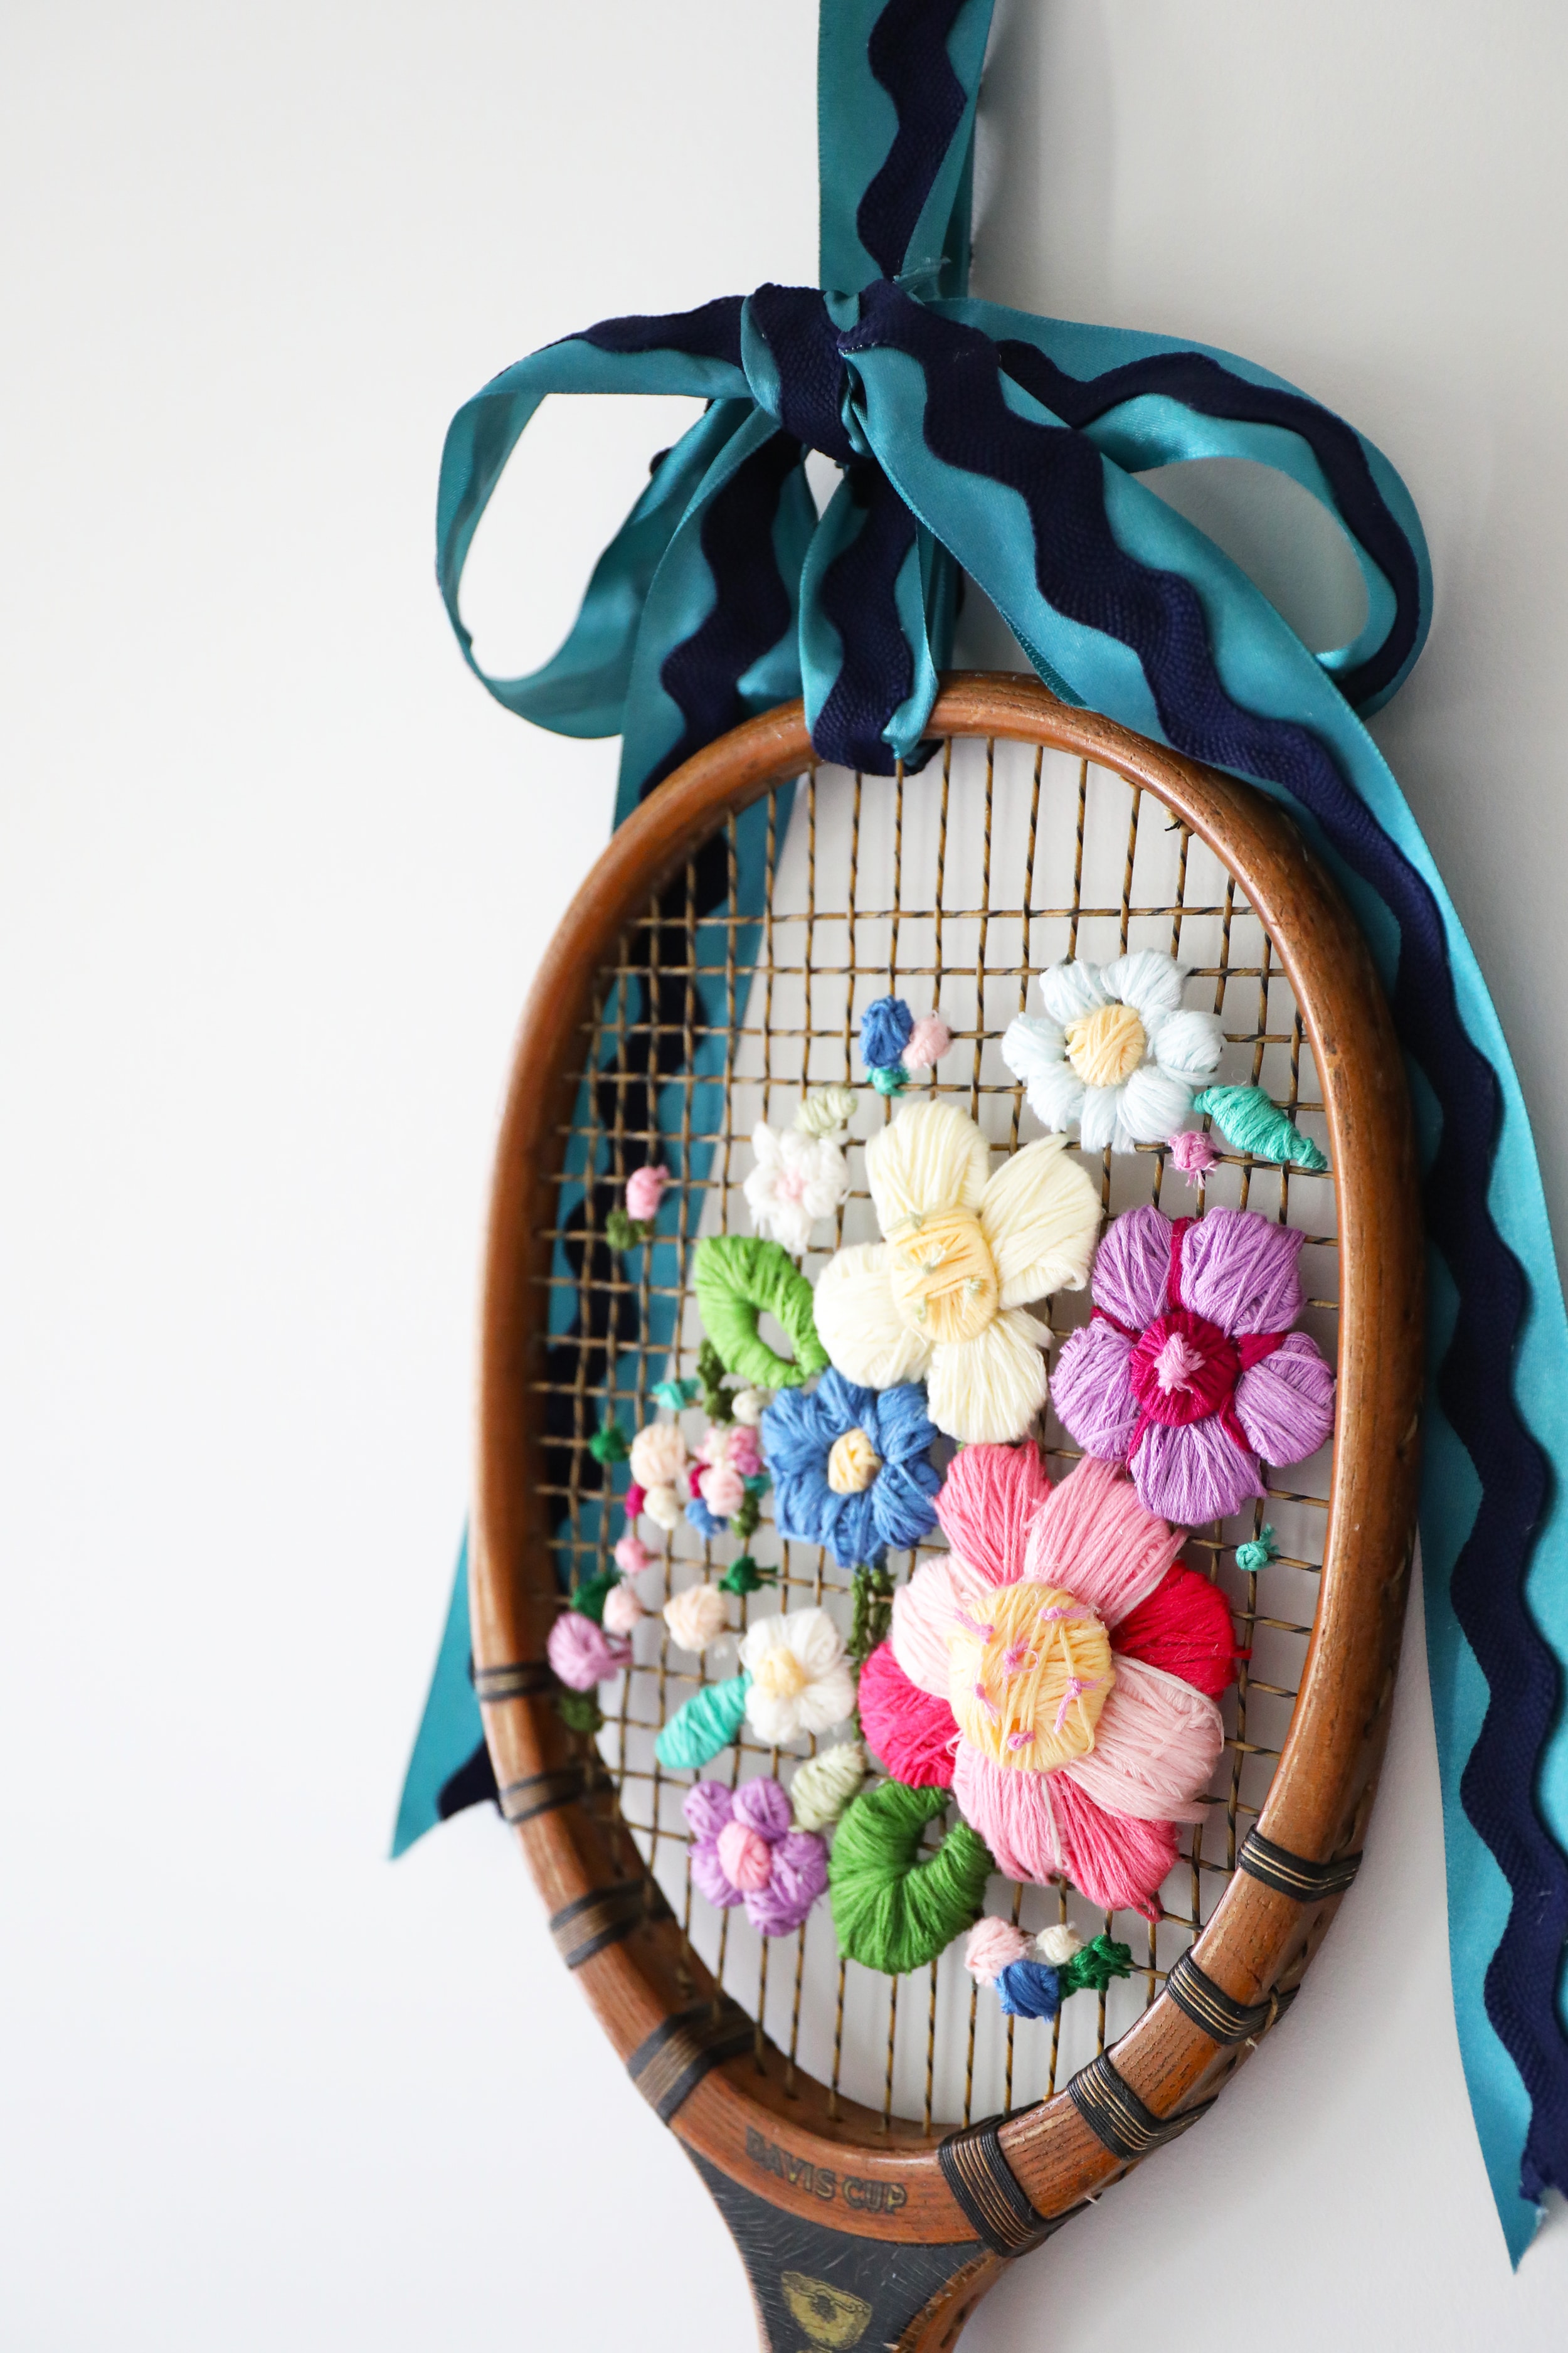
Each petal had a different vibe depending on how I applied it, and the color added more of an organic look.
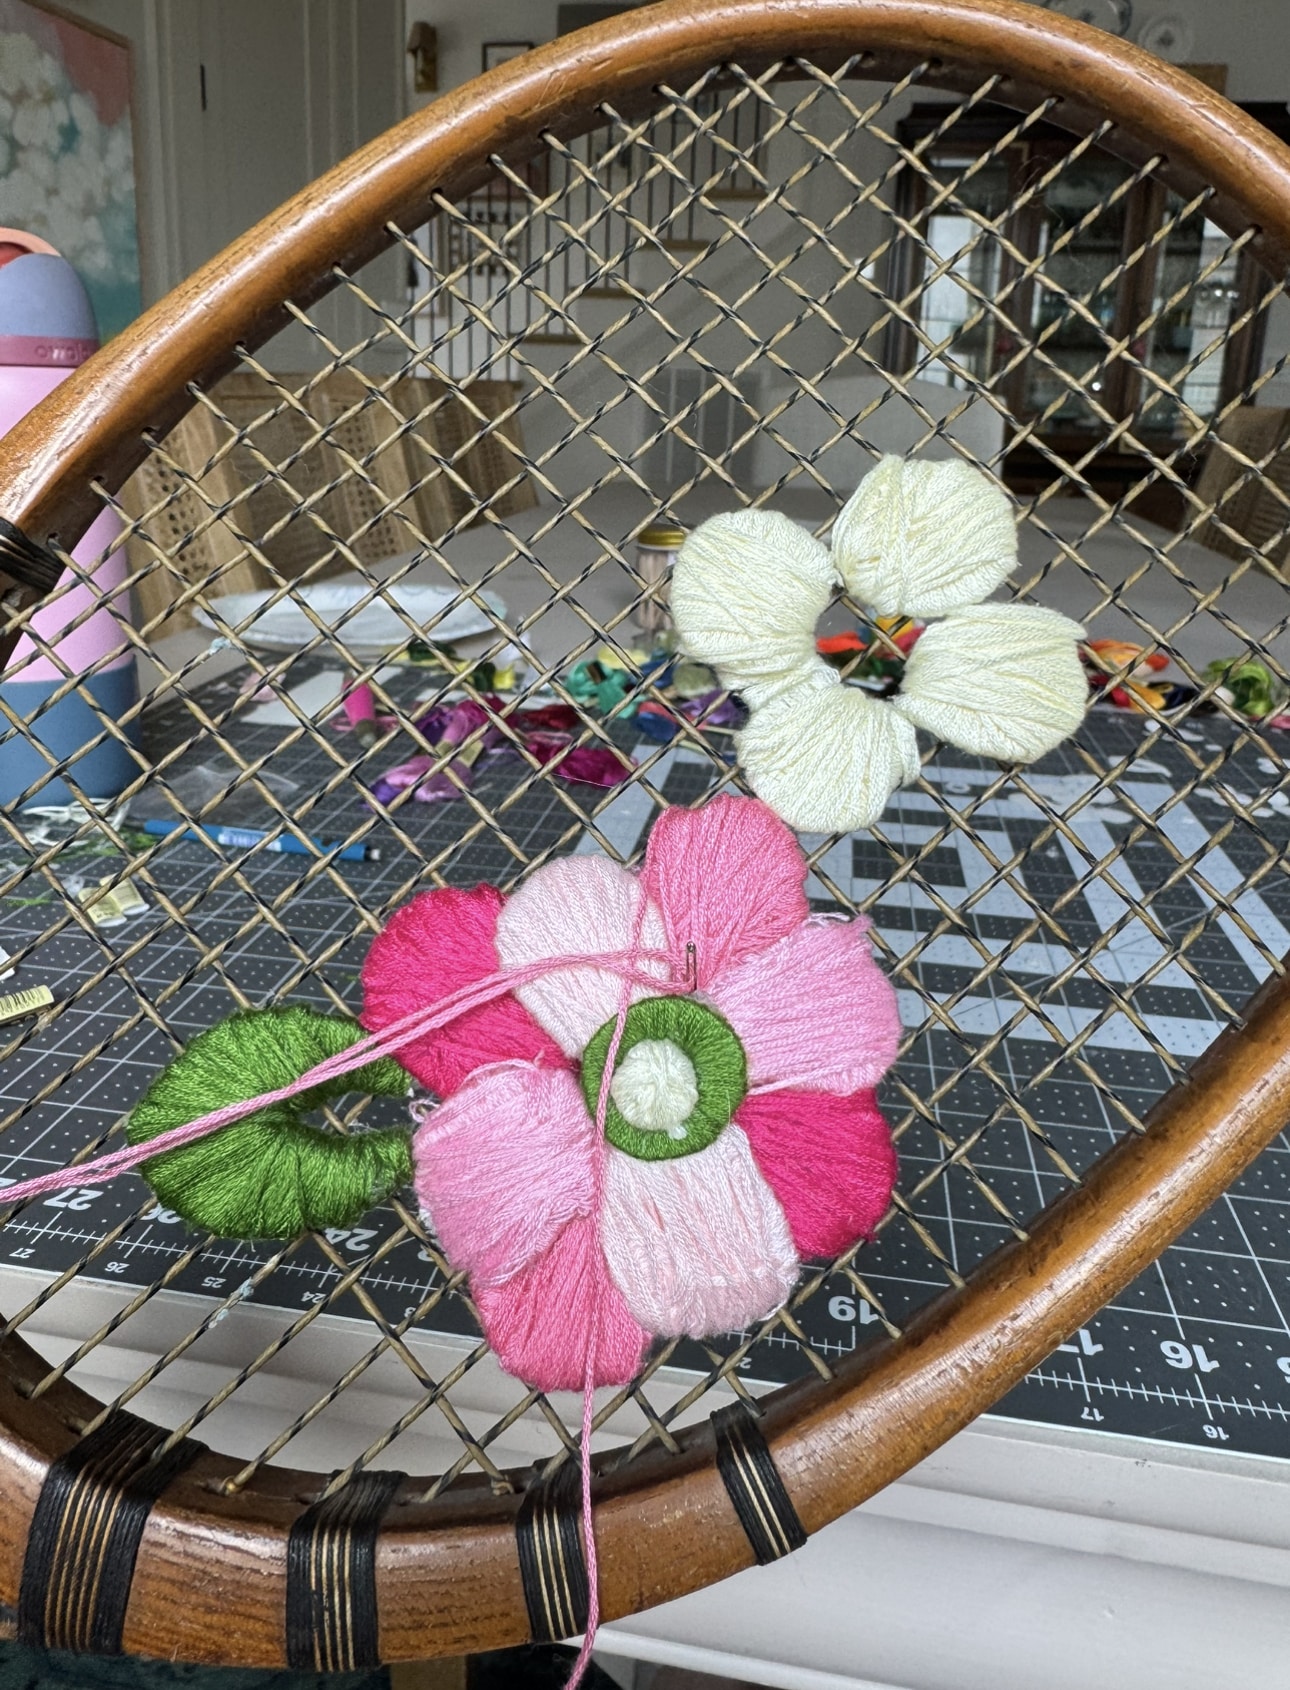
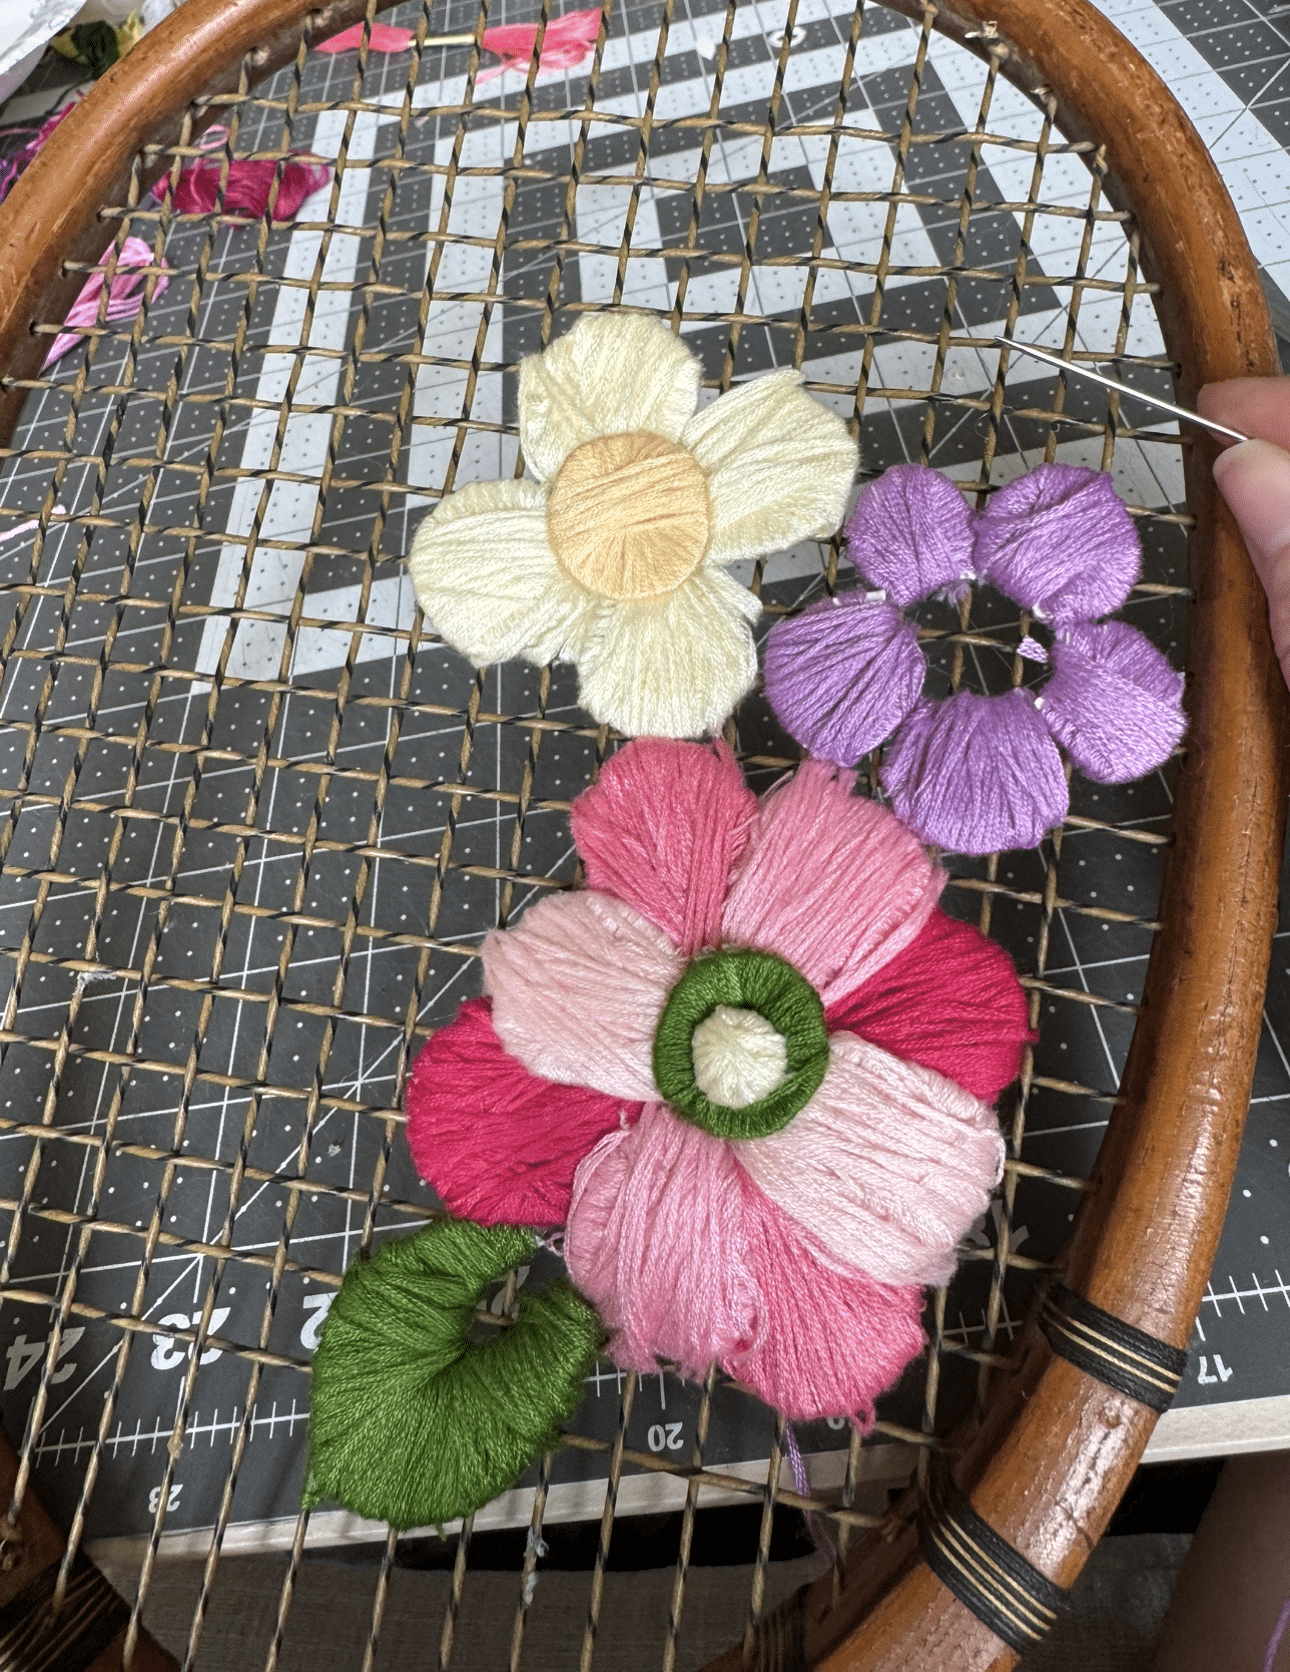
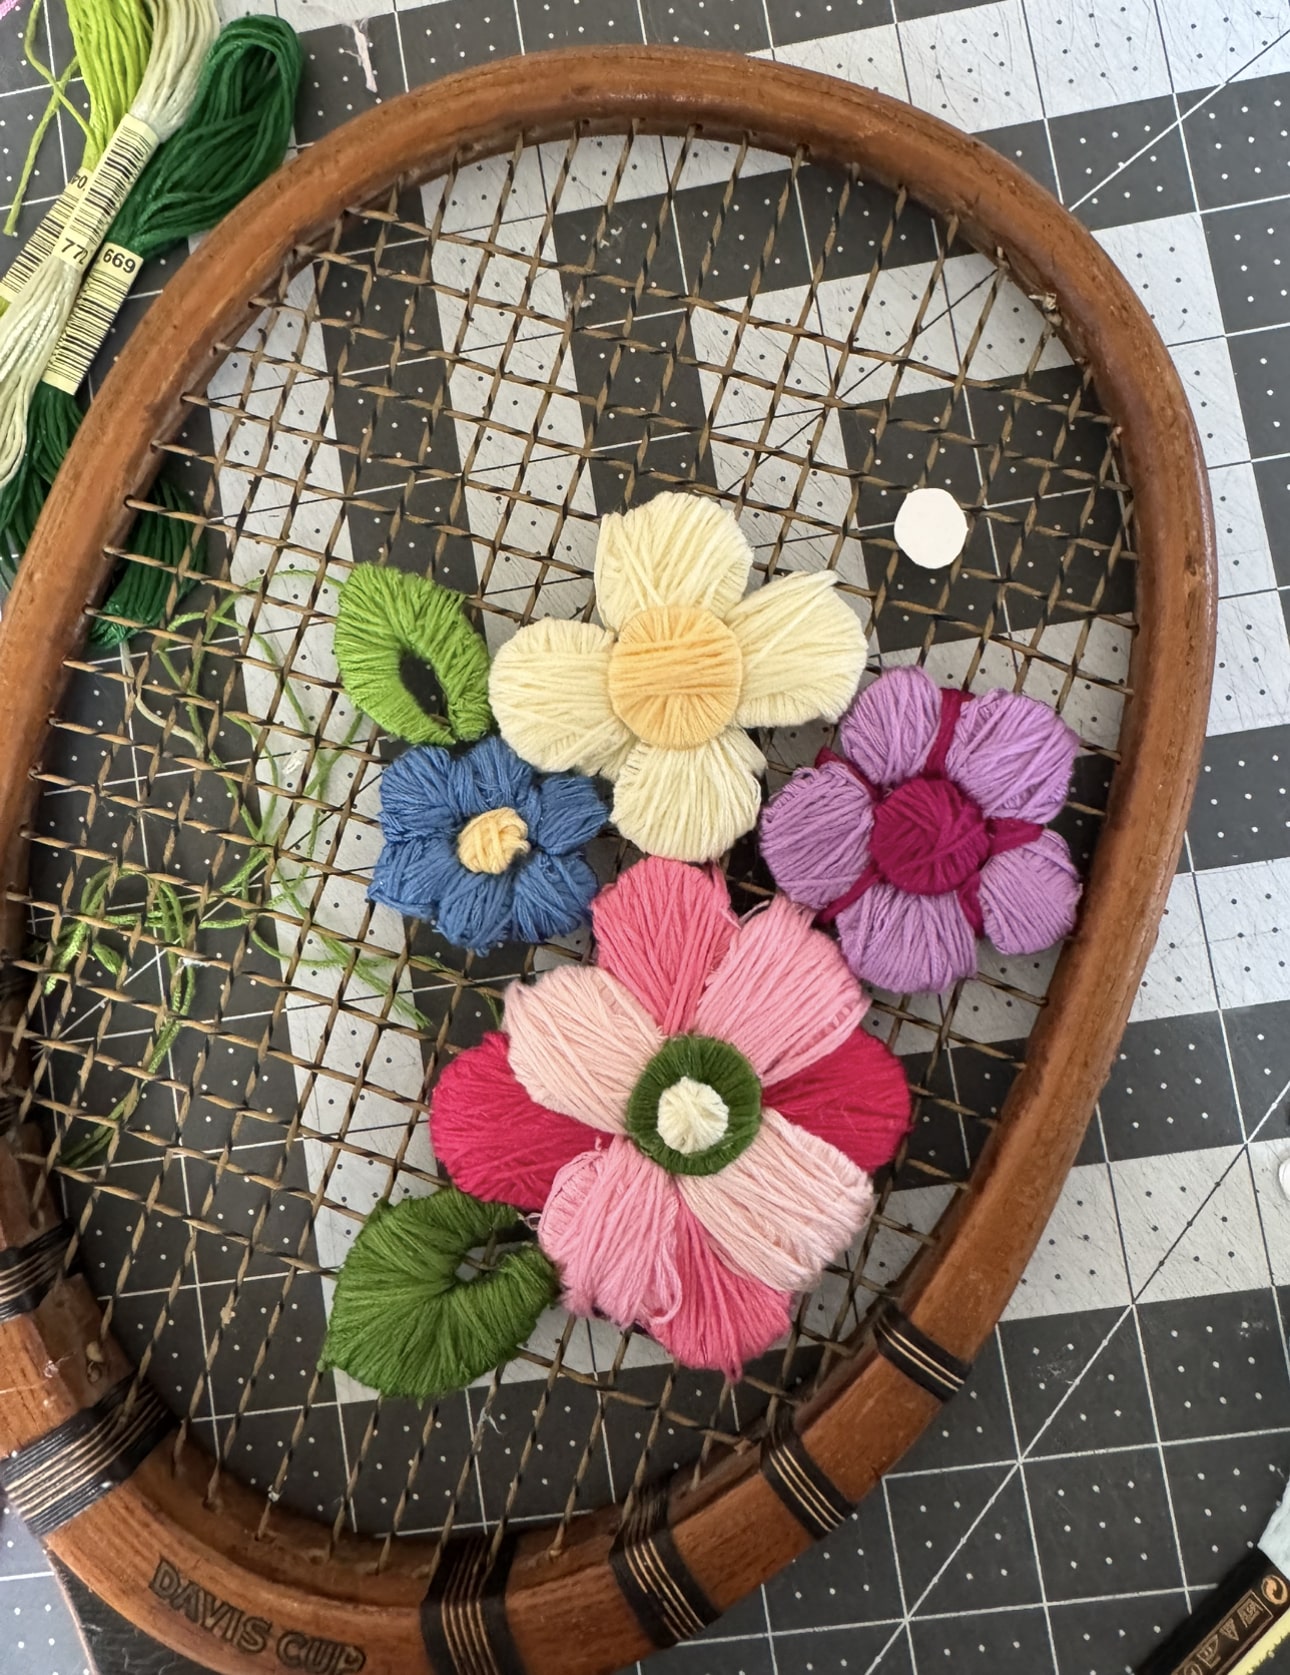
So depending on the size of the flower piece, I would either start by wrapping by hand, or go ahead and secure it to the racket, and weave or “embroider” around it.
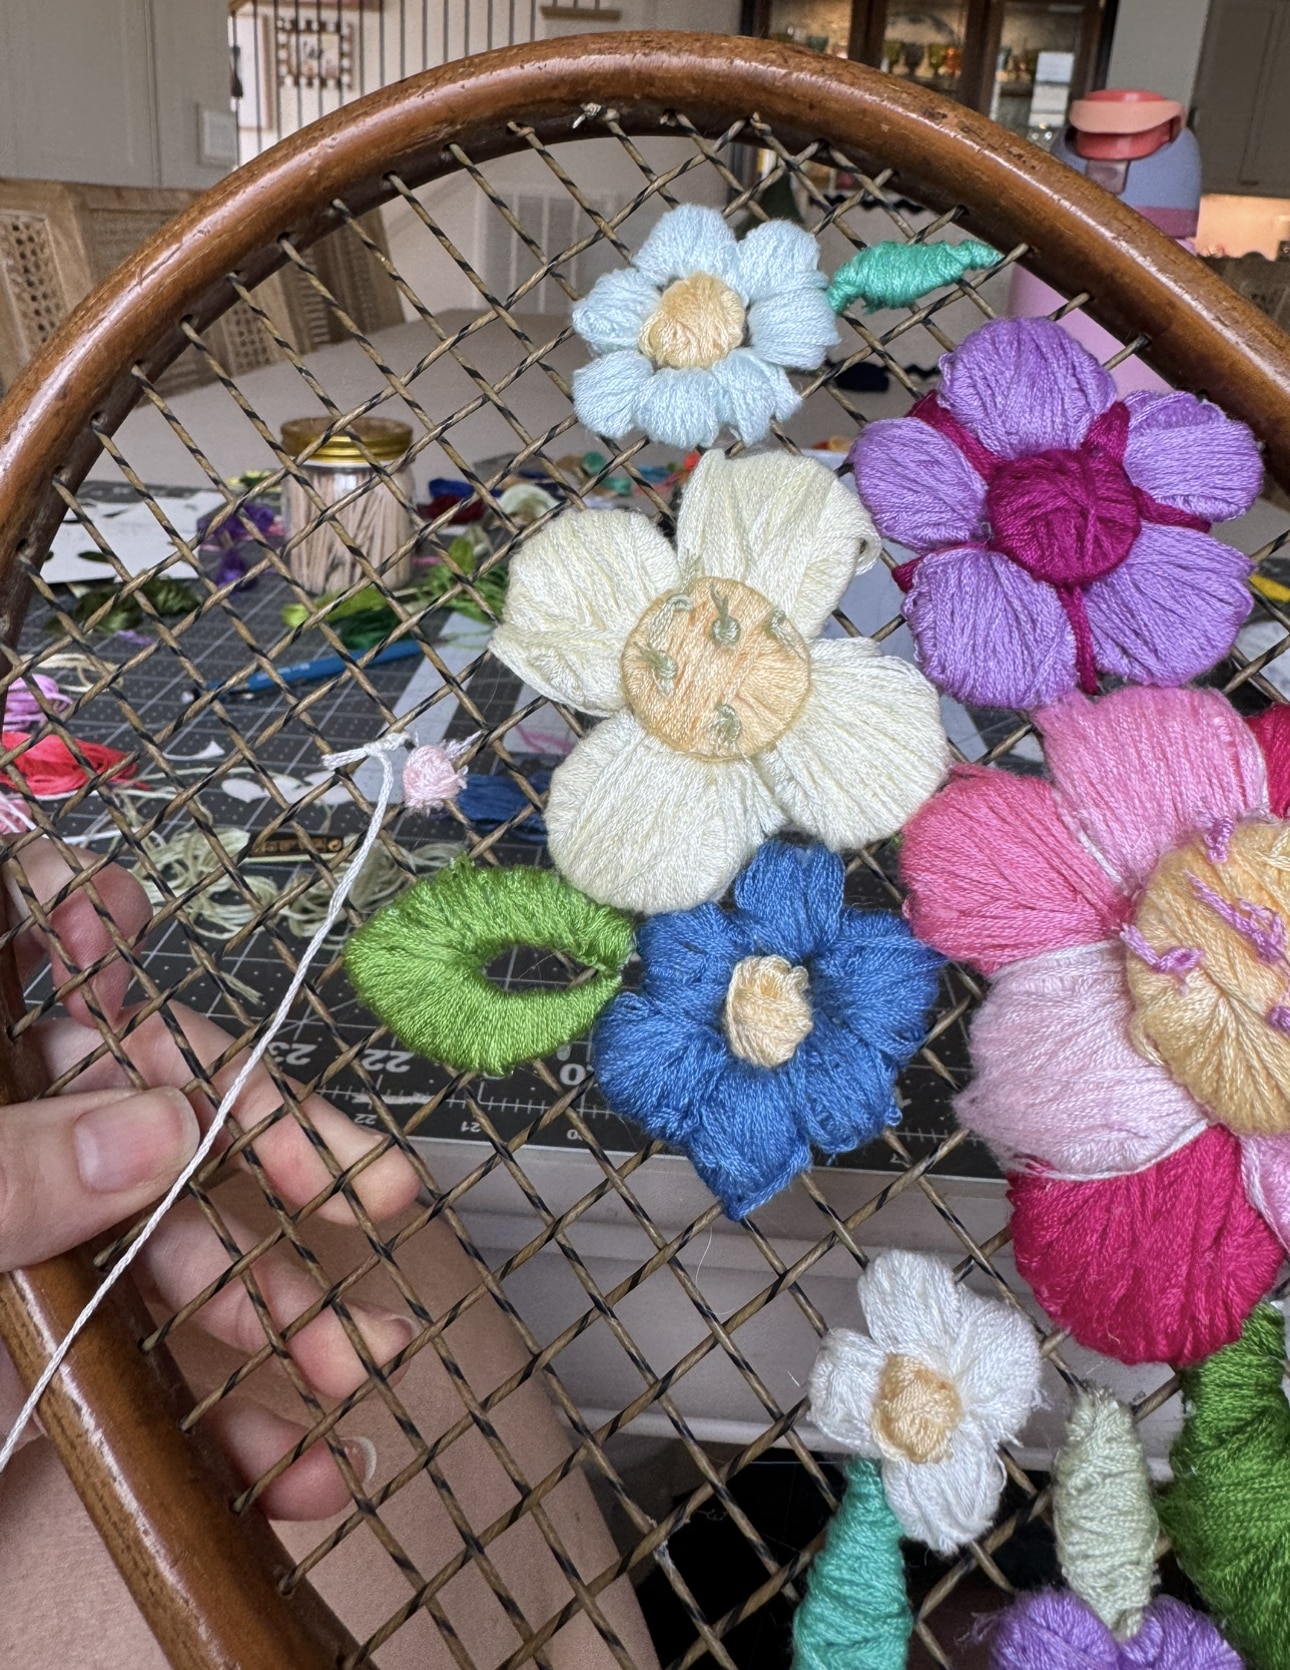
With the smaller flowers, I simply sewed them straight on in sections, and in some “petals” I added paper, depending on their placement. You’ll find there’s a learning curve, and each piece depends on where it lands on the big “grid” for the best look. For instance, the center of this flower and some of the petals were worked with direct weaving, while adding others required a glued piece of paper to anchor the yarn.
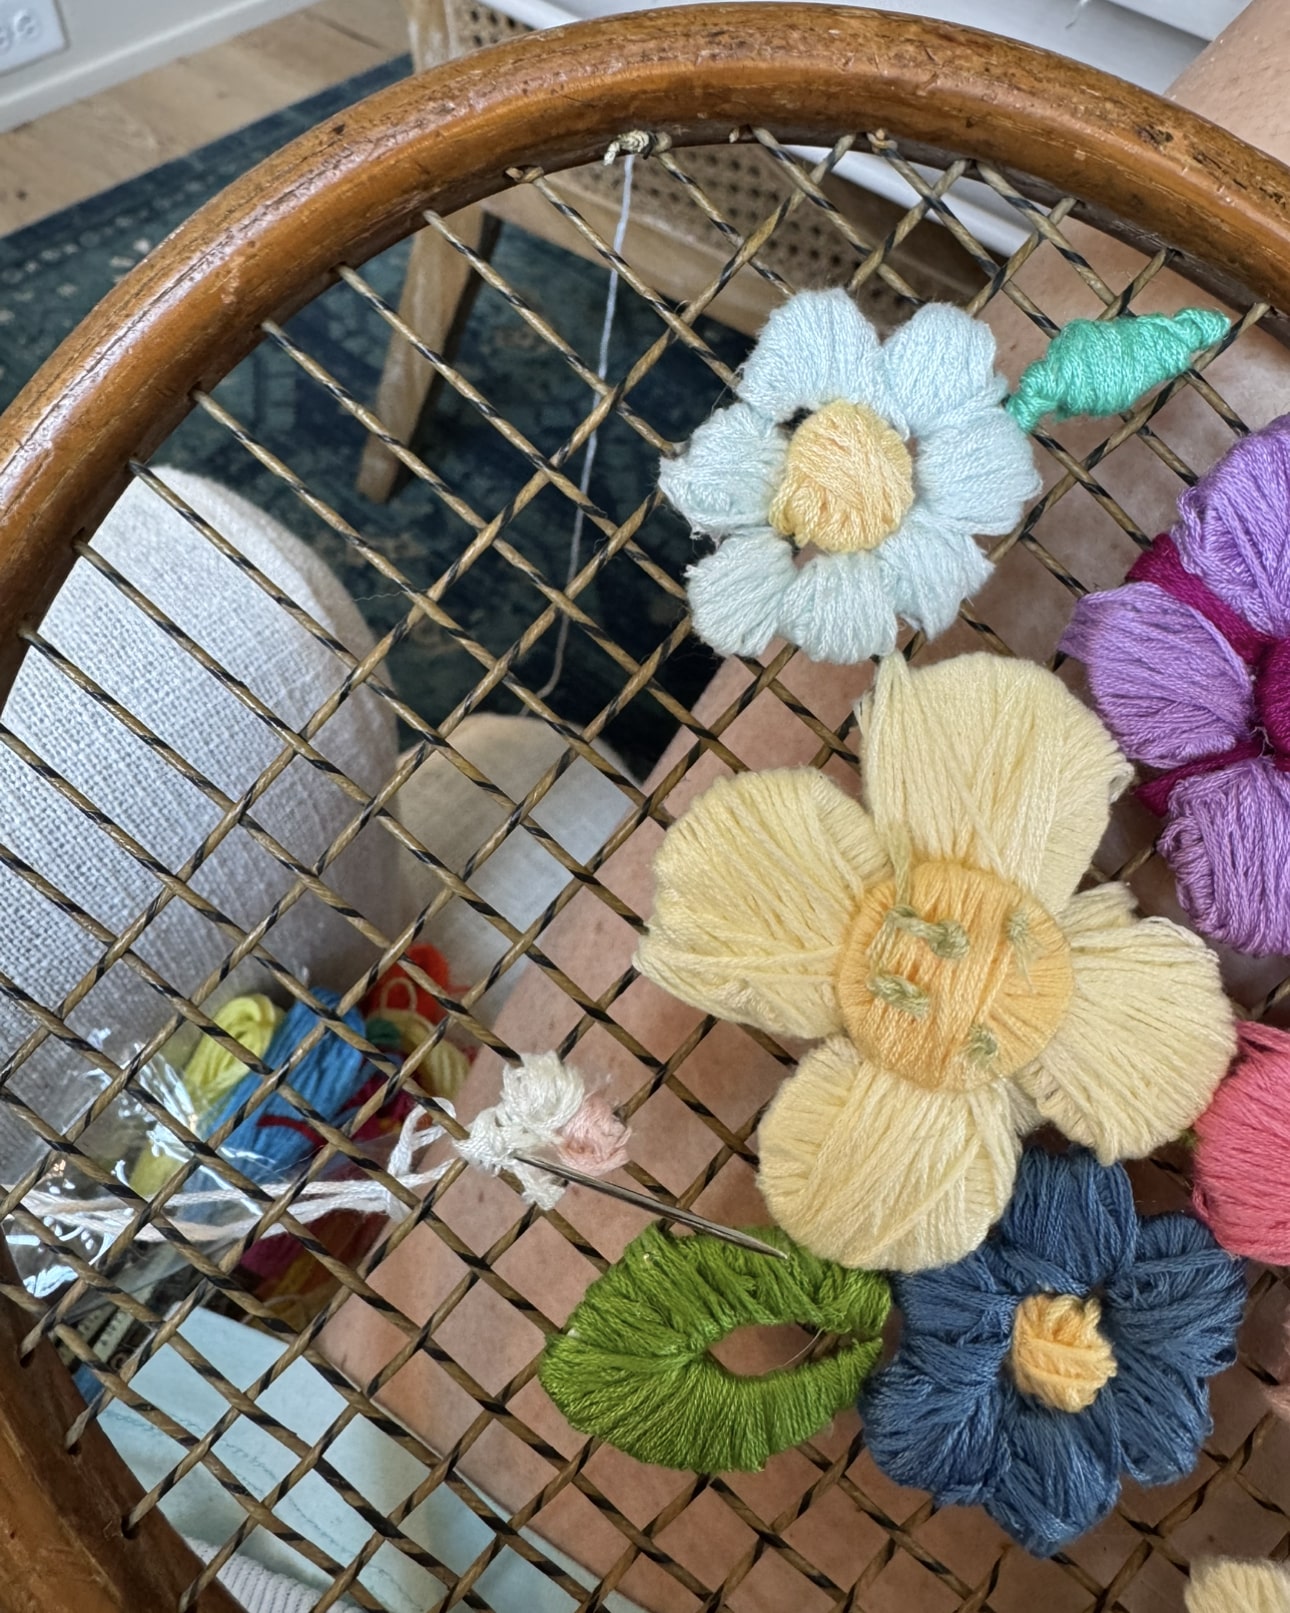
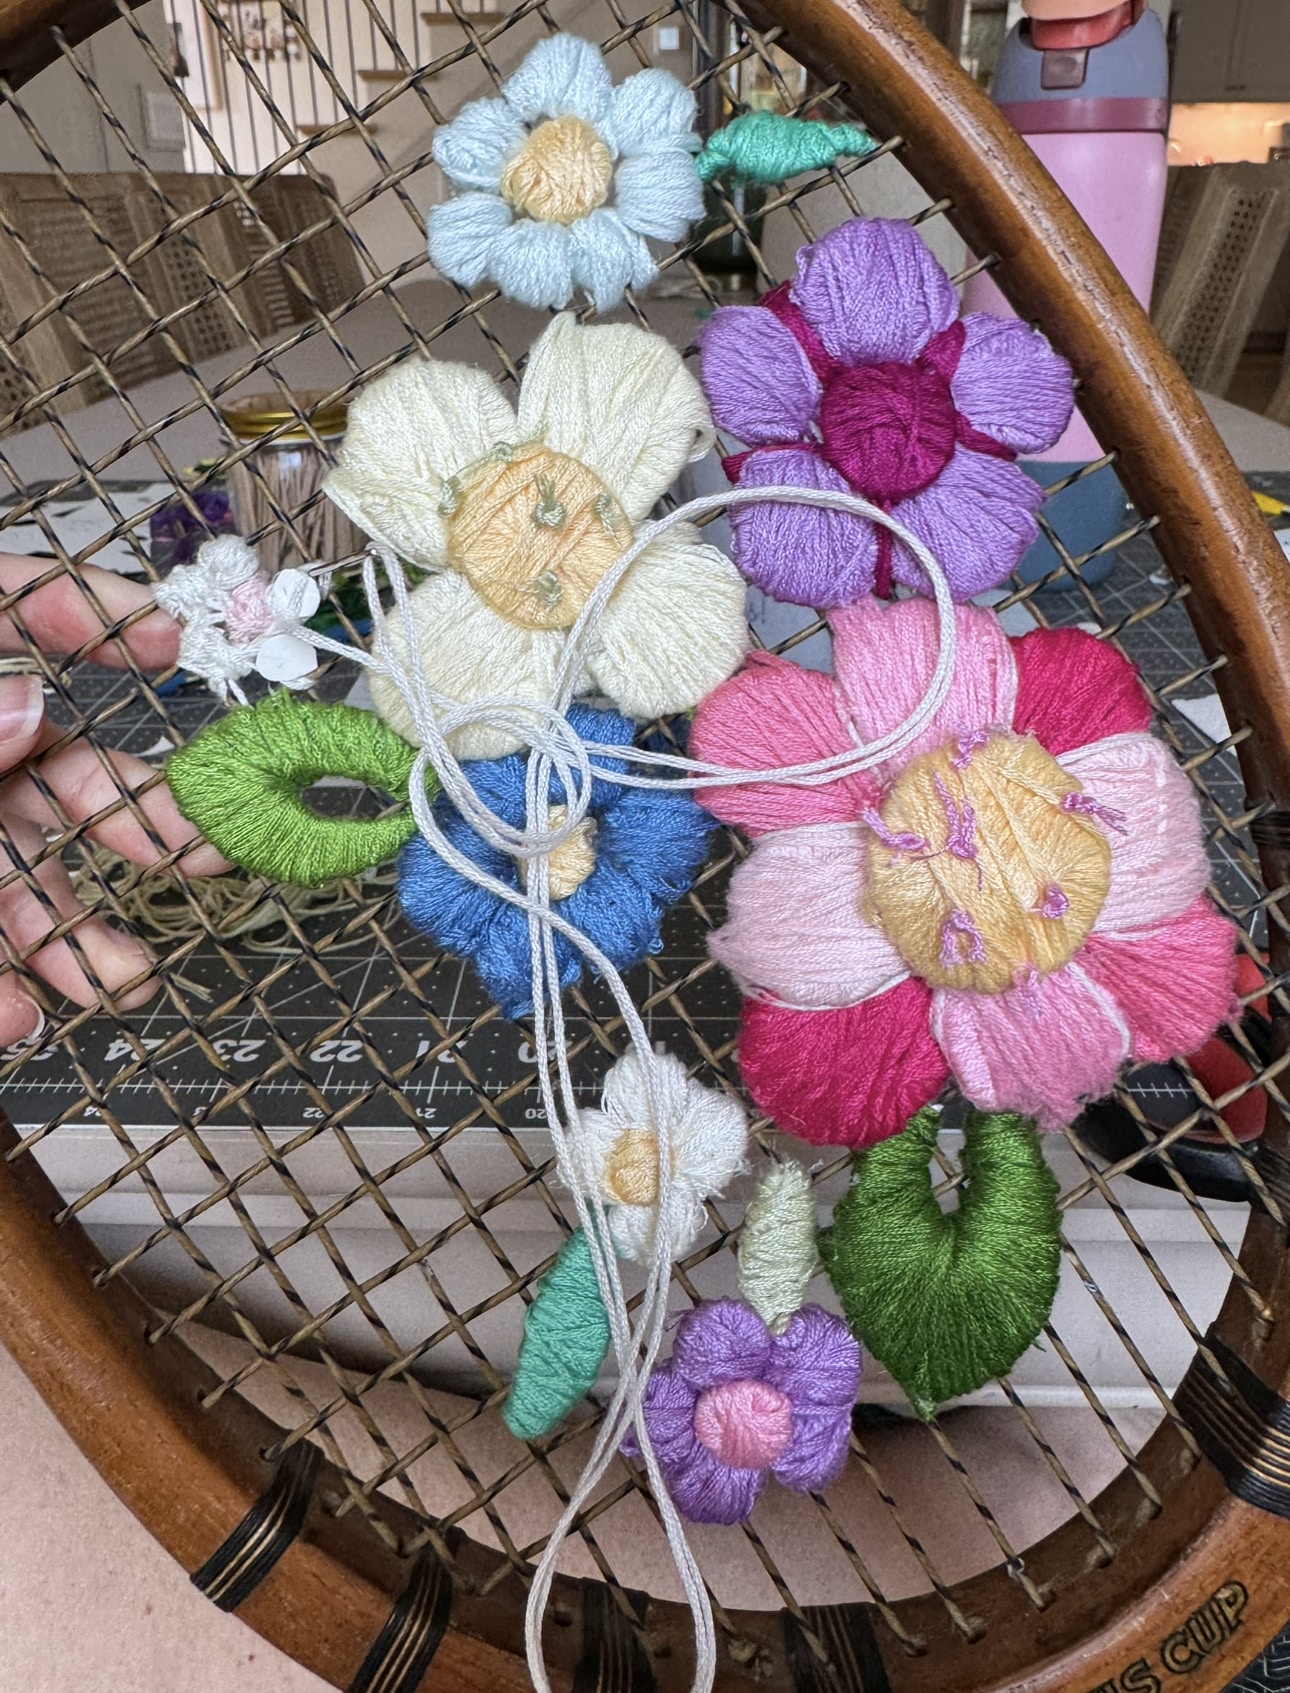
It was so much fun selecting colorful pieces to pull this together! Such a fun project with my girl.

When I was happy with all the little pieces, it was time to add the ribbon. I had some gigantic ric rack left over from another project + ribbon for the tennis racket – I glued these together and added them to the top for easy hanging.
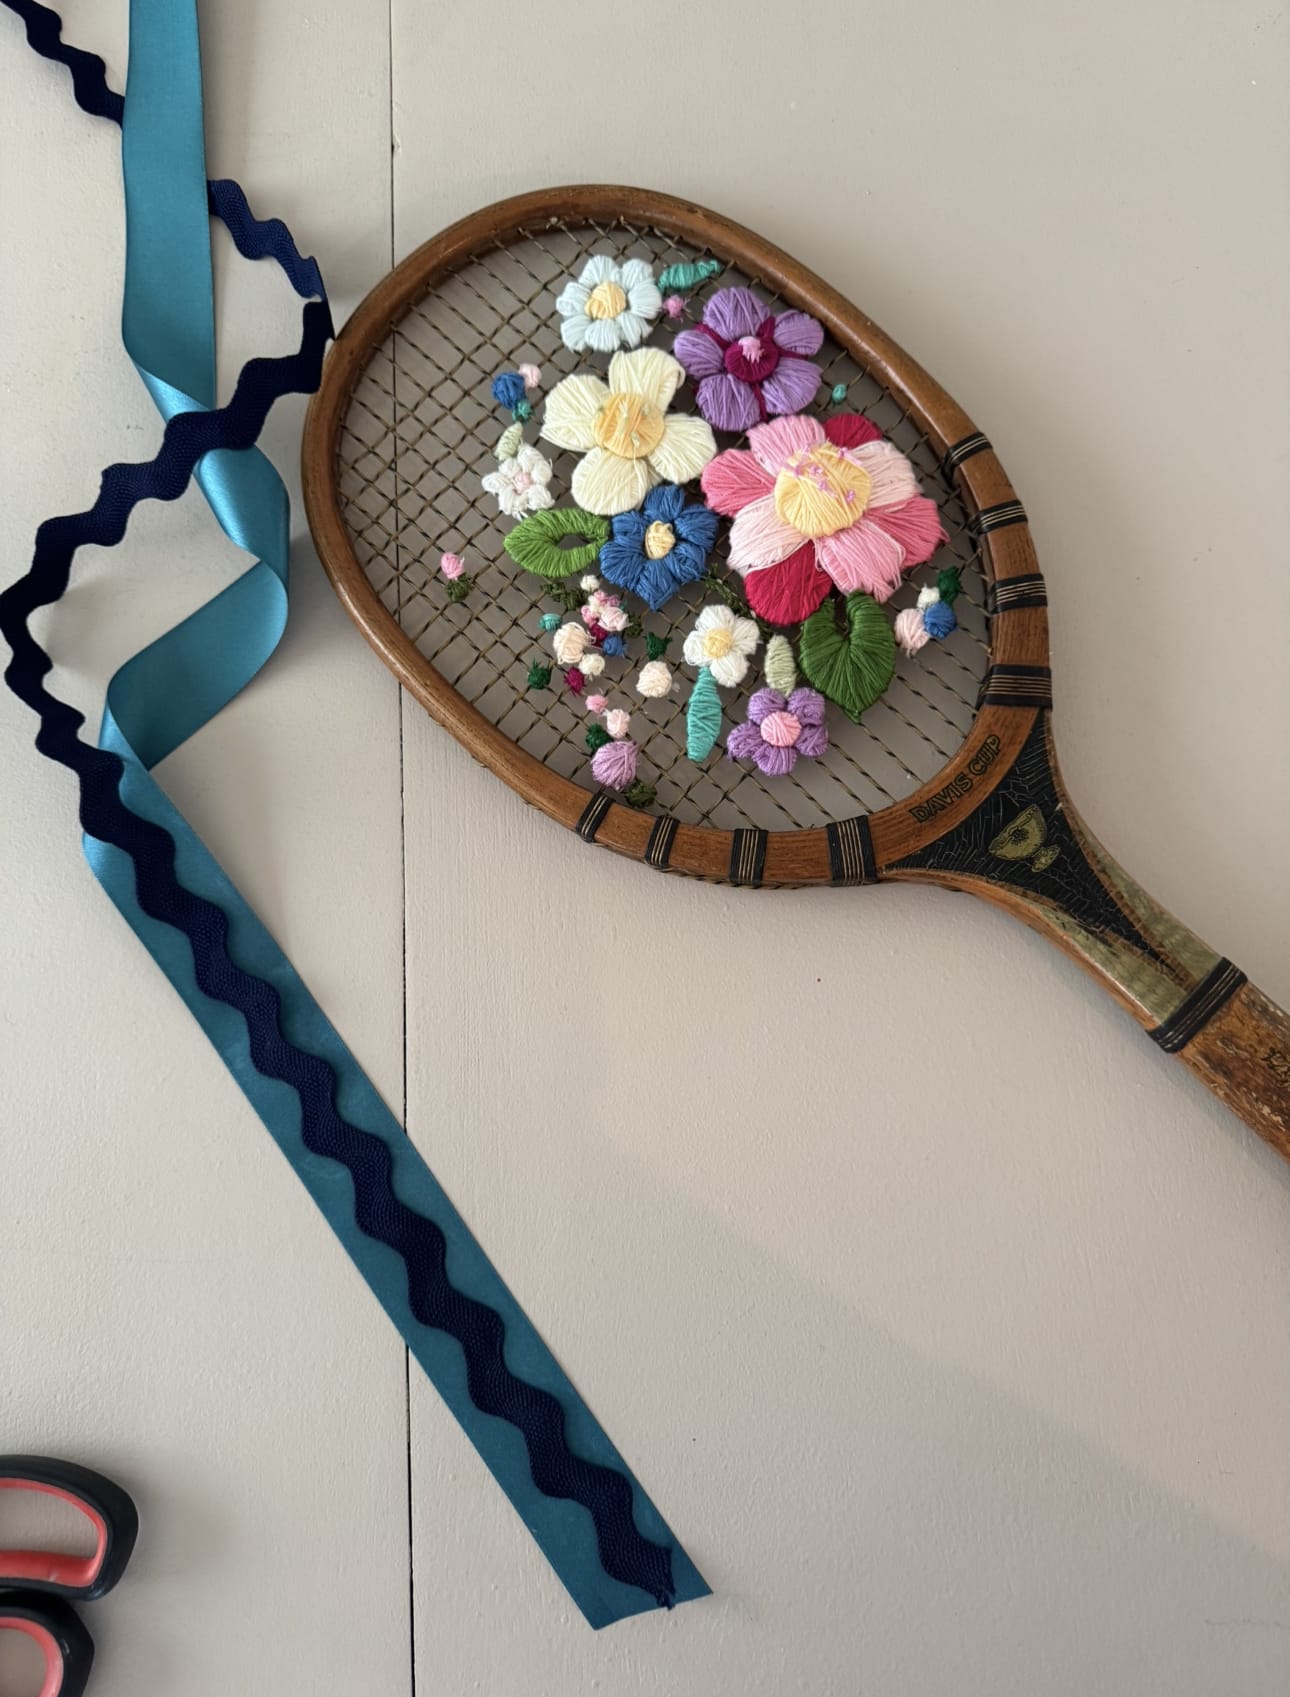
Tada! I love the way these turned out. Such fun little pieces for a great, colorful impact.
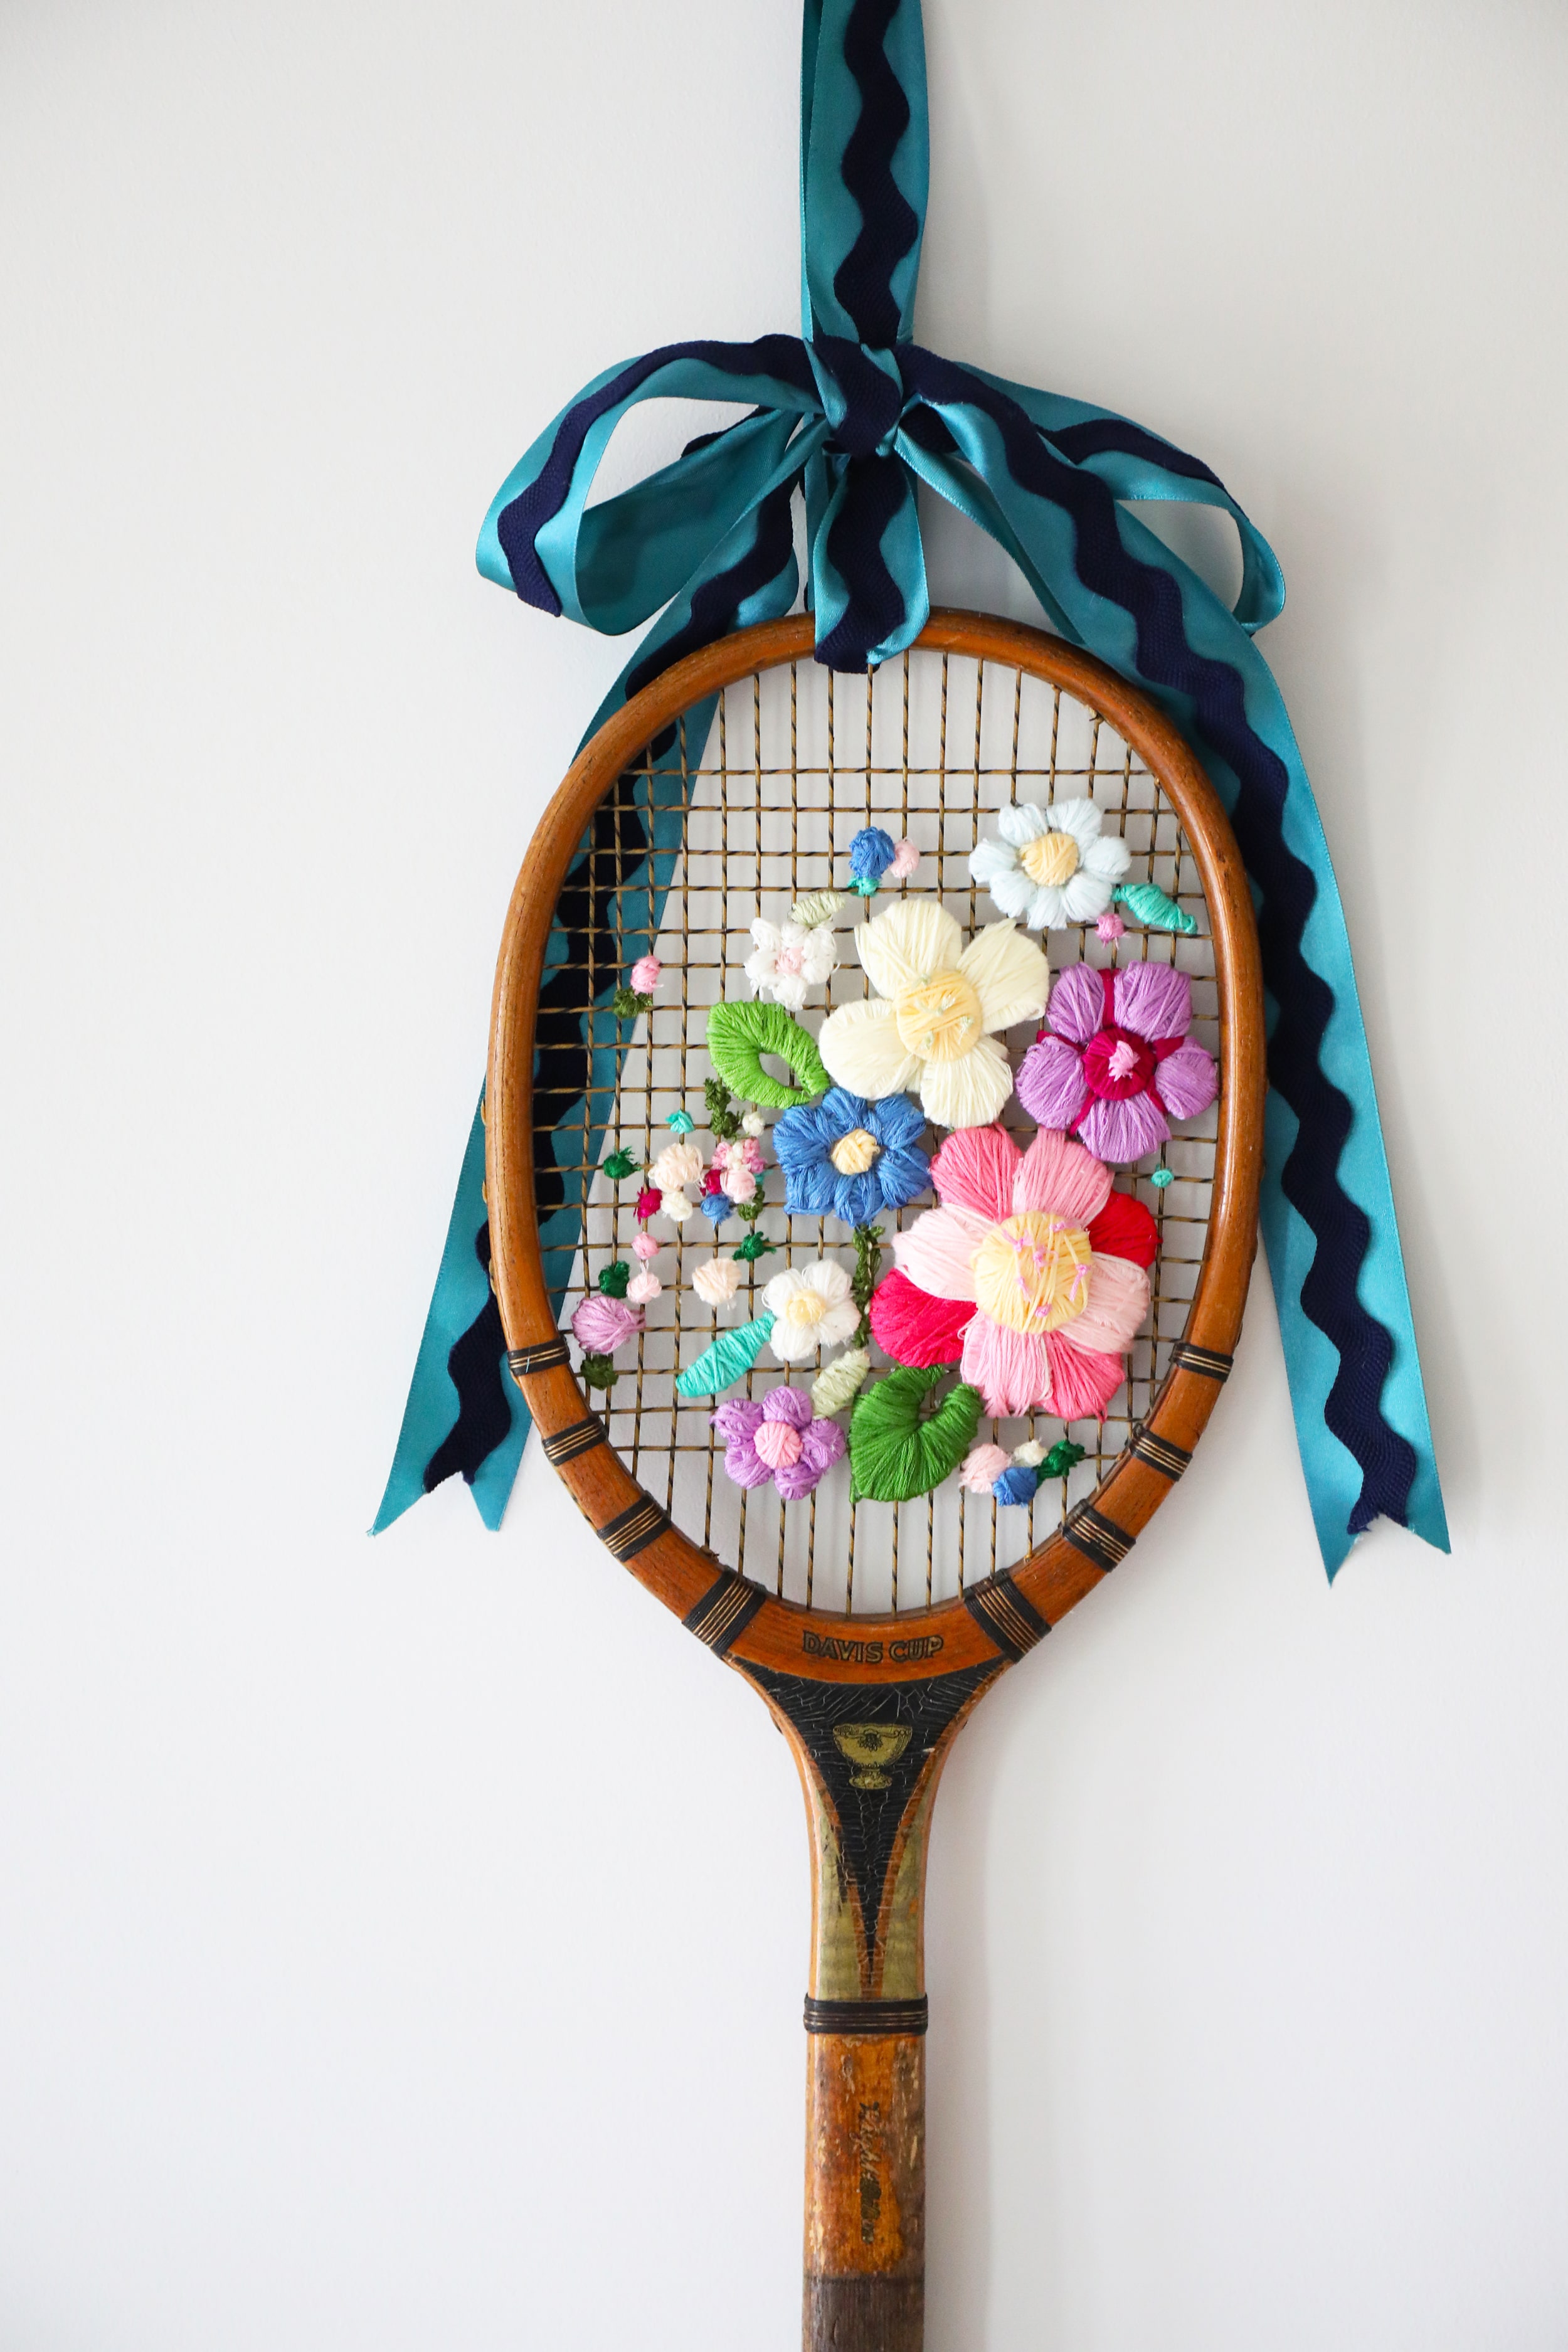
As always, let us know if you try your hand at this little trend. We’d love to hear!

Such a fun project to take on, with both versions.
Have an inspired day!