
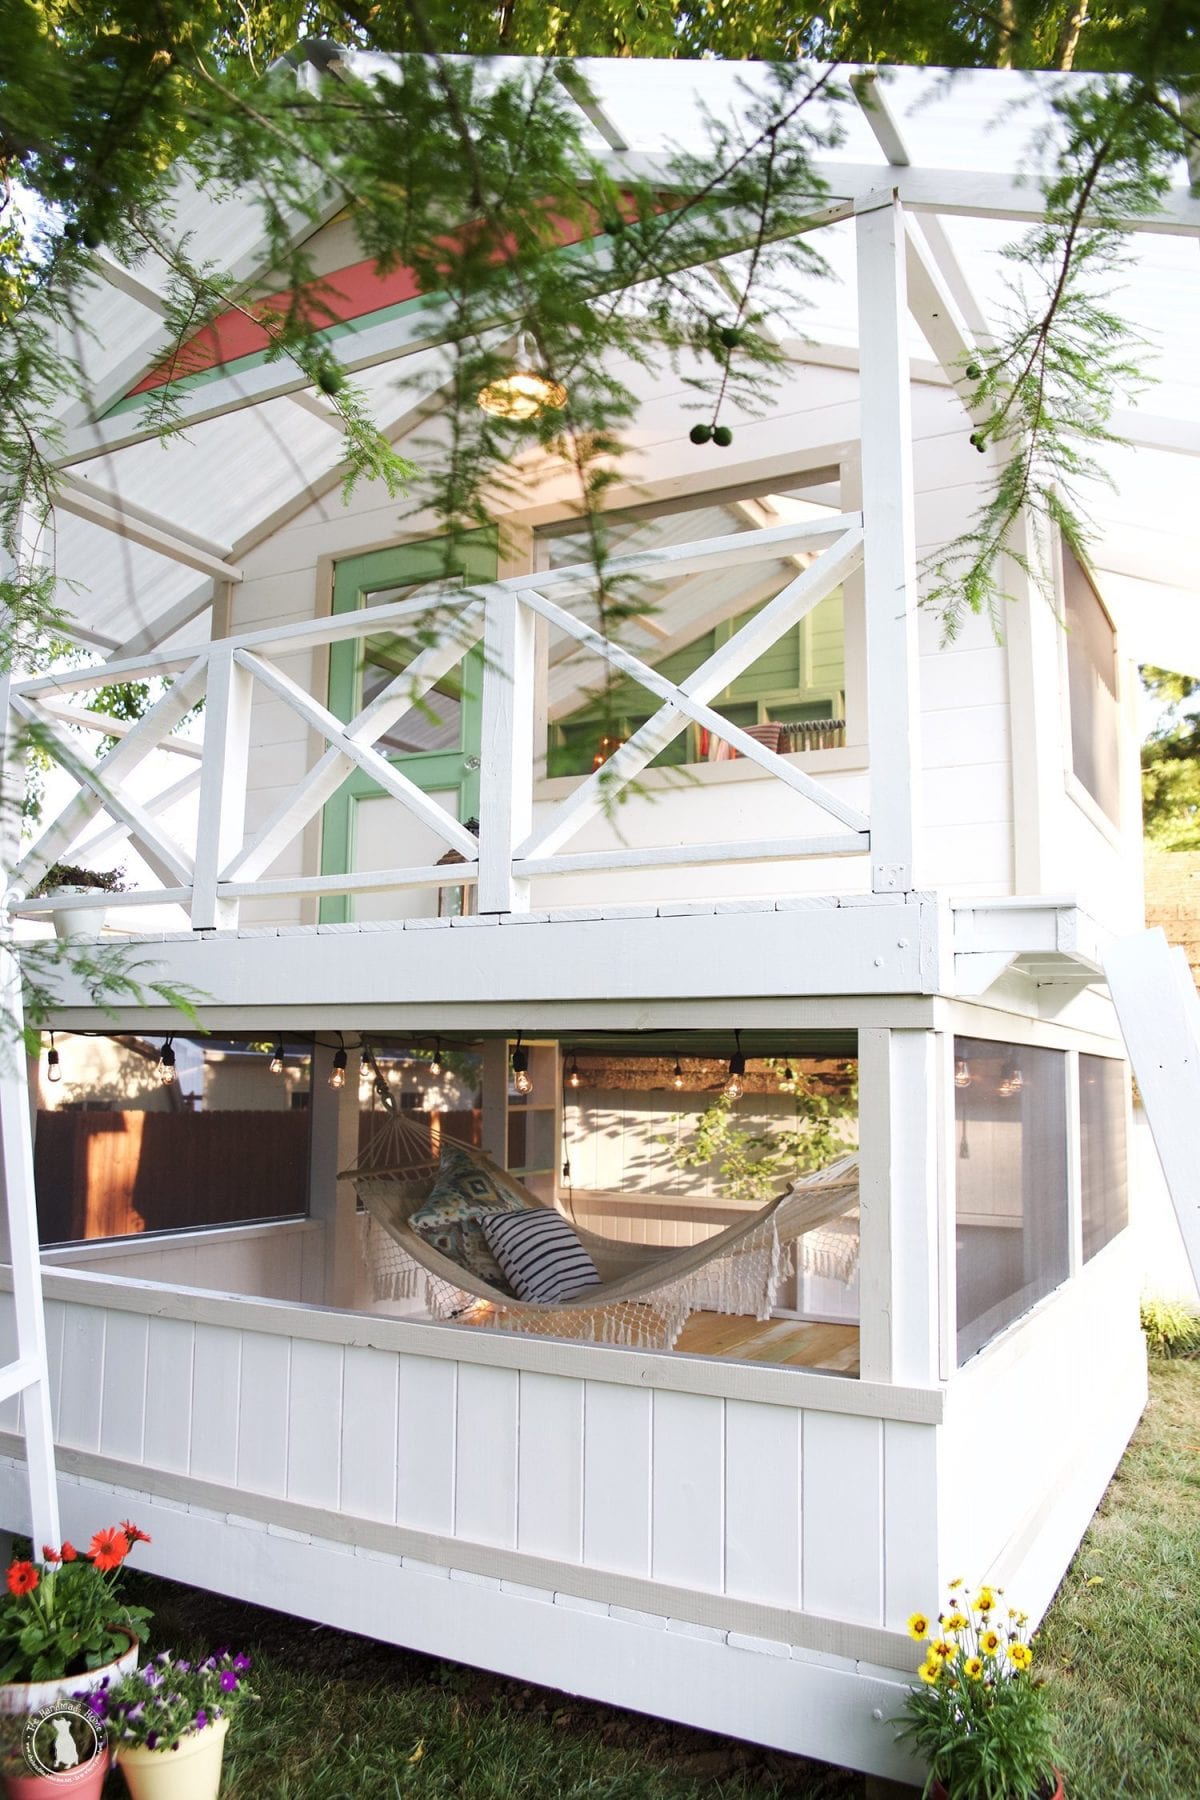
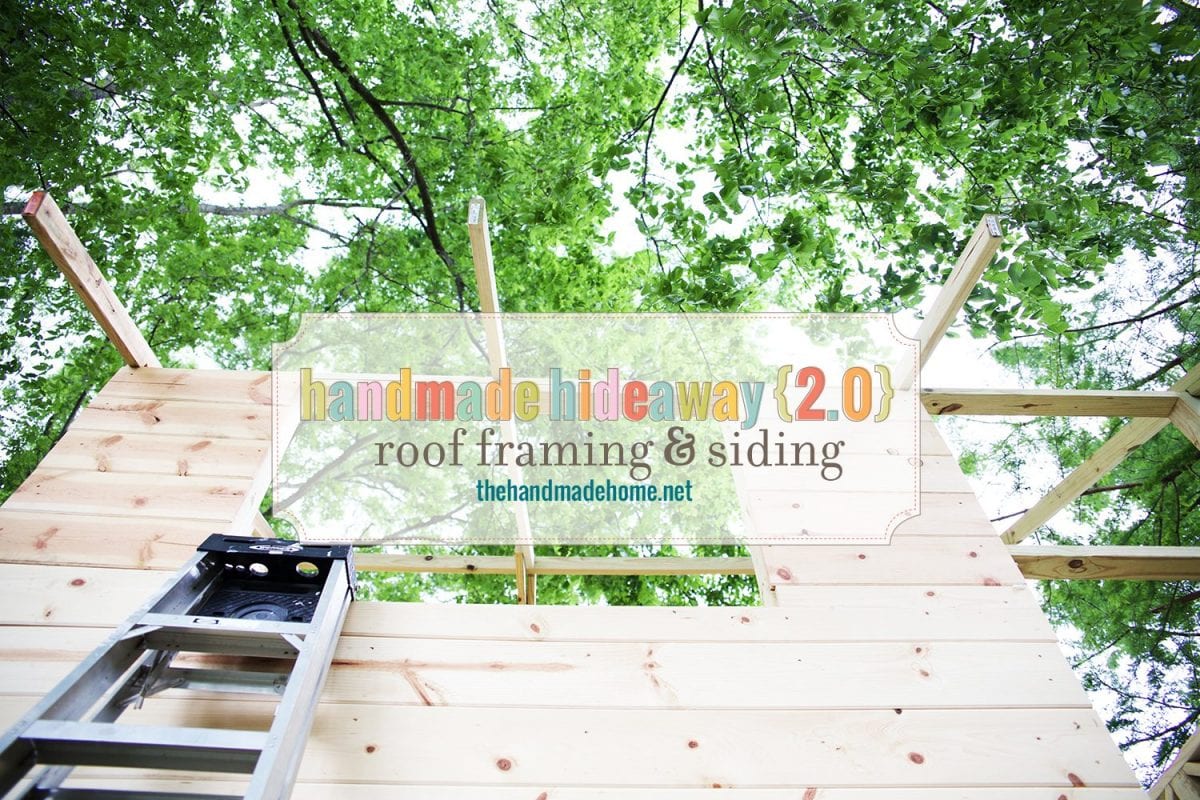
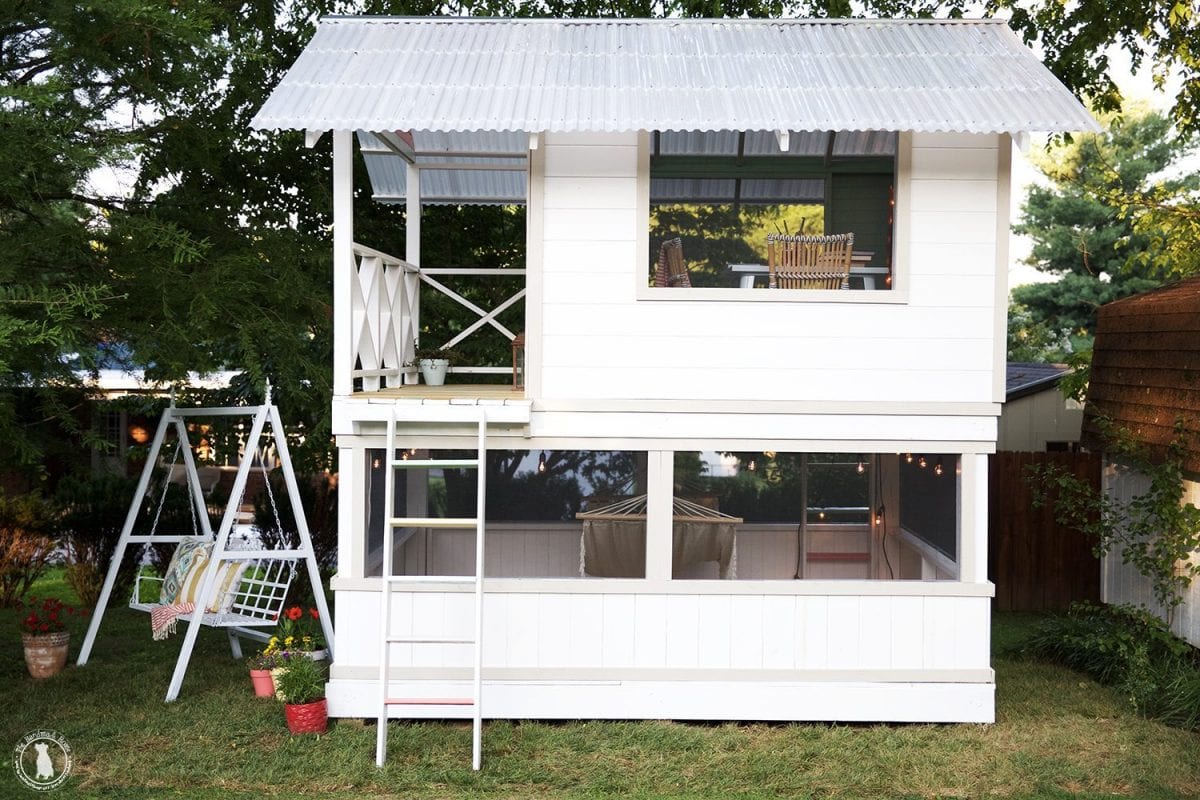
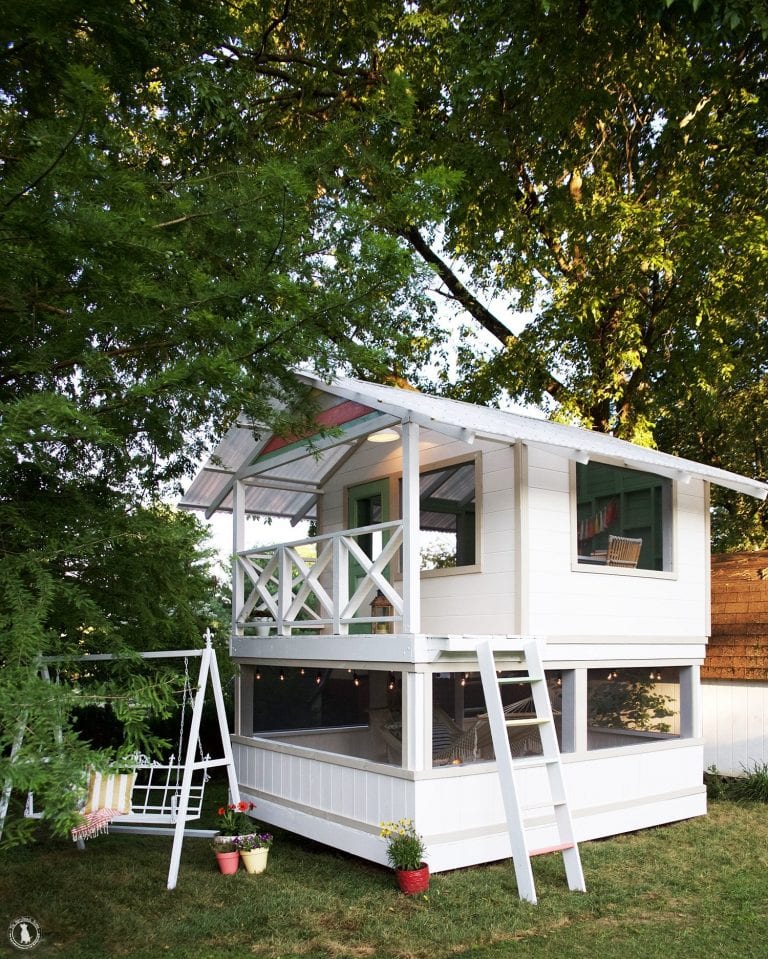
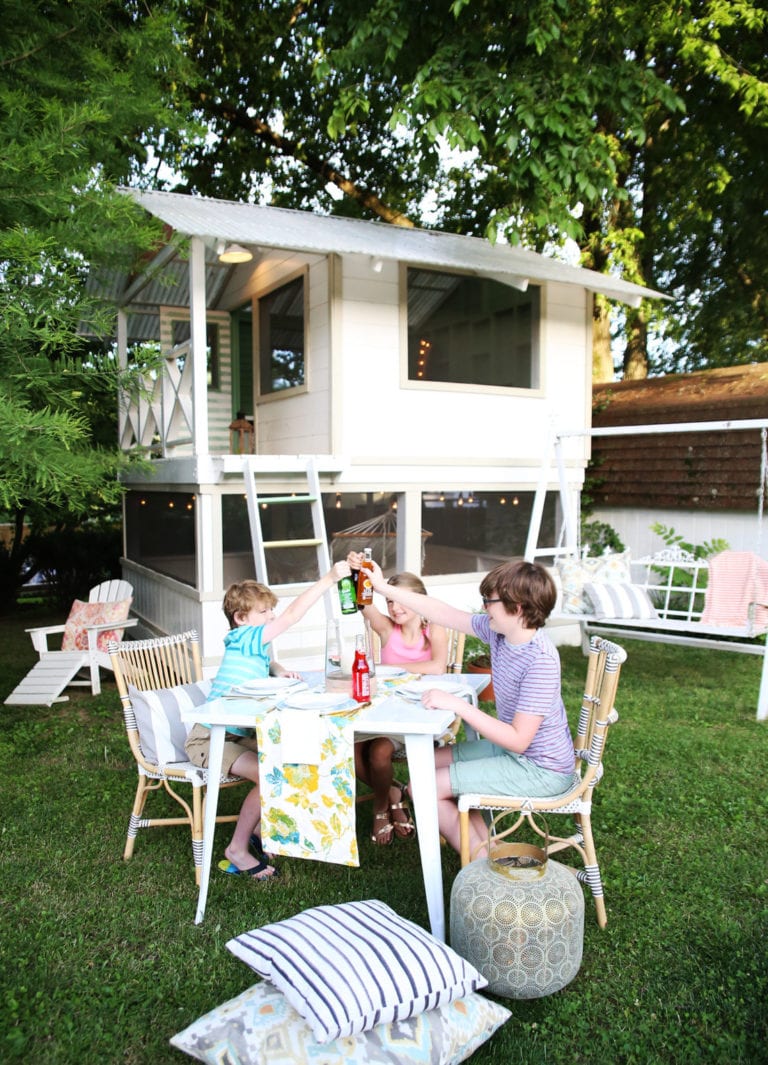
handmade hideaway 2.0 – roof framing and siding
If you’re scared of heights, hold on to your britches, because it’s time to move on up the ladder. And these next few posts might cause you to dig deep inside to find your inner Spider Man.
If you haven’t read the posts before this one, go check them out first because it would be weird to build the roof framing first. You can find the reveal here, how to build the foundation here, starting the framing here and adding the railing here.
Before we could install our beautiful Tuftex panels, we had to build the roofing support. If you’ve never laid out rafters before they’re not as hard as they might seem.
We’ll lay out a plan and help you understand them a little better. But first, let’s talk about the supplies and tools you’ll need.
Tools:
• miter Saw
• drill
• hammer drill
• circular saw
• jig saw
• level
• measuring tape
• nail gun (framing nailer.)
• mallet
Supplies:
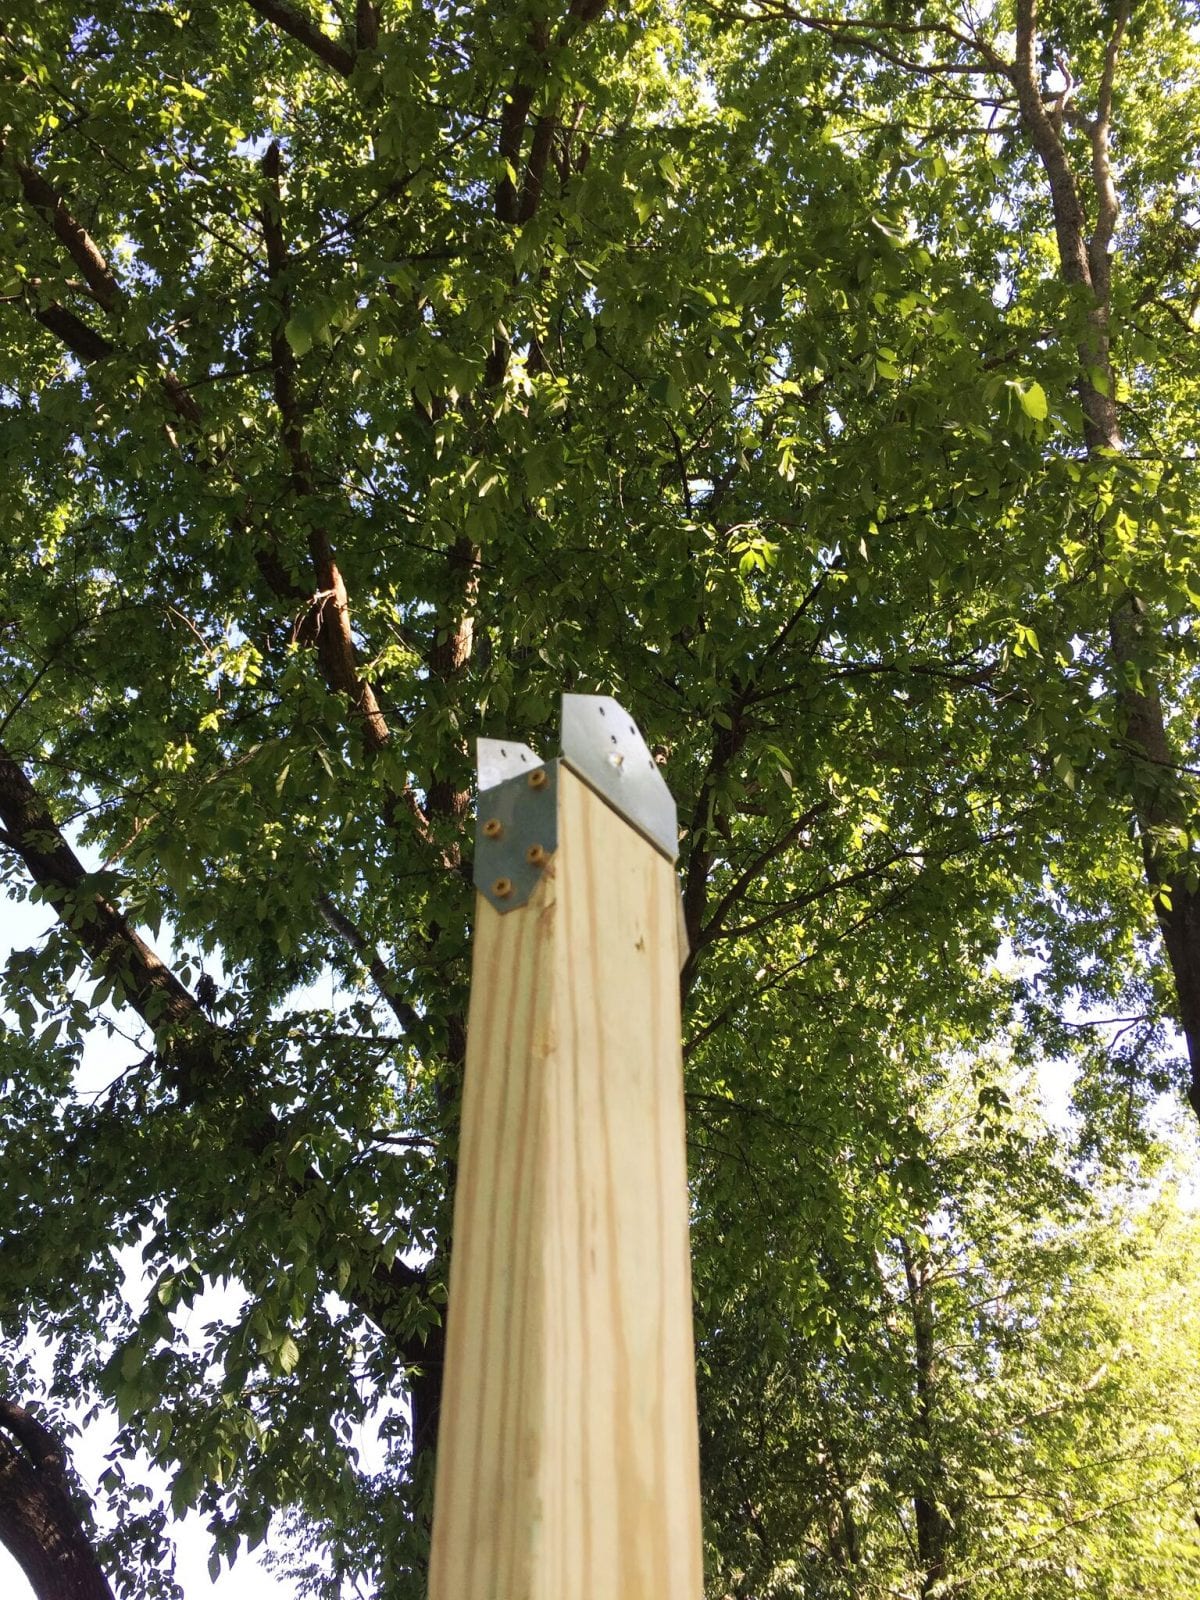
• (4) saddle rafter ties
• box of 3-inch deck screws
• box of 1 1/2 inch deck screws
• Box of 2-inch deck screws
• (1) 2 x 4 x 16 YellaWood® pressure treated
• (2) 2 x 4 x 10 YellaWood® pressure treated
• (8) 2 x 4 x 8 YellaWood® pressure treated
• (18) 1 x 6 x 12 YellaWood® pressure treated
• (26) 1 x 6 x 10 YellaWood® pressure treated
• box of 2-inch nails for your nail gun
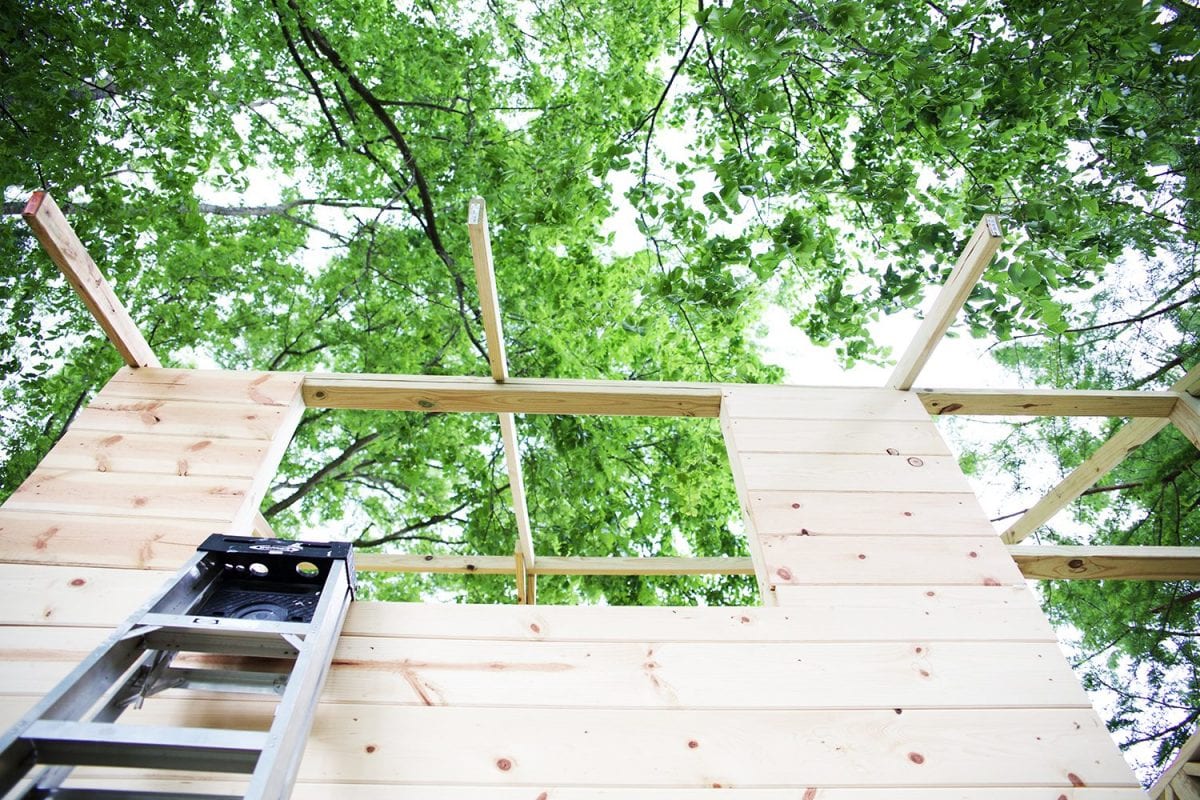
Cutting the ridge
This might be the simplest of everything we’re about to talk about.
To cut the ridge board, the first thing you’ll need to do is measure the length of your platform, which should be 12 feet. You’ll want to create an overhang for the roof, so we suggest a 1-foot overhang on each end, which means you’d need to add two feet to the length of the platform, this gave us a length of 14-feet.
Once you have this length, simply cut your 2 x 4 x 16 down to 14-feet.
You now have the ridge cut, lay it aside and we will use it in a minute.
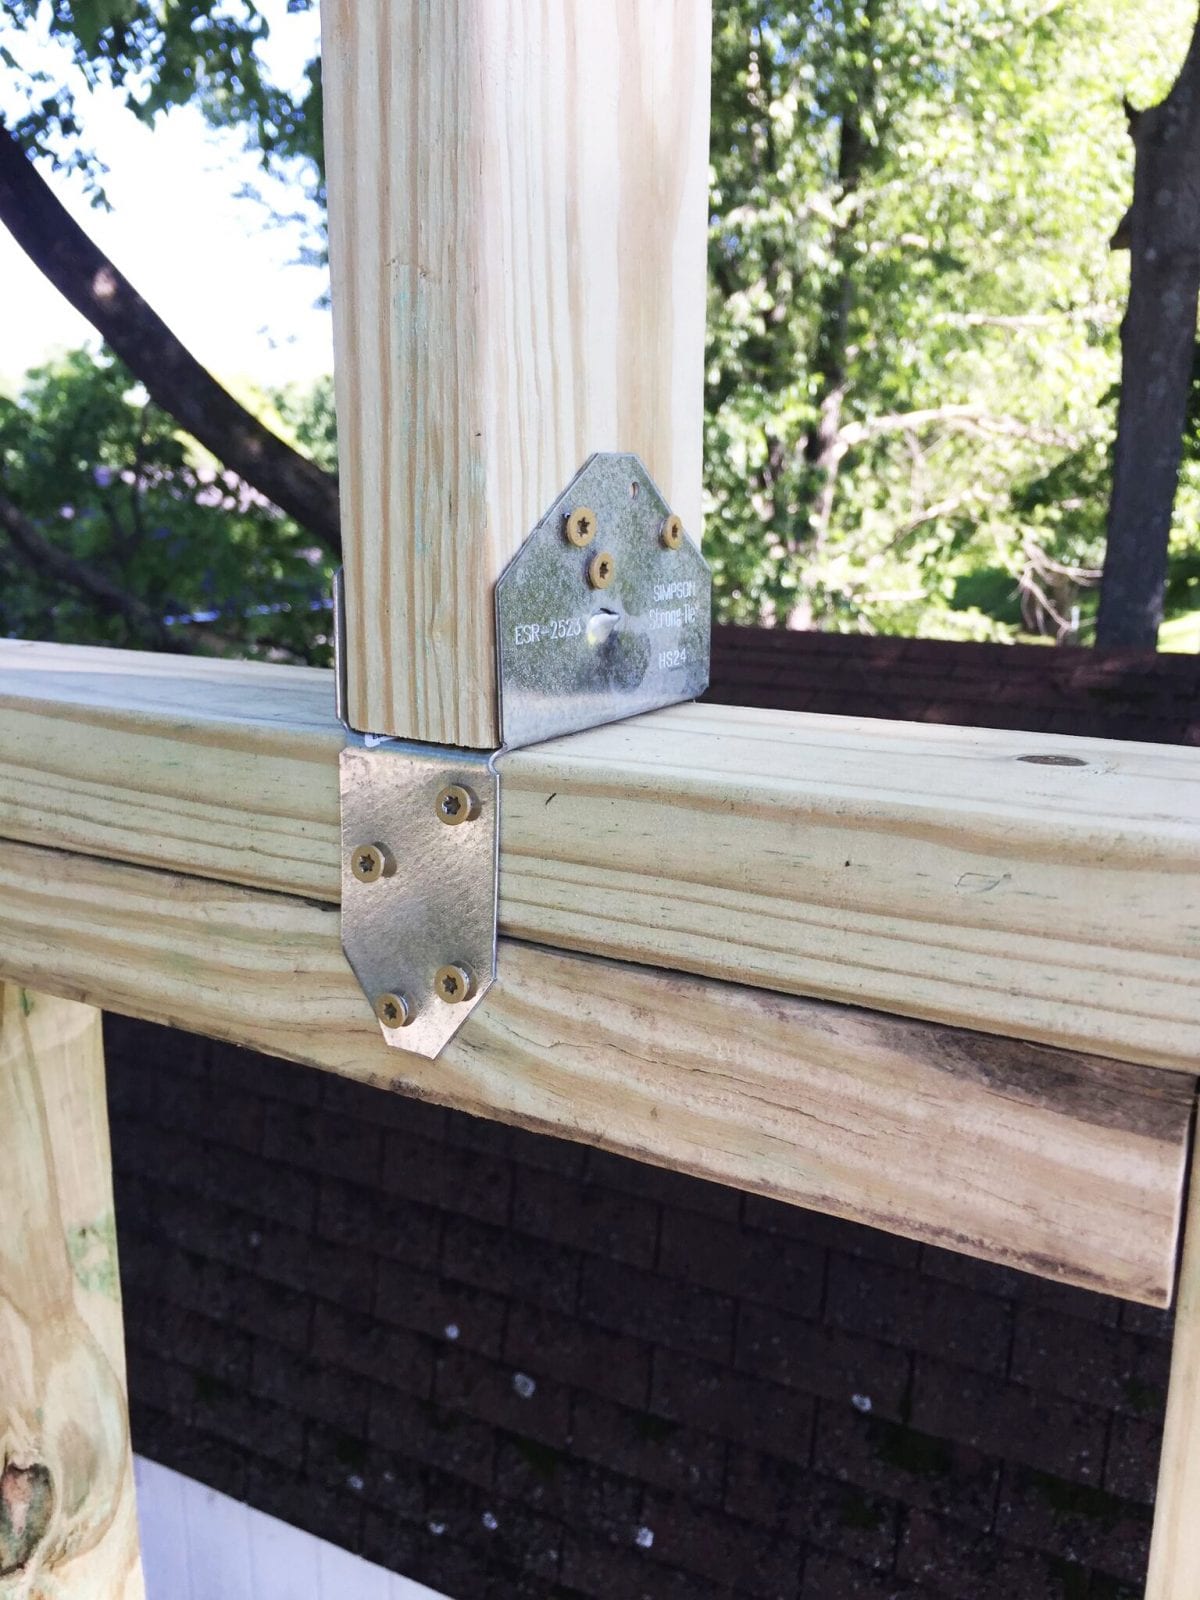
Next, you want to find the center on both your front and back walls. Here, you’ll attach a saddle rafter tie. If on your center, the boards aren’t two boards deep, you’ll want to add another board so that the saddle rafter tie will have enough wood to tie into. (Use 1 1/2 inch screws)
Cut your 2 x 4 x 8 down to (2) 24 1/2 inches pieces and attach them to the saddle rafter ties, then on top of each piece add another saddle rafter tie.
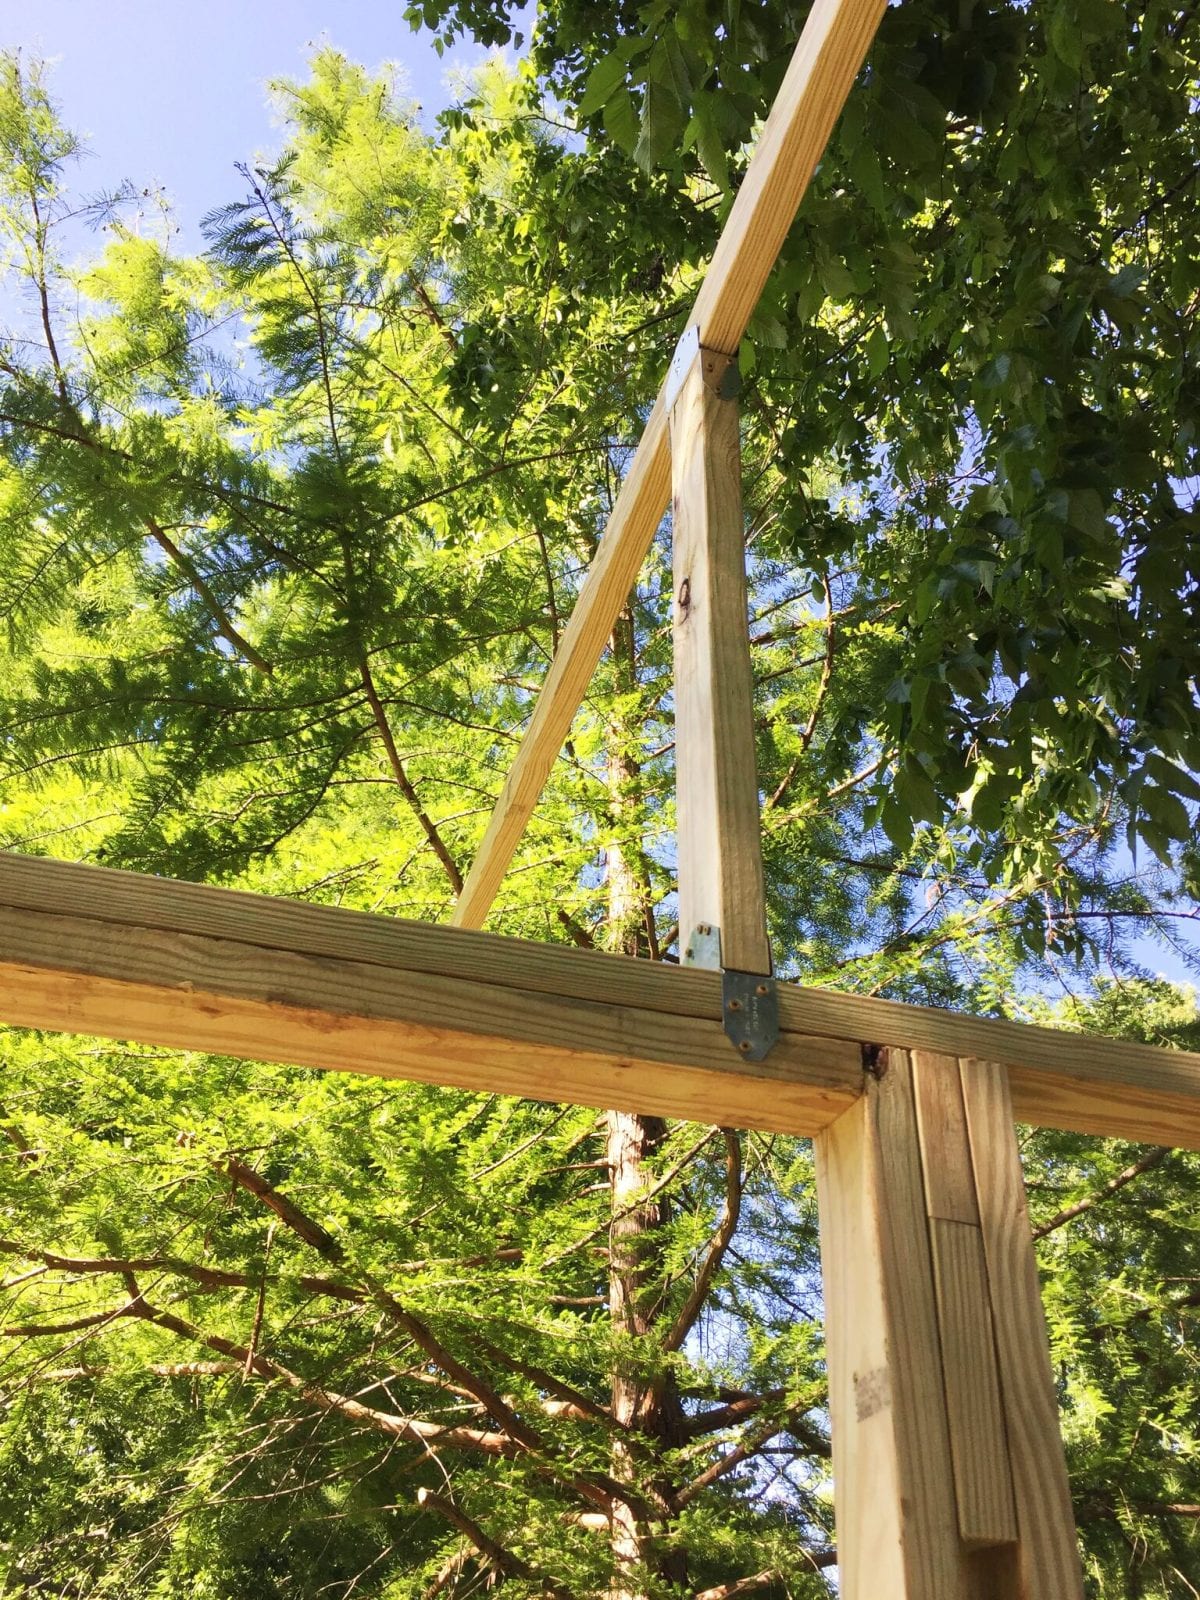
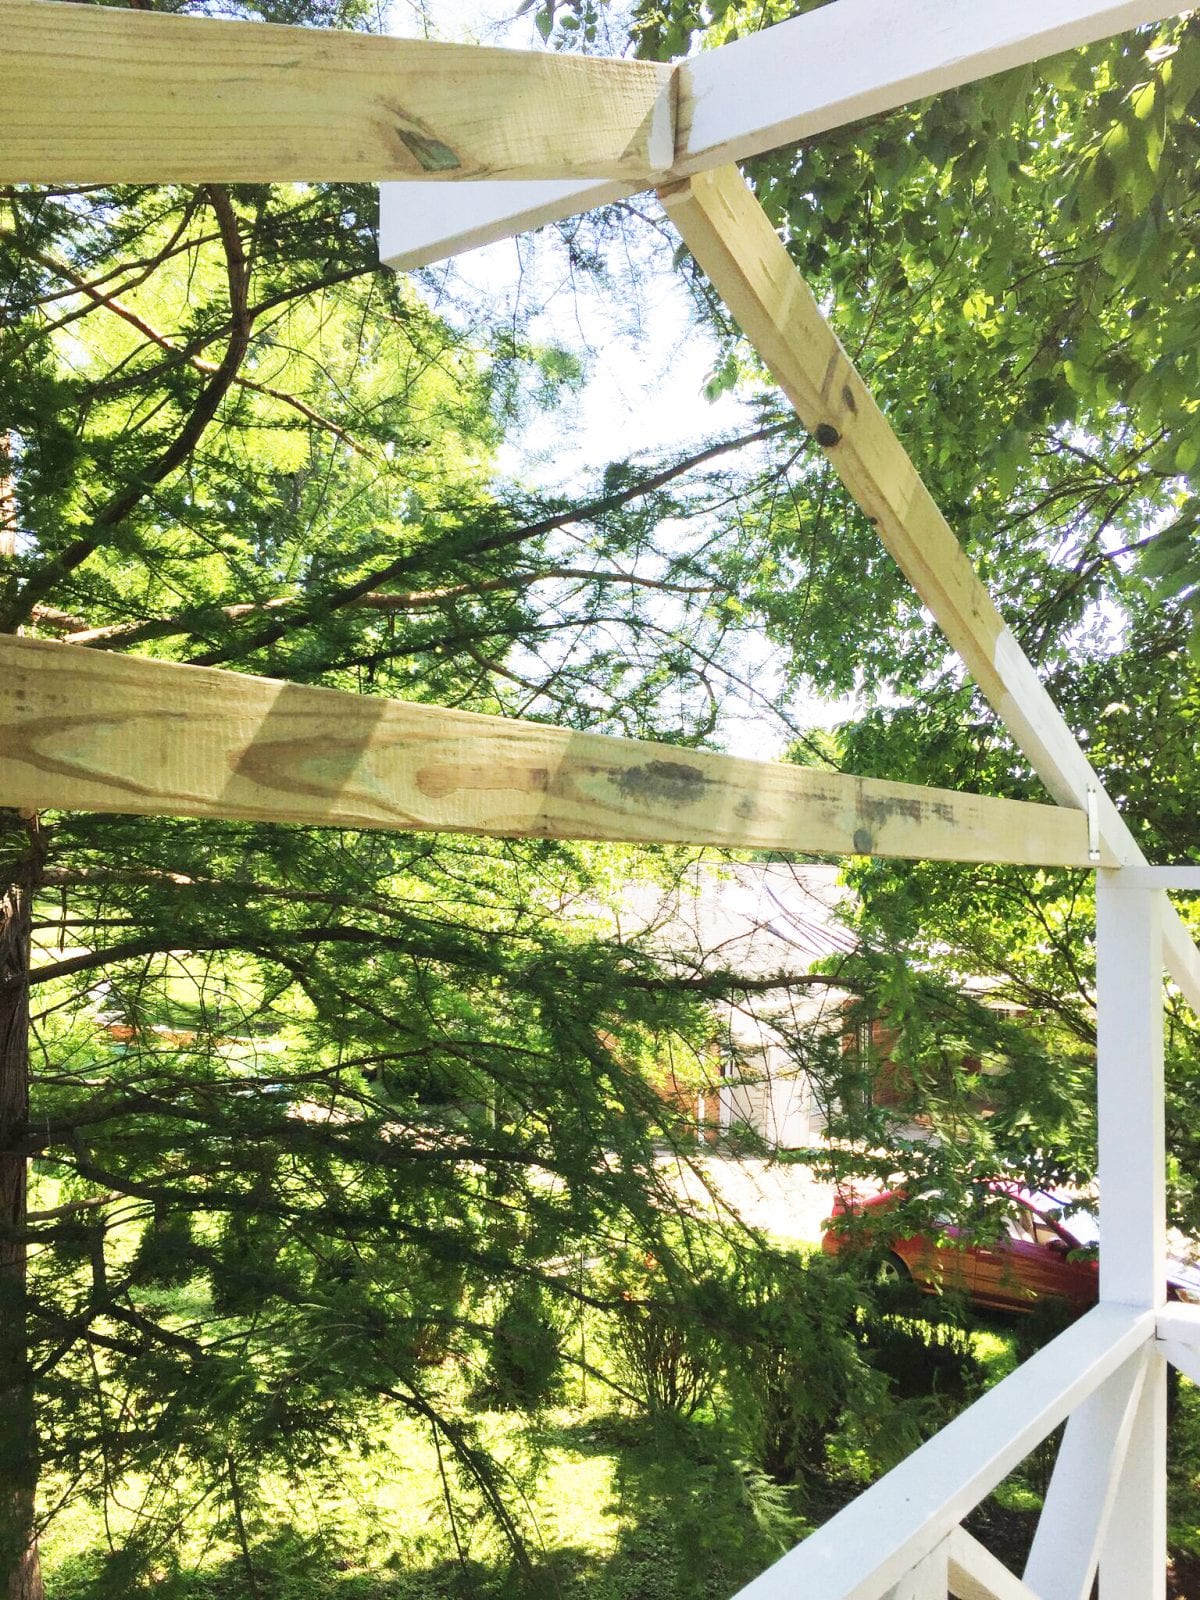
Finally, rest the ridge on the top, and screw it into the saddle rafter tie
Understanding Rafters
Building a jack, valley, or hip rafter can be a little bit of a challenge. But since we decided to go simple and make our roof a gable roof, all we will only be concerned about a “common rafter”. Anyone can build one of these even if it is your first attempt at a roof.
Before we begin, there are a couple simple building terms you need to understand.
•Rise – How many inches the roof rises for every foot of the run.
•Run – The length from the edge of the center board of your roof to the edge of the top of the wall. One easy way to figure this, would be to measure from base plate to base plate, subtract the width of your ridge board and divide by two.
For our hideaway, we went simple and used a 6/12 pitch. In other words, our roof rises 6 inches for every 12 inches of run. Which would put the center of our roof right at 88 inches.
A 6/12 pitch will give us a 26.5 degree slope on our roof. If you want something with more or less of a slope you can customize it to your desired pitch. Just adjust cuts and board sizes.

Cutting rafters
There are two different ways to cut rafters, “the full bearing” and the “2/3 method”. I prefer the “full bearing”, but either is acceptable. For the sake of space, we will only discuss the full bearing method here.
To cut the full bearing method, we have to start with our plum line (26.5 degree) cut.
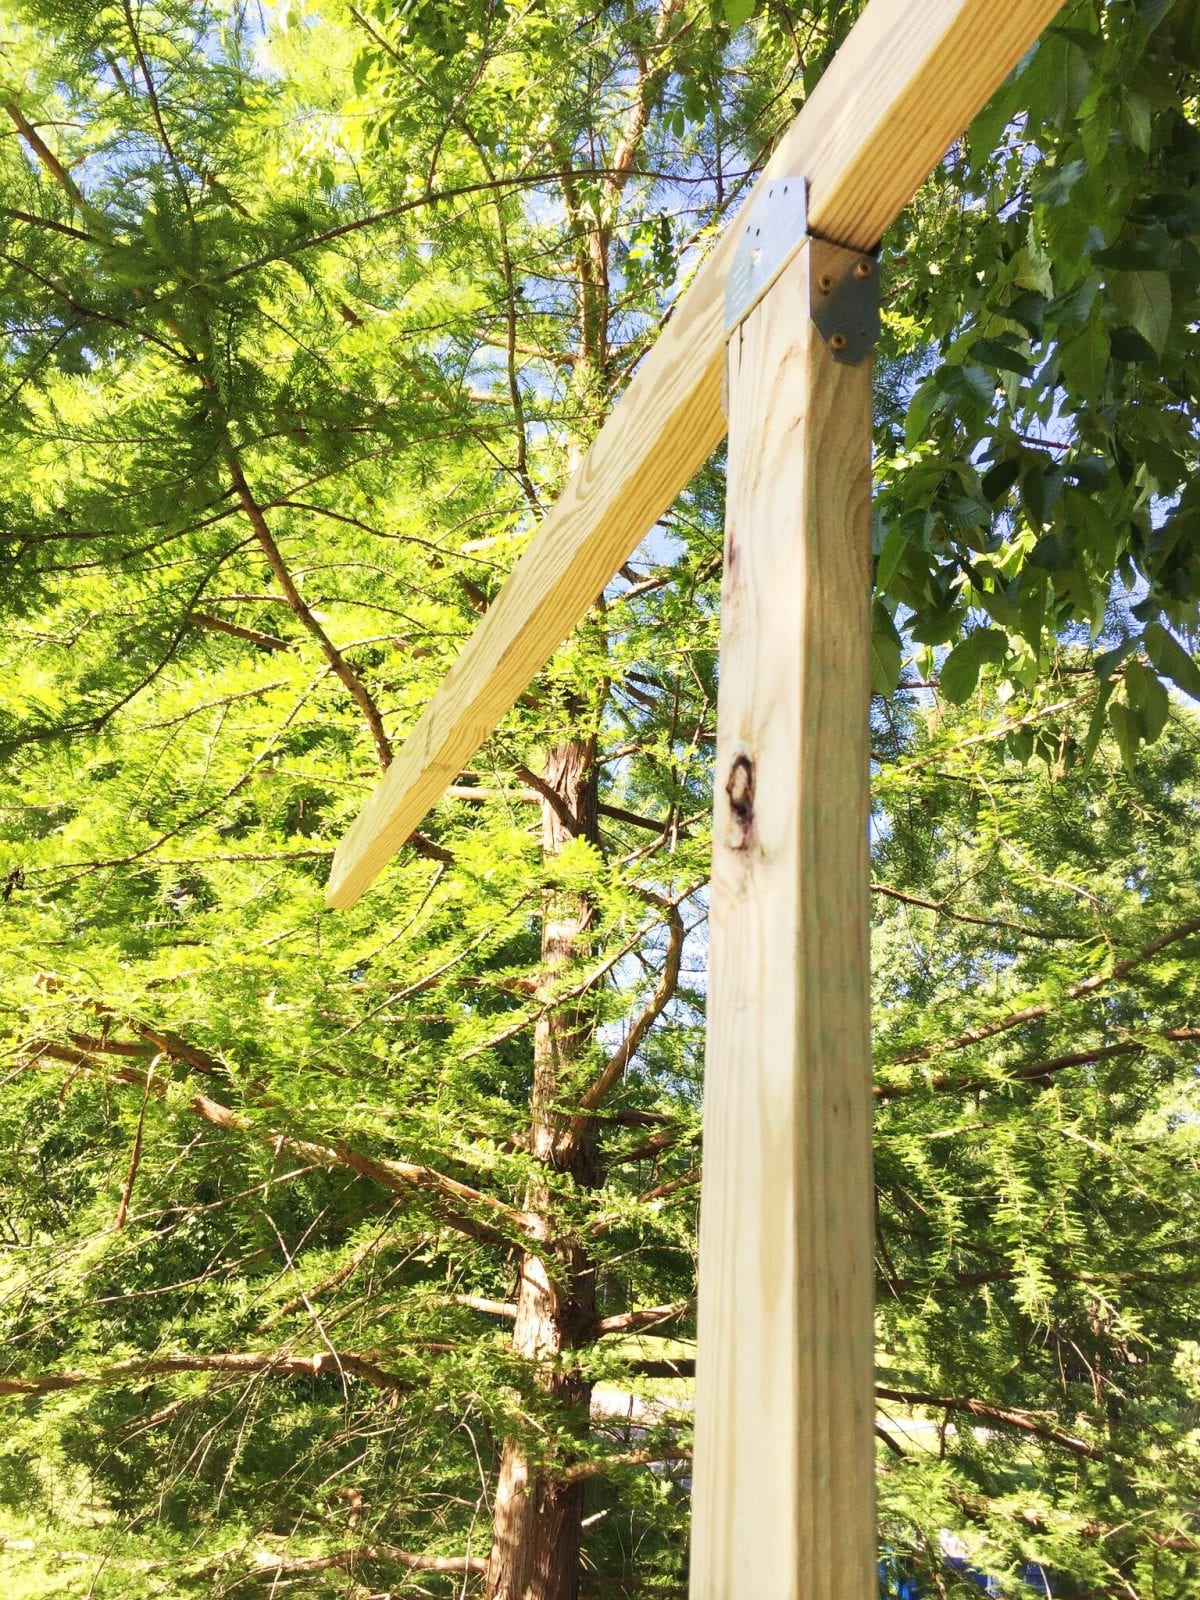
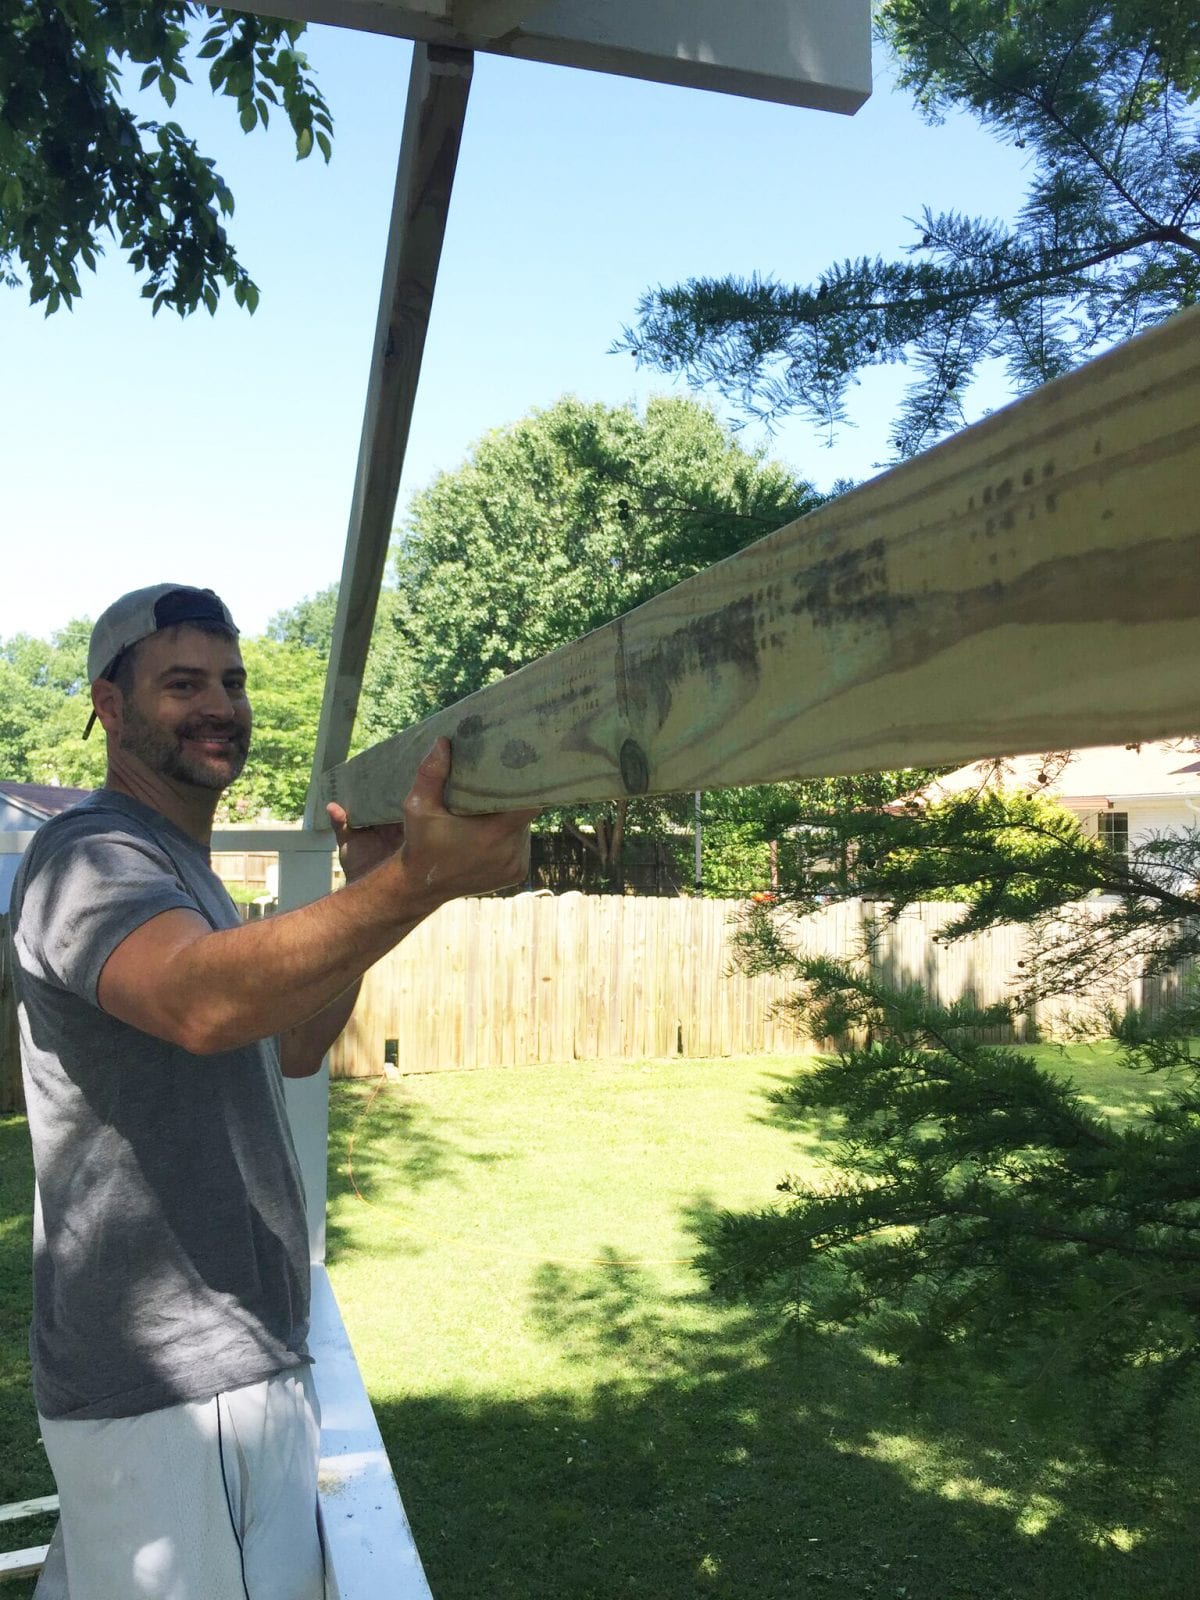
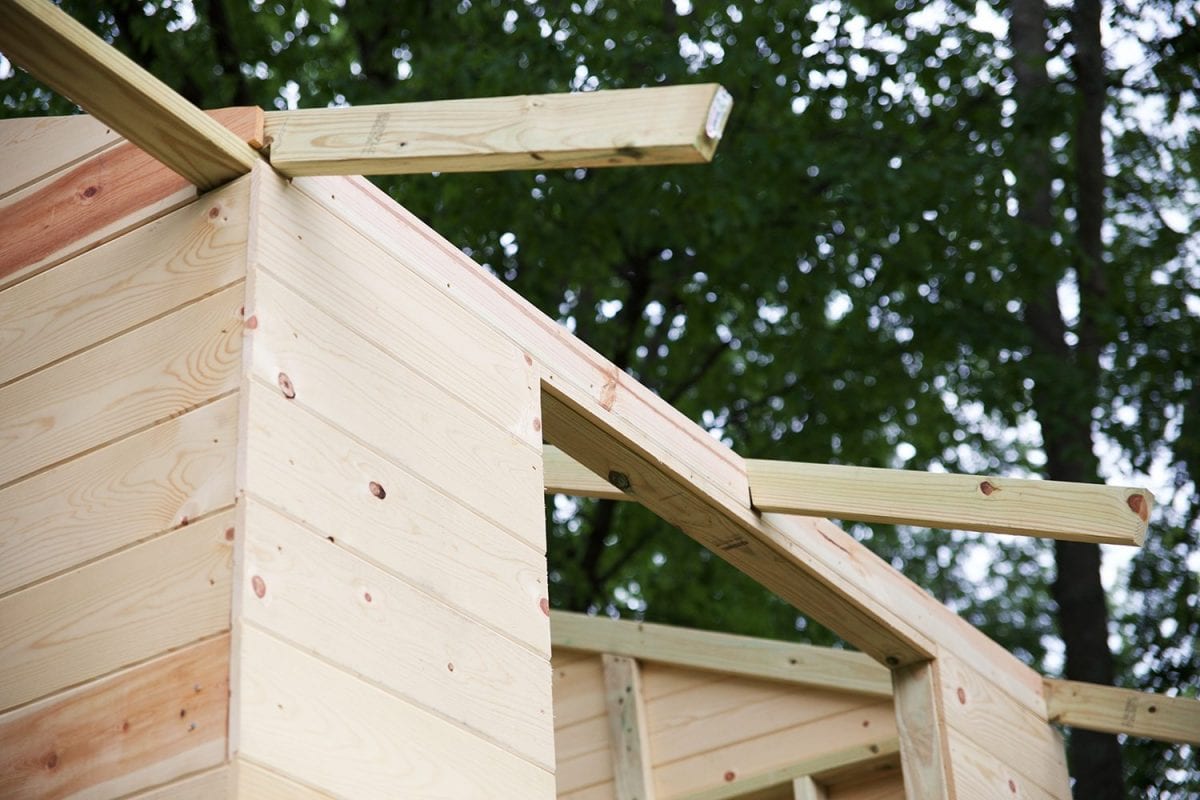
Place a 2 x 4 x 8 on the miter saw, set your saw to 26.5 degrees and cut one end of the board, making sure the blade runs across the very end of the board at one point. This end will be the end that attaches to the ridge.
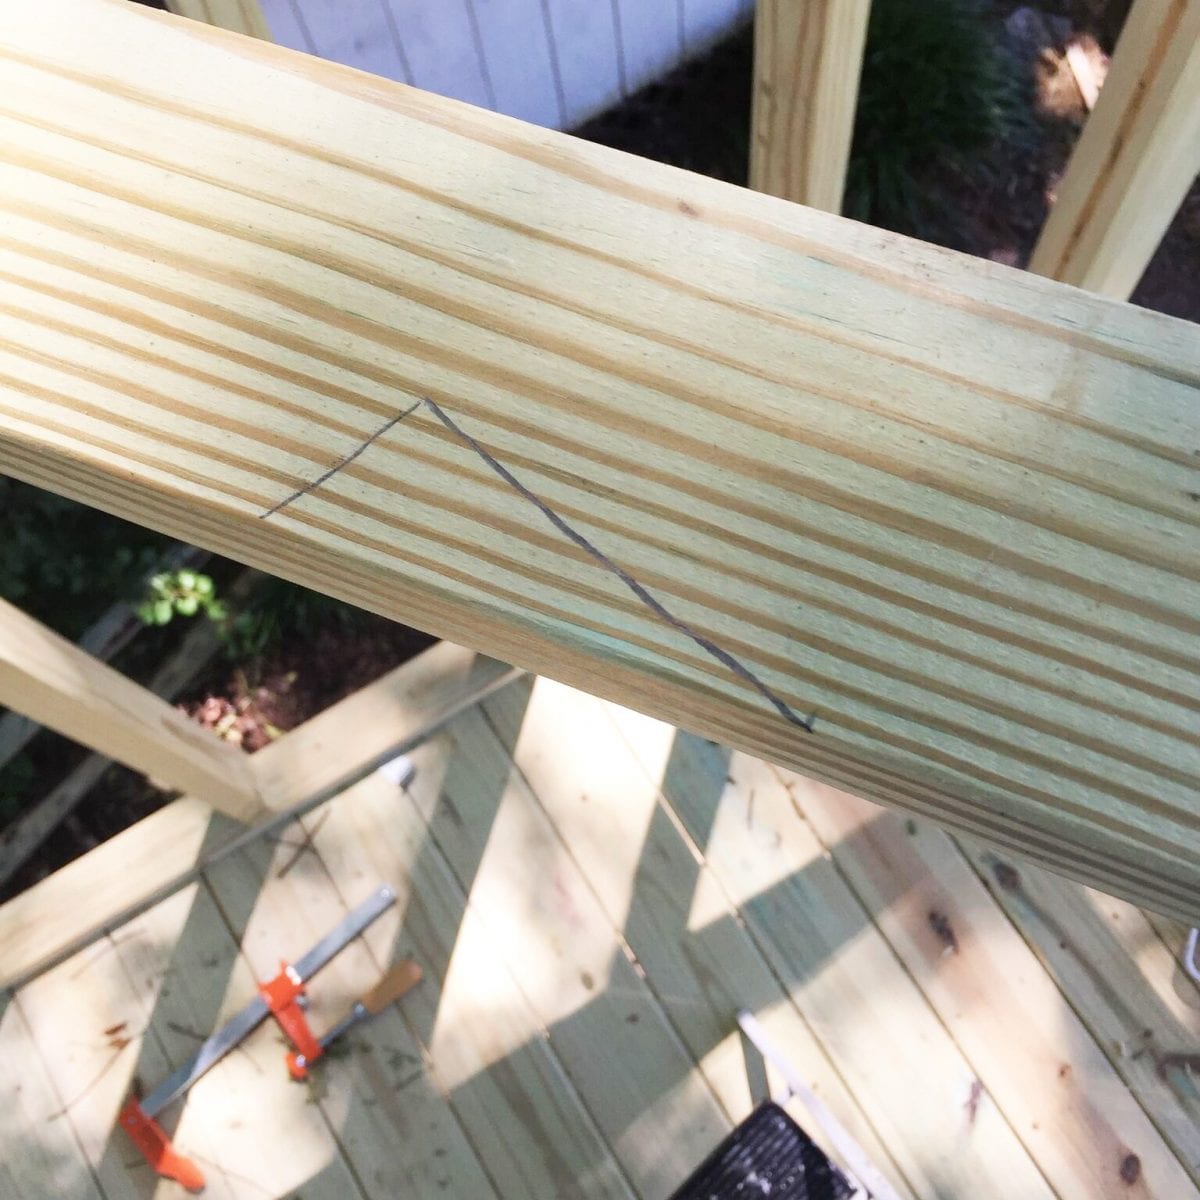
Next, we will need to cut the board where it will lay on the top plate of the side wall. This cut is known as a birds mouth cut, simply because that is what it looks like. To make this cut, measure from the end of the rafter you just cut down to 63 inches and 66 ½ inches, and place a mark at both places.
Now we need to make the notch, known as the bird’s mouth in the rafter. For the full bearing method, we first need to make the plumb line on our 66 ½ mark. Draw a 26.5 angle where this mark is. (You can cheat by placing it back on the miter saw and using the blade as a guide.)
Next, we will take the width of our rafter 3 ½ inches, and use this to make our second mark. Take your carpenters square, find 3 ½ inches on it, line up the top or outside edge of the square on the plumb line you have already drawn, and bring the square all the way up to the 3 ½ inch mark.
Draw a line from the plumb line, already drawn (63 1/2 inch mark) down to the edge of the board. (You will use the outside of the square) This will give you the lines to make your birds mouth cut. You can now cut the birds mouth or portion of the rafter that will rest on the plate.
Repeat this process 7 more times to complete all 8 rafters.
To attach the rafters, first mark off where you want them to be in your build. For this build we placed one on the very front and back wall, then one centered between those two and then one at the front of the porch.
I find it easiest to rest the bird’s mouth on the top plate and secure the top of the rafter to the ridge first using a 2 or 3-inch screw, and then secure the bird’s mouth to the top plate.
You’ll repeat this process for all the rafters.
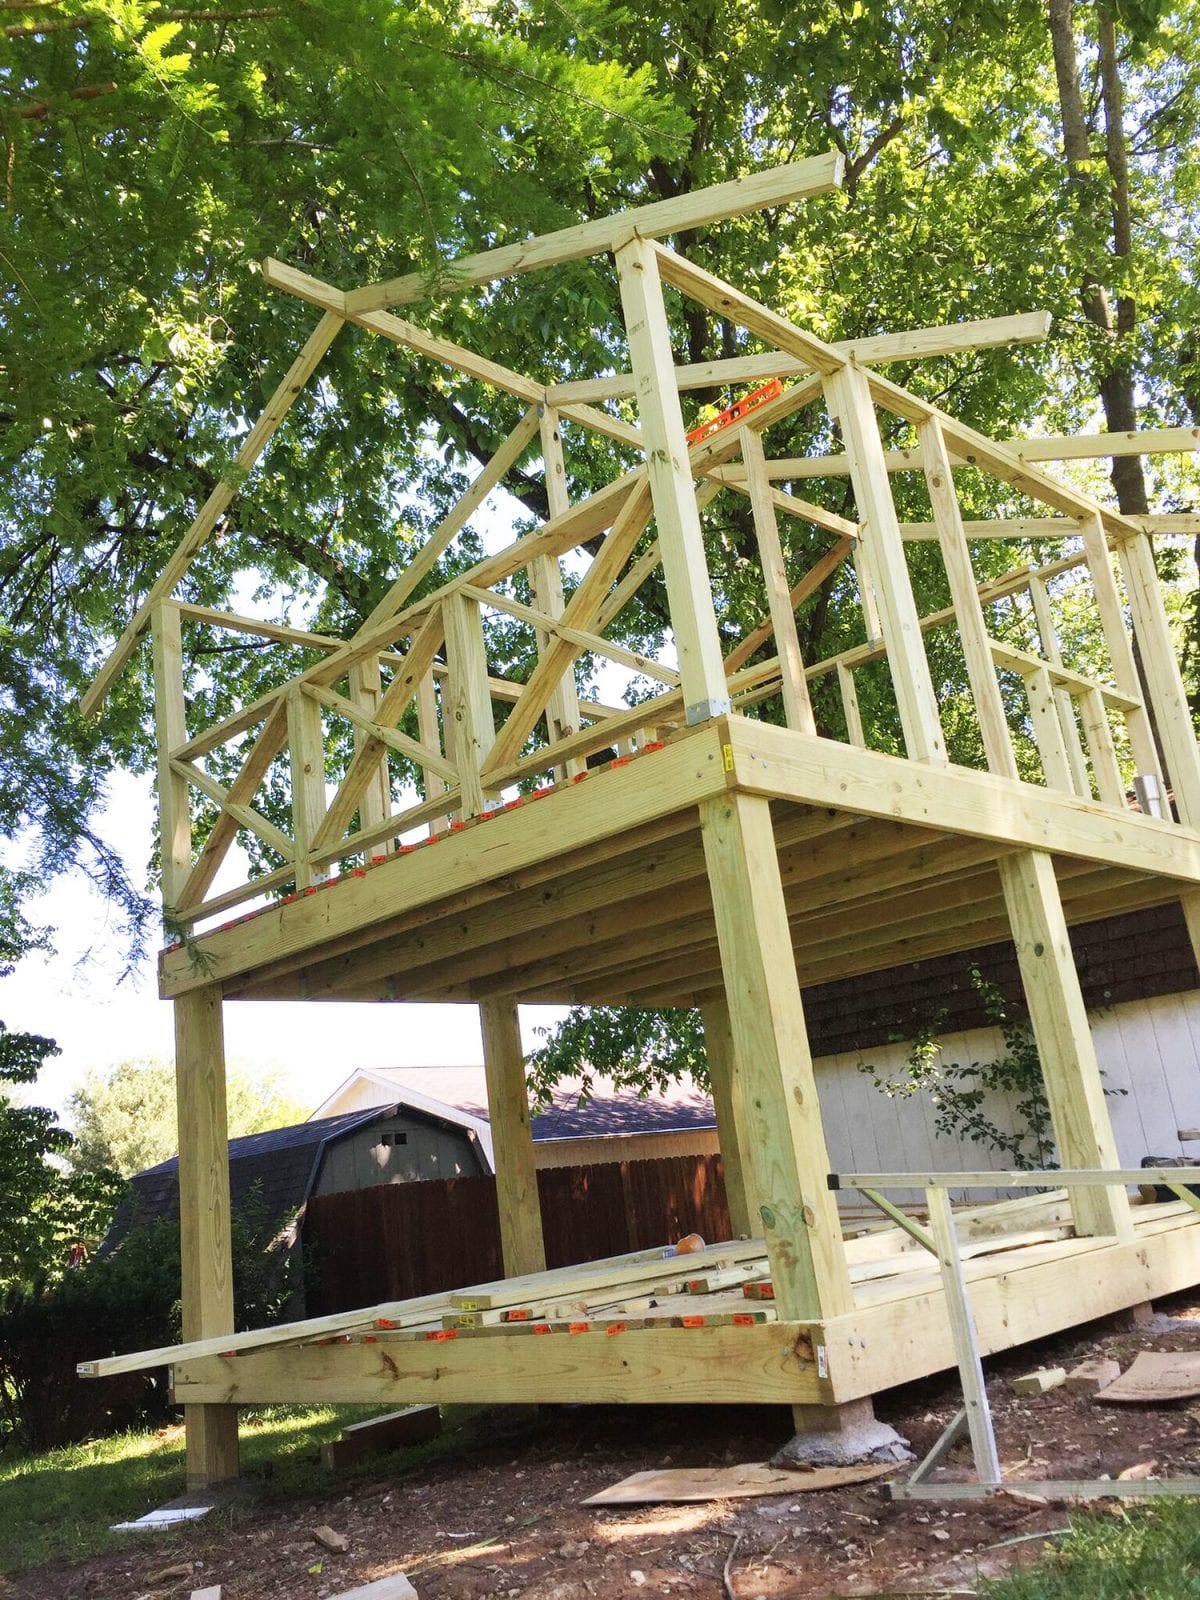
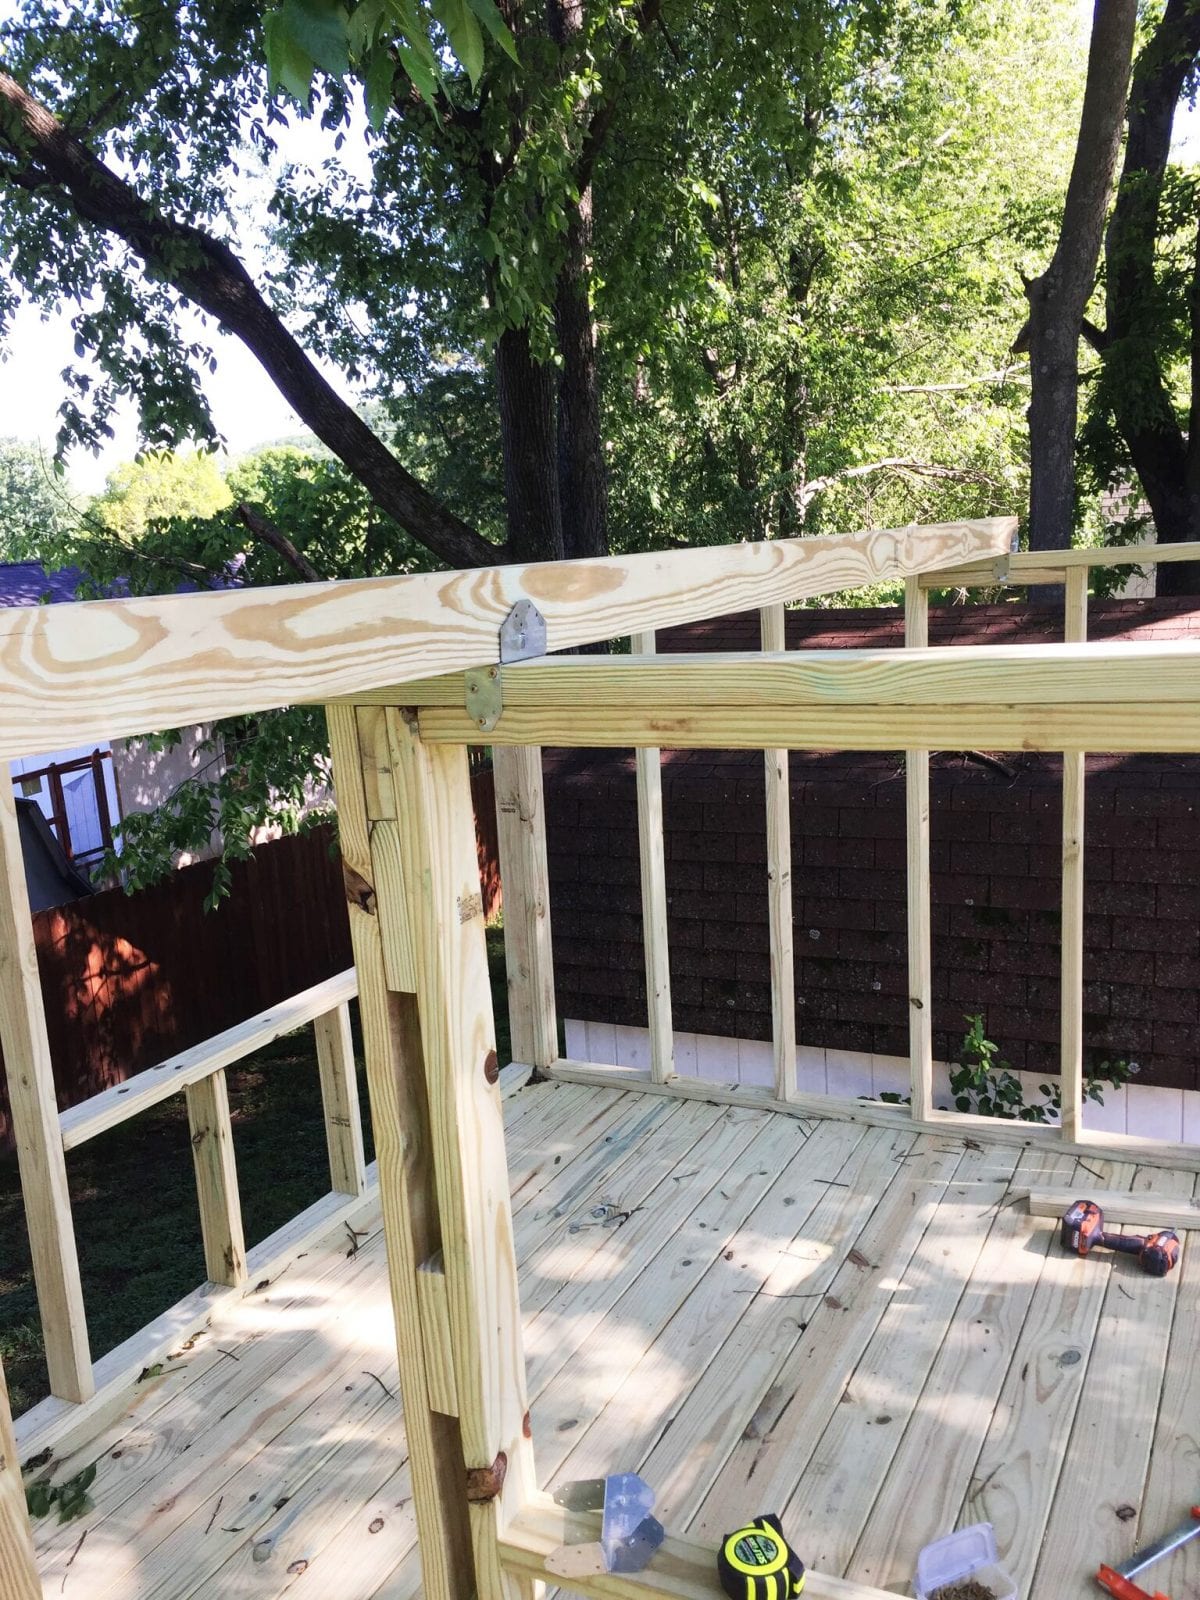
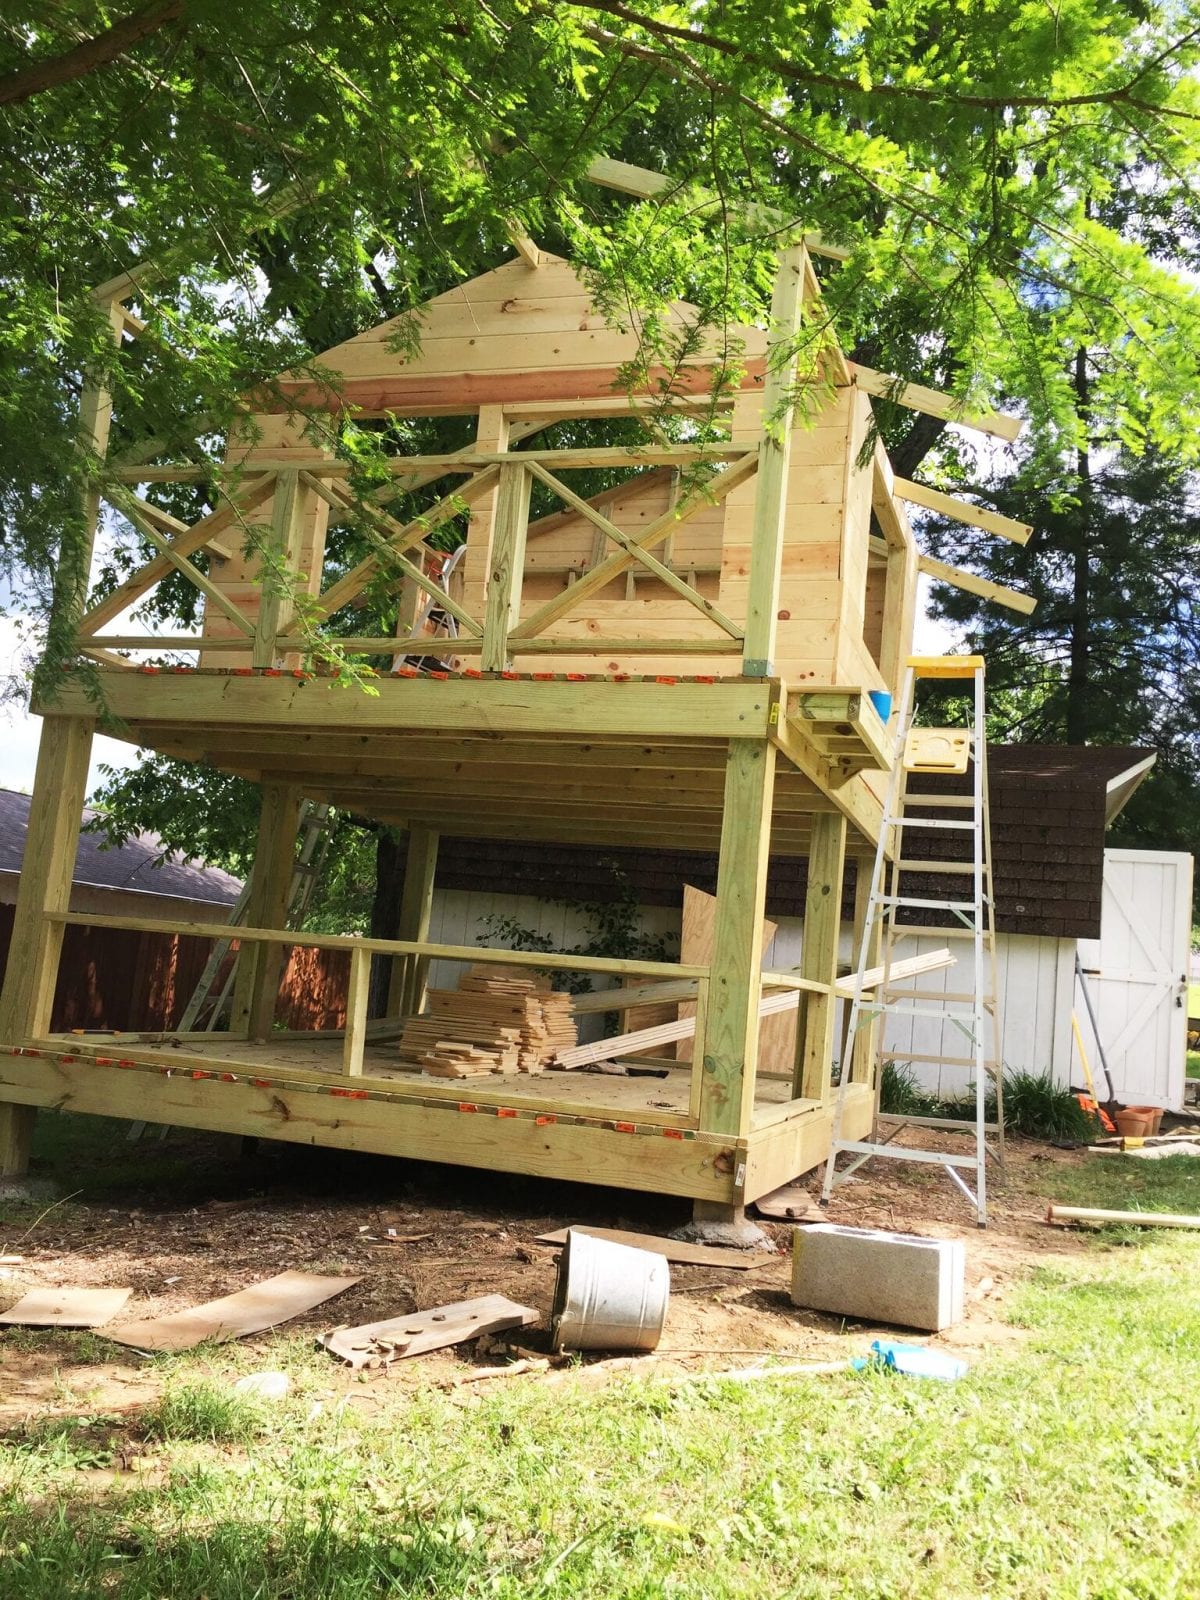
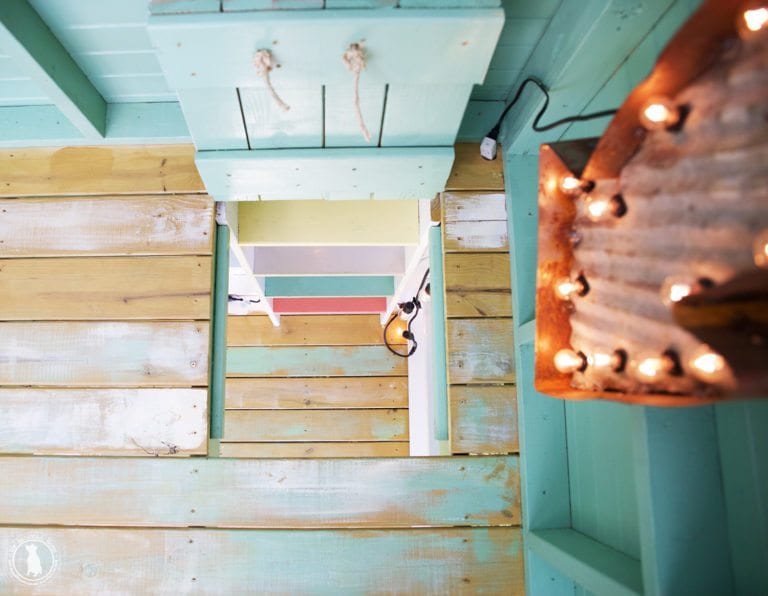
On both gables, I find it a good practice to add a 2 x 4 on each side of the vertical piece supporting the ridge. I place this on center between the top plate and the ridge. It not only helps with support to the ridge, but also gives you a great place to mail in the siding.
The Porch:
You need to run a 2 x 4the length of the porch between the front to rafters. You’ll cut this on the same angle as the rafters and attach it at the top of the top plate. This will not only give a you a good place to anchor the siding it will also provide a border to frame it out.
Adding the siding:
If you don’t have a nail gun to attach the siding, you can replace it with screws and a drill. I will say that you’ll save a ton of time, so either borrowing or renting a nail gun, is worth it.
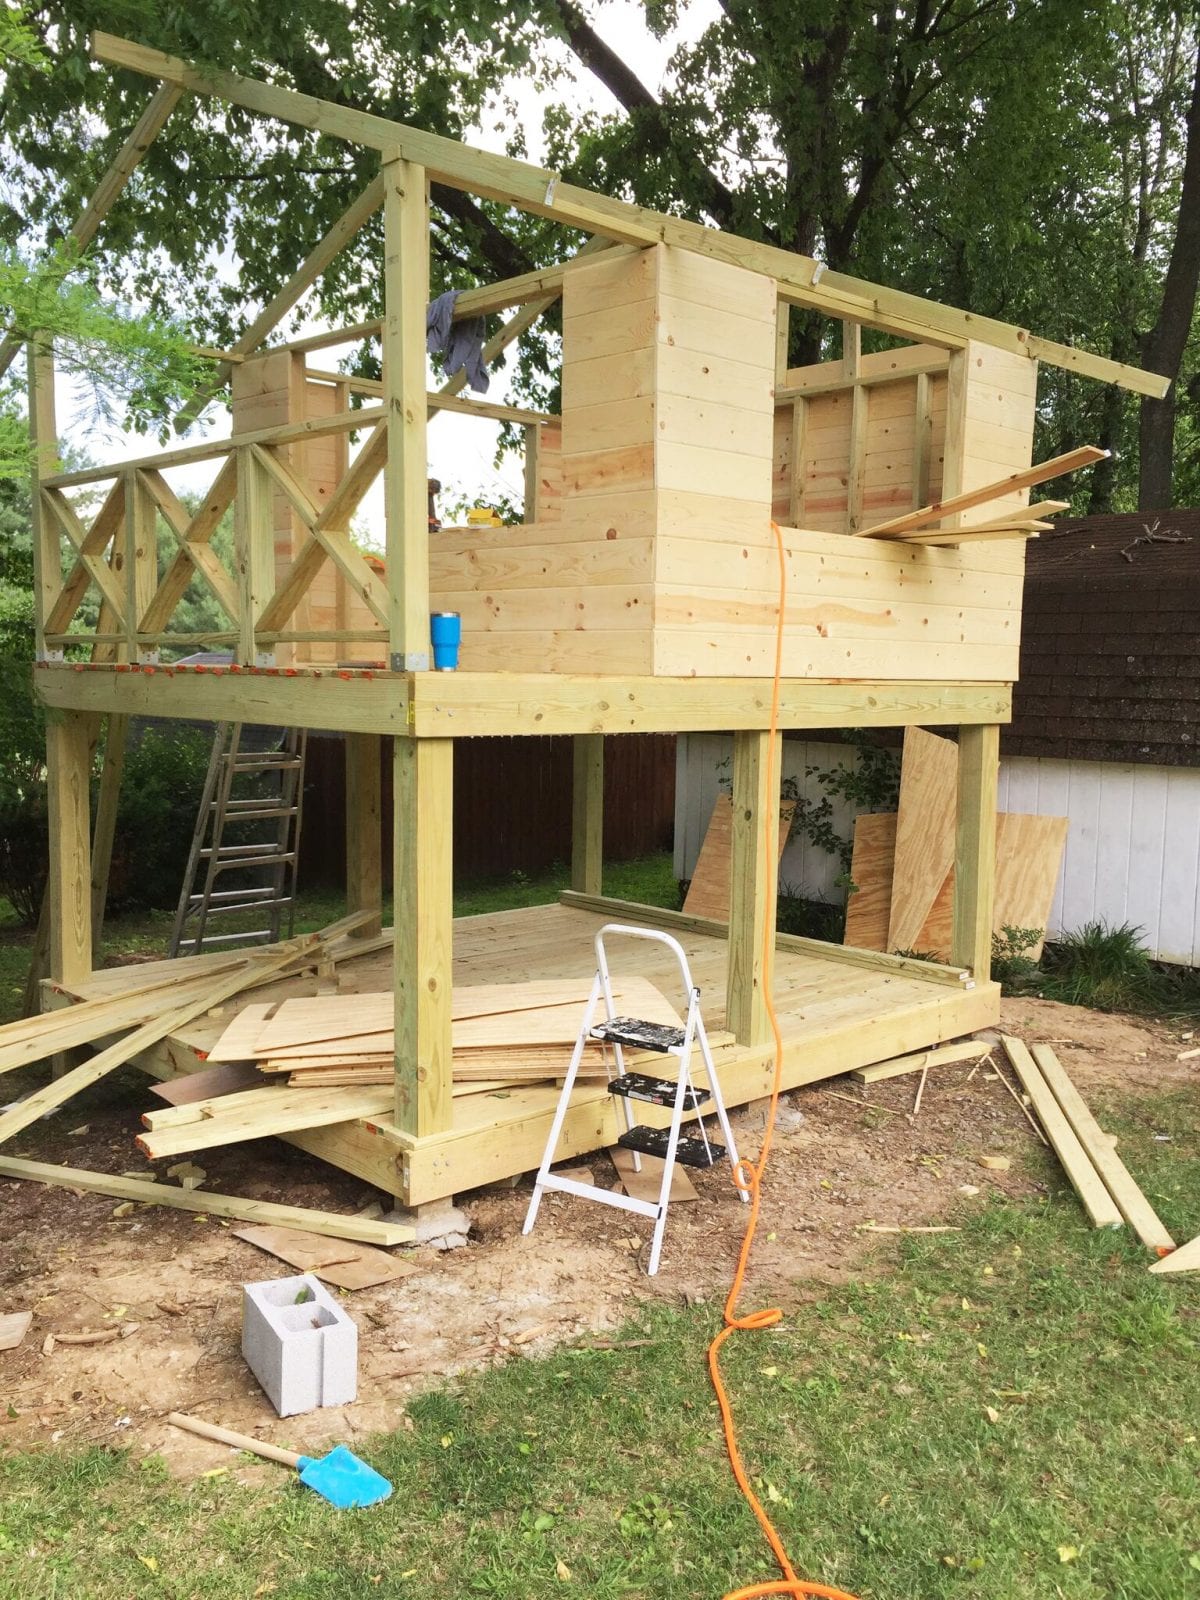
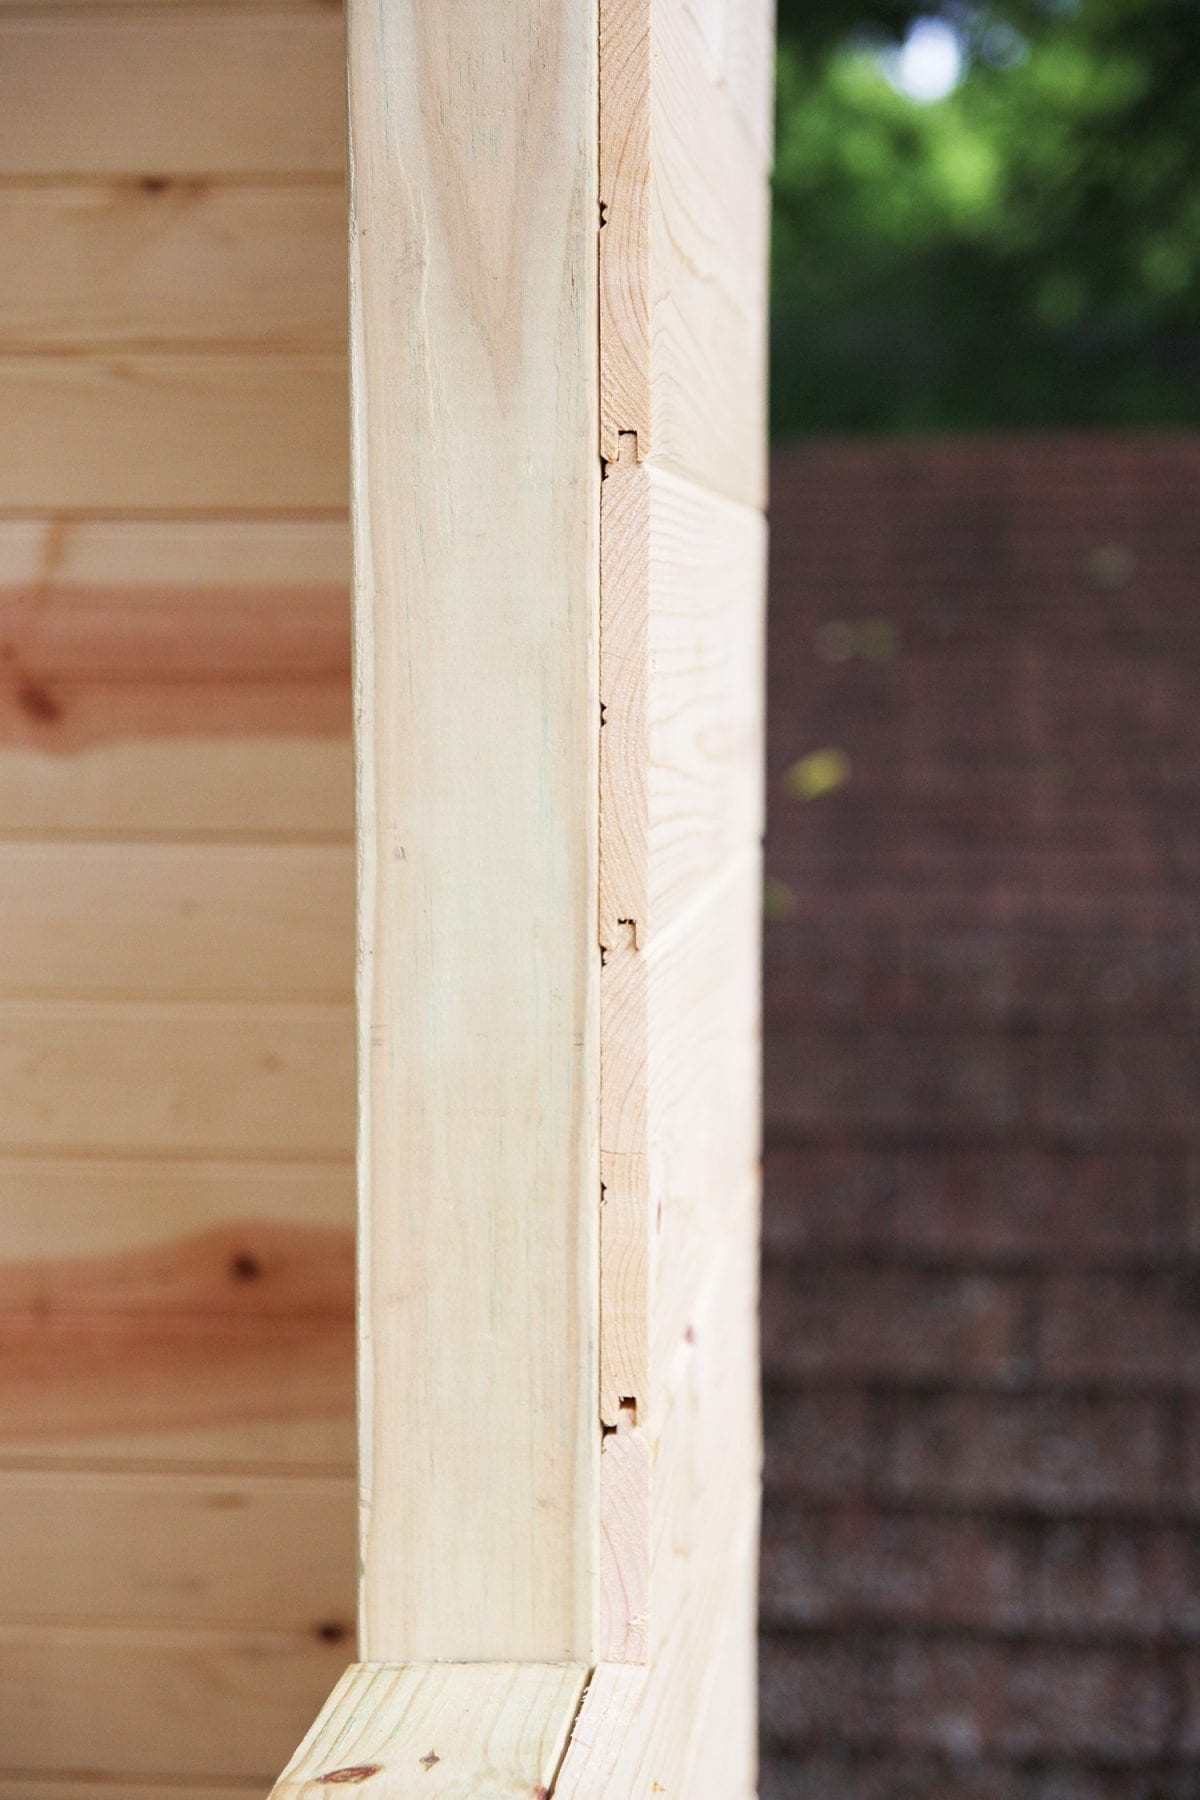
On a project like this, we typically like to start on a full side with no windows. (This would also be where you use your longer 12 foot boards.)
You’ll want to start at the bottom of your wall. Getting this piece level is crucial because if it’s off, the entire wall of siding will be off.
Start by finding your bottom-most edge on one side and placing a mark.
Now with the help of a friend, line the board up using this mark and screw it into place. Take a four-foot level and check to make sure the piece is level. Then nail the opposite end in place.Work your way back down the piece, placing nails in each stud. Until you get back to where you screwed it in to begin with.
Simply remove the screw, and replace it with a nail or leave the screw all together. (On the bottom row I would use 2 nails per stud as we move up you can get away with just one per stud. Simply because the tongue and groove will help hold it in place.)
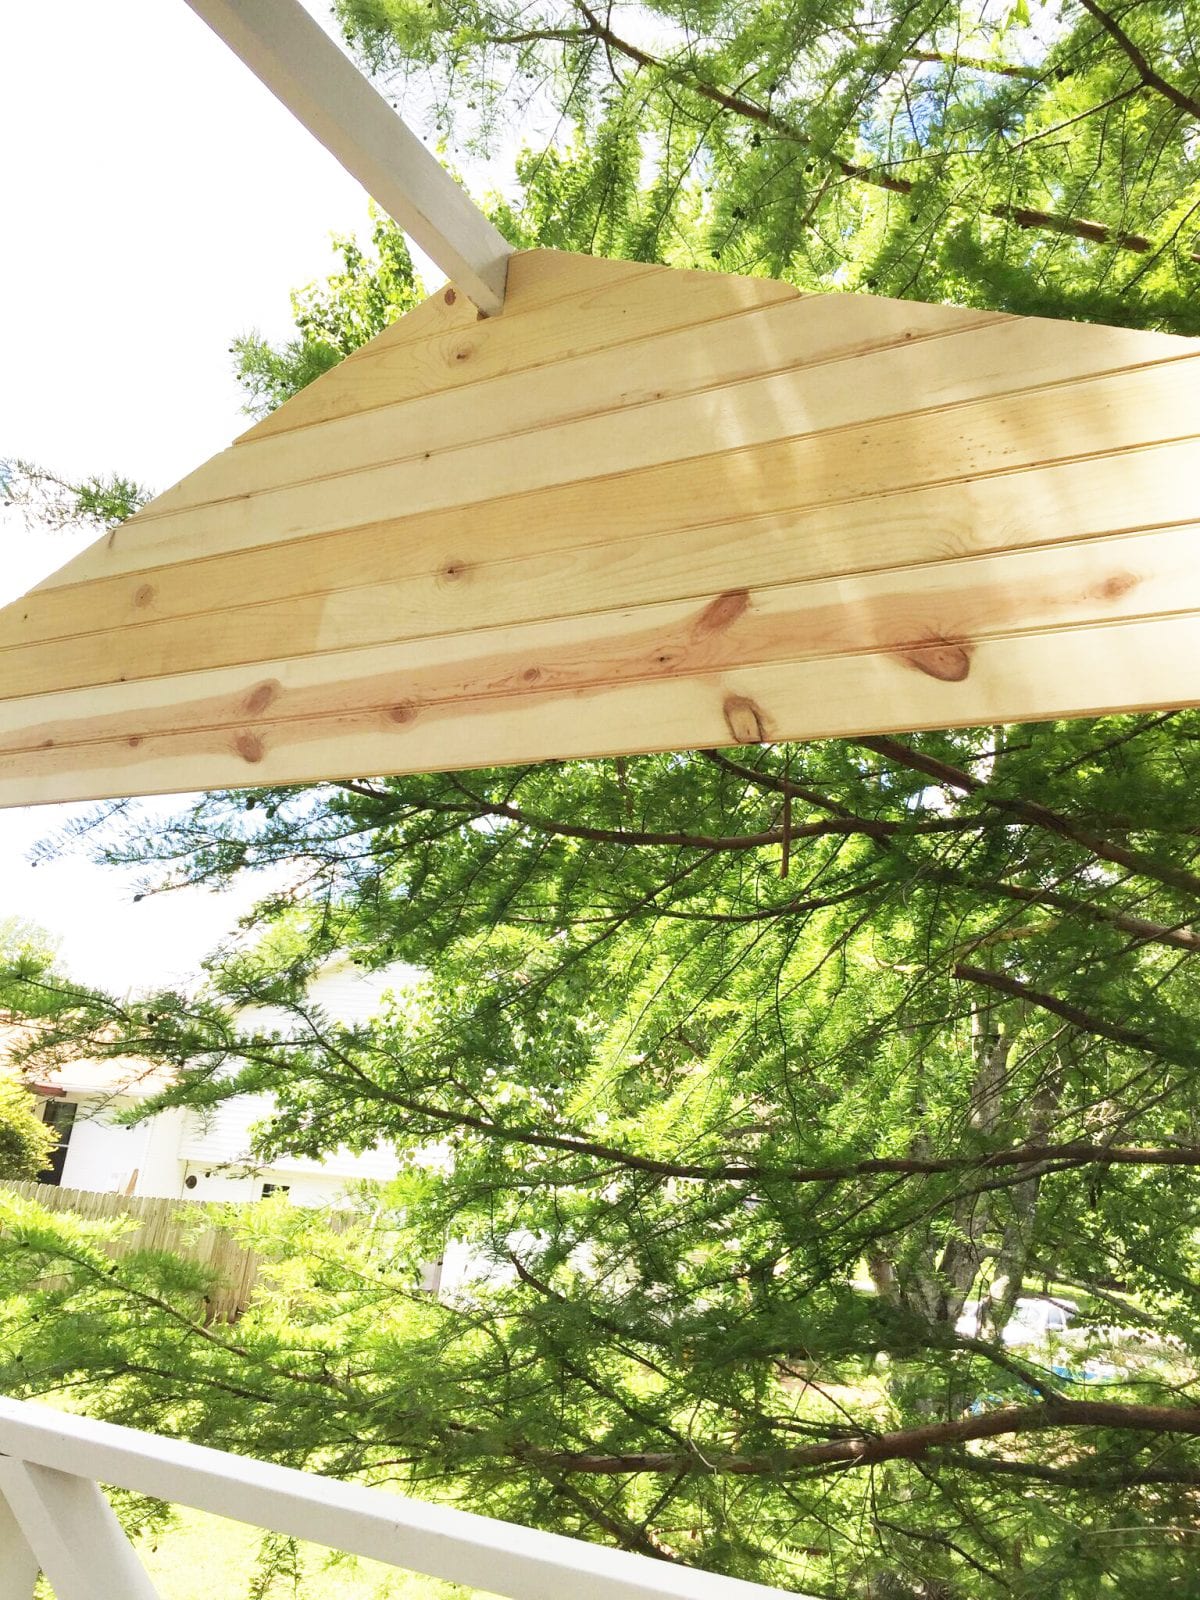
To begin the next row, simply slide the next board into place, tap it down with your mallet to ensure a snug fit and nail it into place. Continue up the wall until you get to the gable where you will need to begin cutting the boards on an angle.
I find it simplest to line the boards up in place on the gable and then use a pencil to mark them and cut with a circular saw.

You’ll continue this same process around the rest of the walls making sure to cut out for windows and doors.
Don’t worry if all the sides don’t meet perfectly, we’ll add trim later after we paint.
You may also need to rip down a few pieces with your table saw at the top of the walls or around windows. You can use a caulk line and a circular saw for this, too.
A few tips:
When you encounter a rafter or other piece you need to go around, simply use your jig saw to notch it out so that the board will fit snuggly in place, and give you that seamless look.
Also, think ahead in your cuts to make sure you are getting the most out of every board. Again this is why I like to do the one side with no windows or doors as it is seamless and full boards. But on the sides with doors and windows, you can piece it together since you will have a lot of breaks. This can help you save on materials if you think about all three sides at once, or it can end up costing you material if you don’t.
On Cost:
Also, several of you have asked about price, and that’s a very multifaceted question, based on where you buy the supplies. Example: If you’re buying everything from a lumber yard versus a home improvement store. The best thing would be to take the supply list and price it out locally. We will break pricing down in a wrap-up post but think in the range of $2,500-$3,500 depending on your source and how well you use your materials.
We know that’s a big range and we’ll do a price list for a local home improvement store in the wrap-up.
We hope this helps get you guys through the next step…
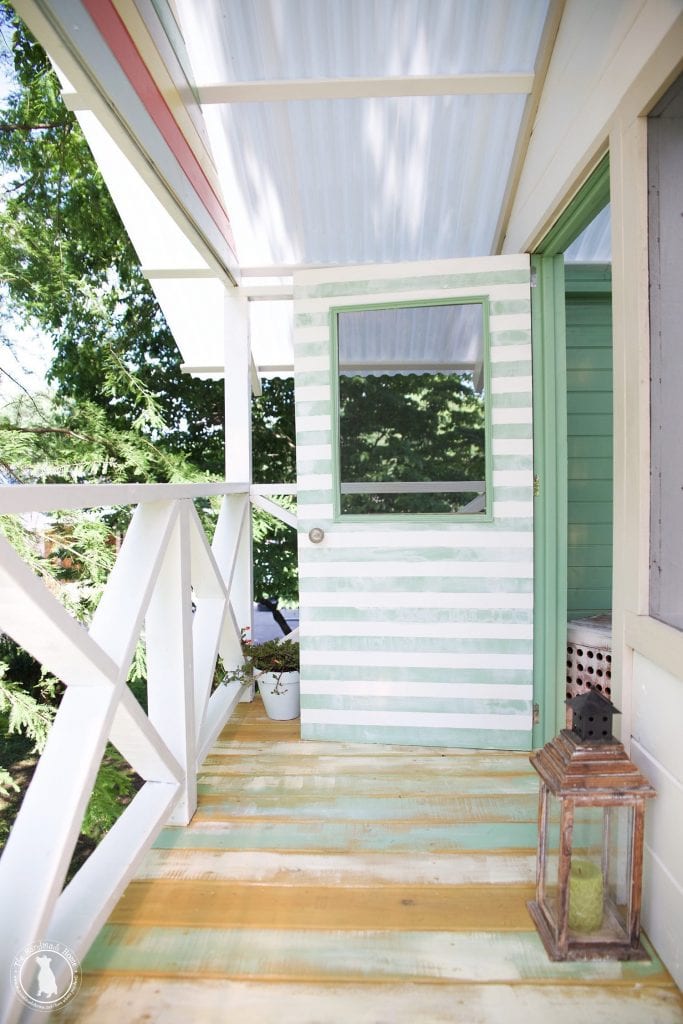
Painting tips and tricks
Happy building, and we’d love to see your photos and hear your questions!
To see the entire series with how-tos, be sure to check it out here!
There’s a round up of all the original how-tos in order here.
Be sure to check out all our amazing reader creations here with this hashtag… and share your own!

I really like that handmade hideaway roof framing siding. You guys actually very creatively have done it. I’m very inspired to make a hideaway as well behind my house.
Thanks for the nice images, these are instructive.
Its like… I was in shock watching the outcome on your work. I truly love the idea. And I want also this creation to be part in my house.
I am somehow missing the amount and type of siding we need?
Hey, we used a simple tongue and groove plank and the amount depends on the size of the playhouse and the amount of waste you produce in your cuts. We bought 57 10′ planks. You might need a few more or a few less. Also, you can use really any material you’d like on it, such as cedar fence boards or sheets of plywood.
What did you do to protect the tongue and groove siding from the elements? Just exterior paint? Thanks in advance!
I’m having a lot of trouble understanding the birds mouth. I measured 66.5” and drew a 26.5 angle from it…but what is the angle from the 63”?
Or how far up that 26.5 angle do I go?
It’s the H.A.P. That’s throwing me off?
Mike, simply draw your 26.5 angle (3 1/2″ length )back towards the 63-inch mark, then draw straight to that mark you’d previously made. I hope that helps some.
Where are the specs sheets on this? If one builds this, they would need building permits in certain states as it is permanent with walls and a roof. Thank you
There are not any specs and You can grab a drawing and size from the post.
My daughters and I are building a version of the 2.0 as our summer-quarantine project. Looking at roof options and I see a solar gray version (lets in about 35% light) as an alternative to the clear Tuftex. Do you find the clear creates a greenhouse effect inside? Ours will be in full sun with no shade in sight. My girls really love the idea of clear for some star gazing but I’m leaning towards the solar gray. I’d love to know what you’ve experienced on the clear for heat inside the playhouse. Thanks for the plans. They’ve been great!
Hey,
For us no we have not found it as a greenhouse effect. It does have windows on three sides so I think that helps, a lot. Ours does have shade from trees for the morning hours so I am sure that plays a role as well.
Thank you for your detailed explanations!
I am building a similar thing by myself at the moment, step by step without knowing how it will end, but your text gave me a lot of ideas!
Did you use pressure treated wood?
Hi Kathleen! Yes we did ;}