
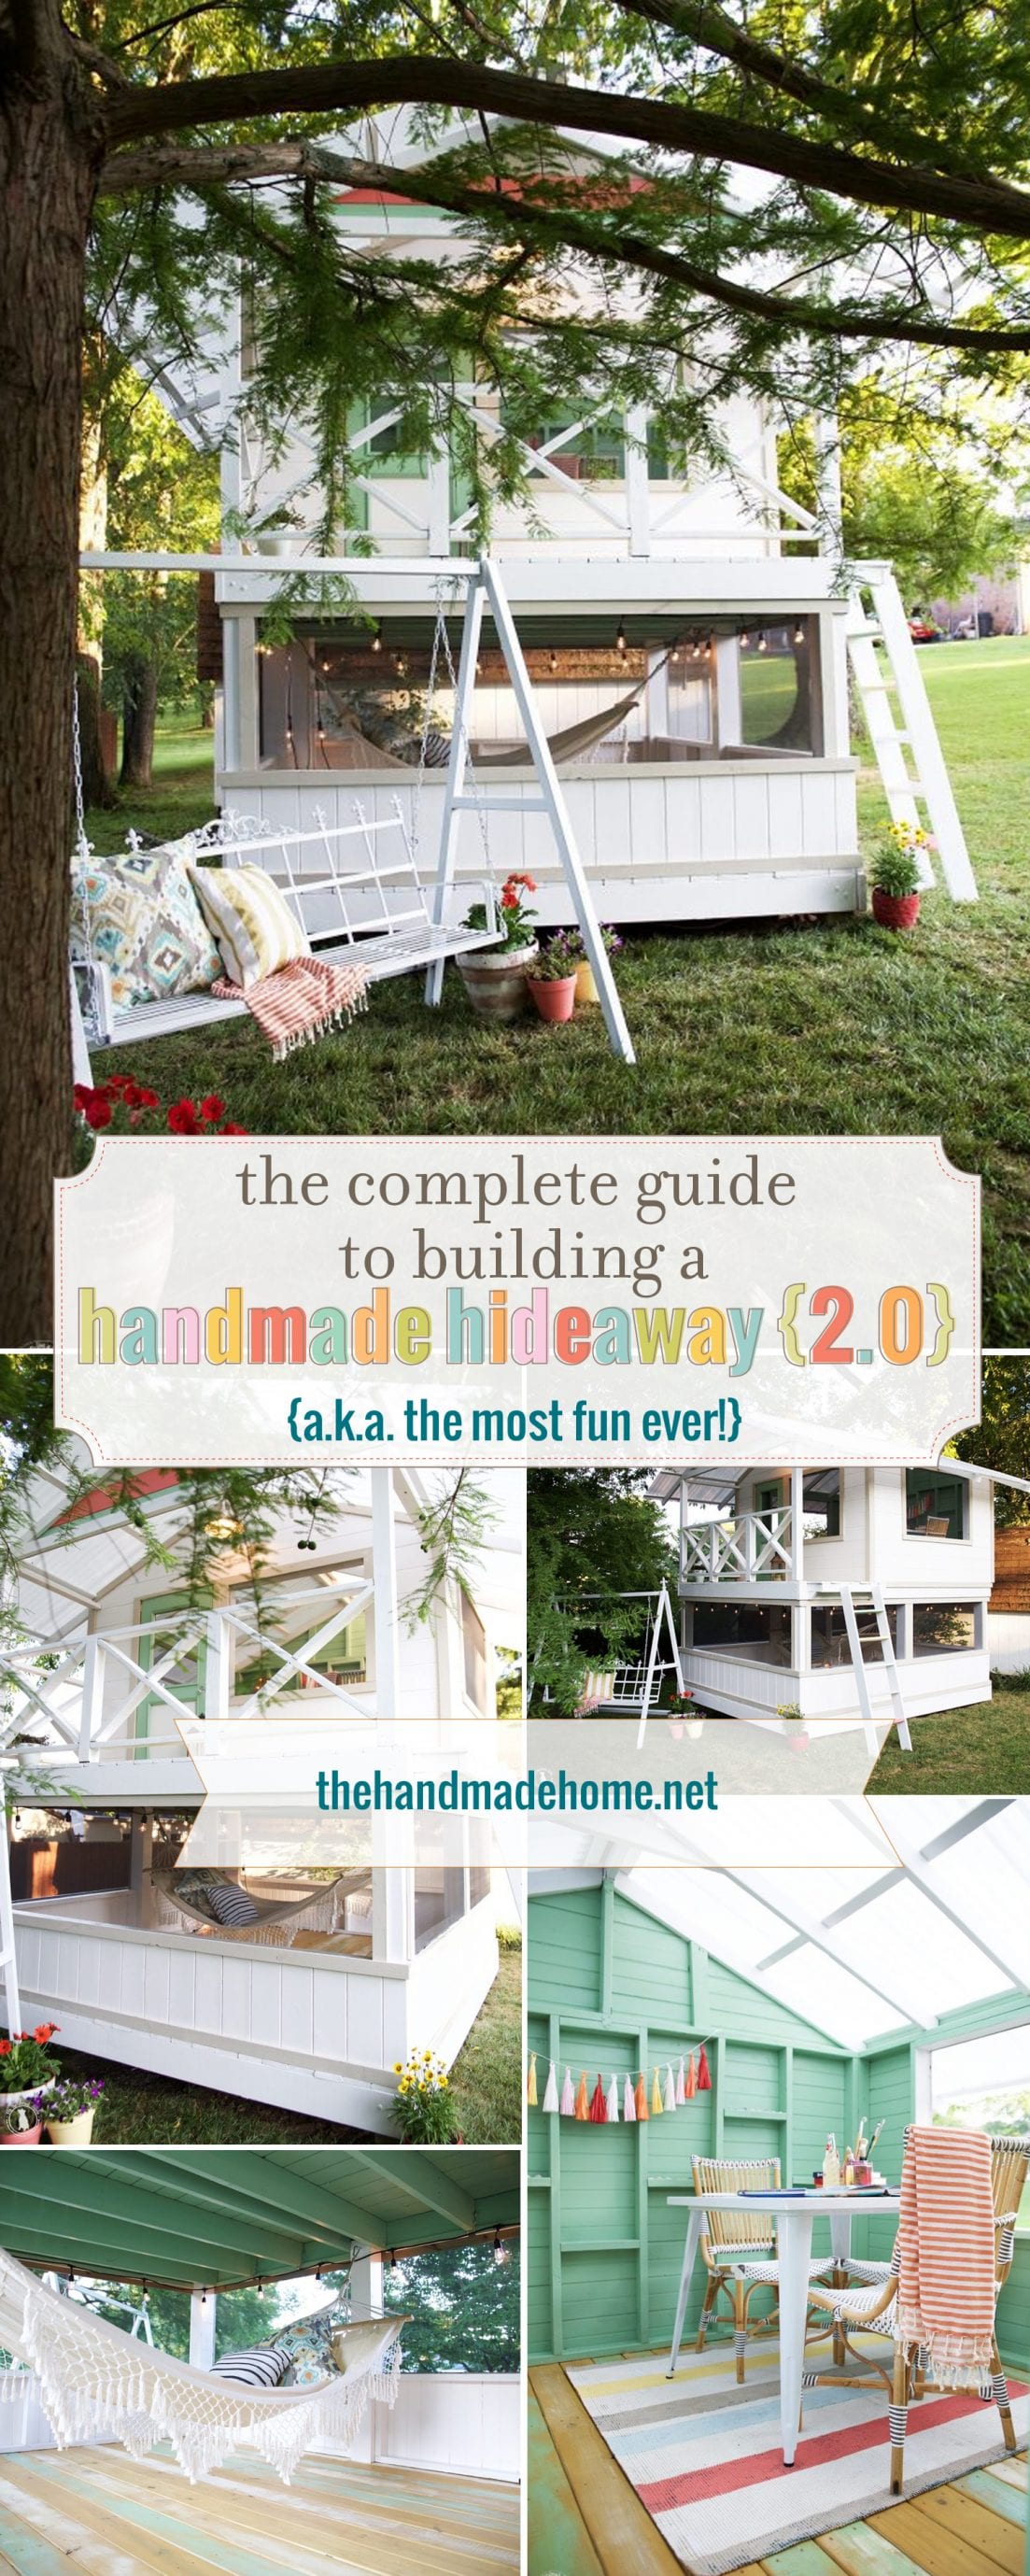
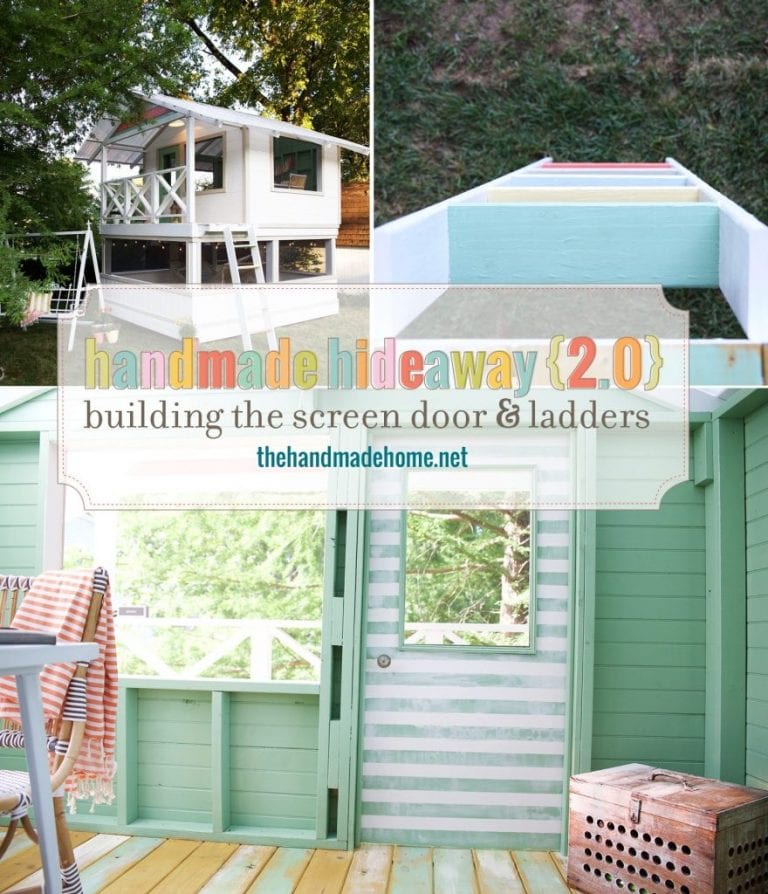
handmade hideaway 2.0 – a wrap-up post
We’ve had so many posts over the last few months, with the handmade hideaway 2.0, we thought it would be good to do one more with a wrap-up of sorts.
This is so all of our step by step posts will be easy to find.
To walk you through the entire process, easy peasy. Rice and cheesy. No, I can never resist.
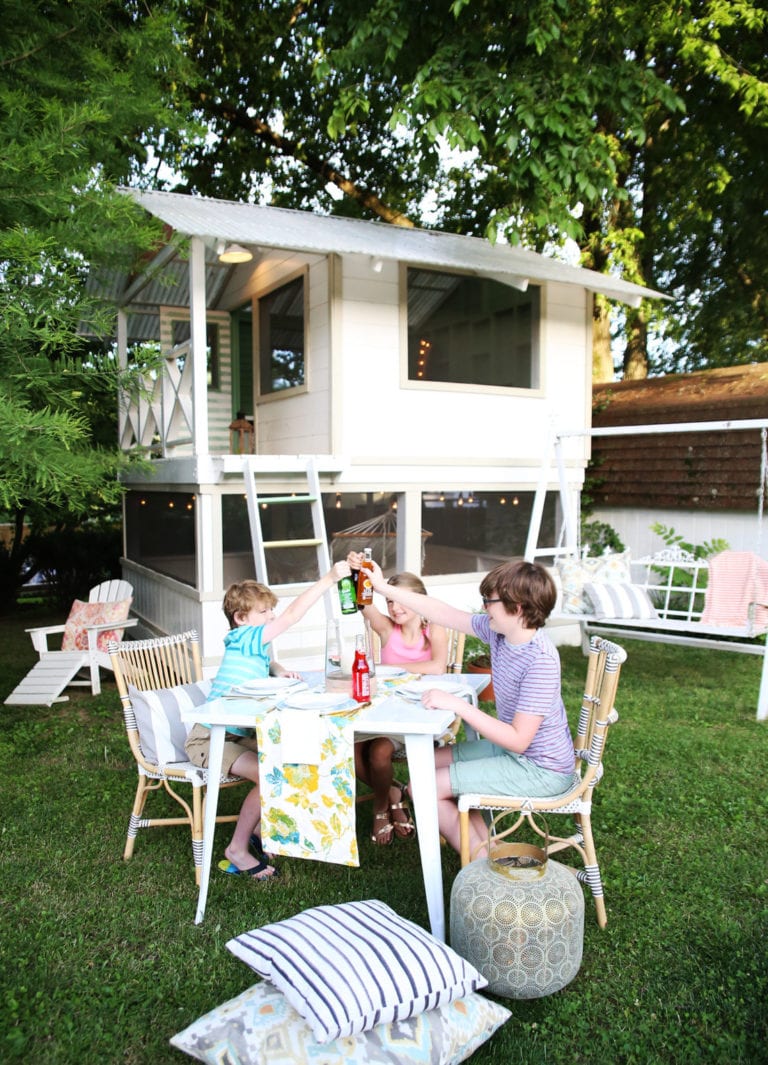
This summer was a great one and the kiddos had so much fun with their new hideaway – we’re so glad we started building it last spring!
As you probably know, we went a little larger with this one, so that it could grow with our kids. Nothing made us happier than when our 14 year old niece visited a few weeks ago, and fell in love. She said she would love to hang out in it every day.
Mission build-something-cool-big-kids-will-like, accomplished.
We’re getting geared up for the fall version, which is us camping out in it with the kids!
So without further ado, here’s all of the posts when it comes to this, step by step.
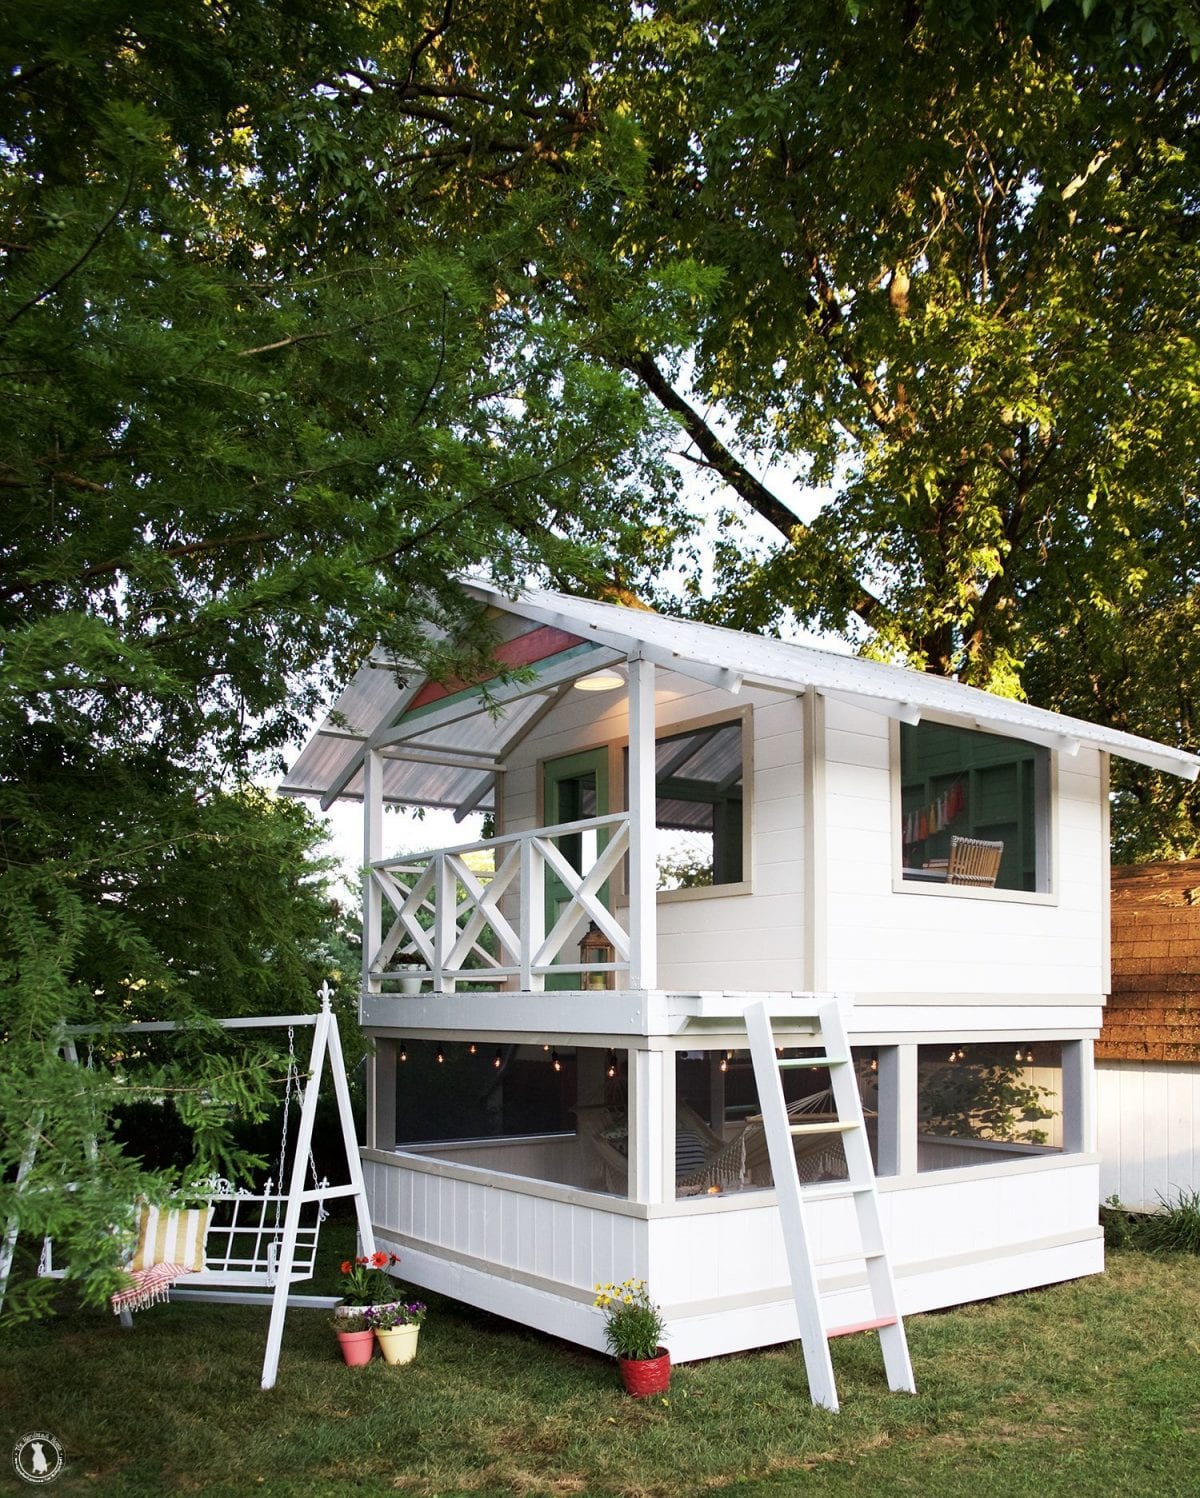
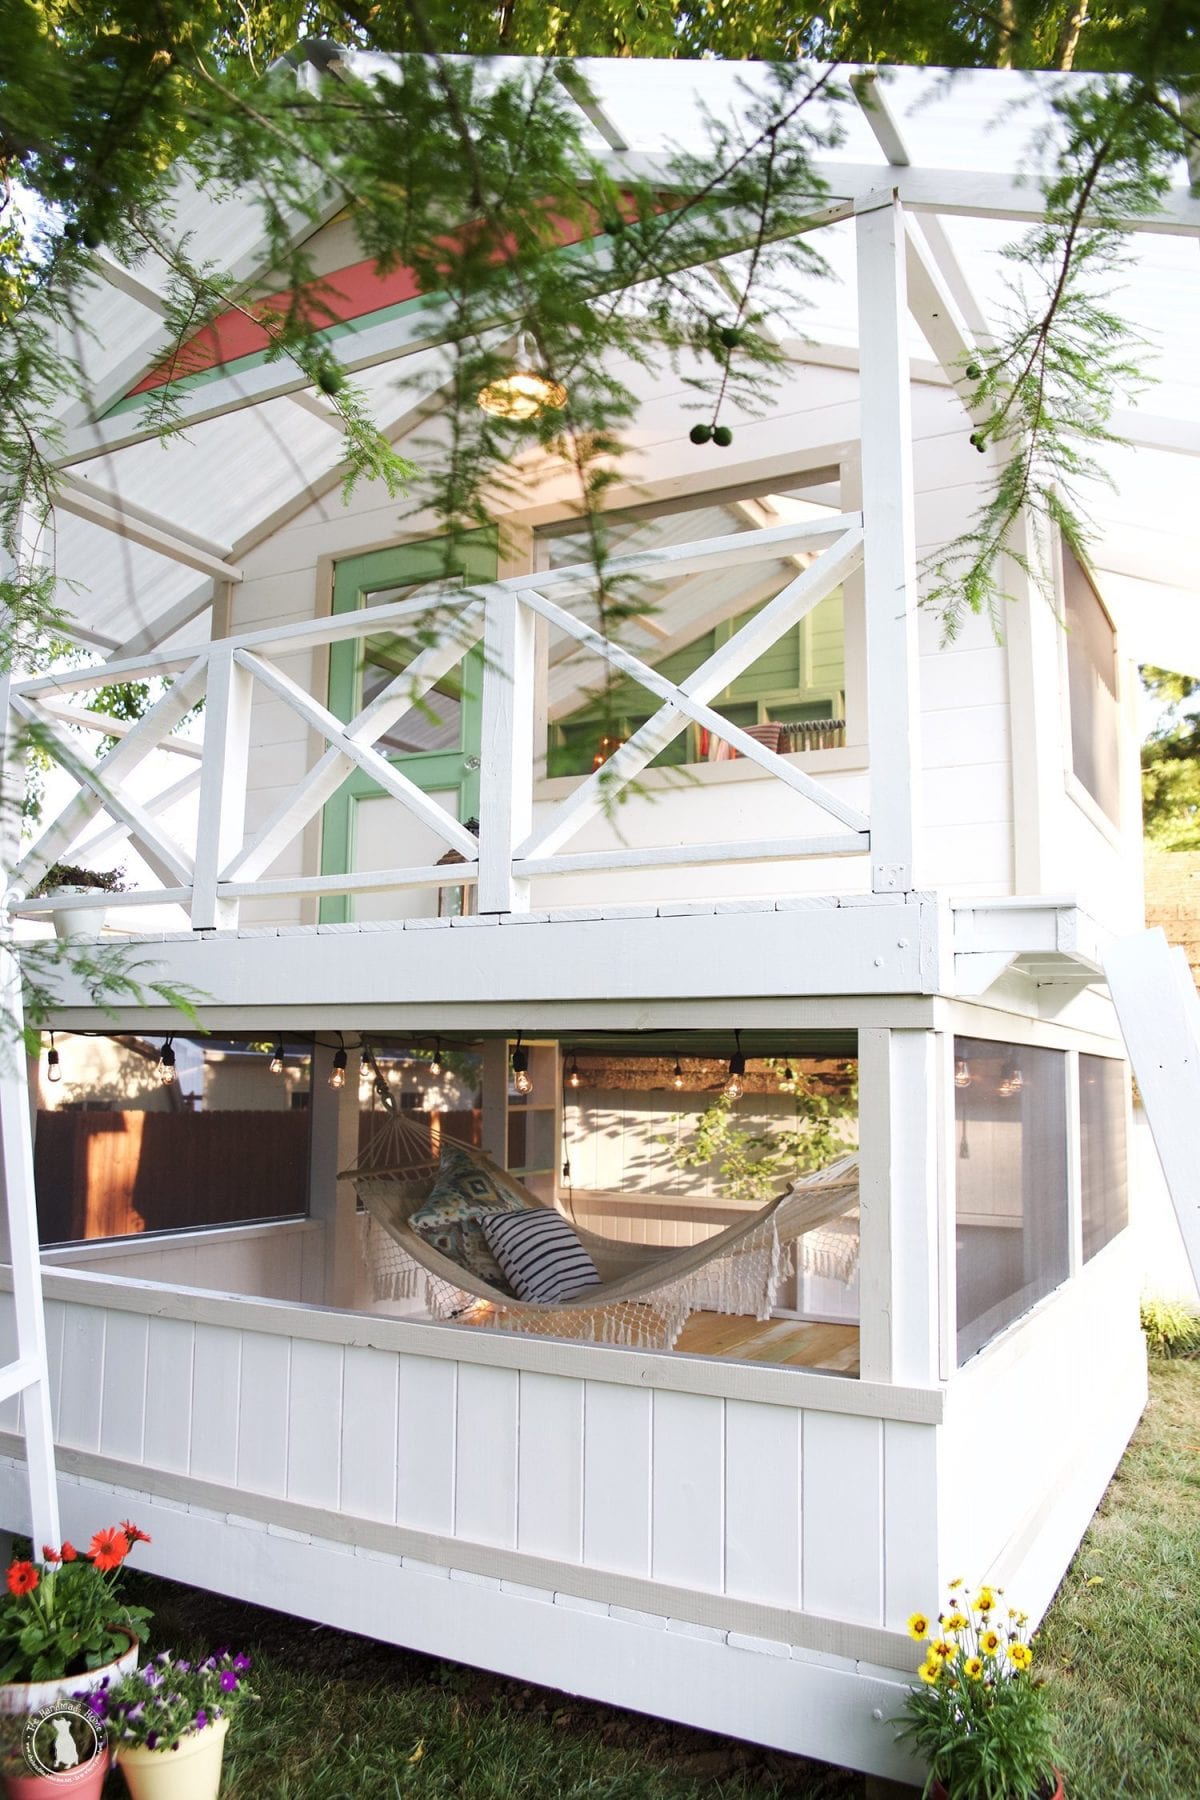
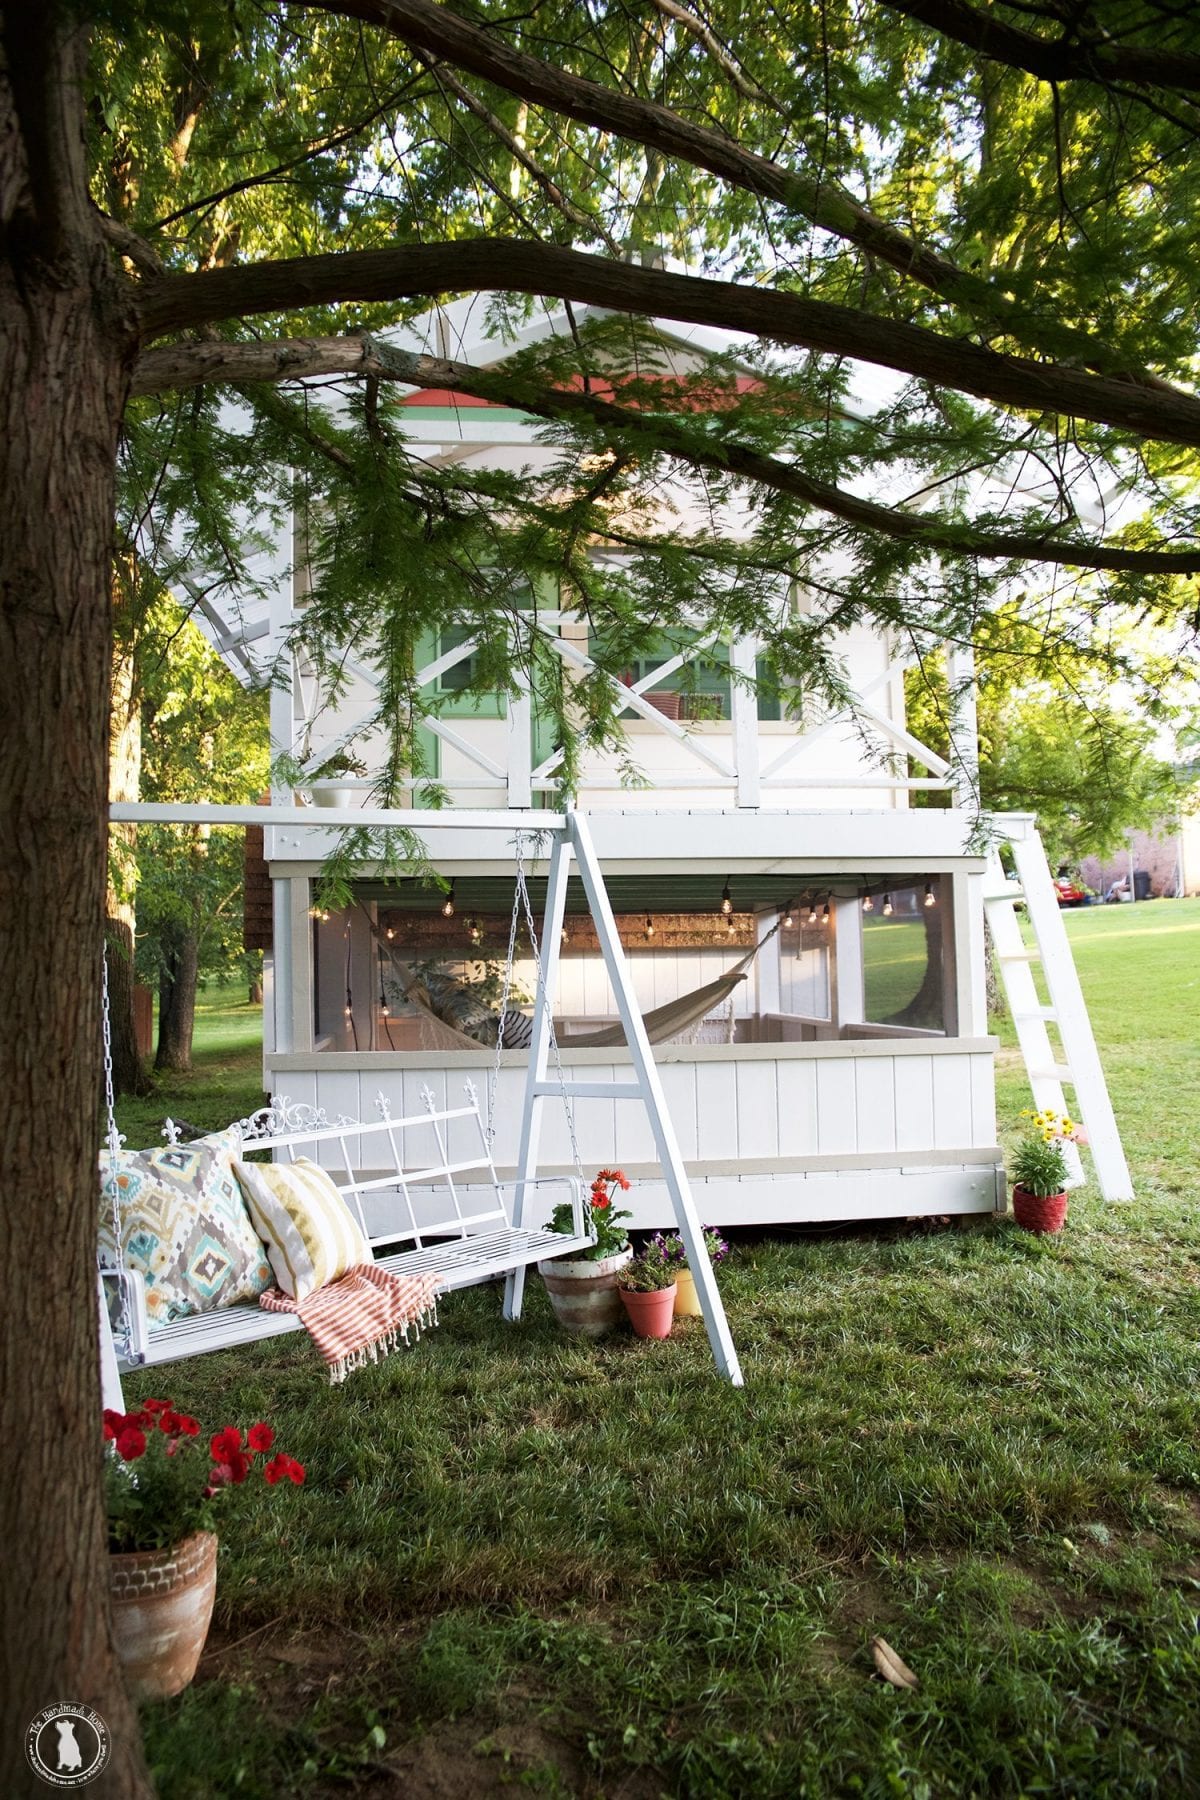
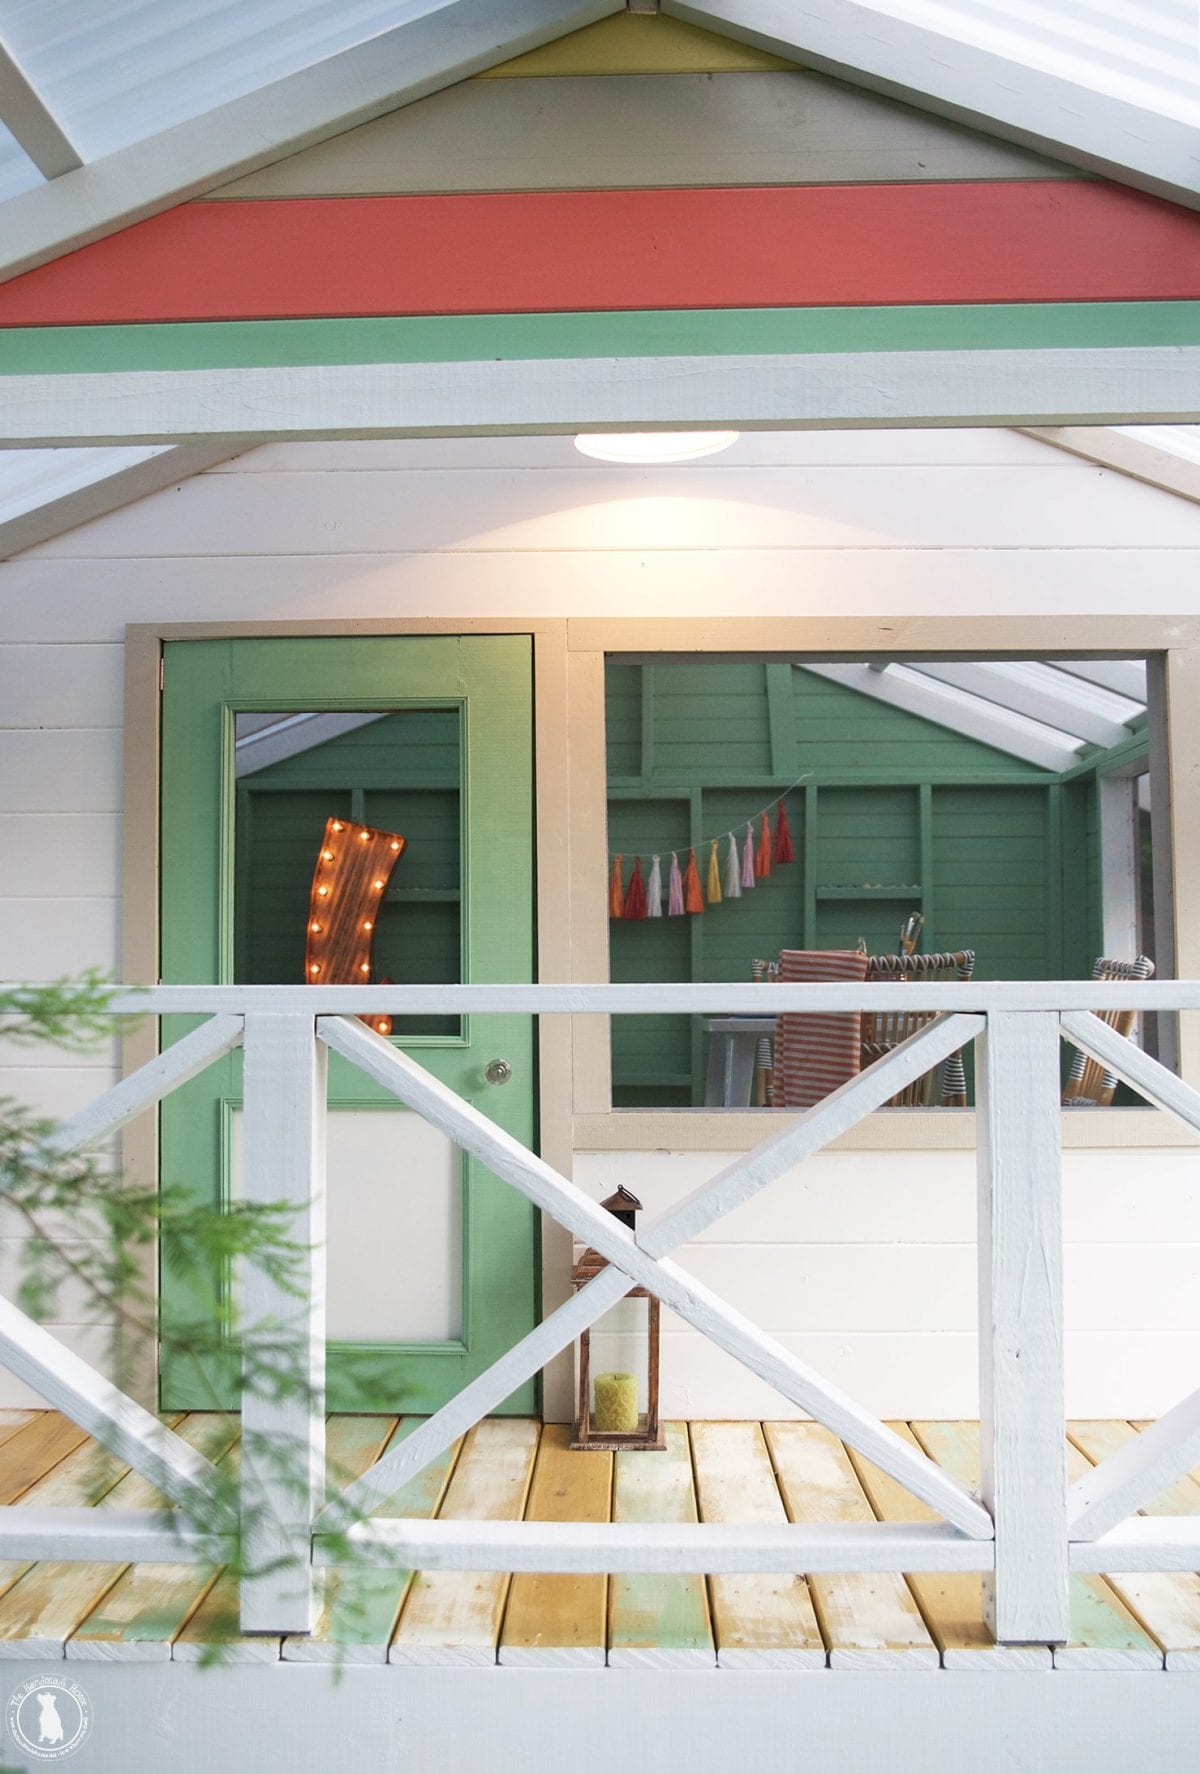
The initial reveal/tour post with all the detailed photos and fun shots to get inspired {or send to someone and get them inspired} – you can basically just send them this entire post, and show them where to start in your yard ;}
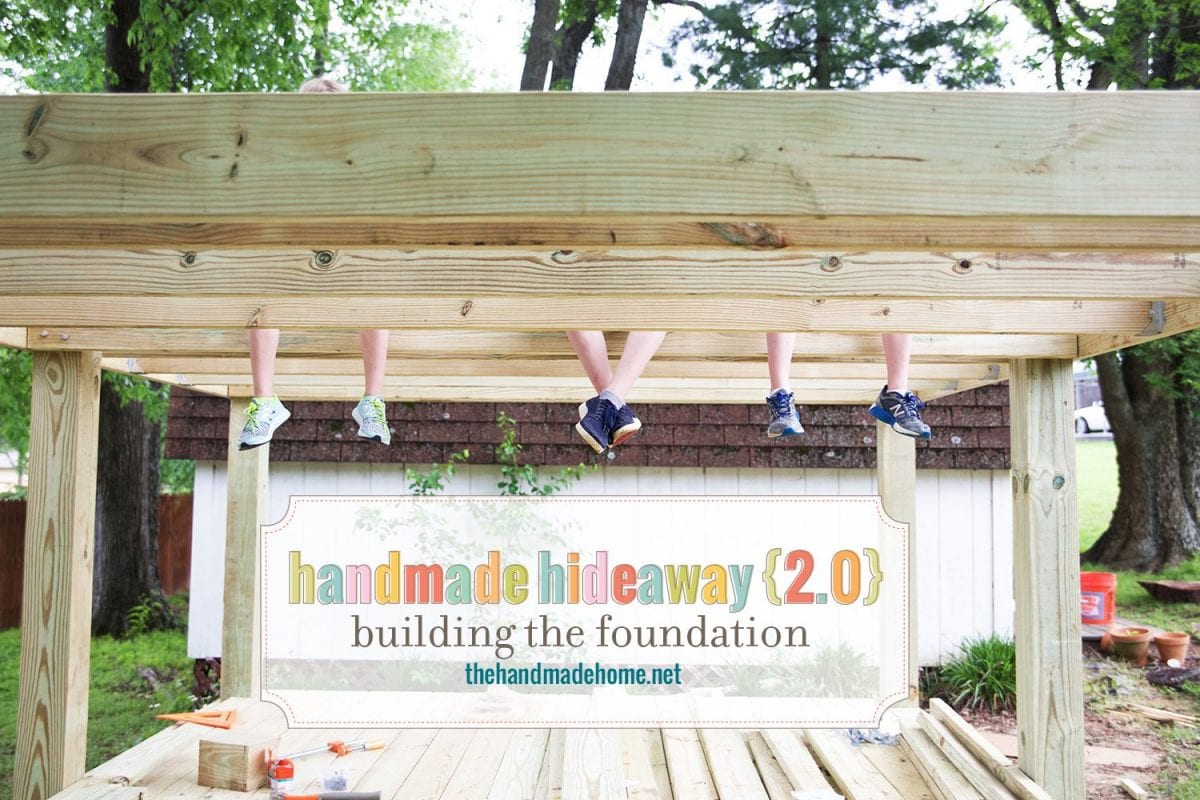
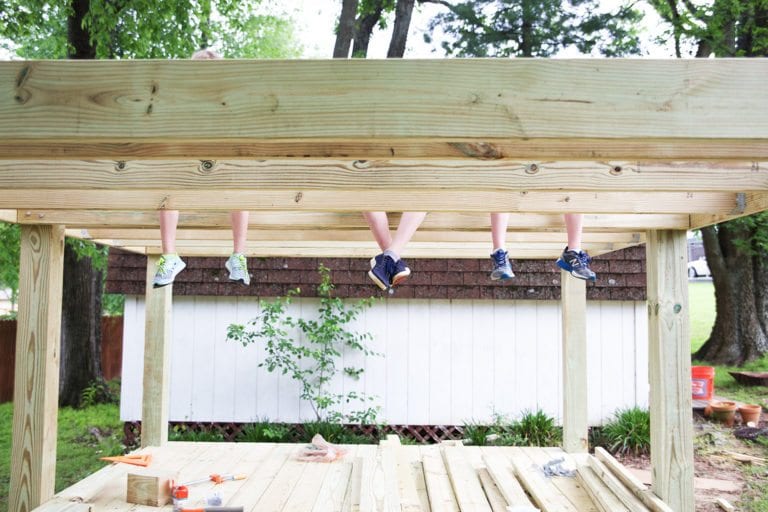
Step 1: Building the foundation – where we cover all the step by step process, from establishing correct angles and posts, ,and decking.
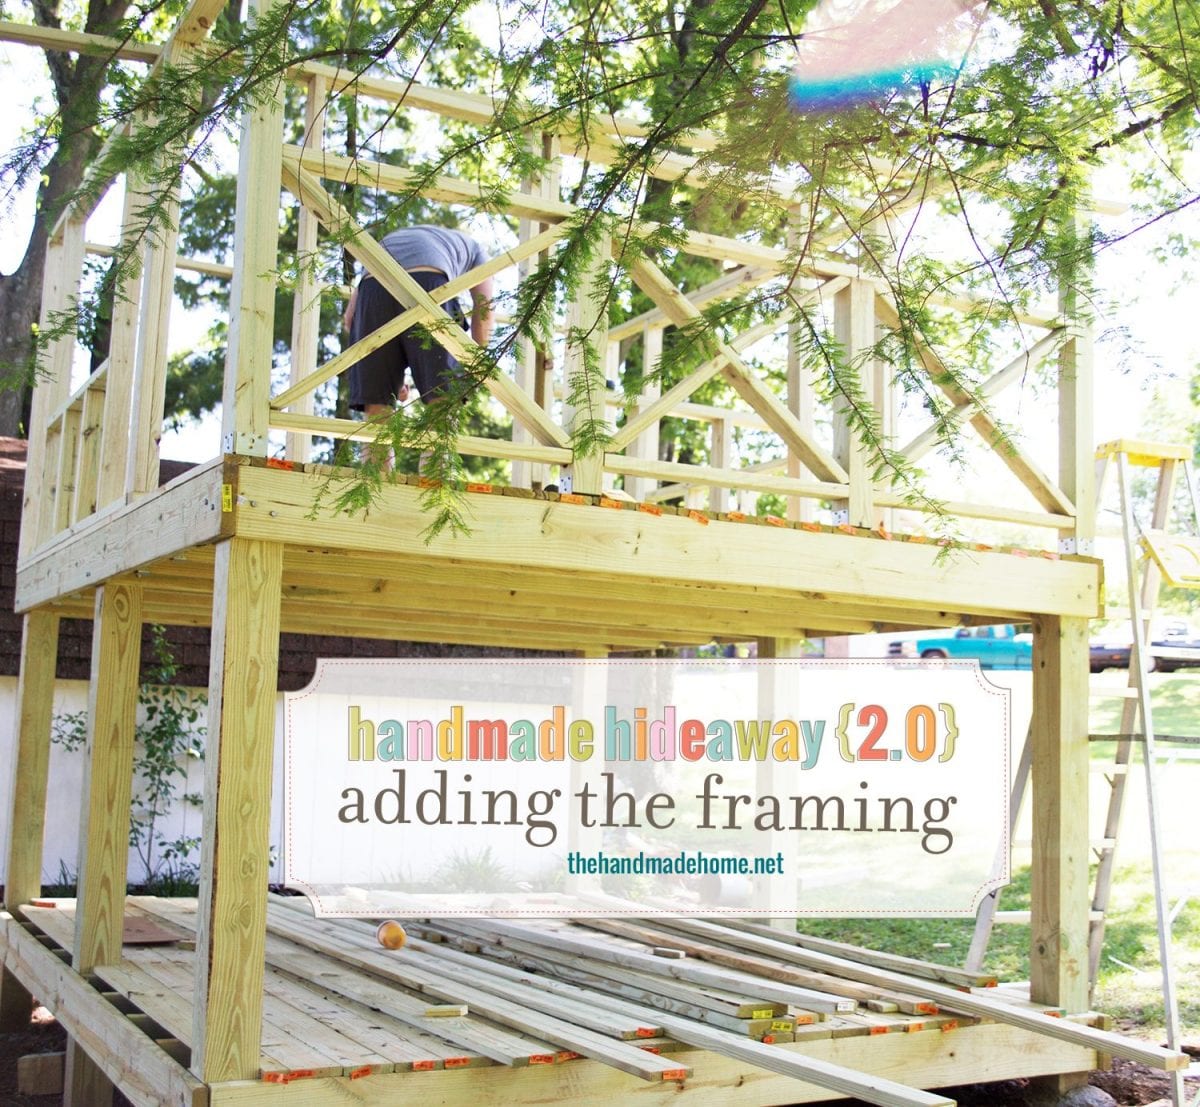
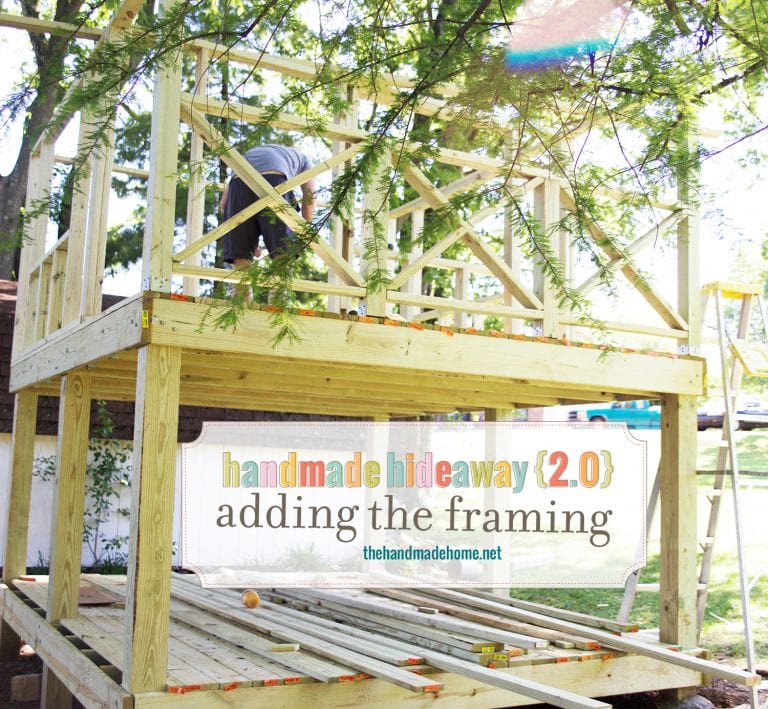
Step 2: Adding the framing– where the bones of the project really get started.
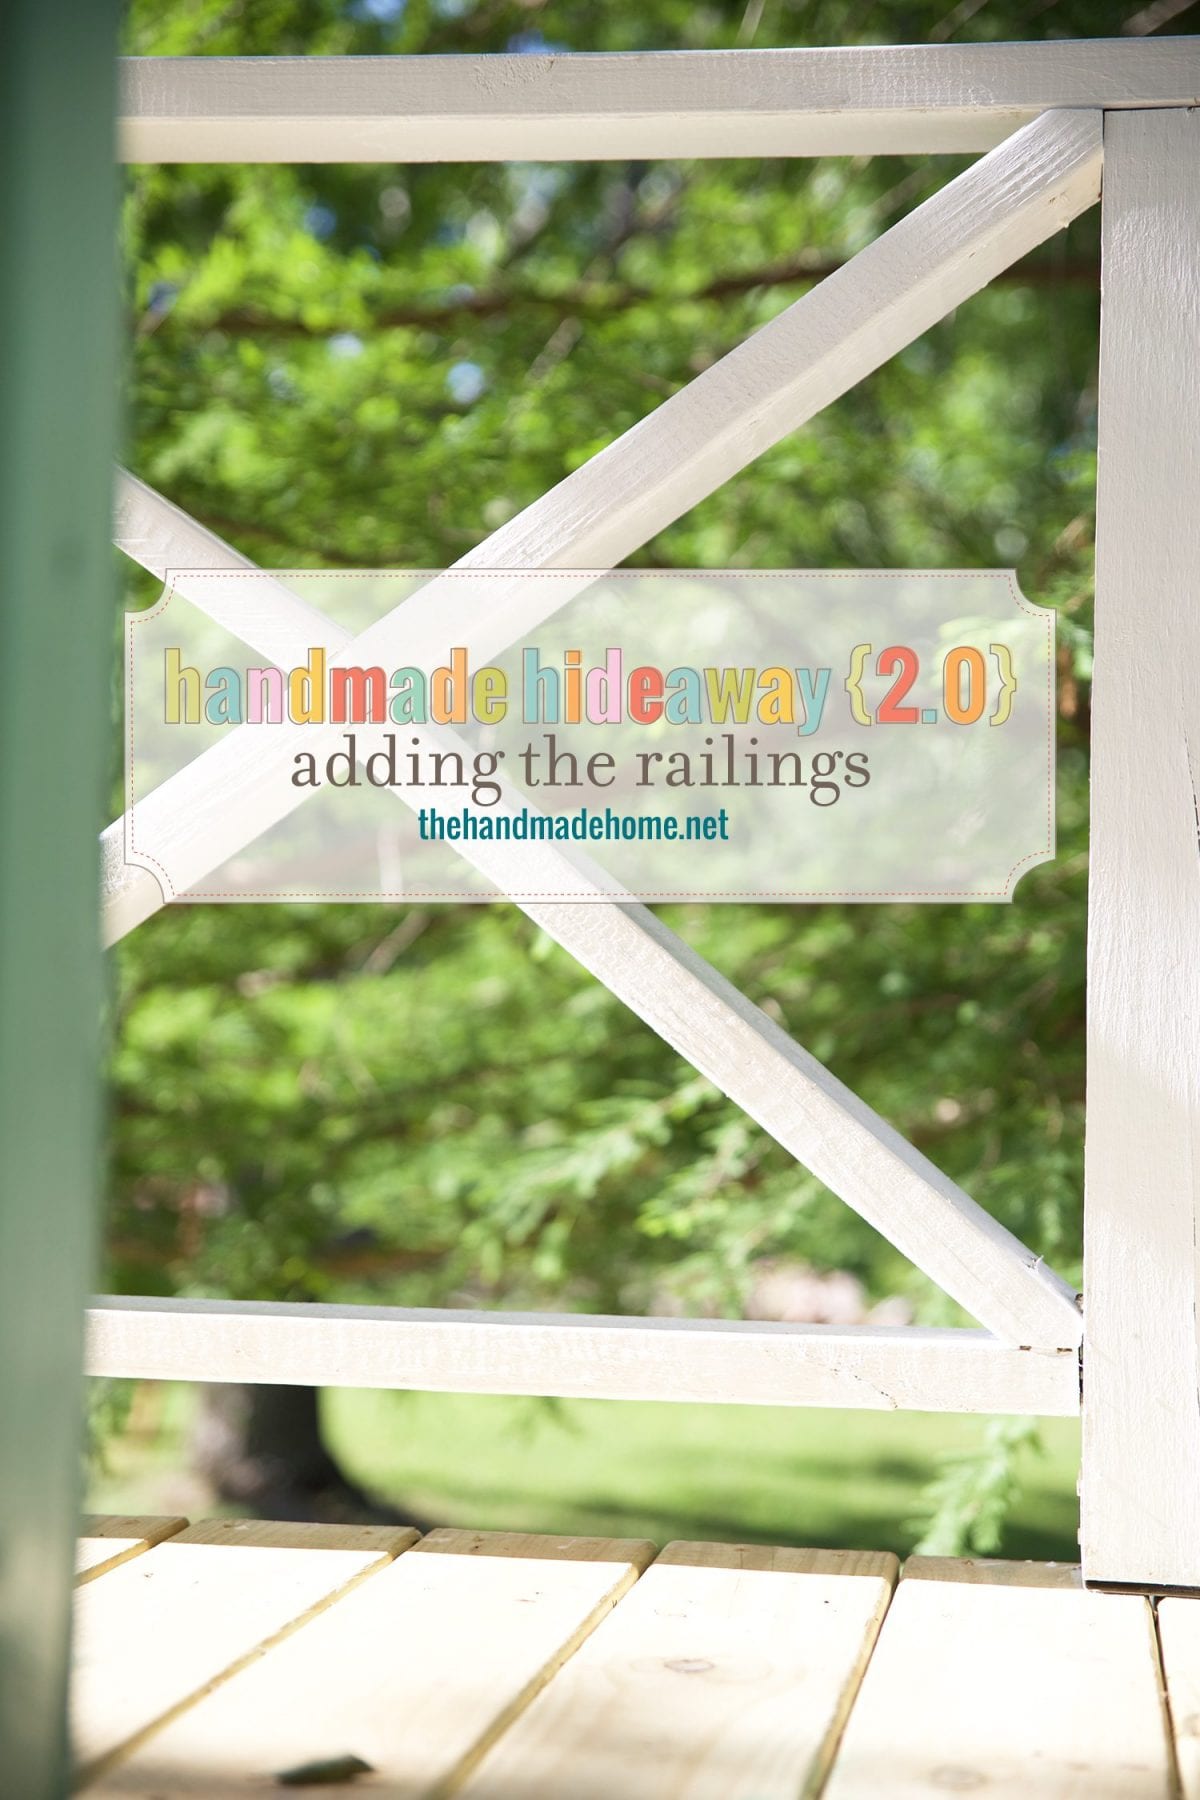
Step 3: The railings – because safety and because it’s also pretty.
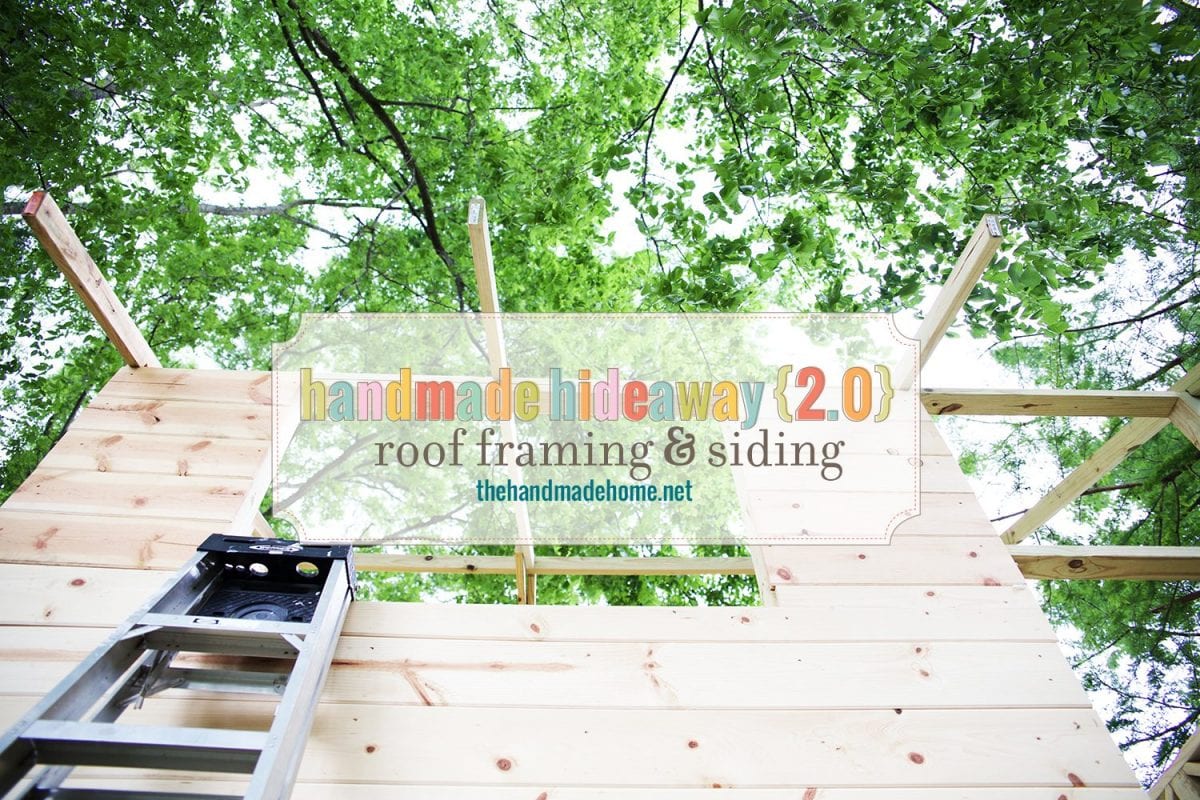
Step 4: Roof framing and siding – The fun part where it really all starts to come together!
Step 5: {Because you’ll start that about riiiggghhht here} painting tips + tricks

Step 6: Building the roof – so that you can sit in the rain when it’s finished and marvel at your handiwork.
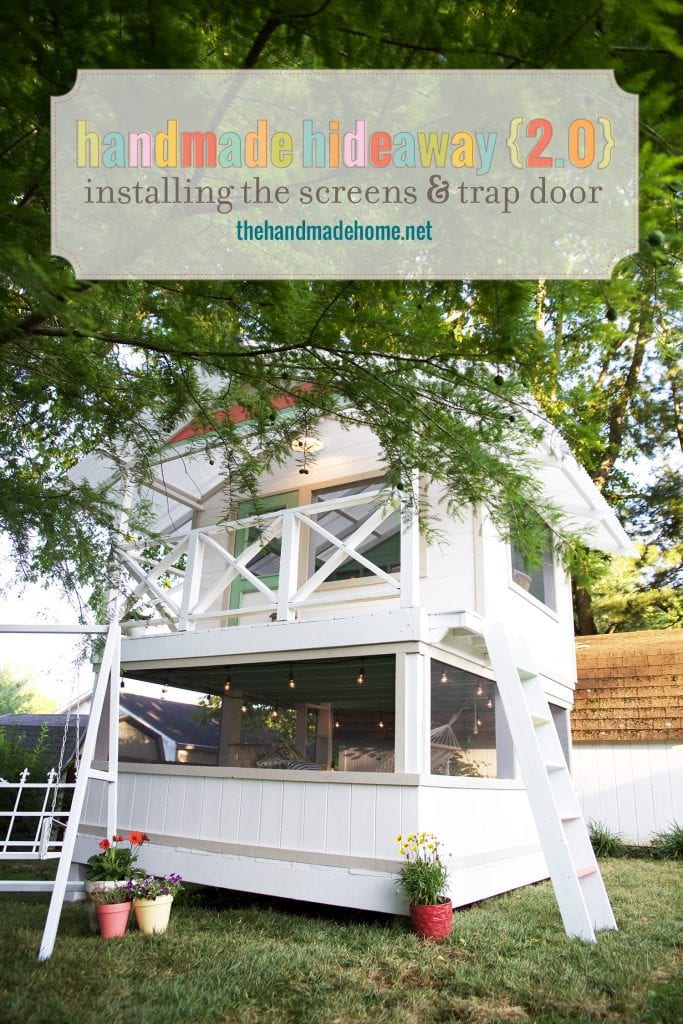
Step 7: Installing the screens and a trap door – because it’s fun to laugh at the evil bugs on the outside, from the inside while you enjoy camping out without being eaten alive.
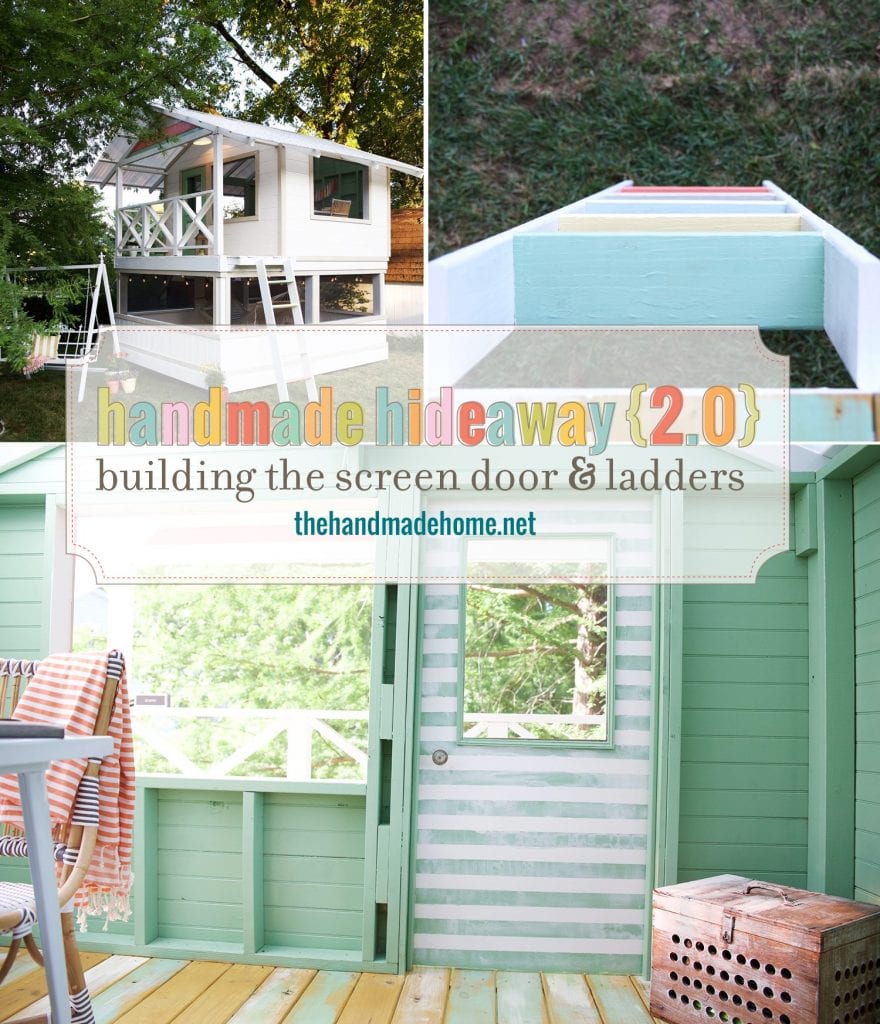
And Step 8: Building the screen door and ladders! -This helps you enter, and adds a lot of style!

Pssst: We even wrote about how we keep it clean/keep the bugs out with tips + tricks, here! Hint: the kids totally help! Winning.
Now that we’ve listed all the step by step posts, we’re thrilled to have them all in one place! As always, let us know if you have any questions… we’re more than happy to answer them here. You won’t regret building one of these, and the sweet memories that come with the project, too!
Have an inspired day!

Love this! Such a beautiful playhouse and so perfectly executed! Is there a supply list or pricing info anywhere? Also, how long did this project take you to finish? We are looking to build something like this in our backyard. Thanks so much!!
Hey, Aubree. The materials are listed in the post of each phase. We don’t provide pricing because it is different everywhere. You can take the supply list to a local lumber yard and they can quote it for you. I built it in 5 weeks working off and on. How long it takes you will depend on skill level, weather and of course if you have any helpers.
Do you have a combined materials list for the entire project published somewhere. I can’t seem to find it.
Hey, Valerie. The materials are listed in the post for each phase. If you’re looking for the entire project list just simply combine each phases materials.
Thanks!
WOW I love this. I have a 9 year old who has outgrow the swing set. We are thinking of this. We are alittle handy I hope we could execute this. I will look for the blogs with the lumber supplies needed.
This is a great project and appreciate the detailed instructions. How did you get electricity to the house?
Thank you Chad, so glad you are enjoying it.
Initially, we simply ran an electrical cord to the house until I was able to trench and hardwire everything.
How do you keep the second floor cool in the summer and warm in the winter?