
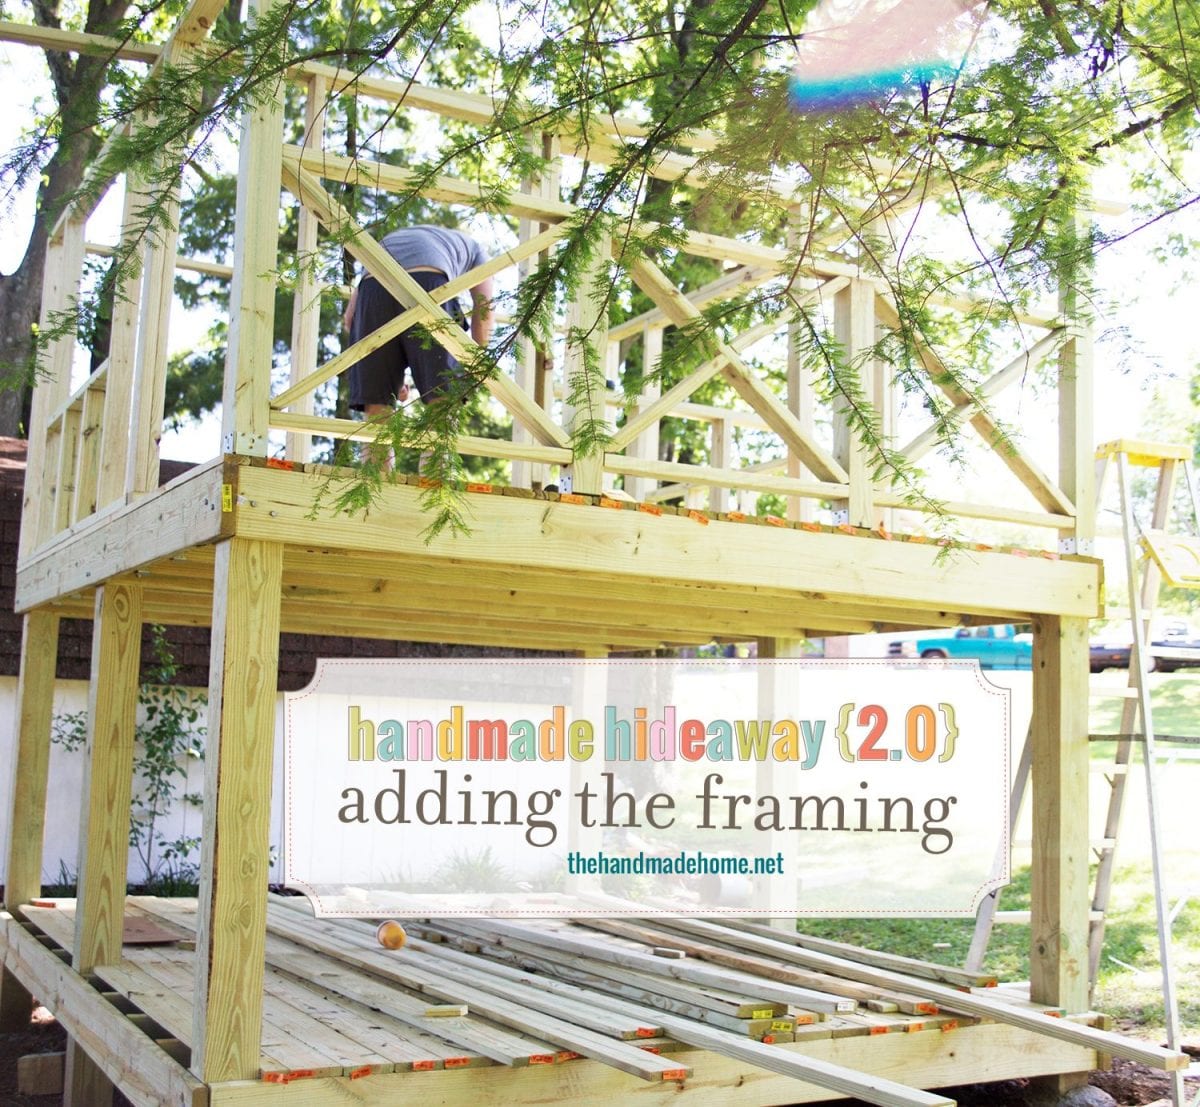
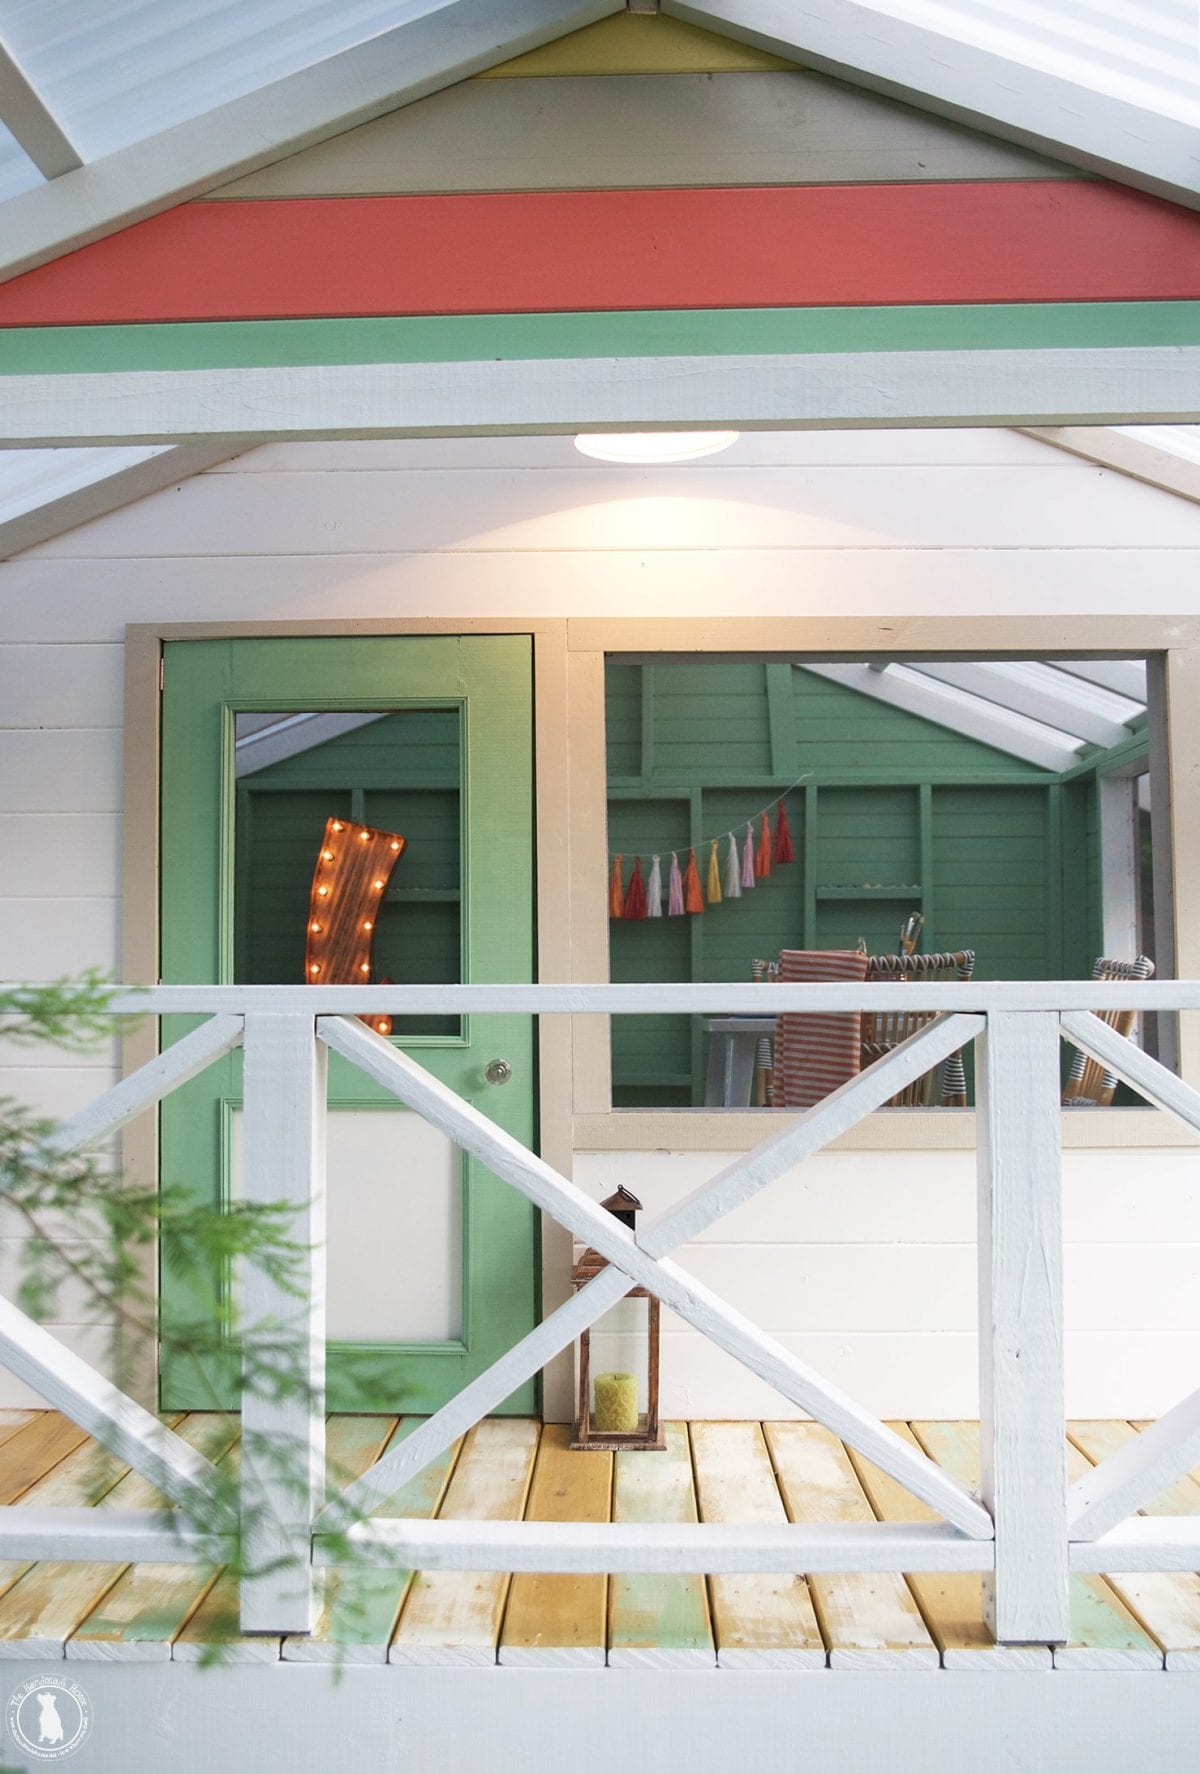
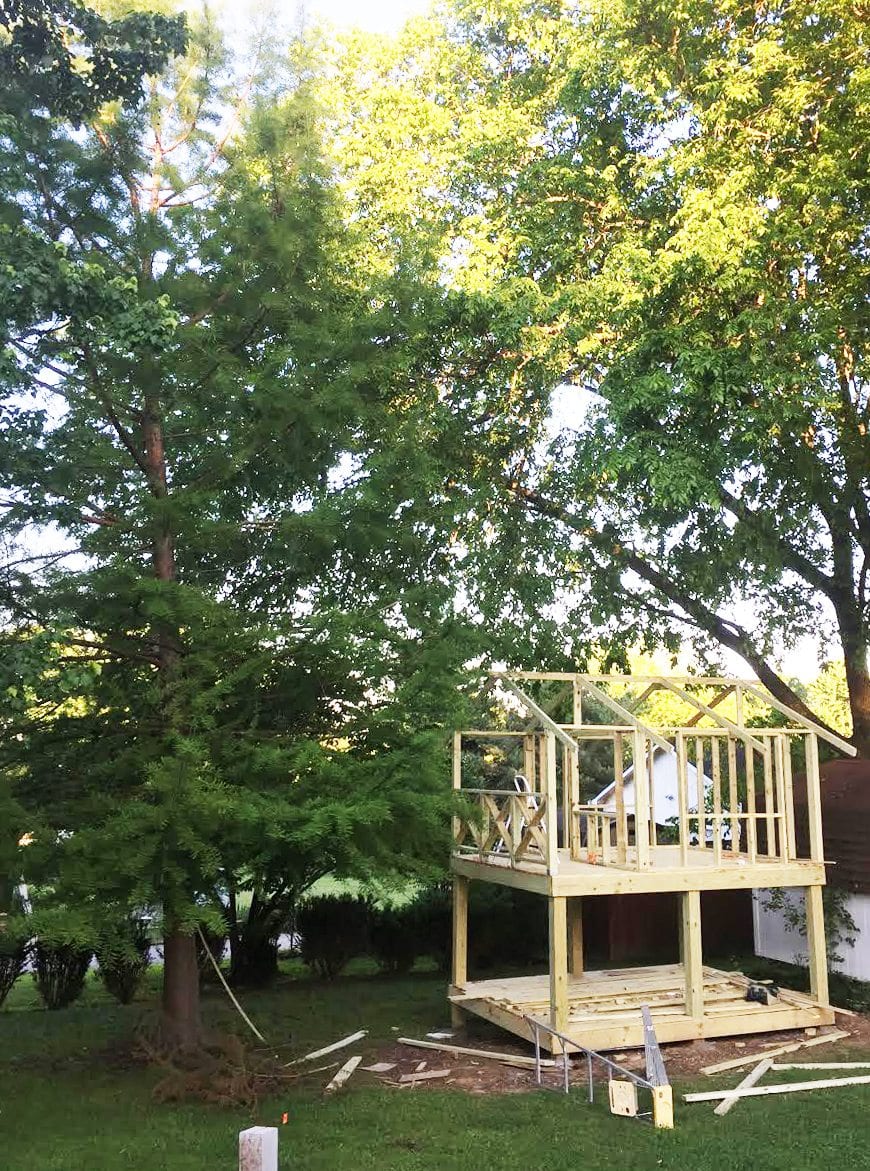
handmade hideaway 2.0 – adding the framing
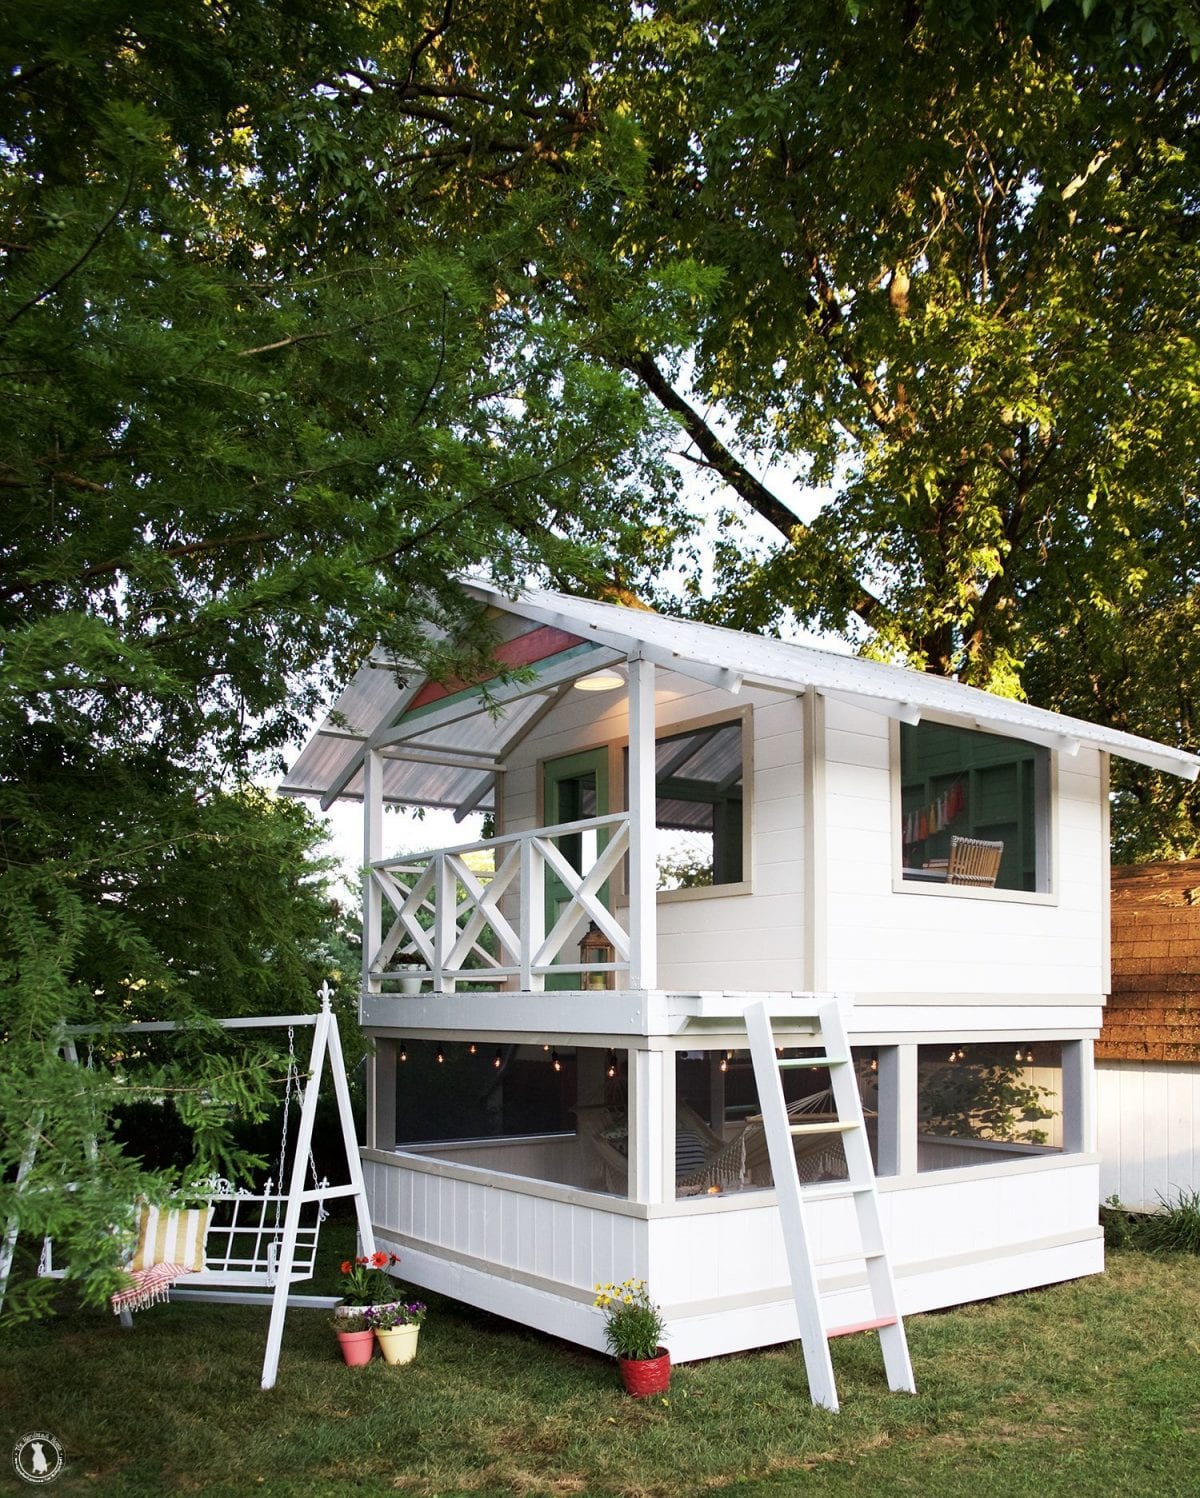
We’ve truly been loving the new hideaway, it’s been a great little escape for the family.
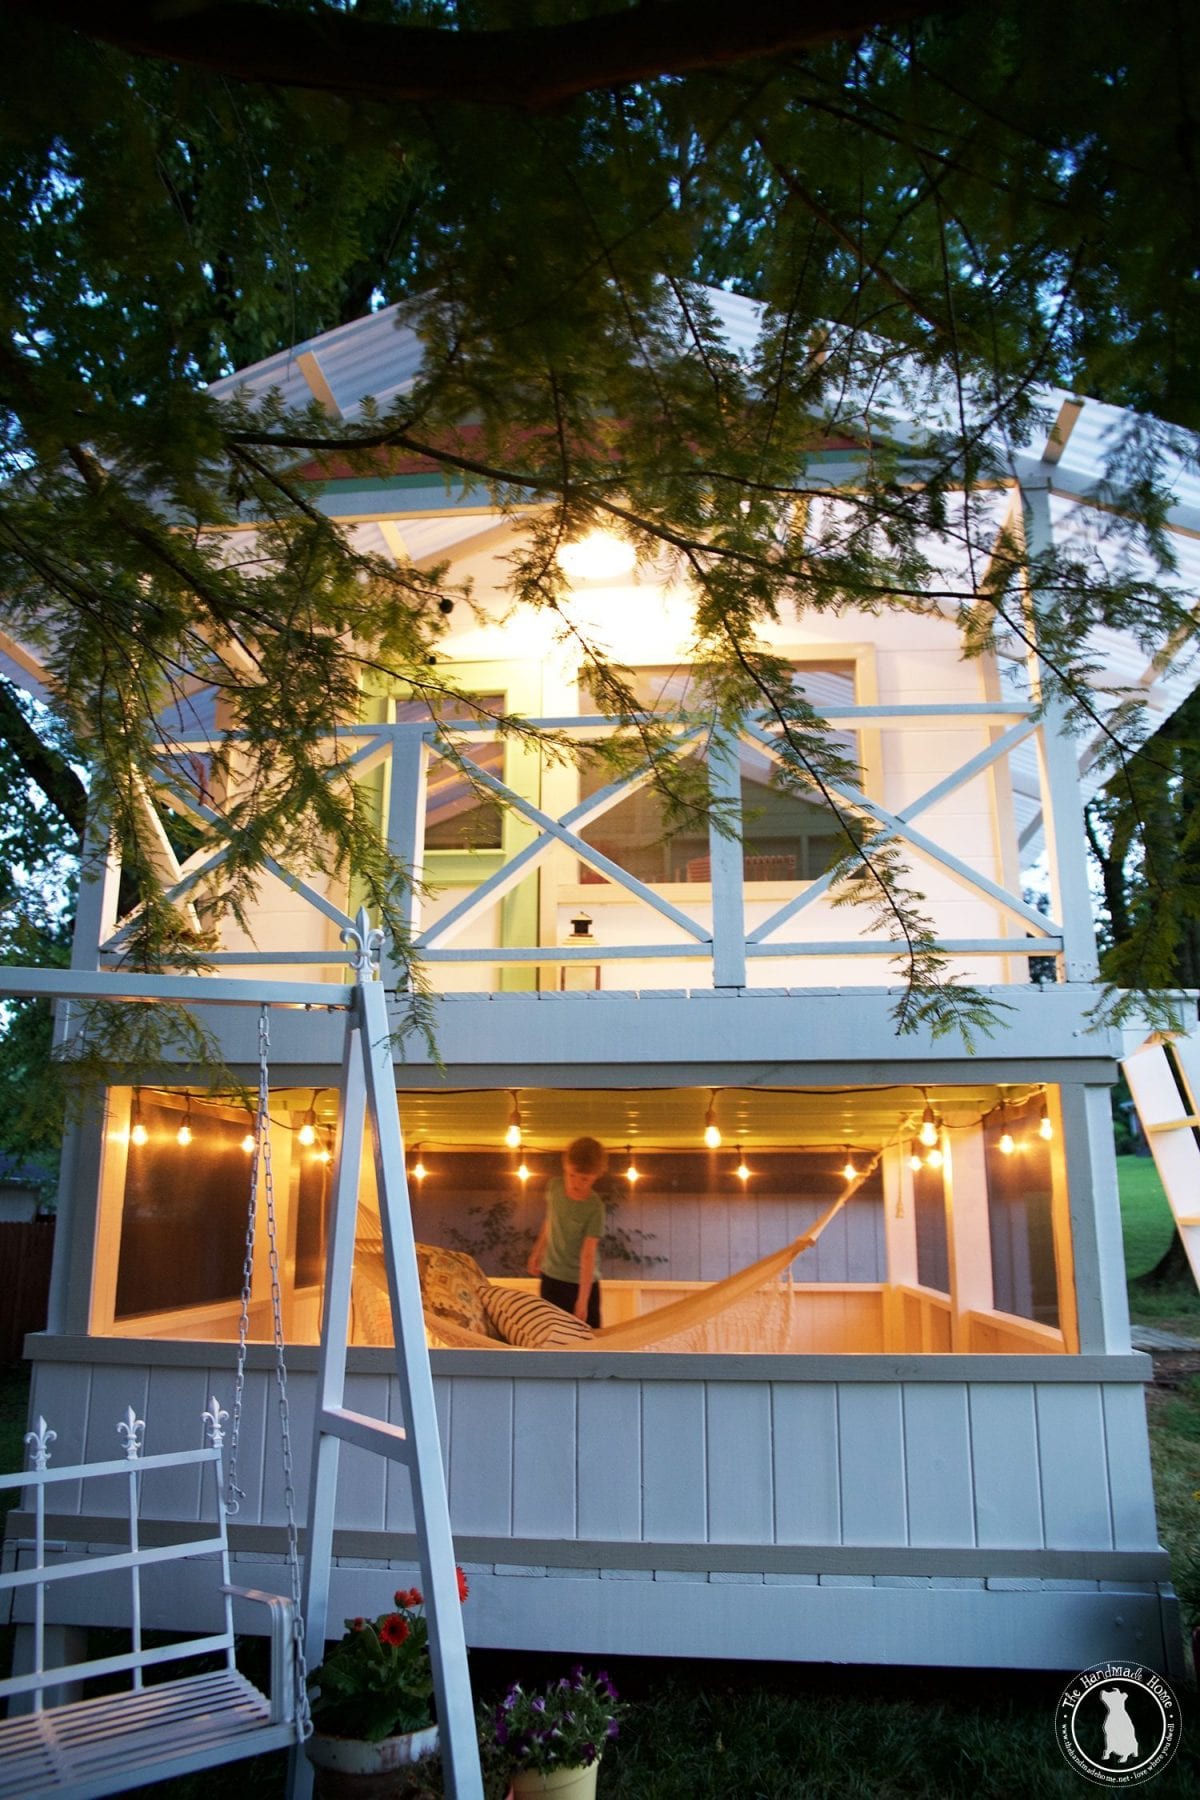
Night time is really magical in the space. Fireflies and more fireflies!
If you missed the reveal post or the foundation post, be sure to check them out.
Or to keep it simple, you can find everything in our series so far, here.
Today we are going to cover framing the walls on the upper deck. Just a side note: these posts are meaty. So we’re taking you one step at a time. Be sure to read them carefully, but even though the writing seems tedious, we’re just making sure we cover all our bases. The Handmade Hideaway is actually a really fun build.
Tools you’ll need:
• skill saw
• miter saw
• table saw (optional)
• drill
• hammer drill (optional)
• level
• carpenter’s square
• measuring tape
• mallet
Supplies you’ll need:
{We are basing this off a 10 x 12 four wall structure, your supply list could vary, so hold on to that reciept.}
• (15) 2 x 4 x 10 – YellaWood® pressure treated
• (11) 2 x 4 x 8- YellaWood® pressure treated
• (6) 2 x 4 x 12- YellaWood® pressure treated
• (2) 5# boxes of 3 inch deck screws
• (1) 1 x 6 x 8 YellaWood® pressure treated
• (1) 1 x 6 x 10 YellaWood® pressure treated
• (3) 1 x 2 x 8 YellaWood® pressure treated
• 5# box of 2 1/2inch deck screws
• small box of 1 1/2 inch deck screws
We choose not to have any windows or doors on the back wall, so it was the best wall to construct, first.
The back wall is 10 feet long and 5′ 3″ high, so the first thing you’ll do is take two of your 2 x 4 x 10’s and cut them to exactly 9′ 5″ in length. Place those to the side for a minute.
Now take (4) more 2 x 4 x 10’s and cut them down to (8) 60-inch sections.
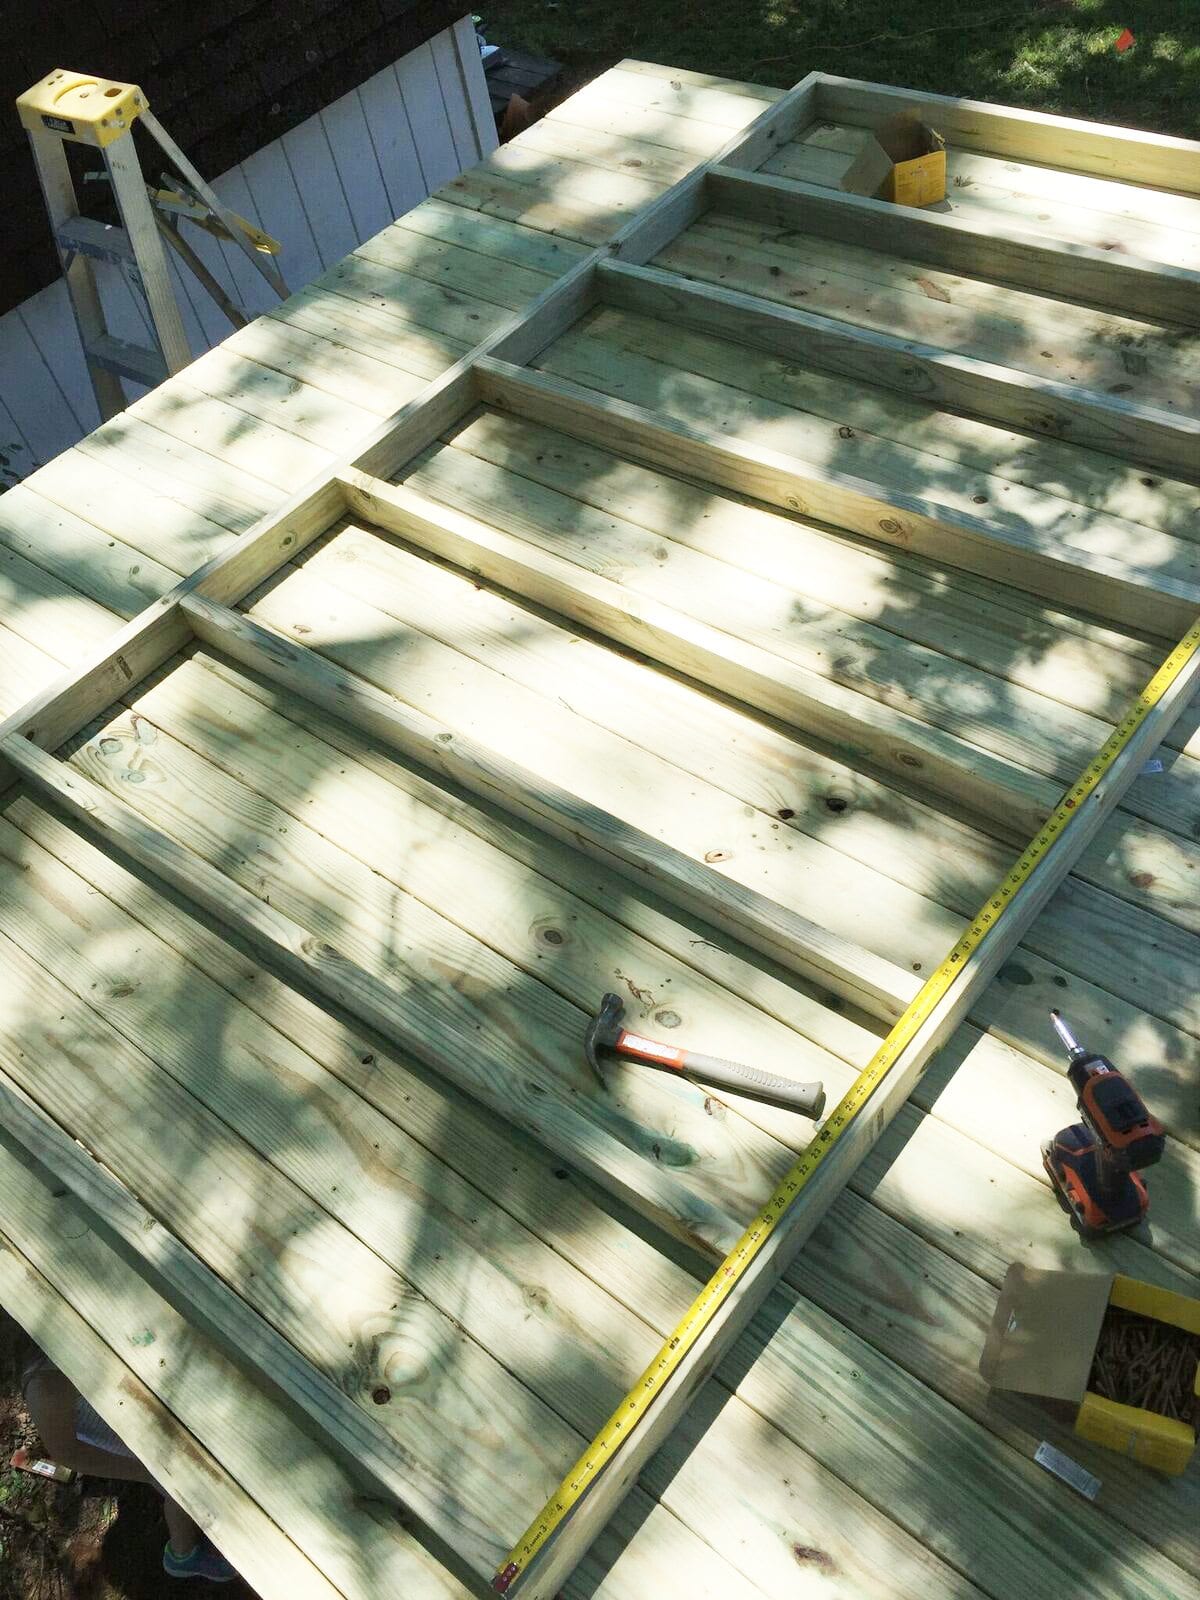
Place the two 9′ 3″ sections on their side (I find it easy to do all this on the top platform.) Then starting at one end, place one 60-inch section on its side in-between the two 10-foot sections. You’ll want to square the 60-inch section up so they are on the ends of the 10-foot sections, and then screw them into place using at least (2) 3-inch screws per board on the top and bottom.
Repeat this process on the other end as well.
You’ll take the remaining 6 boards and space them evenly on the 9′ 3″ boards between the boards you just secured on each end. One by one, screw them into place. Normally you’d place these on a 16-inch center, but since our walls don’t have to carry large loads, we can fudge a little.
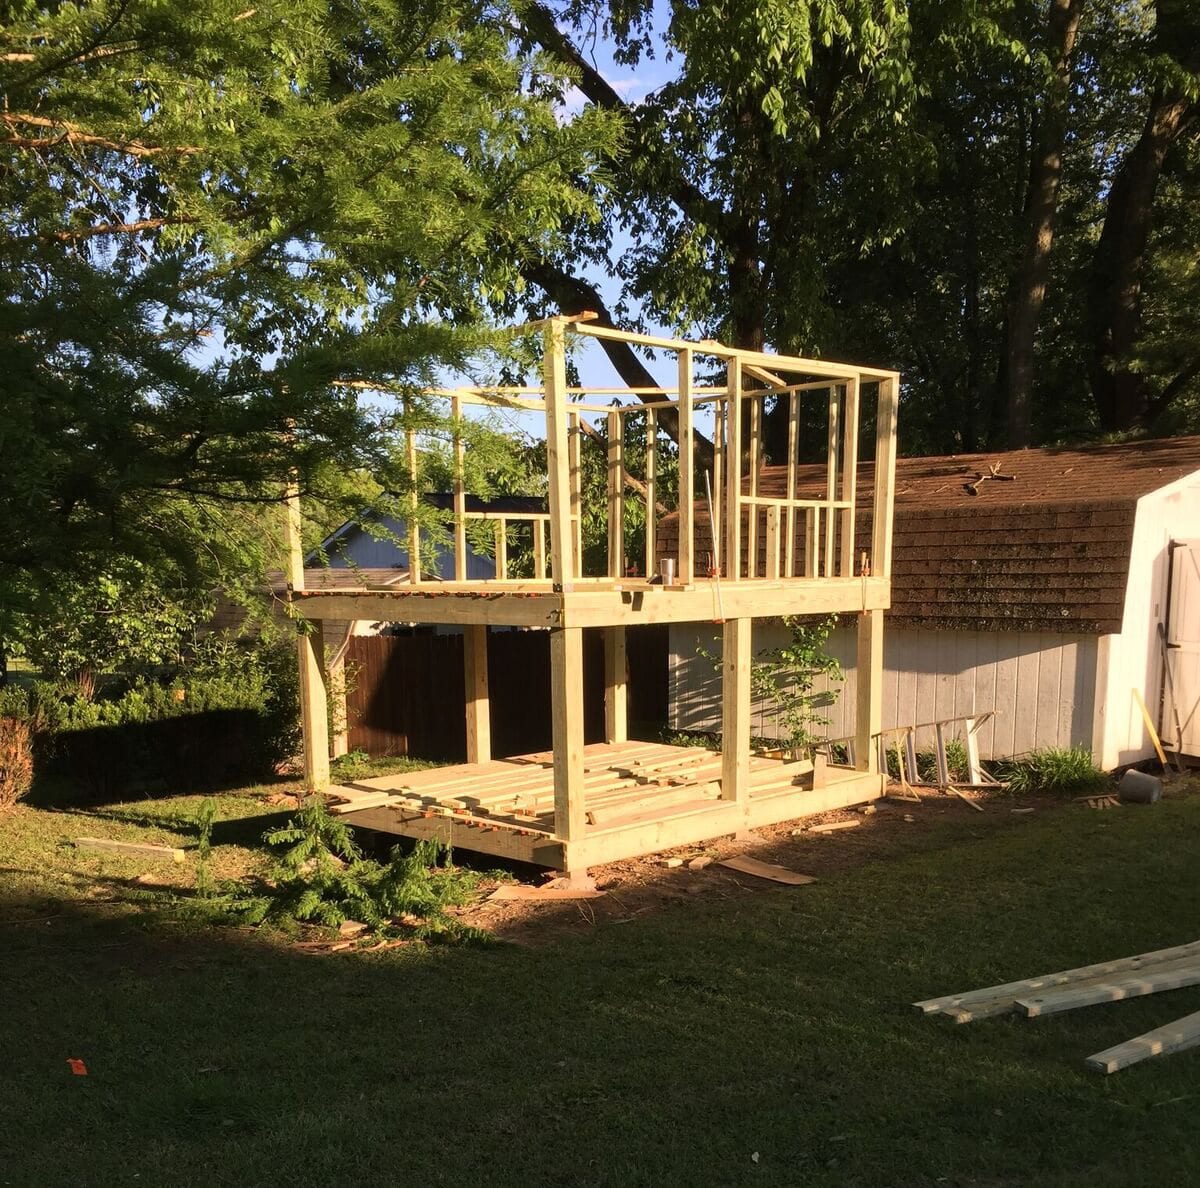
Now it is time to raise the wall. First, you’ll want to mark for center on the wall and on the deck so that you can line the two up once the wall is standing.
You also might want some help to get the wall up… it isn’t light and a little awkward as you put it into place. You can go ahead and secure it to the deck floor if you want, but I prefer to wait until I have other walls done. Simply stand it up and then clamp it in place. {Word of warning, do not let anyone walk underneath it until it is fastened permanently, that means you too, don’t walk under it!}

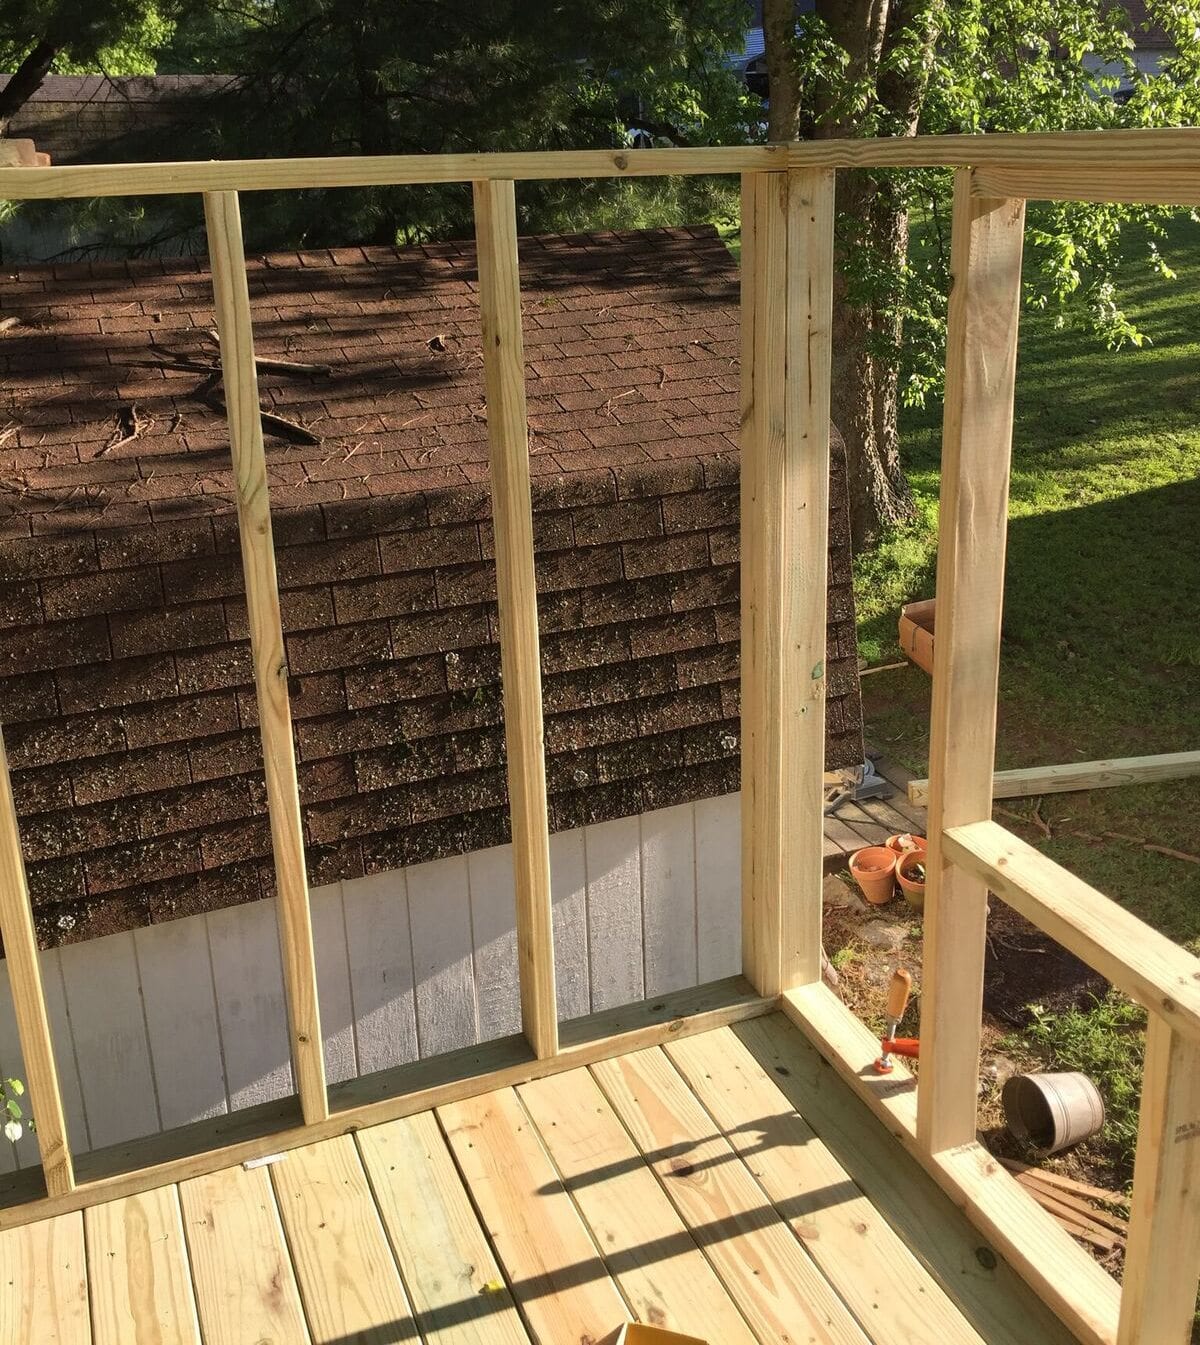
Both side walls will be identical, measuring at 8 1/2 feet long by 5′ 3″ high with a 53-inch by 32-inch high window in the center.
You’ll start by cutting one of your 2 x 10’s down to 8 1/2 feet. You’ll need to cut a 2 x 12 down to exactly 12 feet. Then cut 3 of your 2 x 10’s down to 60 inches.
Now lay out a 2 x 12 (top board) and the 2 x 8 1/2 (bottom board) on their side. Attach a 60-inch board to one end, keeping it flush. This time, however, you’ll want to attach two boards on this end and not only screw them in from top and bottom, but also use a 2 1/2 inch screw to screw them together.
Now you’ll want to center the window. Measure to the center of the wall from the inside board you just screwed, into the opposite inside board on the other end. Place a mark. Do this on the top and bottom.
From here, measure out each direction on the top board 26 1/2 inches and place a mark. On the bottom, board measure out 13 1/4 inches in each direction and place a mark.
Cut (2) 2 x 8’s into (2) 53-inch sections and (2) 21 inches.
Place two of your 60-inch boards with their inside edge with the marks you made on the 8 1/2 foot board. Then place one 53-inch board next to the top plate in between the two five foot boards.
Next, place the two 21 inch boards where you made the 13 1/4 inch marks and place the other 53 inch board on top of them.
Your window should be loosely framed. If all looks good, begin screwing it all together with 3 inch screws.
{Note: if I was putting any real weight on this wall, I would rest the horizontal boards on the vertical ones. Not screw them together, but again our roof will not carry any real weight.}
Now you can stand this wall up and place it next to the other back wall. Screw it into the decking using 2 1/2 inch screws. Also, make sure to screw the two walls together using a 2 1/2-inch screw (use at least (6) screws). You can also leave clamps on the ends that aren’t attached to another wall for stability.
Your 2 x 12’s will be hanging over until we build the porch so feel free to temporarily add in some supports.
You’ll repeat this process for the other side as well attaching the wall to the floor and the back wall once it’s built.
The front wall is pretty similar to the side walls except we will need to create space for the door.
Here’s how we laid out the front wall from facing it – going left to right:
20-inch wall, 30-inch door and another 70-inch wall with a window centered.
You’ll need to cut one 2 x 4 x 10 to 20-inches and 68 1/2 inches. These will serve as your bottom plates, {bottom boards or rat seal, whatever you want to call it.} Then you’ll cut a 2 x 4 x 10 down to 113 inches. This will be your top plate or board.
Now using 2 x 4 x 10’s cut (7) 60-inch pieces for your studs. You’ll also need to cut (2) 21-inch pieces to support your window, (6) 6-inch pieces and (2) 44-inch pieces for the top and bottom rail of your window.
Start by building the 20-inch wall without the top plate. You’ll simply screw in (2) of your 5-foot pieces on both ends of the 2o inch piece. Then take (3) of your 6-inch pieces and screw them into the left 60-inch piece. I’d place one at the bottom, in the middle and the top. Now add another 5-foot piece onto these pieces. Screw this in not only from the bottom but to each other as well. It should look like (2) 60-inch pieces sandwiching (3) 6-inch pieces. {You can also simply use a full 60-inch piece. Set this aside.}
Next, begin building the portion of the wall with the window. You will do this just as you did the other windows.
Start by screwing a 60-inch piece on each end of your 68 1/2-inch piece. On the right side, add the additional (3) 6-inch pieces and the 60-inch pieces just as you did in the previous step. Screw this in not only from the bottom but to each other as well. Now simply take your (2) 44-inch pieces and place them.
Now measure 14 inches in from the board you just screwed into place, and add another 60-inch stud. Place your (2) 44-inch pieces vertical to this piece and center your (2) 21-inch pieces underneath the bottom 44-inch piece. Place another 60-inch piece on the end of this and begin screwing it all together. Make sure everything is square, and the top 44-inch piece is level with the 60-inch pieces.
Now you can attach the top 113-inch piece, but make sure that the outermost piece of the wall lines up with the outermost edges of the top plate.
Finally, stand it up, and attach it to the flooring and the side wall.
Lastly, you’ll need to trim out the door.
You’ll start by ripping your 1 x 6’s down to 3 1/2 inches (either with your skill saw or on a table saw), then simply cut (1) 1 x 6 x 8 down to 60 1/2 inch and (1) 1 x 6 x 10 down to 60 1/2 inches and 30 inches. Attach the 30-inch piece to the top of the door frame and the 60 1/2 inch piece on the inside of the door frame.
Then cut the 1 x 2 x 8’s down to the same sizes and attach in the same manner, but set back from the front edge of the door by 1 1/4 inch. (hint: for both of these I use a finish nailer to attach them. 2 1/2 inch nail.)
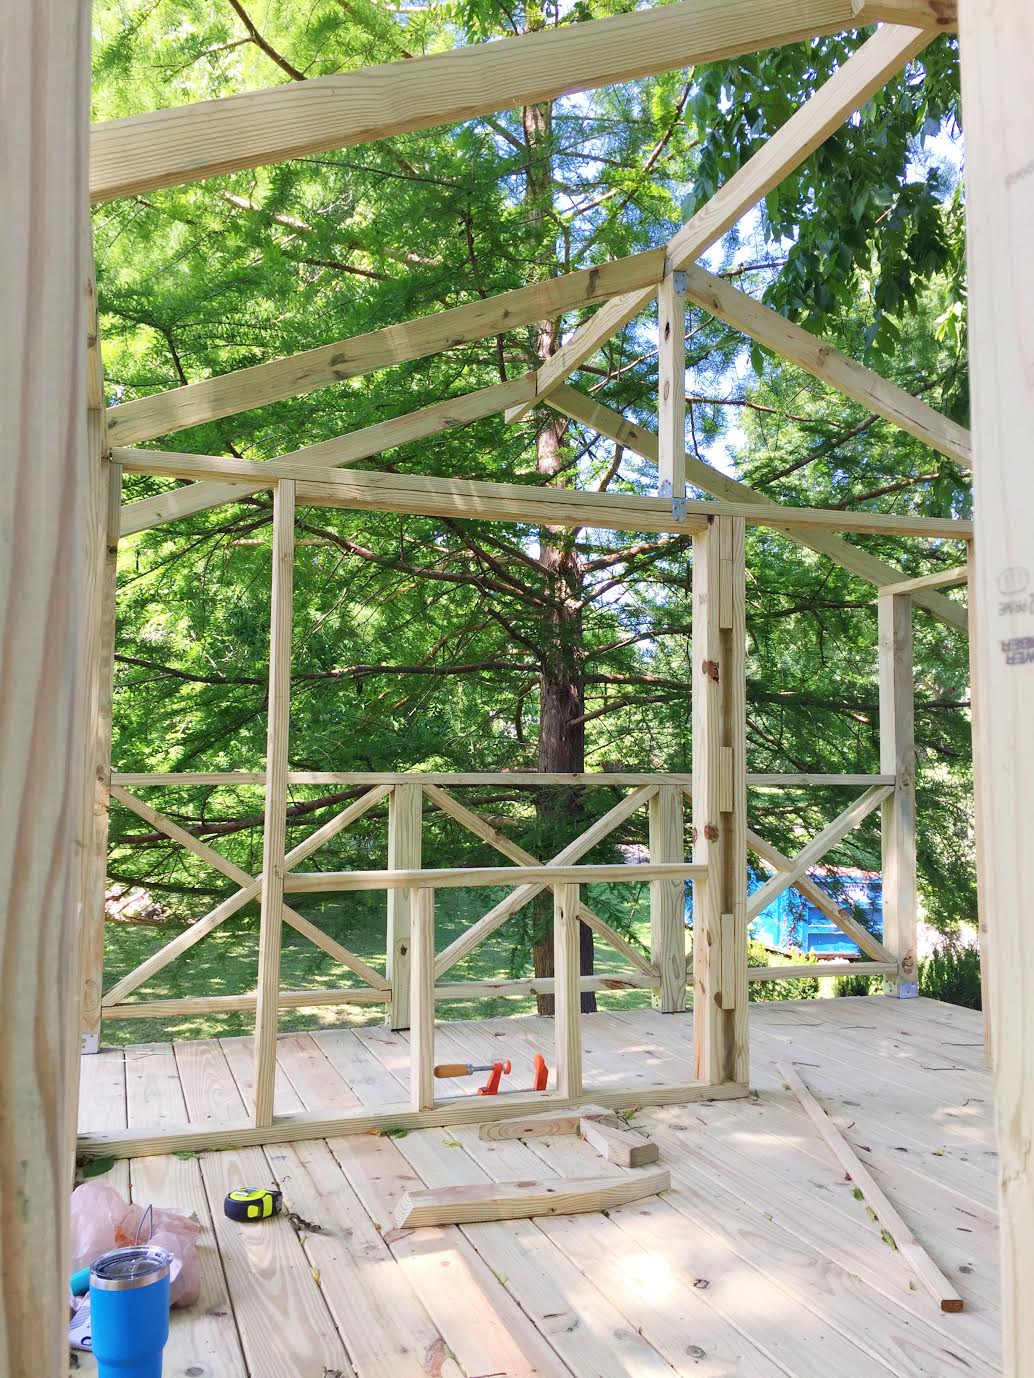
view of door from the inside, framed out.
Wow, that’s a lot of info we got through there, thank you for hanging in there with me. Trust me it’s more fun and easier to build it than read it.
Just take it one step at a time and if you need to adjust here or there, you’ve got the freedom to do so.
Up next, the railing.
To see this entire series, be sure to check it out here …and as always, our fabulous reader creations, here!


I don’t even have kids or a house, but I always love following along with your handmade hideaway builds! Would you mind sharing a ballpark cost to build them? I know purchasing swing sets and little homes aren’t cheap but I was wondering if this was in the ballpark of those or if it’s more cost effective. Totally worth it either way in my book!
I so want this but have neither the talent or the money!! *sigh* I can imagine spending time out there year round. I so wish there were fireflies here in Oregon.
I’ve just moved to a new home which finally has a workshop and I cannot wait to get stuck into a meaty project such as the one you’ve just completed, your children must love it!
Thanks for providing the list of tools & materials, As a previous commentor asked, I would love to know the rough cost of the project.
I can’t wait to see more of your projects.
Hi! I’m planning to build a version of this for my boys. Is the inside roughly 10’x8.5’ with a 10’x3.5’ porch? Thanks!!
Yes, that is correct.
Hello!
I’m struggling with the front wall.
A portion of the instructions are missing. The following sentence never ends:
Now simply take your (2) 44-inch pieces and place them…
Can you refresh the webpage with the missing info or provide in comments?
Hey Mike.
It’s actually assuming you already built the sidewalls and understand that the 44-inch piece will frame the top and bottom of the window like the two side walls already built. I hope that help so.
Thank you so much. I figured out the front wall with the window.
What is the point of the 6” boards? Why do we need them on the front wonder wall and the front 20” wall?
What type of lumber do you use for the top level exterior walls? 1×6, shiplap, beadboard, etc??
Hi, I’m working on recruiting my family to build this for my littles to grow into. It looks like each level is 5’3″ high, is that correct? I want something my taller 12 year old can enjoy into her teens with her much younger siblings and I am wondering if that would be too small – how did your teen niece fit? Also, we are planning to build into a hillside – any suggestions (or followers’ ideas) regarding that obstacle? Thank you!
Hey, You can adjust the levels to whatever height you’d like or just let them bend over a little like they are in a cave. haha. As far as suggestions for building it into a hillside we don;t really have any except to pay attention to your footers/post being level and to give enough clearance for water run off.
Hey guys, great job on this amazing build! My wife and I have started building our own, both flooring decks have been laid and we have painted it to protect it along the way…..thats the issue with English weather!
We are about to start planning the framing but I wanted to ask what it is you have used to attach the first floor posts (for the railings) to the deck and what you have used to fix the walls to the deck too? Did you use post base fixings? If you could send me a close up image that would be superb and greatly appreciated.
Last note, thank you for sharing this you have inspired us and our 3 girls are going to love this for years!
Hey, we use some decking screws to attach the walls and railing.