
how to build a cabana: the framing
Hello all you wonderful people!
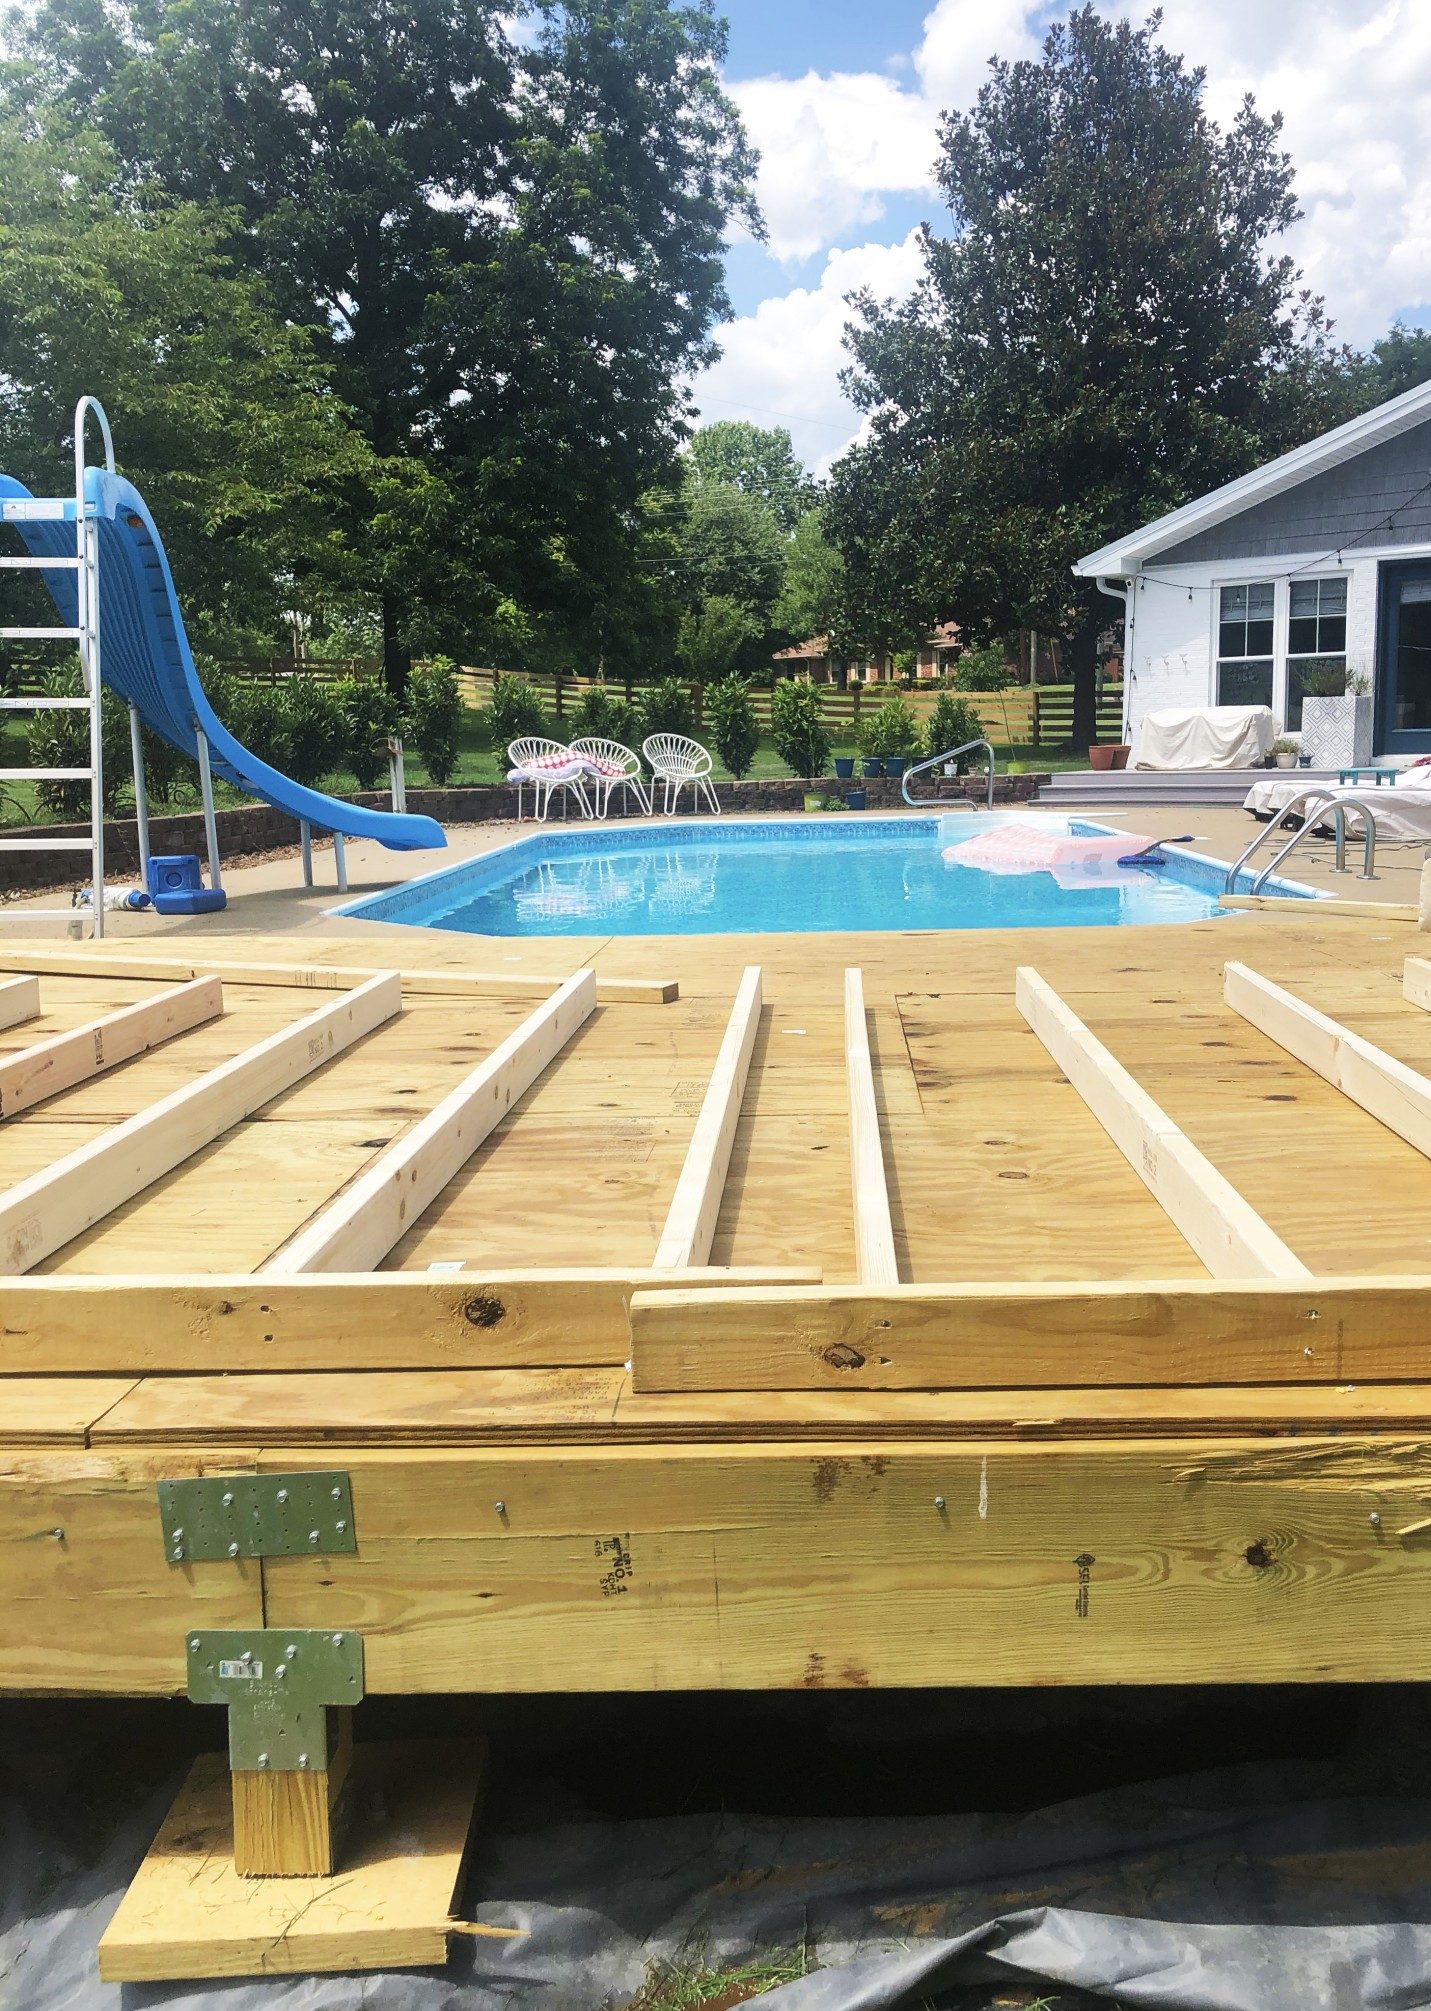
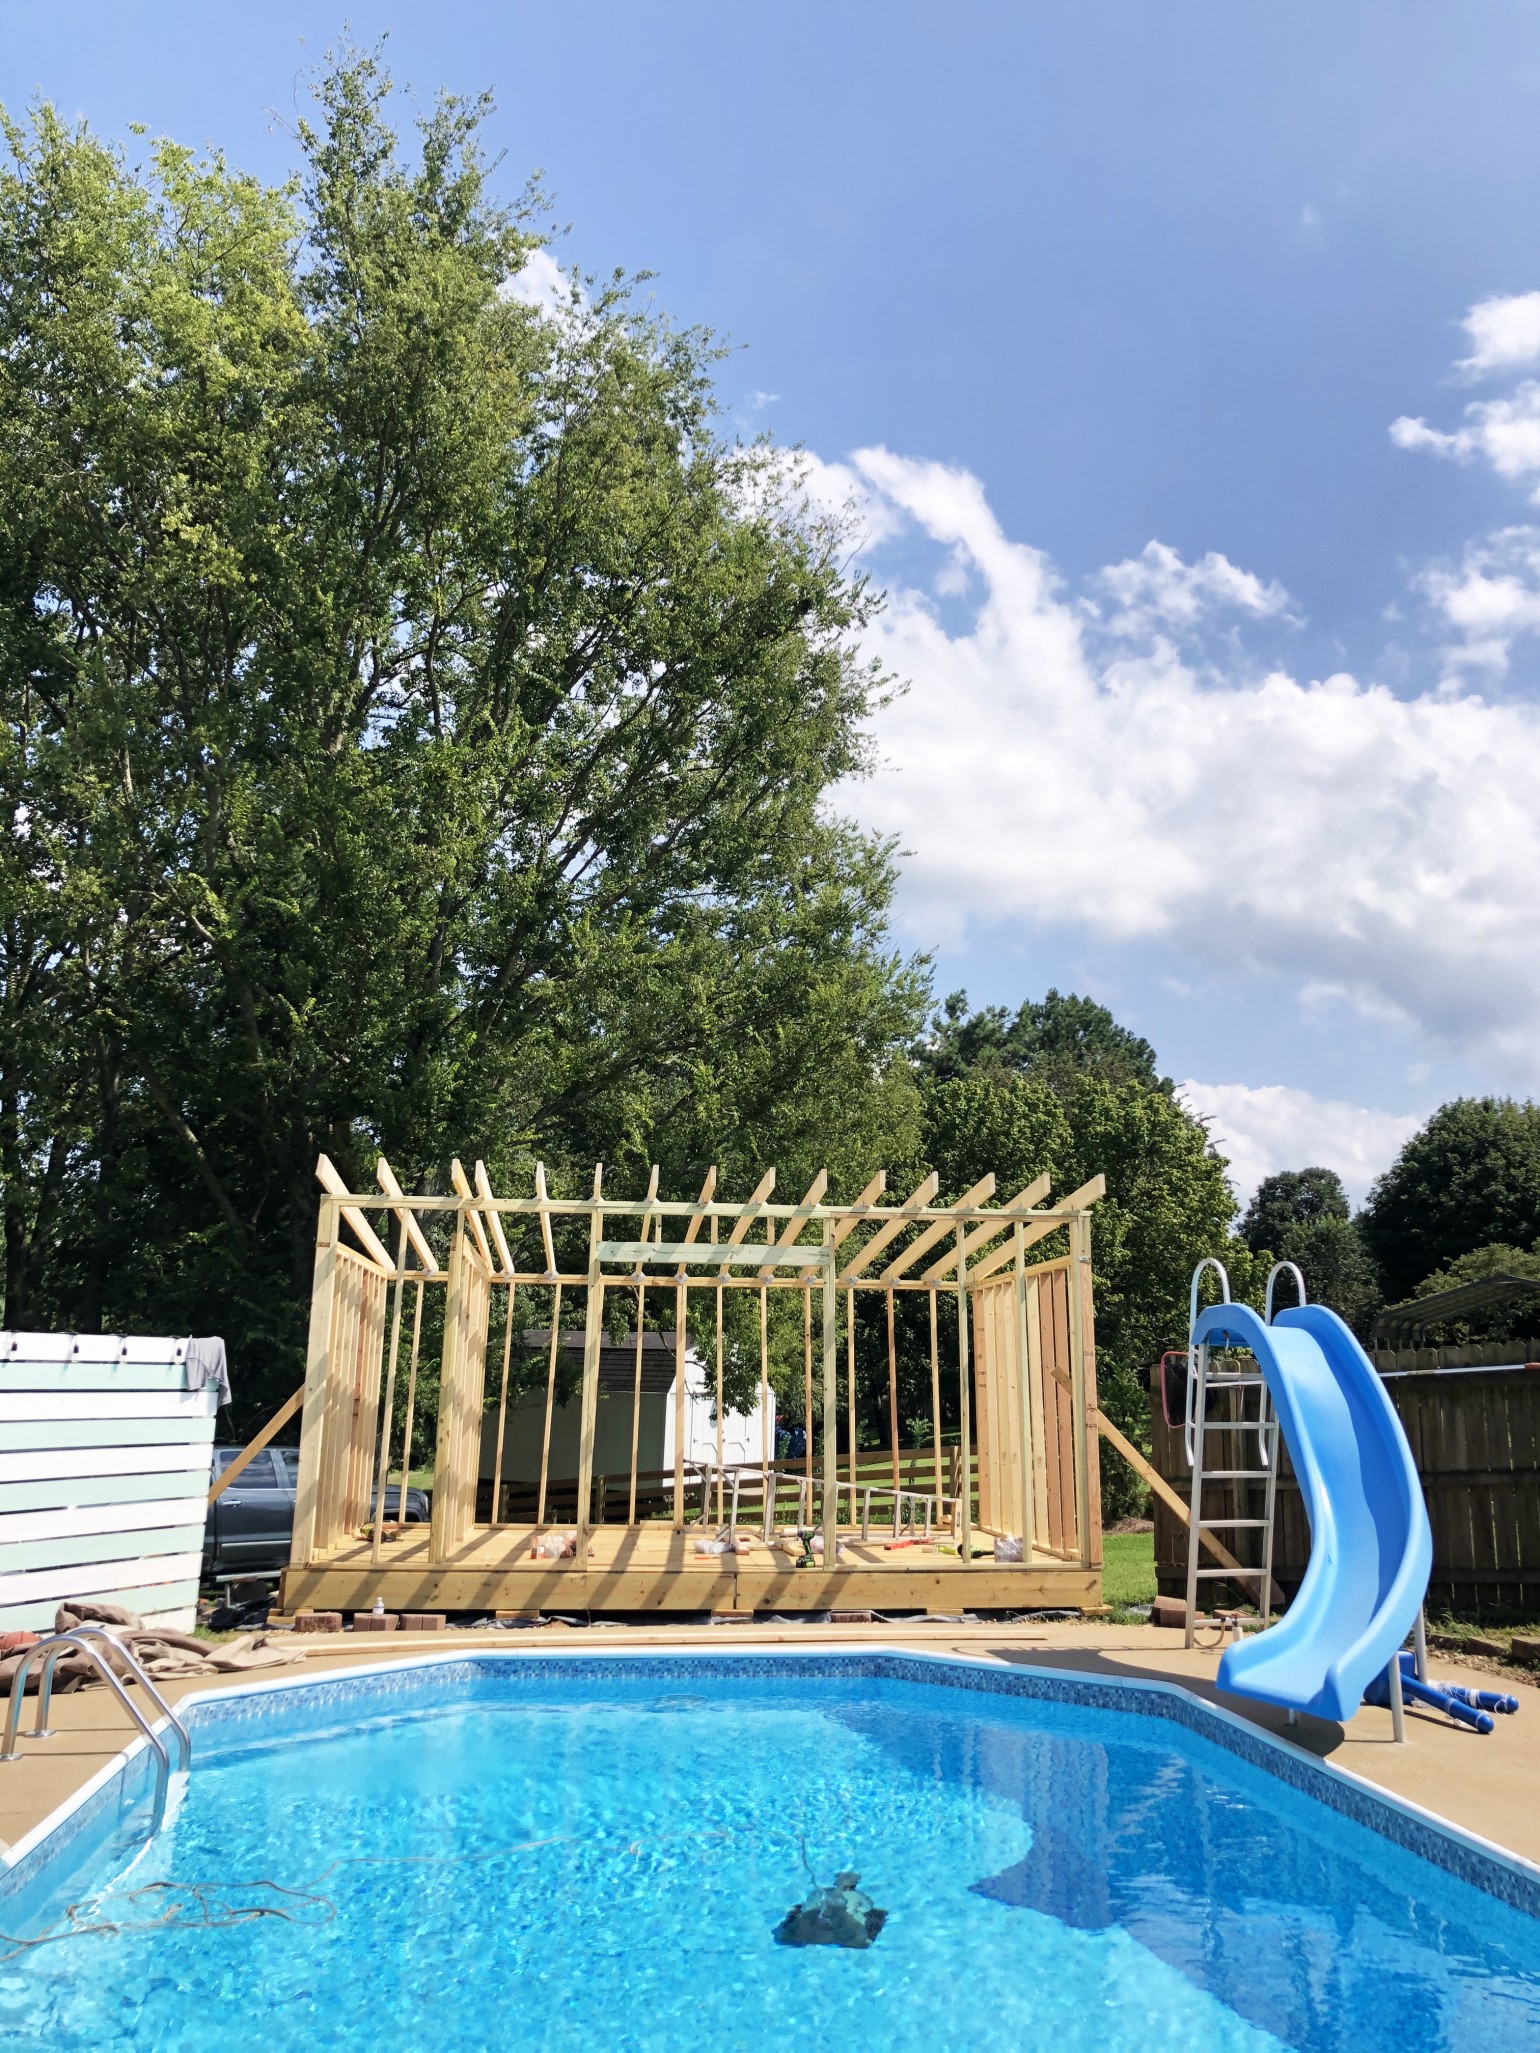
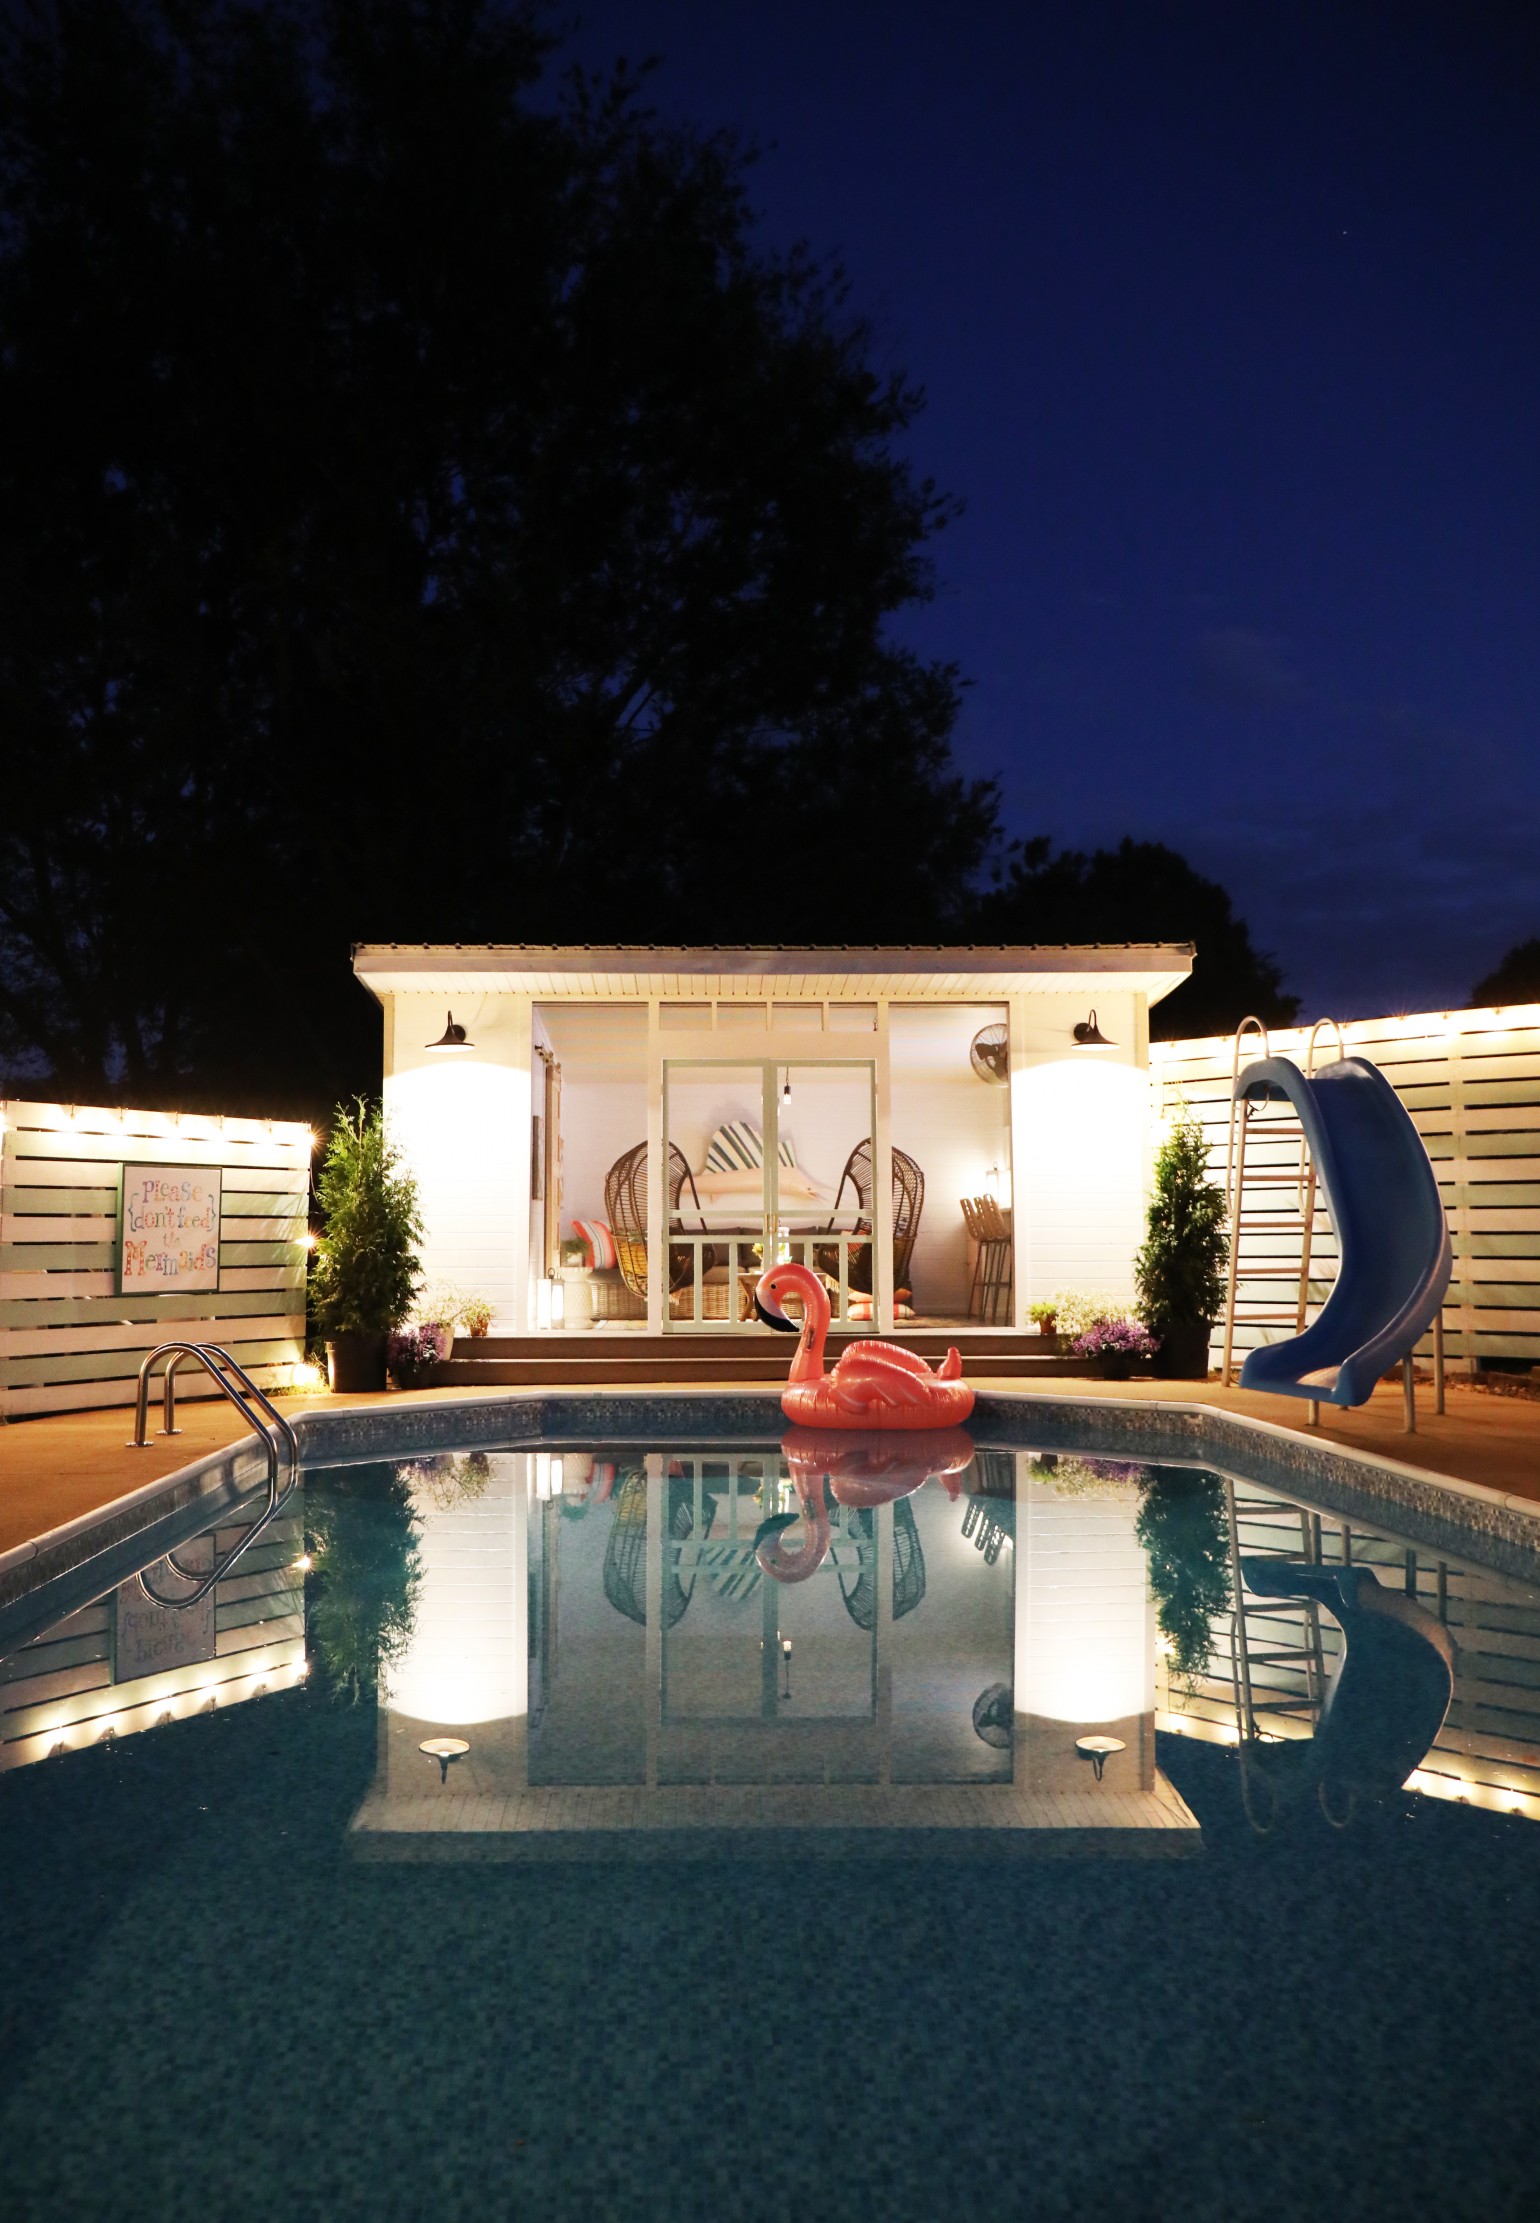
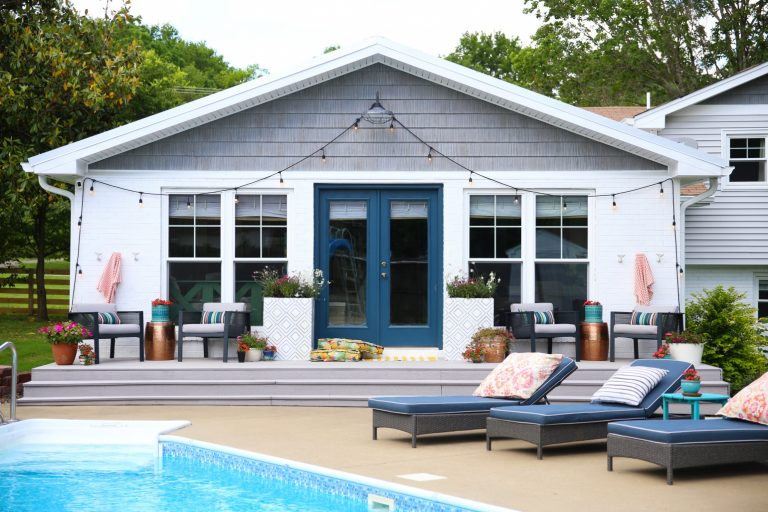
You may have seen our first section {the foundation!} of this little cabana series, and we’re so thrilled to check back in, and share the next phase of our how to build a cabana series: framing! If you’re not familiar with this project at all, check out the full reveal here.
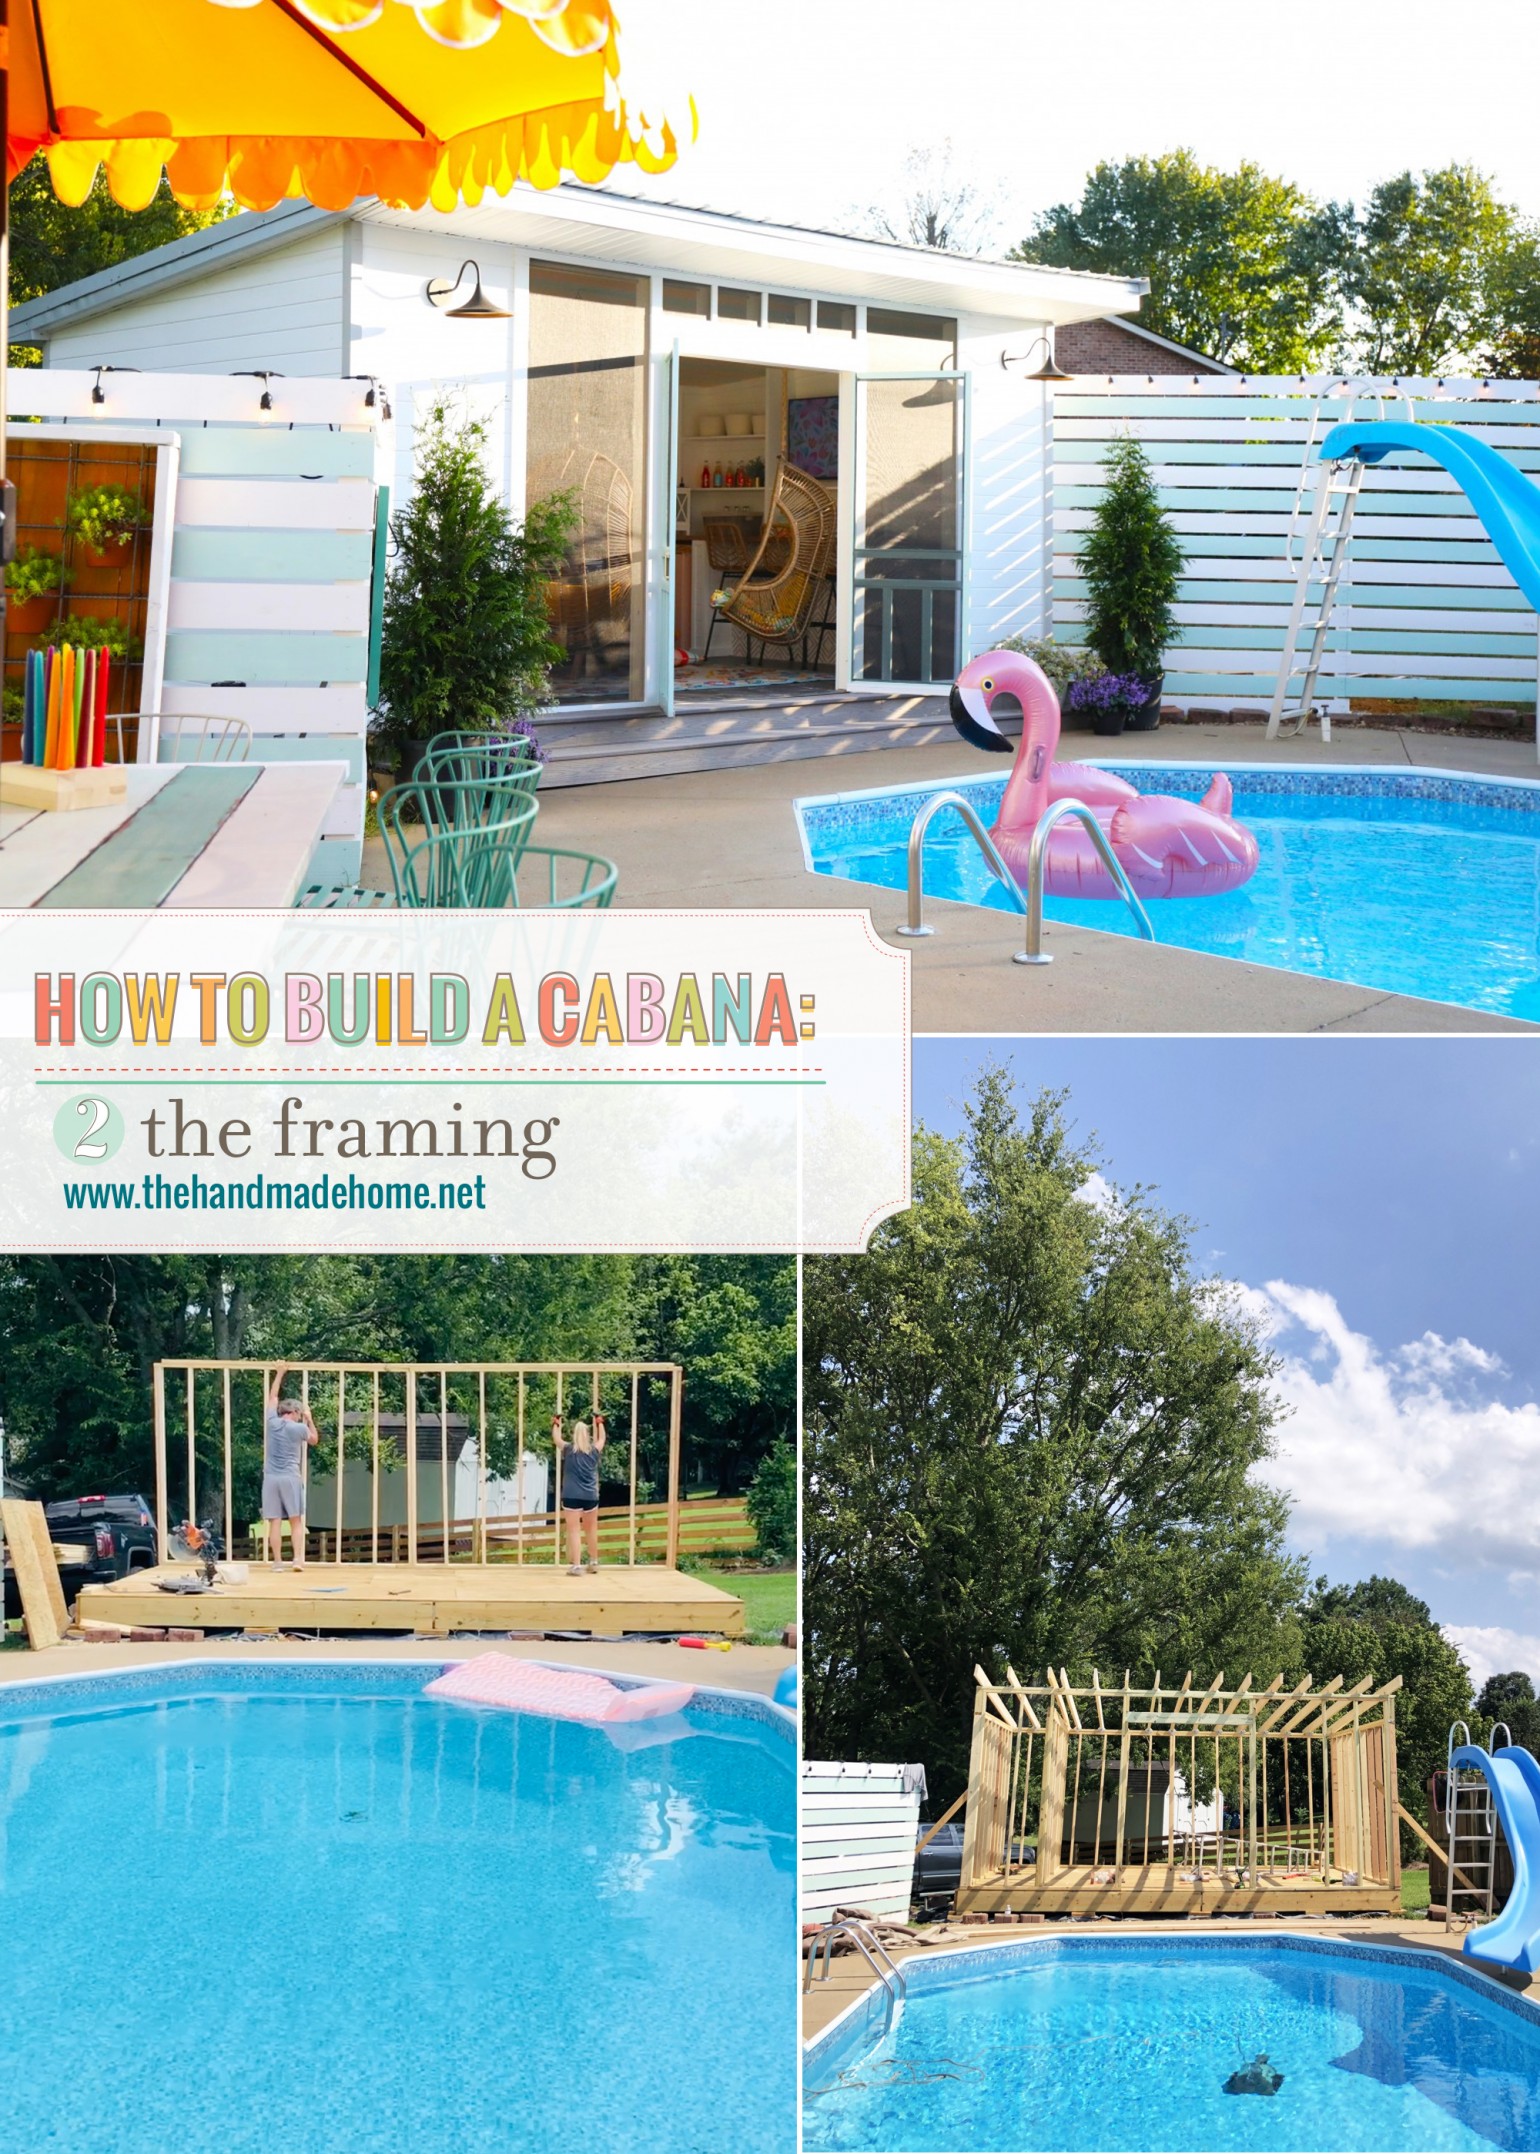
We built a little cabana in our back yard, for all things outdoor entertaining last spring. And it was so much fun! Don’t let us fool you. It was a lot of work in the meantime, but still a lot of fun. This winter, we’re slowly rolling out each post one by one, so that if you want to build one of your own, they’ll be ready just in time for all things warmer weather!
But first a necessary legal disclaimer:
This is not a small piece of furniture or a simple build, but a real structure. Therefore we will not be providing building plans, but more of a guide. If you’re new to building or do not in any way feel comfortable do not attempt this project without professional guidance. This tutorial is meant to serve as a jumping-off point for someone who feels comfortable with building or has professional guidance. It is not a construction plan, nor is it to be taken as a blueprint to build. We, The Handmade Home, assume no liability if you attempt this project.
Okay. Now that the lawyers are happy, on to the build.
What You’ll Need:
We are starting with the walls, and this guide will be based on a build that is 18 1/2 feet wide by 12 feet deep. The lumber amounts in some cases will be more than you technically will use, but miscuts happen and you always need more for a brace. So here is the lumber you’ll need along with the tools you use.
•(55) 2 x 4 x8
• (5) 2 x 4 x 12 YellaWood® pressure treated
• (11) 2 x 4 x 12
• (12) 2 x 4 x 10
• (2) 2 x 6 x 10
• (16) 2 x 6 X 16
• (32) hurricane ties for 2 x 6’s
• Simpson strong tie screws
• 4-foot level
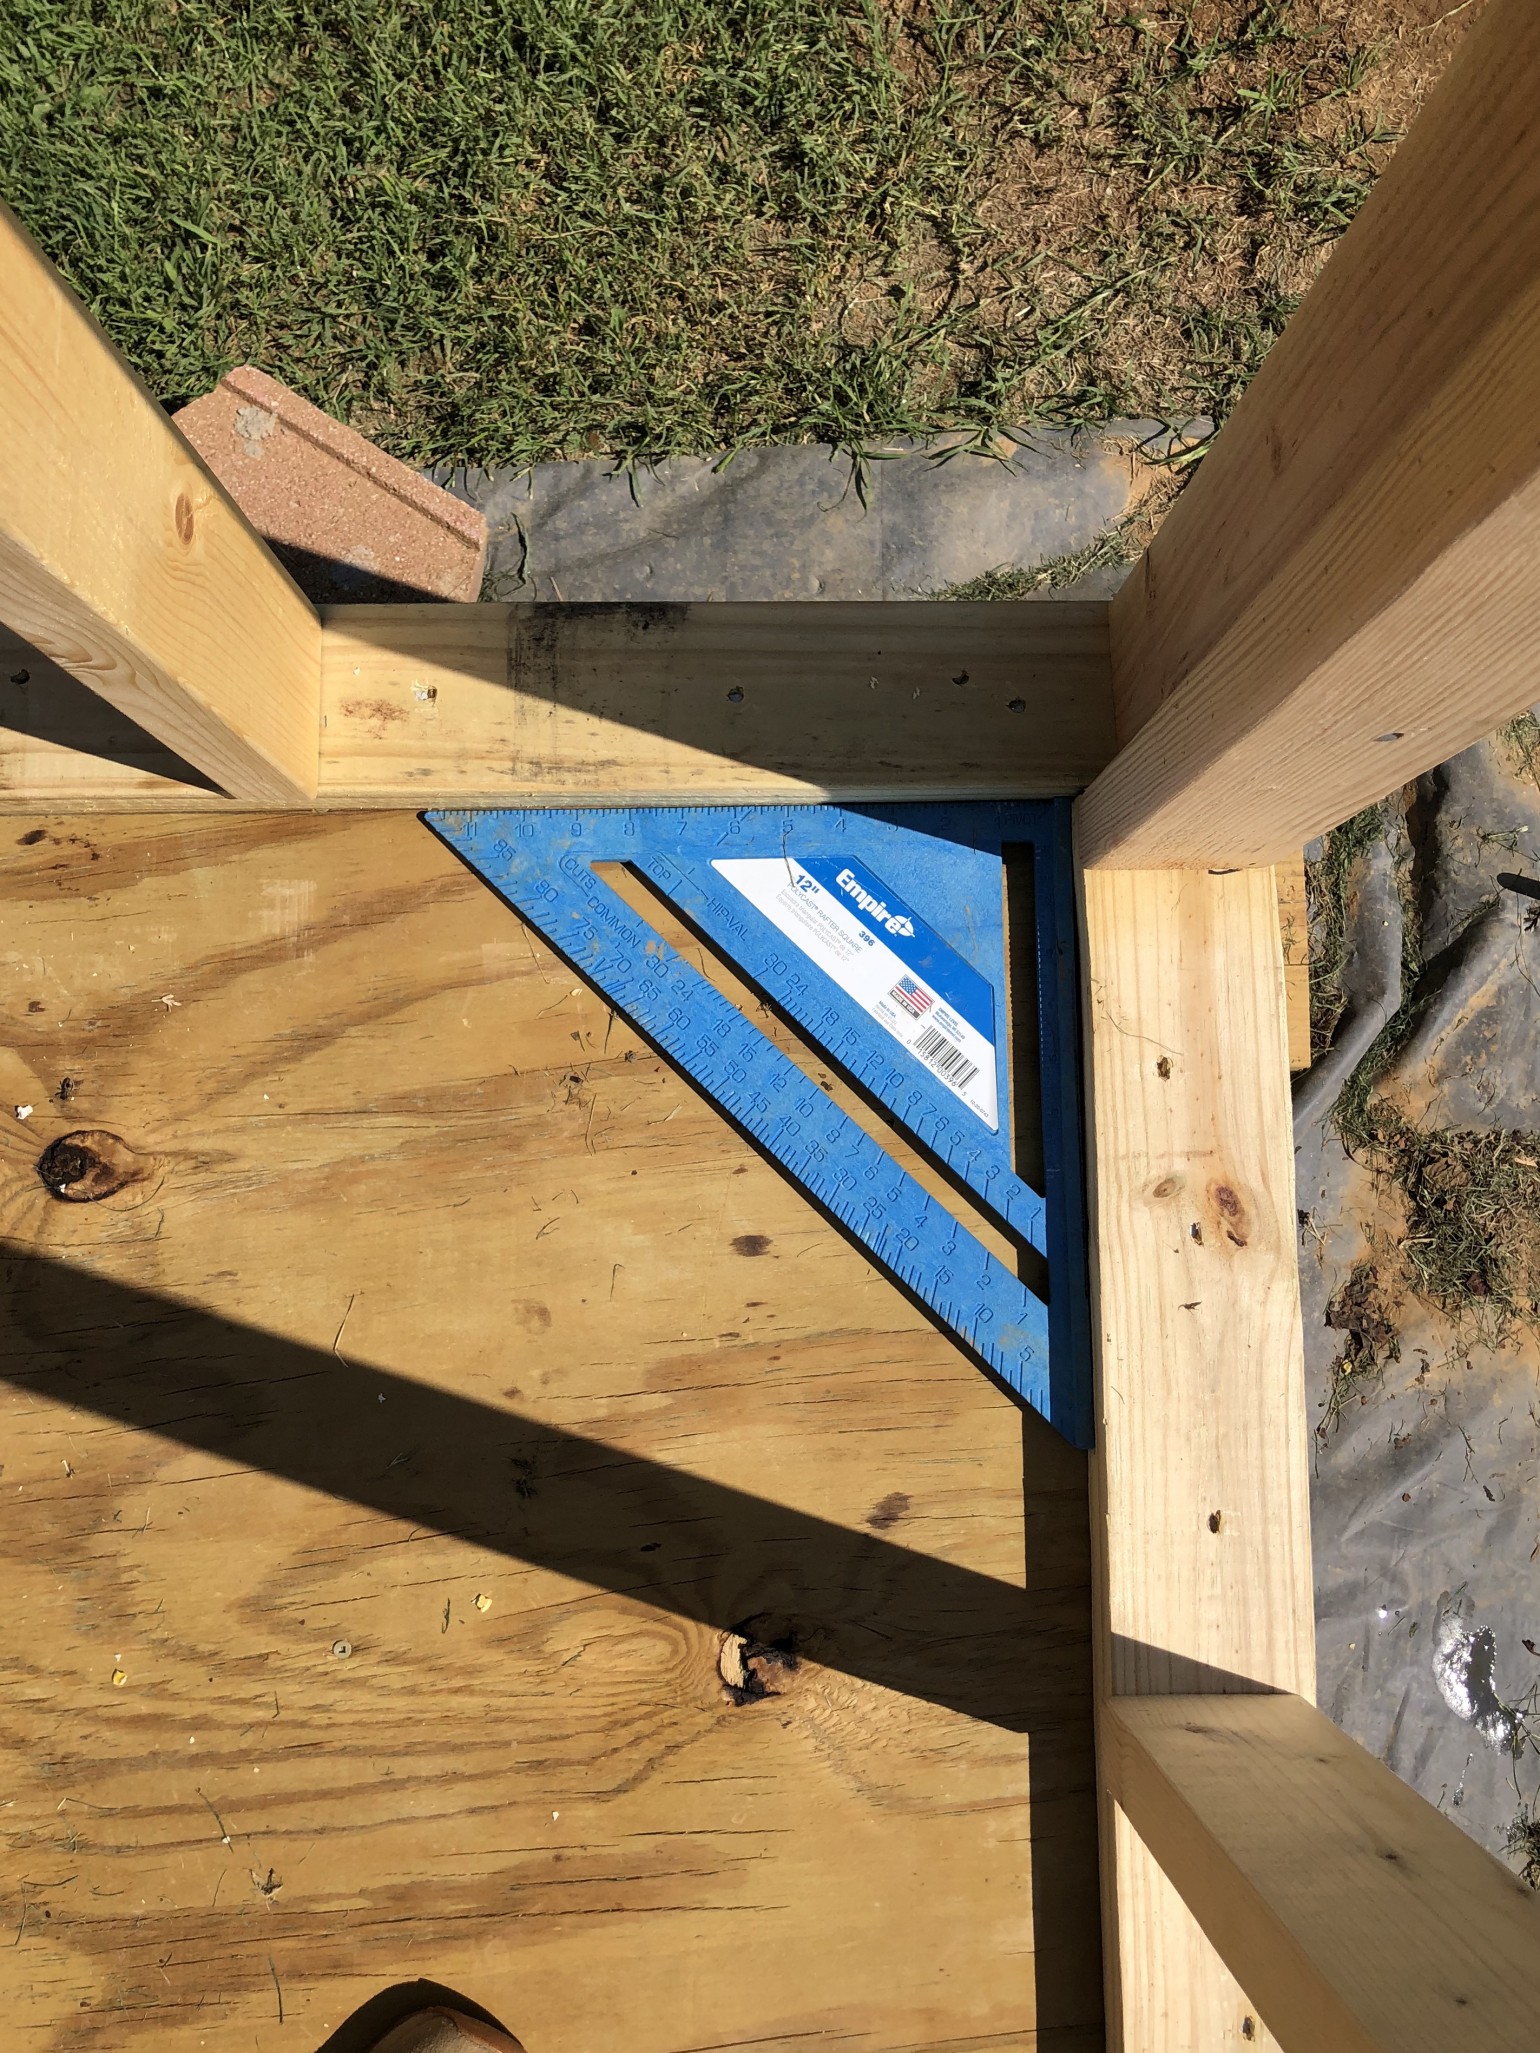
• Carpenter square
• skill saw or miter saw
• reciprocating saw
• Framing nail gun and nails
• Drill
• compact driver
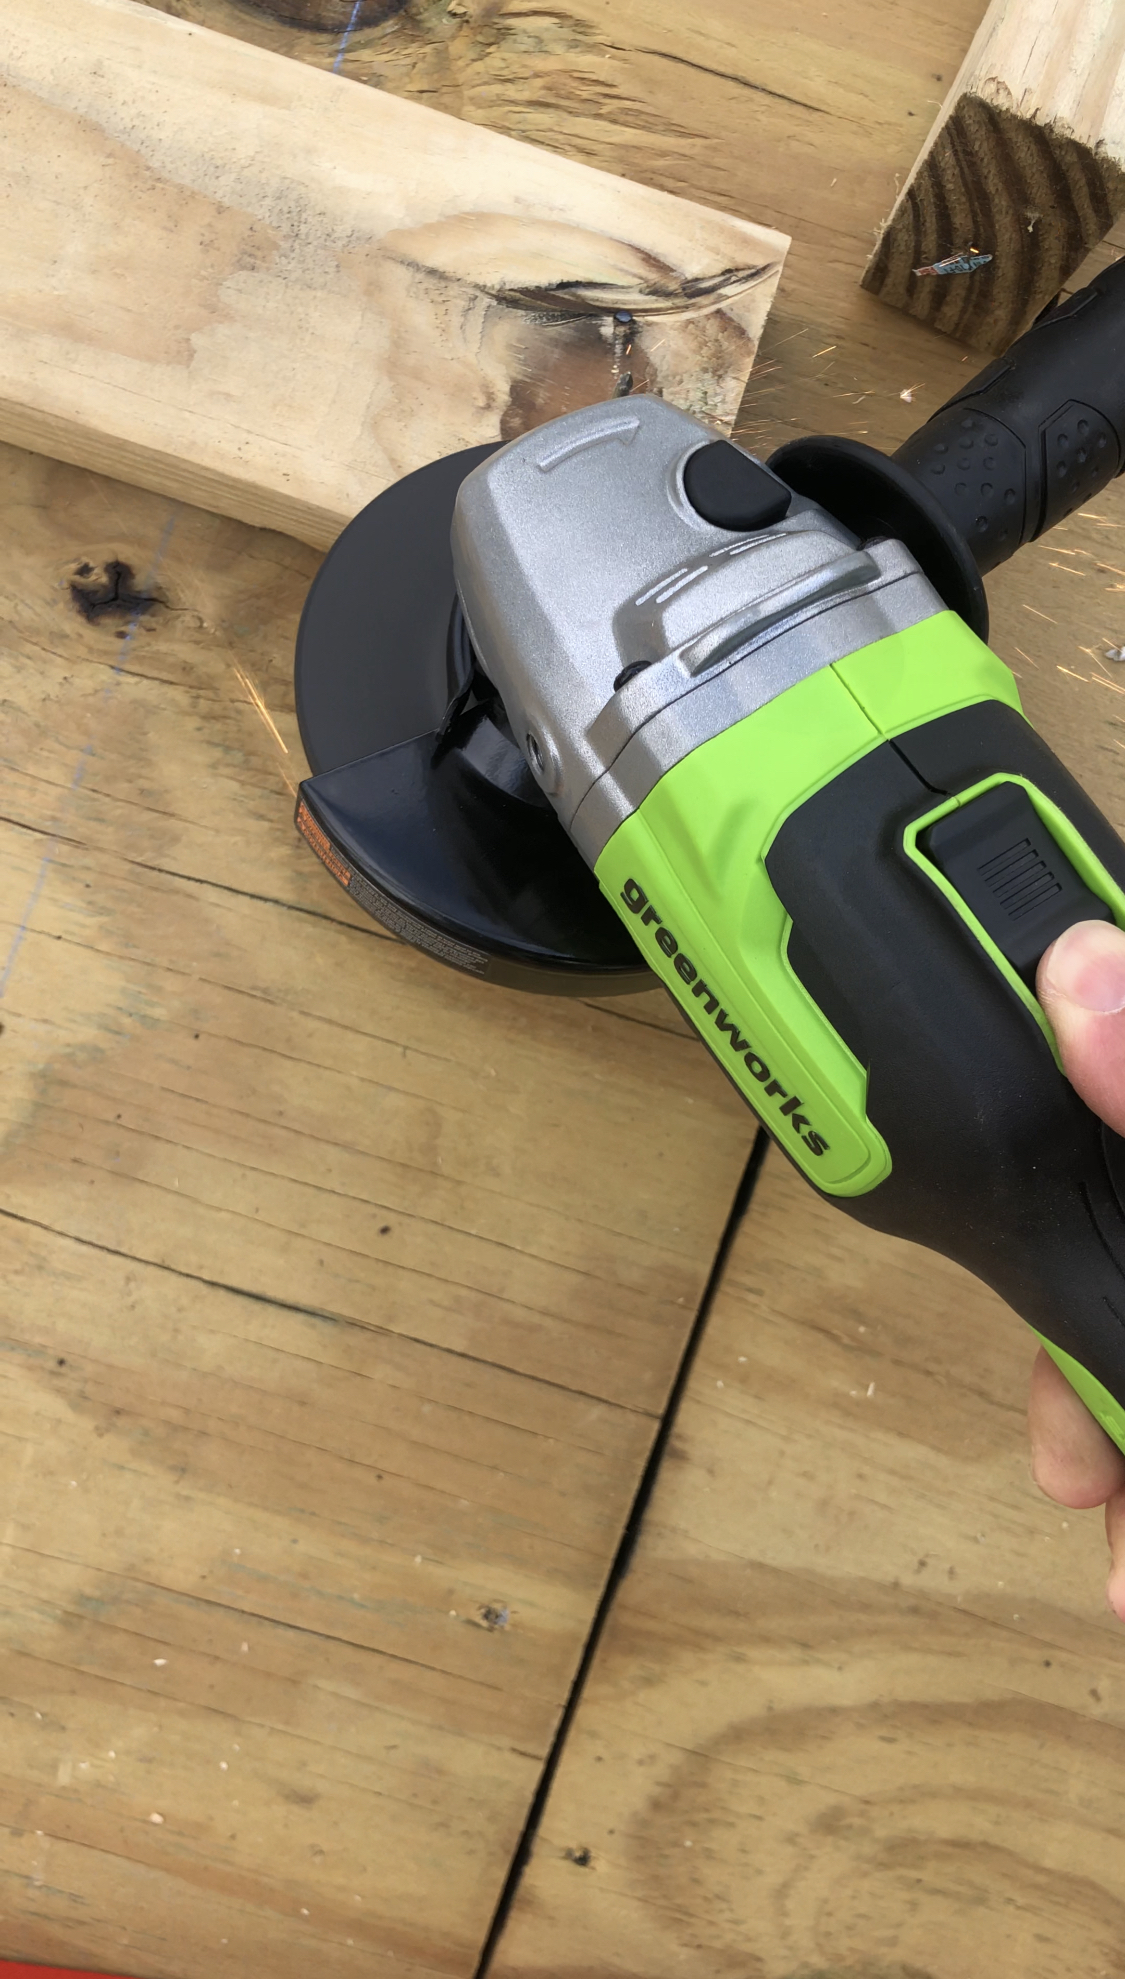
• grinder
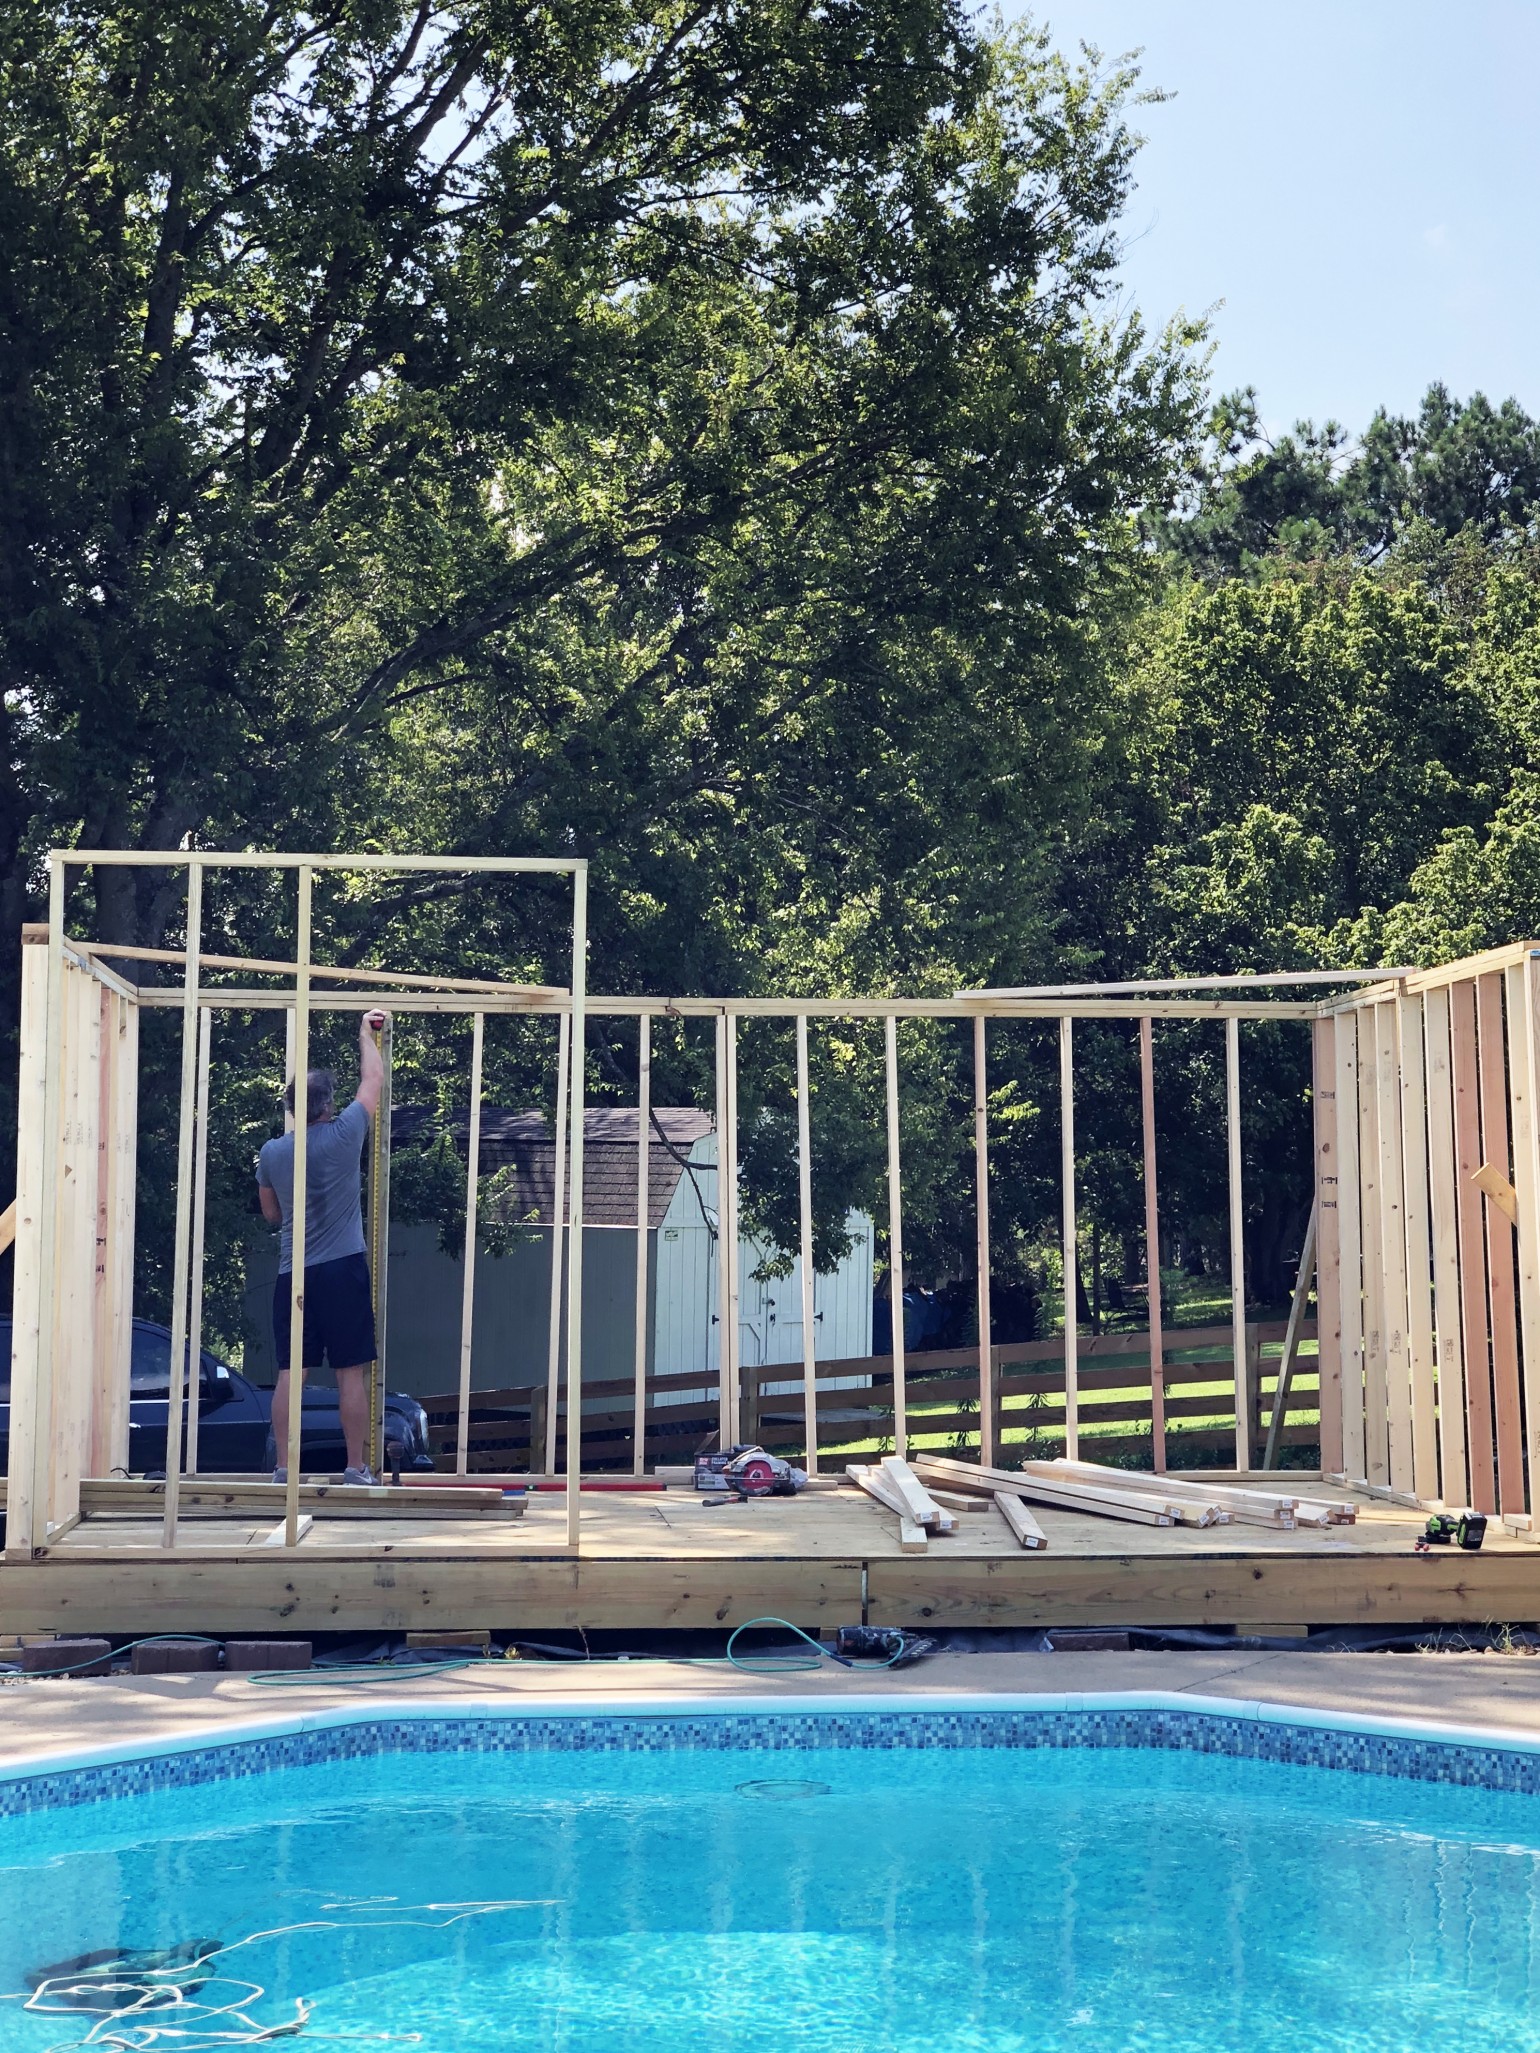
Plan it Out
During your planning process, you’ll want to know how tall you want your structure to be overall, and if there are any other height requirements that you want to meet.
For us, we knew we didn’t want the highest point to exceed 10 feet and I wanted to have plenty of room to stand along the back wall without feeling like the ceiling was right on top of me. So we settled on our back wall height being 7 1/2 feet, then to keep our front wall under our 10-foot requirement, we decided on a 2/12 roof pitch. This would put our front wall at 9 1/2 feet.
The roof pitch is determined by how many inches the roof will rise over one foot, or 12 inches of distance. So inches over feet (translated to inches) or in our case, 2/12. The width of our structure was 12 feet long, so if it rises 2 inches for every foot, that gives us an over all rise of 2 feet. You can read more about roof pitches in our hideaway post.
Making the Cuts
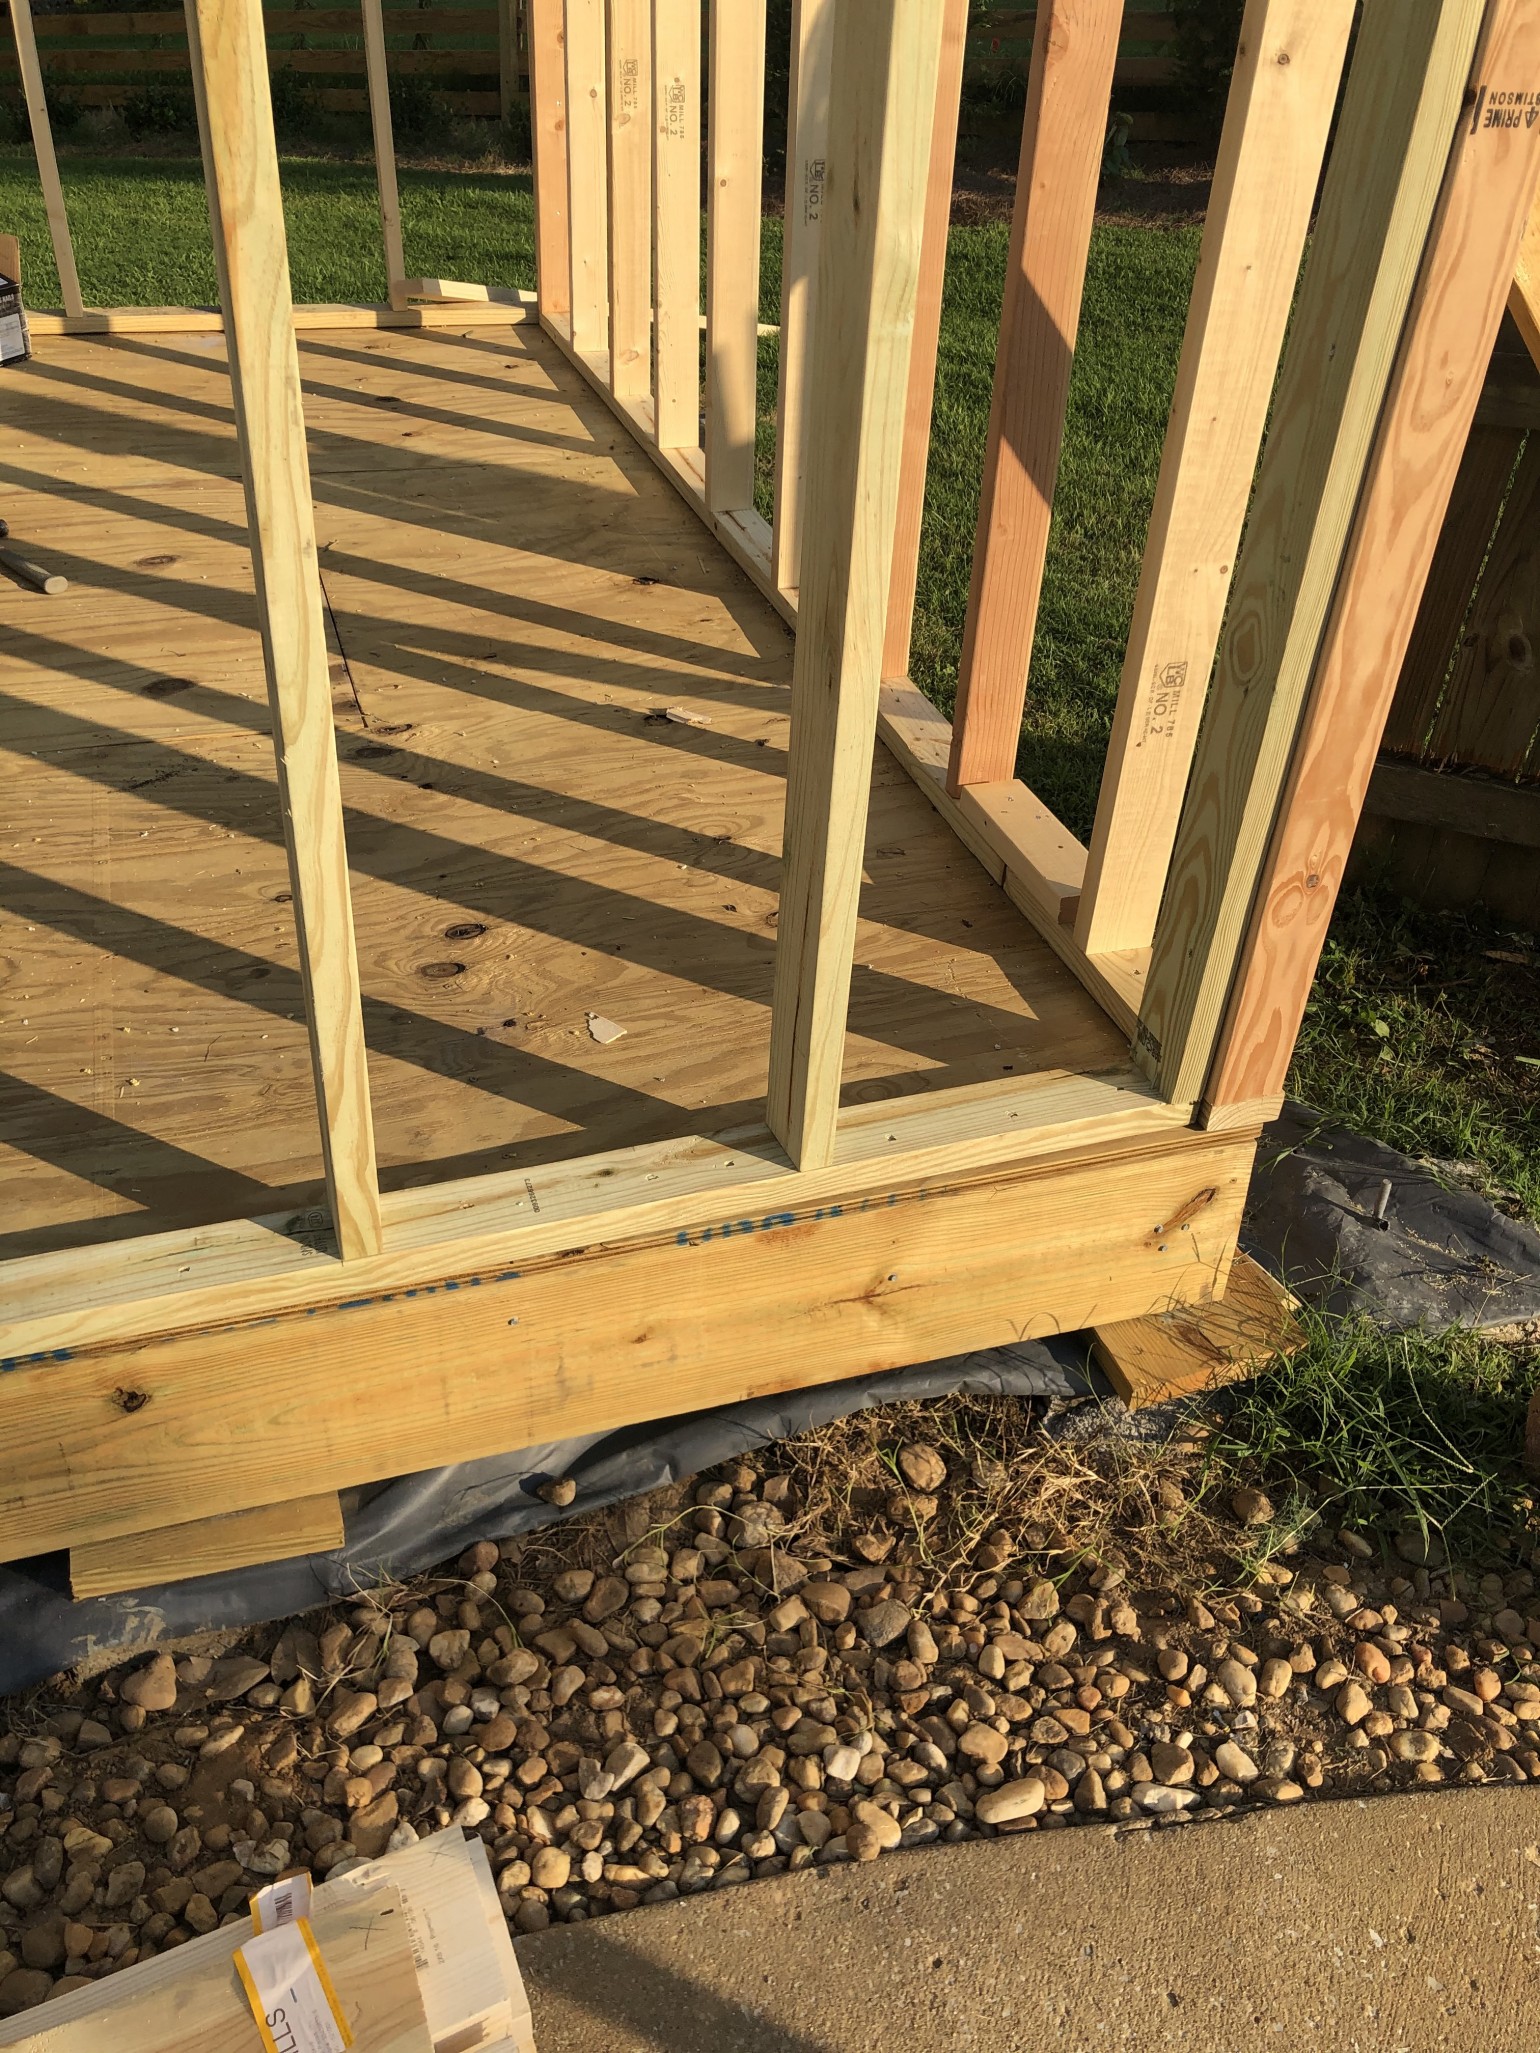
First, we cut our 2 x 4 x 8’s for our back and sidewalls. Since our wall height in the back was 7′ 6″ we cut out 2 x 4’s to 7′ 1-1/2″. We didn’t cut them to 7′ 6″ because we had to accommodate for the baseplate and two top plates, which are each 1-1/2″ thick.
We laid out a pressure treated 2 x 4 x 12 and then cut another one to give us the full length of our back wall. From there, we began on one corner marked out 1-1/2 inches, and then every 16″ from there. The corners will have a double stud, and your first “center” will be between them or at the 1-1/2″ mark and then you want each stud after that to be on 16″ centers.
Once we had them marked, we began nailing them into the base plate.
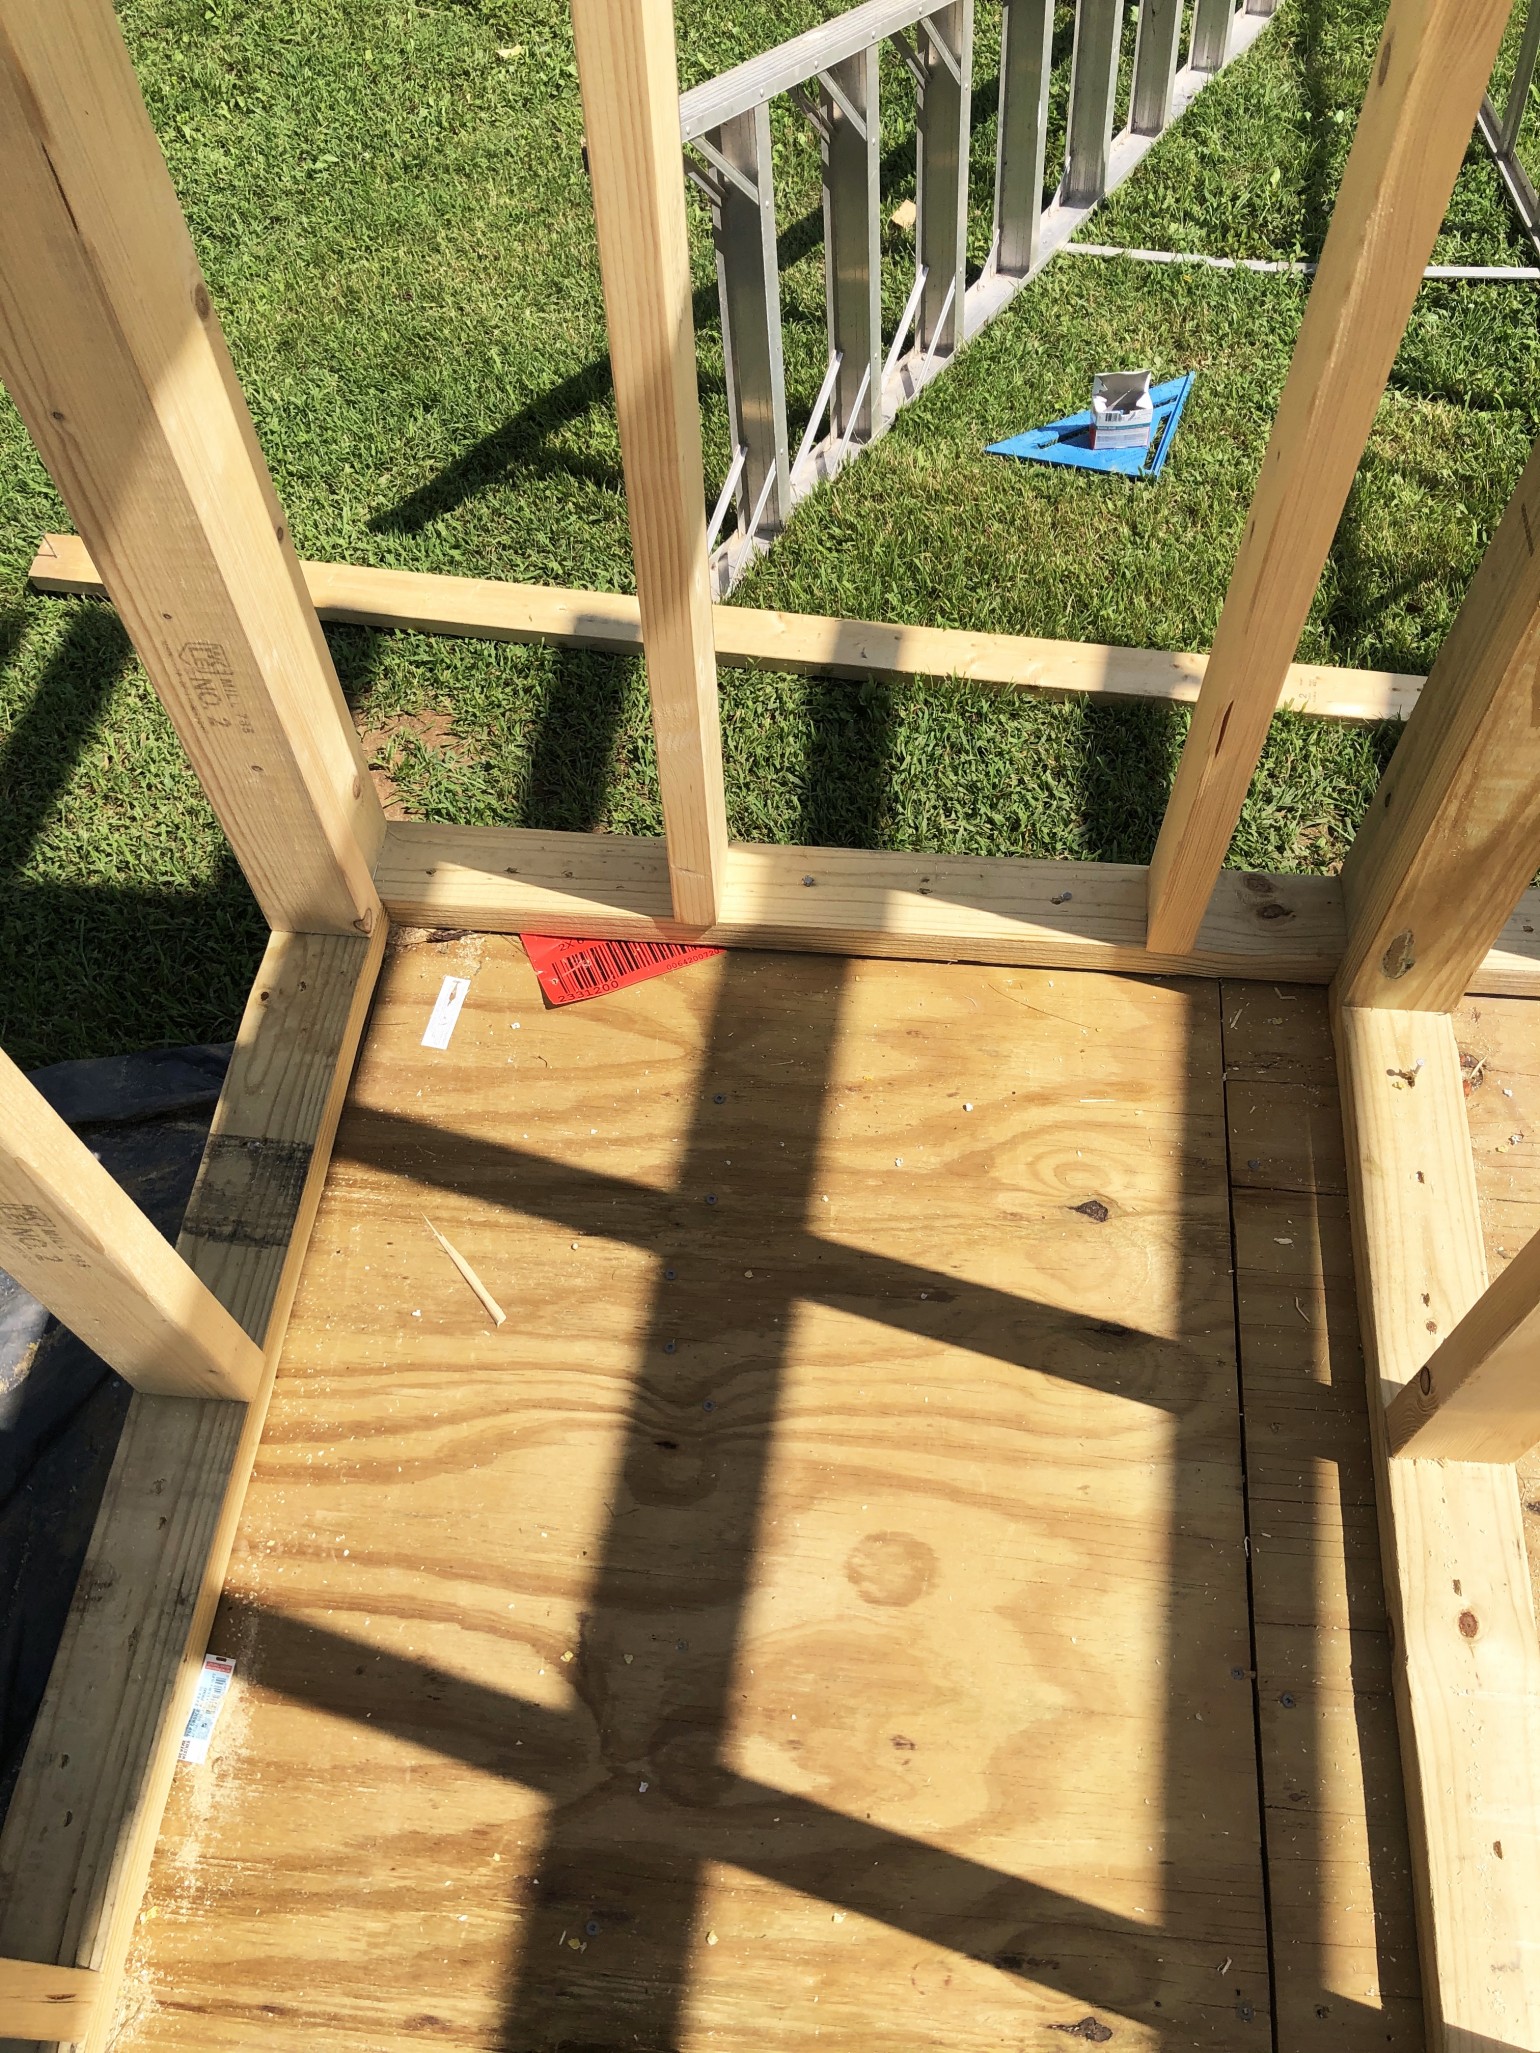
Base Plates
You have one of two options where your base plates meet.
1. Either you can cut a small piece of 2 x 4 and join them together, or
2. You can put a stud on the edge of each base plate and nail the studs together.
Top Plates
Once you’ve nailed all the studs into the base plate, you’ll want to repeat this process with the top plate. Basically, a 2 x 4 that runs the length of the stud wall.
You’ll want to make sure the studs are square to the top and base plates when you are nailing them in and use at least two nails on the top and bottom to secure it in.
(Hint: if you miss fire on a nail or need to remove one, simply use a grinder to cut the nail flush with the board, no need to try to pull it or bend it.)
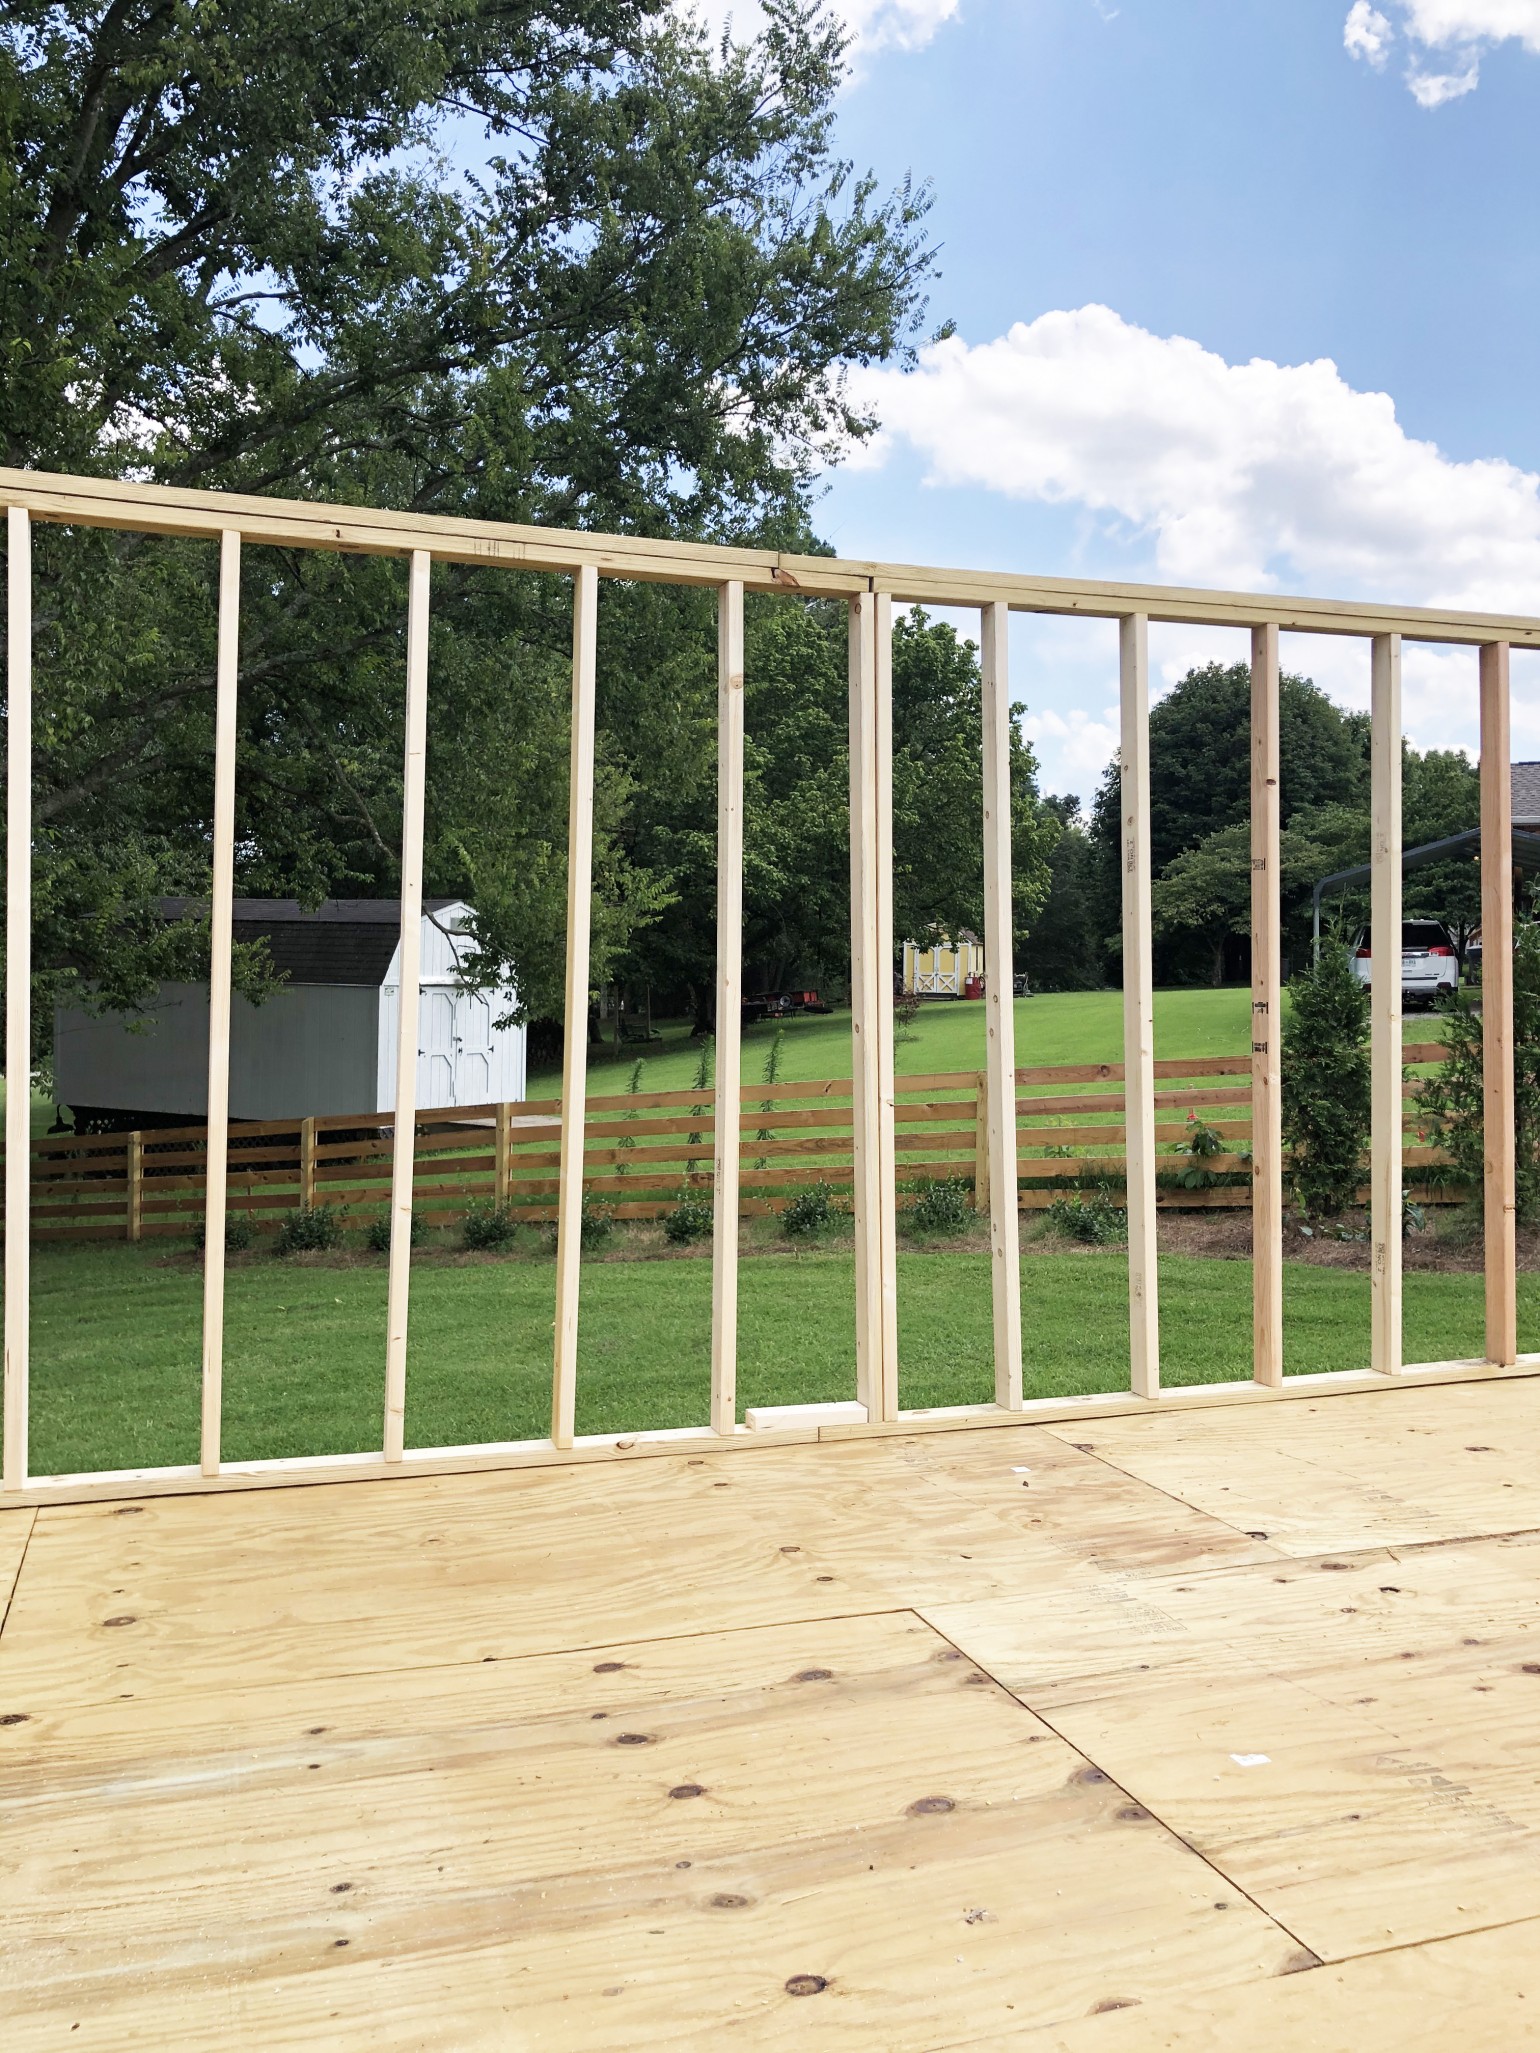
Side Walls
You’ll also need to repeat this process with both sidewalls.
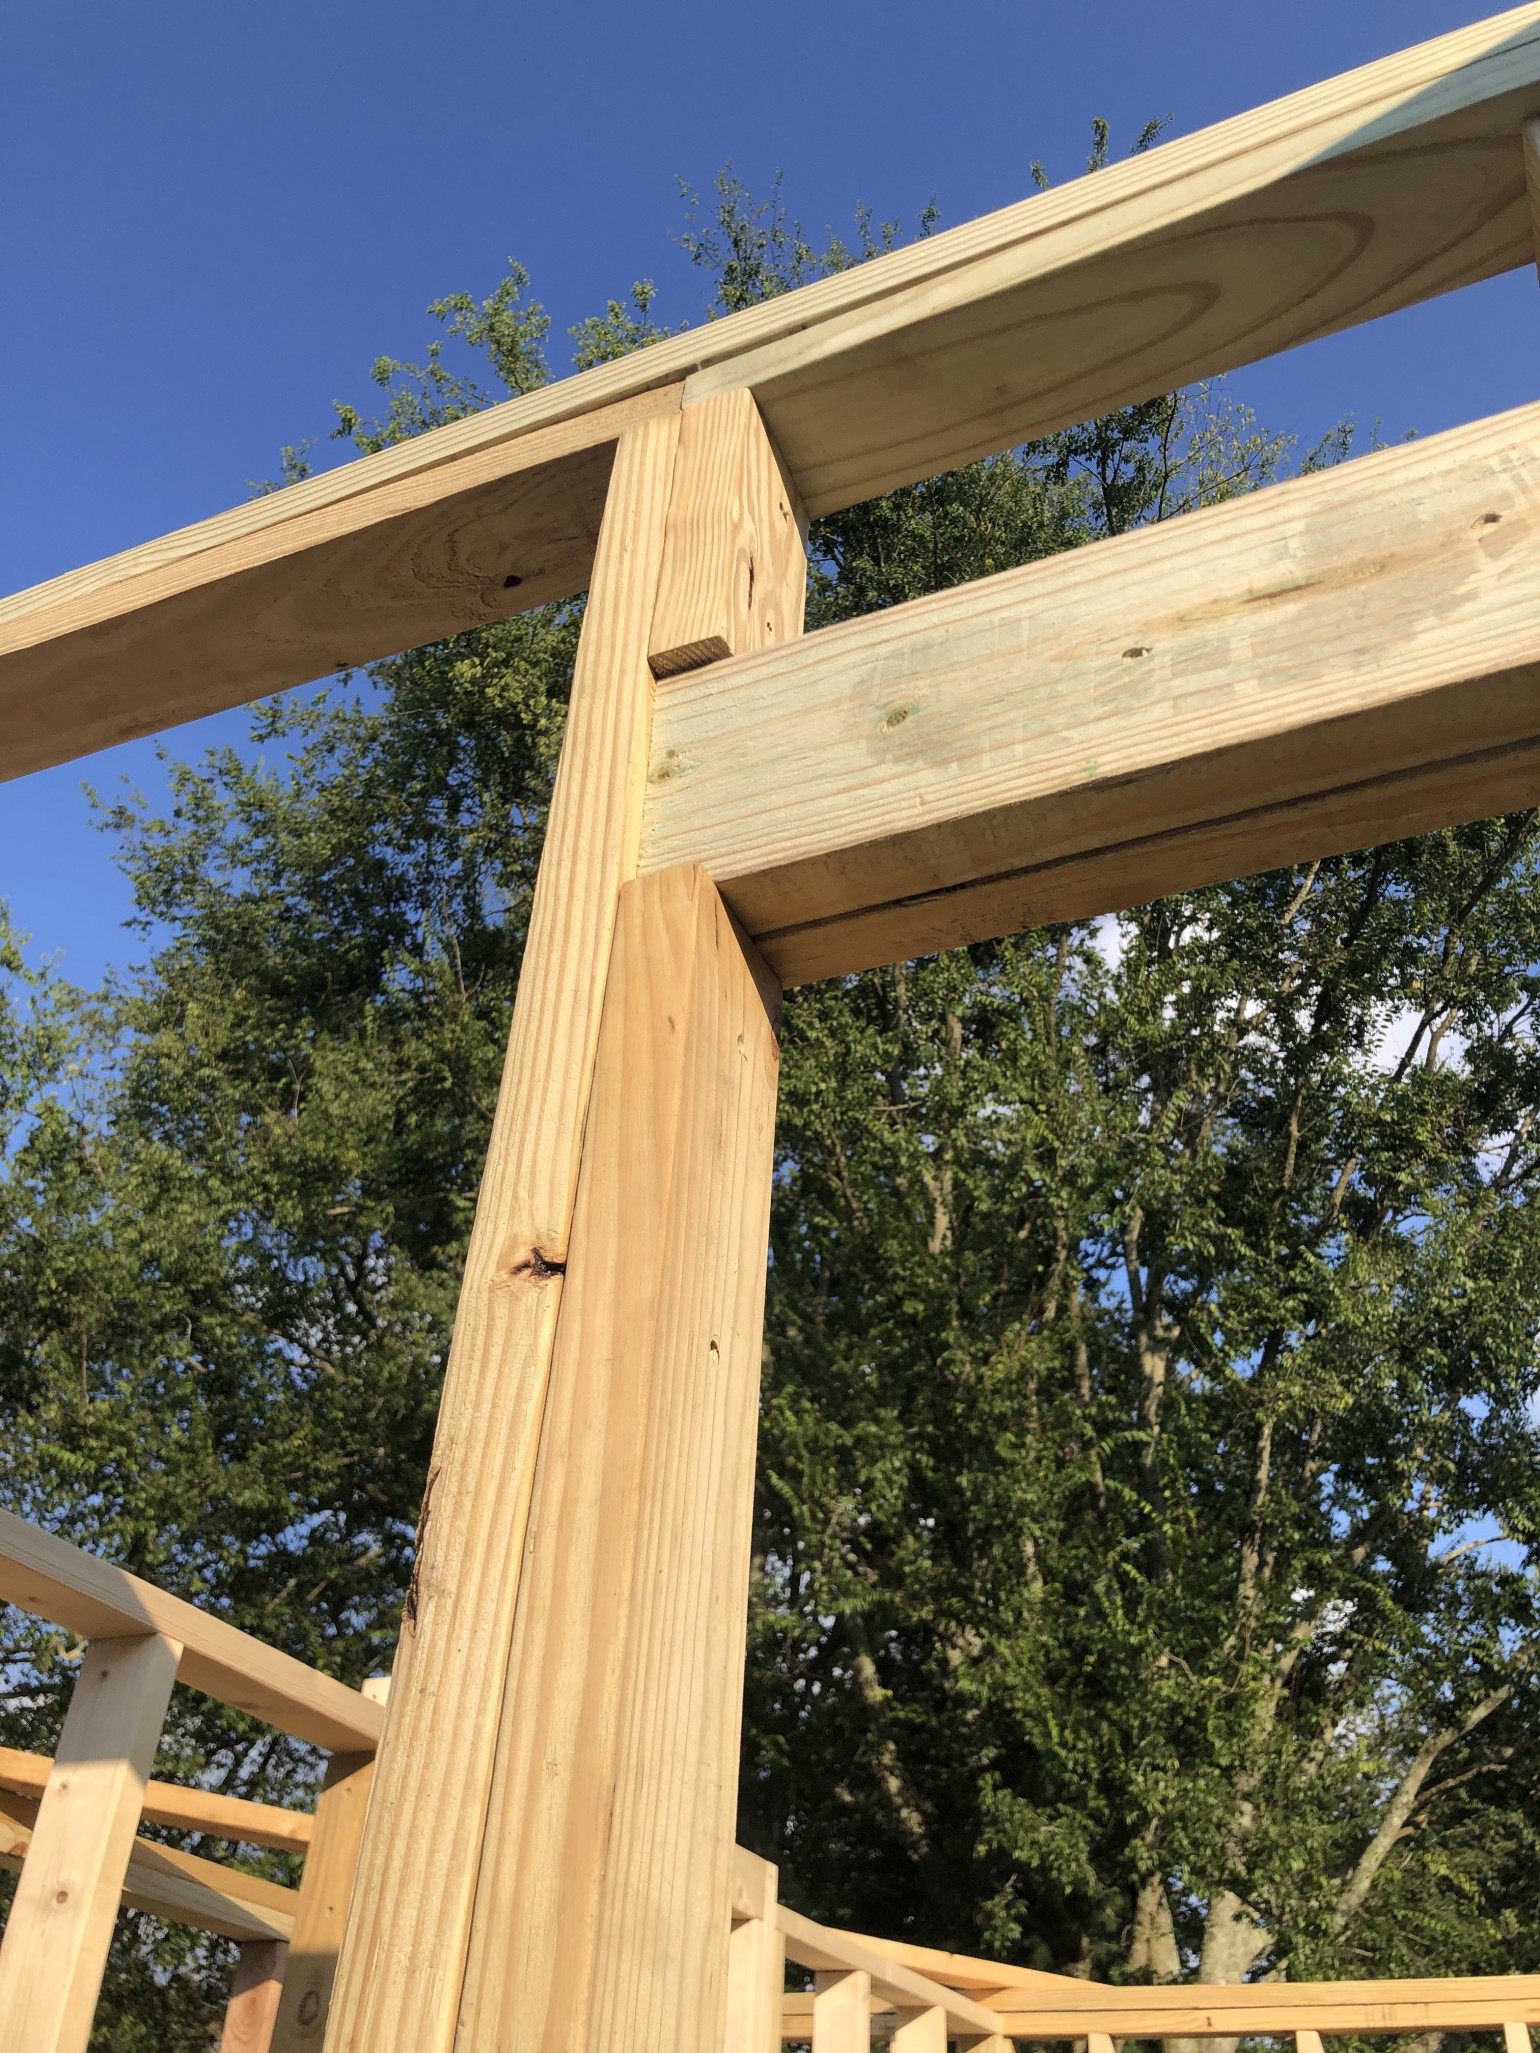
Next, we went ahead and added our second top plate to our back wall, but left 3-1/2″ on each end. This is to allow us to join the second top plate from the side walls to the back wall.
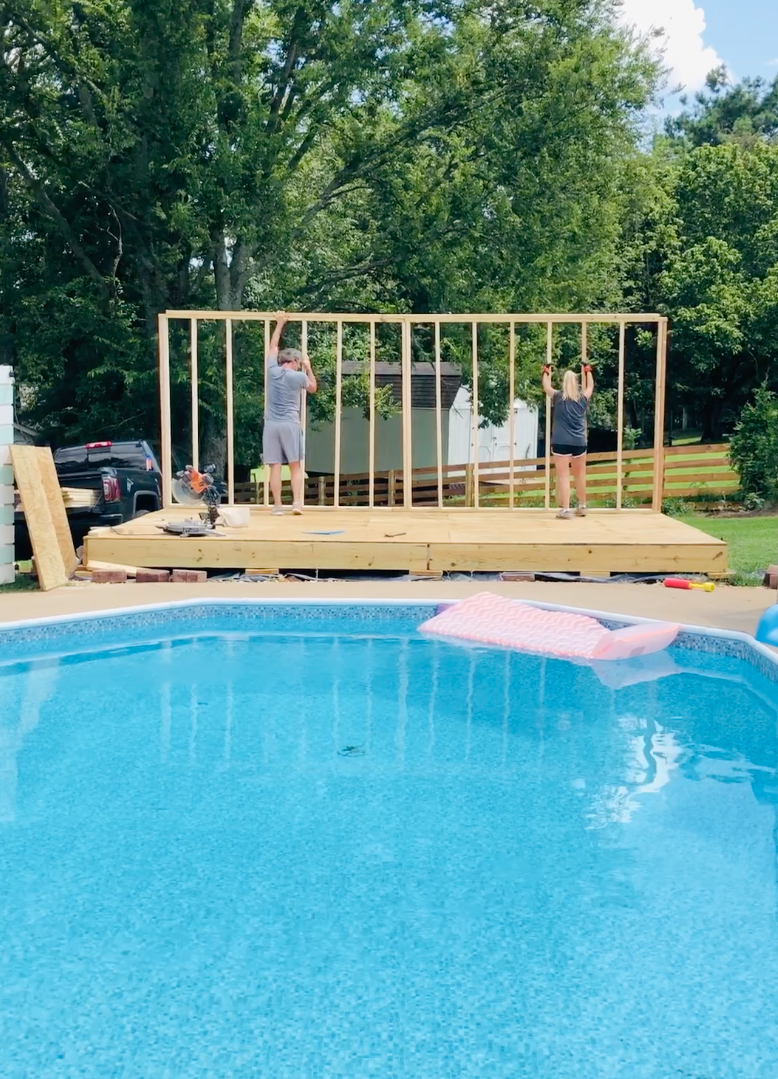
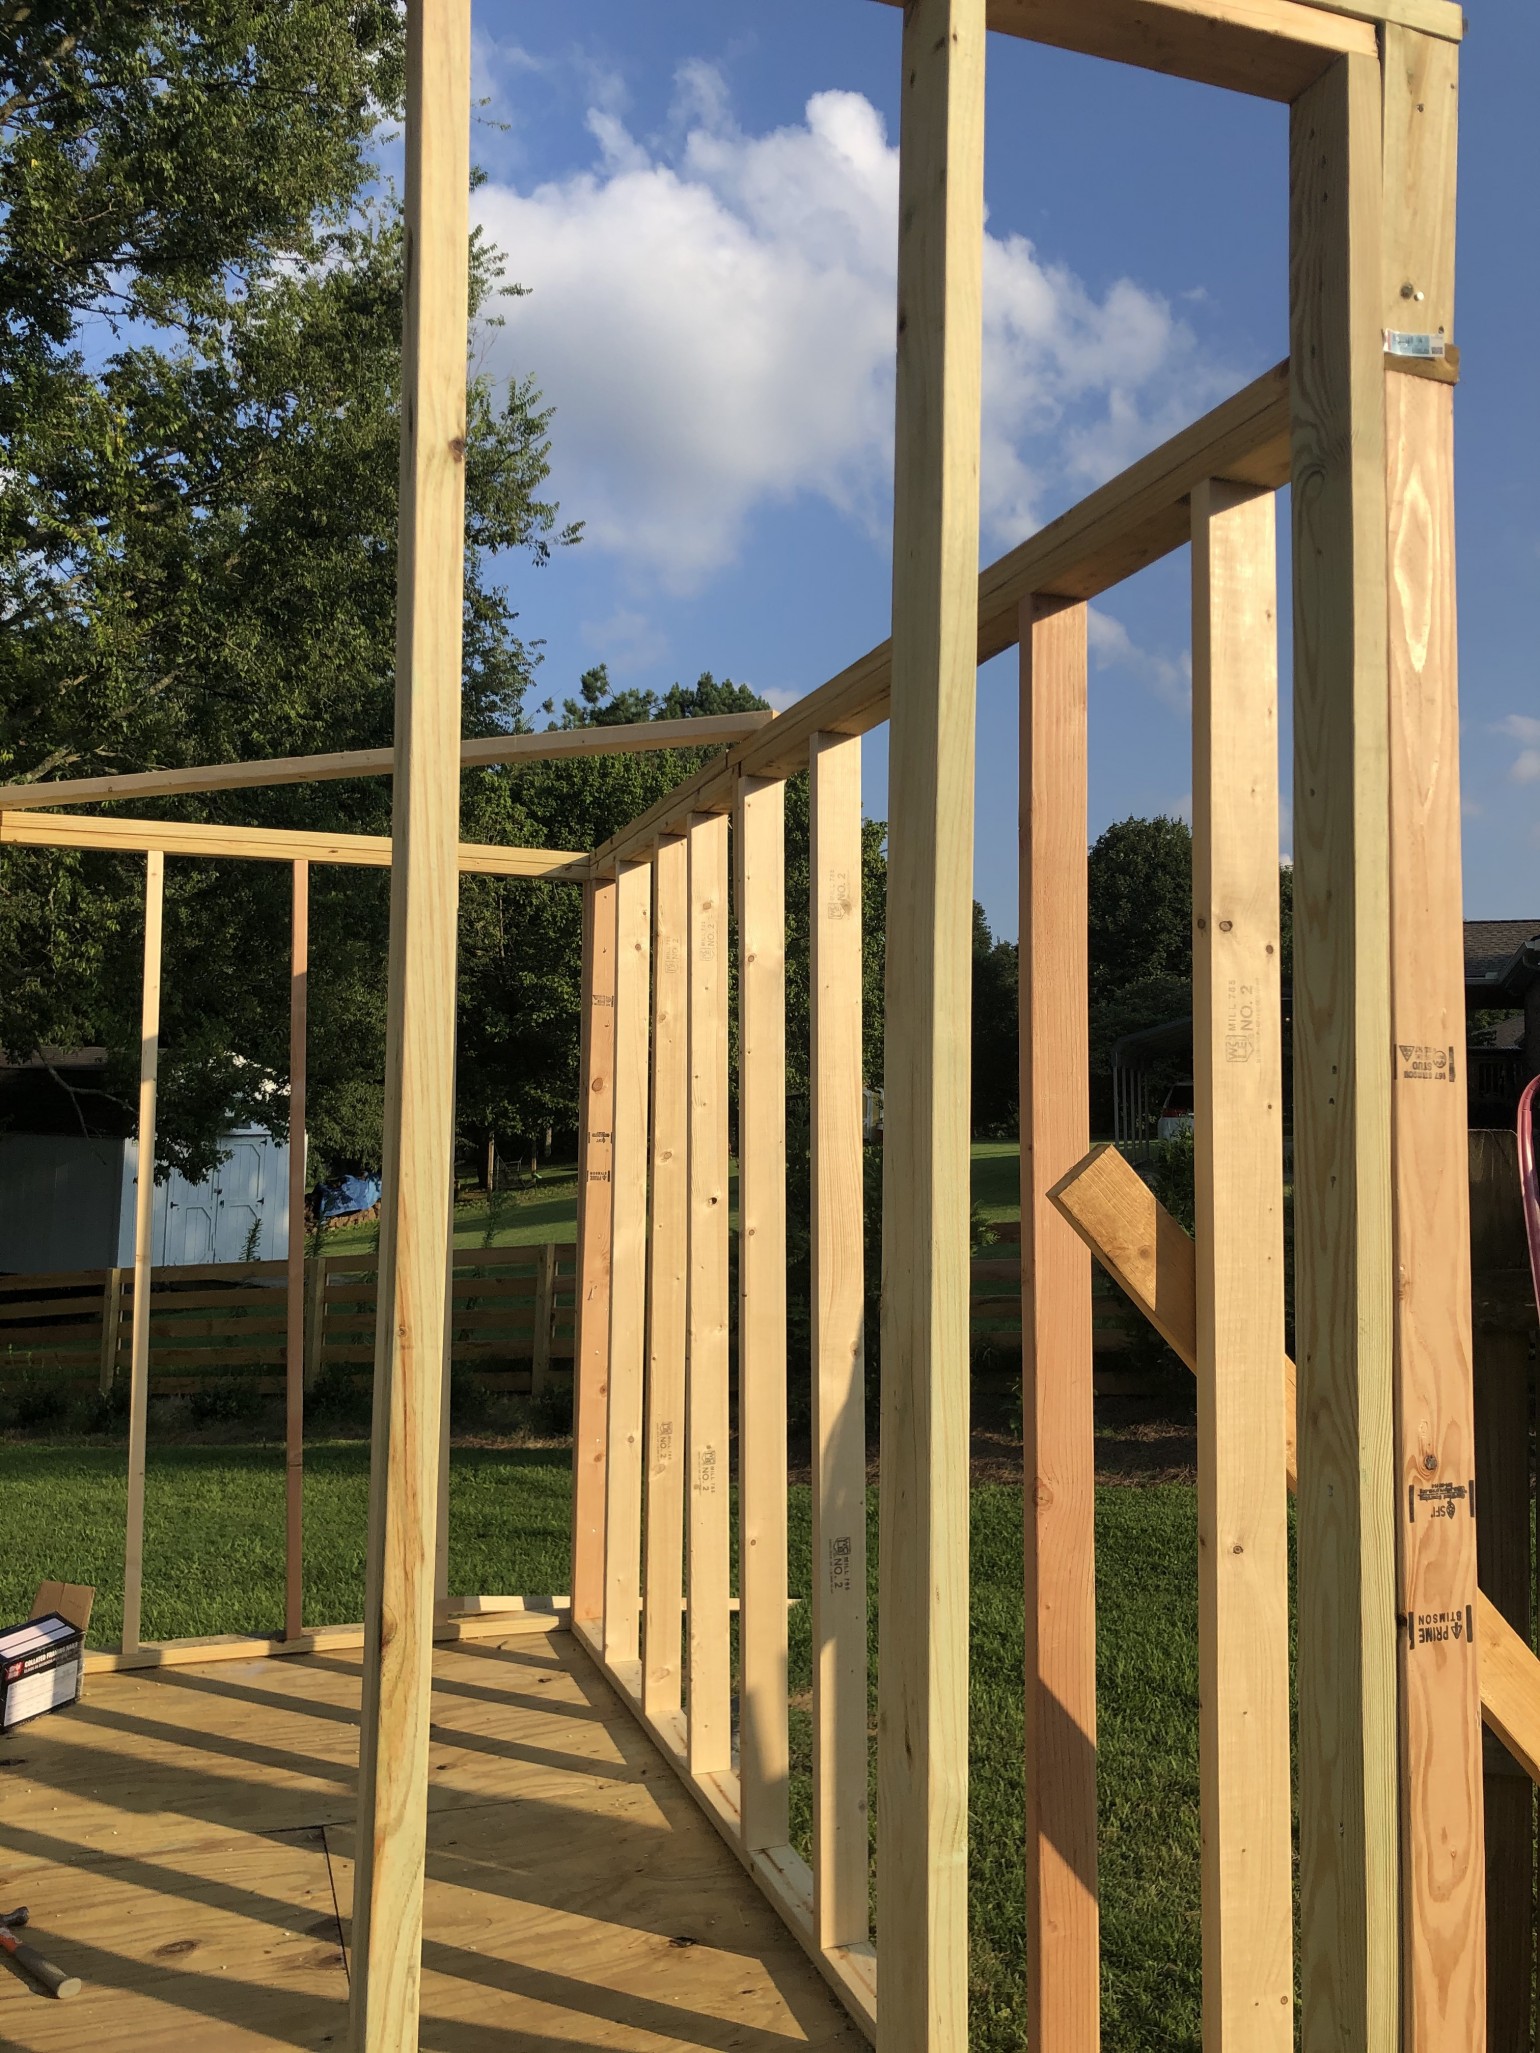
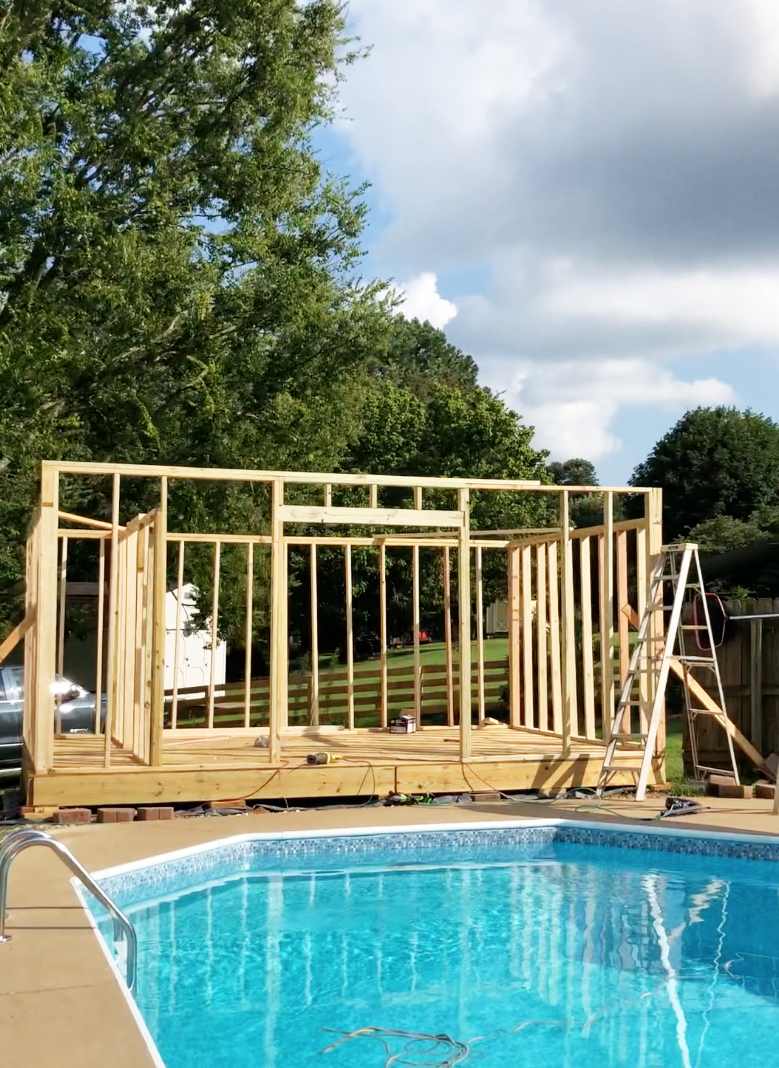
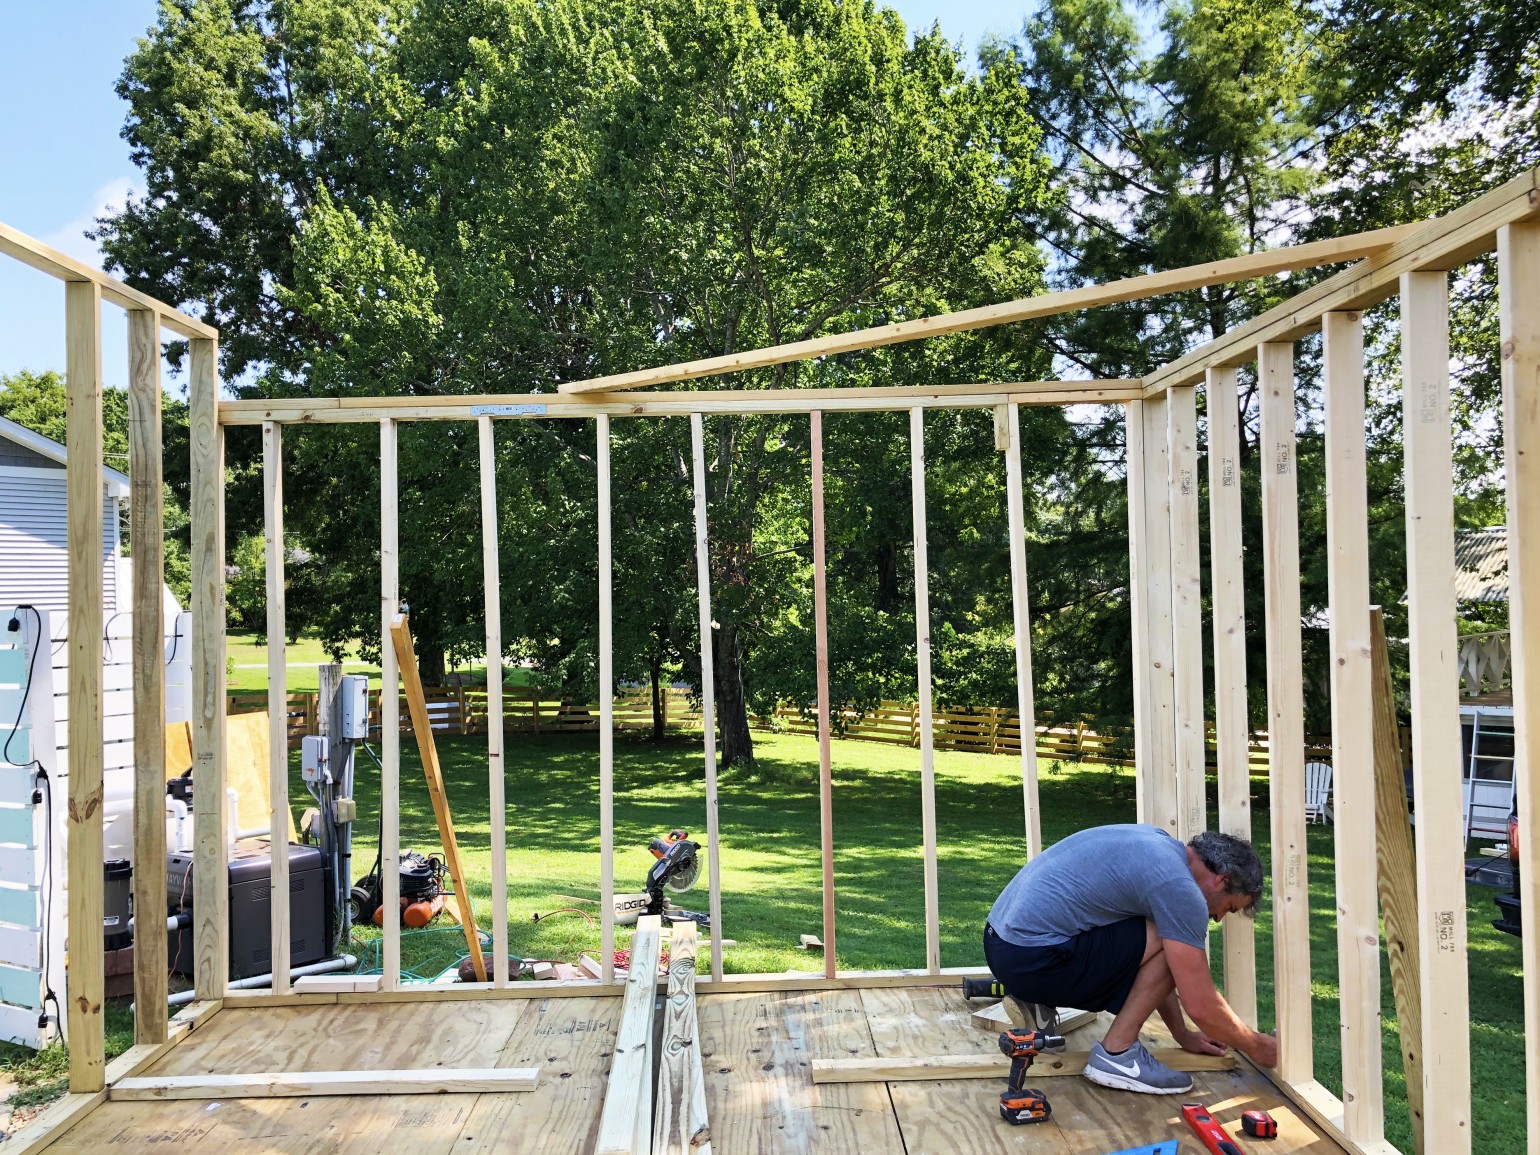
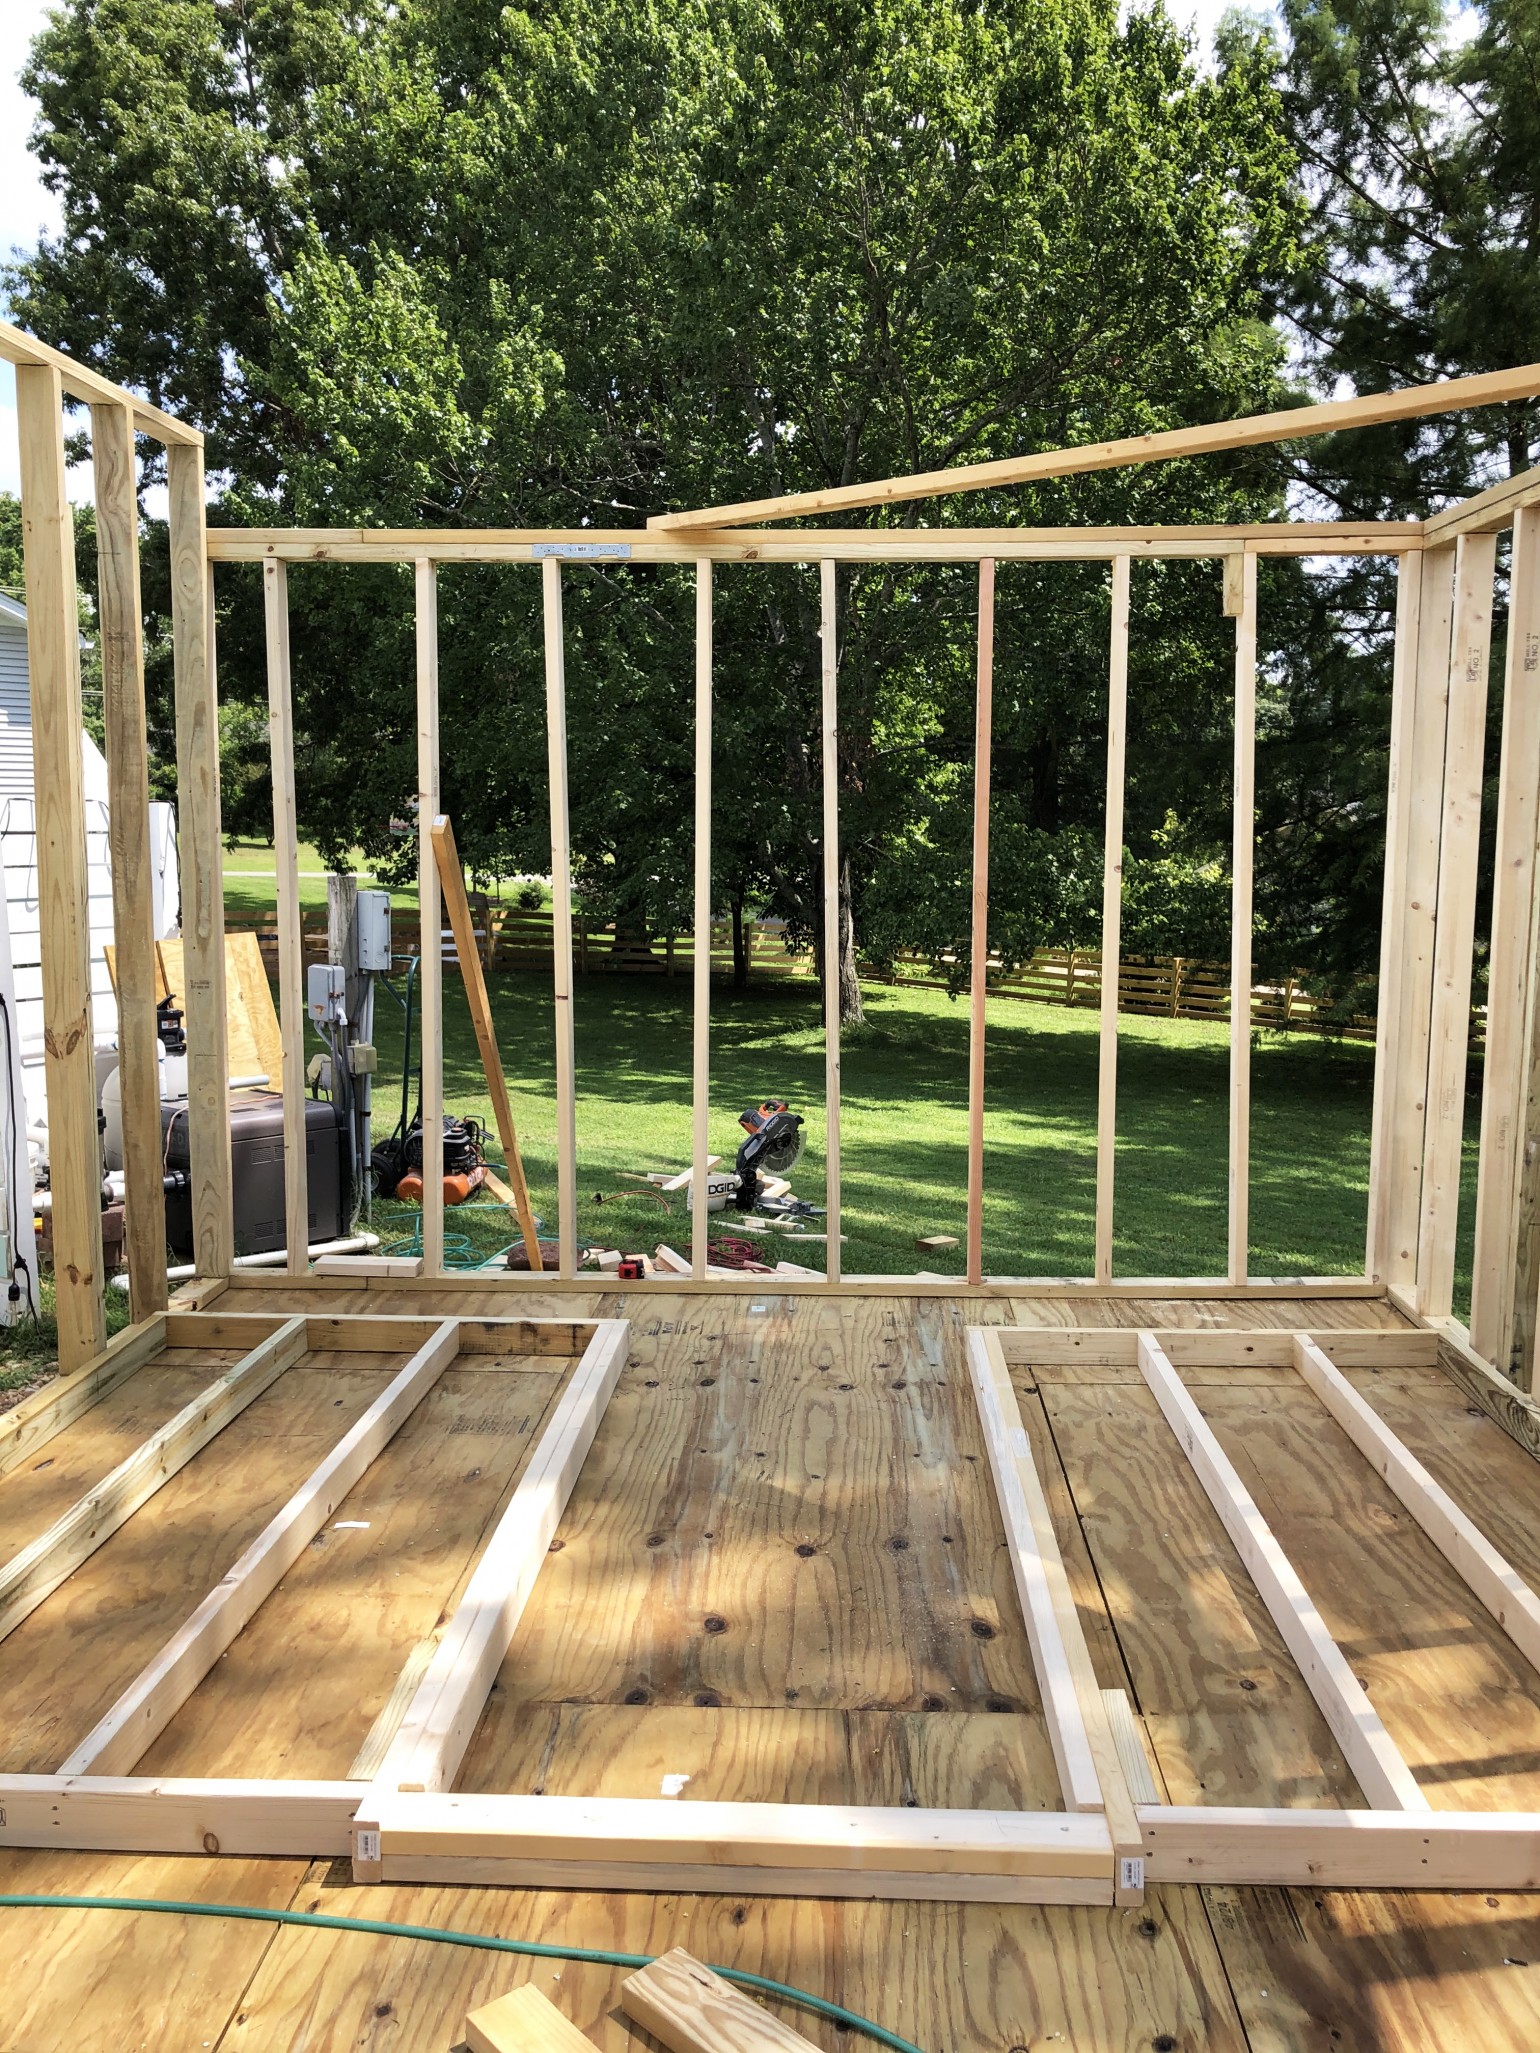
Raise it Up
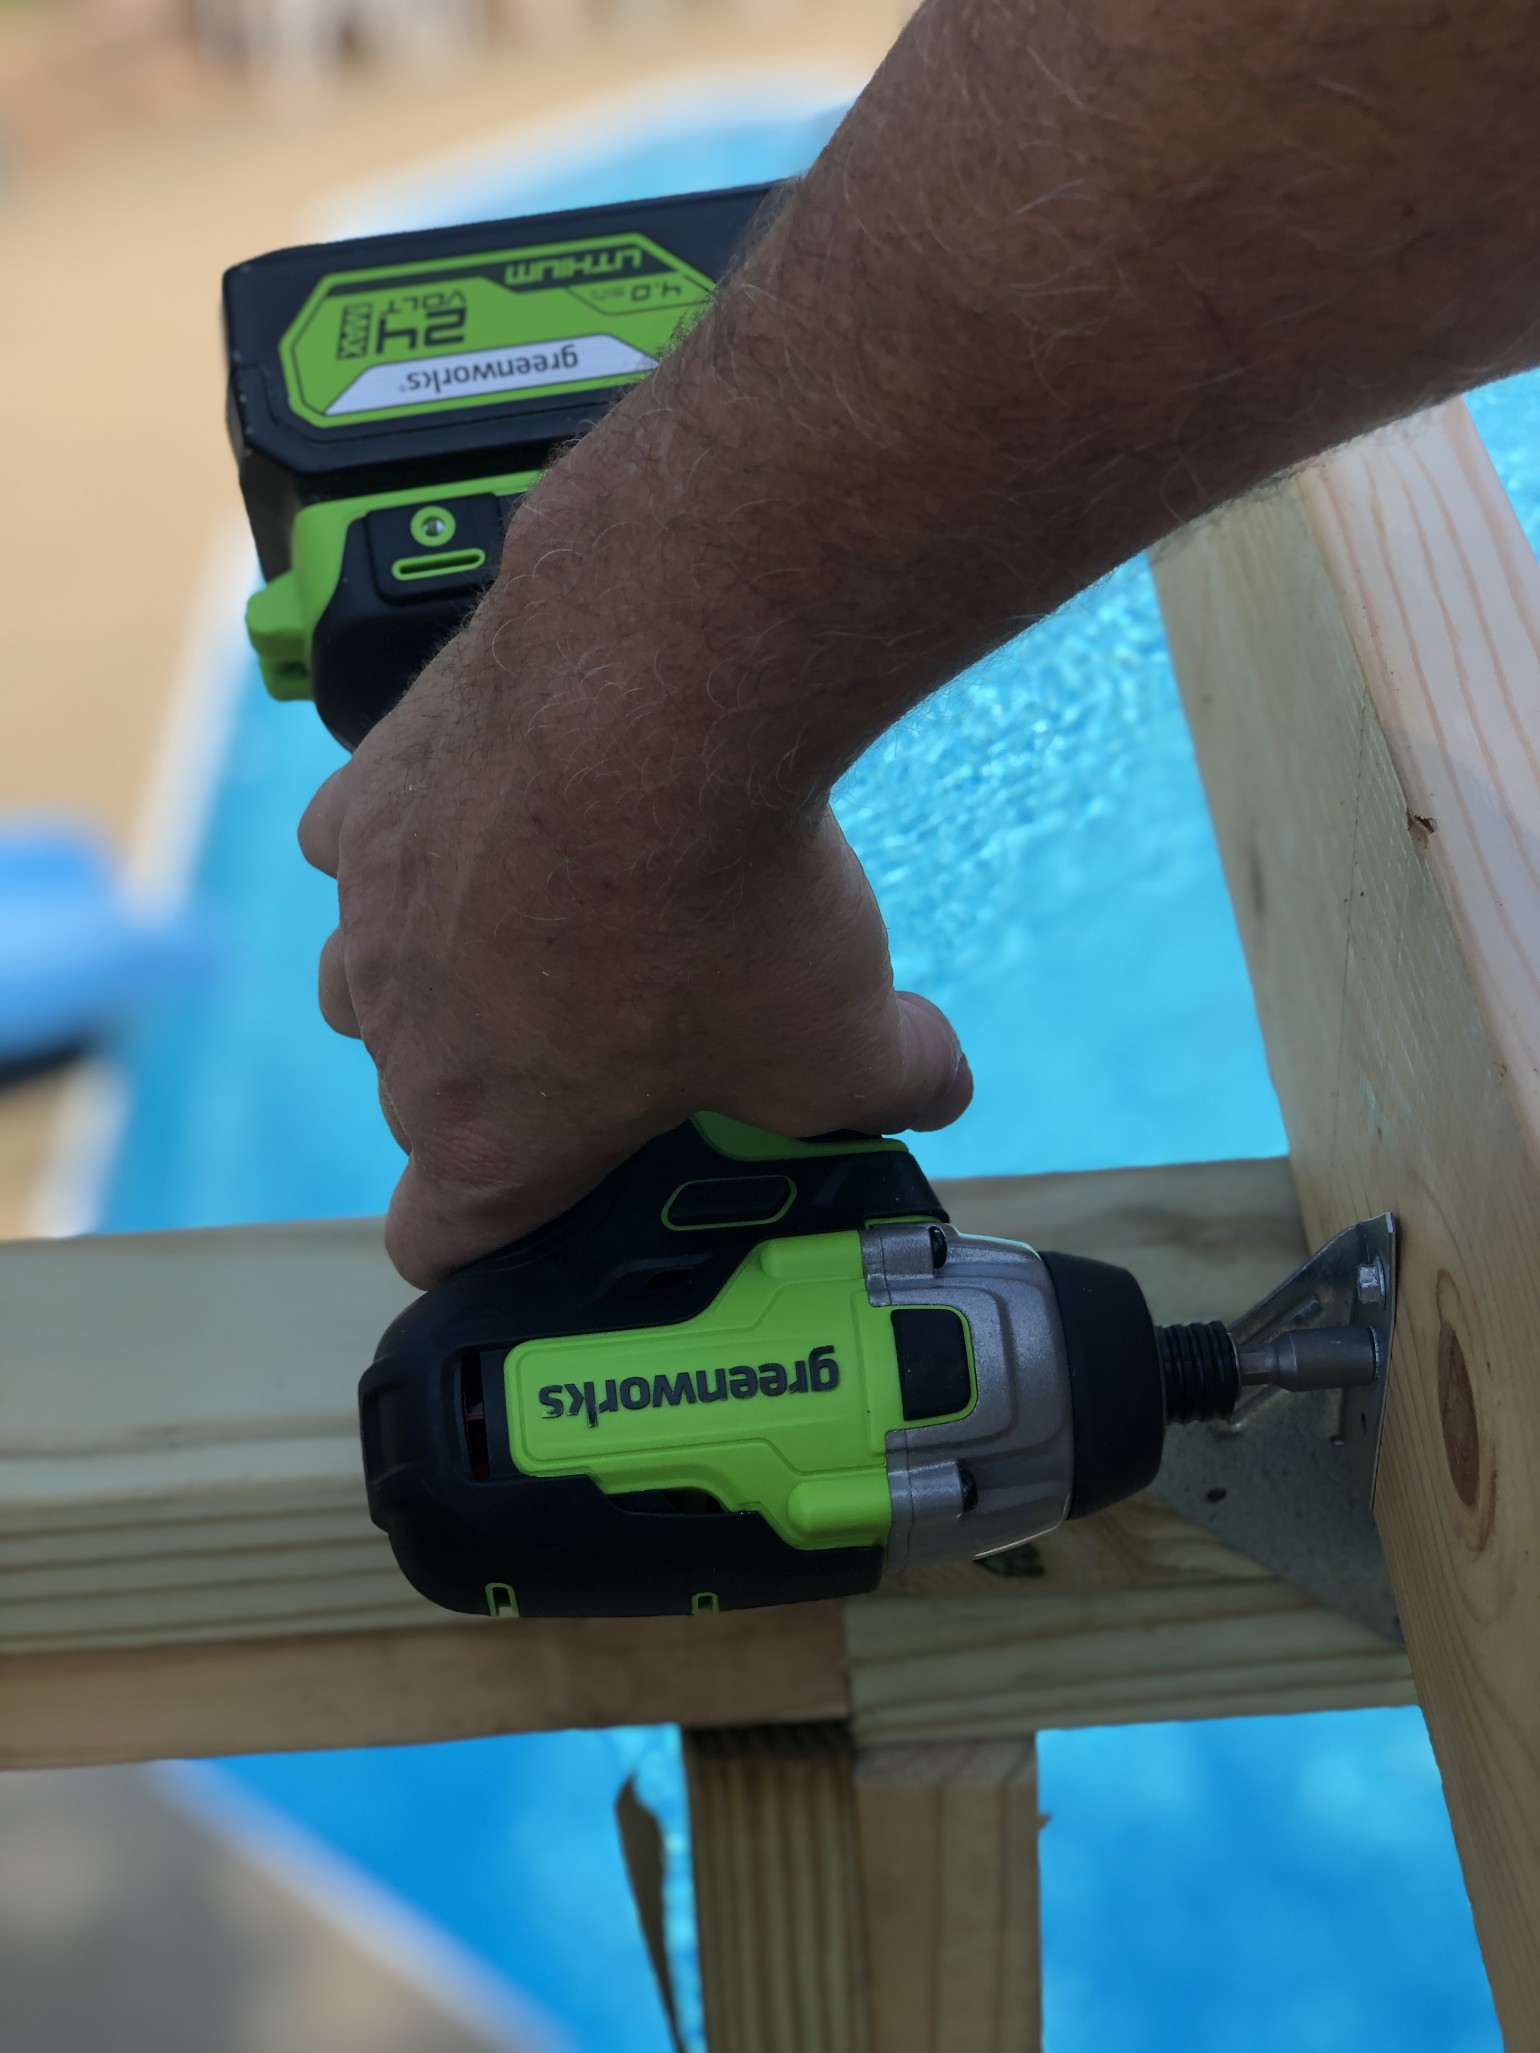
Next, we simply raised the back wall, used some of our 2 x 4 x 10’s, screws, and Greenworks drill to brace it.
Then we raised both of our sidewalls and braced them in the same way.
We used a carpenters square to make sure our corners were square, and a 4-foot level to make sure we weren’t leaning. Then we nailed the walls to the subfloor and to each other in the corners, constantly making sure we were level and square.
Once that was complete, we added our tops plates on the sides, which overlapped the back wall.
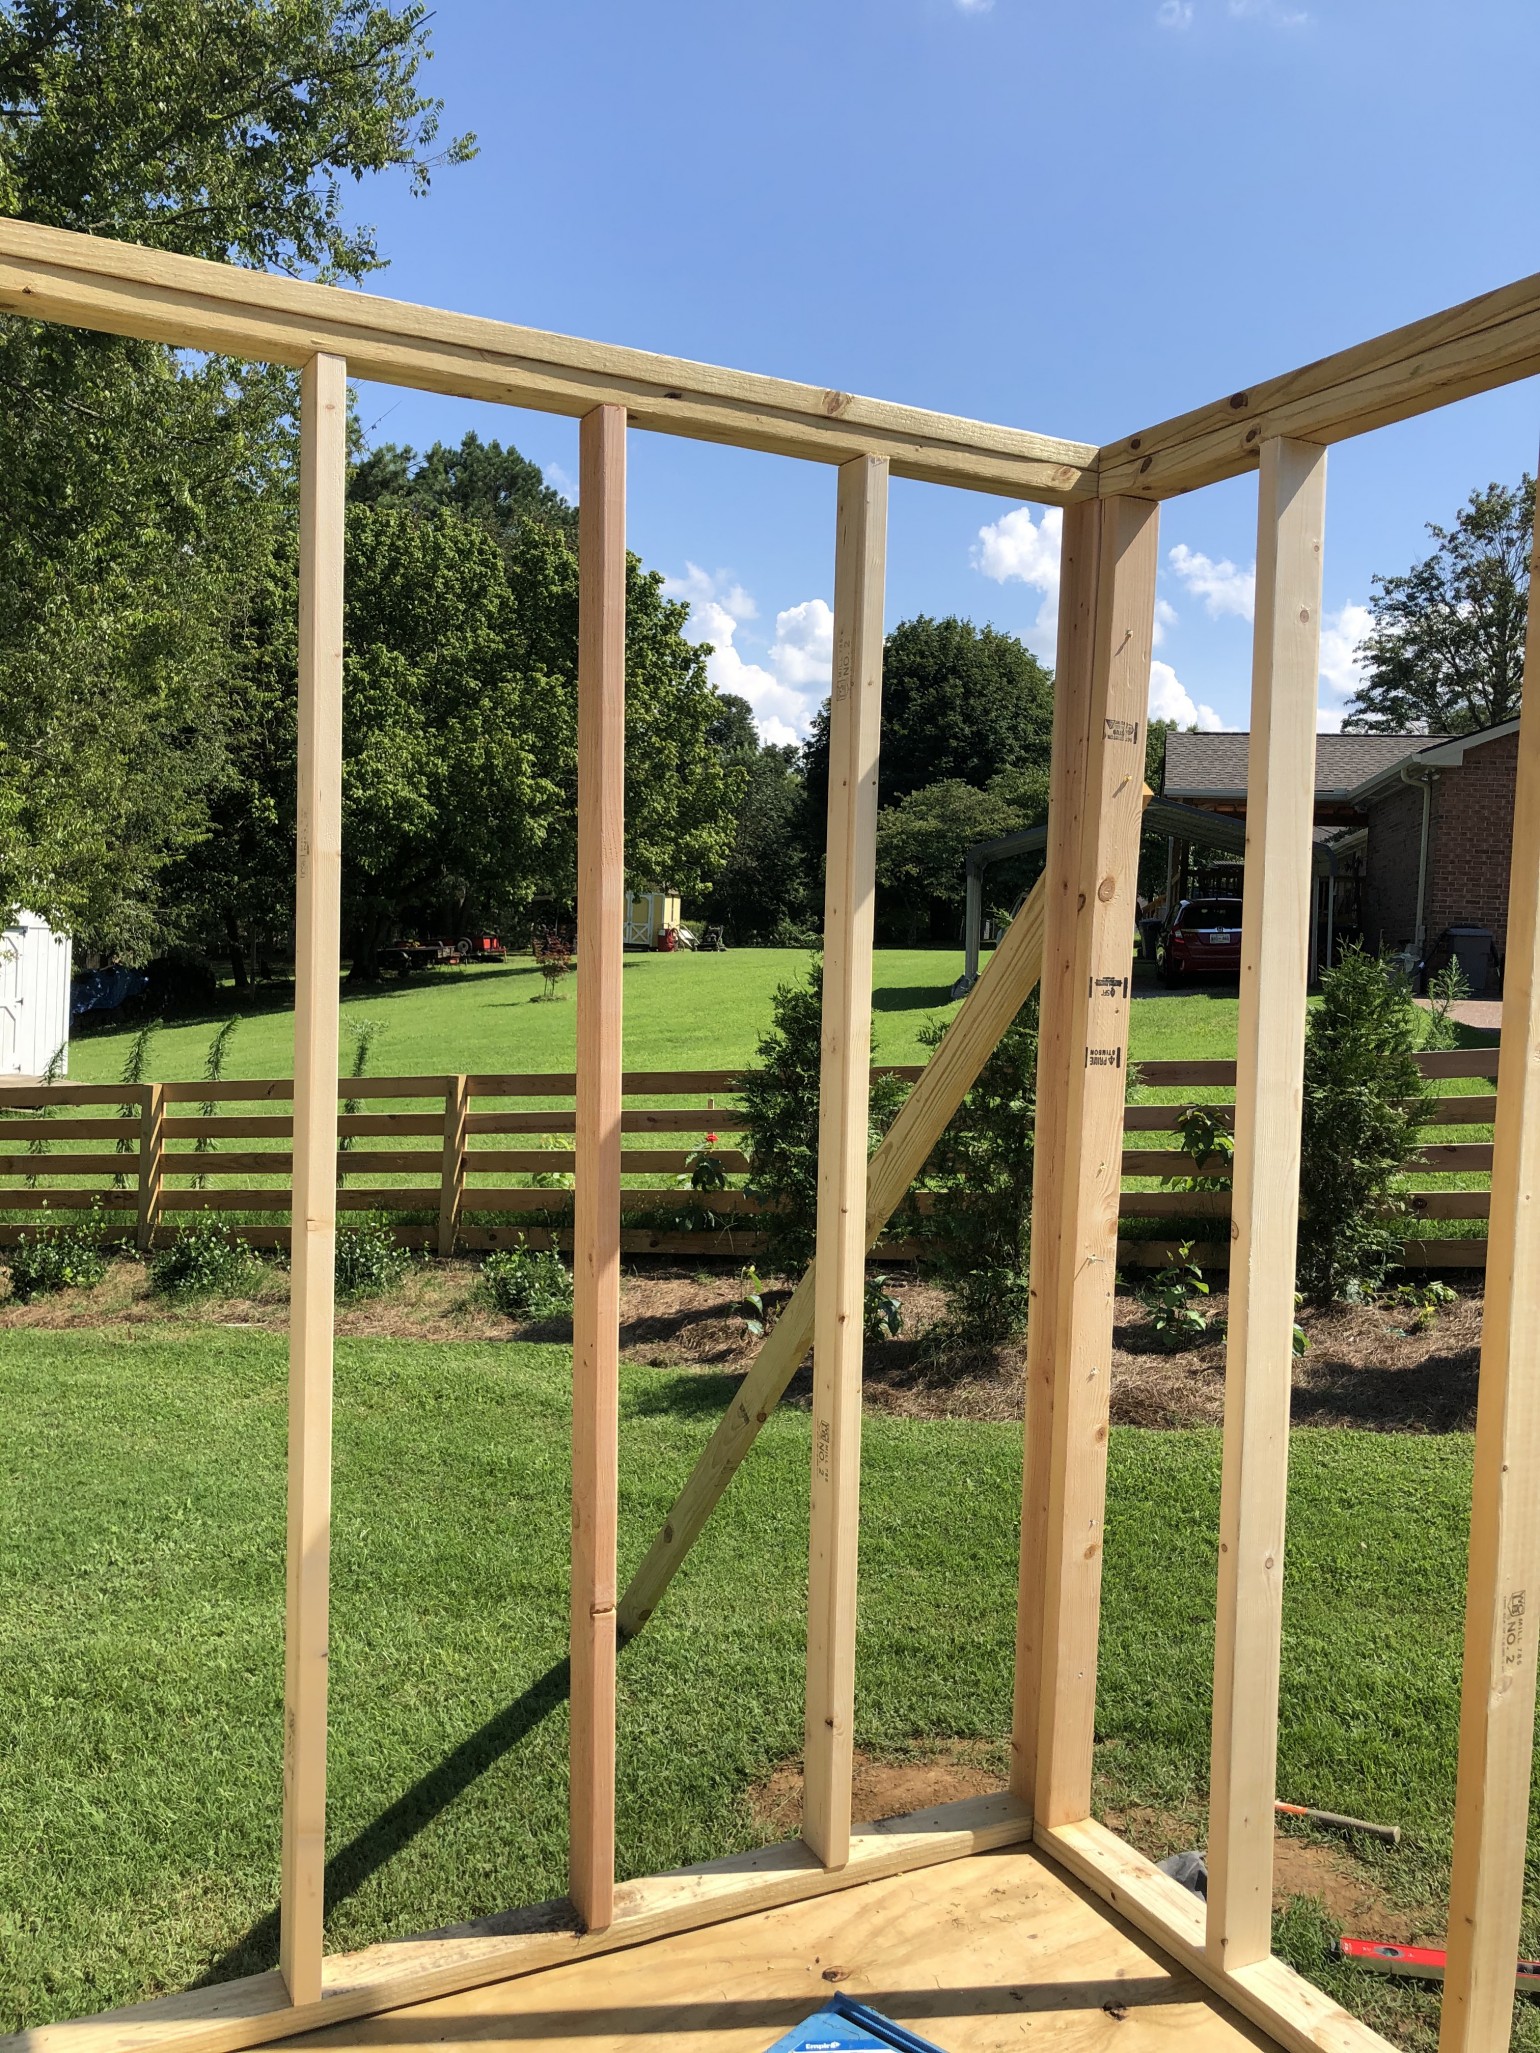
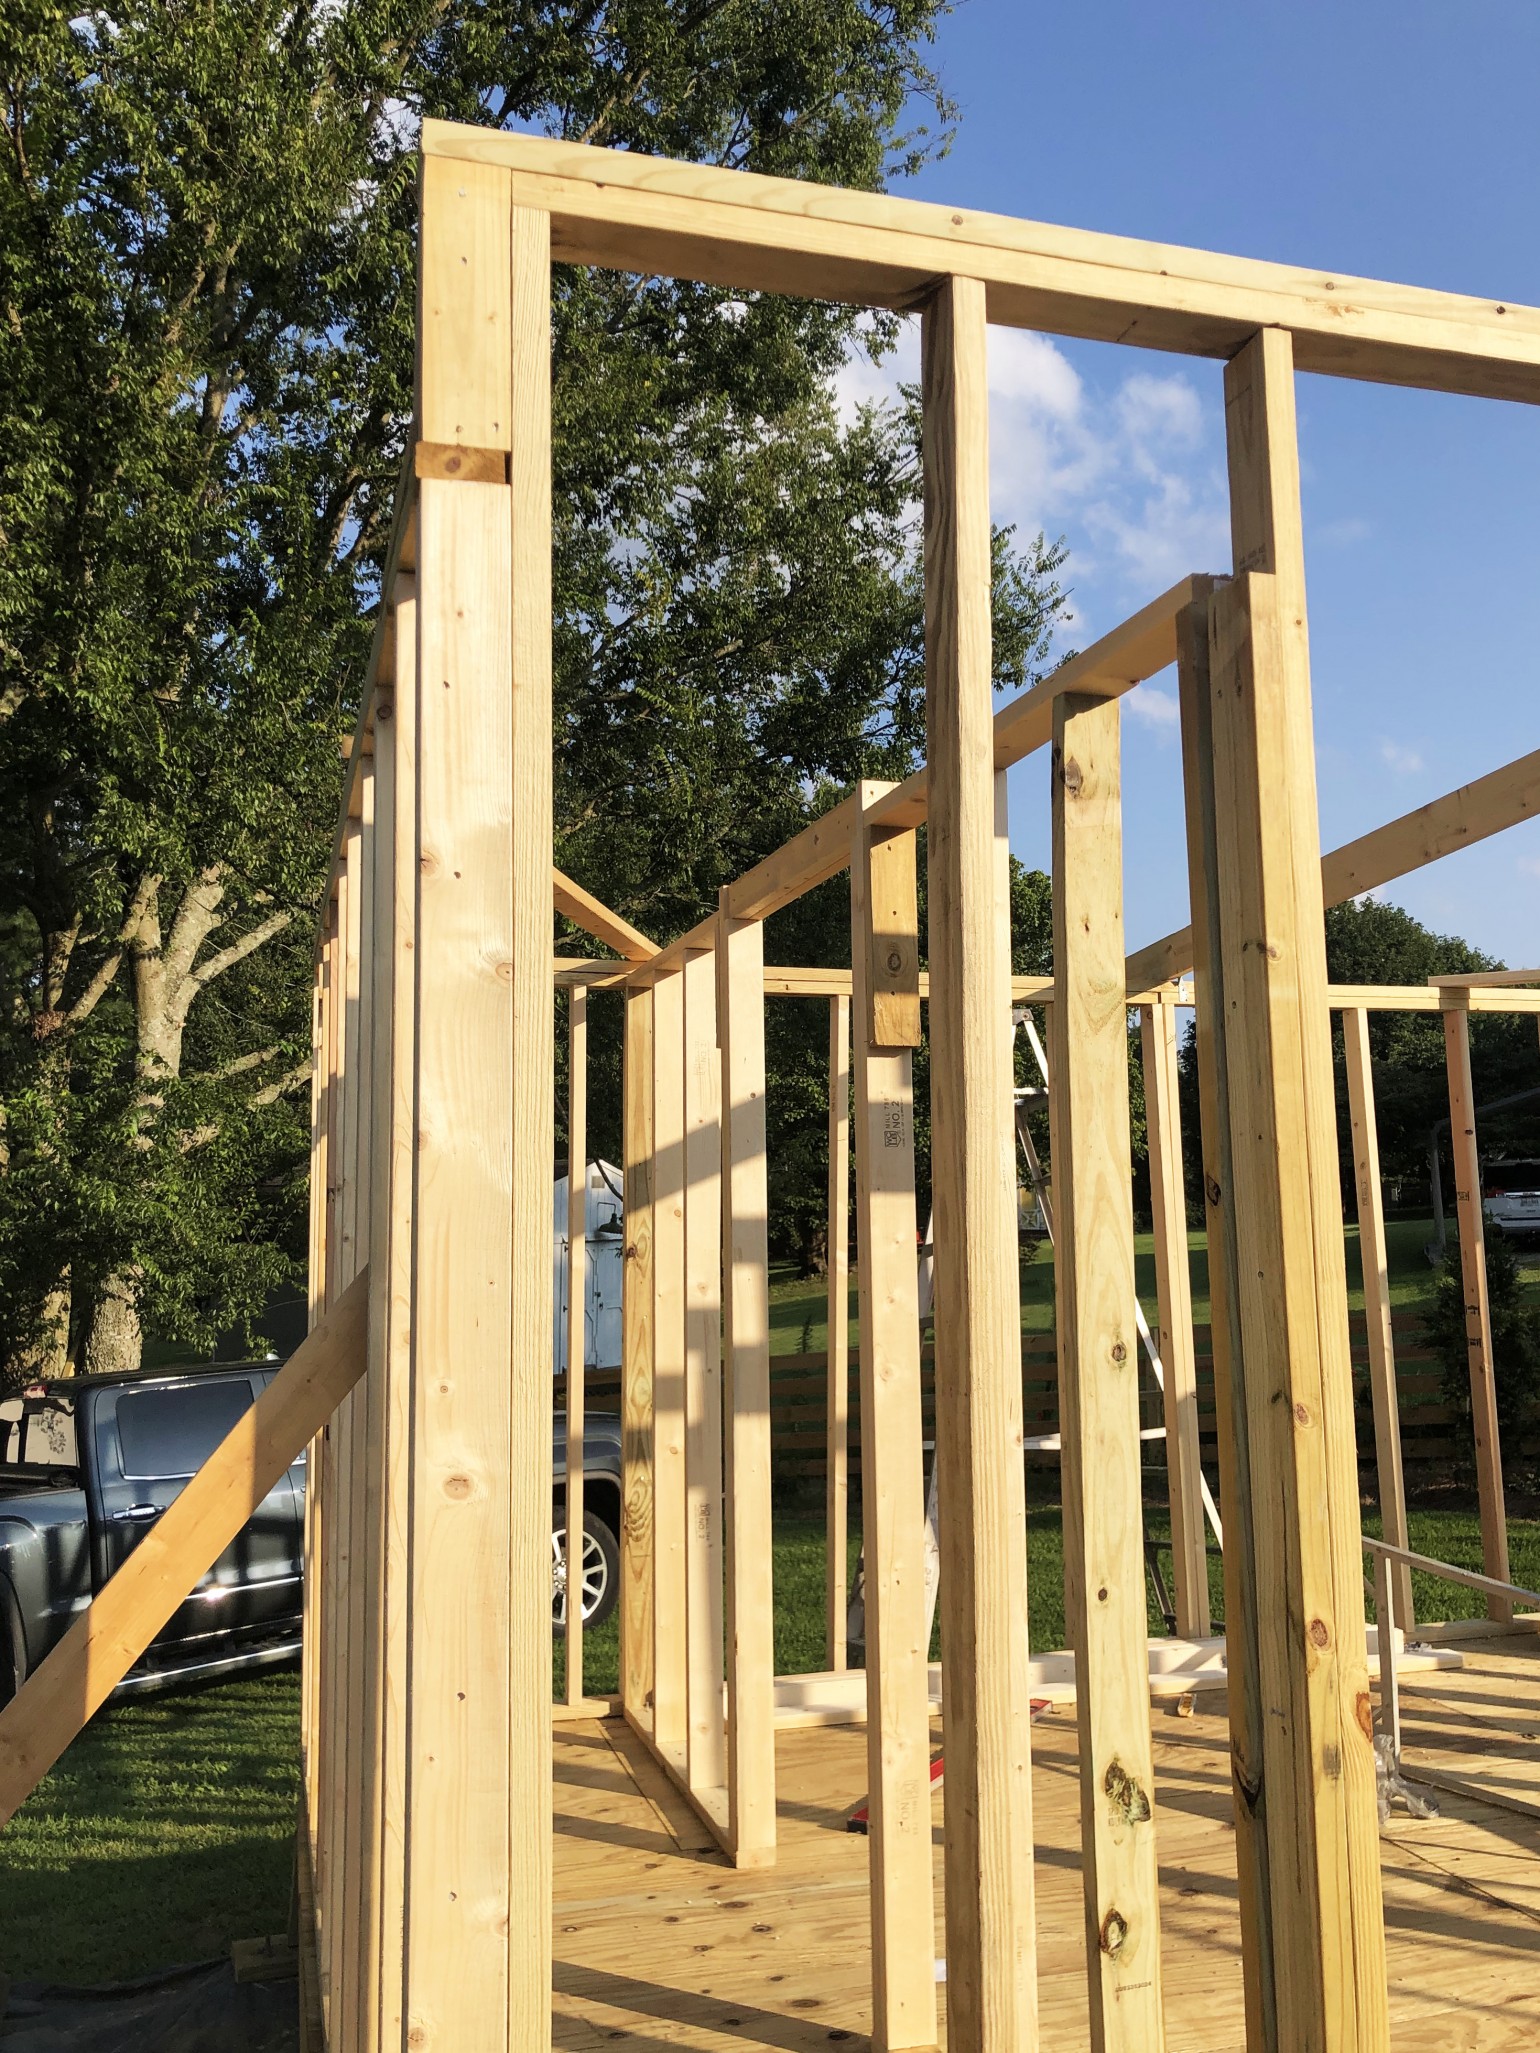
Brace it
We also braced our walls diagonally on the top plates, by using our drill.
We screwed an extra 2 x 4 x 8 from one corner to the other, in a sense making a triangle.
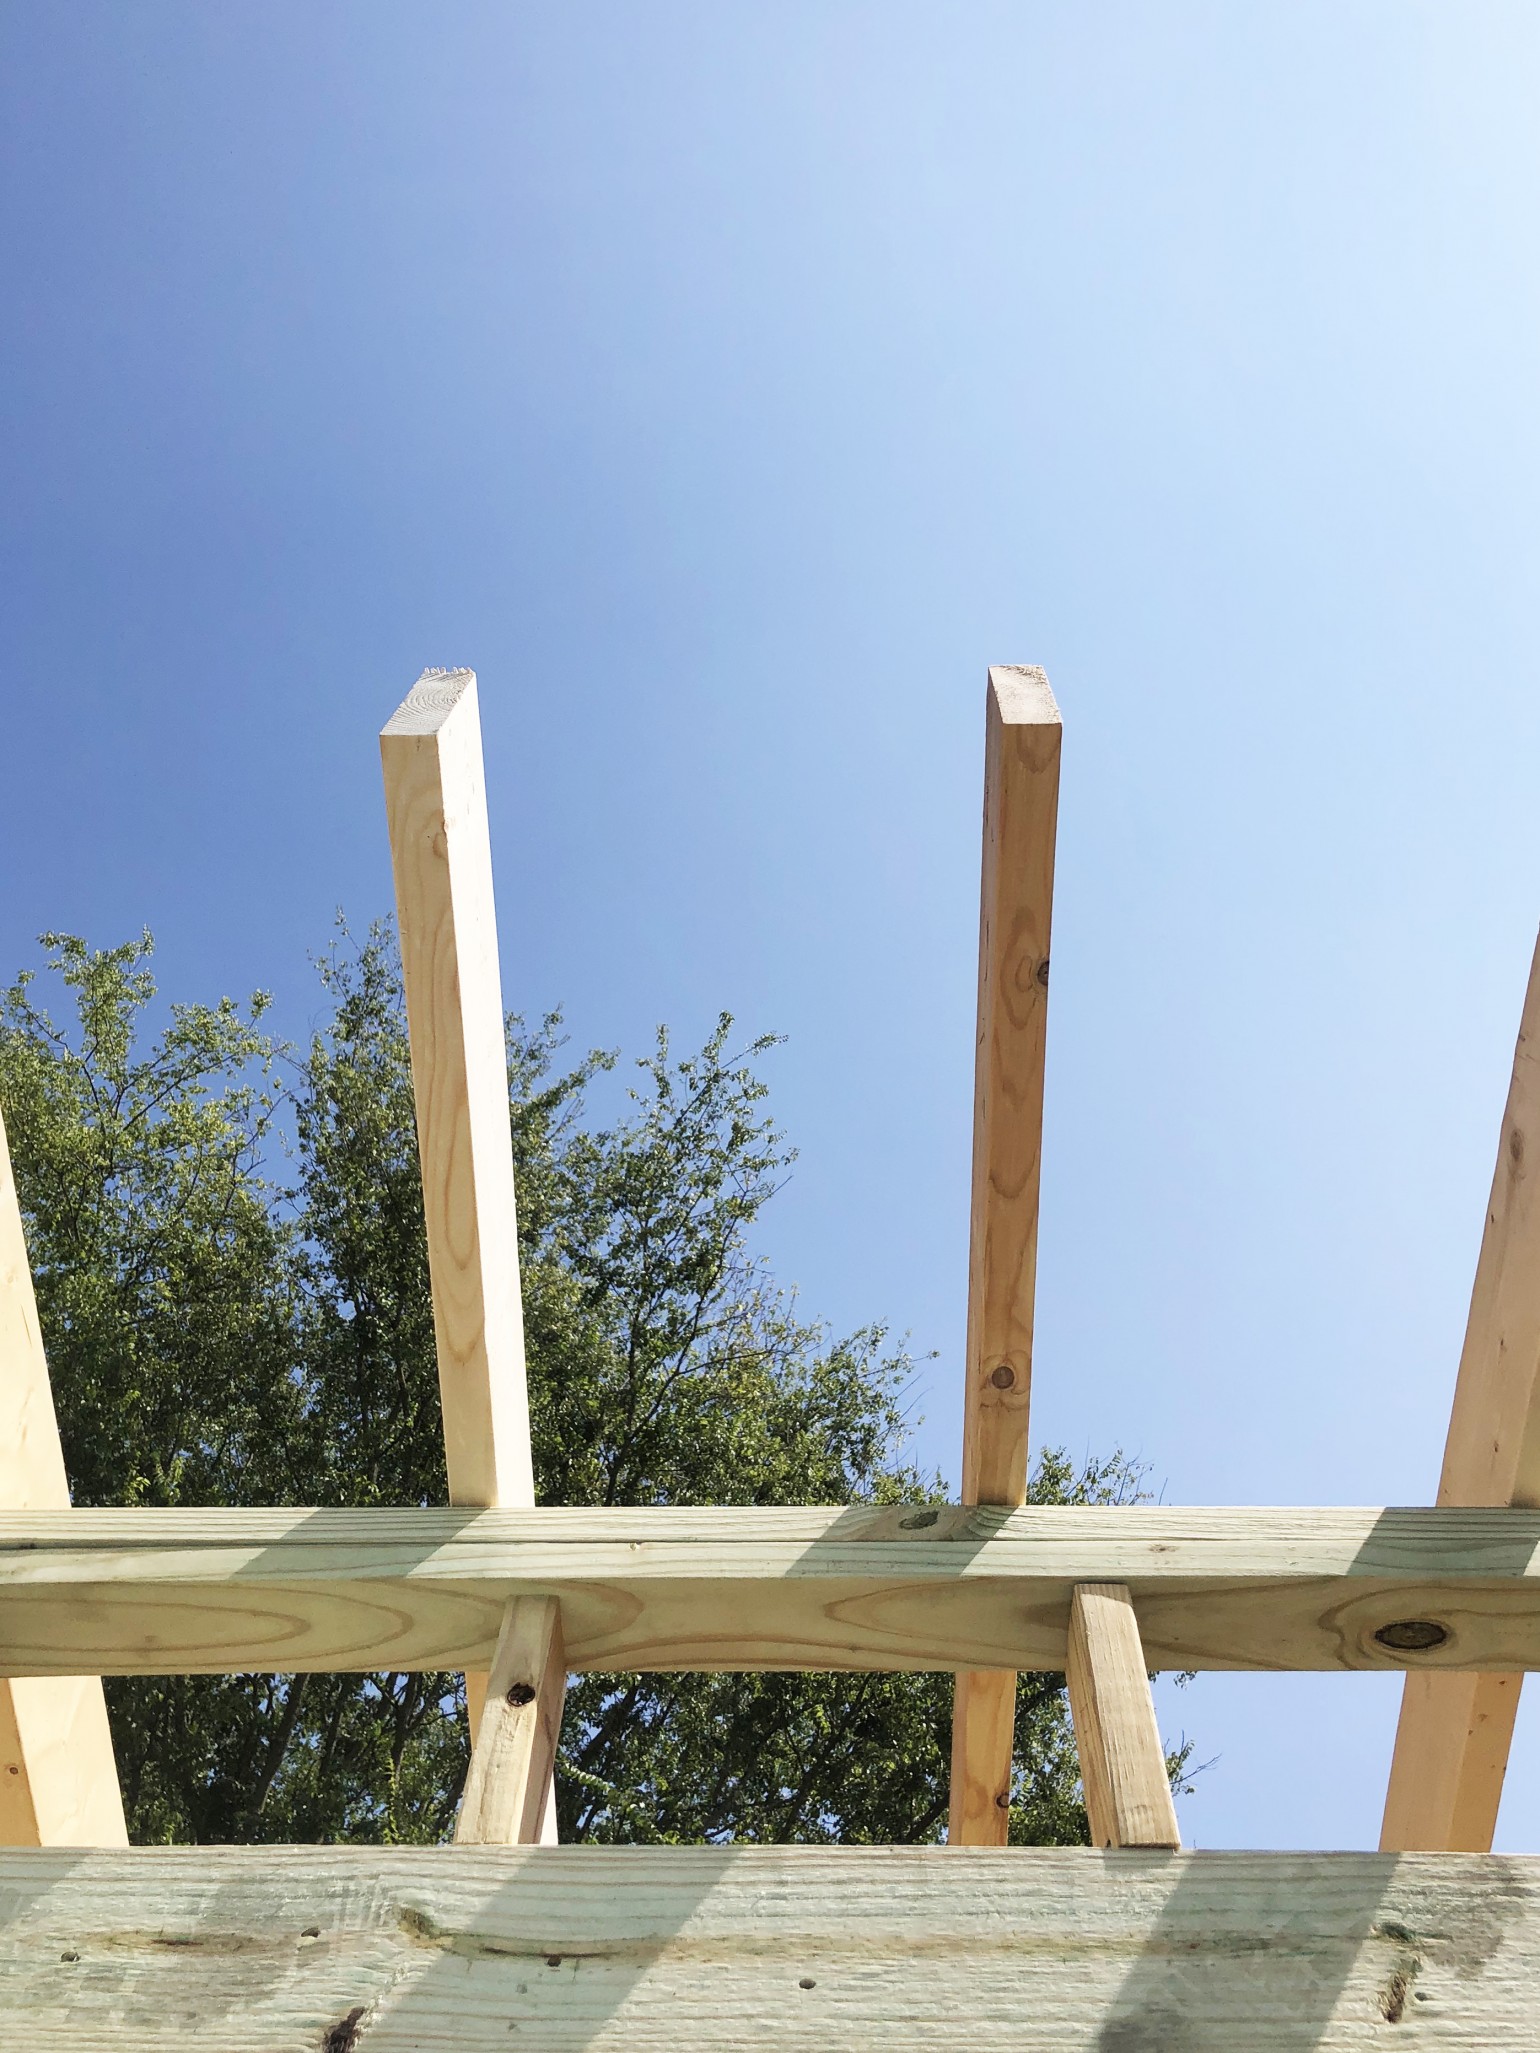
Front Walls
Then it was time to work on the front walls.
We knew that our front length was 18 1/2′ and that we would have a 5′ door.
We also would be joining it to a 2 x 4 wall so we’d need to remove another 7″ So our 2 front wall lengths would be figured out like this.
(18’6″) or 222″ – 60″(door) – 7″(adjoining walls) – 3″ (jack studs for door)/2= 76″
Make Room for the Doors
We cut 2 pressure treated pieces of wood to 77-1/2″, and we added back an 1-1/2 inch for the jack stud.
Then we cut our 2 x 4 x 10’s down to 9’1-1/2″ (remember you are subtracting the base plate and 2 top plates from the 9’6″ height) and starting in the corner, nailed them into our base plate. On the end where the door would be, we left a 1-1/2″ space for our jack stud. Repeat this for both sides.
Then cut your jack studs to the height of your door, this was 80″ for us.
Nail these two studs to the king stud or the last stud where you left the space in the walls you have built.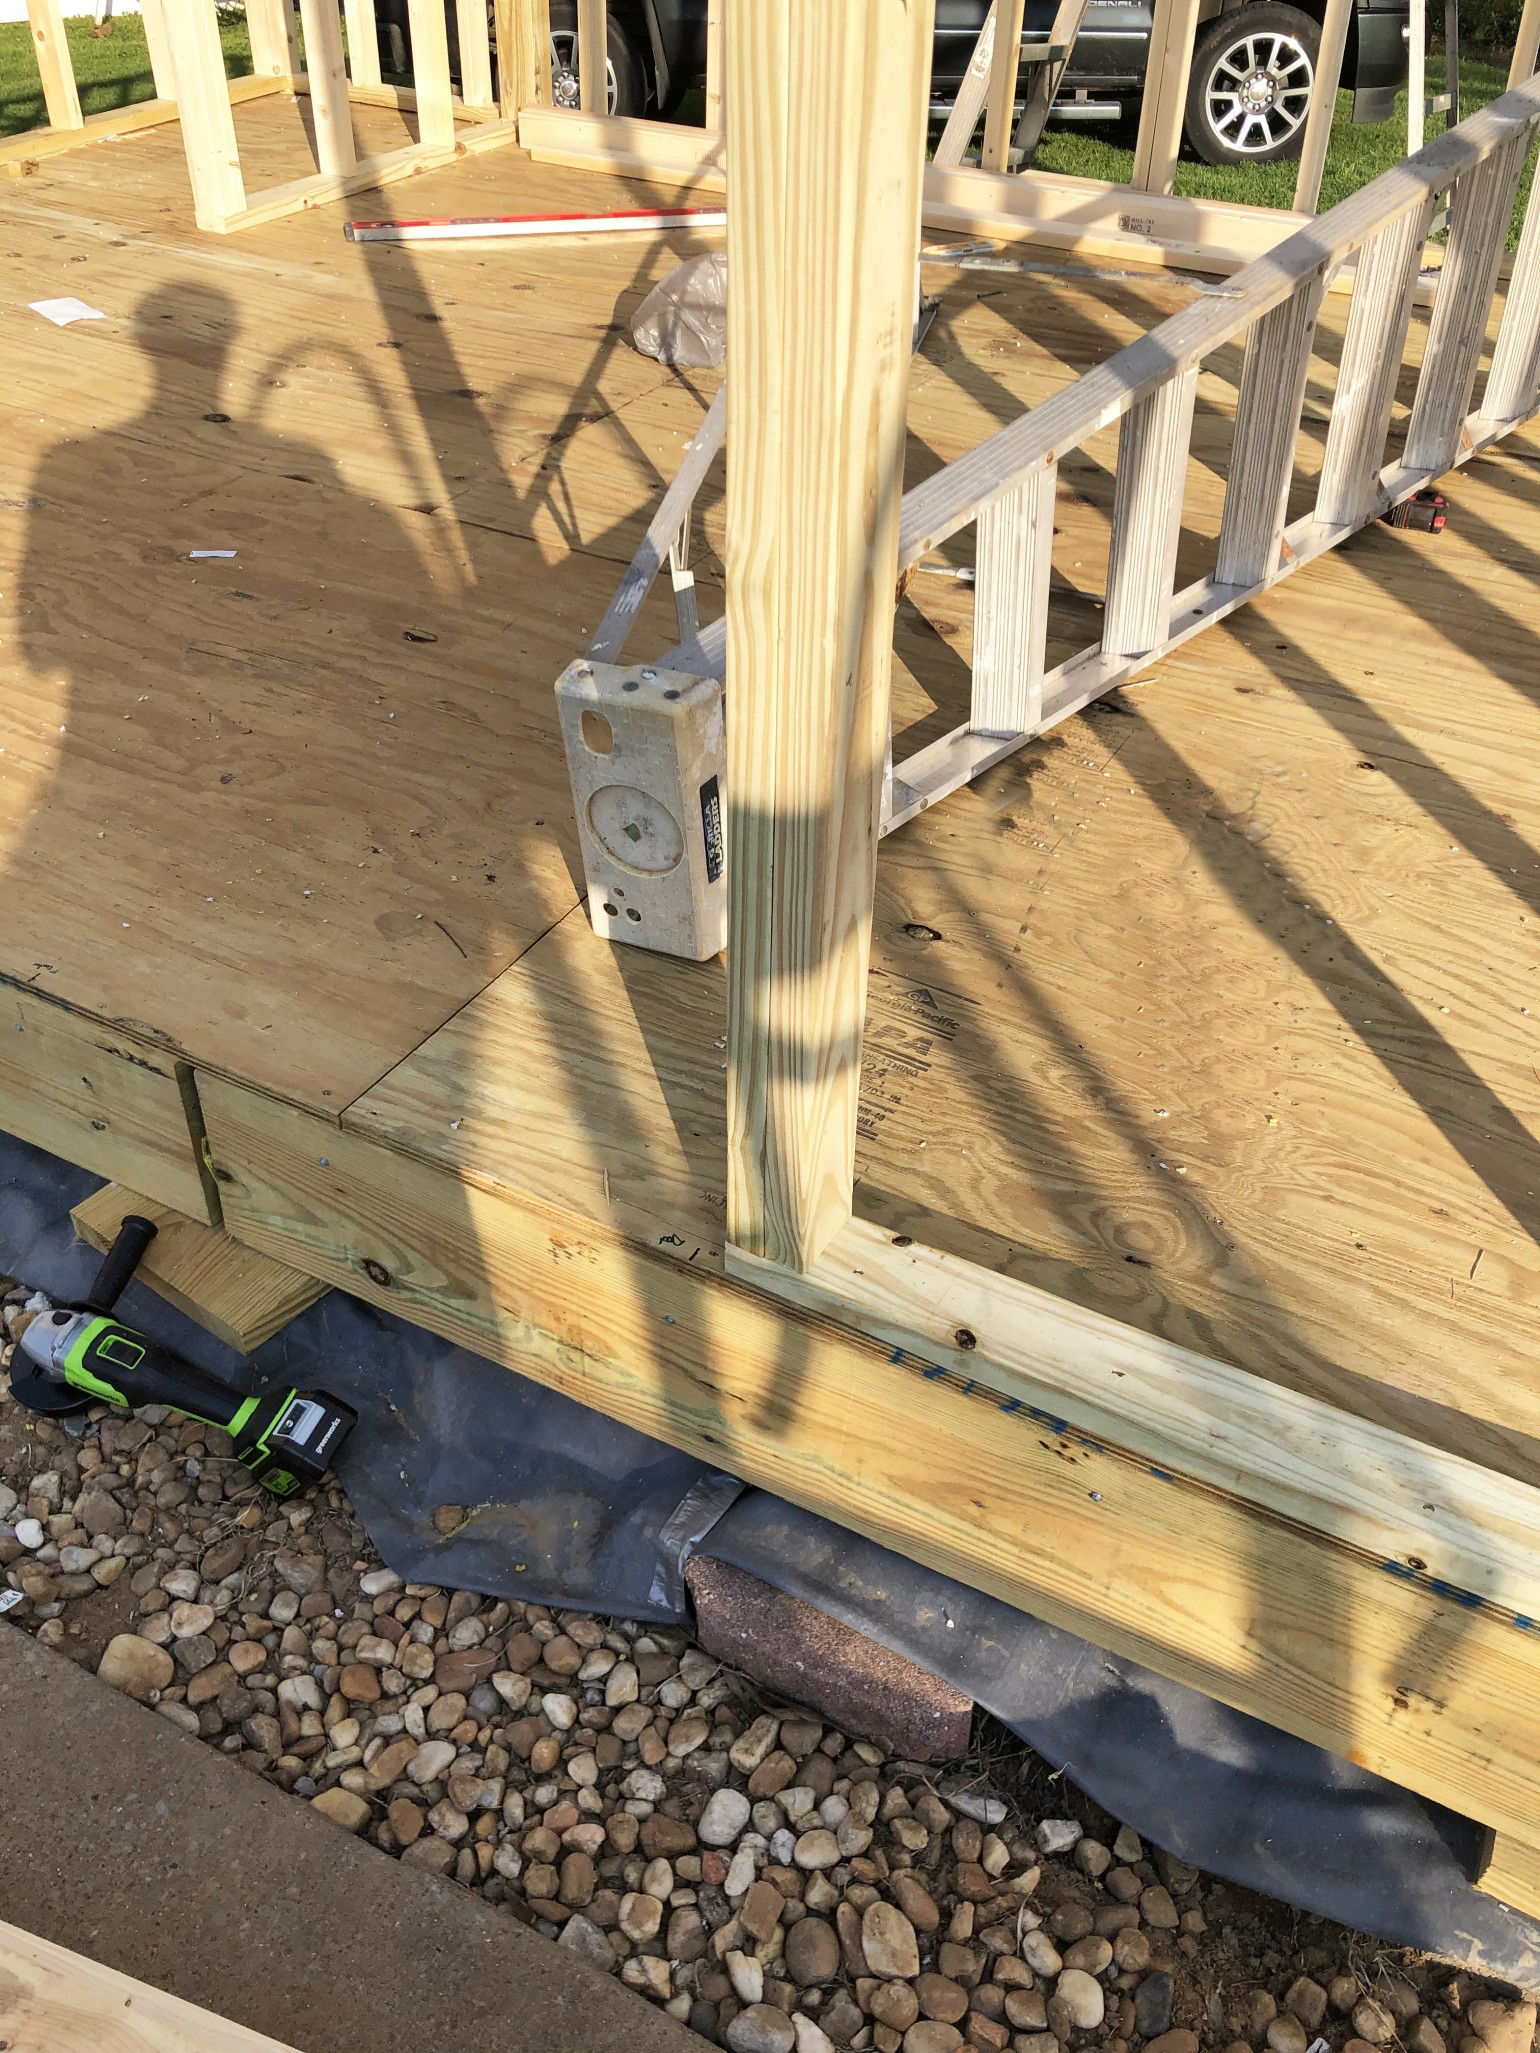
Next cut a 2 x 6 down to 63″, you’ll need two of these. This is for the door header, and the extra 3″ is where it will rest on each jack stud.
Then you’ll cut your cripple studs, which for us were 5-1/2″. We used five of them.
Finally cut your two layers of top plates. But this time our bottom layer of the top plate will be in sections. Cut sections big enough to cover the corner wall stud to the king stud on both sides, and then one big enough to cover from jack stud to jack stud over the door.
Nail both of the corner king stud top plates to the wall, but not the jack stud to jack stud one.
You can raise each smaller section of the front wall and start by nailing it to the side walls.
Then nail your headers into each wall joining the walls together.
From there, nail your cripples to the header and then add your final top plate.
Make sure everything is nailed securely.
A few extra nails never hurt.
Now add a cripple to each end of the front wall, and add the top plate across the entire front.
The Closet Wall
We will let that sit, and jump to our closet wall for a moment.
If you choose to include storage inside your cabana, you’ll build it the exact same way you built the front wall, but simple change your measurements based on the width and door size.
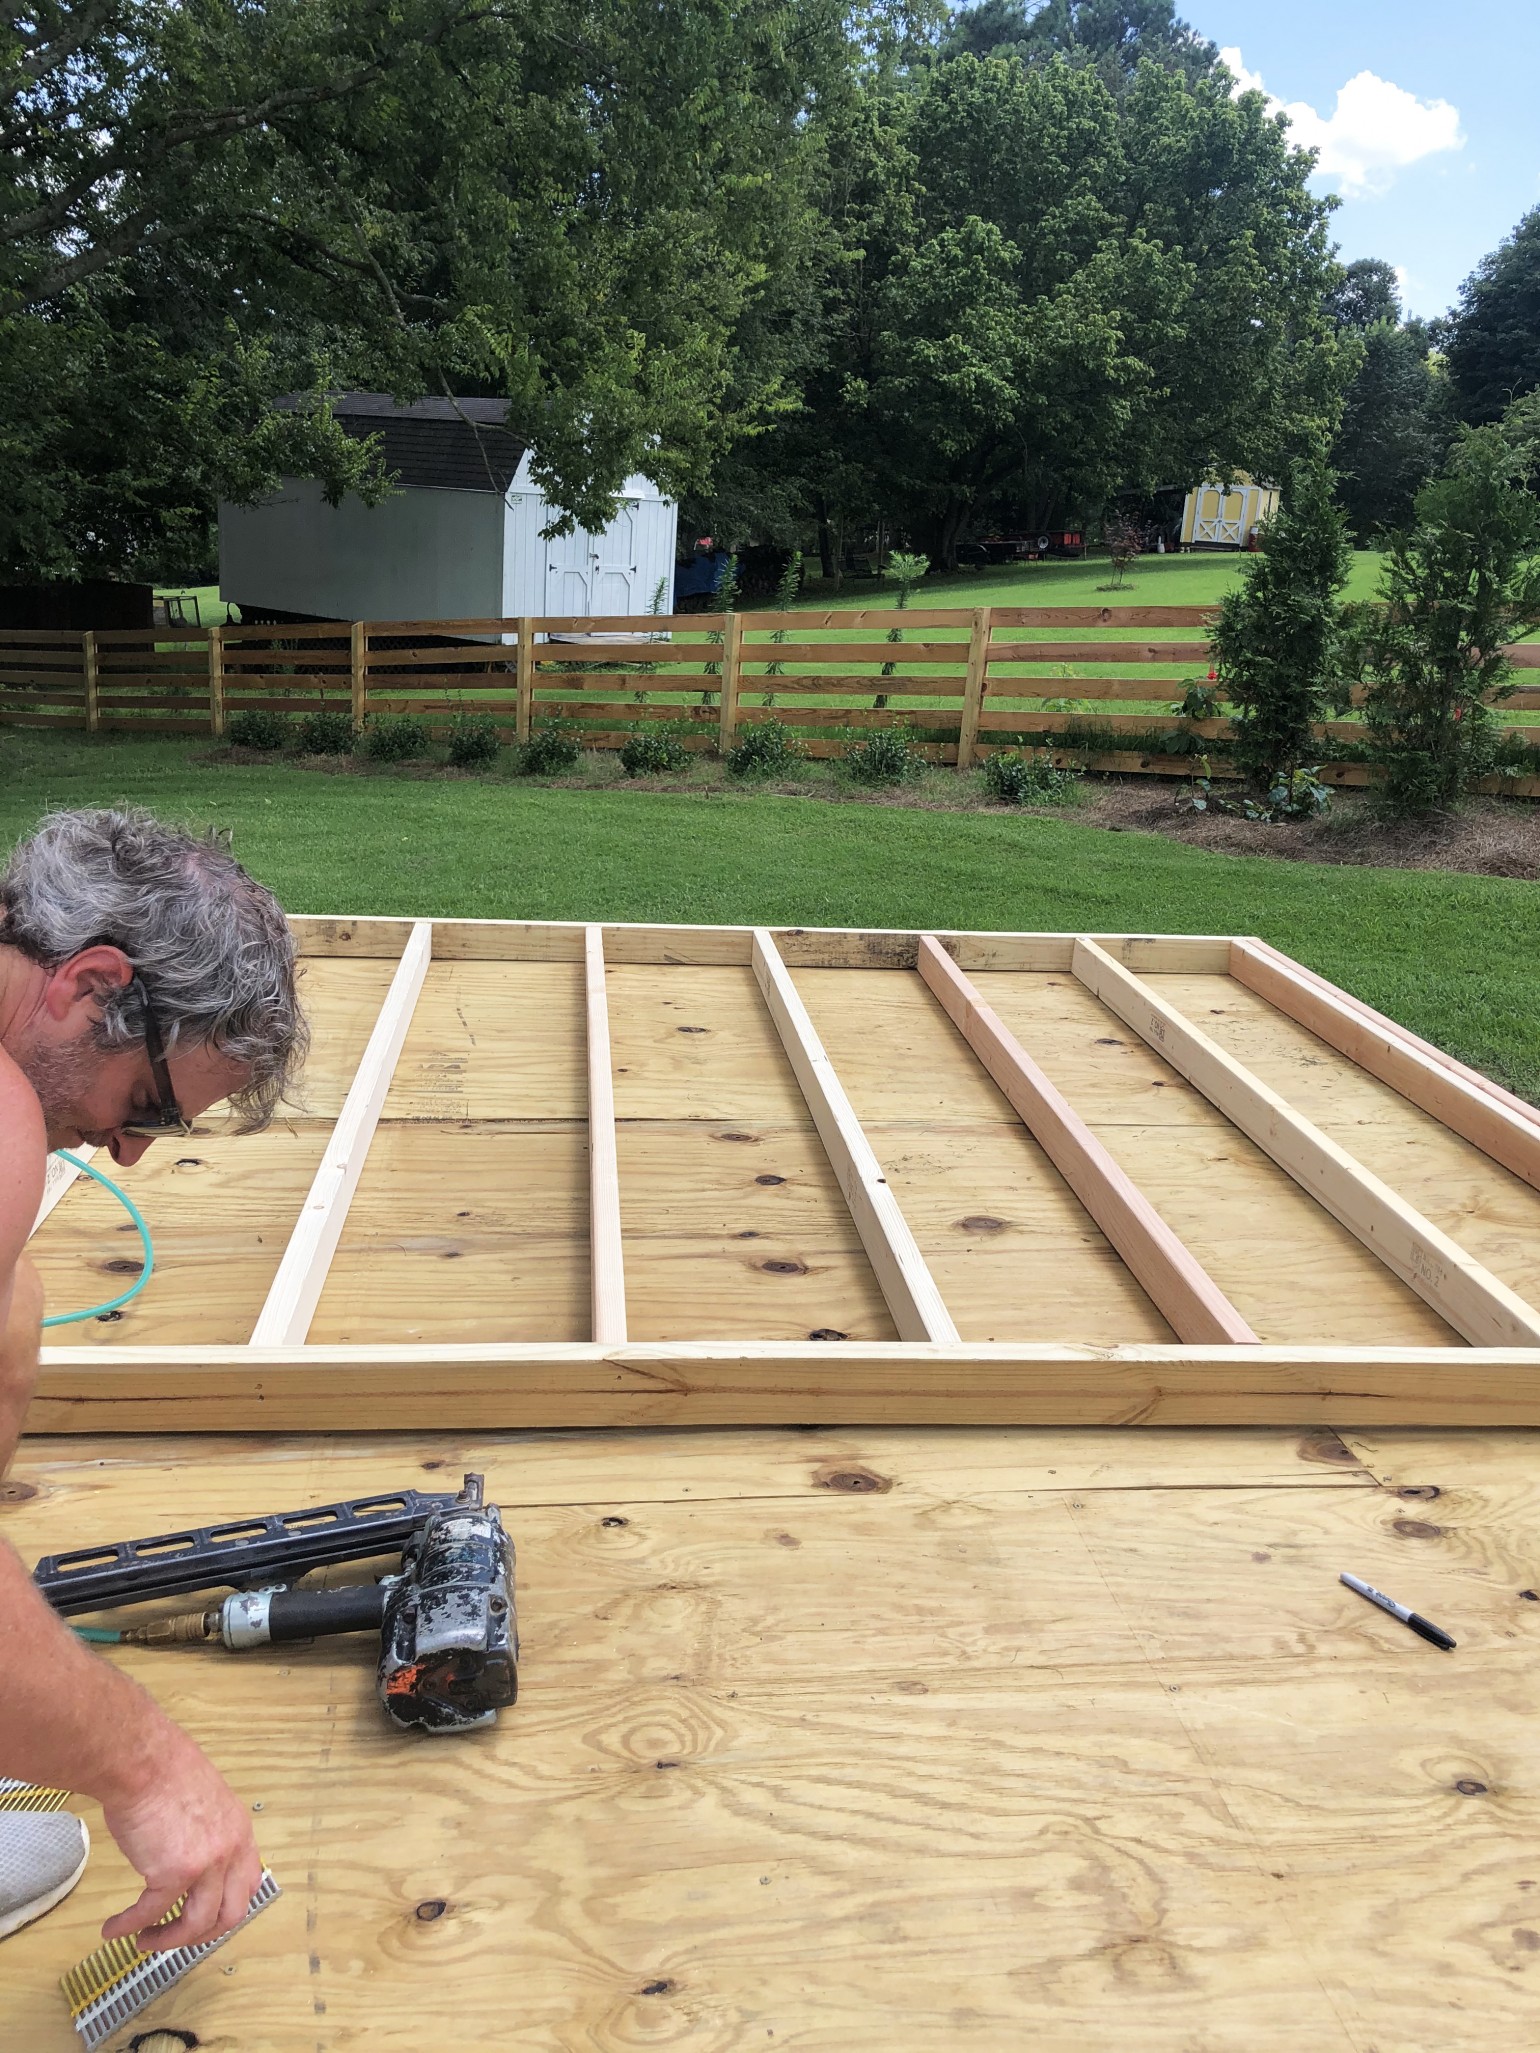
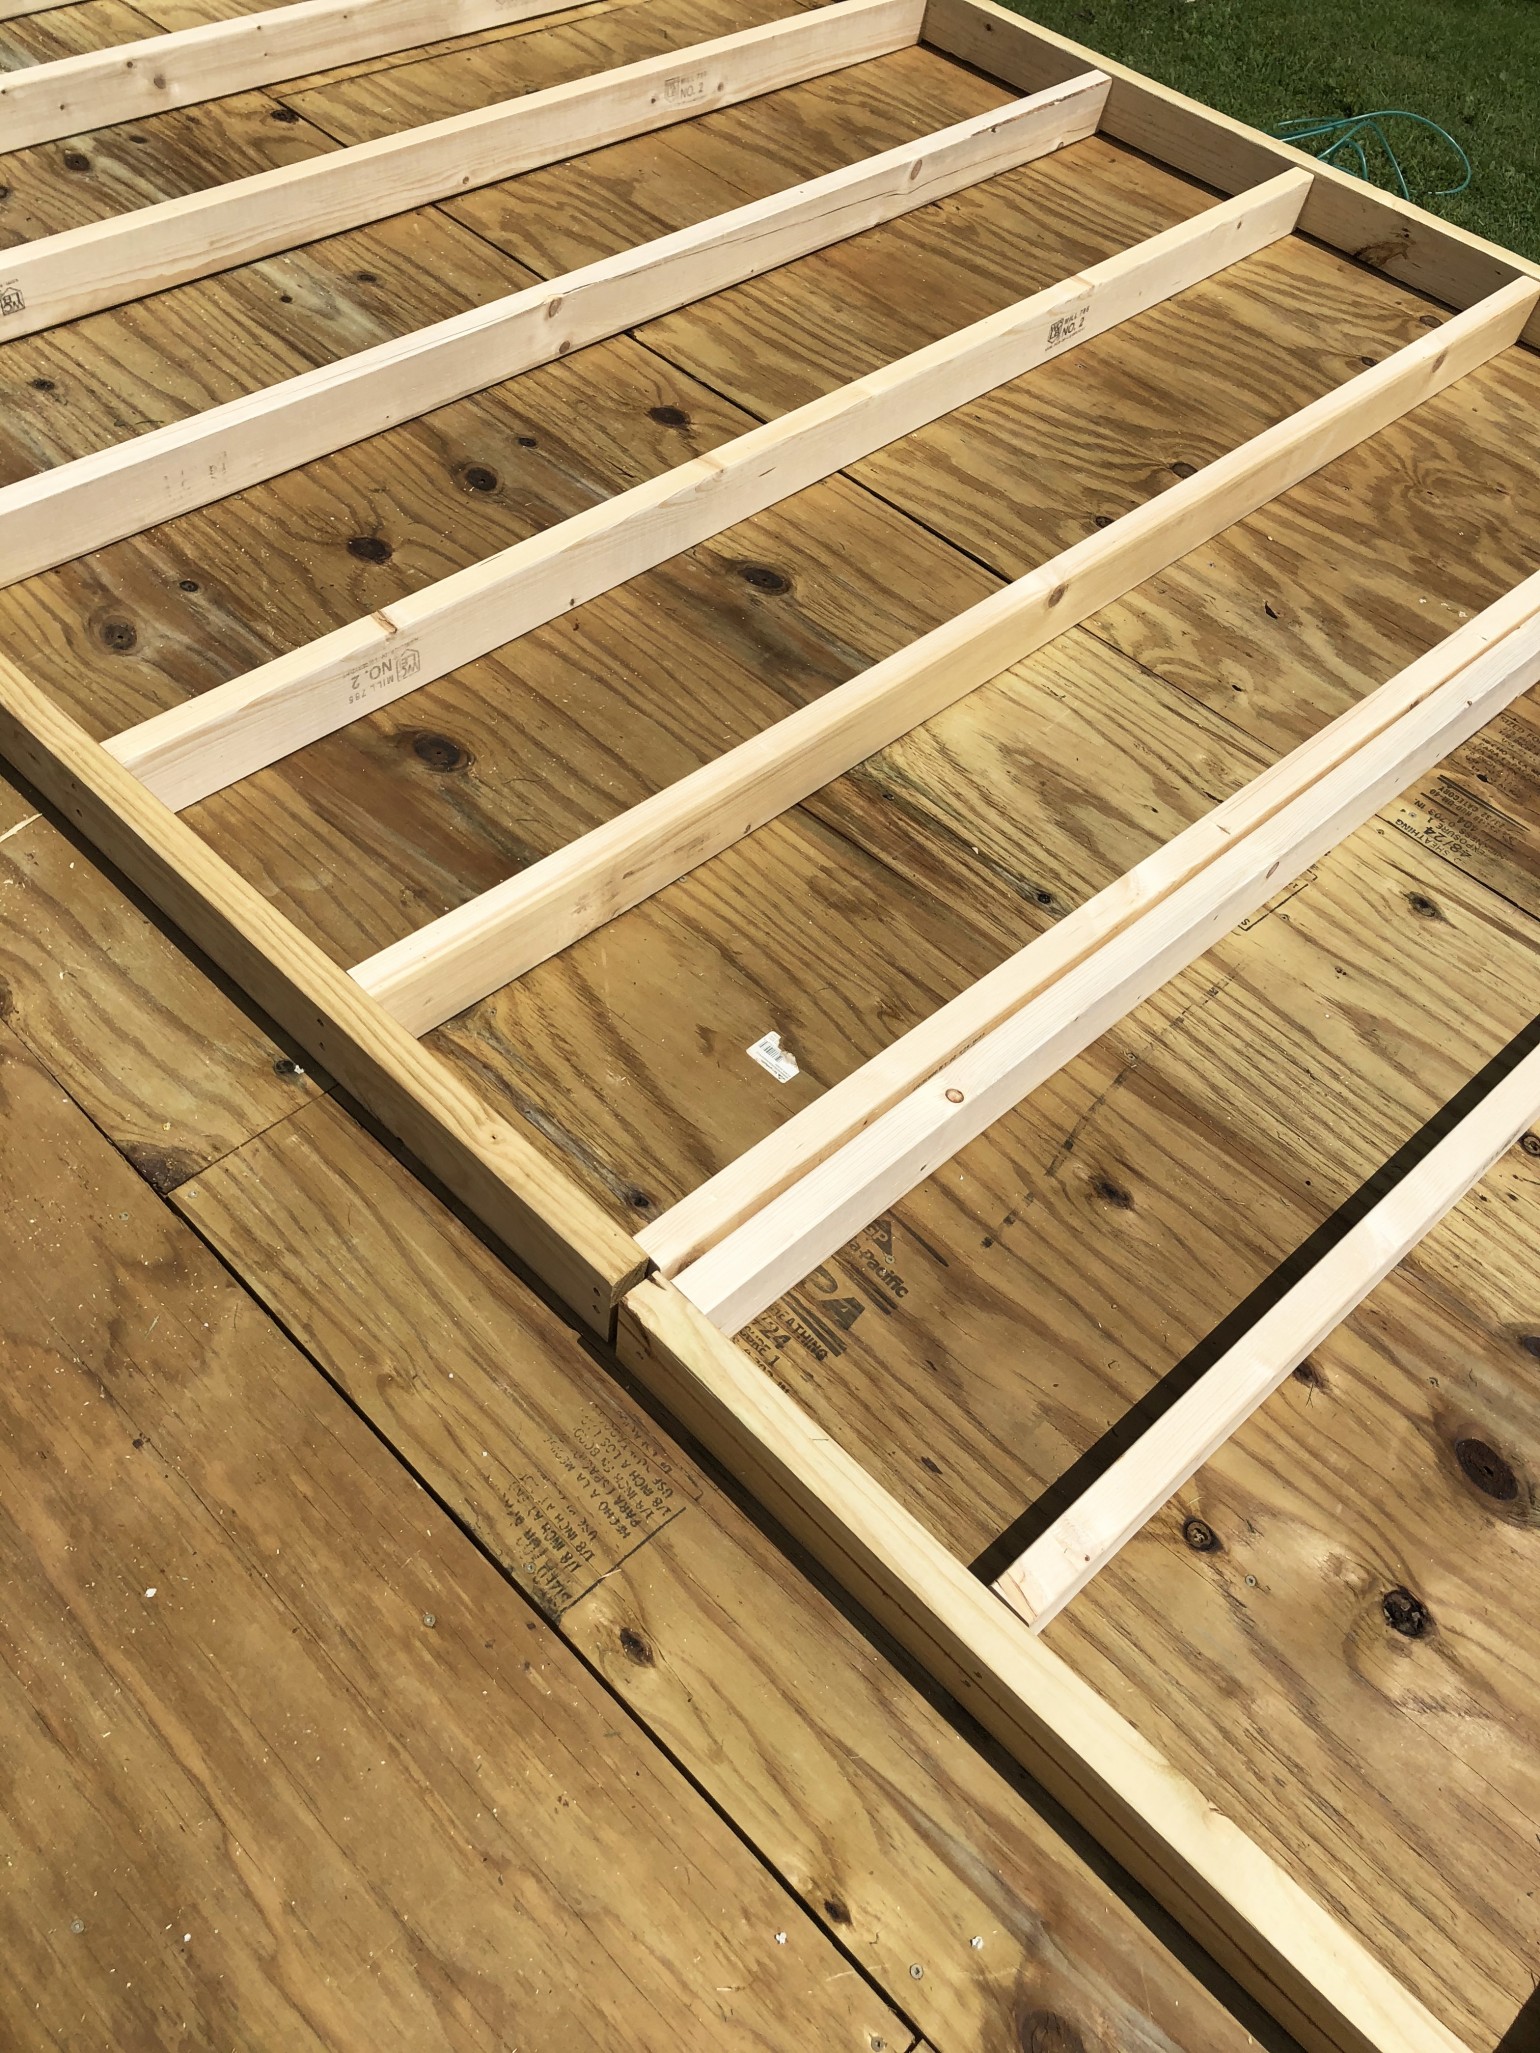
 Mistakes Happen
We mentioned early on that sometimes mistakes happen, if you notice below we were two studs short for this wall and didn’t want to go to the store at the moment. So we simply scabbed on two pieces to work as a stud for our top plate.
Once you have it built, simply raise it and nail it to your front and back wall as well.
Then, add your additionaltop plate.
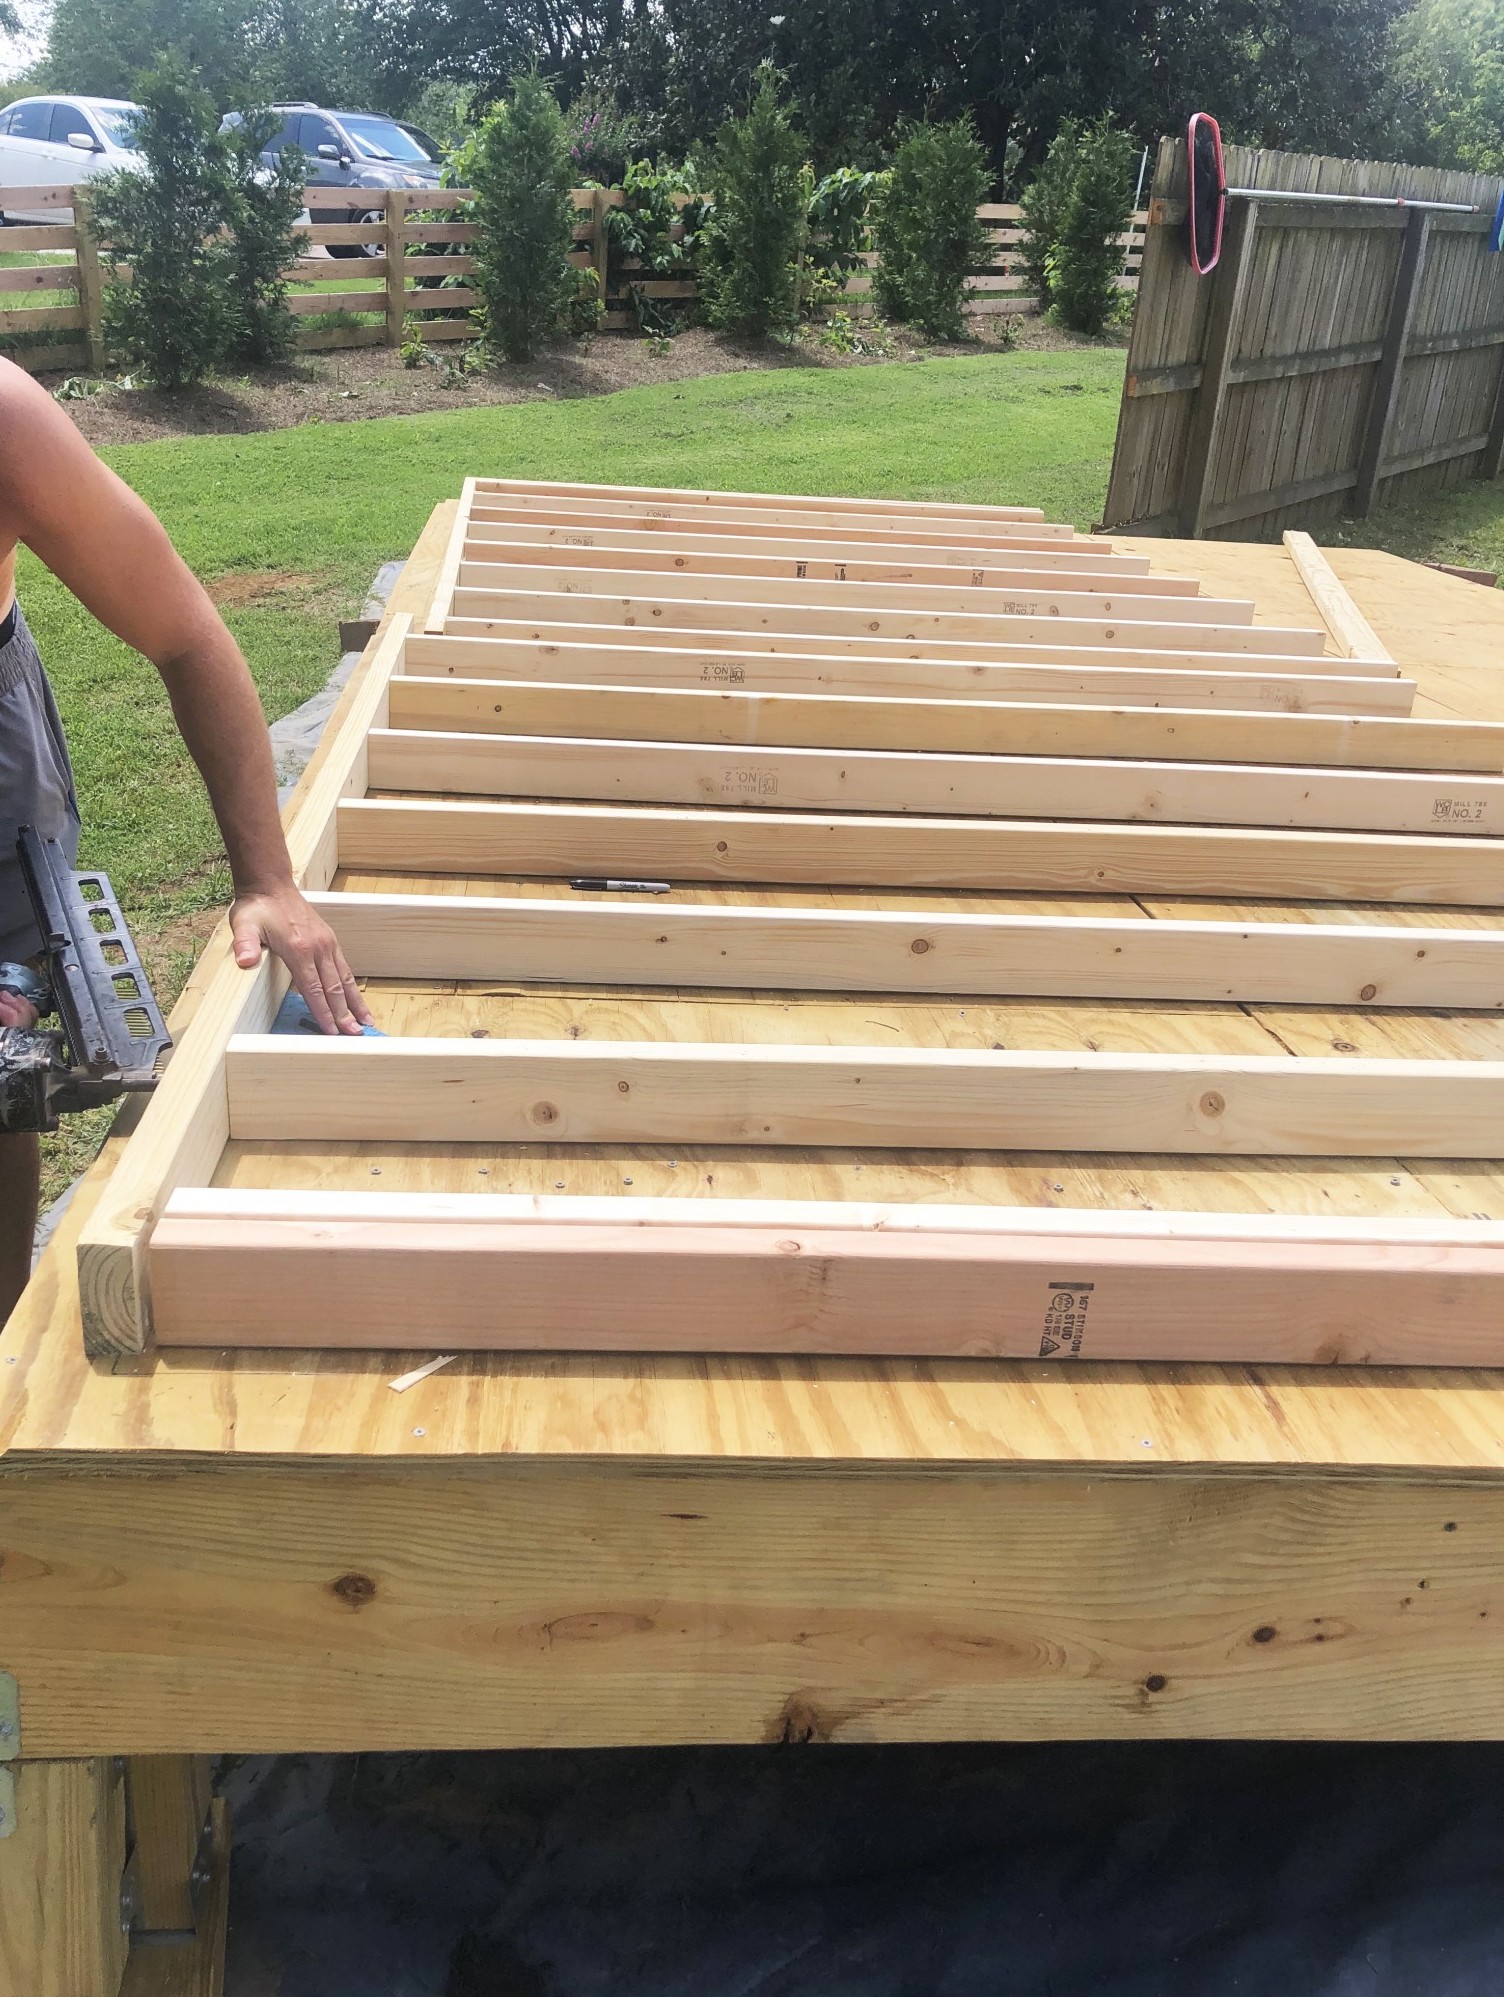
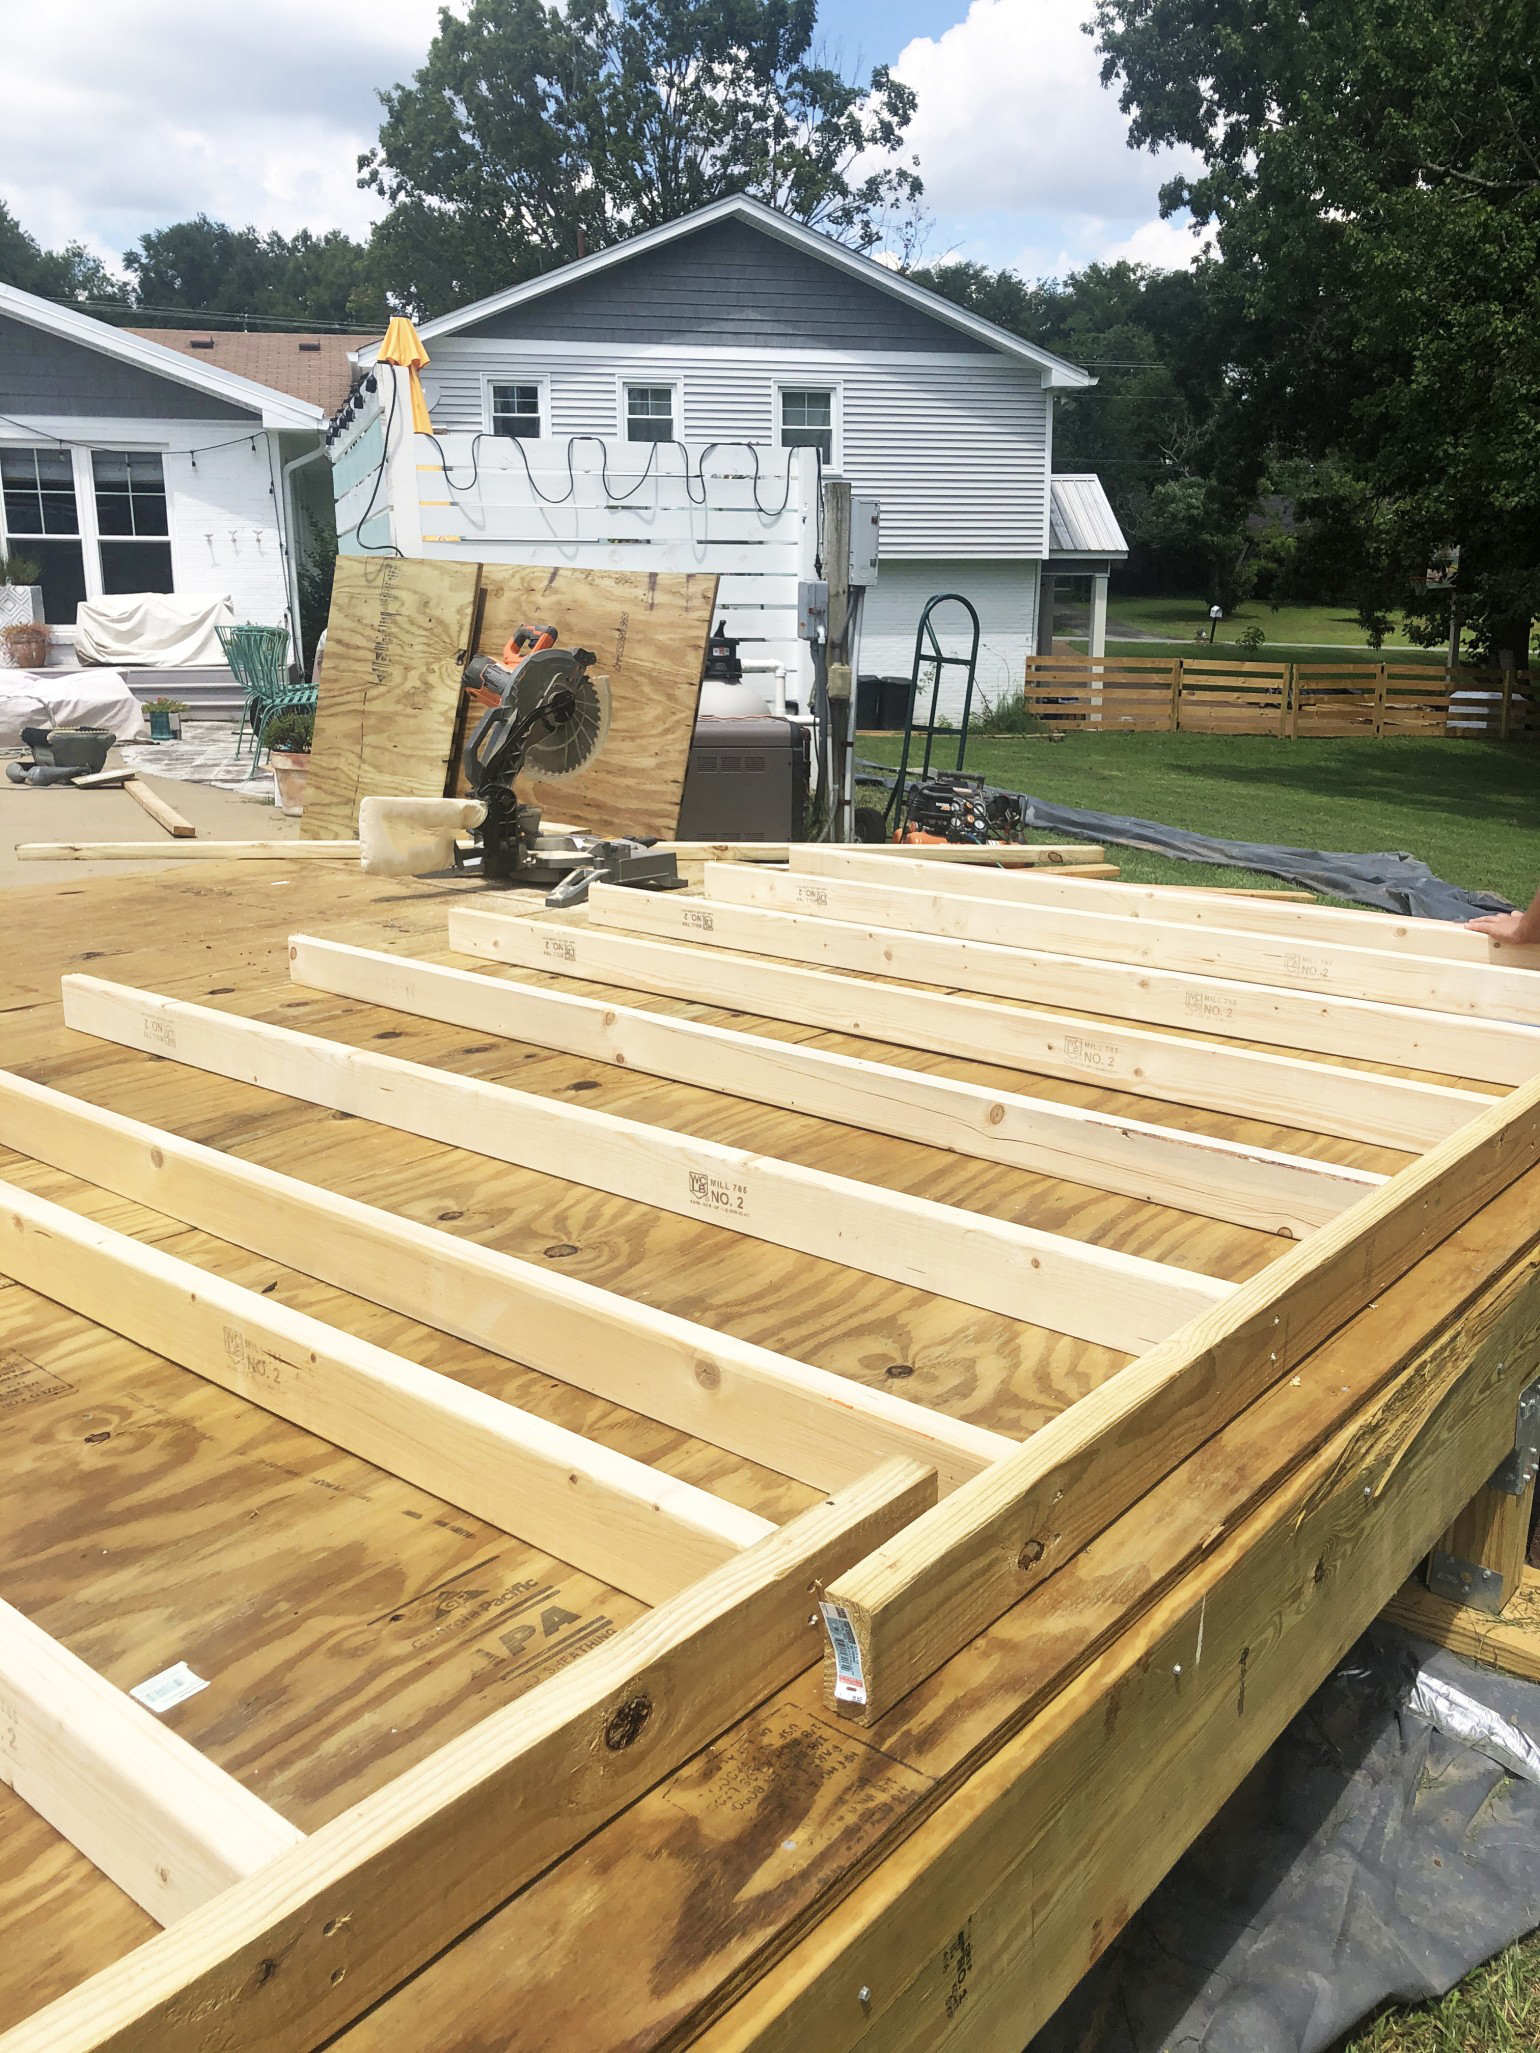
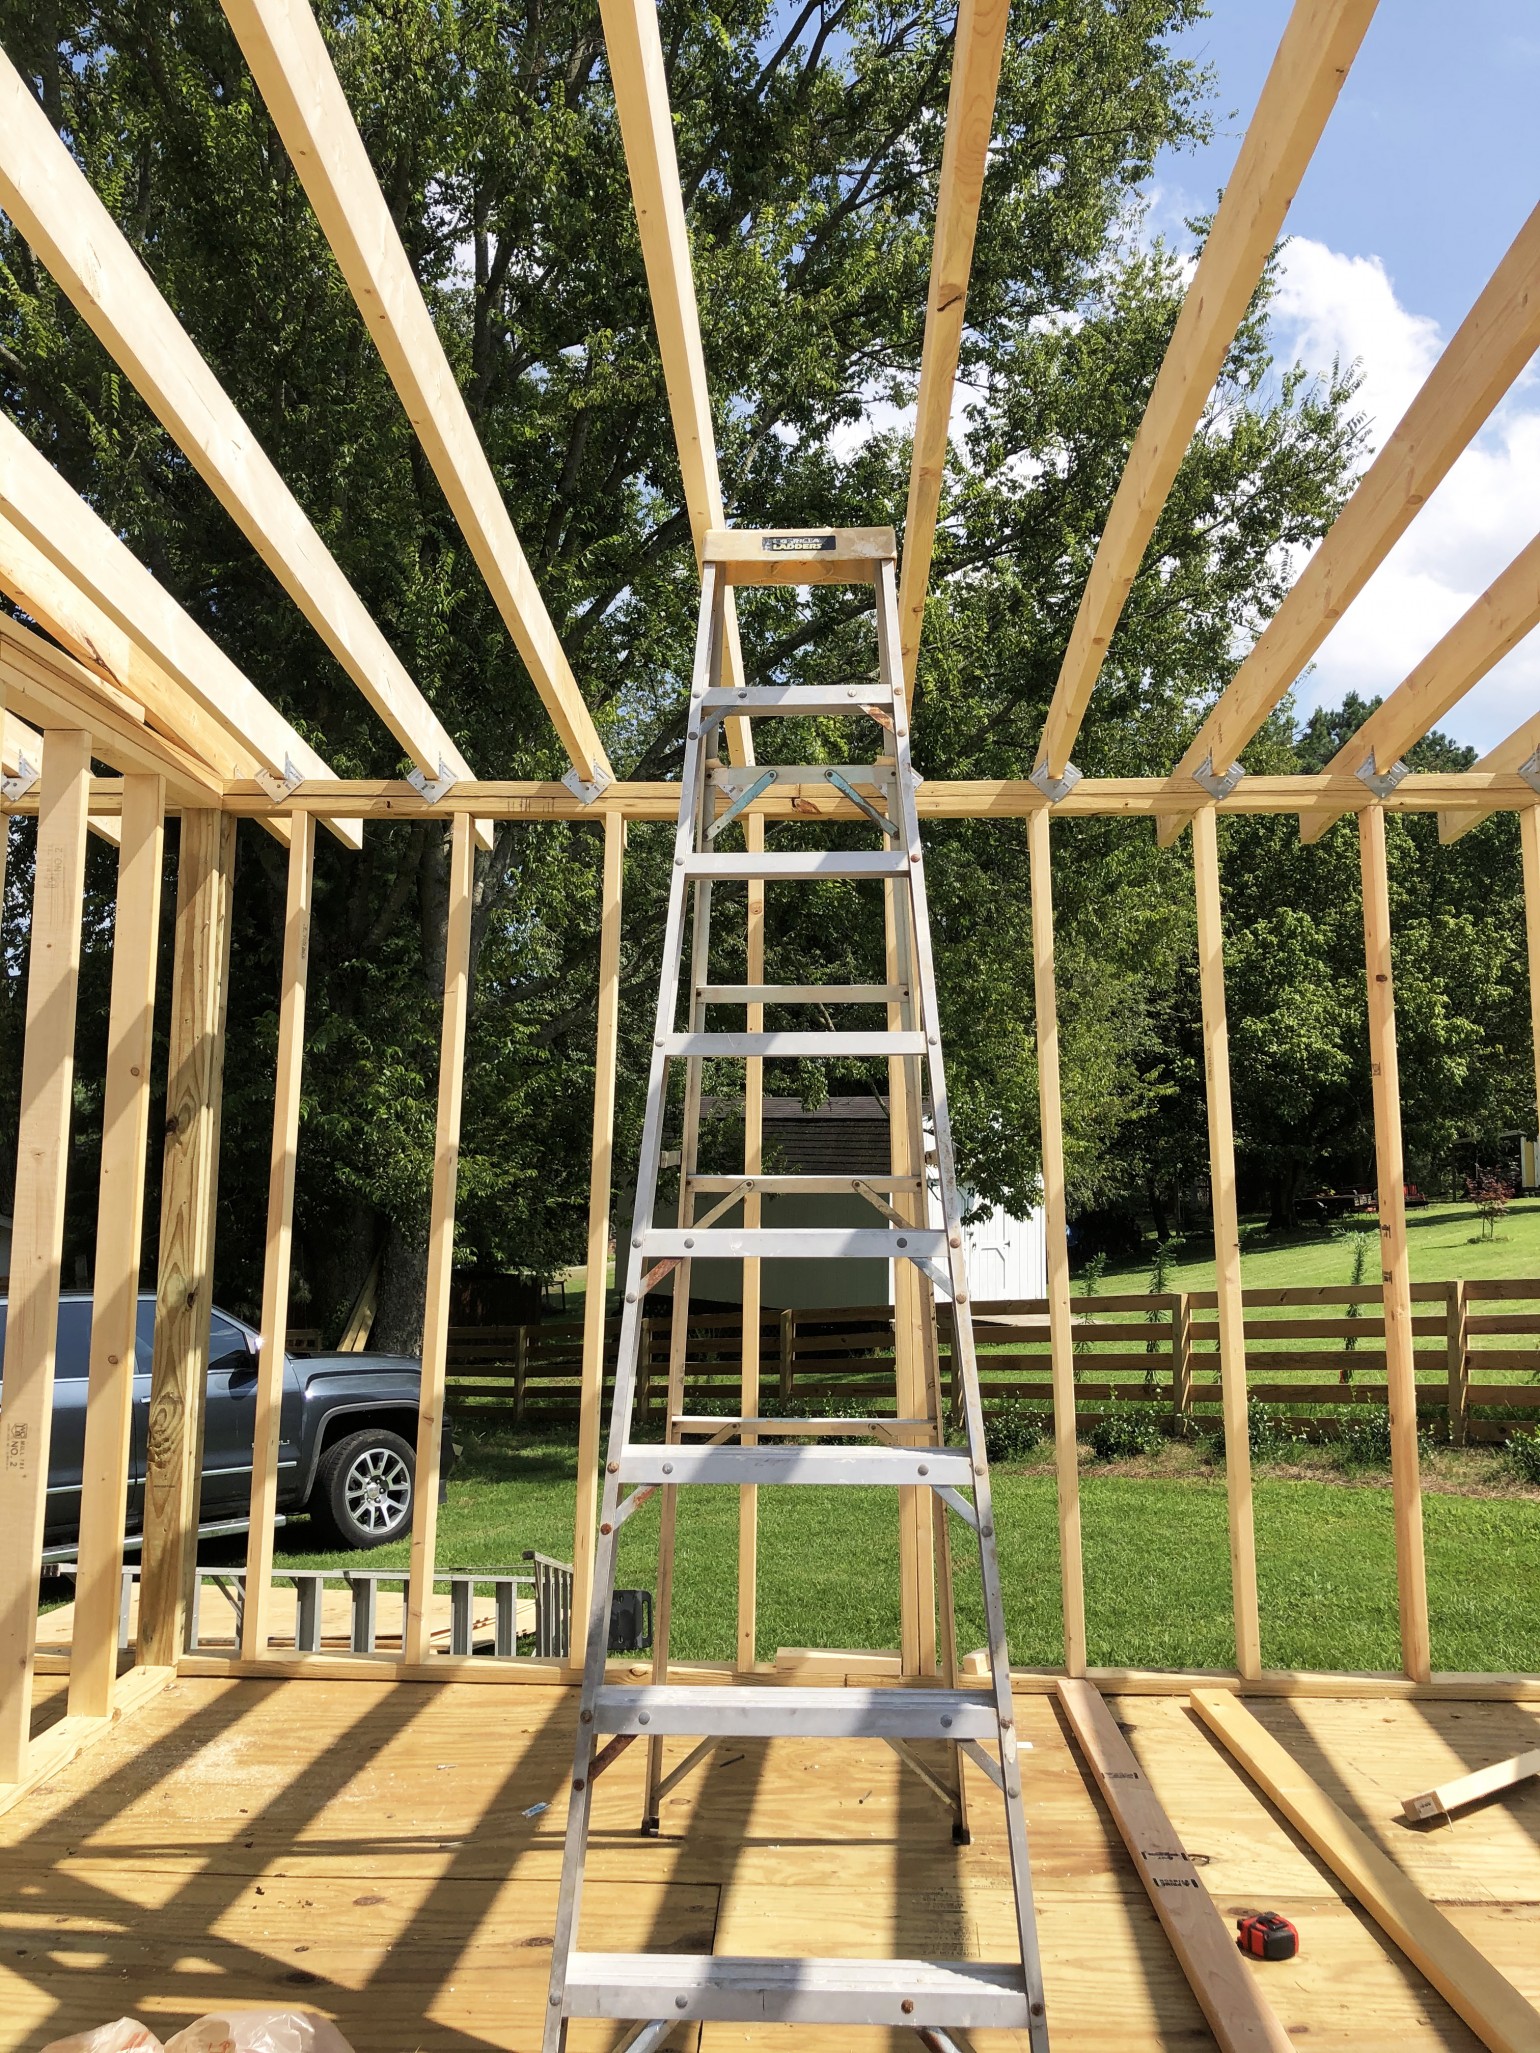
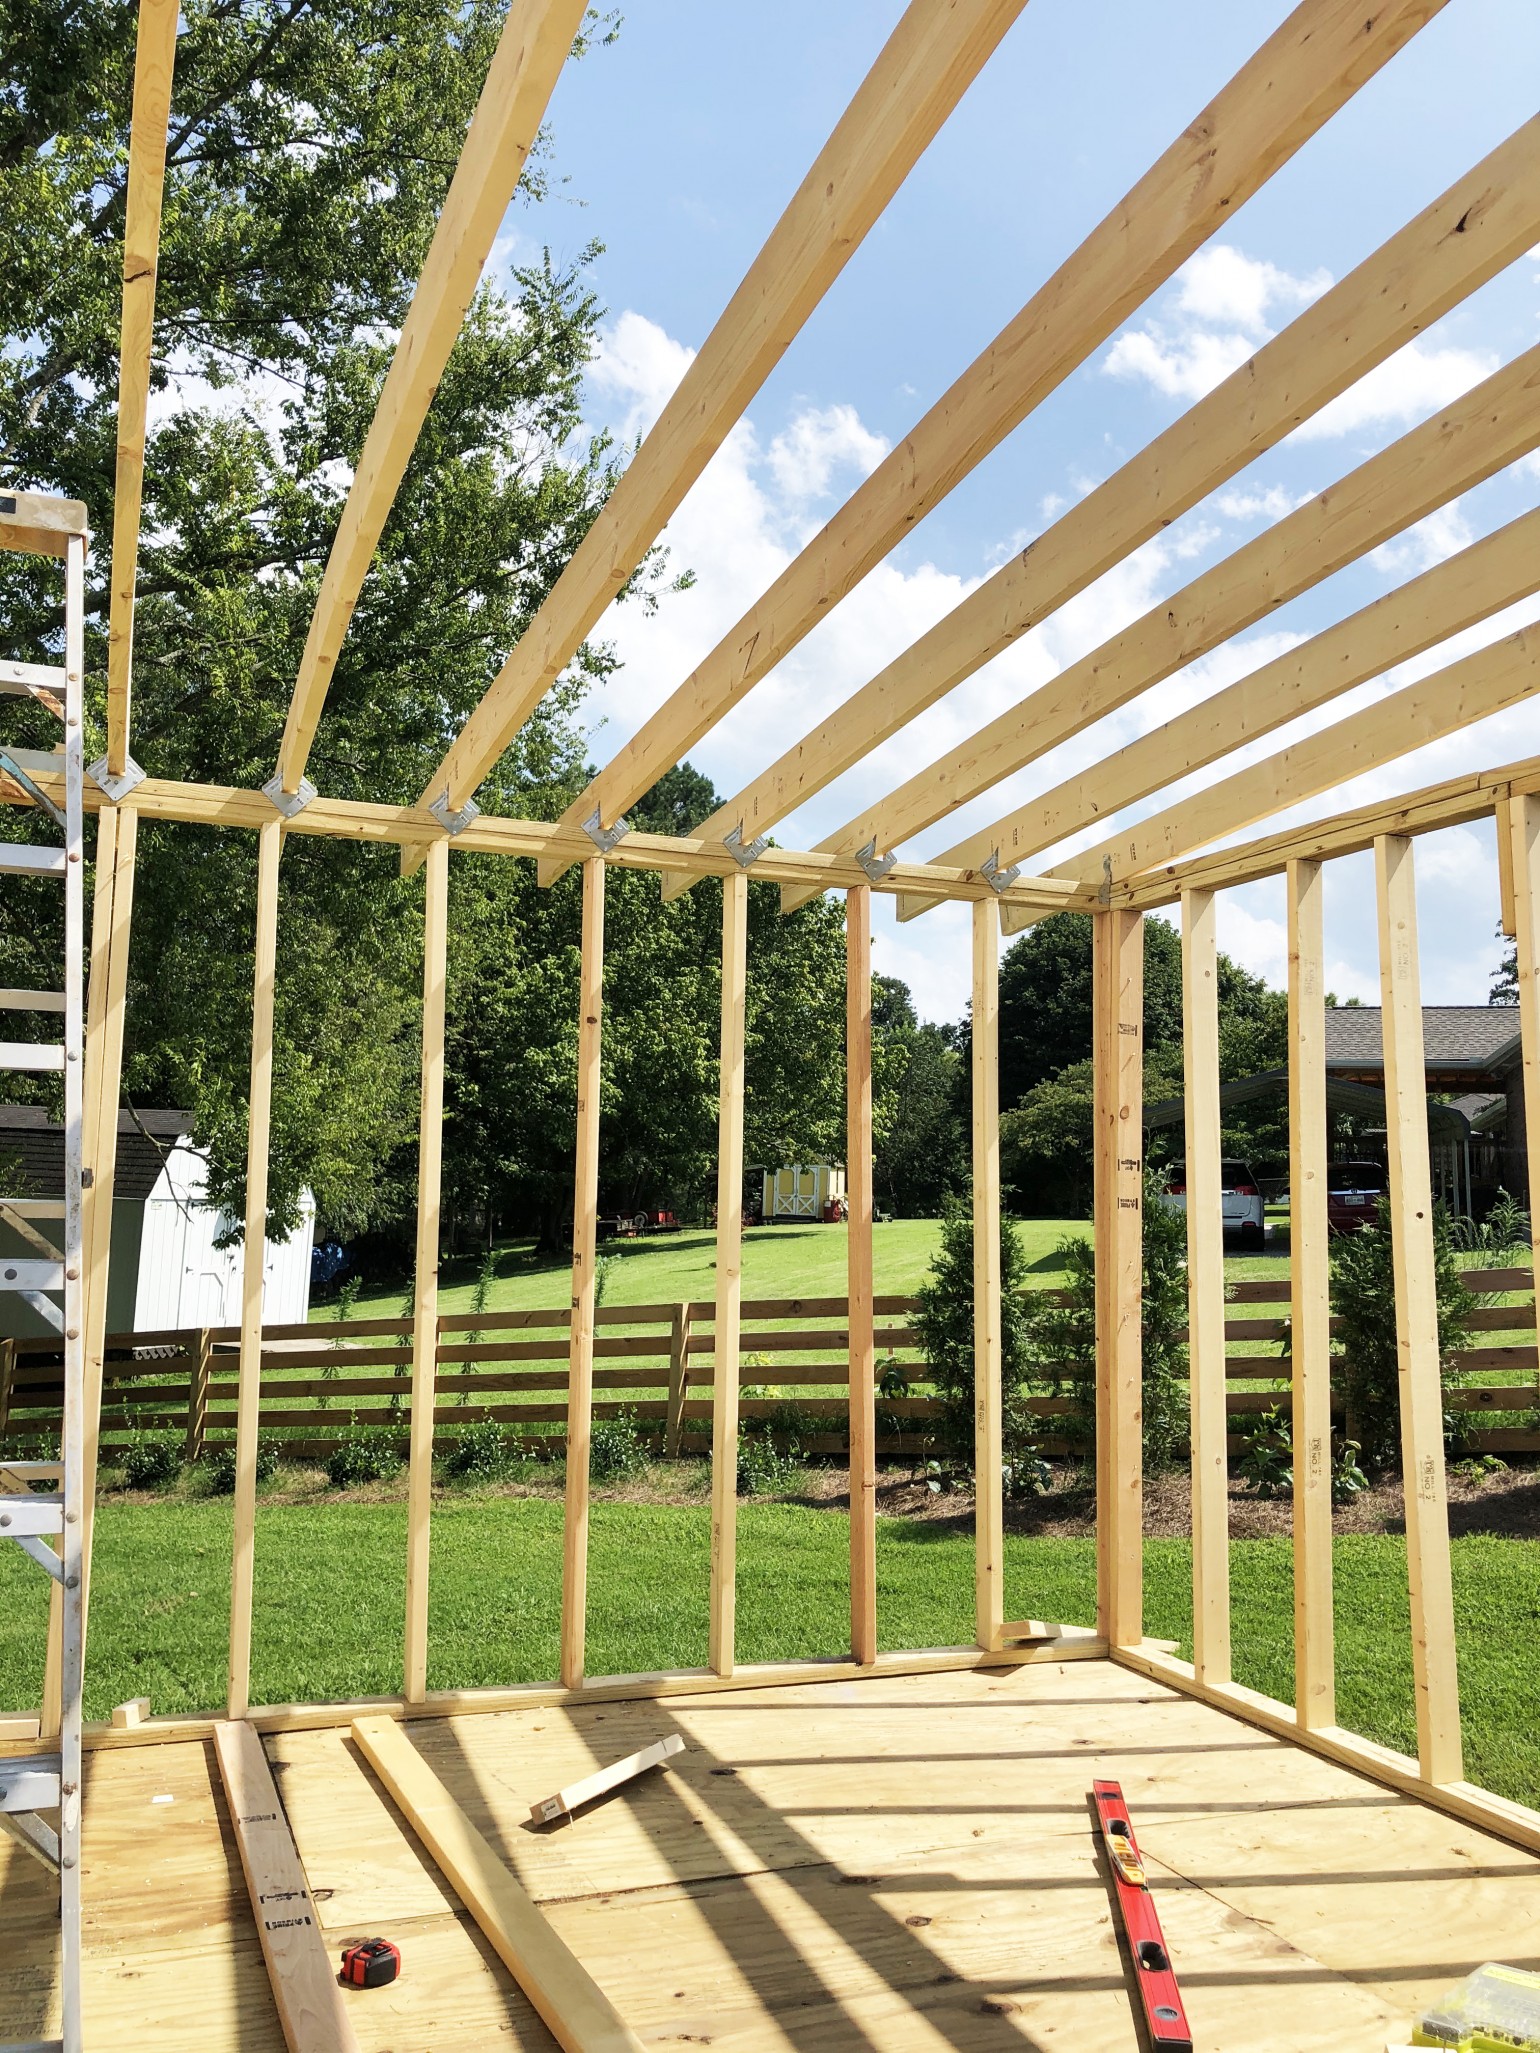
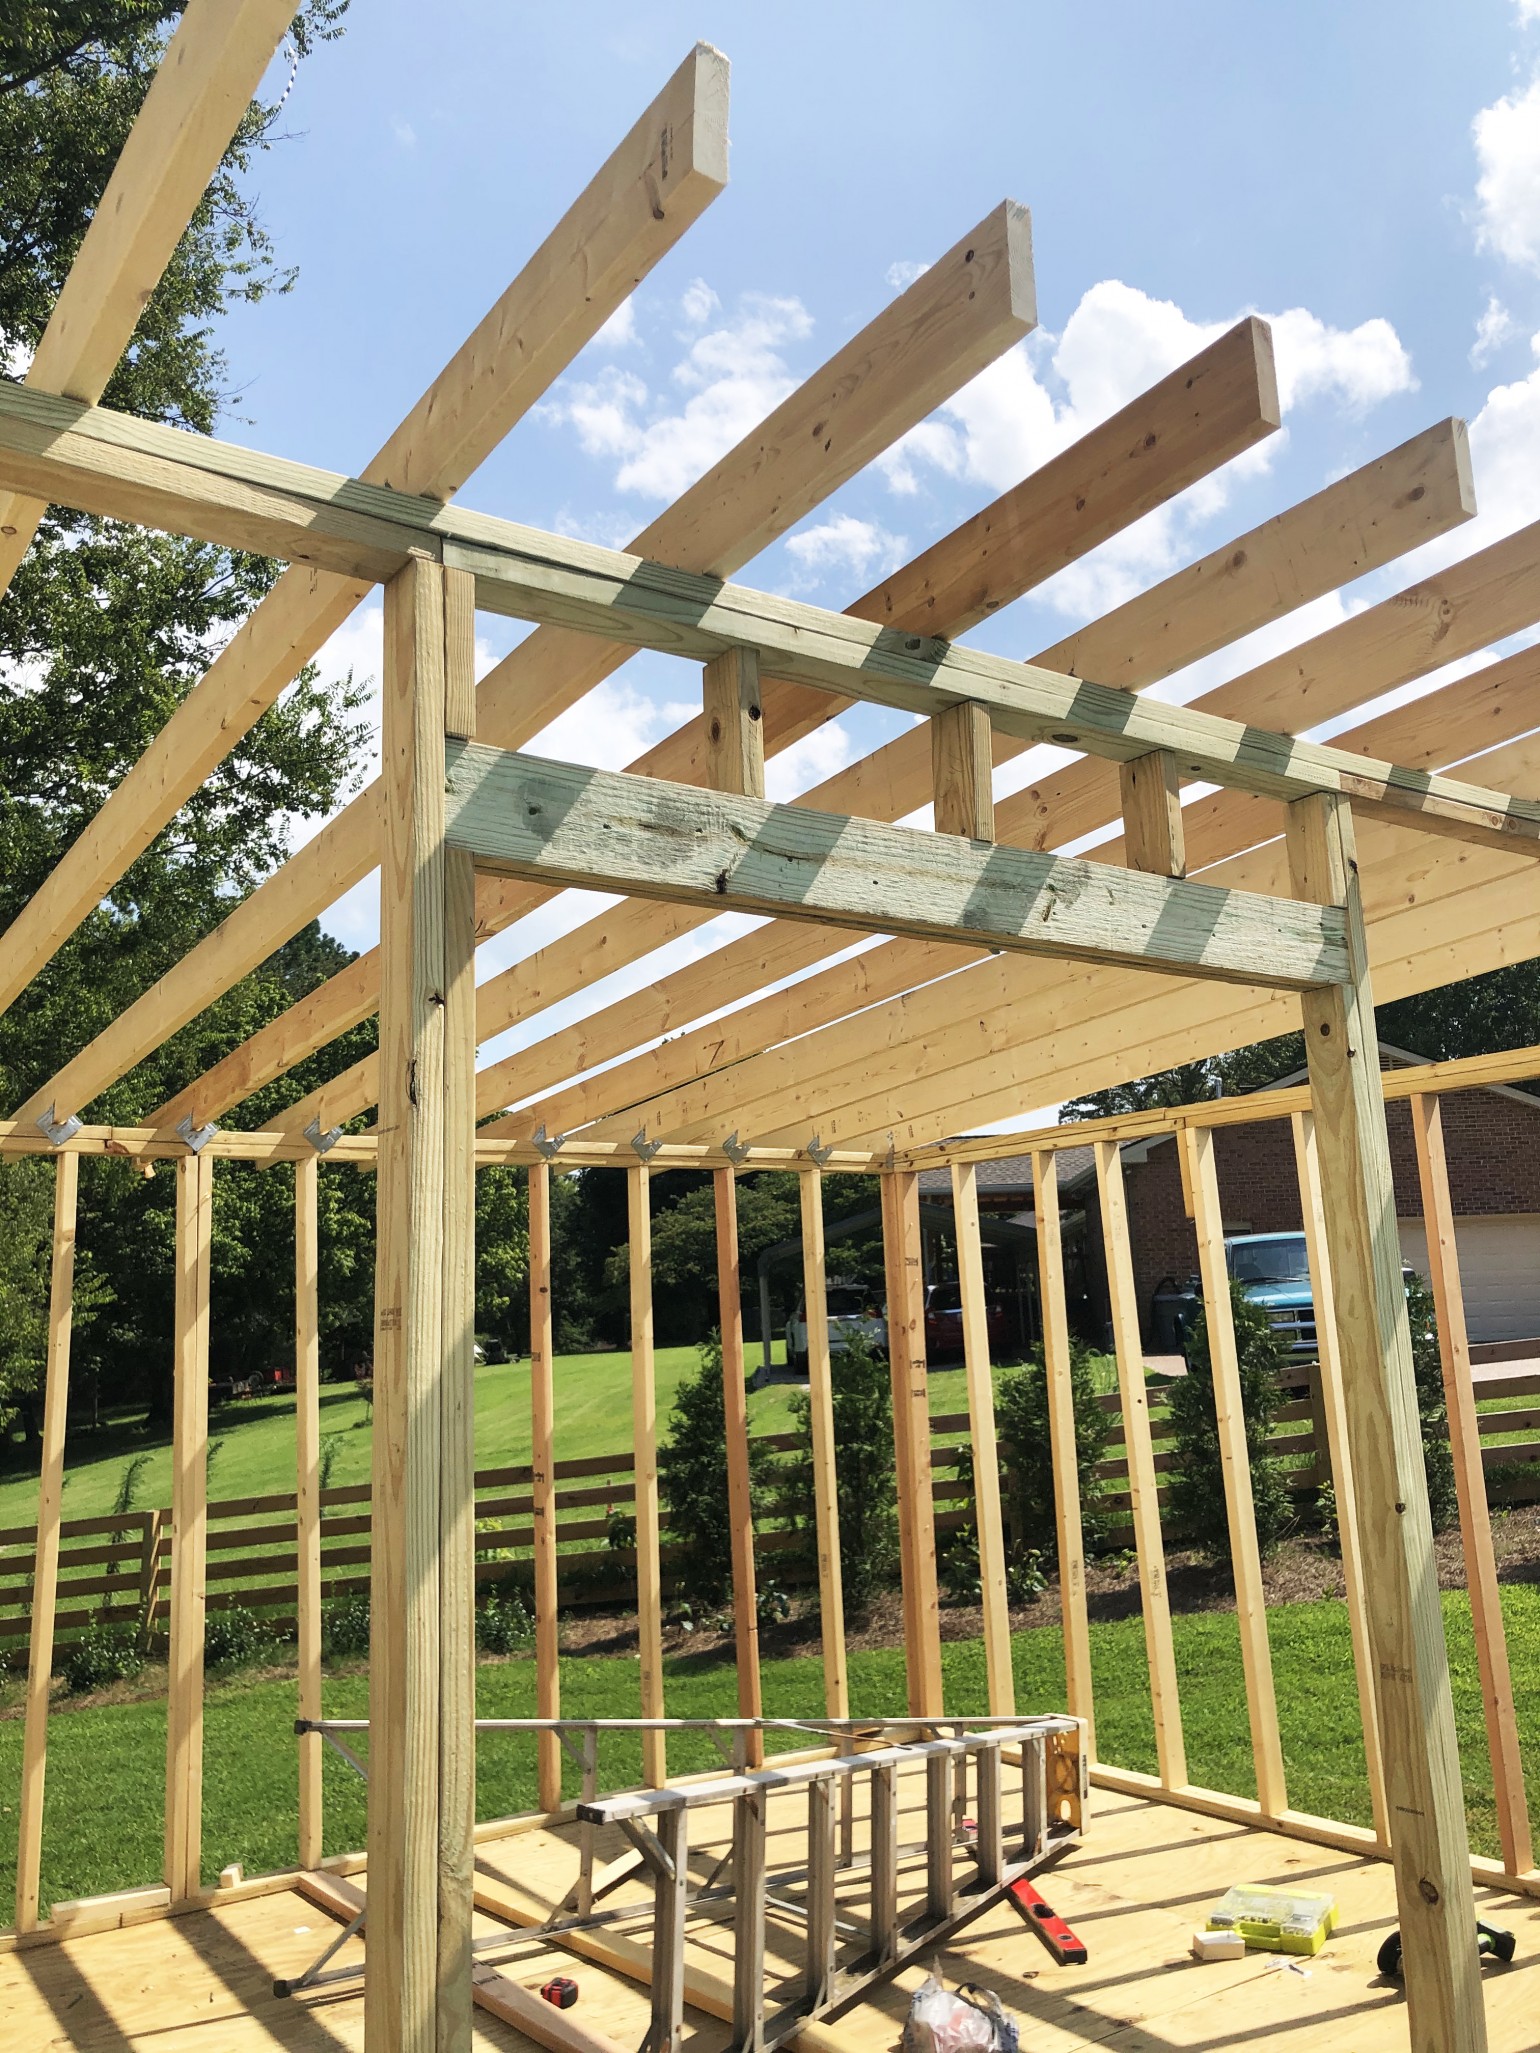
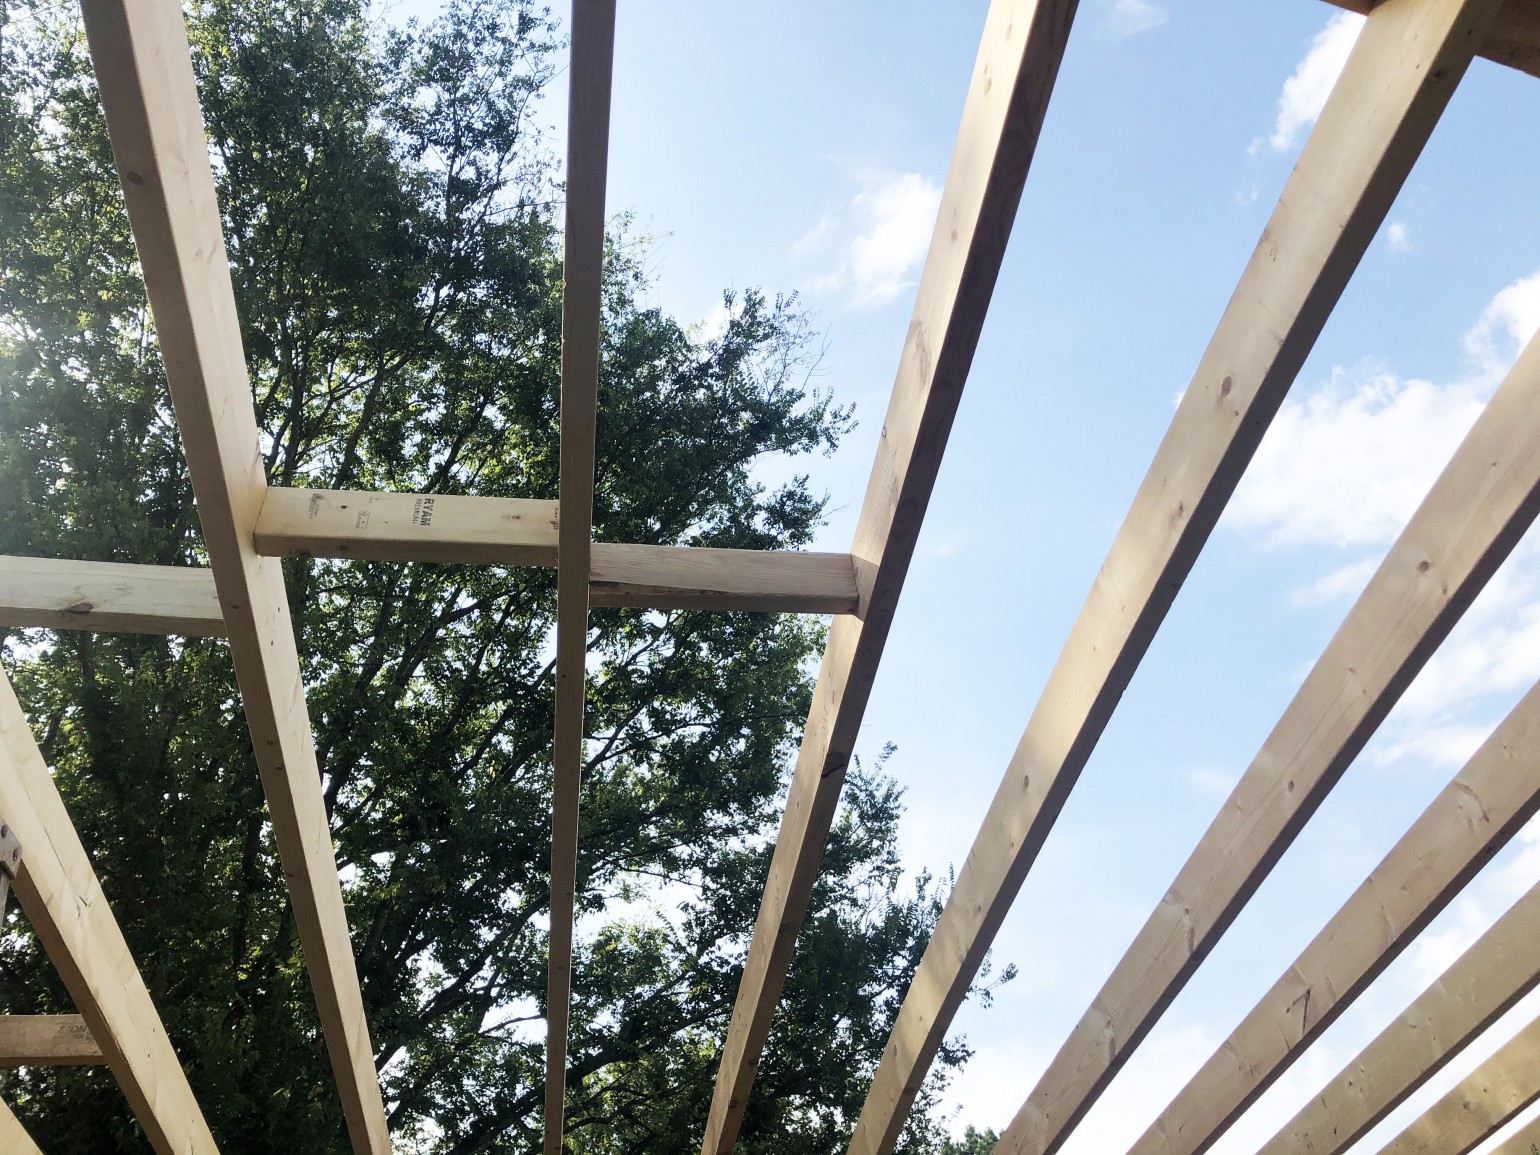
The Rafters
Next up are the rafters.
Starting on the edge you’ll want to space them all on 16″ centers.
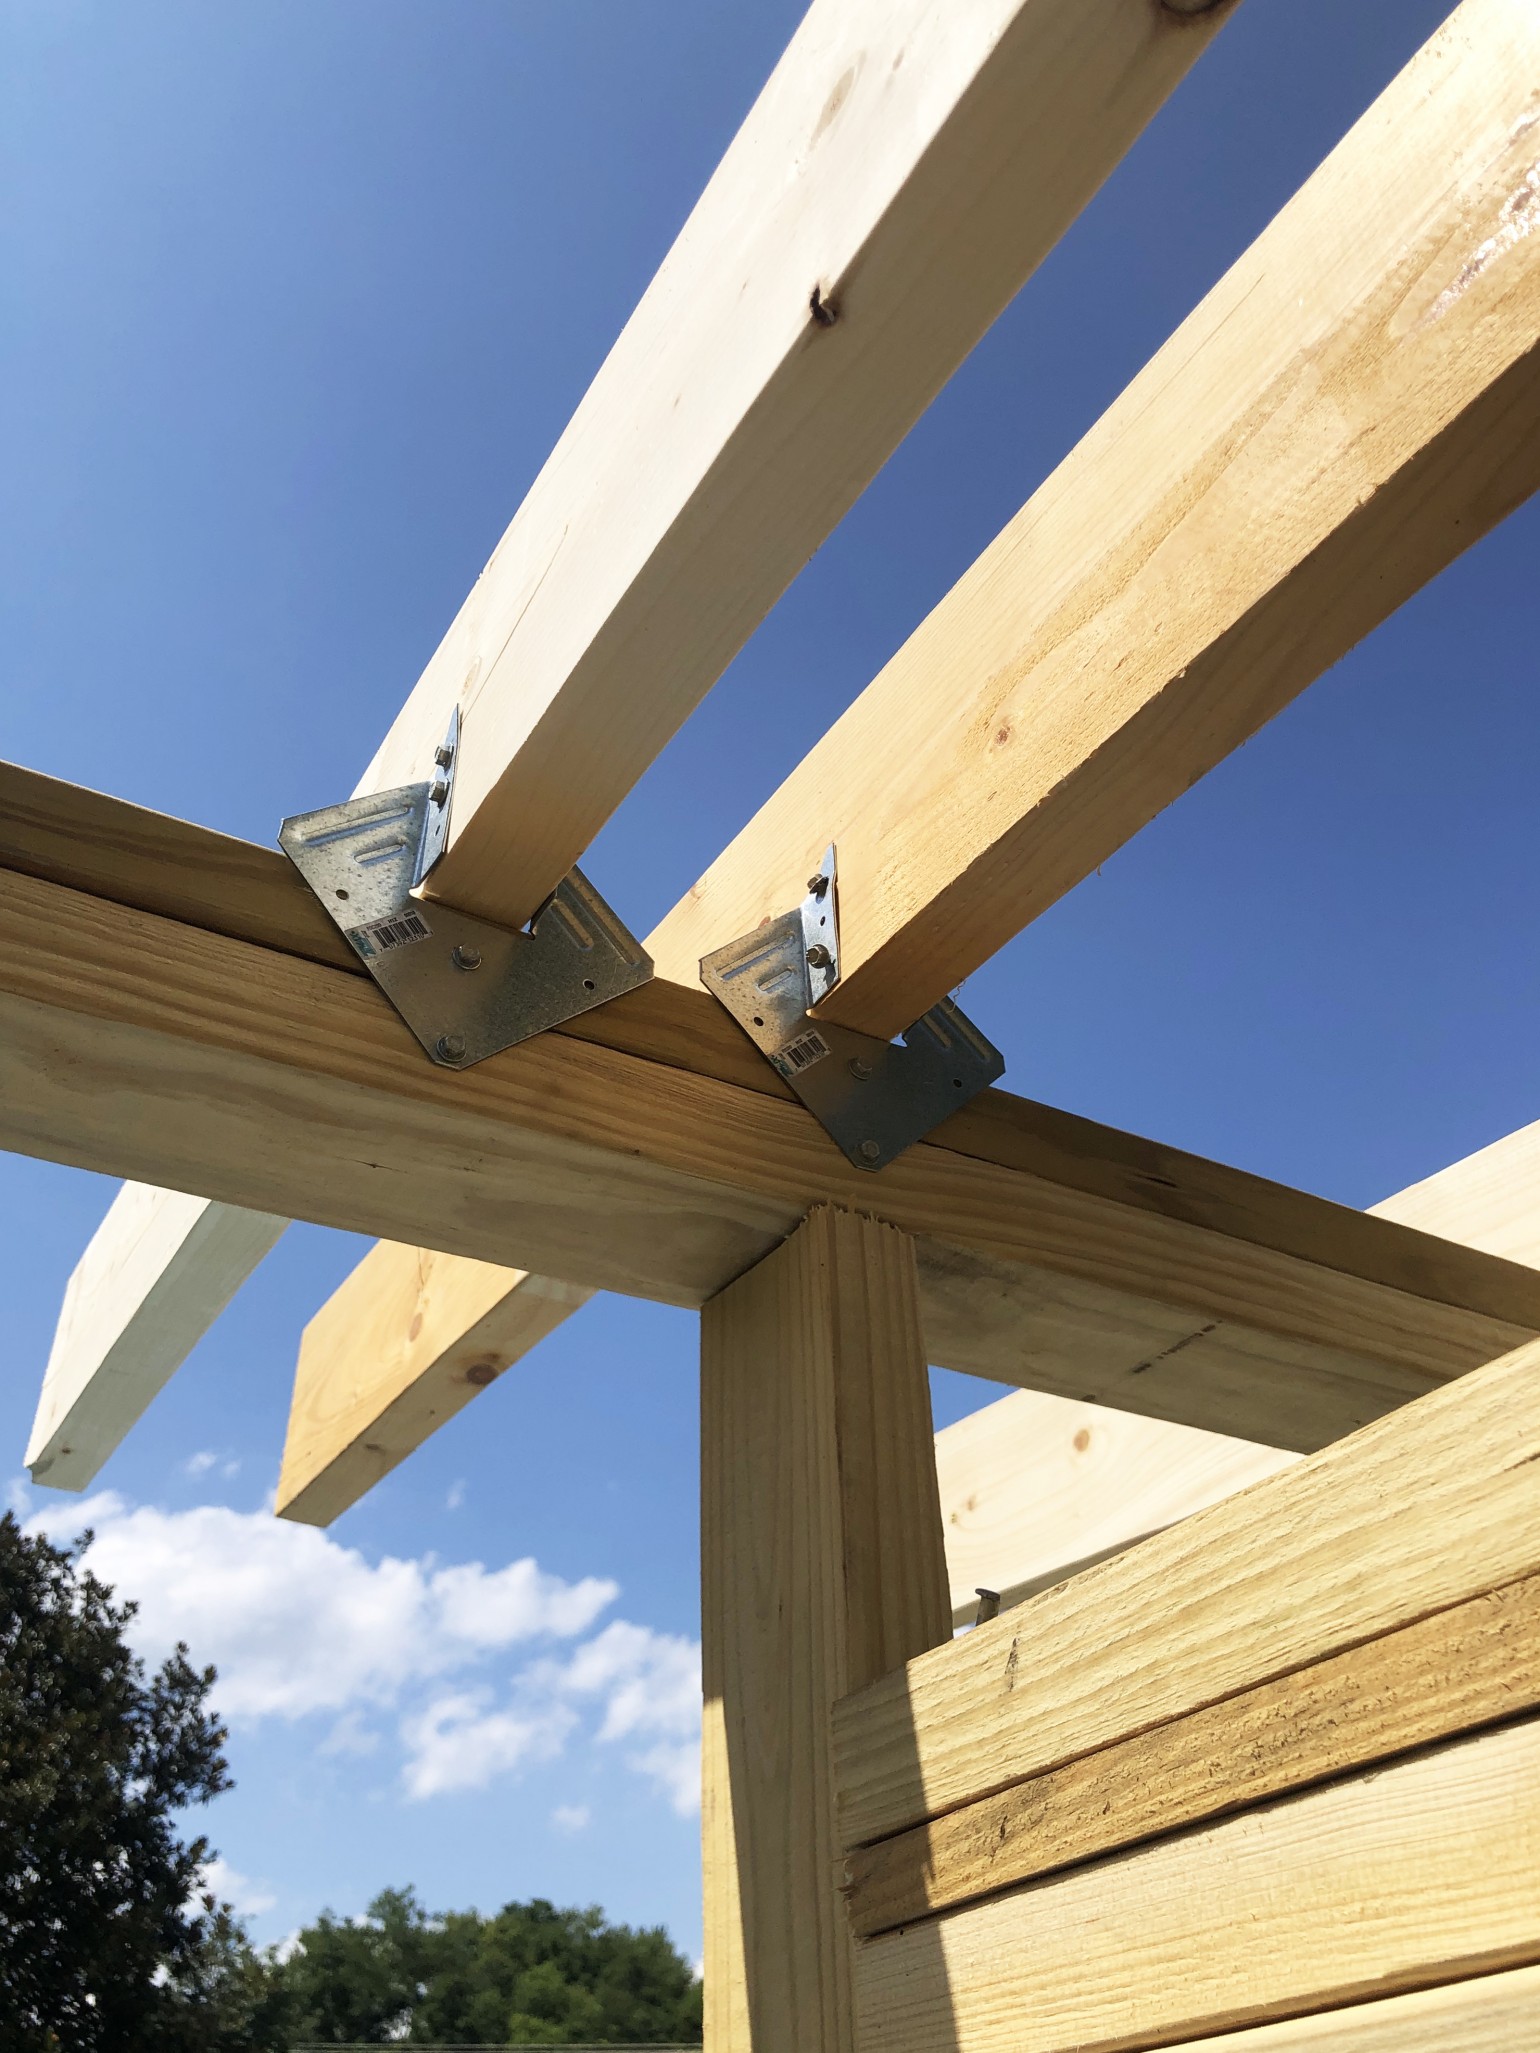
We used 2 x 6 x 16’s so that we would have roughly a 2′ eave overhang on the front and back.
Once we had the rafter situated we attached them with the hurricane clips, our Greenworks impact driver, and the Simpson Strong-Tie screws.
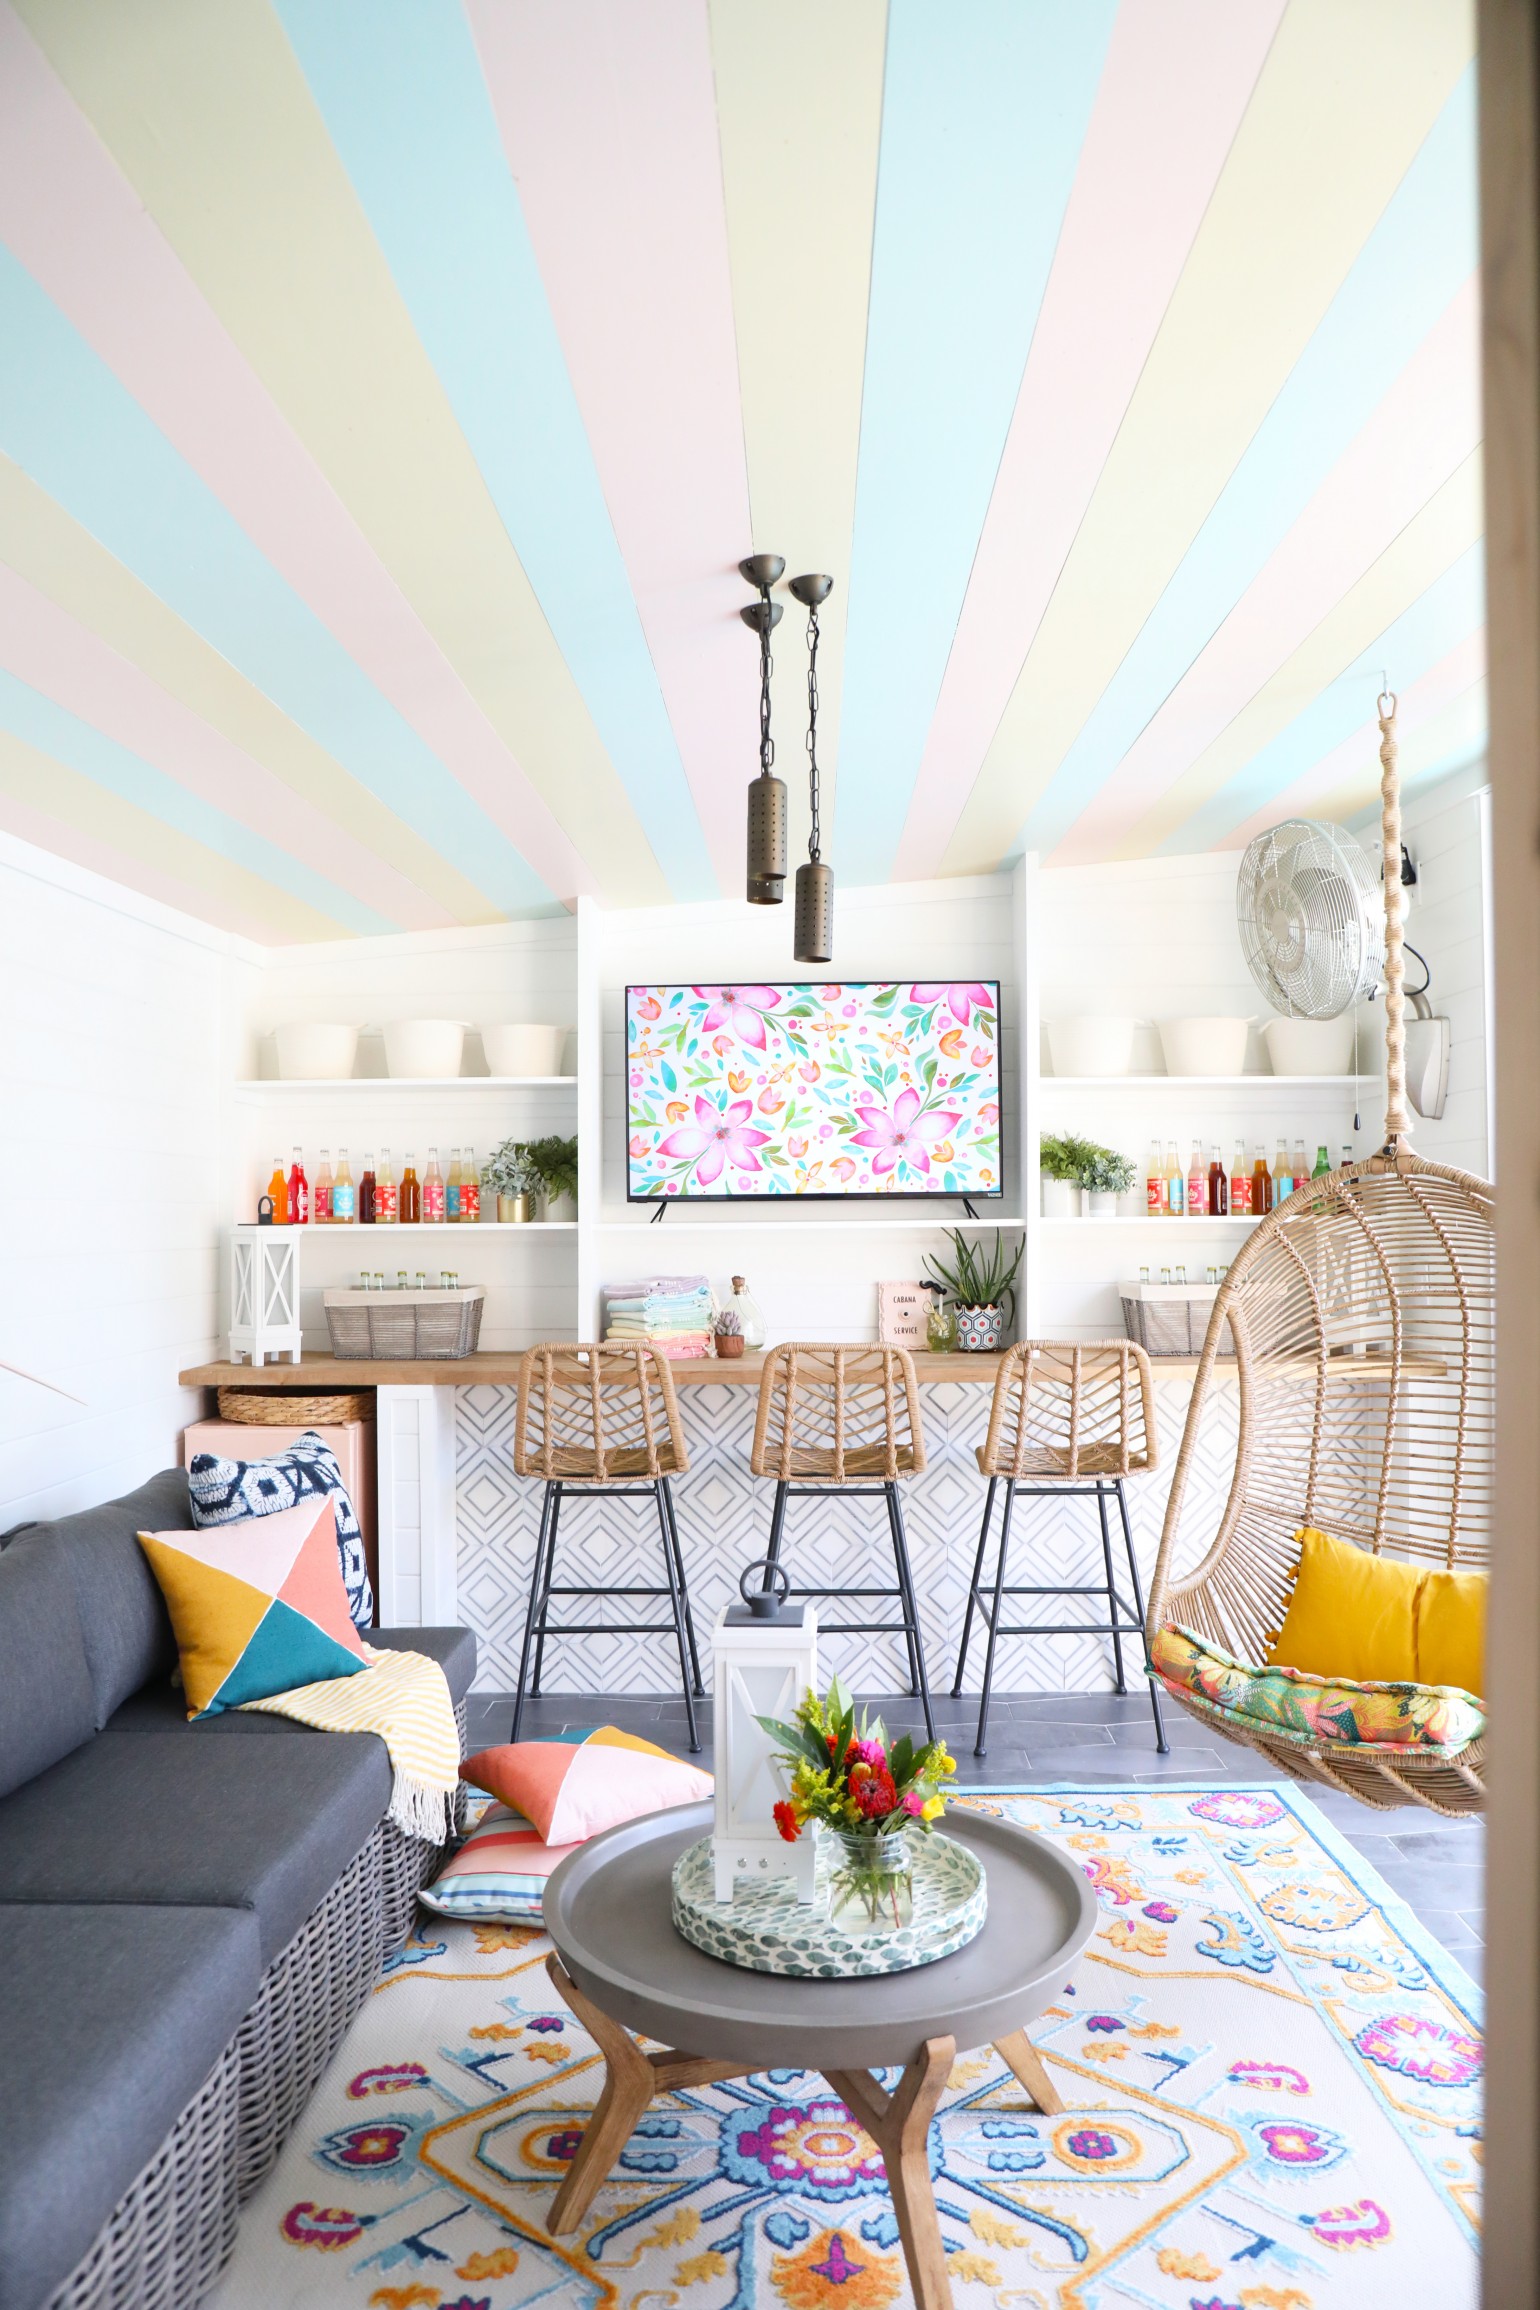
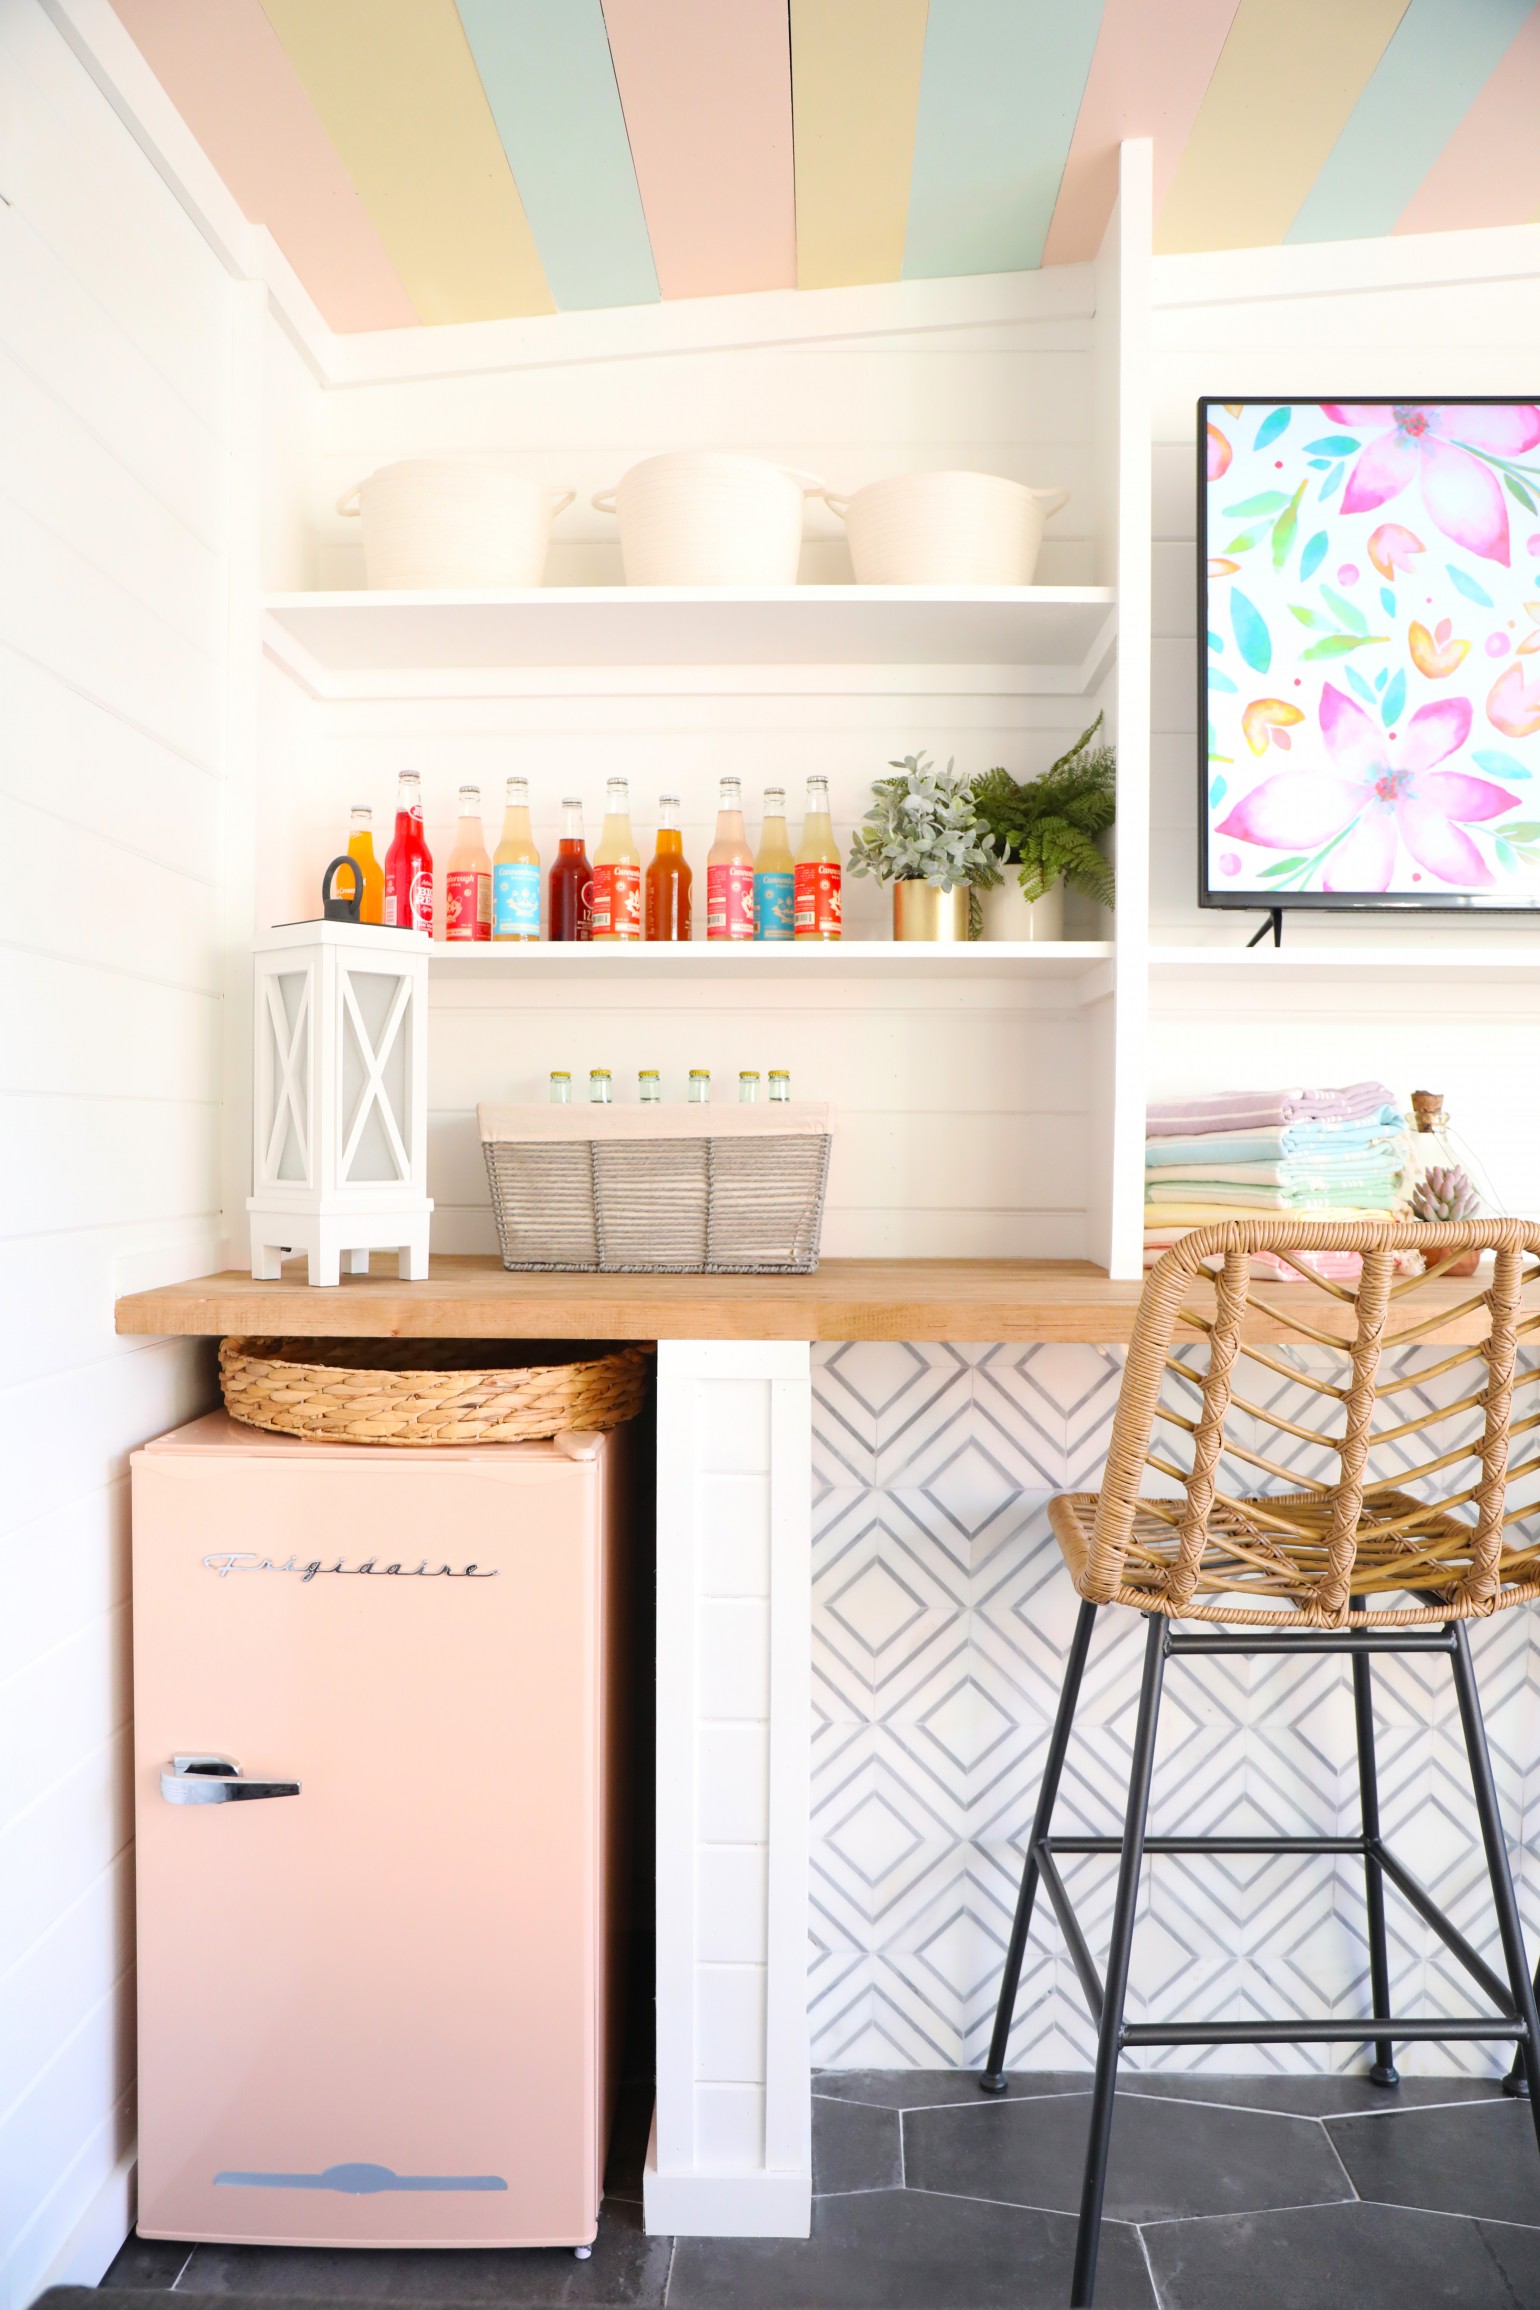
The Bar
Next in the framing, we moved on to our bar. I mean, what’s a cabana without a bar?
Build this the exact same way you would your walls and attached it to the front and back walls.
Most likely you will also need to add a brace in the front and back wall between the studs to attach the bar to.
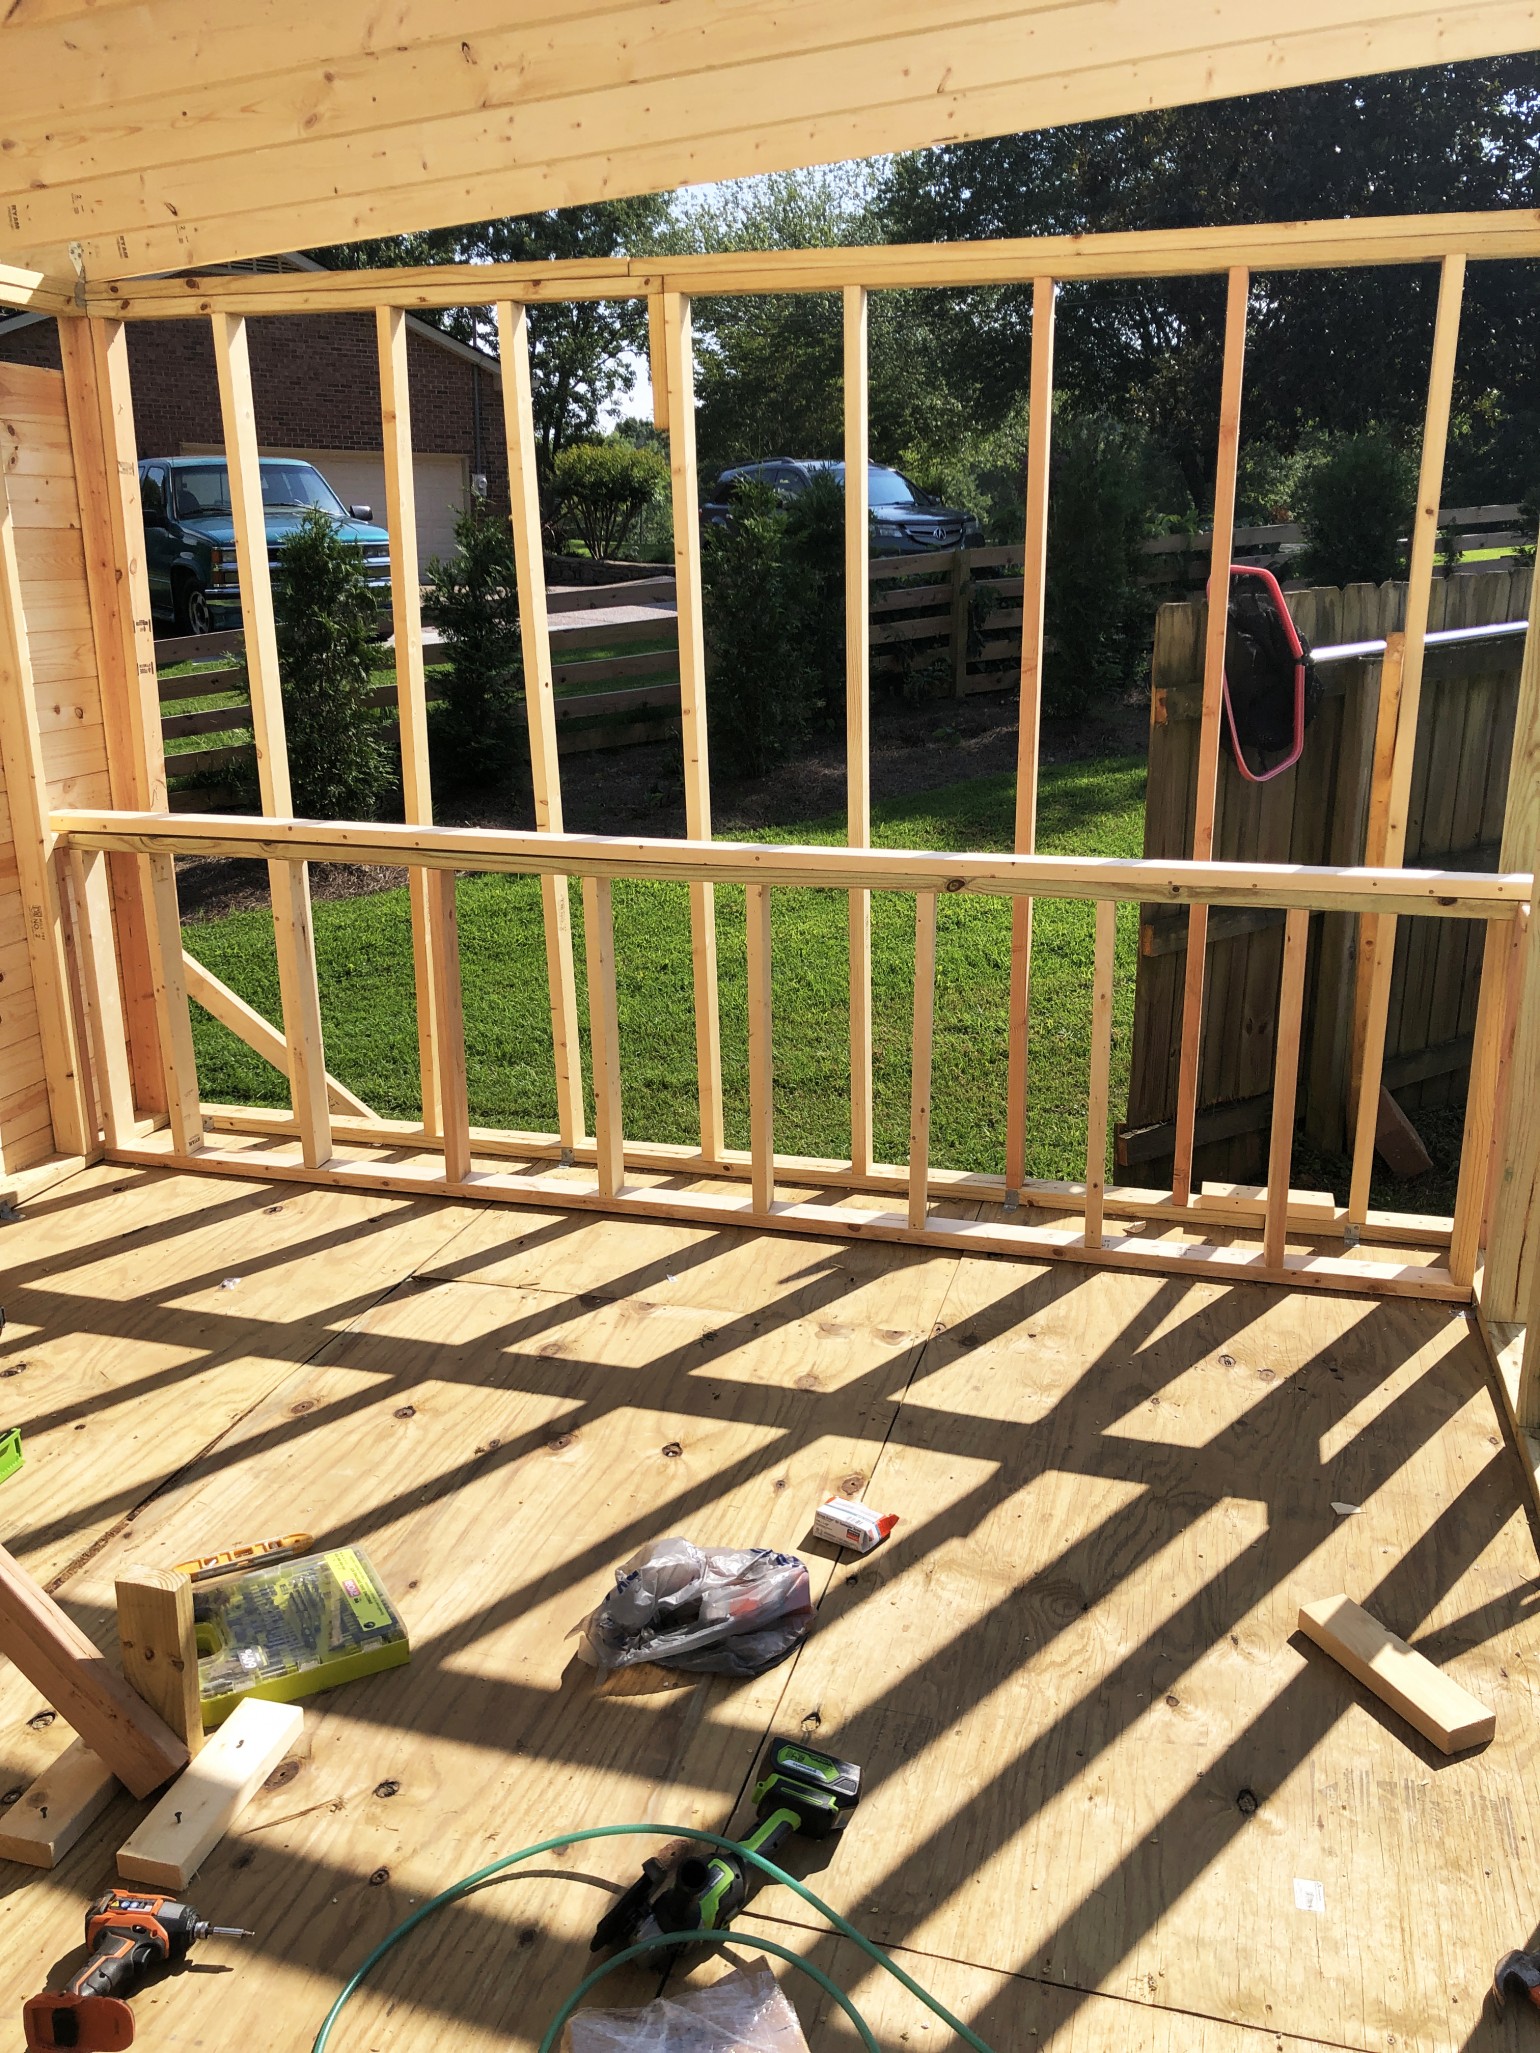
Then we covered the half wall with 1/2 plywood so that we could later cover it with tile.
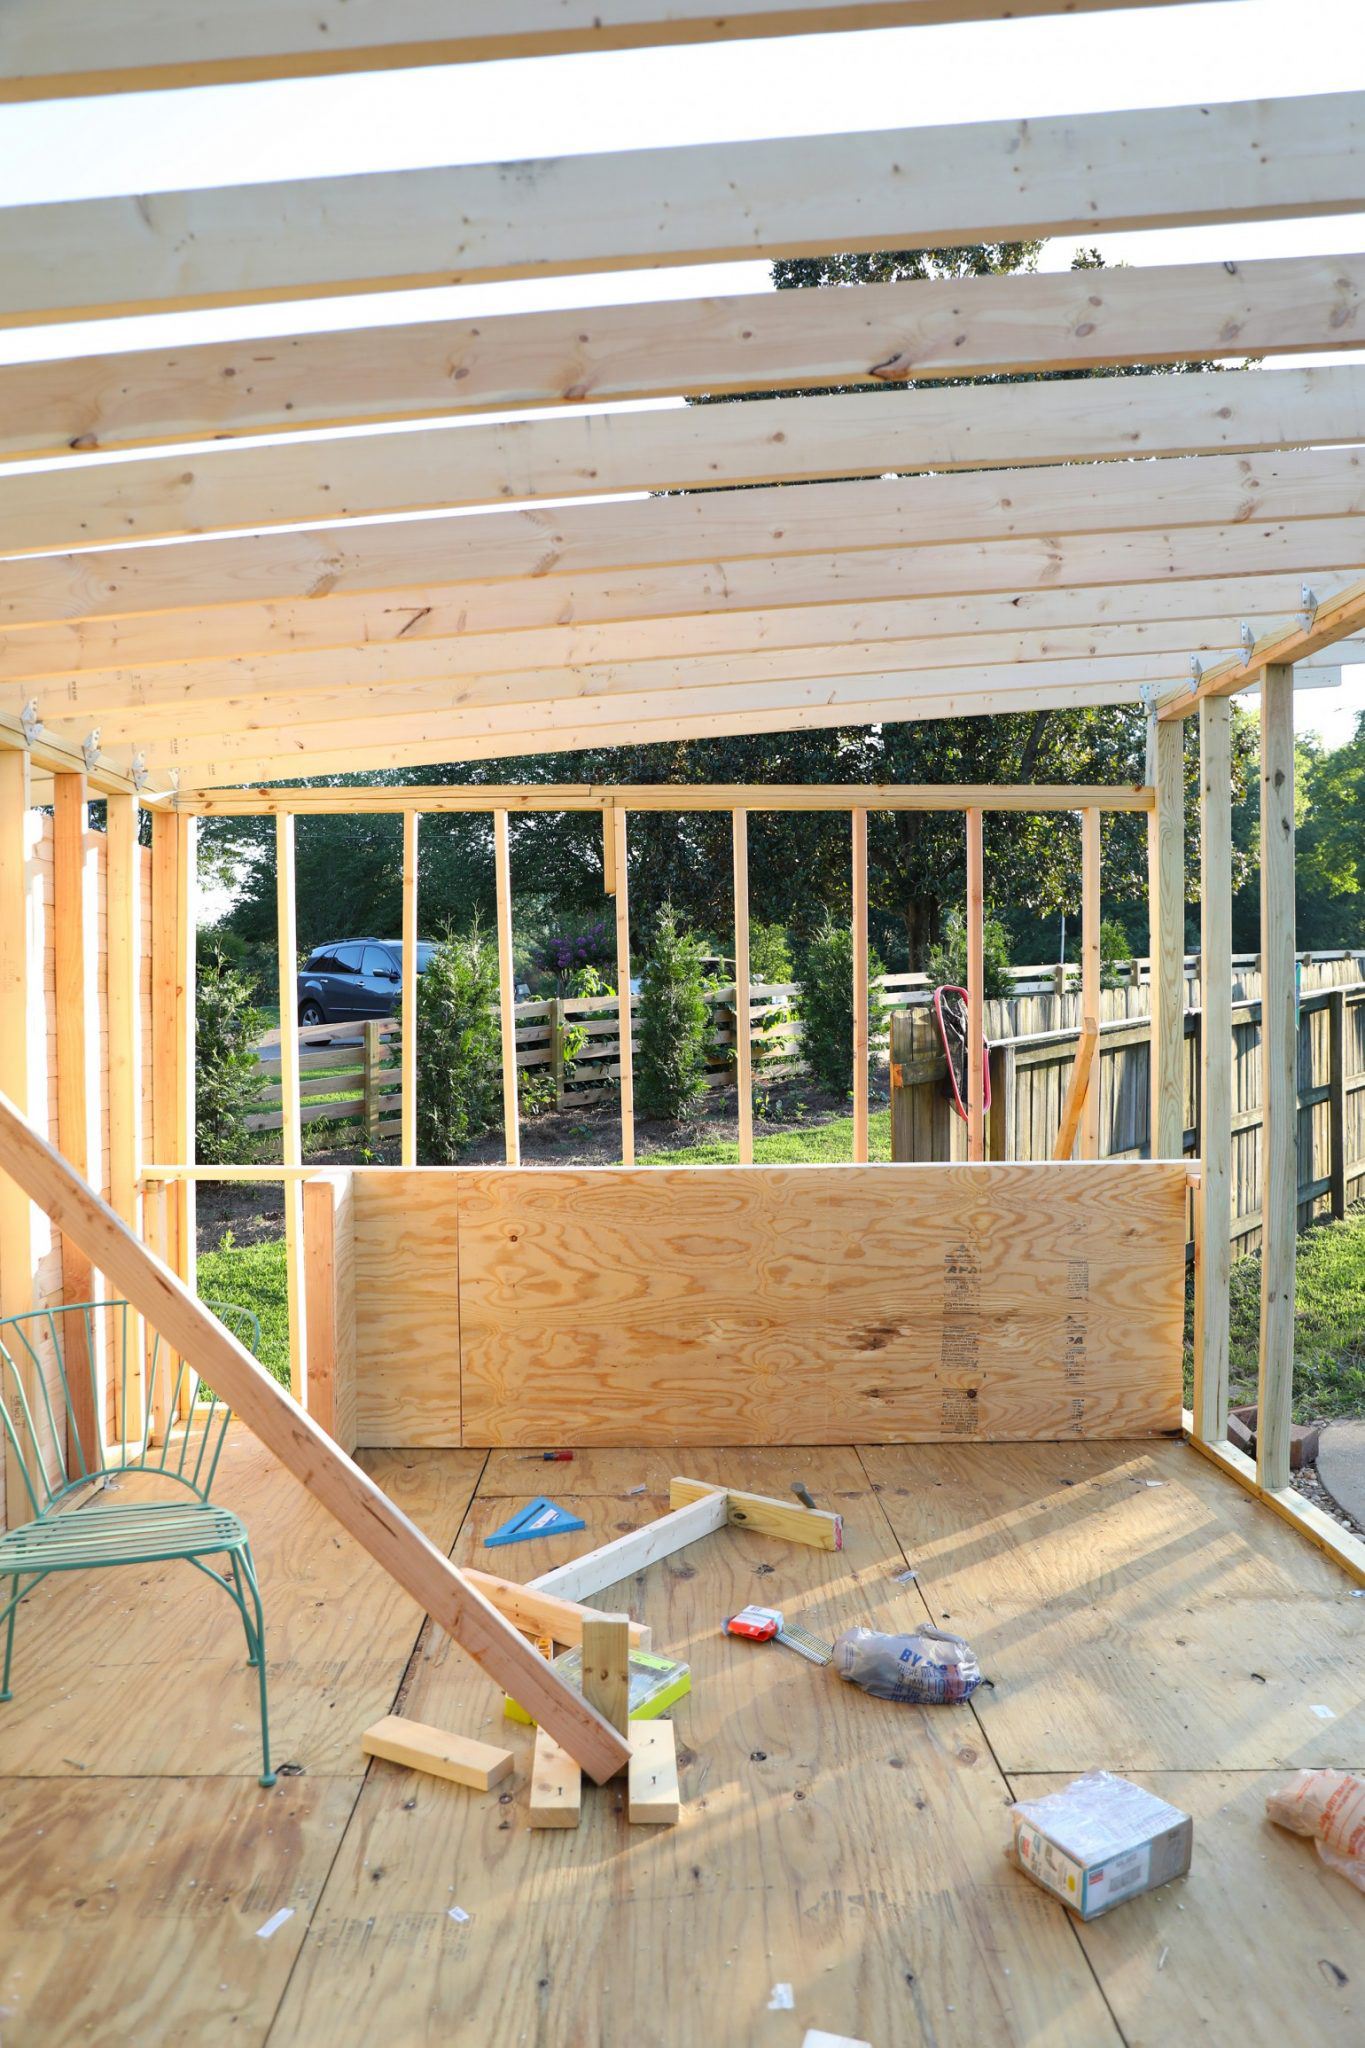
Finally, to add a little stability we added some 2 x 4’s between the rafters, just like we did the joists when we built the foundation.
And that’s the basics of framing!
Next up, adding the roof and wall coverings. Again, check out the full reveal, here!
So as always thanks for tuning in, and let us know if you have any questions that we can help with.
Have an inspired day!

Your work seems to be great. Continue the great effort!!