
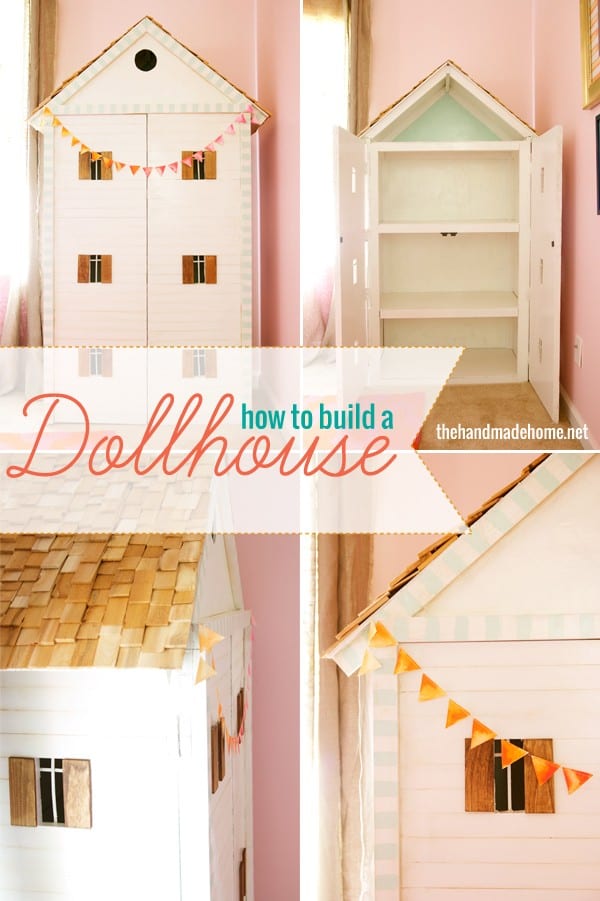
how to build a dollhouse loft
We’re back with another installment in this series, and it’s been so fun sharing each little space, step by step with you! Y’all may be totally over it. If you are, never fear-It’s the last one! So without further ado…
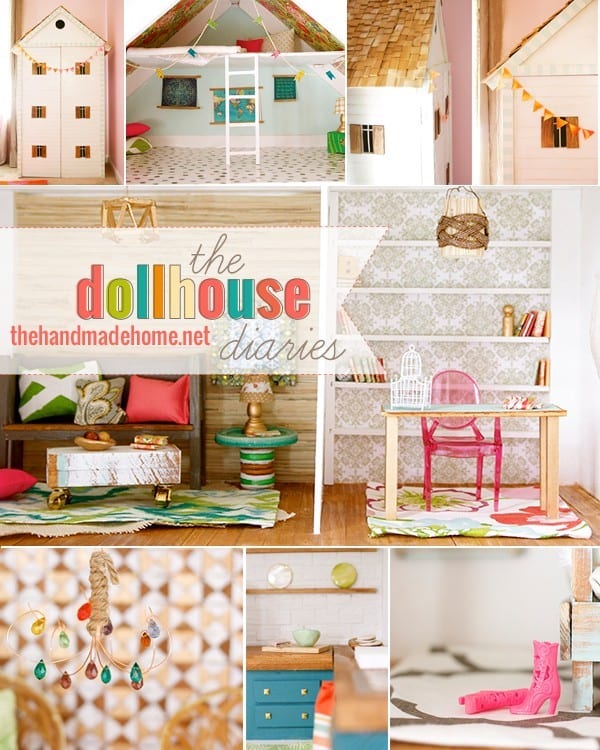
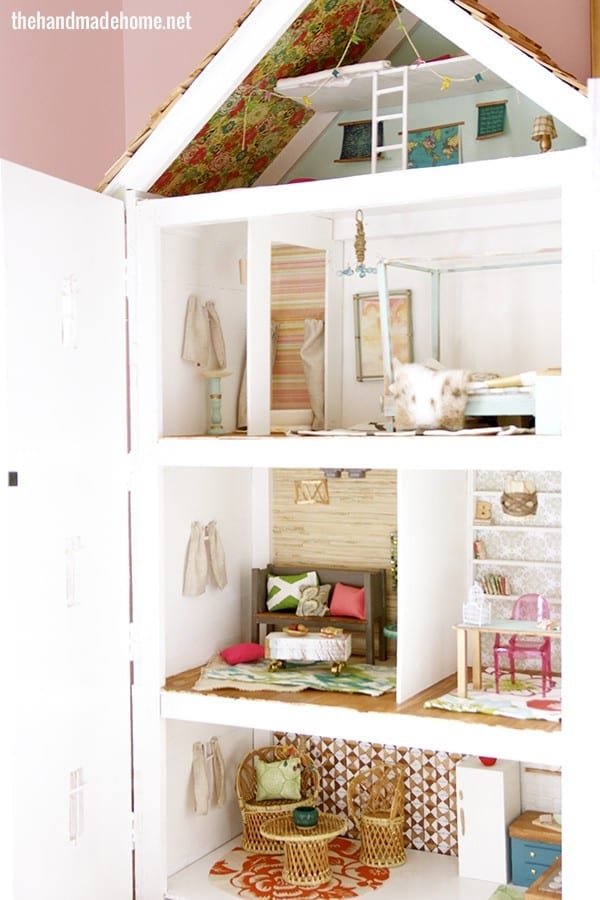
The children’s loft.
Barbie and Ken had to add a quick nursery with these unexpected little additions (things happen fast in creepy little dolls Barbie world and on a tight budget, here’s what they created for little sisters’ shared spaces.
This space is by far the simplest, but probably our favorite. {I think I’ve proclaimed each my favorite, as we go along, but really. It’s pretty fantastic… as is life in plastic. Yep. I just wrote that. Again.} If I ever pull a Lily Tomlin and start to disappear a-la the Incredible Shrinking Woman, at least I have a back up house.
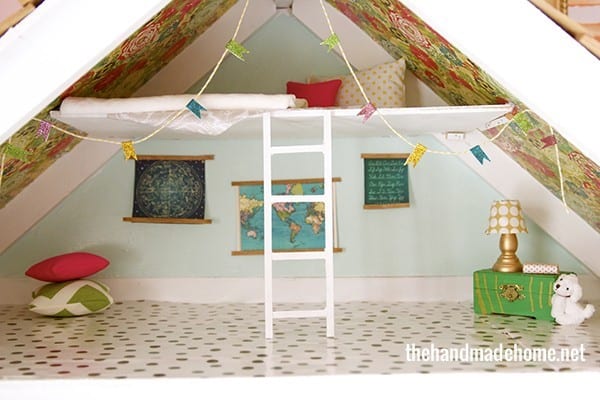
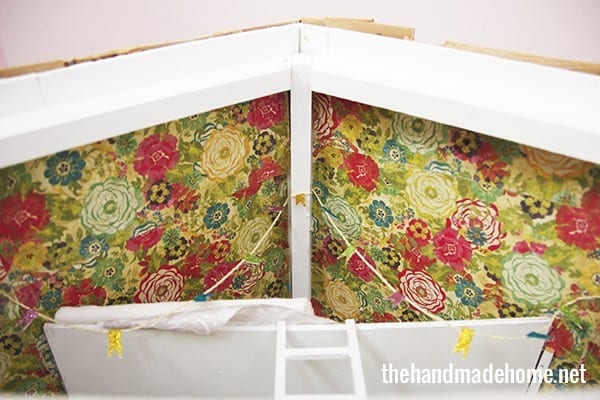
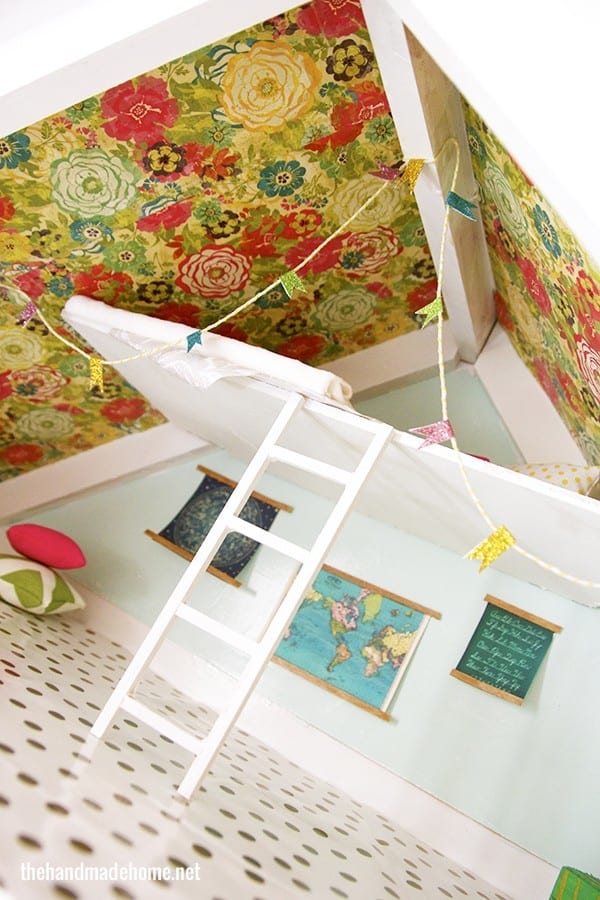
The ceiling was simply some scrapbook paper, Modge Podged to the top. I didn’t really worry about meeting up the pattern, because I had limited amounts of paper, and you can’t tell unless I zoom in close and tell you.
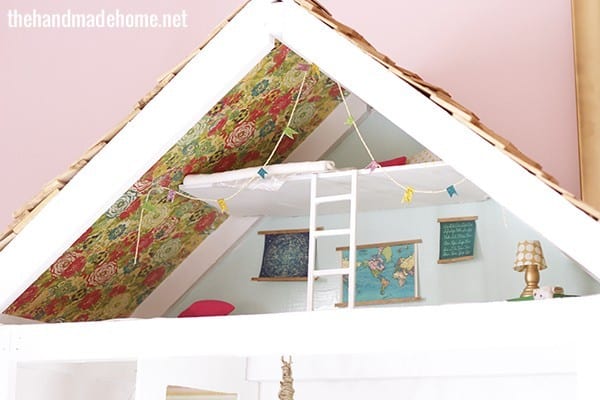
Which I did. {Winning.} The key was putting the extra bits toward the front, so when you’re facing the house head on, they’re in limited eye sight as opposed to the rest of the house.
For the “loft”, we used an extra, thin piece of MDF measuring 17 x 7.25. It has little notches in the back to allow for room {with the way the dollhouse is built} And we reinforced it at the bottom {glue didn’t work} with more pieces of little craft wood so it sits like a ledge.
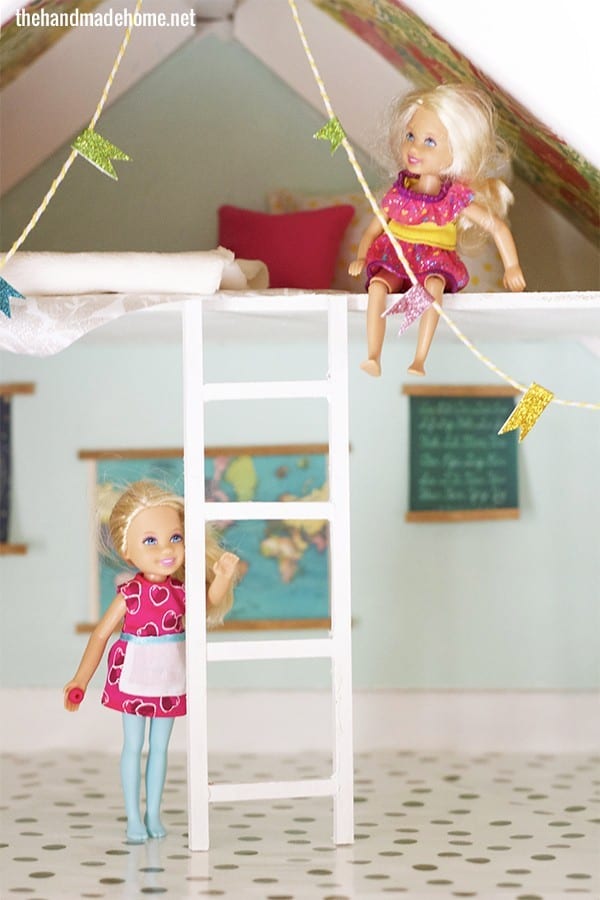
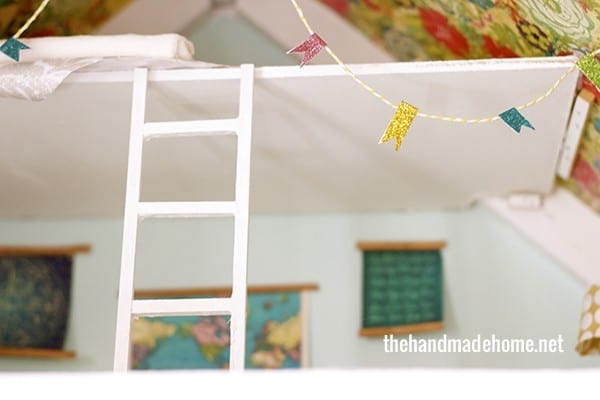
The ladder is made up of craft wood, glued end to end and painted. The final size is 8.25 x 2.5.
Uh, I mean, Ken and Barbie hired a qualified contractor and it’s completely safe for their children.
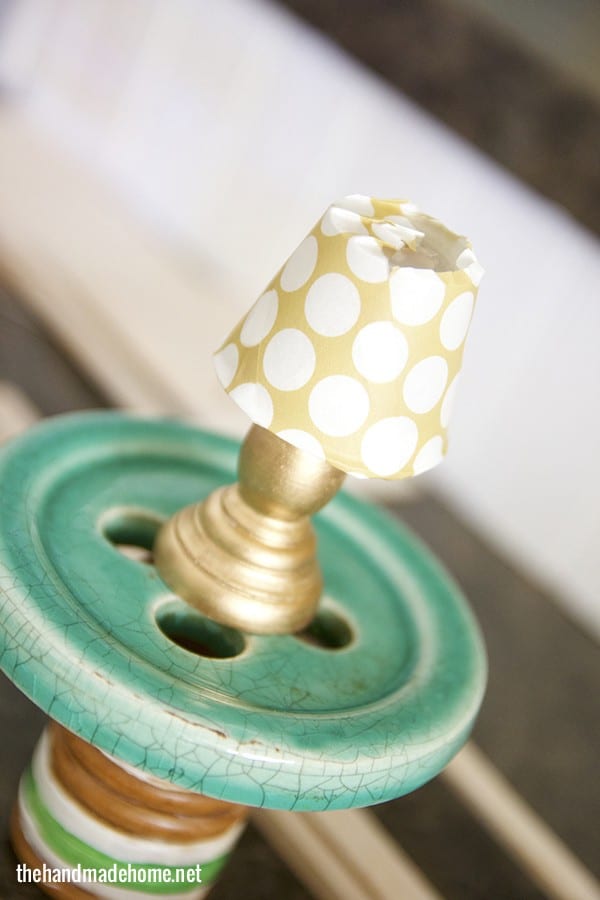
I covered this one in an additional post, but the lamp is a simple piece of washi tape covering a medicine cup. On top of a piece of craft wood. The key was keeping things easy and affordable so Emerson can switch things out when she’s ready.
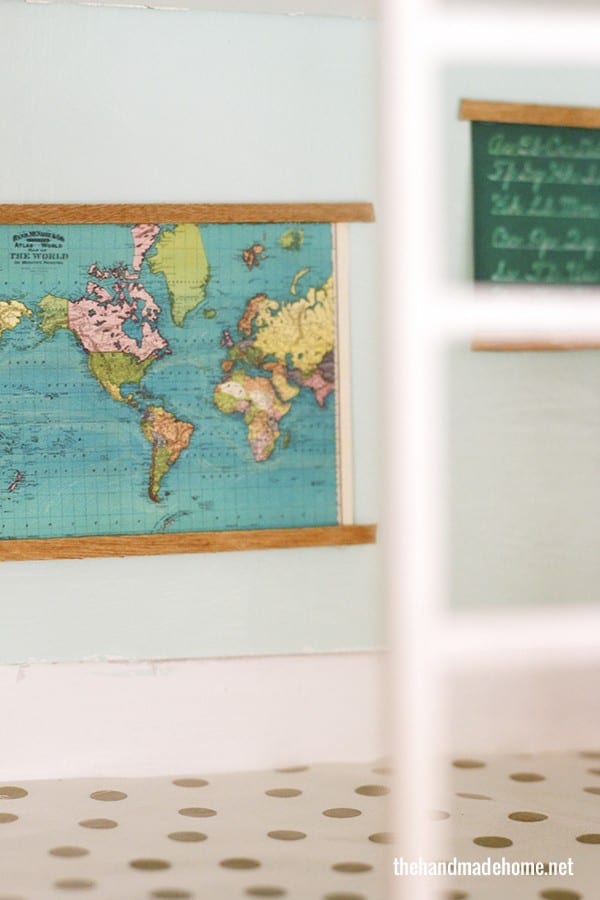
Their wall art were images I searched for on Ebay and Etsy, and then printed out in small format. {The quality of images weren’t that high in the first place, so the pixelation wasn’t a big deal when printed out small.} We stained two pieces of craft wood, and after gluing them to the top and bottom, added them to the wall. I officially want some old charts in real life… as cool as these.
The floor is made up of left over oil cloth that we had from this project. (Get yours here)

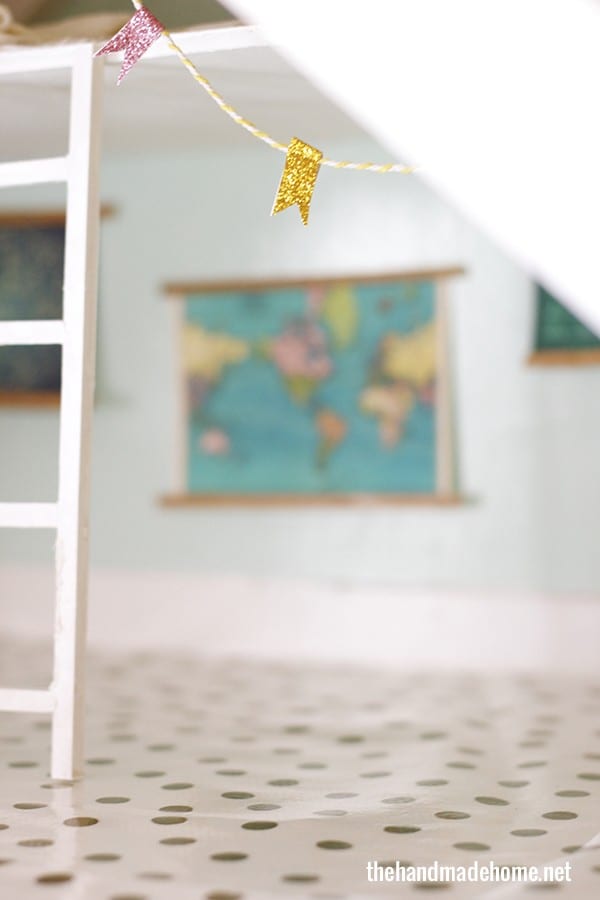
Then we added some glitter tape and some twine, and cut some fun little bunting shapes to add a little pizazz.
I’m big on the little things… much to my own detriment.
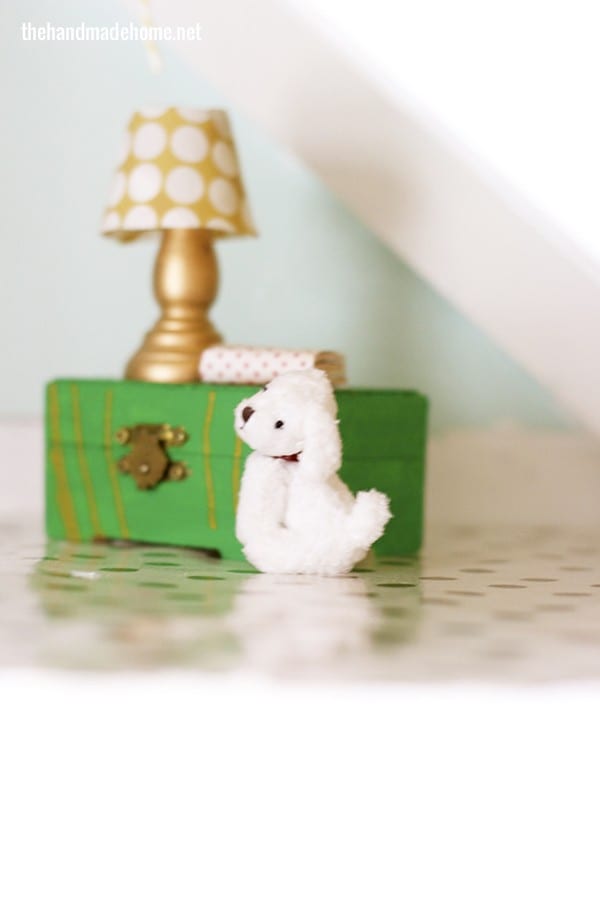
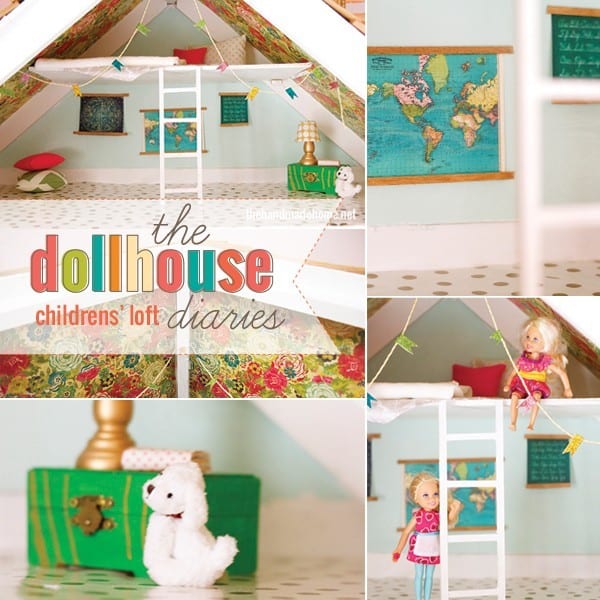
The trunk was picked up at the local craft store for super cheap {A dollar at the most} and painted by Emerson. She picked the colors and everything… Cue: proud mama. And she insisted on having a Chloe to match her dollhouse. So we added that as well.
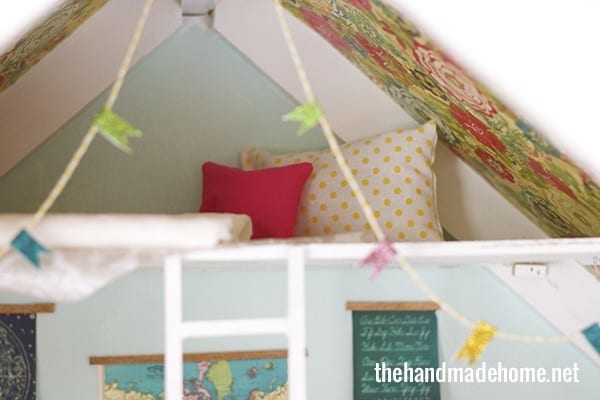
We sewed the little pillows {Emerson helped me stuff them all – I had no idea how quickly it could go with smaller sizes} And added them with fabric scraps for the children’s “bedding”.
And there you have it! Simple little additions for the kids’ room.
And that, my dear friends, wraps up this series!
To read about how to build a dollhouse:
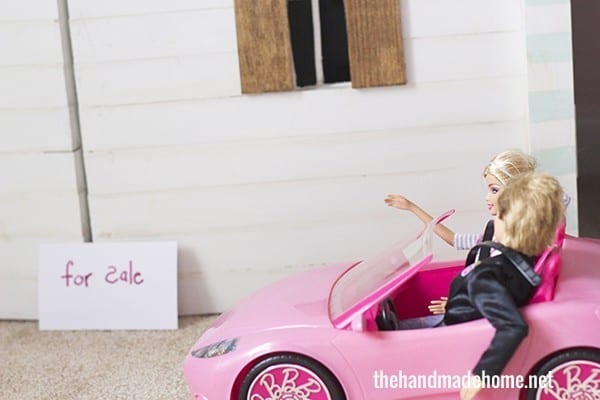
To see how Ken and Barbie found their dream house:
How we did the floors, windows + walls:

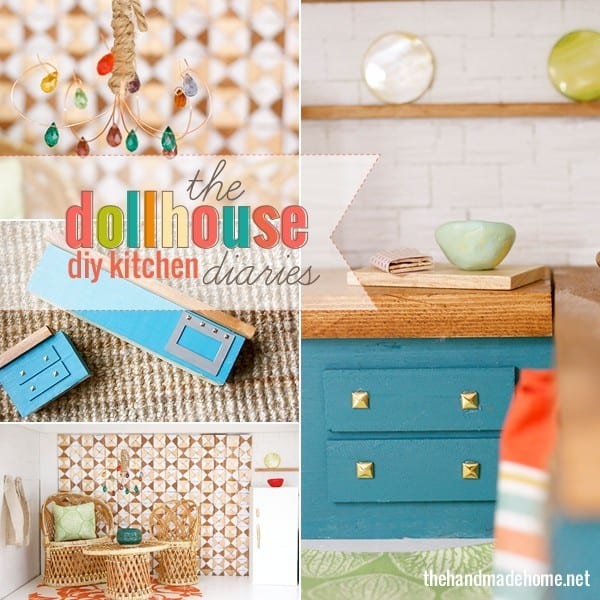
How to make a dollhouse kitchen
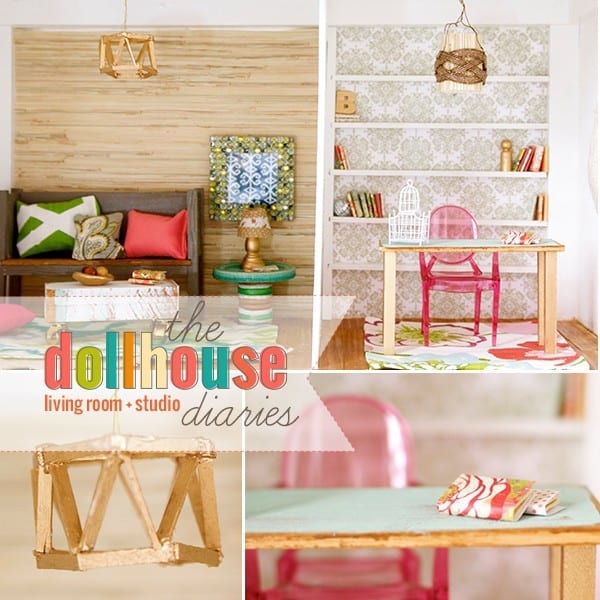
A dollhouse living room and studio
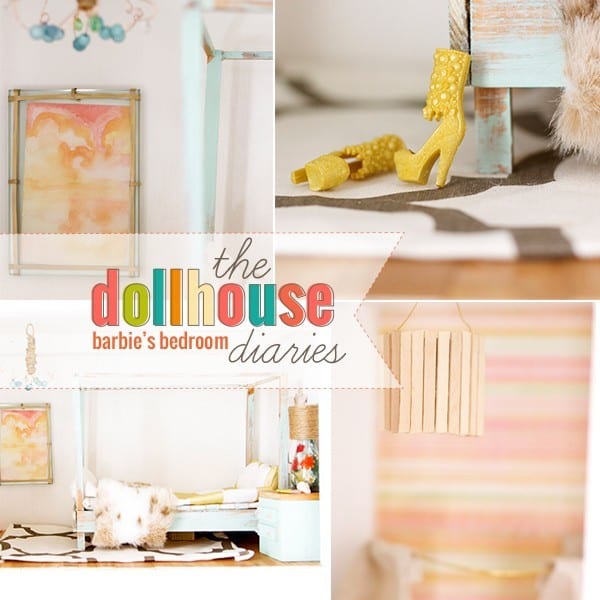
And the master bedroom
As always, let us know if you try it, or have any questions! Have an inspired day!


I have loved the Dollhouse Diaries! Thank you for sharing. If I have a girl someday, I will have some wonderful inspiration to carry out! 🙂 My boys just wouldn’t appreciate the obsessive detail I’d pour in quite as much! I’m sure this will be a treasured house of memories for the growing plastic family. Emerson will have many years to enjoy and then pass on to her own. I’d live there! 🙂
The tiny printables! Oh my! Adorable much???
Beautiful! Thank you so much for sharing all of these awesome ideas. We’re tackling this soon!
I, for one, am not tired of this dollhouse series. I would happily enjoy a mansion of your mini-designed interiors. Life-size too, but let’s be honest… the mini size makes it more endearing and fun! I was obsessed with mini things when I was little and a part of me never gave up that affinity. Anyhow, I love your style and use of color (and gold). LOVE.