
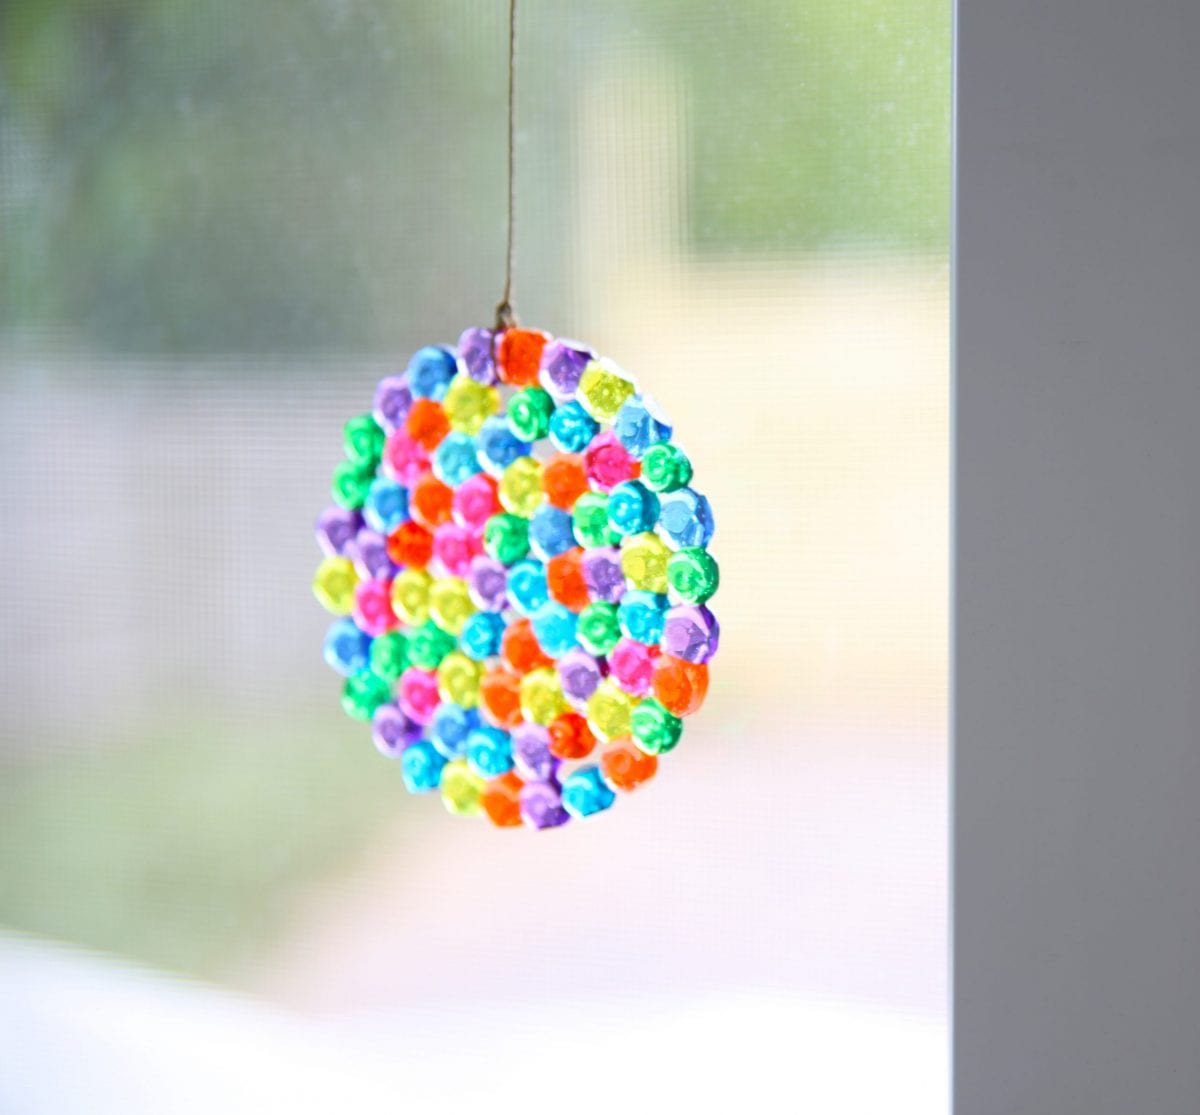
how to make melted bead suncatchers
We’re back at ya with another fun diy project with the kiddos while we’re all staying at home!
This one is an oldie but a goodie, and perfect for all those restless littles that need a simple project. Our kids are older now, but they’ve loved these at all ages, and we think you will, too.

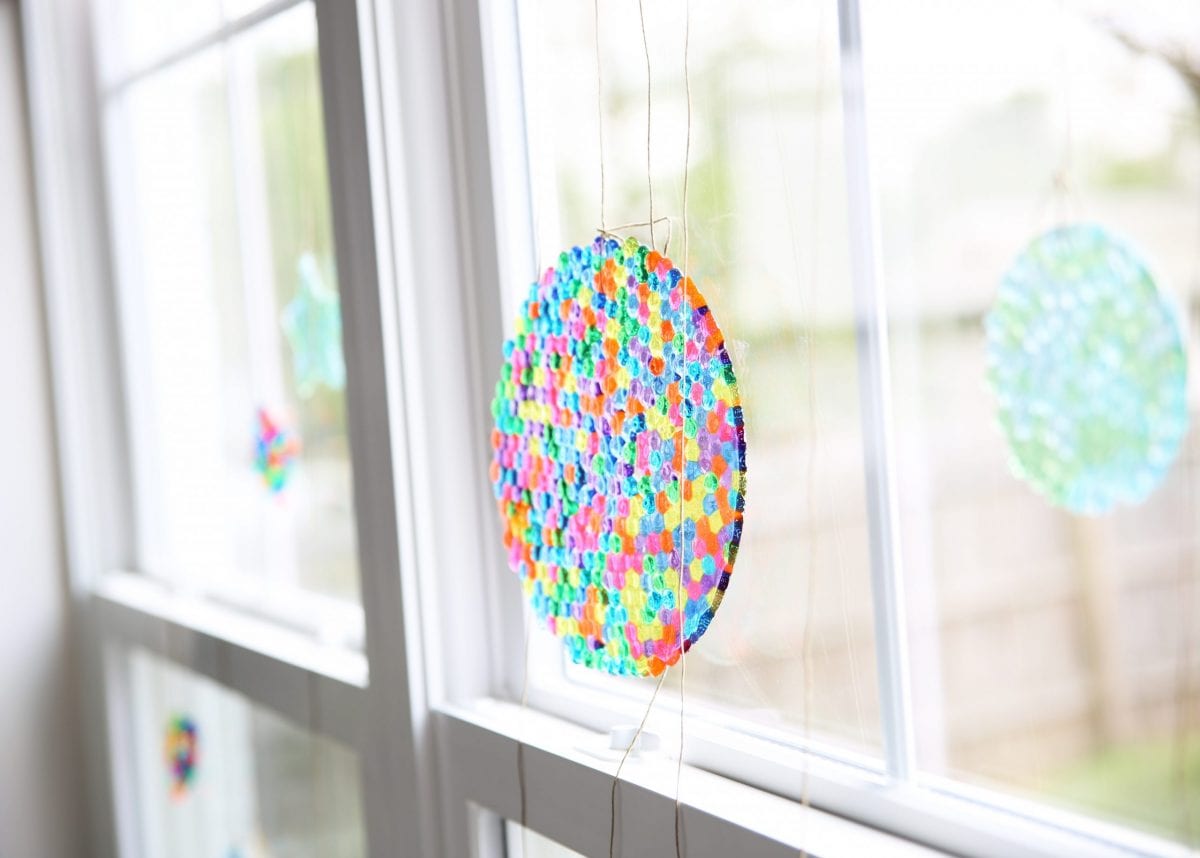
They’re so peacefully perfect when they’re done!
You can use all types of colors and options.

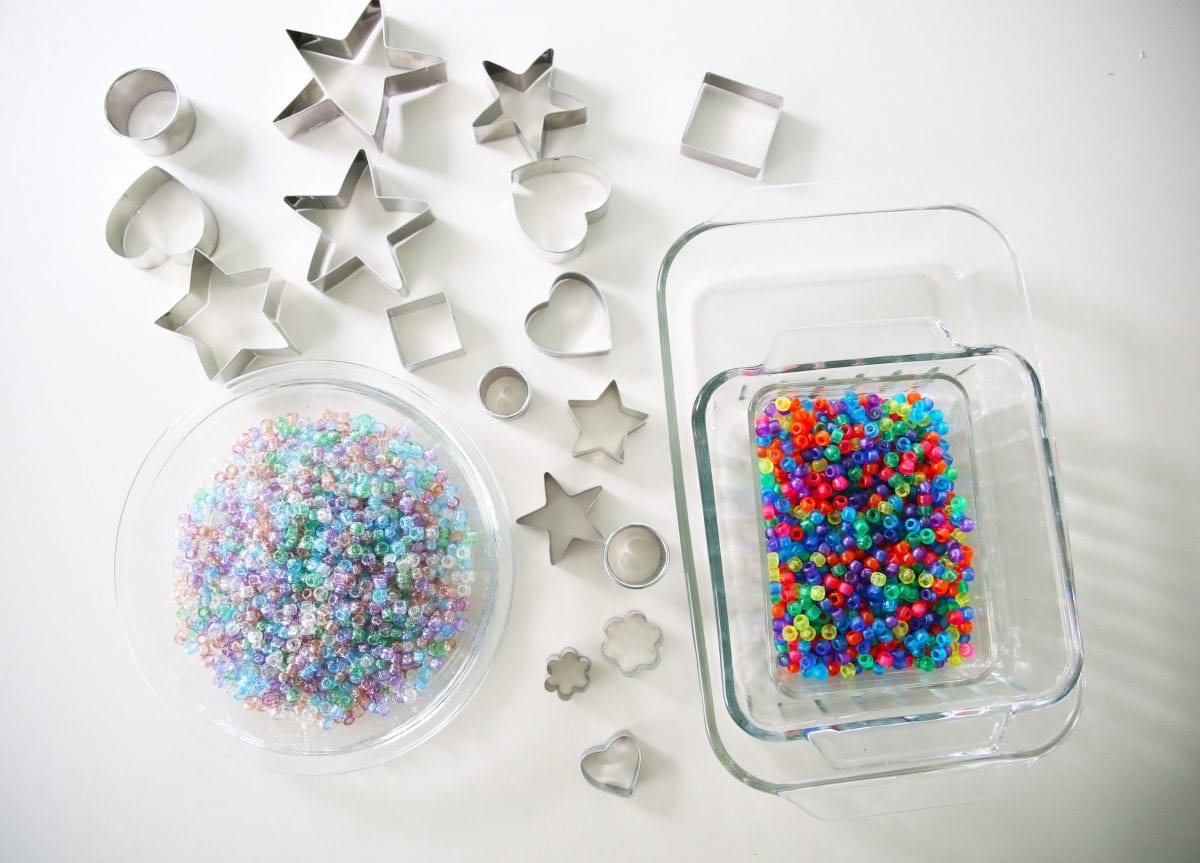
Want to make some of your own? You just need three simple things {with access to an oven}
• pony beads {pick a color, any color! We found ours here but glow in the dark is also fun!}
• a round glass pyrex dish. {A few, if you have more than one child and they don’t want to take turns.}
• metal cookie cutters – any shape is oh so fun!
• any other shapes of pyrex dishes, so that you can put your metal cookie cutters inside and bake multiples
• toothpick
• twine of your choice
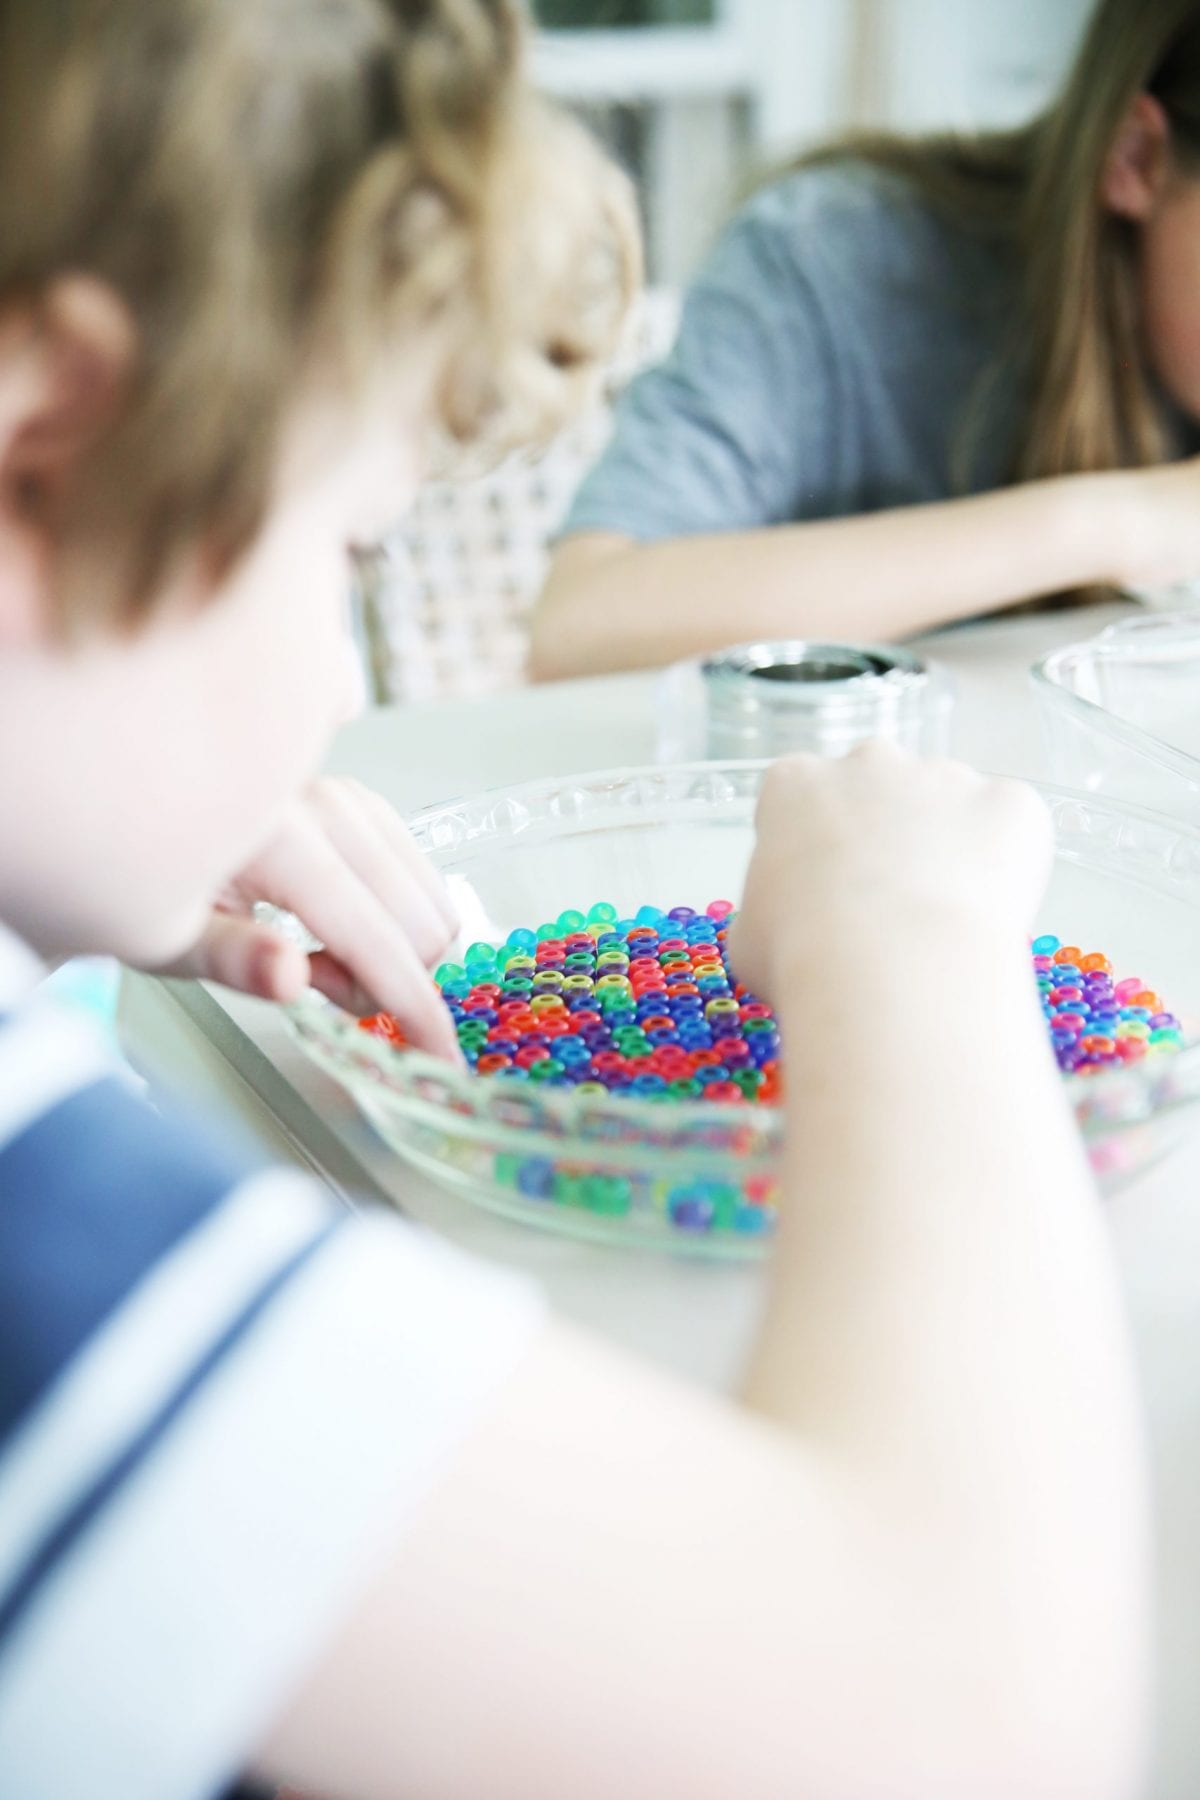
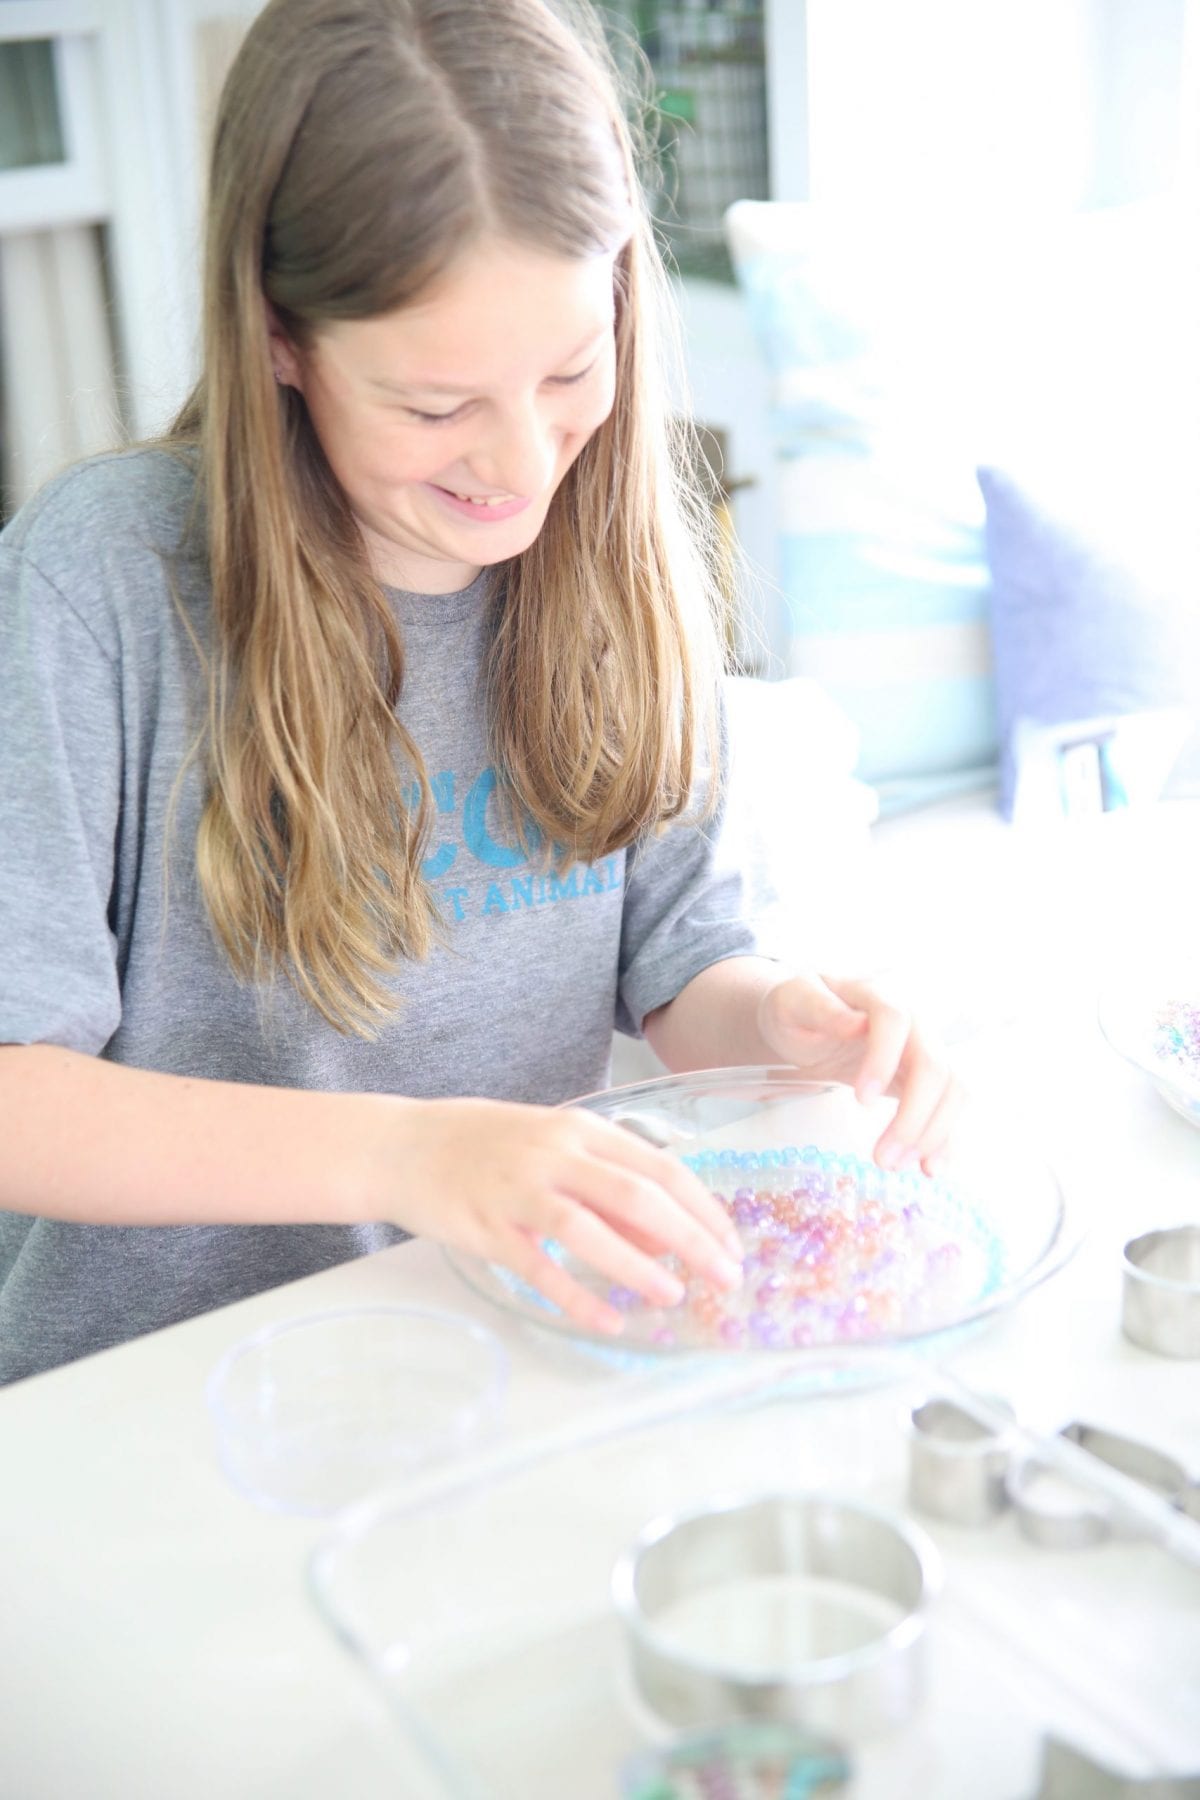
Let your kids position them however they like.
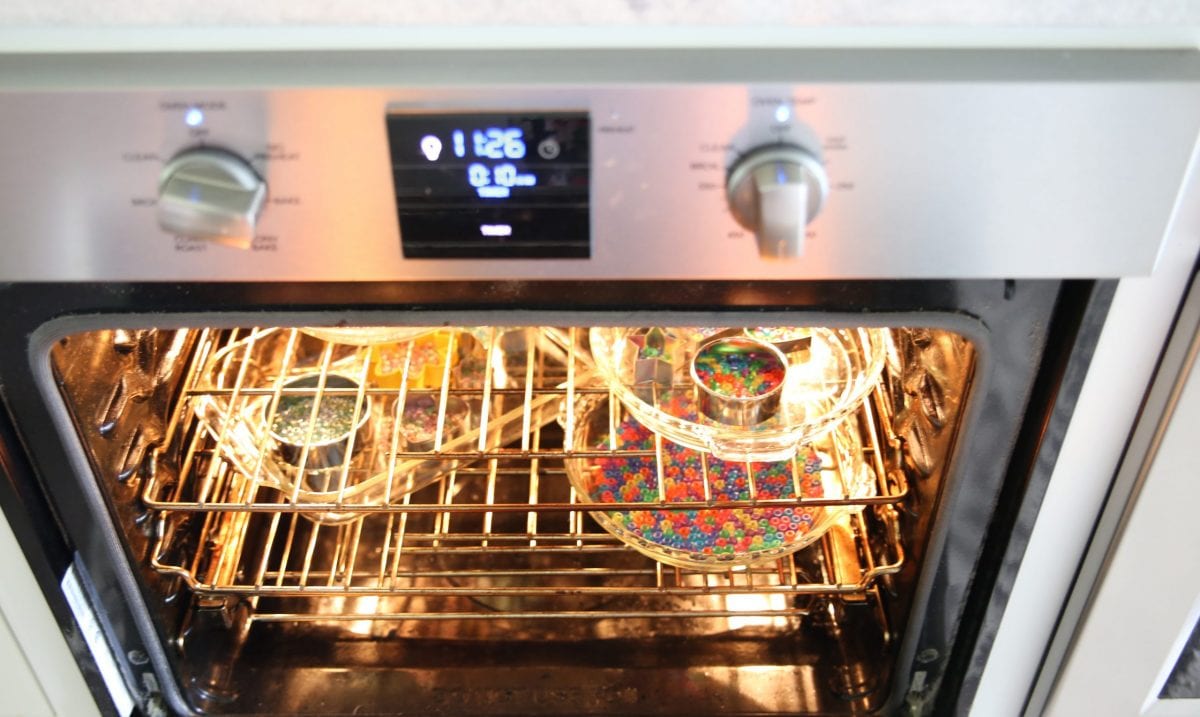
Preheat your oven to 400.
For the super large and in charge ones, we simply laid them flat in any pattern, all the way around the circular dish.
Then for the other shapes, we laid the metal cookie cutter in the glass dish, and filled it up with beads. Just one layer.
Note: The cookie cutter just holds the beads into place while they melt, thus the metal requirement. Cooking spray is optional but I didn’t really notice a difference with or without as we made these.
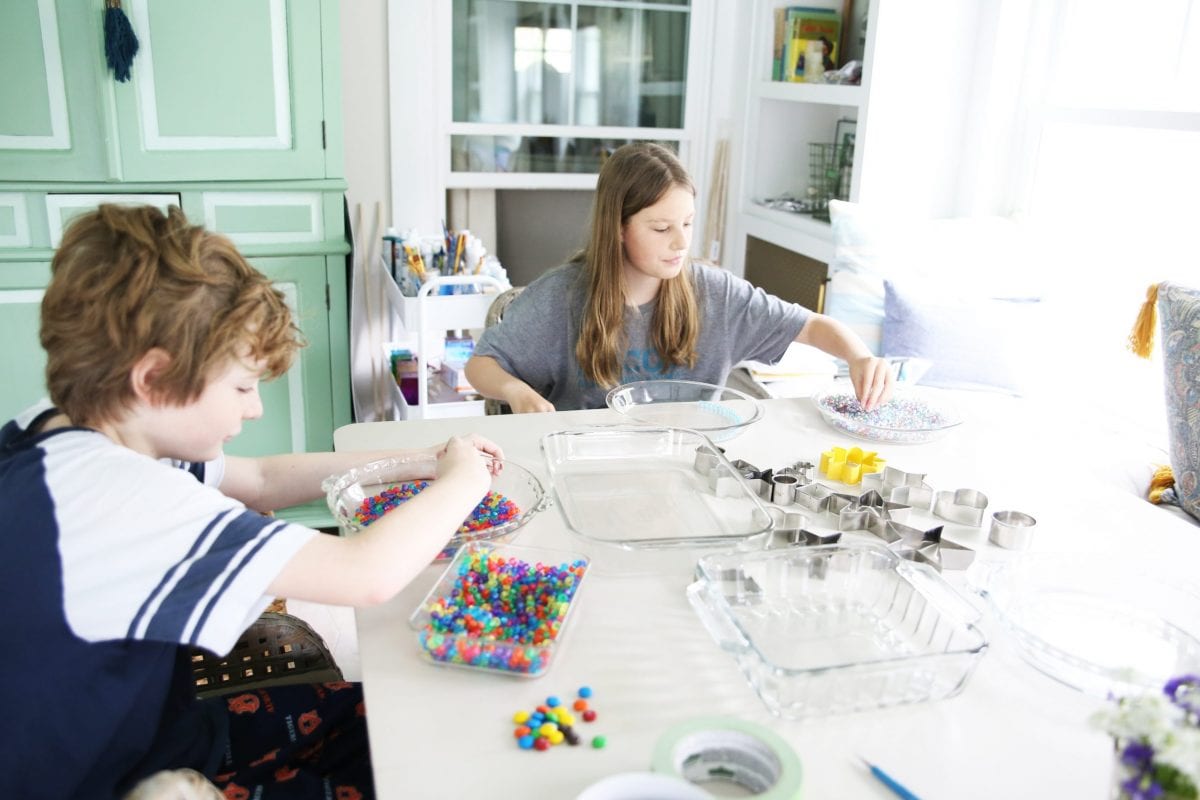
We even mixed in a few fondant cutters for an extra shot of spring fun!
There’s just something about working creatively with little things that keep them happy.

Set your little creation to melt for 15 – 25 minutes {on 400 degrees} in your oven, depending on how it cooks. Ours took a little longer, so just keep an eye on it.
Pull them out when most of the beads are sticking together.
Watch those little fingers with hot dishes.
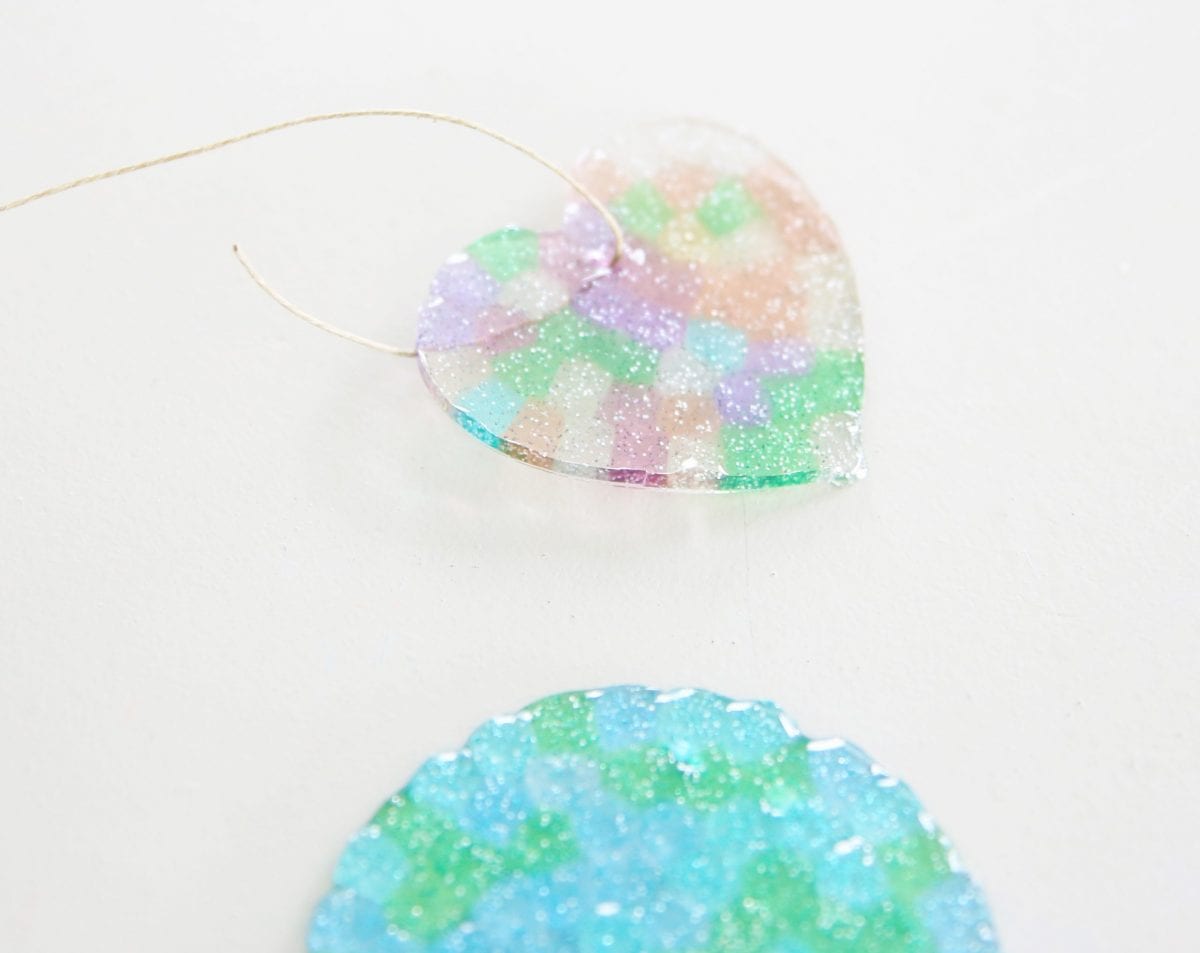
The smaller shapes make it harder for the beads to fill in perfectly, so when I pulled those out, I ended up dragging some of the melted plastic from the beads to the edges with the toothpick to make sure they filled it in right. It might help to try that if some of your beads turn out wonky.
Immediately after pulling them out of the oven, use your toothpick to make a little hole in the top of your shape. This is where your hanging twine will go!
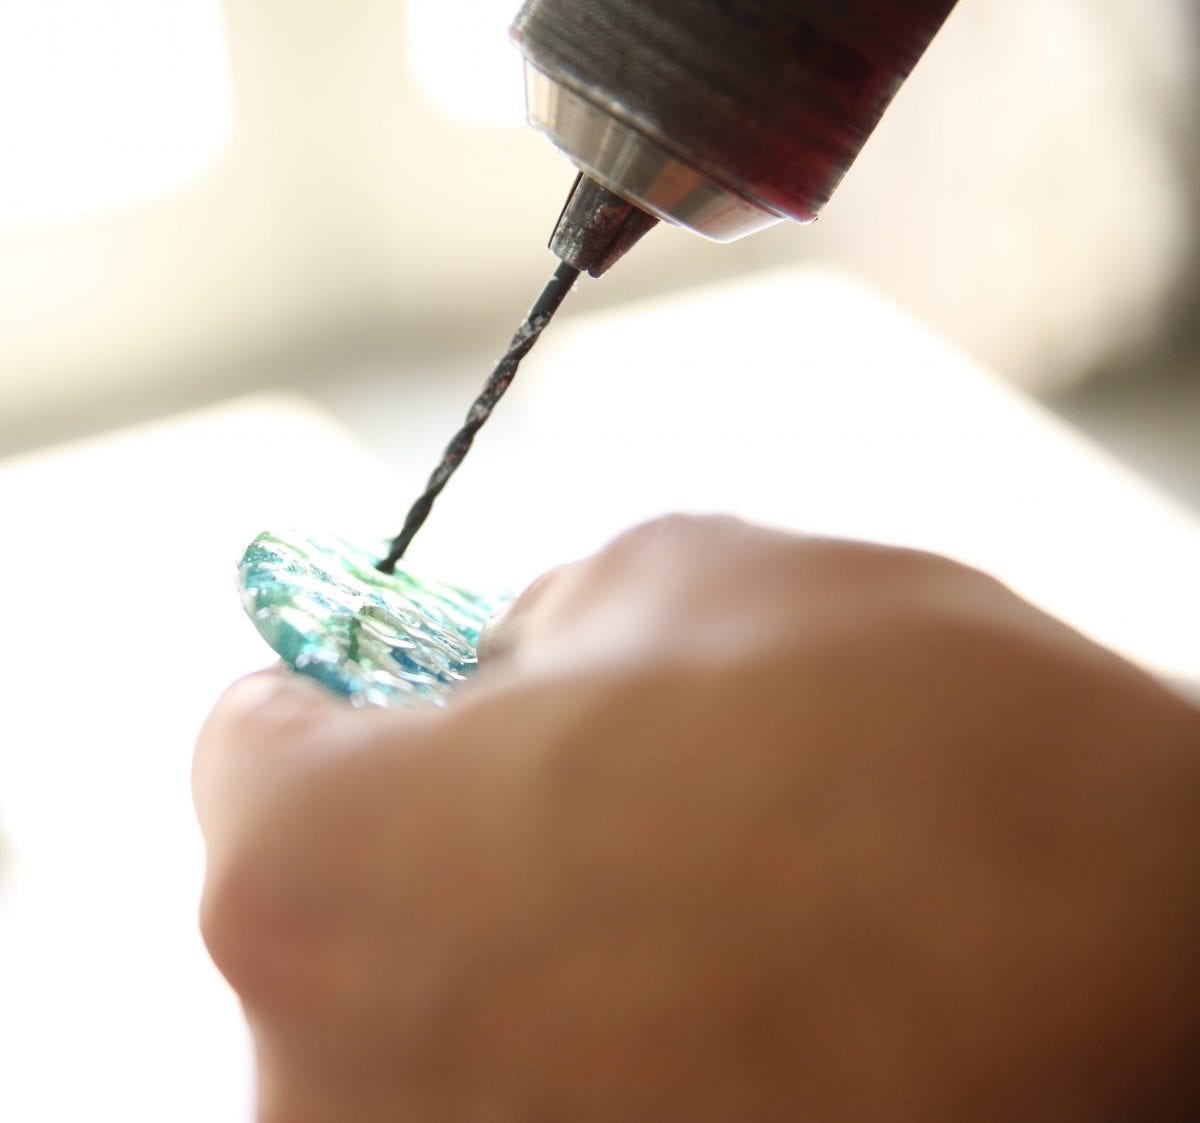
If you couldn’t get to a shape with your toothpick, a really small drill will do! OR put it back in the oven for a few seconds and try again.
As the beads cool (and sometimes this can take up to fifteen minutes) you’ll hear a cracking sound, while the plastic pulls away from the glass dish. When they’re cool enough, simply wedge the shape out of the cookie cutter, and tada! You’re finished.
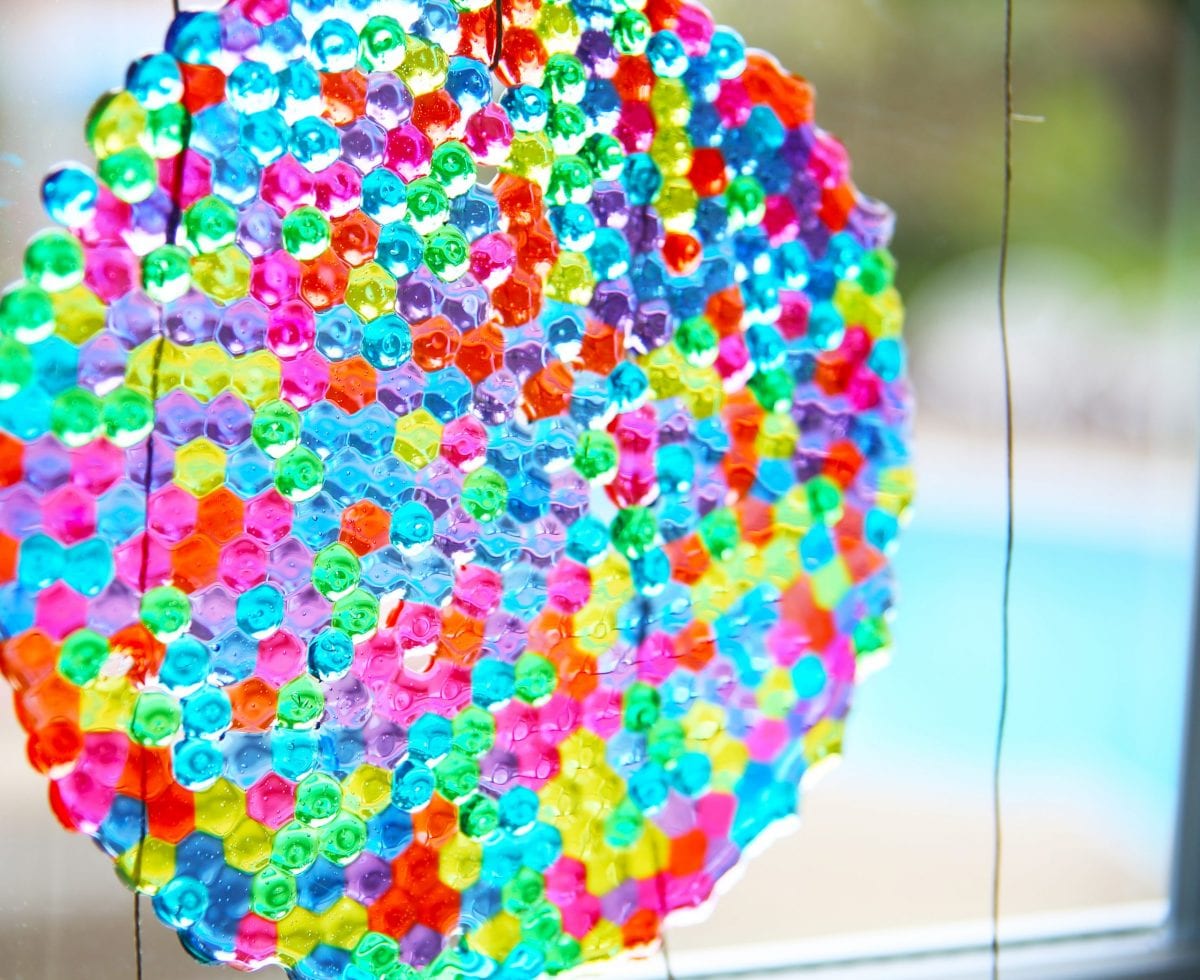
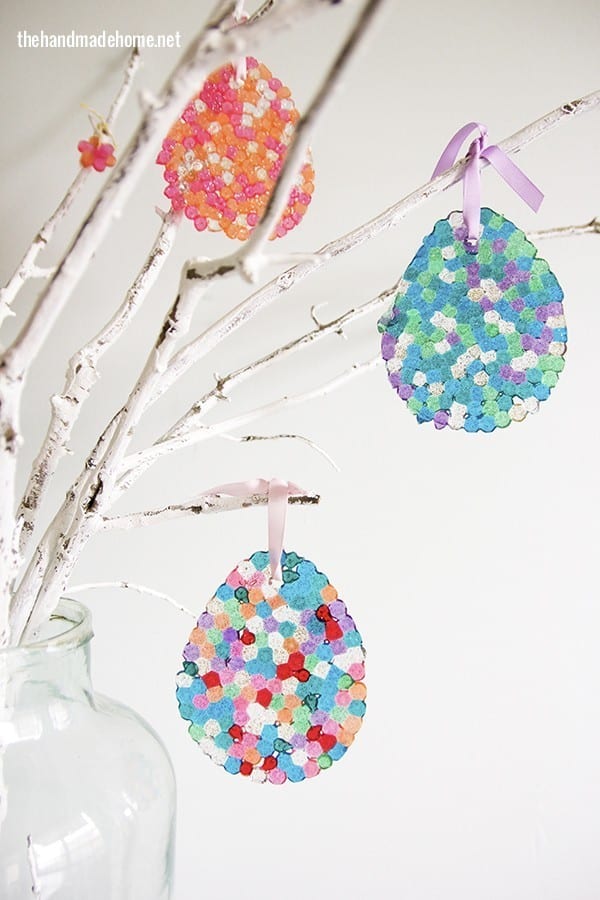
You can turn these into necklaces, keychains and so much more!
We hope you have fun – as always, let us know if you try these. We’d love to hear!
Have an inspired day!

Also, be sure to check out our easter egg tree here – {I know it’s totally past easter, but you could do a fun version with other shapes!}
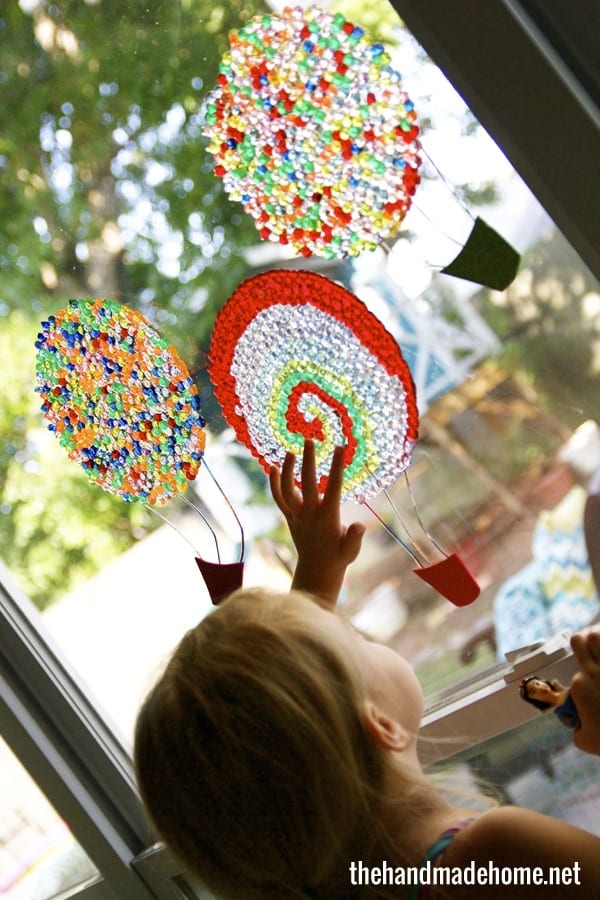
And more shapes {the hot air balloon version} for sun catchers, here!


These are fabulous, I’ve never seen them before. We love all things stained glass so we’ll definitely be making them! Also no worries about Easter being over-the Easter season lasts 50 whole days, all the way til Pentecost! 🙂
True Amy! Thanks so much! These are super simple – hope you guys enjoy ;}
These would make great Christmas ornaments. Kids can make them now and gift them to friends and family during the holidays.
Brilliant! What a great added idea! Love it.
I would like to make a wind chime using this method. Would a bead chain be good to connect the shapes?
Thx
I don’t know why it wouldn’t work, as long as it’s secured properly. DO IT. ;D