
painting a plaid wall with frogtape®
It’s been a crazy couple of days, but we’re back to show you how we’re painting a plaid wall with FrogTape® and the Paintover Challenge, with all things progress in Aiden’s room! {pssst – see the big reveal here!}
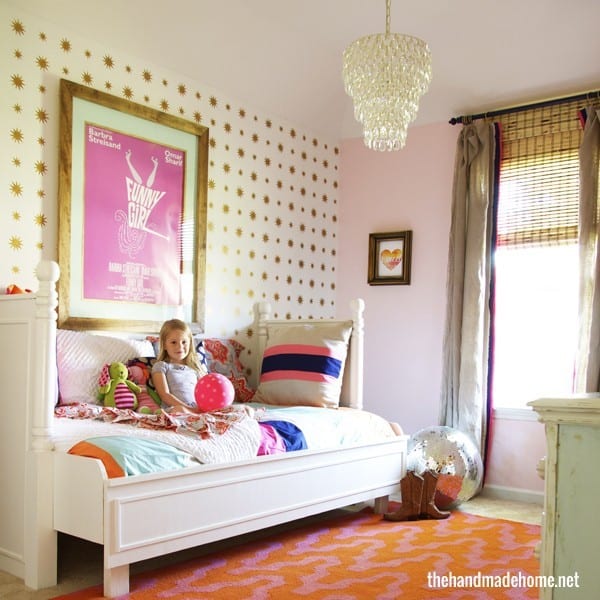
If you remember from our last post, we knew we wanted a fun space for Aiden, since he’ll be thirteen this summer. He’s been bunking with his siblings, and since the basement in our house has opened up, we knew we had more space for all things spreading out on the top floor. We were assigned the theme New England Preppy, and we couldn’t wait to get started on his design. We know this is going to be the perfect space for our tween, and it’s the perfect backdrop to grow with him.
FrogTape® has become such an important part of our design lives, we use it with just about everything we do. So it wasn’t hard at all to incorporate it into the space. Here’s a sneaky peeky of what we’ve been up to! {Refresh if it’s not loading.}
Just a review: A competition between six bloggers, to make over a room using FrogTape®. Each blogger is randomly assigned to one of FrogTape’s six 2018 Design Trends, and we’ve received a box of painting supplies along with a $1,000 budget to redesign a room. It’s here that we’ll share our posts of the process, featuring before, during and after posts. We’ll showcase our assigned trend, inspiration, and project progress!
Here’s the part where it gets a little competitive: Once each makeover has been posted, FrogTape® will then leave it to the public to vote on the winning Paintover Challenge project. The winner will receive $10,000 to donate to a charity, and the opportunity to be featured in a FrogTape® advertisement in HGTV Magazine.
Curechildhoodcancer.org is our charity of choice. You guys may or may not know that Jamin is a childhood cancer survivor. It’s a cause that’s more than near and dear to our hearts. He knows what it’s like, as a child, to go through something so life-altering. So we’re thrilled to announce that our winnings will go directly to this most important cause.
That means you get to vote – so stay tuned!
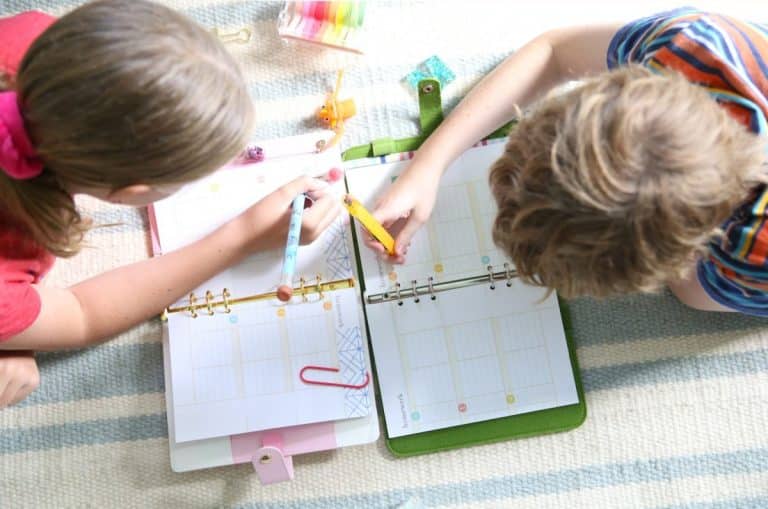
First up: Art
For each and every space we’ve done for our kiddos, we’ve always had some hand-painted art. This one was no different, and we knew we wanted something classic and easy to adorn his walls.
Cheater’s alert: When going for hand painted art on walls, we love a good primed piece of MDF when we’re not feeling it in the canvas department. They make great, sturdy pieces, and this was the perfect one for the painting in his space.

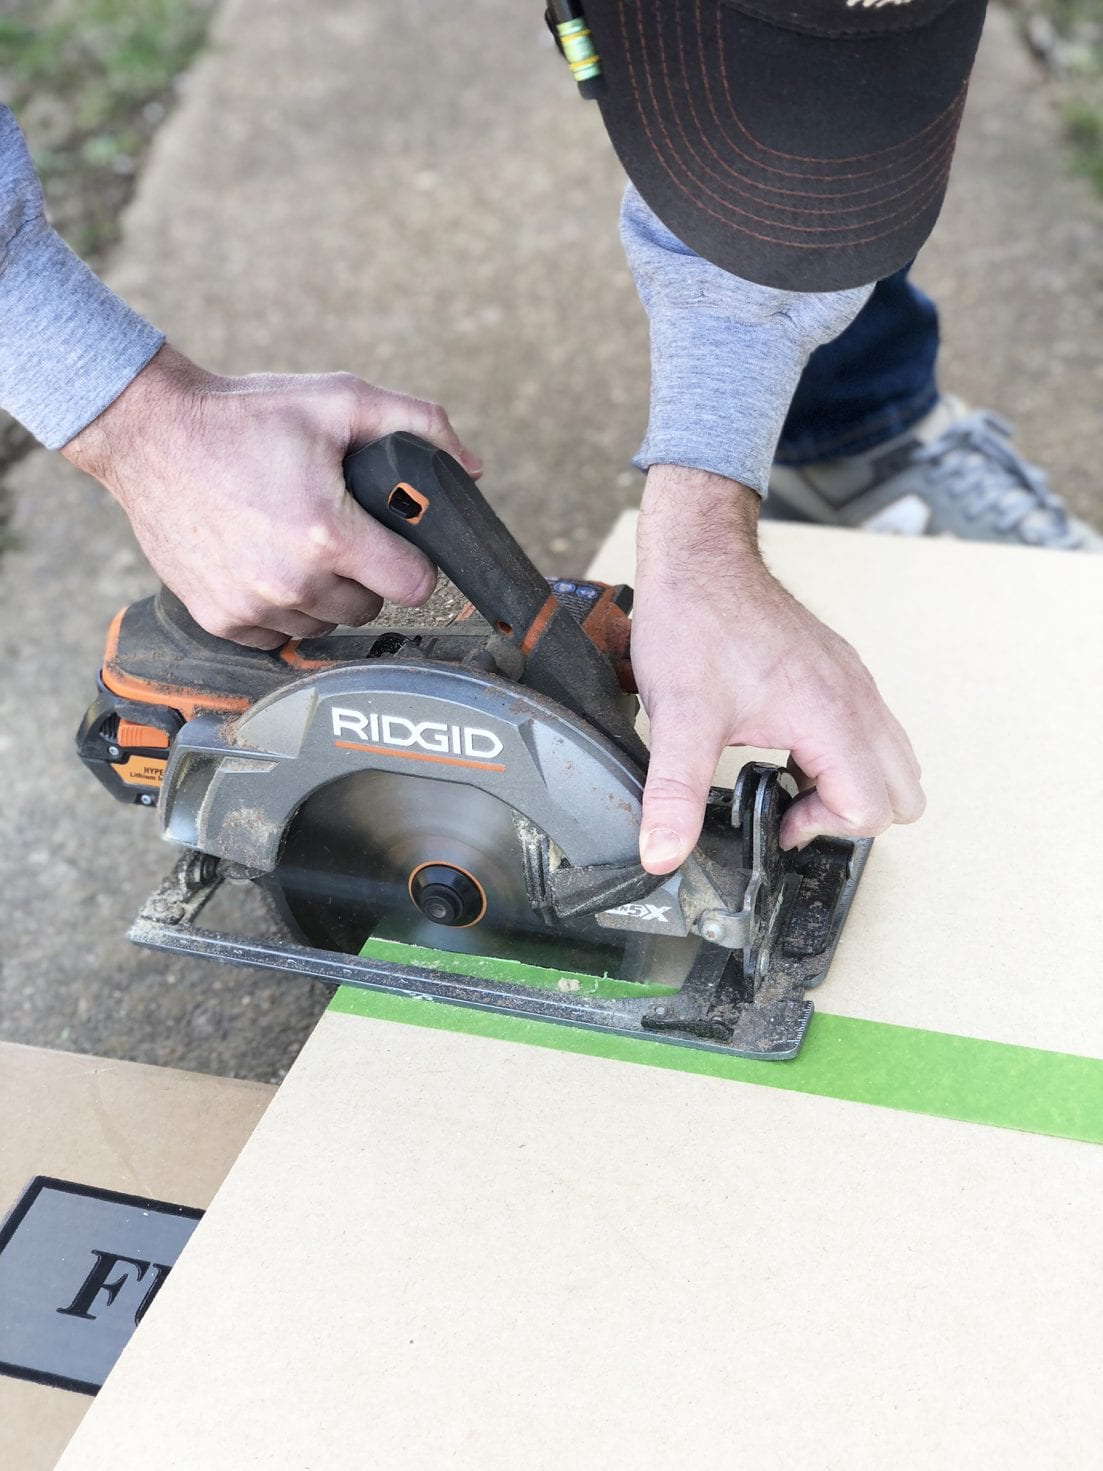
Not only did we useFrogTape® to help paint the piece, we used it from the very beginning, as well. We’ve found that it makes the perfect guide for cutting something down to size, and all things straight lines. We simply measured out the size we wanted and placed 4 marks spaced out on the board.
Then we simply pulled a piece of FrogTape® across those marks, making sure one edge was lined up, which gave us a perfectly clean, straight line without all the mess of chalk.
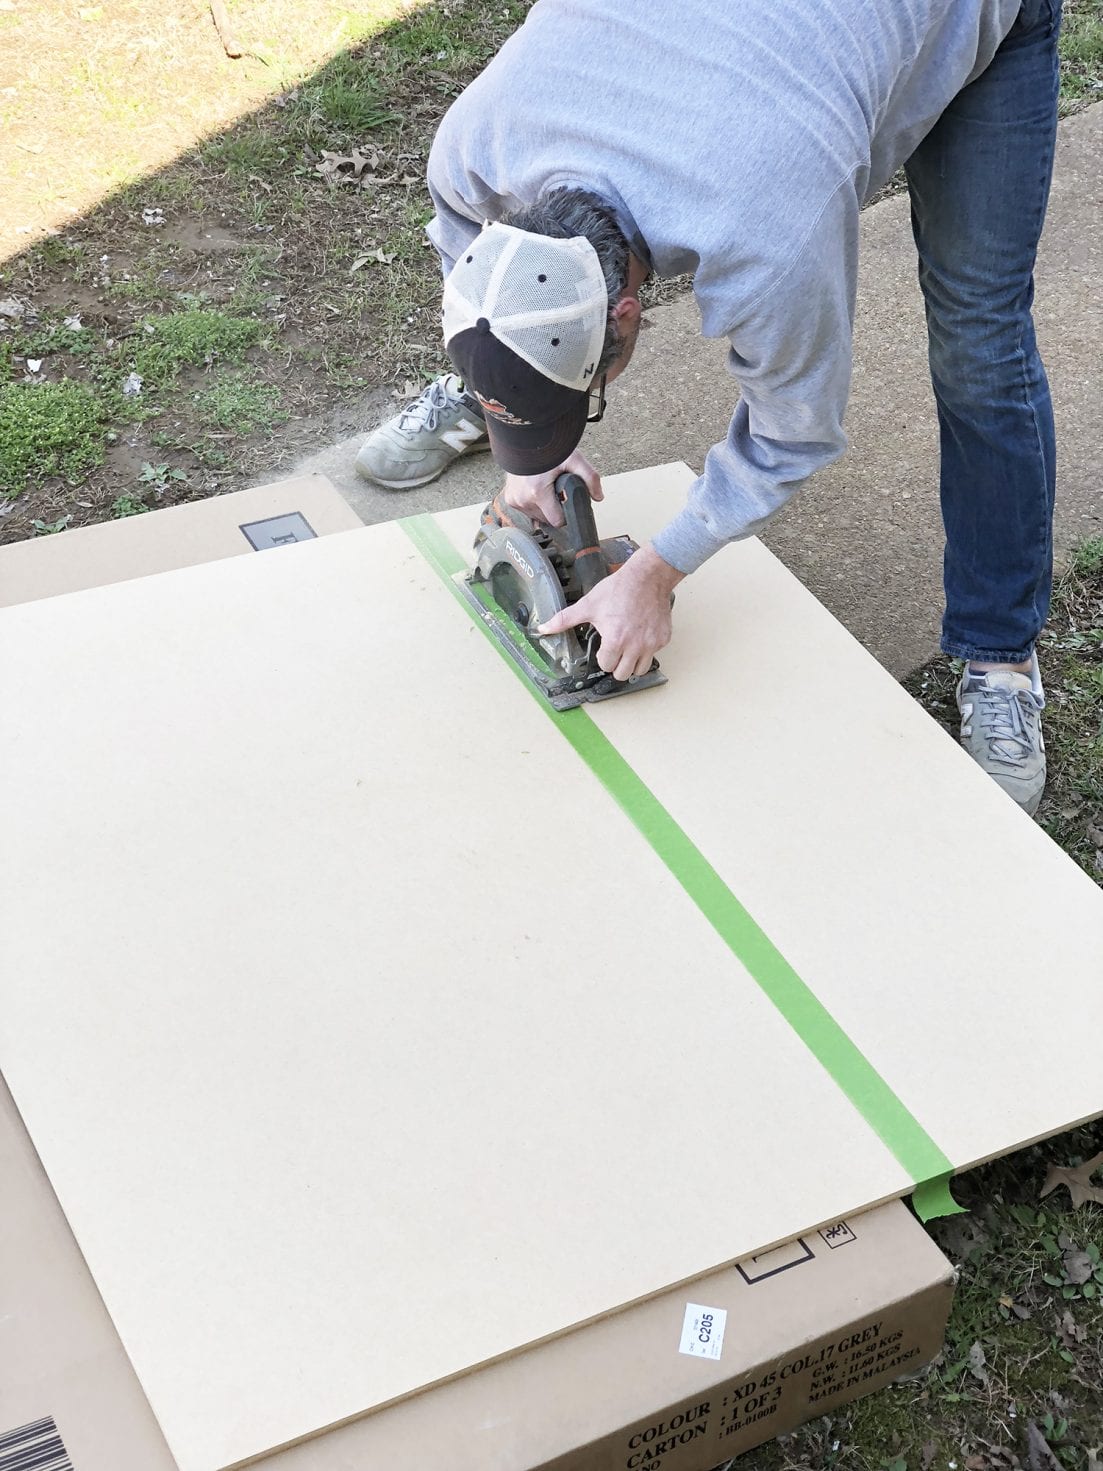
Then simply cut, using the awesome guide that isFrogTape®.
Who knew it had more uses than just painting?
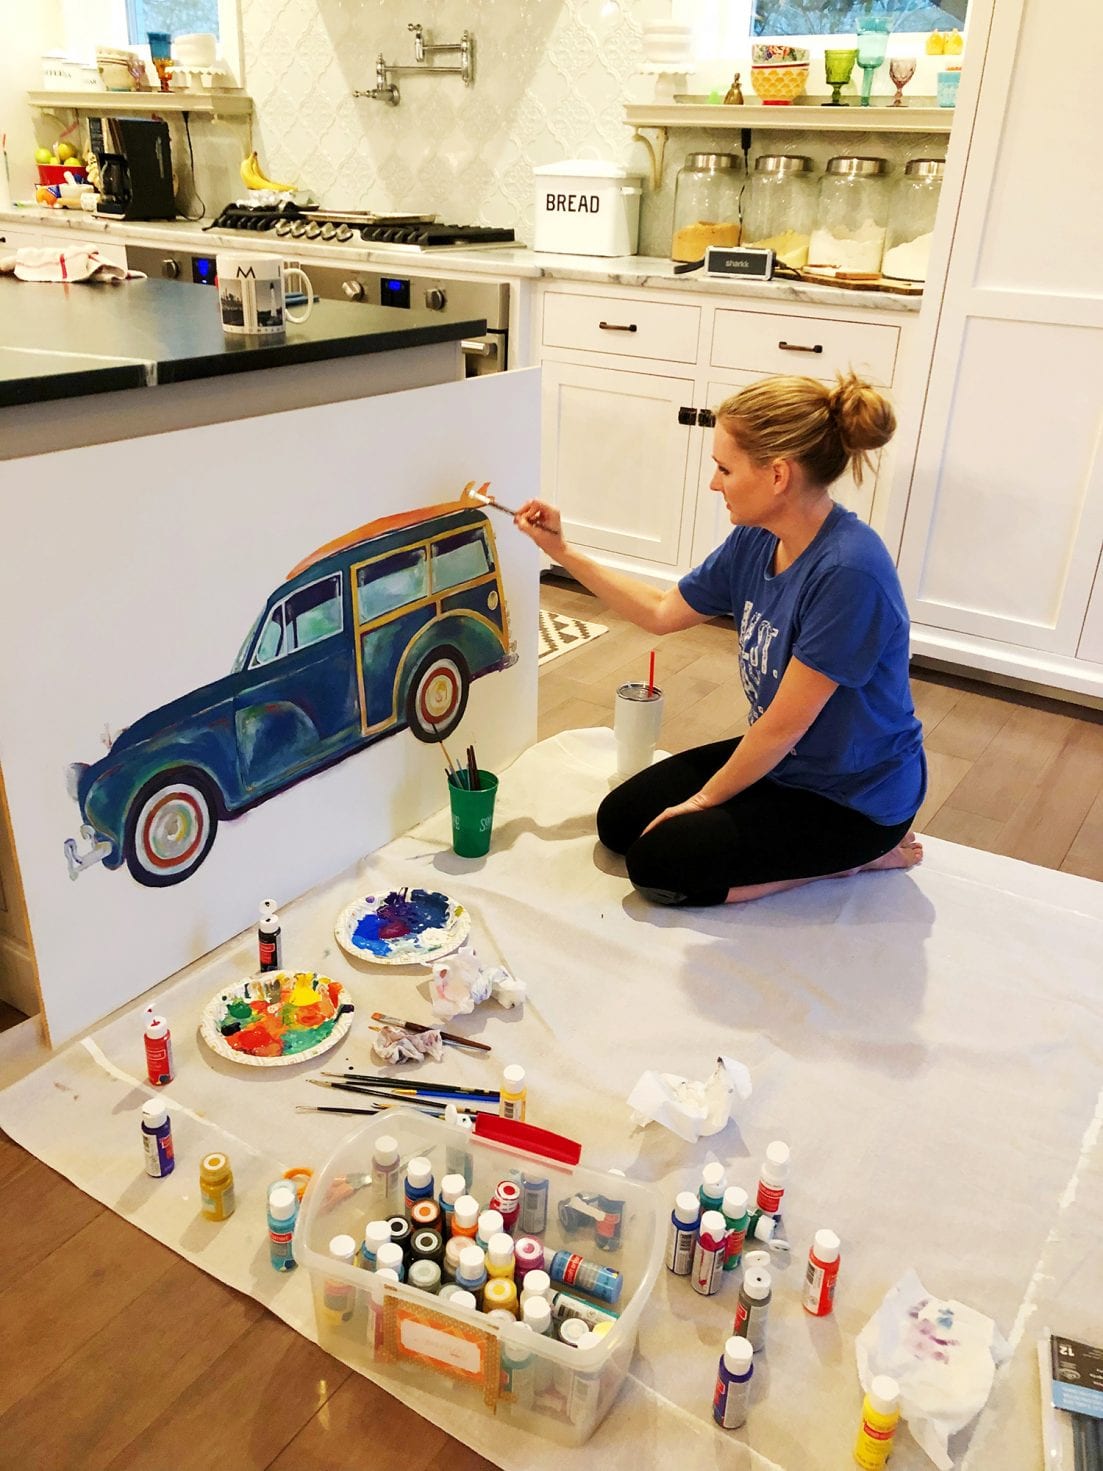
When it was up and ready to go, I did a little rainy, Saturday afternoon painting. I’ve actually found my happy place with some coffee, a little audiobook goodness, and the project at hand. Serious therapy, y’all.
Nothing quite captures New England Preppy like a vintage car and all things surfboards atop… the perfect blend for our tween!
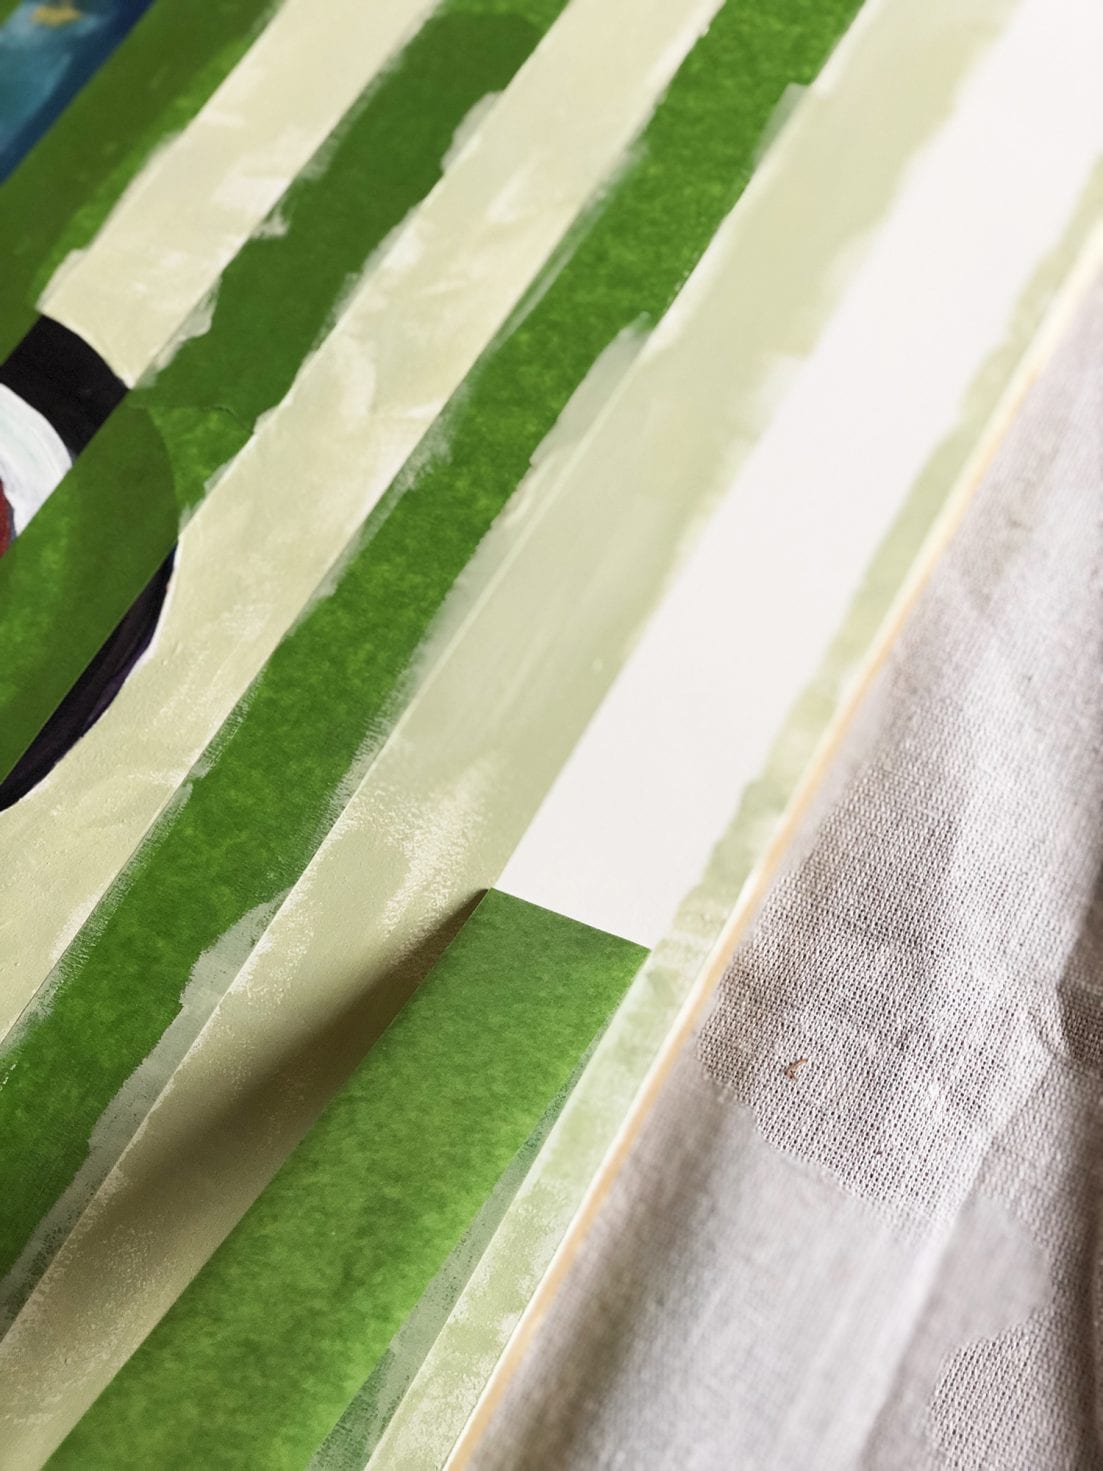
And when it was ready, I knew it was time to add some stripes.
Using our favorite leapfrog withFrogTape® approach, of course.
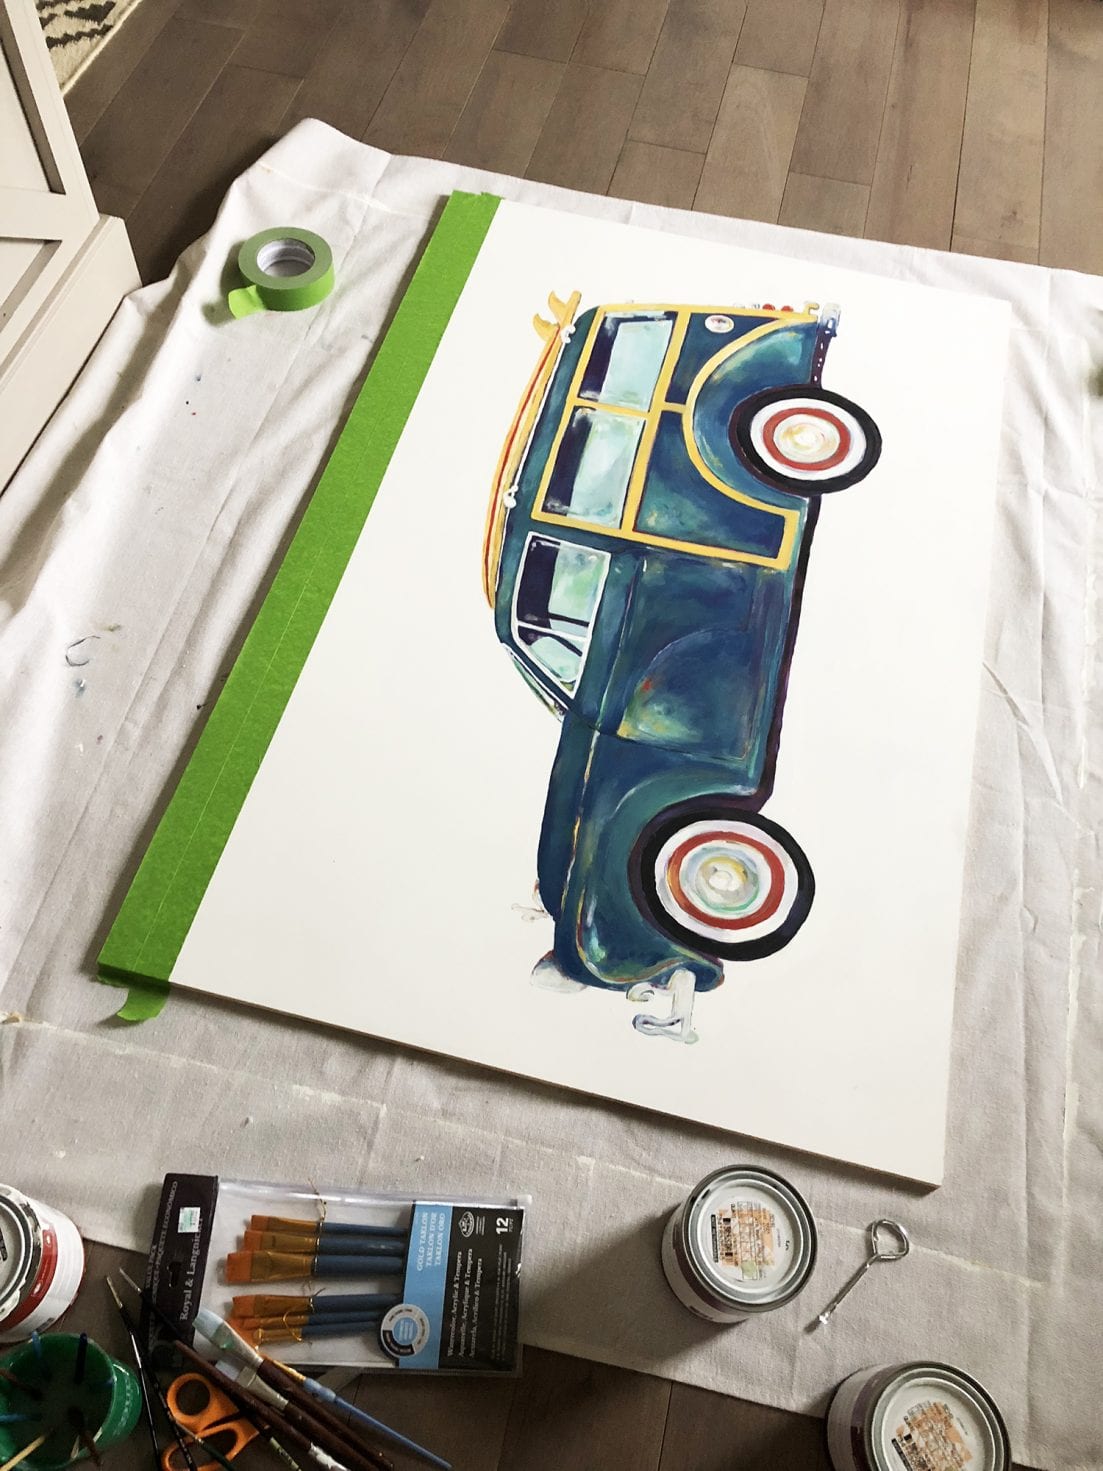
When the painting was good and dry, I simply laid it down, and placed pieces of tape across the top.
No measuring necessary, the tape went all the way across, and then butted up next to another. After the second one was down, we placed a third. And then the one in the middle was removed.
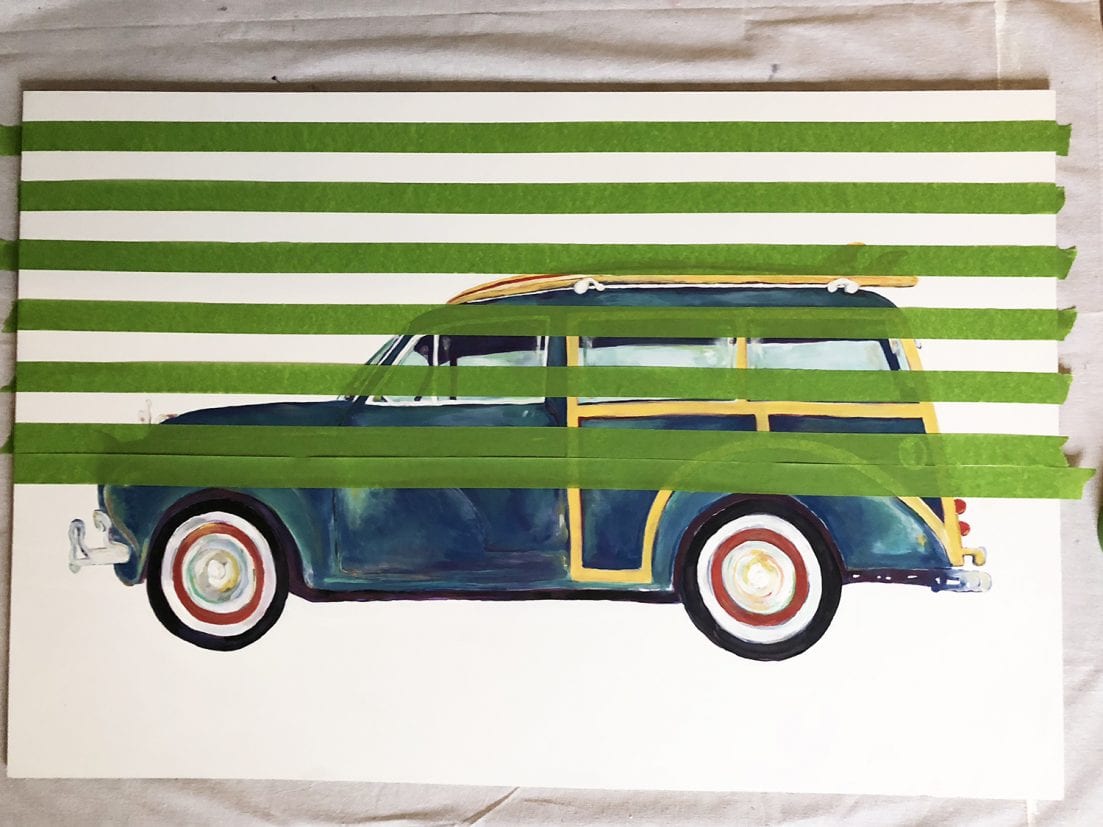
I repeated the process until I reached the bottom.
I was literally leapfrogging the tape, all the way down.
When it was all placed, we were ready to start the stripes.
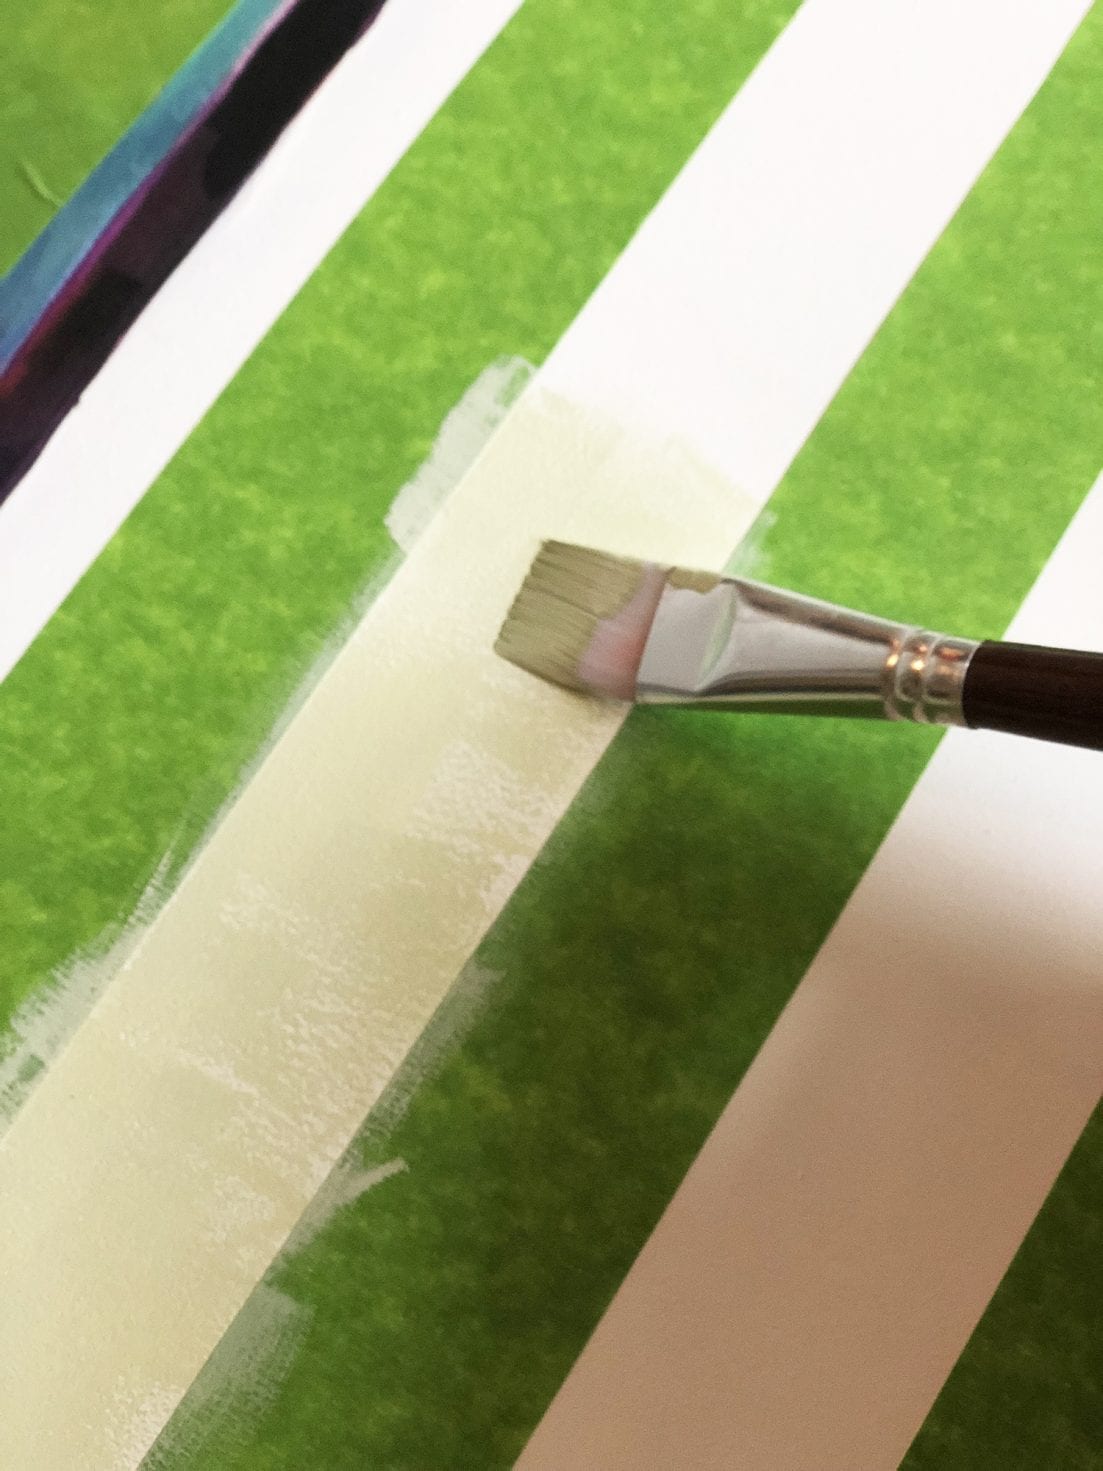
We simply added a nice “distressed” look in the background by dry brushing in between the lines {careful not to paint over the car itself, of course.}
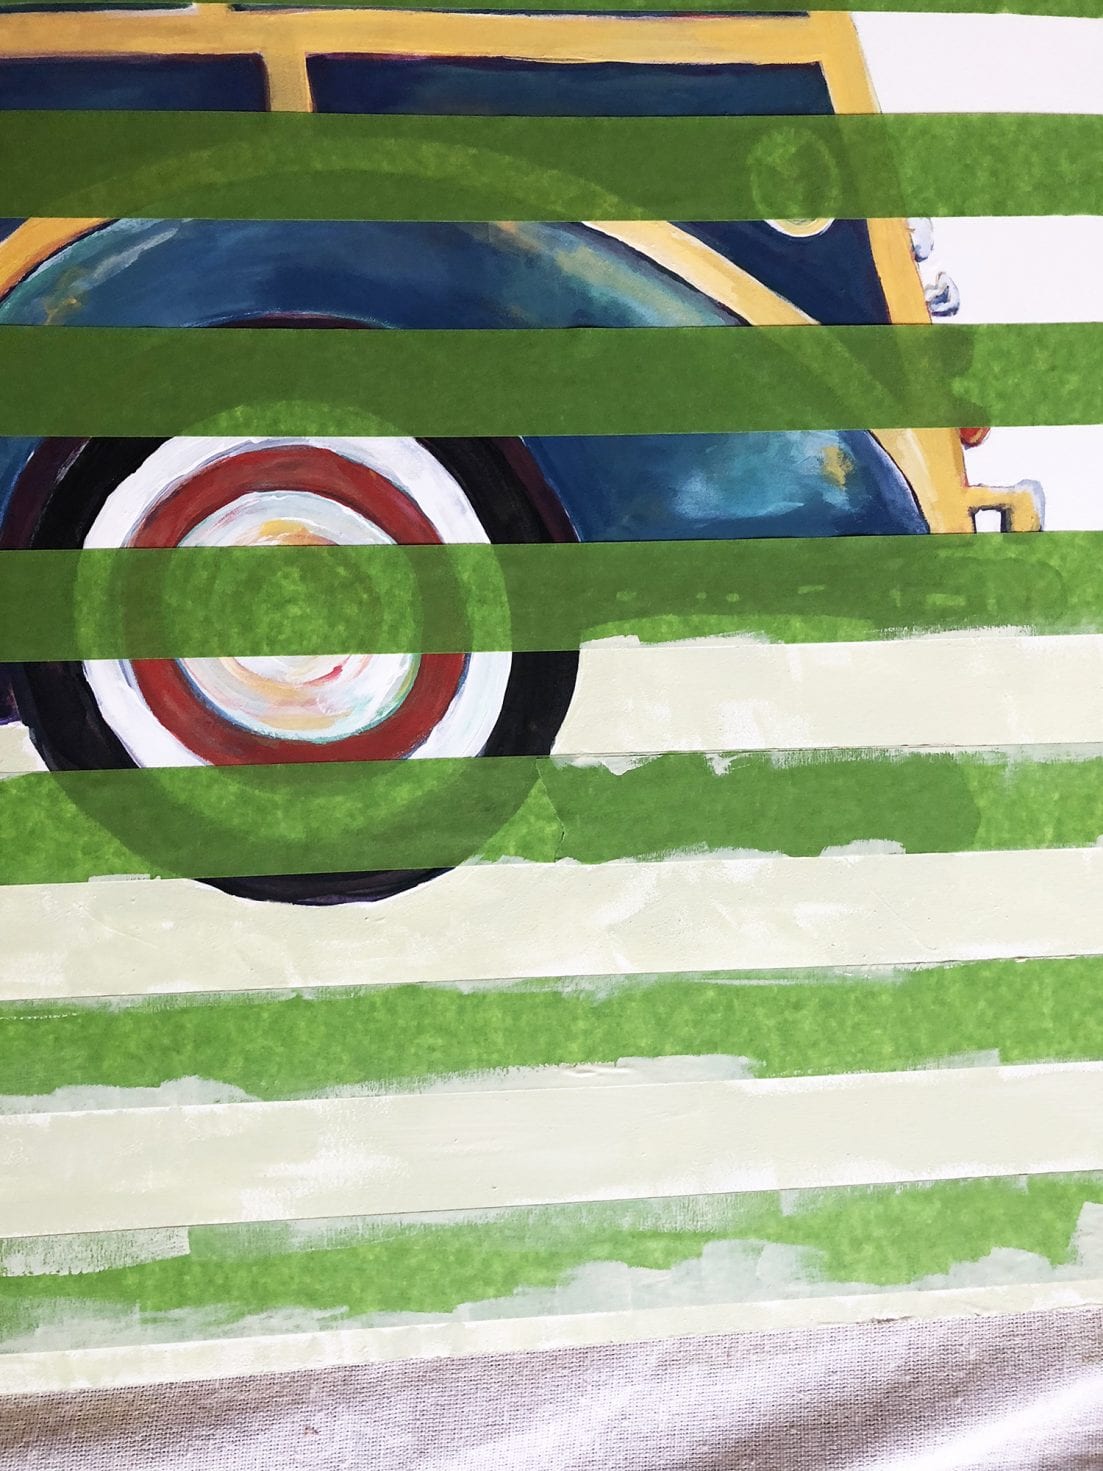
We carefully painted the stripes, all the way up the painting, careful to mind the edges of the car.
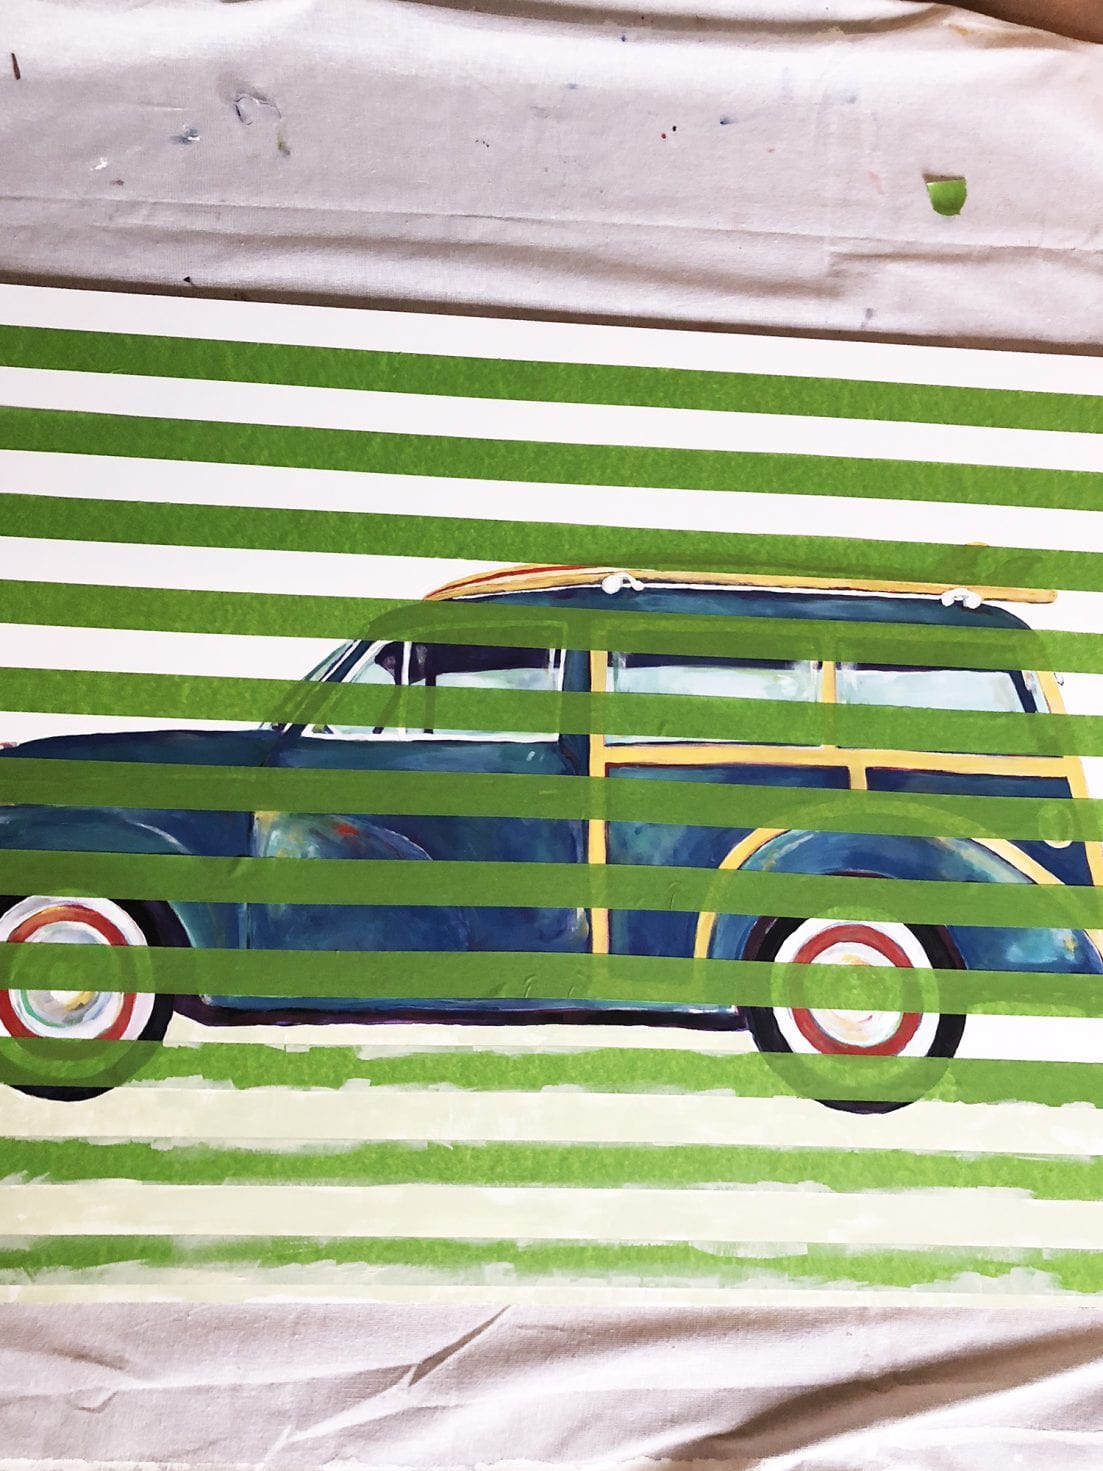
And when we were finished, removed the tape for a nice, crisp line all over!
Is there anything more satisfying than removing that tape?
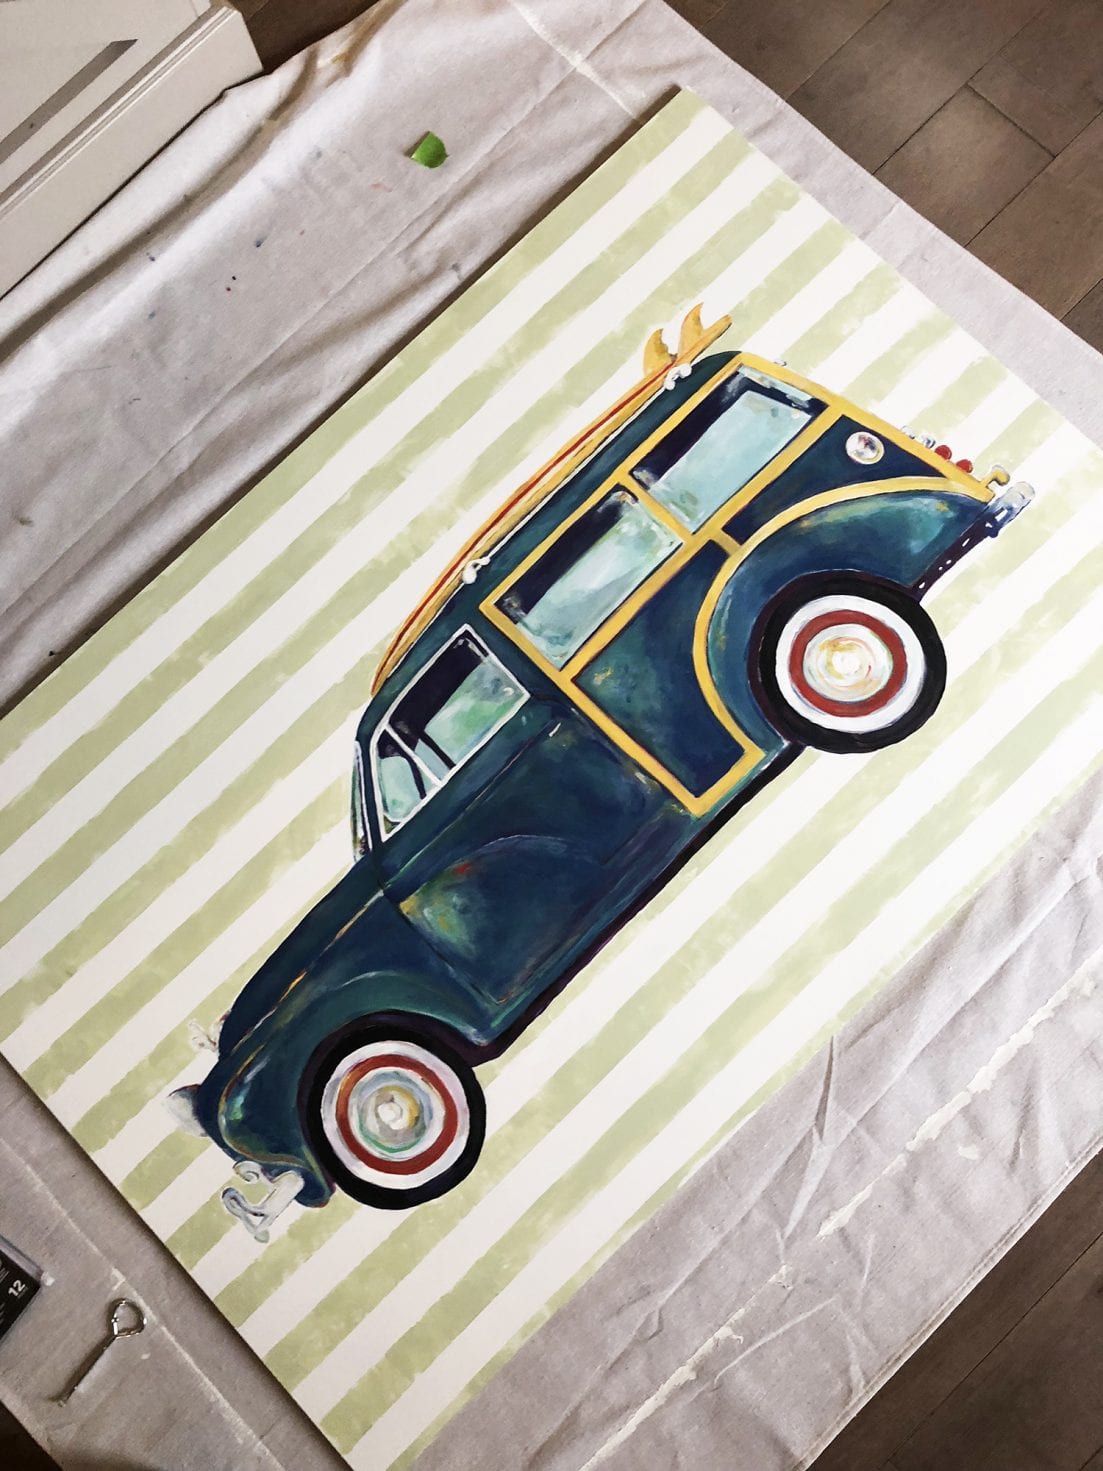
And mission all things painting was ready to roll.
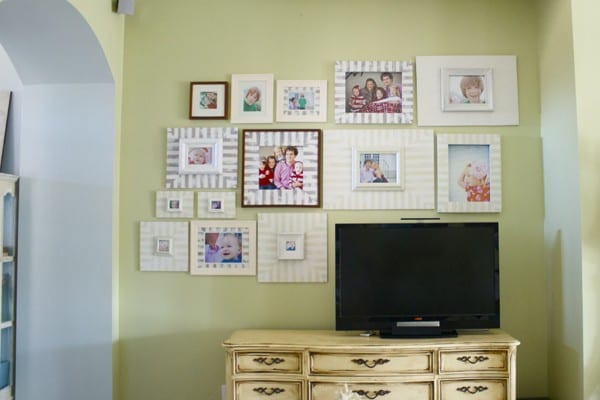
Second: Rehabs
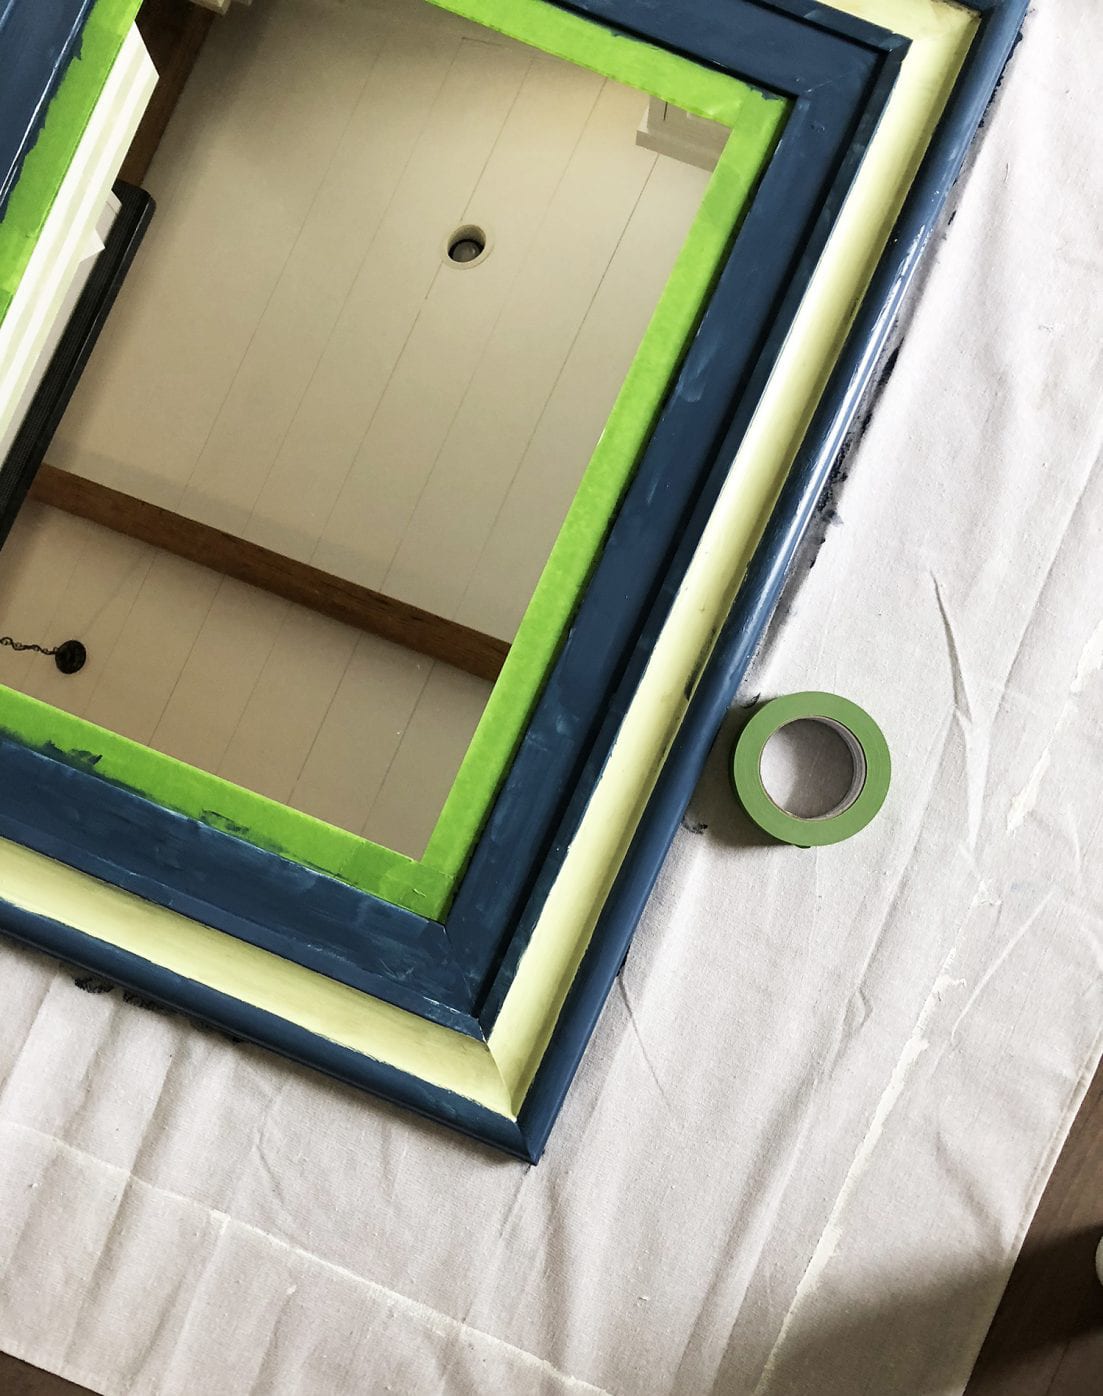
Need a crisp line on a repurposed piece of furniture? Or a nice barrier so that you can freshen up that bookcase? How about all things gold accents on an old piece? The answer to that would be yes, and moreFrogTape® to all of the above. I think we lose count on a regular basis when it comes to how many times we actually use Frogtape® in our projects.
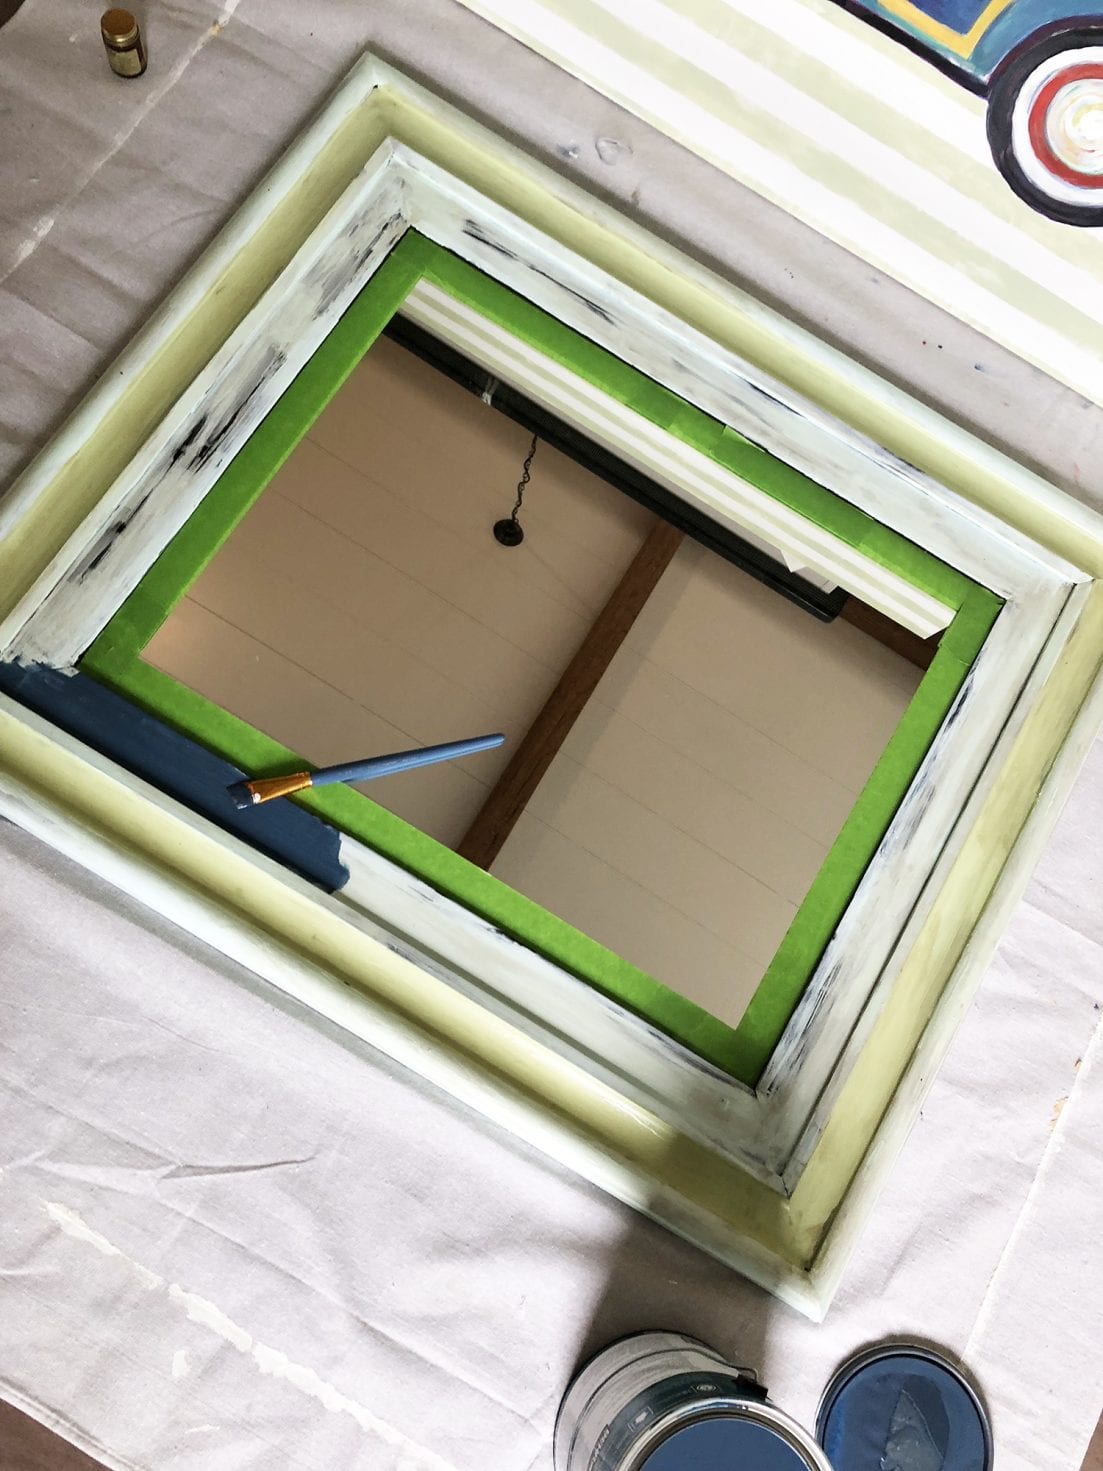
Because while Jamin began the wall {below}, I usedFrogTape® for just about everything when it came to fresh looks and rehabbing old pieces, before I joined him on the project. Including an old desk, and this mirror amongst a few other things. Yay for upcycling!
Next up: The Wall – painting a plaid wall
If you watched the video above, then you know this is the part where FrogTape® is not only useful, but an integral part of our overall design. With the New England Preppy vibe, we were thinking camel leathers, deeper hues on the bed, and plaid on top of plaid on top of plaid. And obviously, a few stripes.
Here’s what we did:
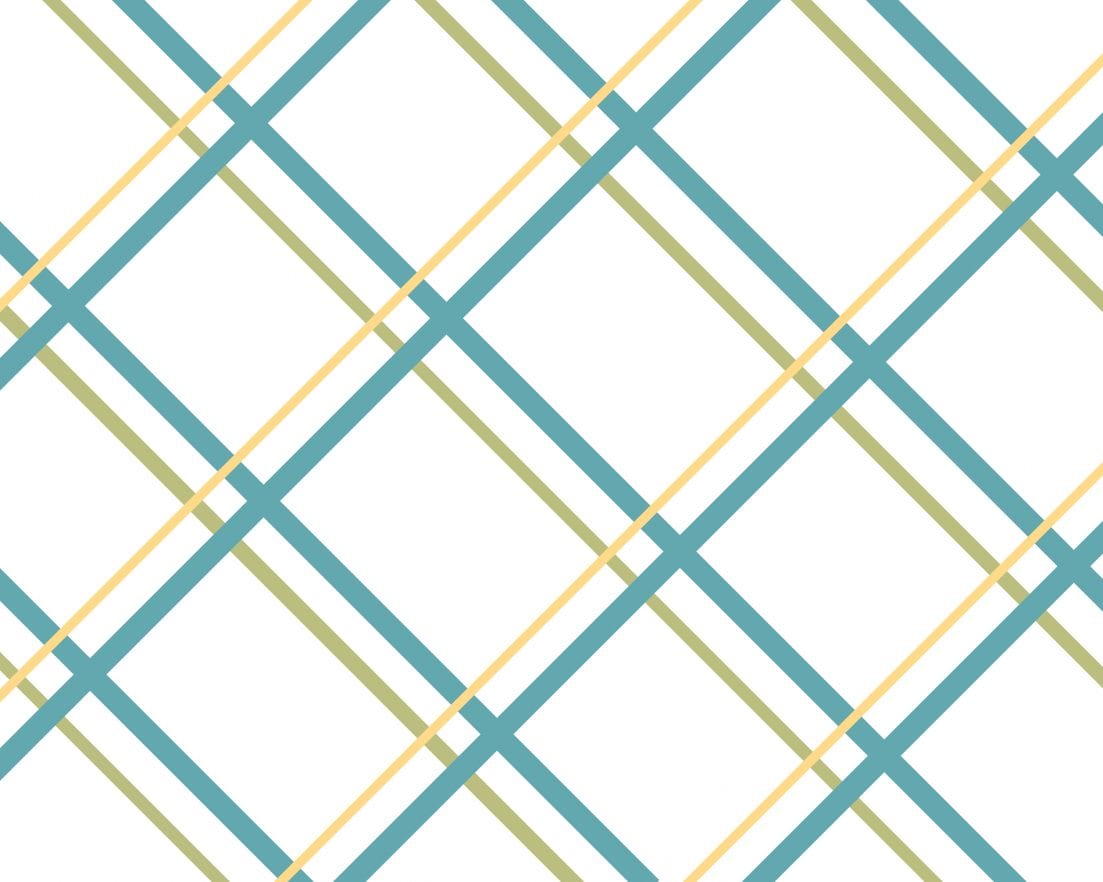
I came up with a pattern {remember the one from last week?} And the basic idea of what we wanted on his wall. We know plaid has seen a lot of time on walls lately, and we wanted a classic approach, with a bit of a nod to argyle. Something a little different, that mixed in a few colors. This was our starting point.
This is our original concept – a quick mockup which allowed us to start planning and measuring.
But we knew that math is hard, so once the idea was ready, we decided to get started with a lot of measuring. We also made a little video {it’s pretty satisfying, if you ask us} that helps explain it more. But here are the simple steps before you watch it.
First, you’ll want to find the dead center of your wall, both width, and height.
Then you’ll need to decide on the size of each square. We went with 12 inches.
So from there, we took a 4-foot level and placed the top of it against the dot marking the center, at a 45-degree angle. Draw a line (this only works if your level has a bubble for 45-degree angles).
Then you’ll repeat the process going at a perpendicular angle.
We measured in both directions on both lines from the center dot, out 6 inches. {Because we did 12-inch boxes.} This gave us the 4 lines for our first box.
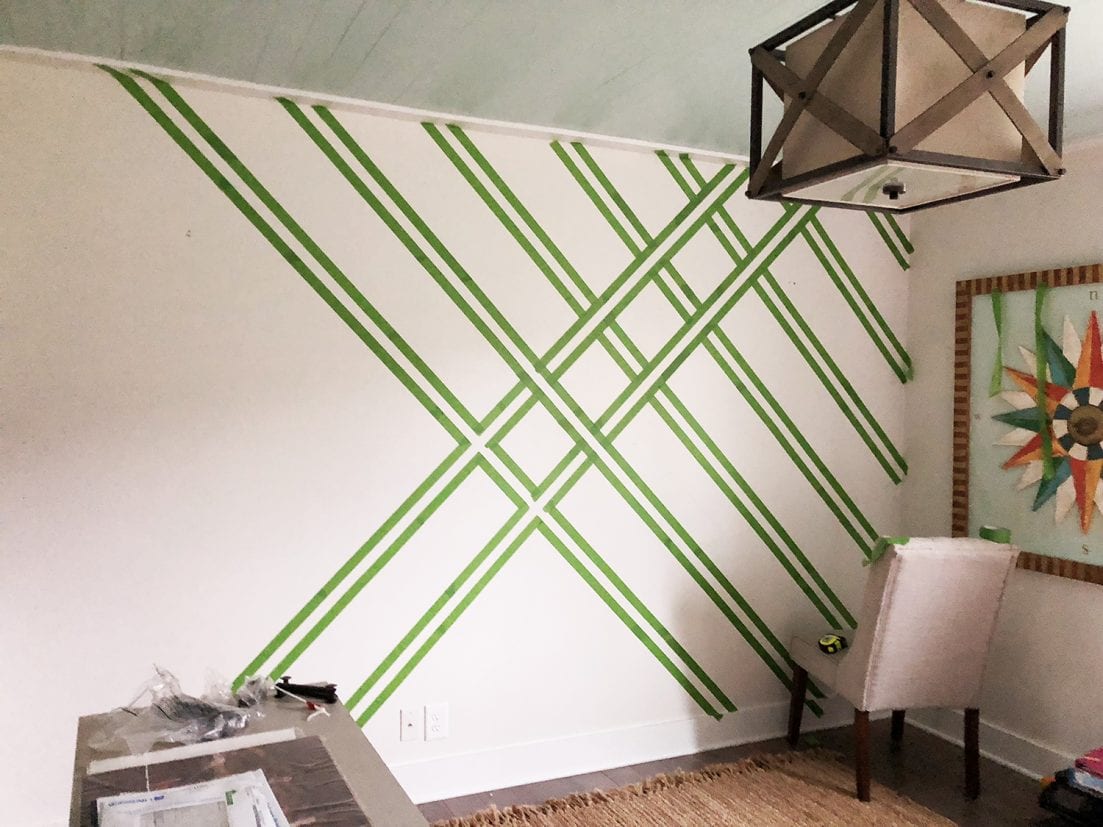
Next, we took the level and used it to draw 45-degree lines. This gave us two parallel lines going in both directions, so four lines total. We kept using the level to continue drawing these lines all the way to the floor and the ceiling.
Then we simply took some FrogTape® and placed along the outside edge of each line.
From here we measured 12 inches from the inside of the tape, placed a mark, then used our level to draw more lines. Once that line was drawn, we placed more FrogTape® like before. We repeated this going in every direction until we ran out of wall space.
Next, we started on our secondary lines. – painting a plaid wall
Again, we simply decided on our width, measured it like before, used the level to draw the line and taped it off. A helpful hint in this step is to tape in smaller sections. This prevents having to cut any tape later on. (Our secondary lines were 1/2 inch outside of the FrogTape®.)
We also added a third line and simply repeated the above steps. (Our third lines were 1/2 inch outside of the FrogTape®.)
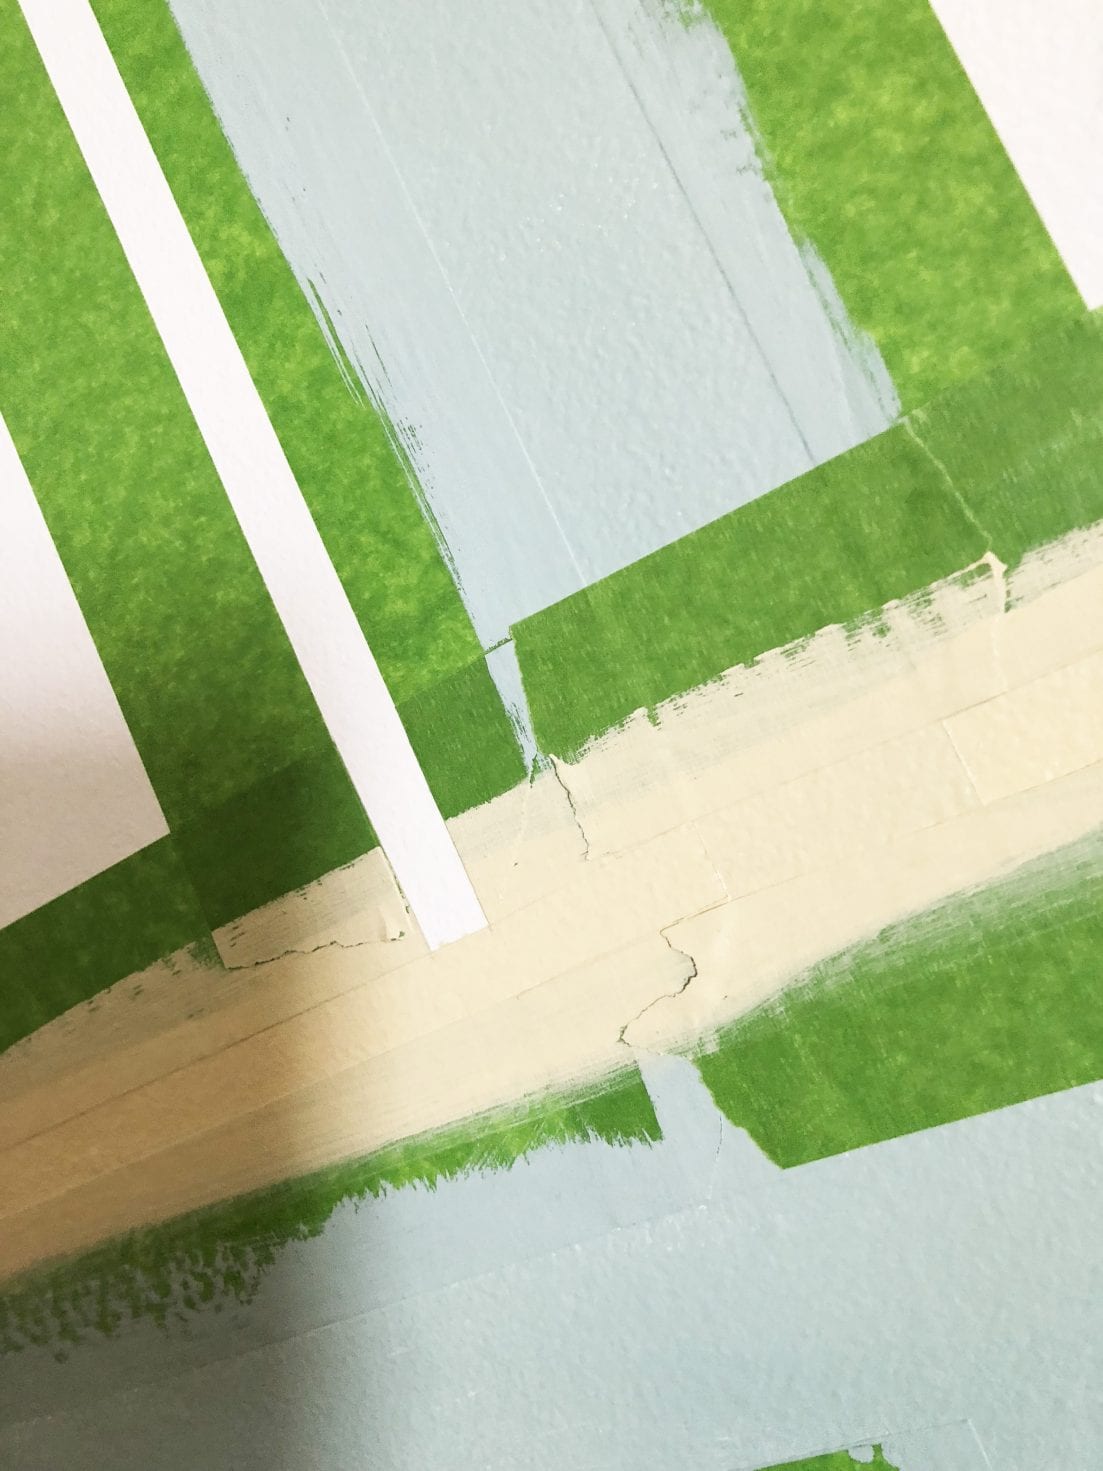
painting a plaid wall – the 3rd stripe
Once the other colors were filled in, the third stripe went a little like this:
painting a plaid wall – cut the borders gently
We gently cut into the borders of the other stripes, and this way we could keep our lines neat with more FrogTape®.
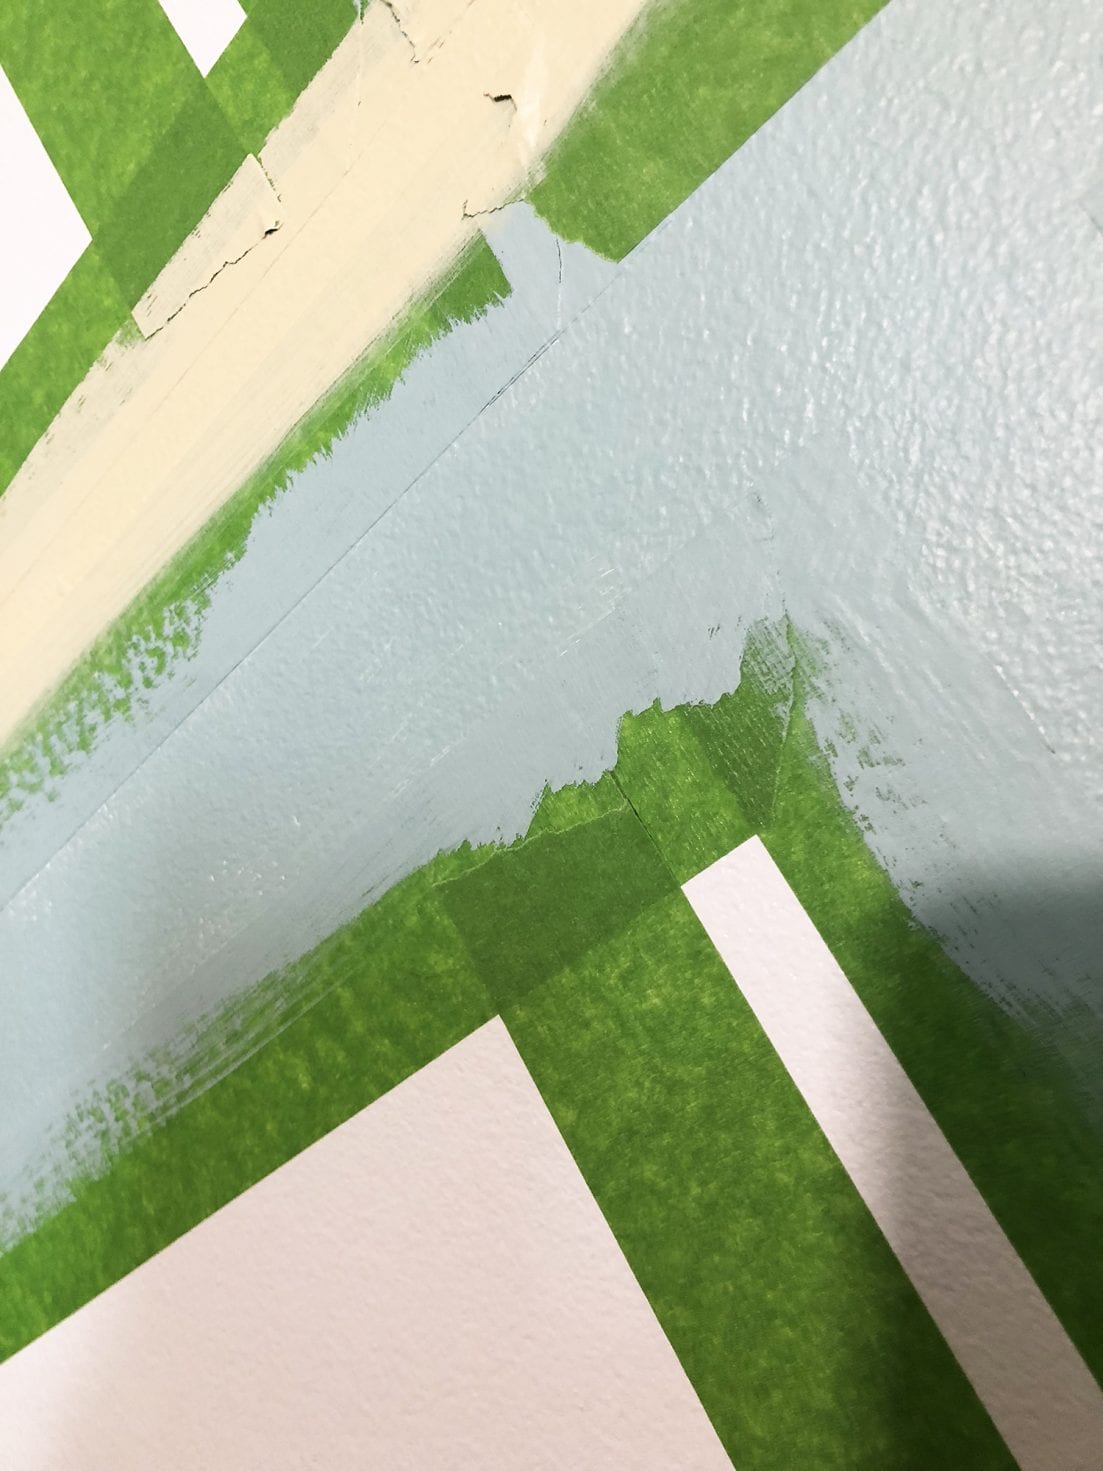
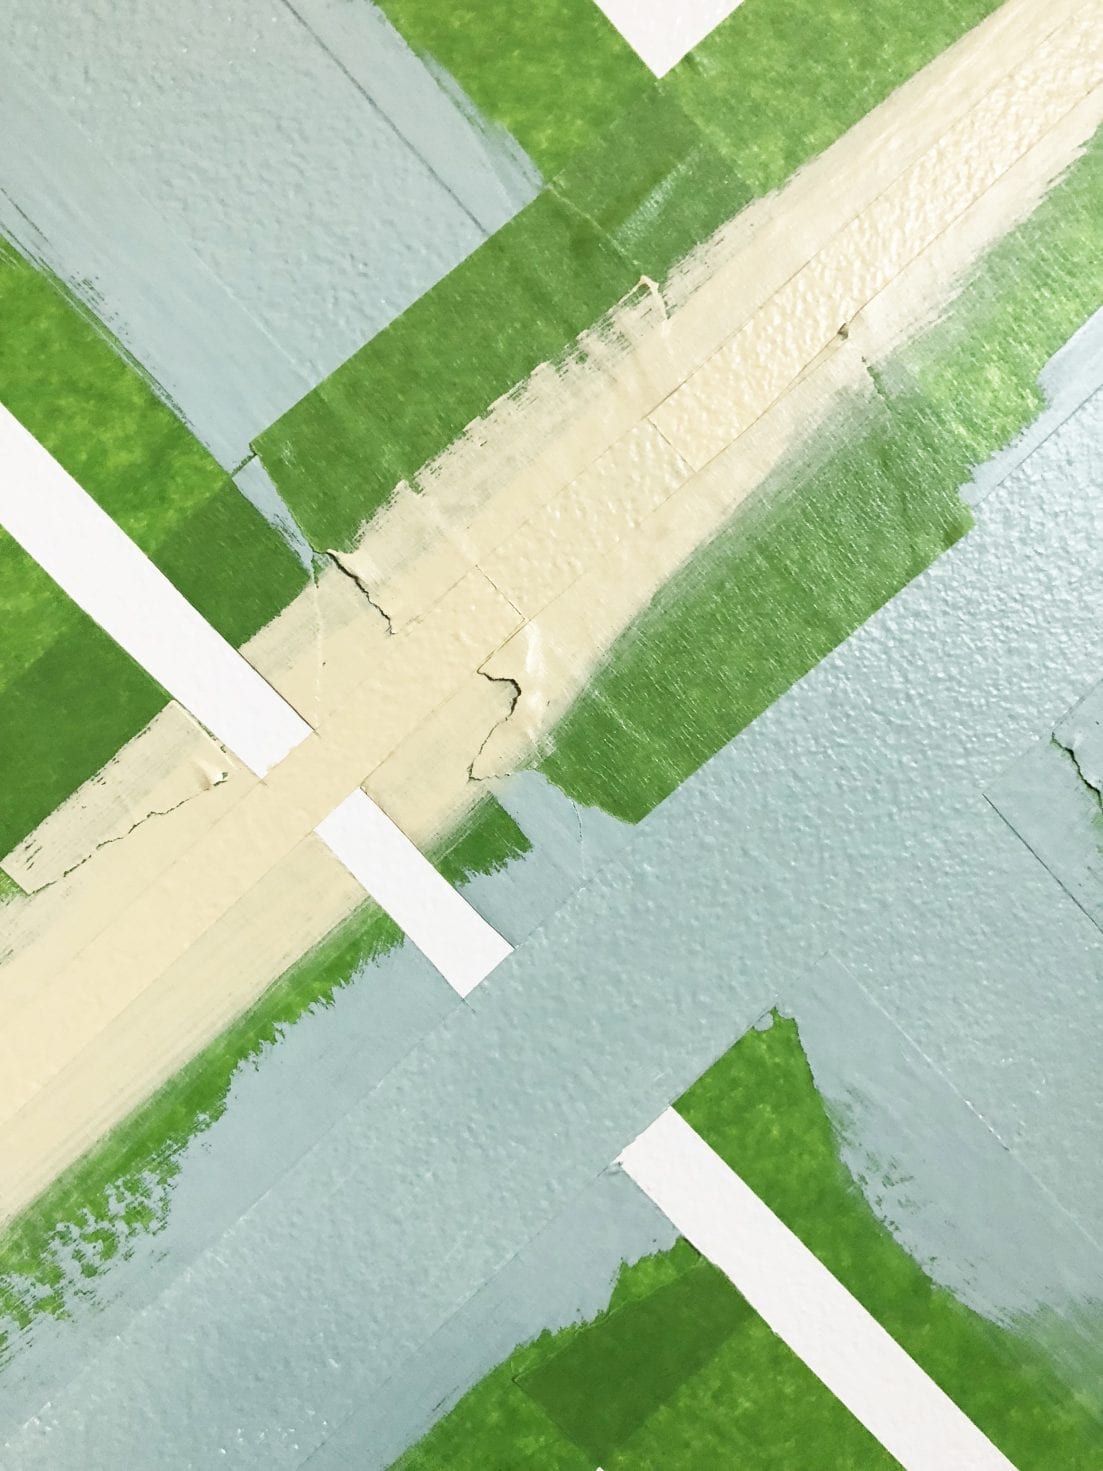
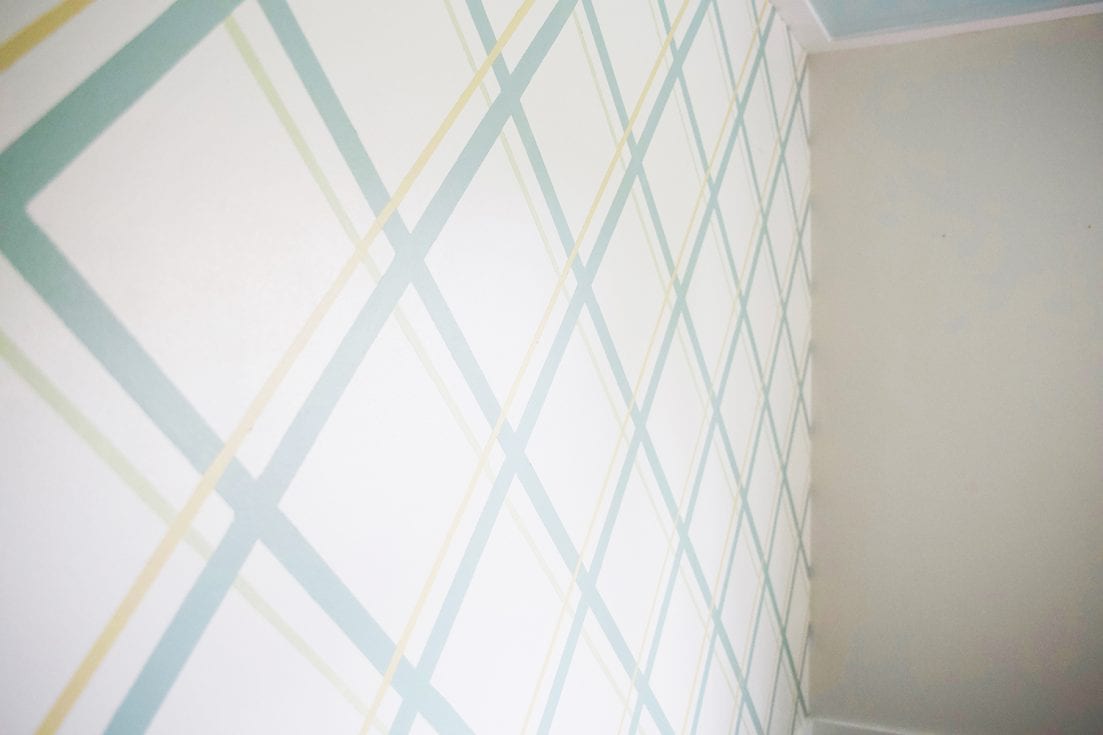
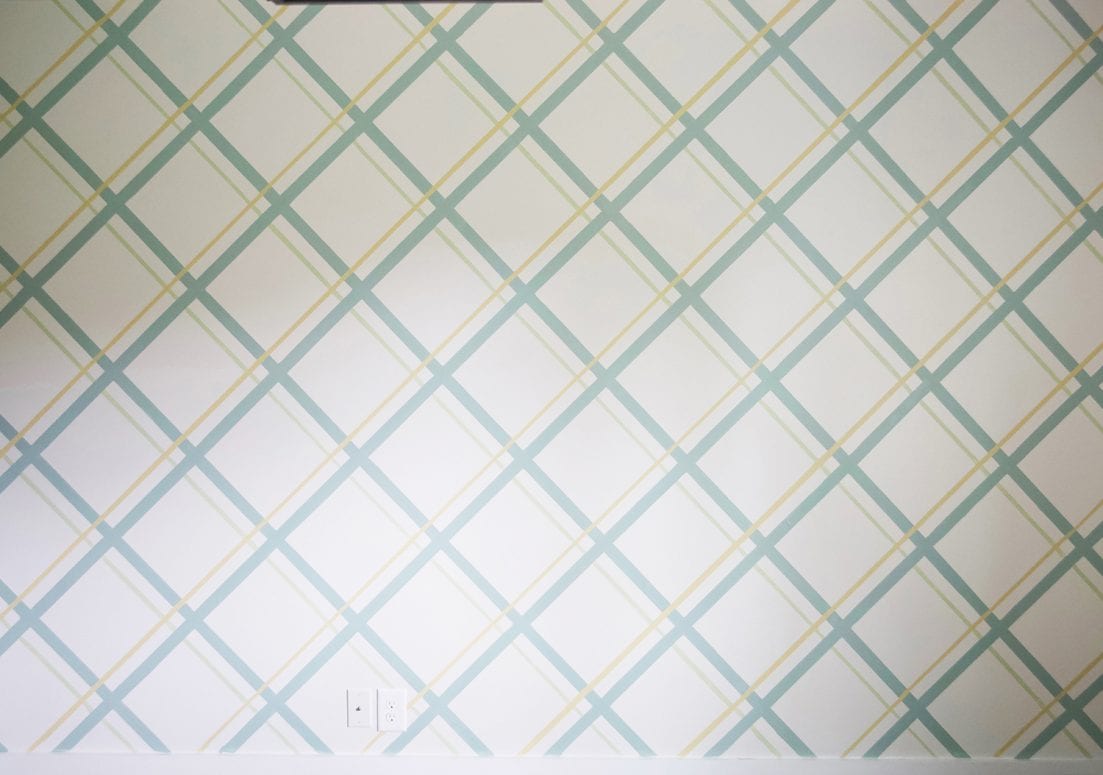
We knew that our pattern was a little tricky because of the “woven” look, where one line remains on top, and another runs underneath the others.
It was a simple process of working our way carefully across in each section, until a complete line ran all the way up and down the wall. Just making sure that each area made sense, until we could see the pattern fully on the wall.
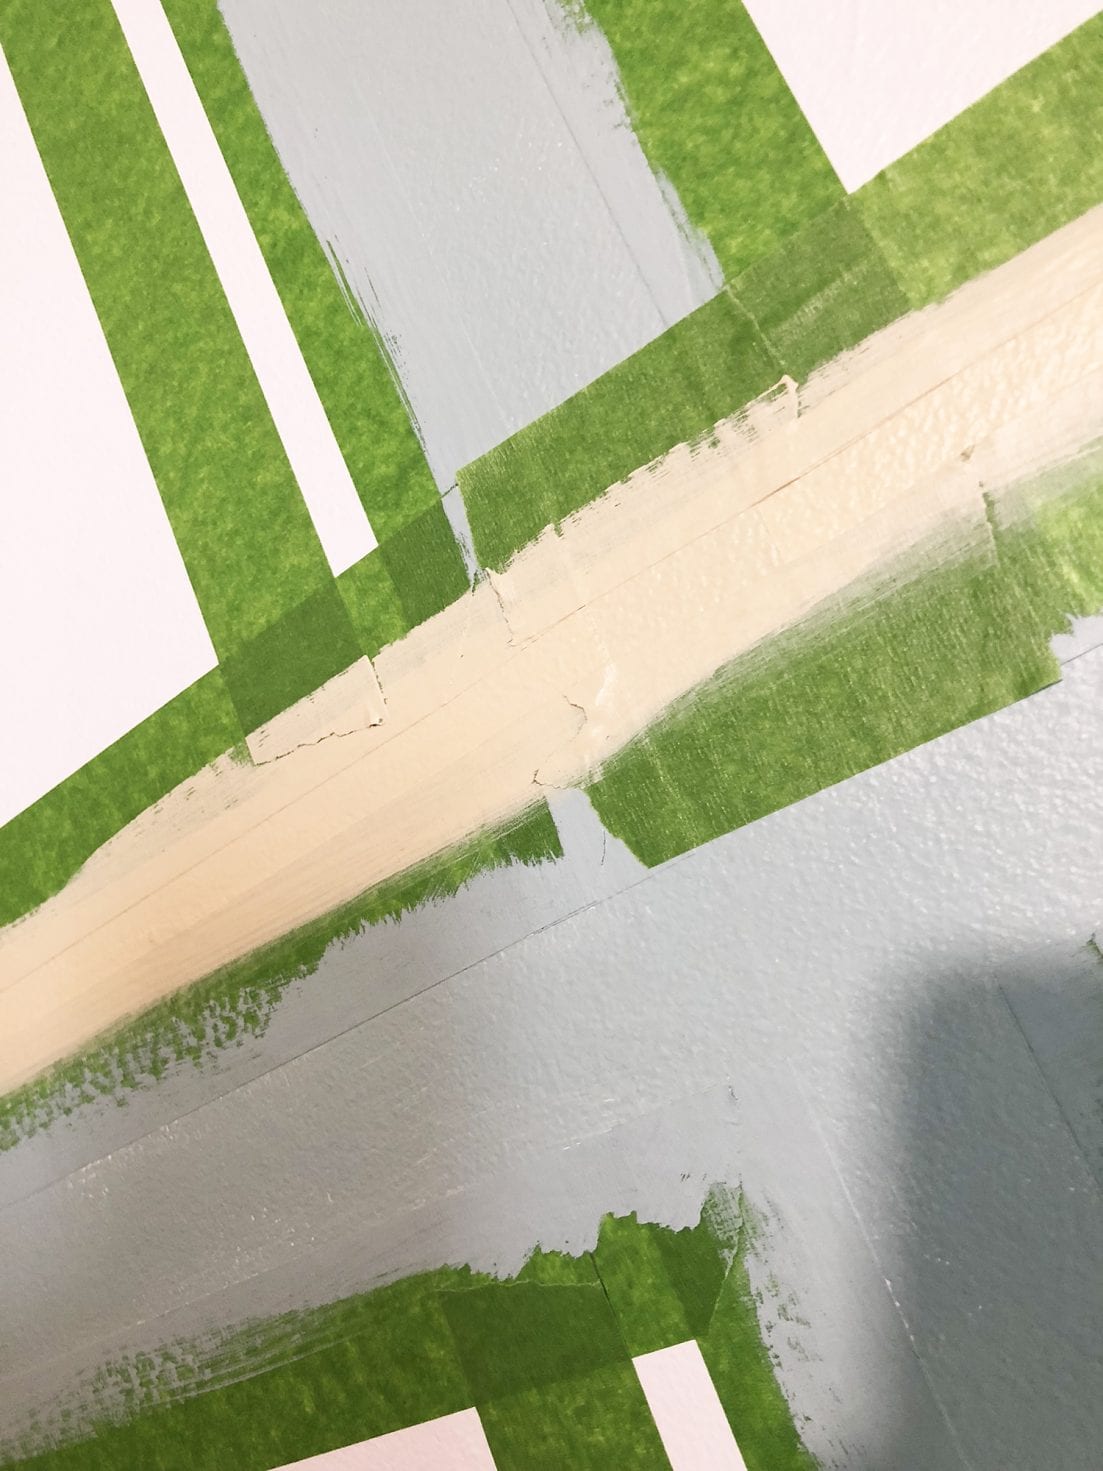
So you can see here where the green was being placed, would run underneath the other two already-there lines.
We knew we needed to cut the tape all the way up to the edges of the other lines, so it had the look we were going for.
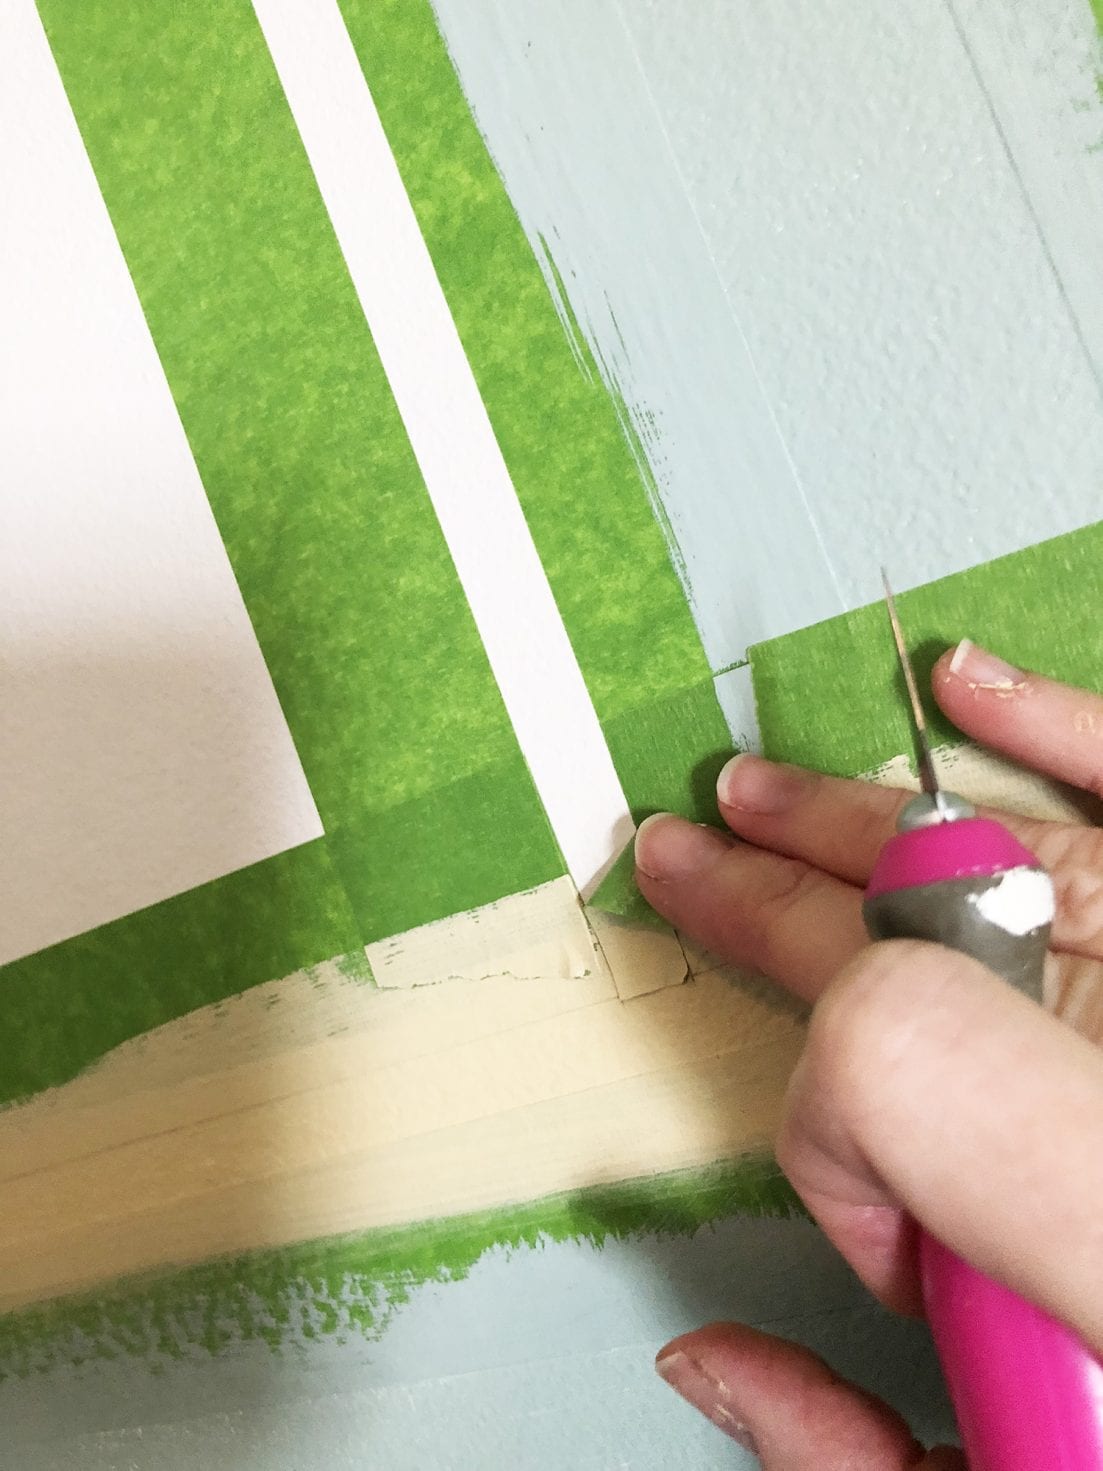
painting a plaid wall – cut and pull
So we simply cut, and pulled away both the top and bottom portions, ultimately marking it with more FrogTape® as we went, to keep the sections clean and straight.
And then it was time to pull off that tape! (Again if all of this is confusing to you, watch the video above.)

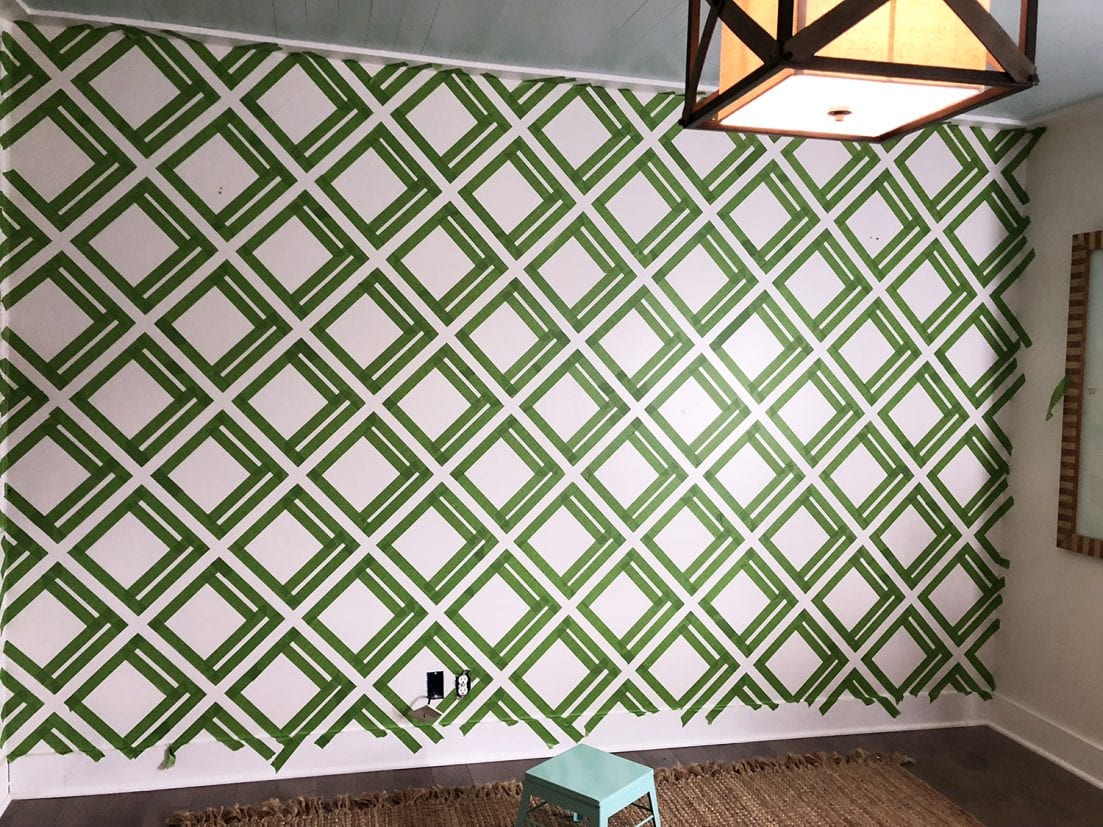
painting a plaid wall – finished!
And this is our gloriously plaid wall.
It was such a satisfying project – friends and family keep asking where we found our wallpaper.
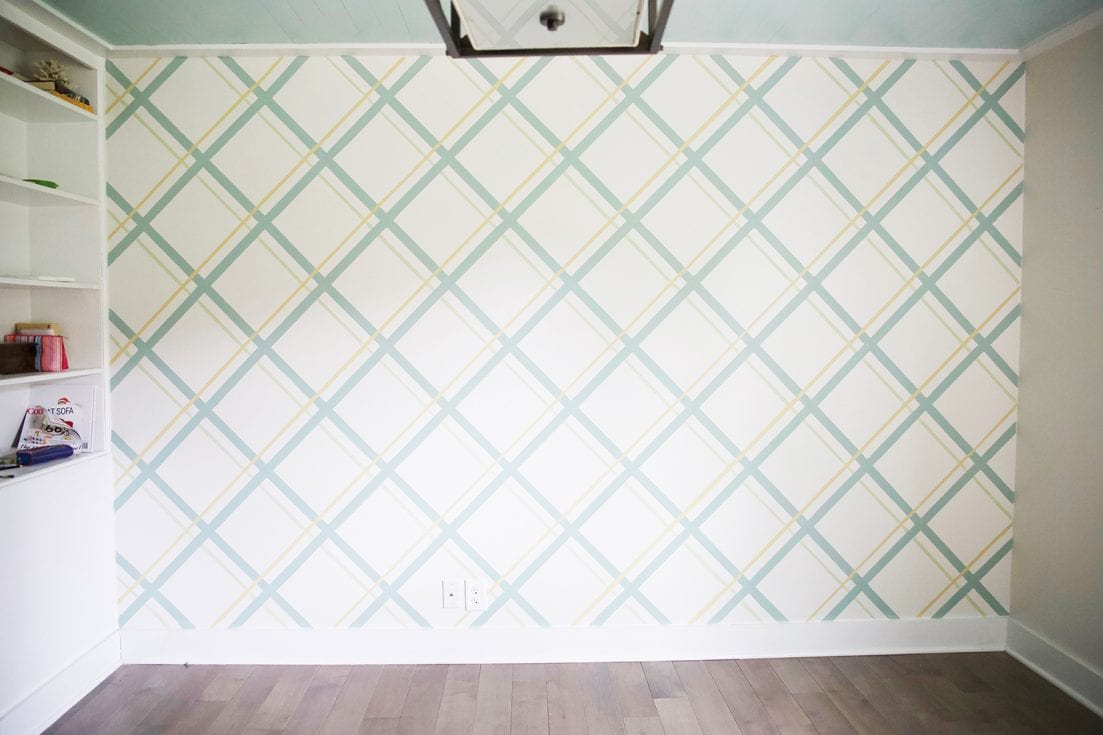
We feel like this offers such a wow factor to the space, and a great element to build off of for the rest of the room.
Especially for him to grow into it, too.
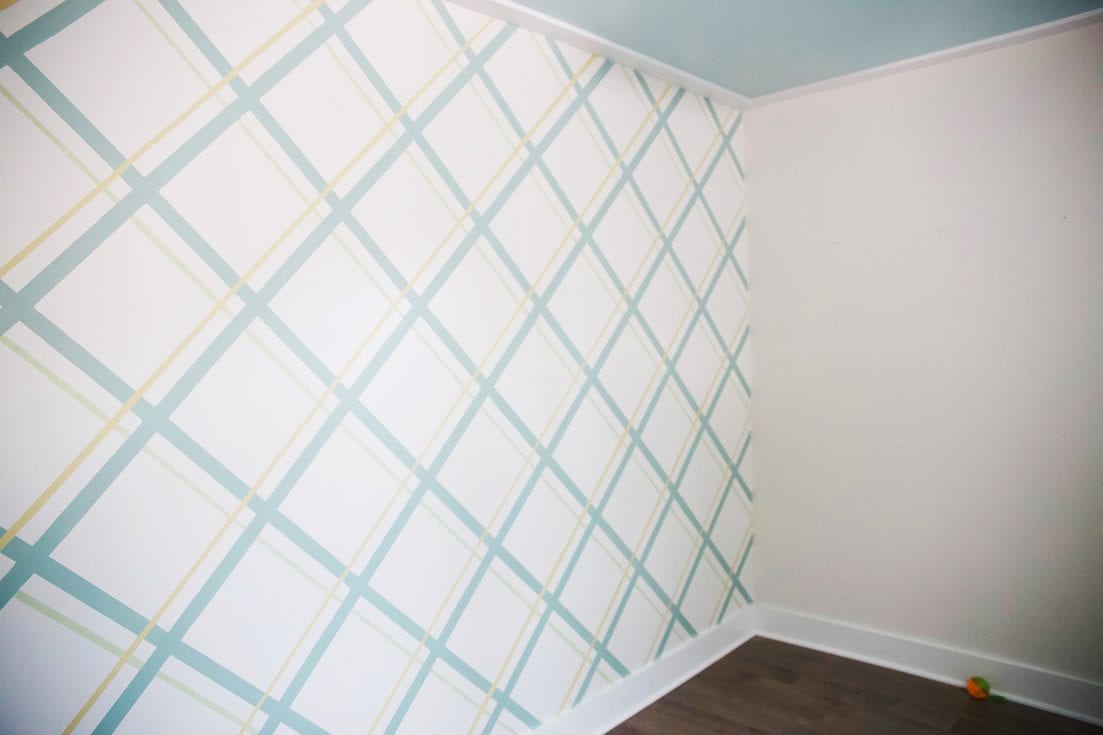
painting a plaid wall – Wall Wow Factor!
We absolutely love the look, and can’t wait to put together the rest of the space to show you next week!
We’ve certainly had our work cut out for us.
What are some of your favorite ways to use FrogTape®?
We’d love to hear your ideas!
As always, let us know if you have any questions about painting a plaid wall.
Have an inspired day!


That video is so mesmerizing! Love what you’re doing with this space so far, you’re really taking a risk, I’d never think to paint lines like that. I’m impressed it turn out so well. I’ll have to try Frog tape on my next project.
YES! We love their tape. It’s definitely at the top of our list for nearly every project that we do! ;} Thank you so much.
Oh my gosh!!!! Love, Love, LOVE the Woody. I’m a Southern California gal, and when i see a surfboard and a Woody, my heart skips a beat. You did such a great job.
I have a not-so-secret-obsession with old cars like this. Instead of a new one, mama wants one like this ;}
By far the best. Seriously.
You guys! This video is mesmerizing! I can’t wait to see more! You always bring it! Just wow. That is all.
Awe thank you so much, Jenna!
You actually painted that? What a gorgeous painting! I consume a lot of design blogs and mags, but I’ve never seen such a cool addition to a tweens room. Even more special that mom painted it! Well done!
I love the car painting!! Also the plaid wall is amazing! I always enjoyed doing something different to the bedroom walls. My son when he was little had spiderman colors, blue walls with red stripes in the middle. My daughter has black and white stripe walls. Love your artwork!
Thank you so much, Peg! You are too sweet. We have absolutely loved the way this has come together ;}
Wow! Love that wall. Must have taken a long time to get it all taped. Can’t imagine! I was pulling my hair out doing just grout lines on a floor for a tile look. Can’t wait to see the final look. So far my favorite.
Plaid!? You guys are ambitious. I really like the 3D effect when you have all the tape laid out on the wall. Well done. I’m excited to see this room come together.
Just curious if you ran all this by him or not? My 15 and 13 year old boys are getting to where they are very opinionated about what they like – etc – and I’m not sure how much direction they’d let me take if I were to redo their rooms.
Your vintage car painting was amazing!
Hey Pam! I think we talked a little about that in our planning post, but yes, absolutely. This was very important to us and to him. All things had to go through him. We sat down with a design board ahead of time and explained everything – We even switched out some things he wasn’t crazy about. He helped us pick out most everything. He gave us his input every step of the way. In a family like ours, our kiddos are very much accustomed to being a part of the process. They also really like our style as a family, and they have high expectations which is dangerous but fun. I surprised him with the painting but he’s used to me doing that at this point {Ha!}, and we will probably see a lot more of his own touches over time like Harry Potter additions and photos of friends, etc. But he’s very thrilled with the way it has come along. I hope that helps!
You guys! This is amazing! So much detail and effort! Kudos! Can’t wait to see your reveal!
Hi! I LOVE this room and design. Currently getting my sons toddler room ready as we make room for a new baby. My plan was to have it be an old Jeep theme since my husband is really into Jeeps. I do not have your talents – would you do one for hire?
Hey Mallory! Congratulations! I am sorry I just do not have the time to take on custom painting orders. But we do have some of our art for sale here – you may find something you like? I hope that helps. Thank you for thinking of me!
Do you know the colors you used? I really like them and want to do the same.
Thanks for the great post on painting walls with FrogTape! I’m a big fan of FrogTape myself and can’t wait to try out your tips.
Hi Ashley! Is there anyway you could share what colors you used on the ceiling? Was it the same color in the stripes on the wall?
Hey Kat! the color on the ceiling is SW tidewater hope that helps!
How long did painting the plaid wall take in total from start to finish?
Hi! It’s been a minute, but probably a couple {maybe three?} of full afternoons to get it done. I hope that helps!
What width tape did you use